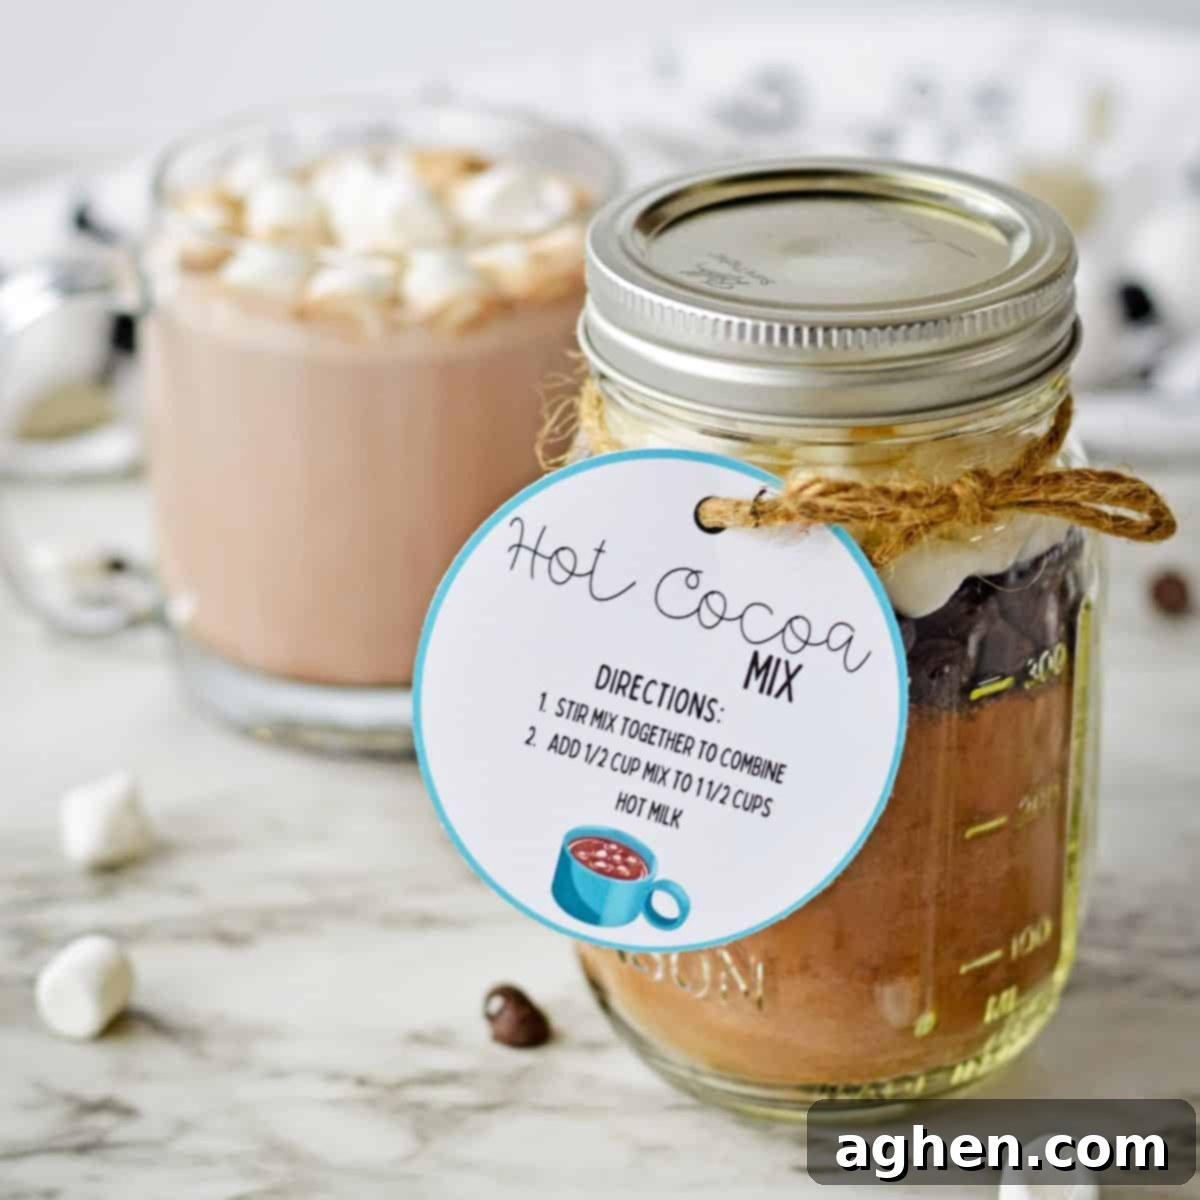
The Ultimate Homemade Hot Cocoa Mix: Easy DIY Recipe & Perfect Gift Idea
There’s nothing quite like a steaming mug of hot cocoa to warm you from the inside out on a chilly winter day. While store-bought mixes offer convenience, they often lack the rich flavor and creamy texture of a truly exceptional hot chocolate. That’s where homemade hot cocoa mix shines! It’s not just a delightful treat for yourself; it also makes a thoughtful and personal gift for friends, teachers, postal workers, or your beloved neighbors this holiday season.
If you’ve never ventured into making your own hot cocoa mix, you’re in for a truly delightful surprise. Forget the often-disappointing, watery results from generic packets. Our homemade recipe delivers a beverage that is consistently more creamy, intensely flavorful, and utterly delicious than anything you’ll find on a supermarket shelf. You might even already be familiar with our popular recipes like slow cooker caramel hot chocolate, white hot chocolate, and pink velvet hot chocolate, all known for their superior taste and luxurious texture.
The beauty of this homemade hot cocoa mix is its simplicity. All you need to do is add some hot milk, and in mere moments, you’ll be savoring a delectable cup of rich, chocolatey goodness. It’s as effortless and enjoyable as preparing a hot chocolate bomb, but with the added satisfaction of knowing you crafted it yourself.
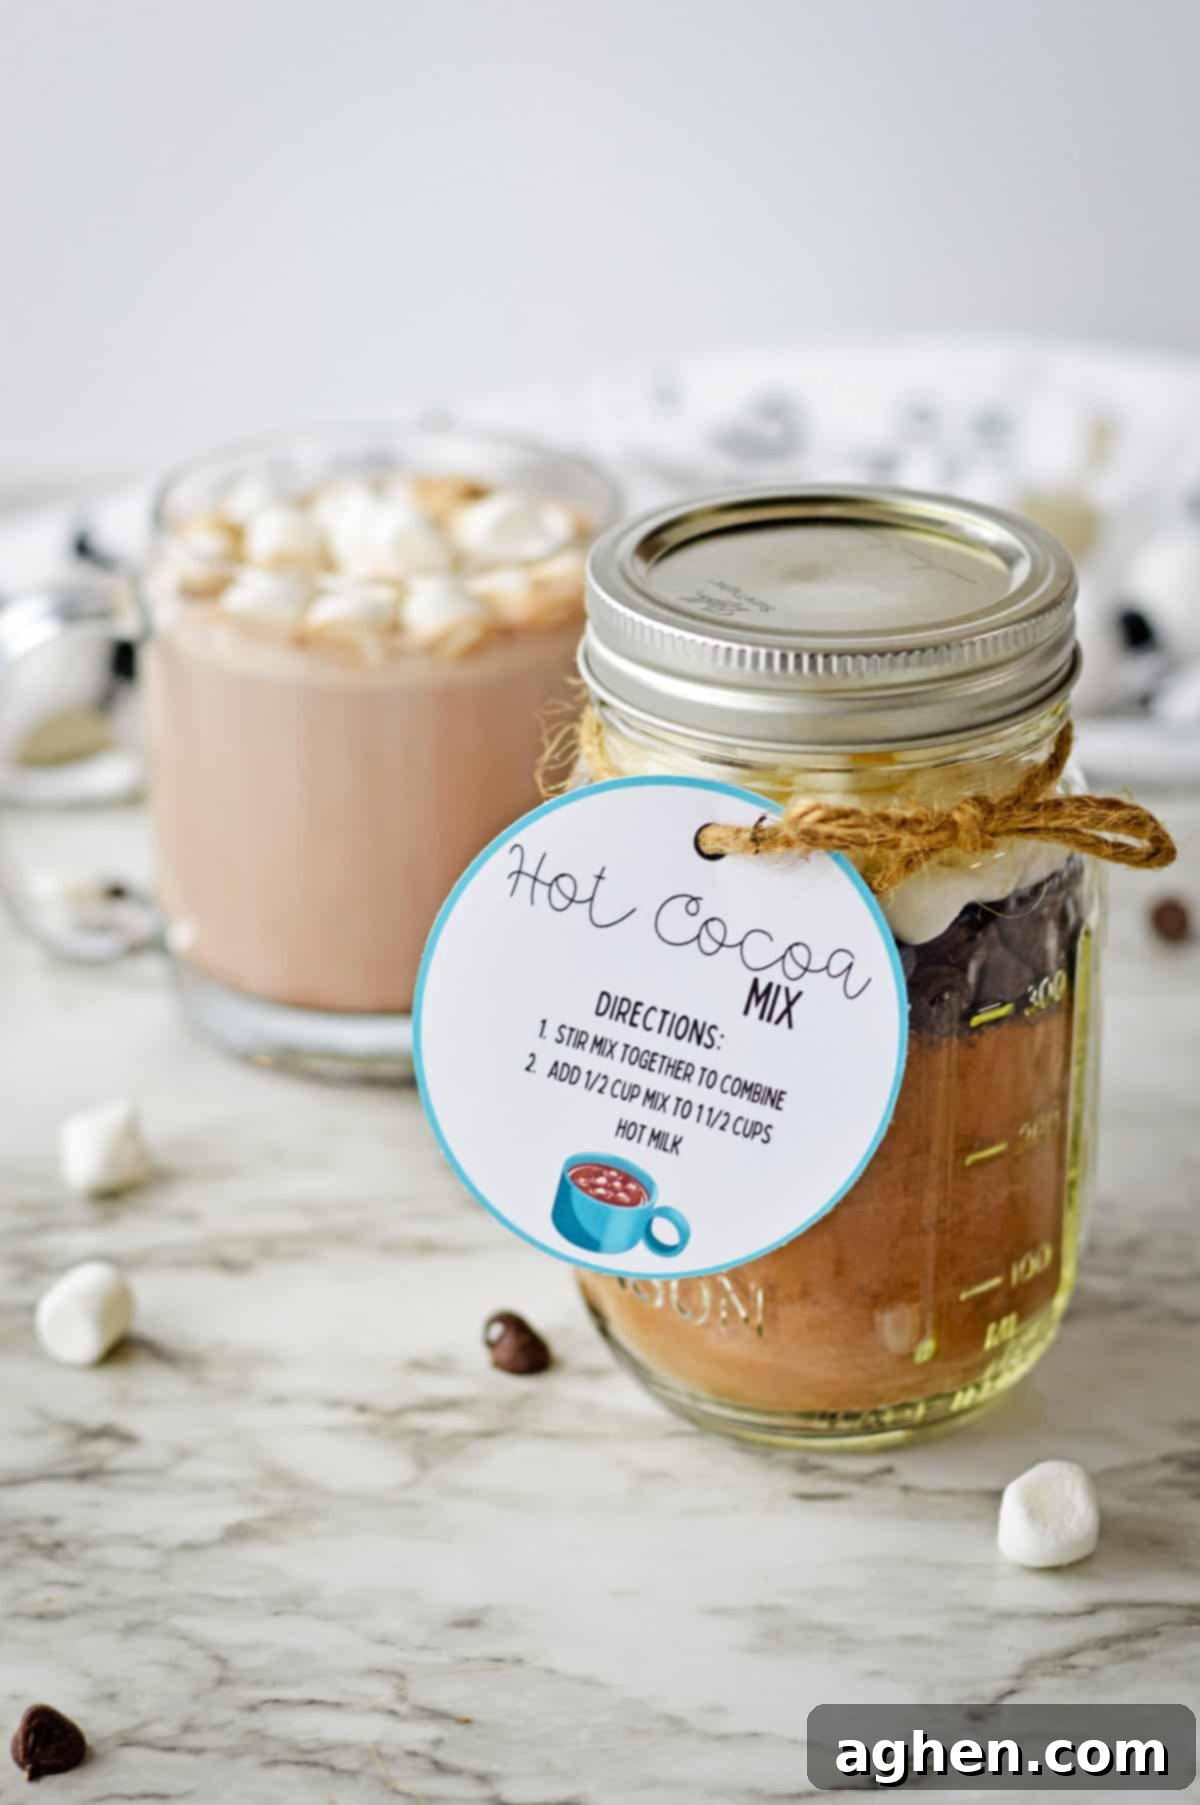
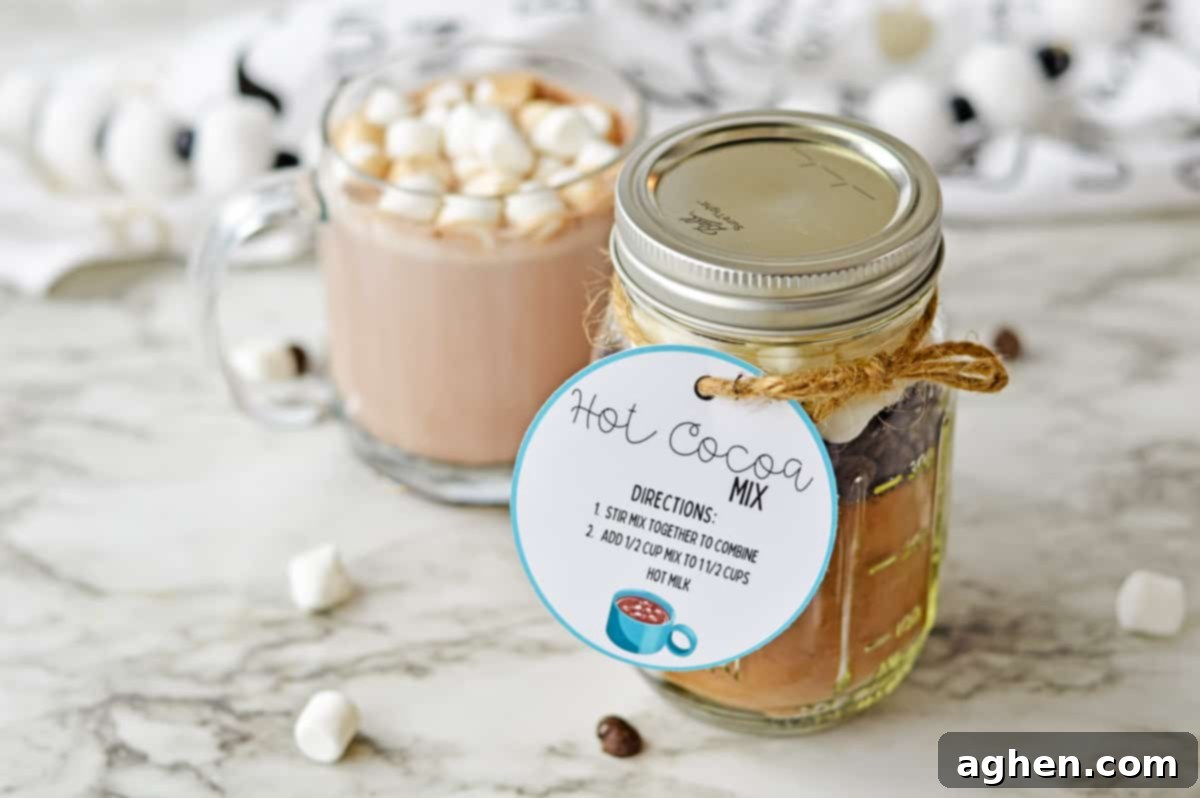
Imagine sharing the gift of a rich, creamy, and comforting cup of hot cocoa with your loved ones this festive season. This recipe guides you through creating and packaging a stunning layered hot cocoa mix in a mason jar, making it look as appealing as it tastes. Even if you don’t consider yourself a crafty person, you’ll find these instructions incredibly easy to follow, ensuring your gifts are beautifully presented and ready to impress all your friends and family.
To make gifting even easier, we’ve included a printable hot cocoa gift tag. This tag not only adds a charming touch but also provides all the necessary instructions for the recipient to transform their delightful mix into steaming hot mugs of decadent, chocolatey bliss. No guesswork involved, just pure enjoyment.
When it comes to creating festive treats and thoughtful homemade gifts for Christmas, it truly doesn’t get much simpler or more rewarding than this homemade hot cocoa mix. It’s a recipe that promises minimal effort with maximum impact. Keep reading to discover the easy recipe and gain access to your free printable gift tag, making your holiday gifting both effortless and memorable.
Essential Ingredients for Your Homemade Hot Cocoa Mix
This section includes detailed ingredient notes, substitution options, and tips for the best flavor. All exact measurements, ingredients, and step-by-step instructions can be found in the printable recipe card at the end of this post.
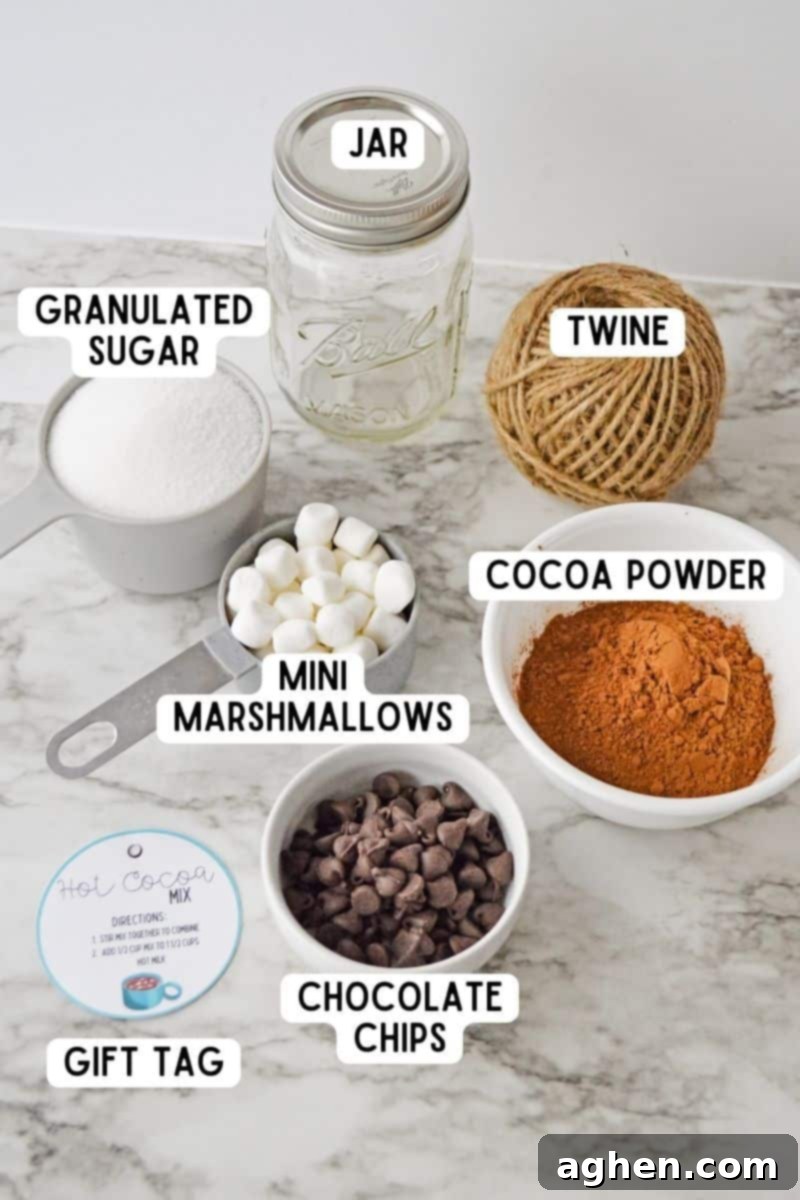
- Cocoa Powder: This is the heart of your hot cocoa. You can use either regular unsweetened cocoa powder for a classic flavor or Dutch-process cocoa for an even richer, darker, and slightly less bitter chocolate experience. The key is to ensure it is always unsweetened, allowing you to control the sugar level. Sifting the cocoa powder before mixing can also help prevent clumps.
- Granulated Sugar: Essential for sweetening your hot cocoa, granulated sugar dissolves beautifully into hot milk, creating a perfectly balanced drink. For an even smoother dissolve and a slightly creamier texture, you can experiment with using powdered sugar (confectioners’ sugar) instead, as the cornstarch in powdered sugar helps prevent clumping.
- Salt: A pinch of salt might seem unusual for a sweet drink, but it acts as a crucial flavor enhancer. It brightens and deepens the chocolate notes, balancing the sweetness and preventing the hot cocoa from tasting flat. Don’t skip it!
- Chocolate Chips: These little gems are what elevate your hot cocoa from good to absolutely decadent. As they melt, they add incredible creaminess and an intense, rich chocolate flavor. While semi-sweet chips are a personal favorite for their balanced profile, feel free to use milk chocolate for a sweeter, milder taste, dark chocolate for a more intense cocoa hit, or even white chocolate chips for a unique twist.
- Miniature Marshmallows: Because everyone knows that the best hot cocoa experiences include a fluffy cloud of marshmallows! Mini marshmallows are perfect for layering in a jar and melt wonderfully into the hot drink. You can also opt for dehydrated marshmallows for a longer shelf life, especially when preparing gifts far in advance.
Supplies for Gifting Your Hot Cocoa Mix
Beyond the ingredients, you’ll need a few simple items to prepare your homemade hot cocoa mix for gifting, ensuring it looks as appealing as it tastes.
- Mixing Bowl & Whisk: These standard kitchen tools are all you’ll need to combine your dry ingredients thoroughly and evenly.
- Cute Jar: We recommend a 16-ounce mason jar, which is the perfect size for layering the mix and creating a beautiful presentation. However, any clean, airtight jar of a similar size will work wonderfully. Look for jars with secure lids to ensure freshness.
- Twine or Ribbon: A simple piece of twine or a festive ribbon adds a rustic or elegant touch, perfect for attaching your gift tag and enhancing the homemade charm.
- Printed Gift Tag: Our free printable gift tag is designed to make your gift complete, providing clear instructions for use and a personalized touch.
How to Make Homemade Hot Cocoa Mix (No Powdered Milk Needed!)
This section provides simple, step-by-step photos and instructions to guide you through the process. For the complete printable recipe with precise measurements, please refer to the recipe card located further down on this page.
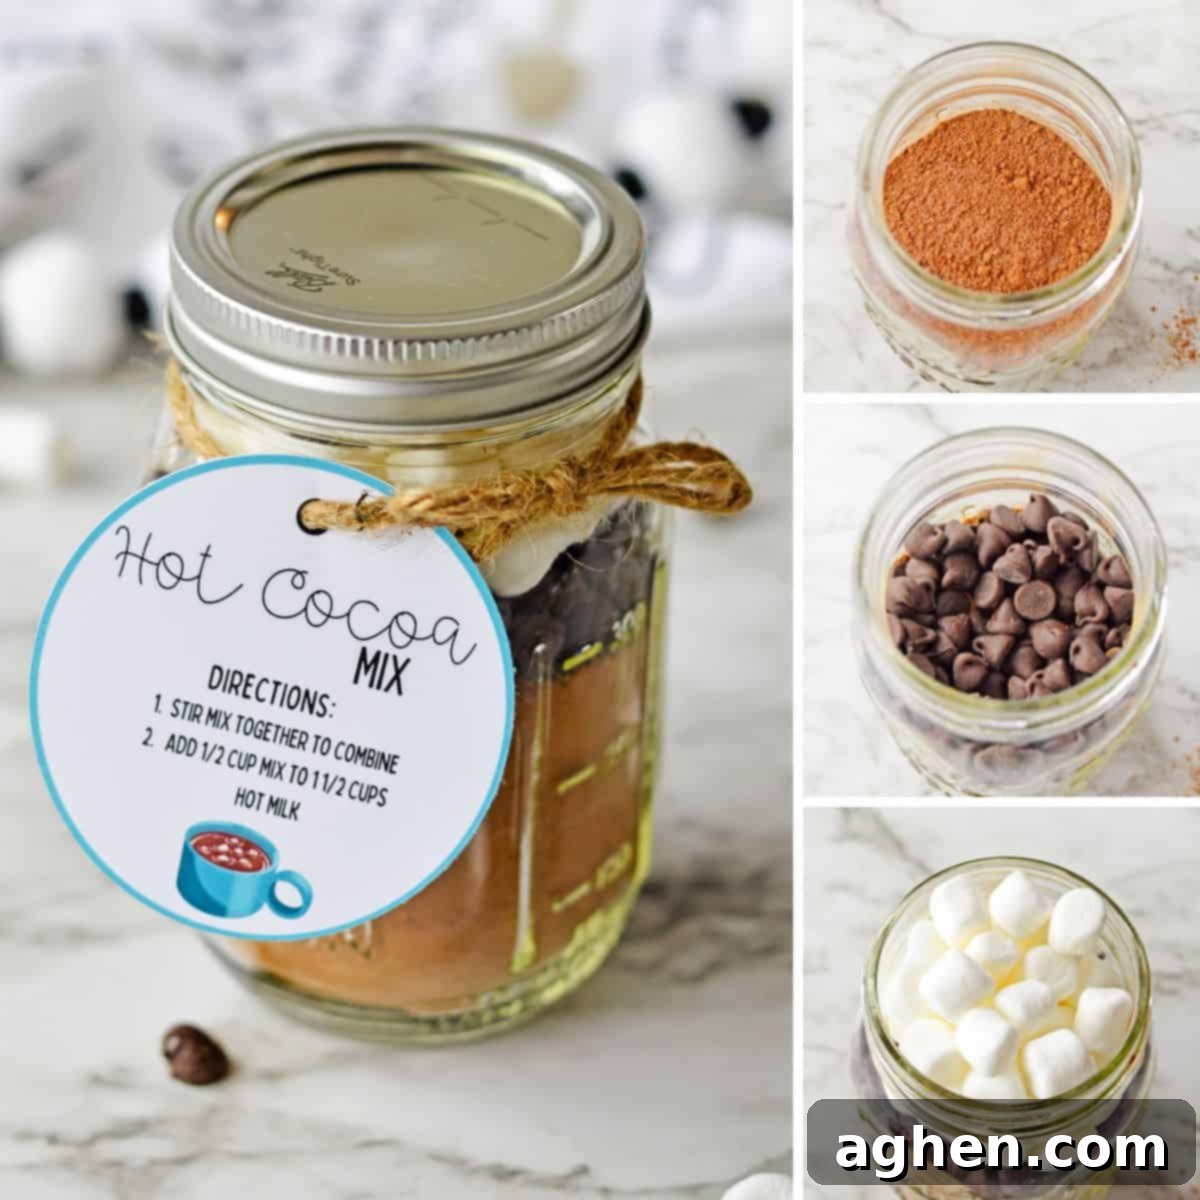
- In a medium-sized mixing bowl, thoroughly whisk together the cocoa powder, granulated sugar, and salt. Ensure there are no clumps and the ingredients are evenly distributed for a consistent flavor.
- Carefully transfer this well-combined cocoa mixture into a clean 16-ounce mason jar, forming the first layer. Use a funnel if necessary to keep the edges of the jar clean.
- Next, create a distinct layer by topping the cocoa mix with the chocolate chips. Avoid stirring at this stage, as the visual layers are part of the gift’s appeal.
- Finally, gently add the mini marshmallows as the top layer. Again, do not mix, allowing the beautiful layers to remain visible through the glass.
- Tightly screw on the lid of the jar to seal in the freshness. If you’re gifting, use a piece of twine or ribbon to tie your free printable gift tag around the neck of the jar, completing your thoughtful homemade present.
Storage Guidelines for Your Hot Cocoa Mix
To maintain the freshness and quality of your homemade hot cocoa mix, store it in an airtight container at room temperature. Kept properly, the mix will remain fresh for up to 3 months. For best results, choose a cool, dark pantry or cupboard away from direct sunlight and heat.
The primary factor influencing the shelf life of your mix is often the expiration date of the marshmallows. To prolong the life of your hot cocoa mix, always use the freshest marshmallows available. If you plan to store the mix for an extended period or are sending it as a gift to be enjoyed over time, consider using dehydrated marshmallows, which have a significantly longer shelf life.
How to Prepare and Enjoy Your Homemade Hot Cocoa
Once you’re ready to indulge in a rich and creamy cup of hot cocoa, follow these easy steps:
- Before scooping, give the hot cocoa mix a good stir in the jar to ensure all the ingredients are thoroughly combined. This guarantees a consistent flavor in every serving.
- In your favorite mug, stir together ½ cup of the prepared hot cocoa mix with 1 and ½ cups of hot milk. Heat the milk gently on the stovetop or in the microwave until it’s steamy but not boiling. Whole milk or heavy cream will create the richest, most decadent experience, but any milk (dairy or non-dairy like almond, oat, or soy milk) works well.
- Optional Enhancements: Elevate your hot cocoa with delicious toppings! Garnish with a dollop of whipped cream, a sprinkle of chocolate shavings, a dash of cinnamon, or extra marshmallows. For an adult twist, a splash of peppermint schnapps or Kahlúa can be a wonderful addition.
Pro Tips for Crafting the Best Homemade Hot Chocolate Mix
- For Easier Dissolving: If you prefer an extra smooth hot cocoa, try swapping out the granulated white sugar in the dry mix for an equal amount of powdered sugar (confectioners’ sugar). The fine texture and added cornstarch in powdered sugar help the mix dissolve even more easily and prevent clumping.
- Milk Matters: For an incredibly thick, rich, and creamy hot cocoa, we highly recommend using heavy cream or whole milk. However, feel free to use any milk you have on hand – coconut milk, soy milk, or almond milk are all excellent non-dairy options that will still produce a delicious cup.
- Yield Information: Each prepared jar of this homemade hot cocoa mix contains enough ingredients to make approximately 4 generous cups of decadent hot chocolate, perfect for sharing or enjoying over several days.
- Elevate with Homemade Marshmallows: For a truly gourmet and unforgettable experience, top your hot chocolate with luscious homemade marshmallows. Their soft, airy texture and fresh flavor are a real treat!
- Extend Shelf Life: If you’re preparing gifts far in advance or live in a humid climate, using dehydrated marshmallows instead of fresh mini marshmallows can significantly prolong the shelf life of your hot cocoa mix.
- Sift Your Cocoa: To ensure a lump-free mix and a super smooth hot cocoa, always sift your cocoa powder before combining it with the sugar and salt. This simple step makes a big difference.
Creative Homemade Hot Cocoa Mix-Ins and Variations
While classic marshmallows and chocolate chips are always a hit, the beauty of making your own hot cocoa mix is the endless possibilities for customization! Get creative and consider tossing in some of these exciting mix-ins to your mason jar for an extra special touch or unique flavor profile:
- Spiced Delights: Crushed candy canes for a festive peppermint twist, a pinch of pumpkin pie spice, cinnamon, or even a tiny dash of cayenne pepper for a Mexican hot chocolate flair.
- Extra Sweetness & Texture: Caramel bits, toffee bits, white chocolate chips (in addition to or instead of semi-sweet), or even a tablespoon of instant coffee powder for a mocha-flavored treat.
- Crunchy Additions: Crushed Oreo cookies, shortbread crumbles, or small pieces of dried fruit like cranberries.
- Festive Fun: Holiday sprinkles for a colorful, celebratory look, especially when gifting to children.
Homemade Hot Chocolate Mix Recipe: FAQs
Technically speaking, traditional hot chocolate is typically made by melting actual chocolate (like chocolate bars or chunks) into hot milk, resulting in a richer, denser, and often thicker drink. Hot cocoa, on the other hand, is usually prepared by combining cocoa powder with sugar and hot milk (or hot water). However, in everyday conversation and culinary usage, many people use the two terms interchangeably, and both promise a delicious chocolatey beverage.
Store-bought hot cocoa mixes often consist of cocoa powder, sugar, powdered milk, various emulsifiers, preservatives, and other artificial additives. The most significant advantage of crafting your own homemade hot cocoa mix is that you have complete control over every ingredient. This allows you to achieve that classic, comforting hot chocolate flavor you adore while consciously avoiding unnecessary extra ingredients and knowing exactly what you’re consuming.
While this homemade hot cocoa recipe eliminates many of the artificial ingredients found in commercial versions, and you can control the sugar content to some extent, it’s probably not accurate to categorize it as a “healthy” drink. It contains sugar and chocolate, making it an indulgent treat. I like to think of hot chocolate as a delightful and comforting indulgence that is perfectly fine to enjoy occasionally, especially when made with high-quality ingredients at home.
Free Printable Hot Cocoa Mix Gift Tag: Your Perfect Gifting Solution
Enhance your homemade hot cocoa mix with our adorable and practical printable gift tag, transforming it into the ultimate easy homemade holiday gift. This tag isn’t just a decorative element; it provides clear instructions for the recipient on how to prepare their delicious beverage, making your thoughtful present even more convenient and enjoyable.
These exclusive printable gift tags are available completely FREE to members of the C&C community. Membership is entirely FREE, and signing up below grants you instant access to this valuable printable and many other resources!
For the best presentation and durability, we highly recommend printing your hot cocoa gift tags out on cardstock. Cardstock is significantly thicker and more robust than regular printer paper, ensuring your tags look professional and withstand handling.
More Delicious Homemade Food Gift Ideas
If you loved making this hot cocoa mix, explore these other fantastic homemade food gift ideas perfect for the holidays or any special occasion:
- Christmas Popcorn Balls
- Homemade Peppermint Patties
- Crockpot Candy
- Grandma’s Nut Brittle
- Christmas Fudge
Homemade Hot Cocoa Mix
Author: Jaclyn
Ingredients
- ¾ cup unsweetened cocoa powder
- 1 cup granulated sugar
- ¼ teaspoon salt
- 4 Tablespoons semi-sweet chocolate chips
- ½ cup mini marshmallows
Instructions
-
In a large bowl, whisk to combine the cocoa powder, sugar, and salt until thoroughly mixed and free of clumps.
-
Carefully transfer the cocoa mixture to a clean 16-ounce jar, creating an even bottom layer.
-
Next, gently layer the chocolate chips over the cocoa mix, followed by the mini marshmallows on top. Remember, do not mix the layers for a beautiful presentation.
-
Securely place the lid on the jar. If you plan to gift it, use some festive twine or ribbon to attach the printable gift tag around the jar’s neck.
Notes
Each jar of this mix contains enough ingredients to make 4 delicious cups of rich hot chocolate.
To prepare your homemade hot cocoa:
- Give the ingredients in the jar a good stir to thoroughly combine everything.
- Stir ½ cup of the prepared mix into 1 ½ cups of hot milk (dairy or non-dairy).
- For extra indulgence, top with whipped cream, chocolate shavings, or extra marshmallows.
Nutrition
Did You Make This Recipe?
We’d love to see your creations! Share it with us on Instagram @crayonsandcravings and make sure to follow us on Pinterest @crayonsandcravings for even more delicious recipes and inspiration!
Pin Recipe
Leave A Review
