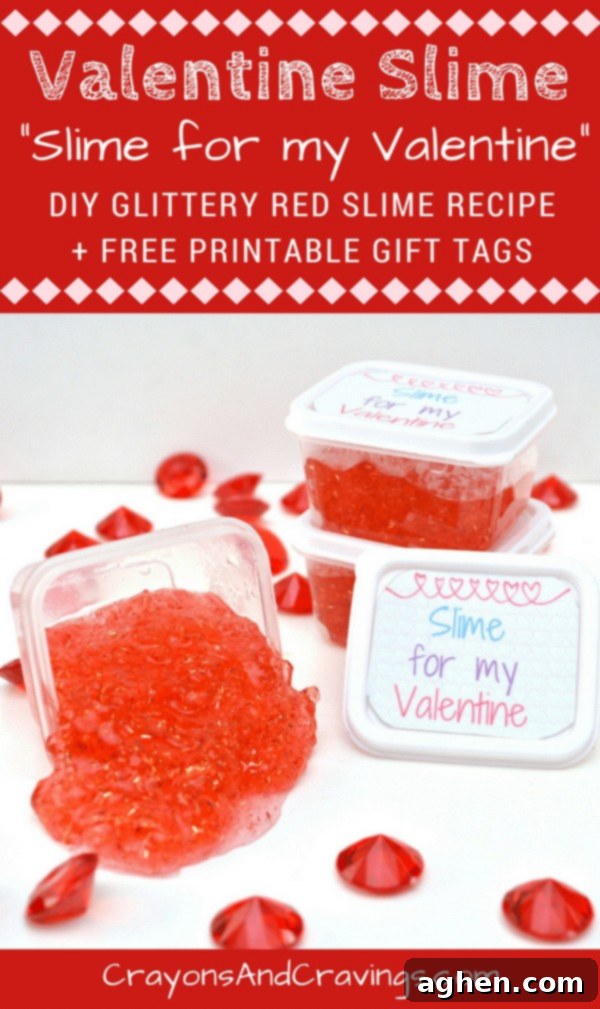
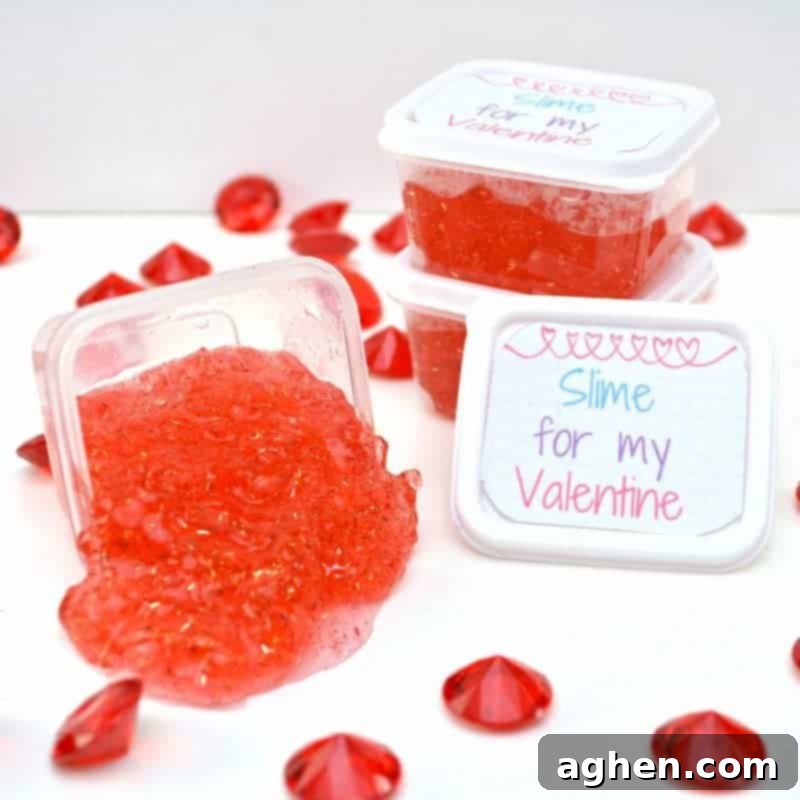
DIY Valentine Slime: Easy Recipe & Free Printable ‘Slime for my Valentine’ Gift Tags for Kids
Valentine’s Day is a special time for spreading love and cheer, especially among children. While candy is a classic treat, many parents and teachers are looking for unique, non-edible alternatives that are both fun and engaging. Look no further! This year, create unforgettable memories and delightful gifts with our super easy DIY Valentine Slime recipe, complete with charming “Slime for my Valentine” printable gift tags.
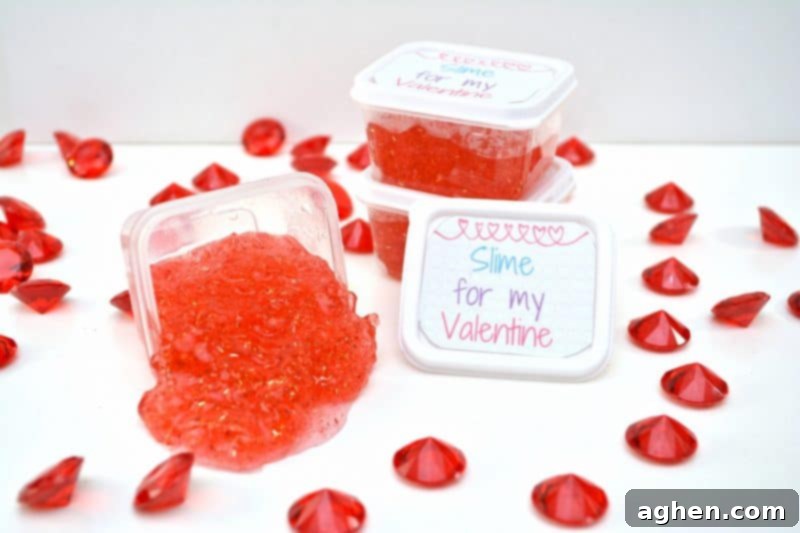
Slime has undeniably captured the hearts and imaginations of children (and many adults!) worldwide. From fascinating YouTube tutorials showcasing elaborate slime creations to readily available DIY slime kits, this squishy, stretchy, and endlessly entertaining substance has become a global phenomenon. Instead of simply buying pre-made gifts, why not embrace this trend and empower your kids to craft their own personalized Valentine’s Day slime for their friends, classmates, or even family members?
Our “Slime for my Valentine” craft isn’t just incredibly fun and engaging for kids; it’s also wonderfully affordable. Imagine the excitement and pride your children will feel as they hand out these vibrant, homemade slime Valentines at school parties, playdates, or to their beloved friends. To make these gifts extra special and convenient, we’ve included free printable “Slime for my Valentine” gift tags that can be easily attached to each container, adding a cute and personal touch.
Why Choose DIY Valentine Slime for Kids?
Making homemade slime offers a multitude of benefits beyond just a fun craft project. It’s an excellent way to encourage:
- Creativity and Imagination: Kids can experiment with colors, glitter, and even small trinkets to personalize their slime.
- Fine Motor Skills: The process of mixing, kneading, and handling the slime helps develop hand-eye coordination and strengthen small muscles.
- Basic Science Concepts: Understanding how ingredients combine to form a new substance introduces fundamental chemistry in a playful way.
- Budget-Friendly Gifting: Crafting your own Valentines is often far more economical than purchasing store-bought options, especially when you need to make many for a large class.
- Personal Touch: A handmade gift carries a unique sentiment, showing thoughtfulness and effort that store-bought items simply can’t match.
- Non-Candy Alternative: In an age where healthy choices are encouraged, slime offers an exciting non-edible gift that kids will adore without the sugar rush.
Whether your children attend traditional school, participate in a homeschool curriculum, or simply want to celebrate with their closest pals, this Valentine slime activity is a perfect fit. Boys and girls alike will delight in receiving a unique, festive slime that’s just for Valentine’s Day.
Valentine Slime Supplies You’ll Need
Gathering your materials is the first step to a successful slime-making session. Most of these items are readily available at craft stores, discount retailers, or online. We’ve specifically chosen red glitter glue to achieve that quintessential Valentine’s Day look, but feel free to explore other colors if you wish!
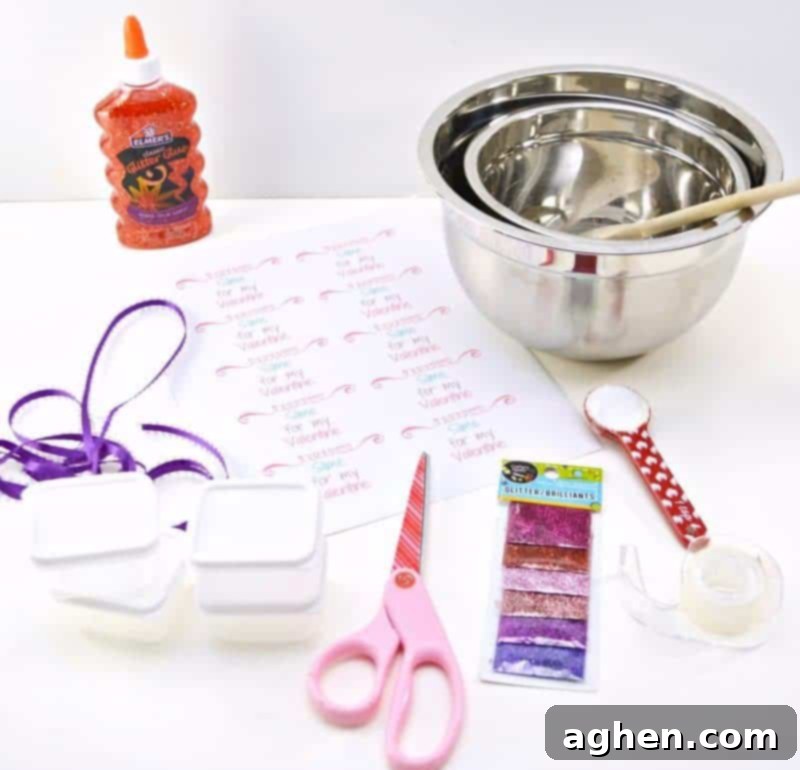
- 1 Container (approx. 6 oz) of Red Glitter Glue
- ¾ cup very warm water (for glue mixture)
- ⅔ cup very warm water (for Borax mixture)
- 1 tsp. Borax powder
- 2 Medium Mixing Bowls
- Mixing Spoon (or craft stick)
- Extra Red Glitter (optional, for extra sparkle!)
- Small Plastic Containers with Lids (for gifting individual portions)
- Scissors
- Double-Sided Tape (or print labels on sticker paper for ultimate ease)
- “Slime for my Valentine” printable labels (download here)
- Ribbon (optional, for decorative ties)
Shop Valentine Slime Supplies for Your DIY Craft
To make your shopping experience even smoother, here are some convenient links to purchase the essential supplies online:
Mini Storage ContainersElmer’s Liquid Glitter GlueBoraxSticker Project PaperScotch Double Sided TapeRed GlitterHearts Curling Ribbon
Making Valentine Slime: A Step-by-Step Guide
This recipe yields enough slime to fill approximately 5-6 small containers, making it perfect for a small group or a few special Valentines. If you’re preparing for an entire classroom or a larger party, simply double or even triple the recipe. The beauty of this DIY Valentine slime is how easily it scales!
Safety Note: Adult Supervision Recommended
While making slime is a fantastic activity for kids, it’s important for an adult to supervise, especially when handling Borax. Ensure children do not ingest any of the ingredients or the finished slime. Always wash hands thoroughly after playing with slime.
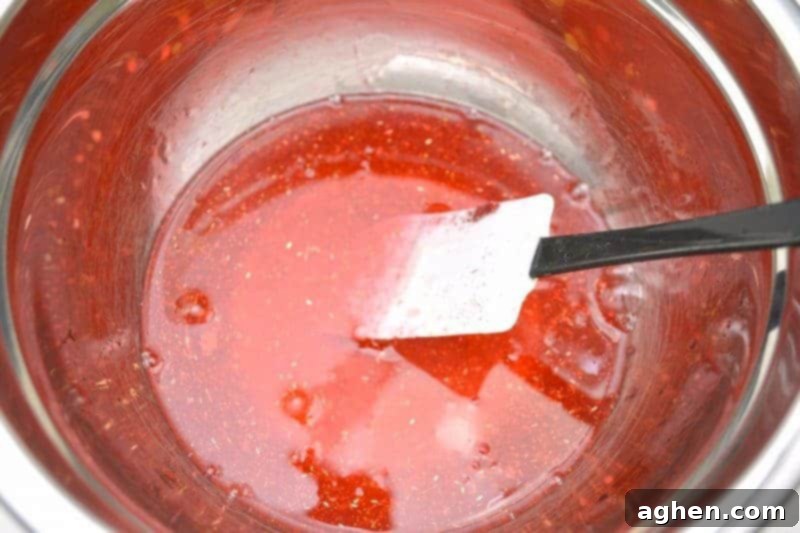
1. Prepare the Glue Mixture: In your first mixing bowl, combine the entire container of red glitter glue with ¾ cup of very warm water. Stir diligently with your mixing spoon until the glitter glue is completely dissolved and evenly dispersed throughout the water. You want a smooth, consistent liquid at this stage, so take your time to mix well.
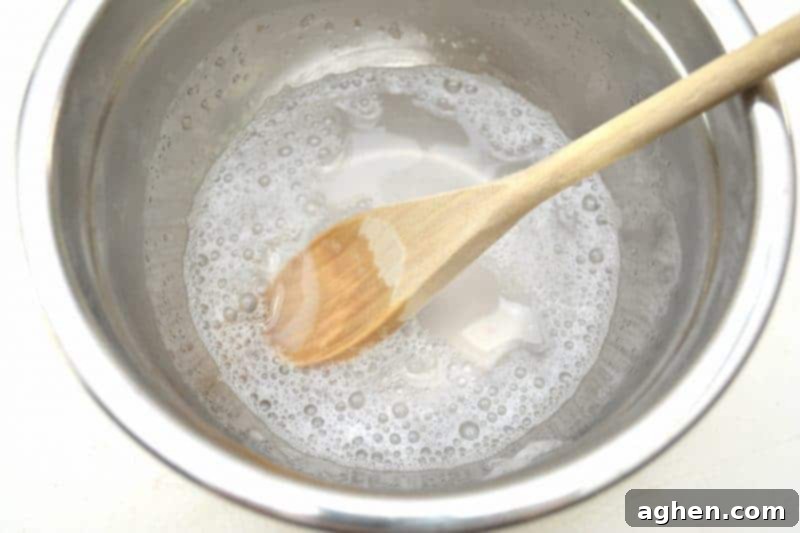
2. Create the Borax Solution: In your second, separate bowl, combine 1 teaspoon of Borax powder with ⅔ of a cup of very warm water. Stir continuously until the Borax is completely dissolved. It’s crucial that there are no grainy bits remaining, as this ensures your slime will have the perfect texture. Set this solution aside.
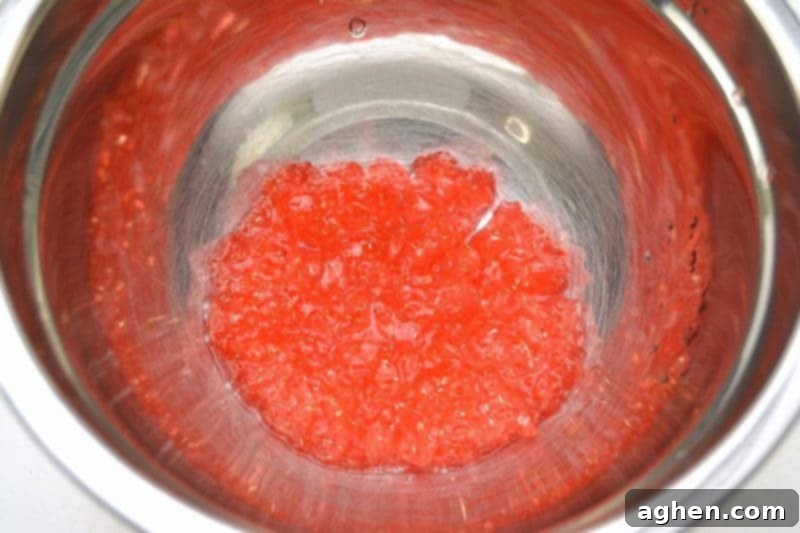
3. Combine and Form the Slime: Slowly pour the Borax solution into the glitter glue mixture. Begin to stir immediately. You’ll notice the mixture starting to thicken and pull away from the sides of the bowl almost instantly. Continue to mix with your spoon for a few minutes. As the slime forms, it will become stringy and sticky at first. Eventually, you’ll want to switch from the spoon to kneading and squeezing the mixture with your hands. This direct contact helps the ingredients combine fully and allows you to feel the texture developing. Keep kneading until you reach your desired slime consistency – stretchy, pliable, and less sticky. If there is any excess water pooling in the bowl, you can carefully pour it out. For an extra festive touch, this is the perfect time to add a sprinkle of additional red glitter and knead it in!
Tips for Perfect Slime:
- Temperature Matters: Using warm water helps both the glue and Borax dissolve more effectively, leading to smoother slime.
- Don’t Rush the Kneading: Patience is key! The more you knead, the better the slime’s texture will become. It might seem too sticky at first, but keep working it.
- Adjusting Consistency: If your slime is too sticky, try adding a tiny pinch more Borax (dissolved in a tablespoon of water first) and knead again. If it’s too stiff, you can try adding a very small amount of plain glue or a few drops of water and knead to rehydrate.
- Experiment with Add-ins: Beyond glitter, consider small heart-shaped sequins, tiny beads, or even a drop of strawberry or vanilla essential oil for a fun scent.
Preparing Your “Slime for my Valentine” Gift Tags
The free printable gift tags are the cherry on top of this delightful DIY Valentine’s Day gift! They add a professional and adorable finish that recipients will love.
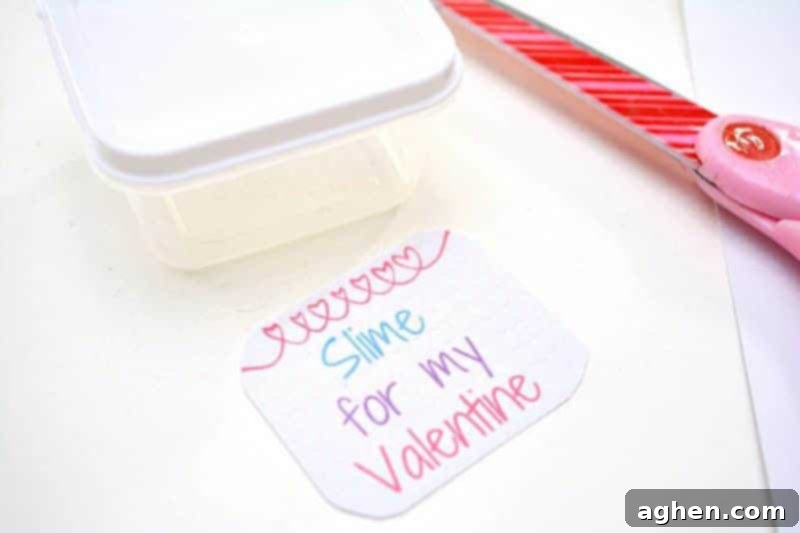
4. Download and Print Labels: Download your free “Slime for my Valentine” labels here. For your convenience, the printable PDF includes 10 labels per page, making it easy to print a batch for many Valentines. Use good quality paper or, for an extra-easy application, print directly onto sticker paper.
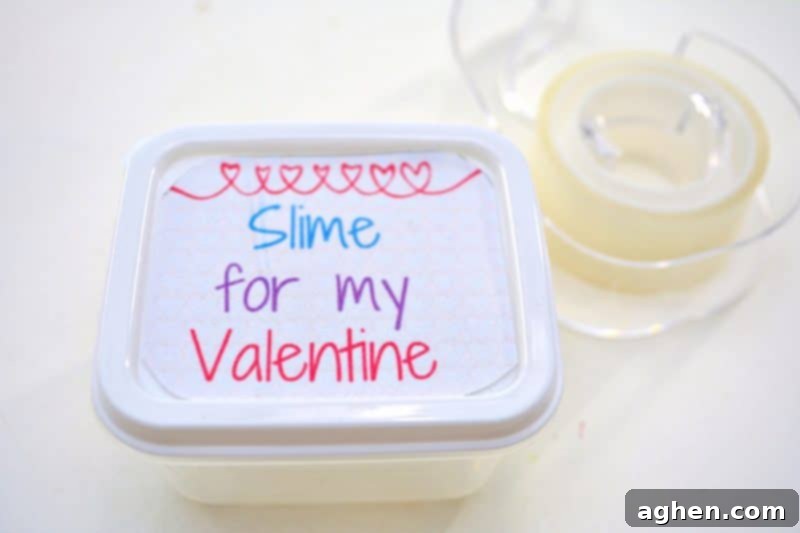
5. Cut Out Your Labels: Carefully trace the top of your small plastic container lids onto the printed labels. Then, use scissors to cut out each circular label. Precision here will ensure your labels fit snugly inside the lid tops.
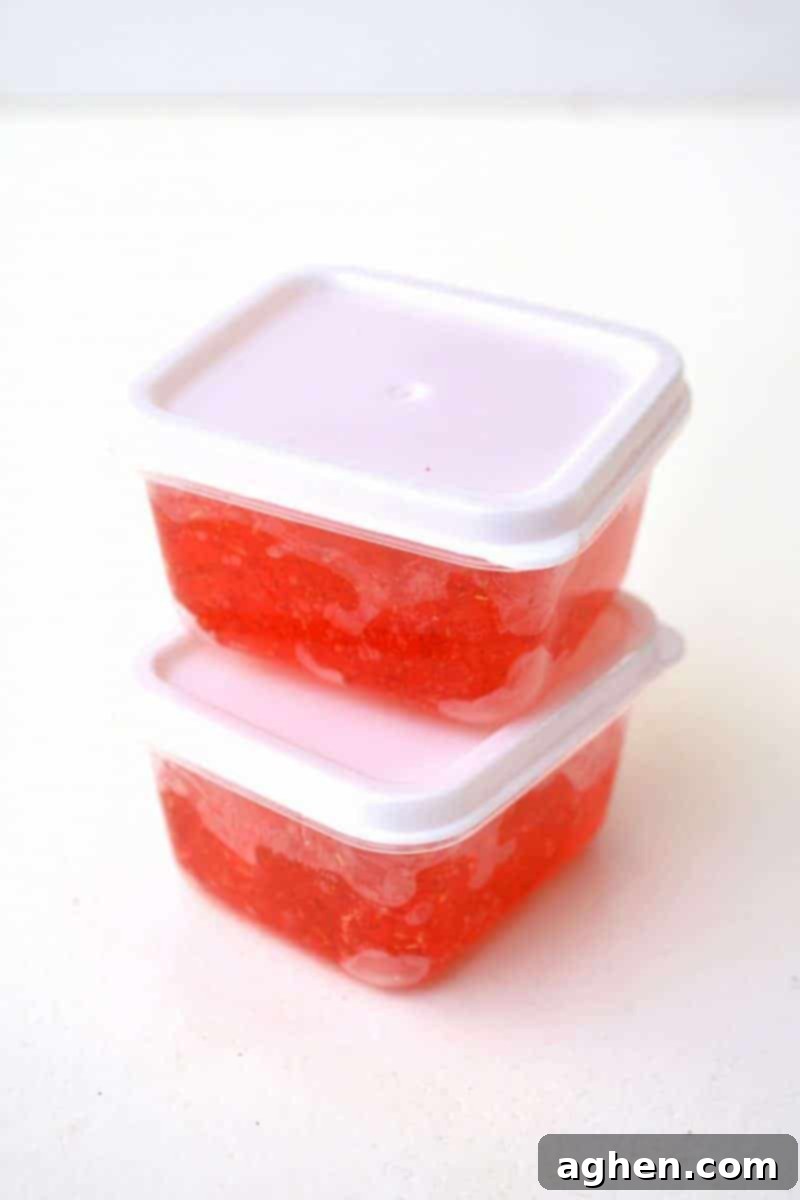
6. Package Your Slime: Divide your freshly made Valentine slime evenly among your small plastic containers. Ensure each container is filled sufficiently but leaves enough room for the lid to close without squishing the slime. Secure the lids tightly to keep the slime fresh and prevent it from drying out.
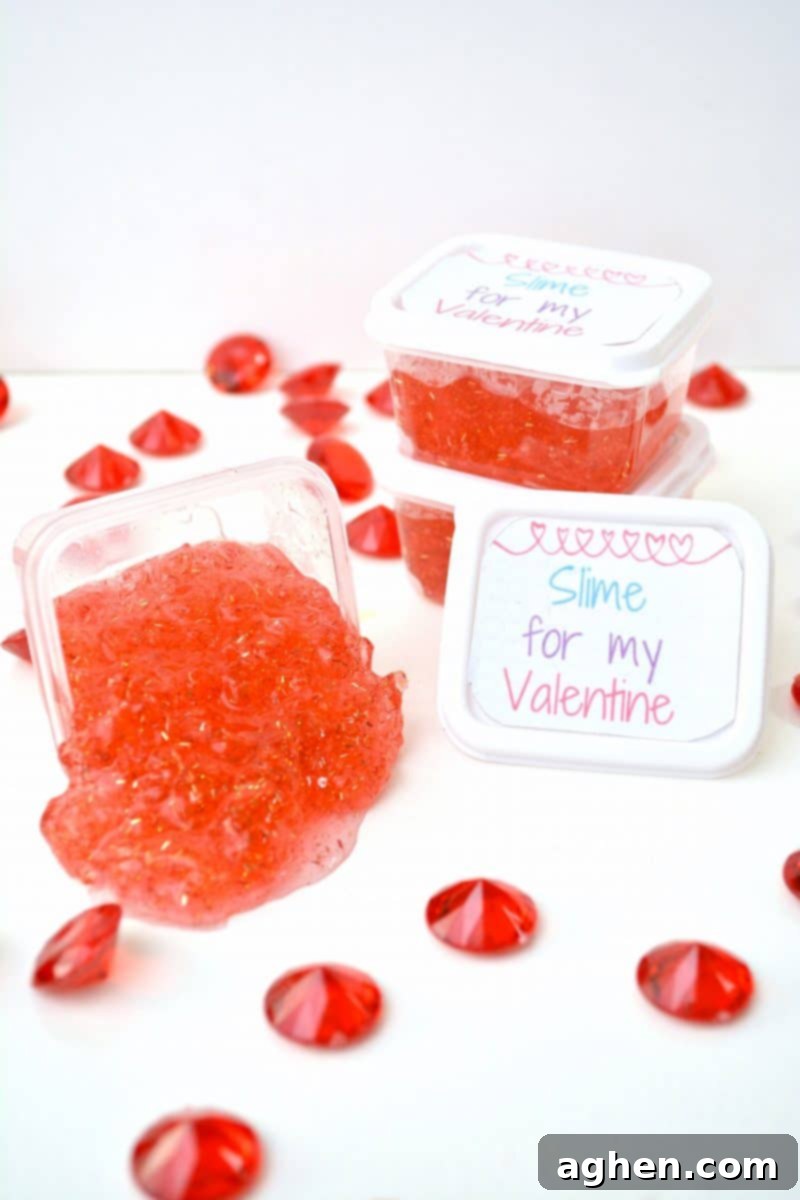
7. Attach the Labels: If you printed on regular paper, use double-sided tape to firmly attach a cut-out label to the top of each lid. If you used sticker paper, simply peel off the backing and stick the labels directly onto the lids. Press down gently to ensure good adhesion.
8. Add Optional Ribbons: For an extra decorative flourish, cut small lengths of ribbon (red, pink, or white heart-themed ribbons would be perfect!). Tie a neat bow around each container, adding that final touch of handmade charm.
Storing Your Homemade Slime
To keep your Valentine slime fresh and playable for as long as possible, always store it in an airtight container when not in use. This prevents it from drying out and hardening. Properly stored slime can last for several weeks, providing extended fun beyond Valentine’s Day!
We truly hope you and your little ones have an absolute blast making this DIY Valentine Slime! It’s more than just a craft; it’s an opportunity to create, bond, and share joy. Happy Valentine’s Day!
Explore More Fun Valentine’s Day Ideas for Kids:
Looking for other creative ways to celebrate Valentine’s Day with children? Check out these delightful ideas:
- Love Bug Valentine Fruit Cups
- Play Dough Valentine Printable
- Valentine Heart Eyes Emoji Chocolate Covered Oreos
