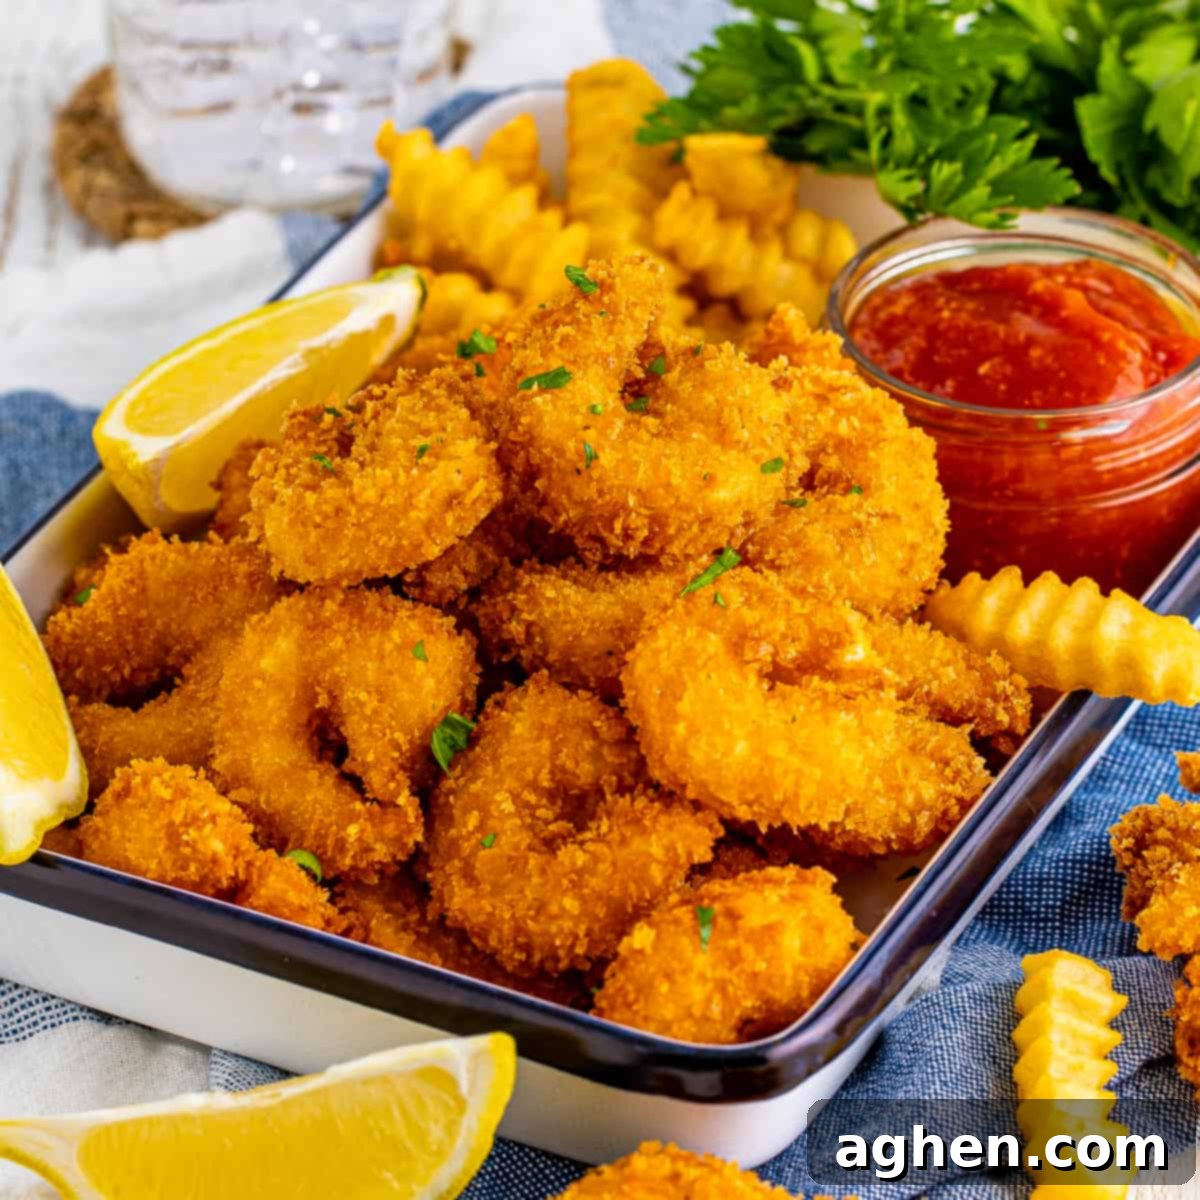
The Ultimate Guide to Crispy Panko Fried Shrimp: Your Go-To Recipe for Appetizers & Dinners
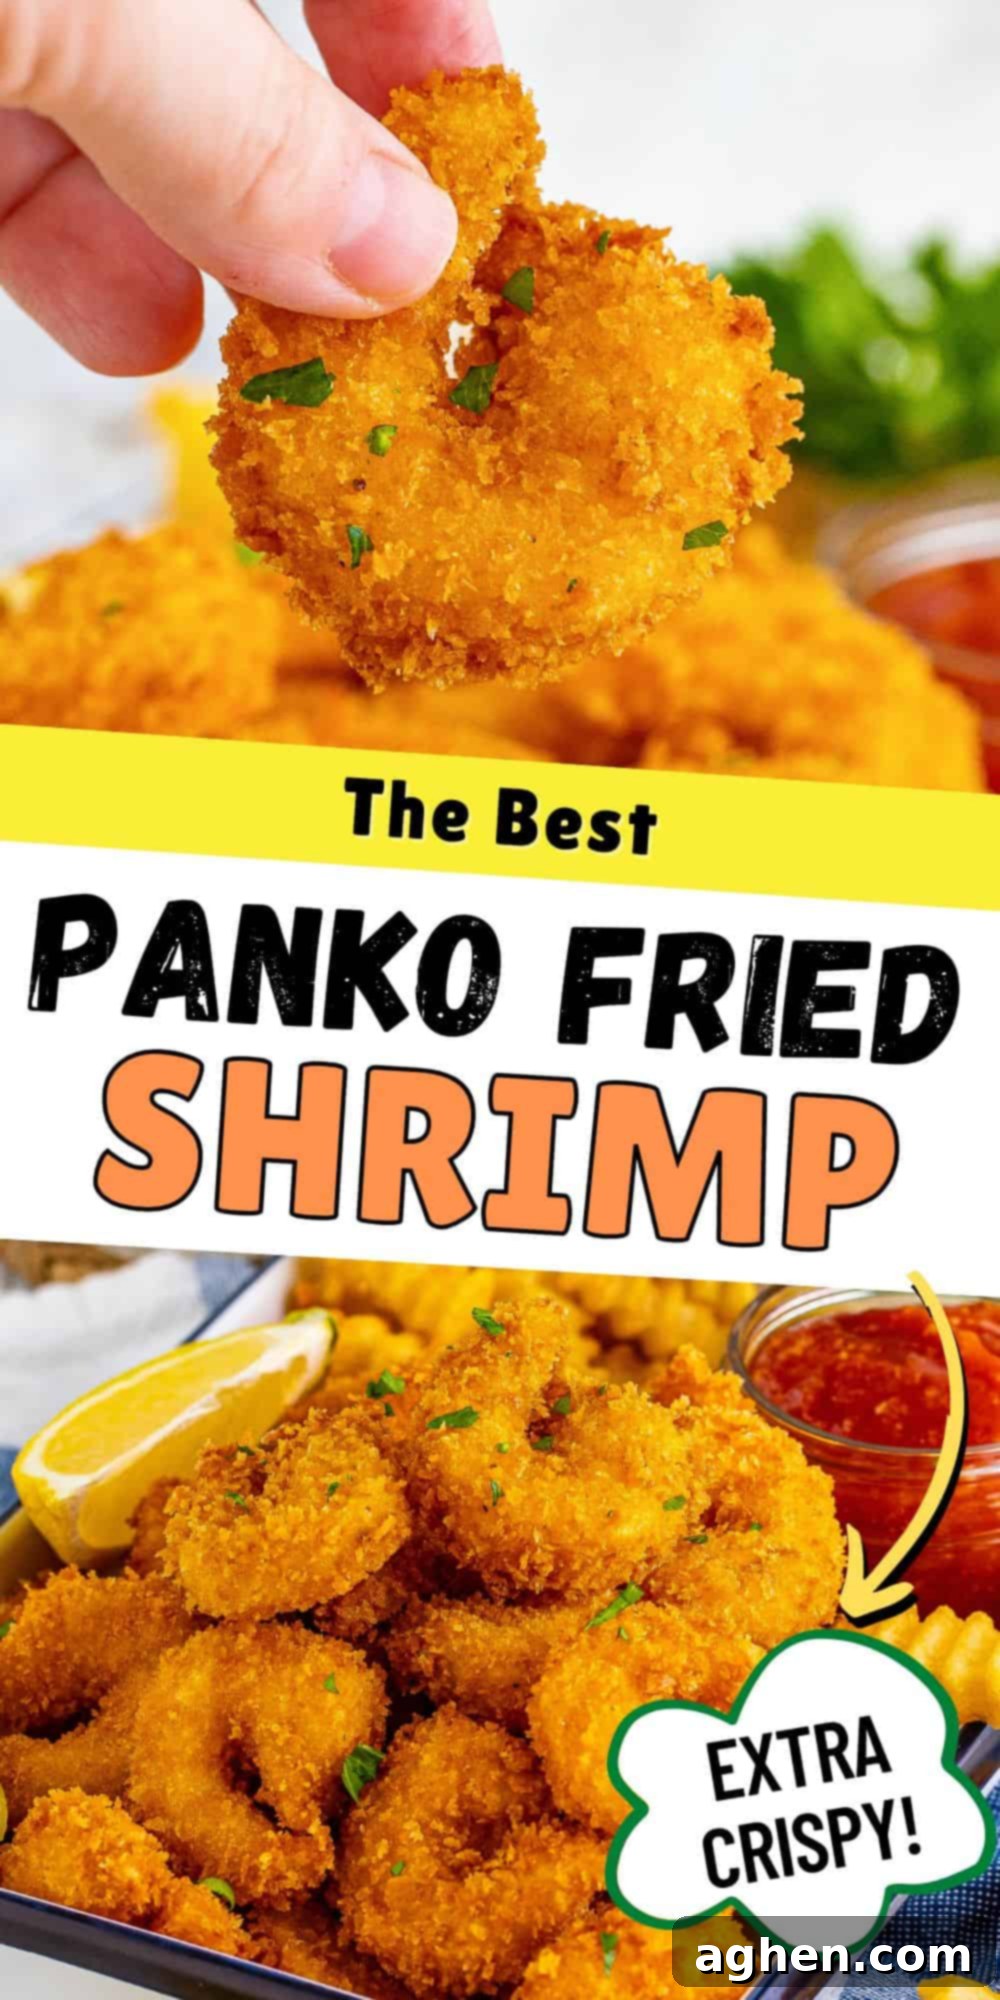
Prepare to elevate your culinary game with this incredible recipe for **crispy, golden-brown panko shrimp**. Whether you’re planning an unforgettable party appetizer or seeking a quick, satisfying main course for dinner, these perfectly seasoned, expertly fried shrimp are guaranteed to be a crowd-pleaser. Once you master this simple recipe, you’ll find yourself making them again and again!
There’s nothing quite like a fantastic appetizer to kick off any gathering, from a casual at-home party to a spirited tailgating event before the big game. This **homemade panko shrimp recipe** is about to become a staple in your repertoire. Forget heavy, greasy fried foods; our method ensures each bite is wonderfully light, incredibly crispy, and bursting with delicious flavor.
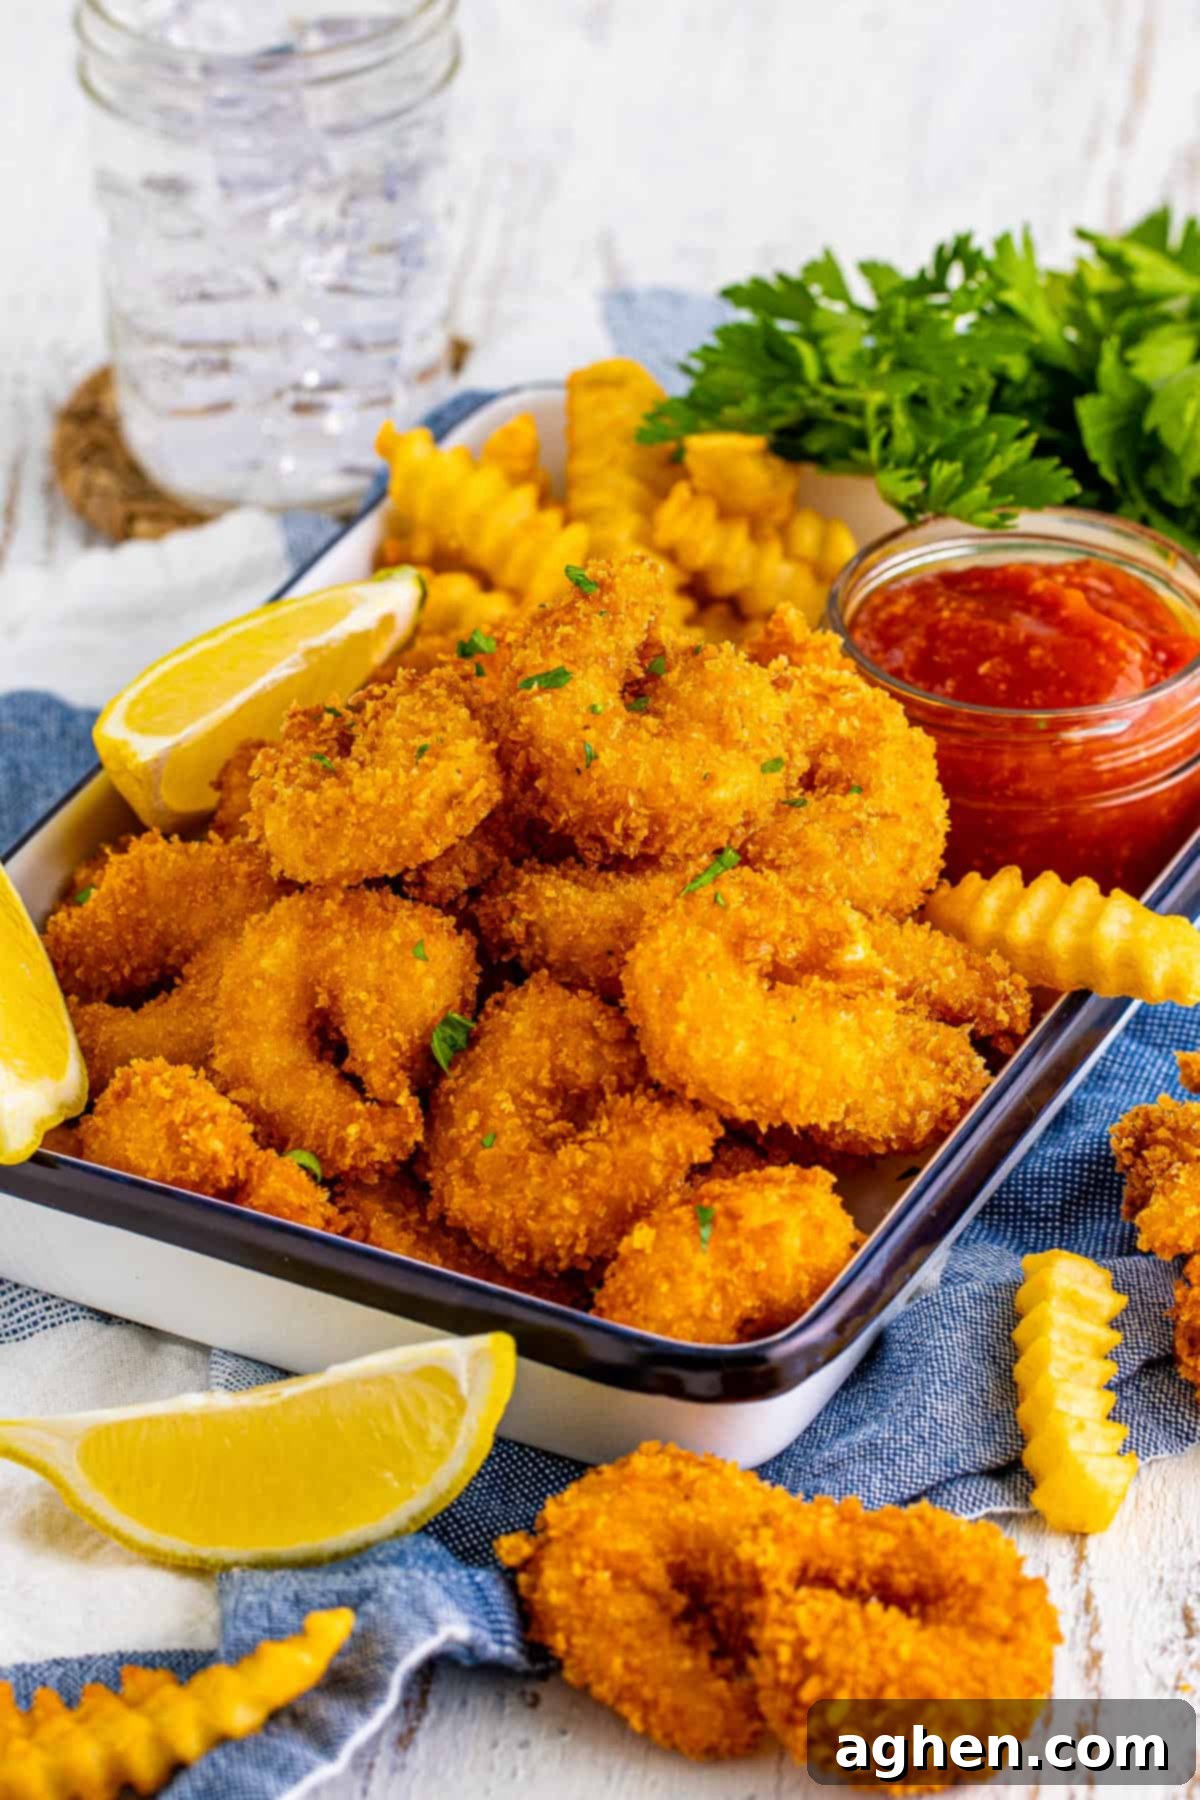
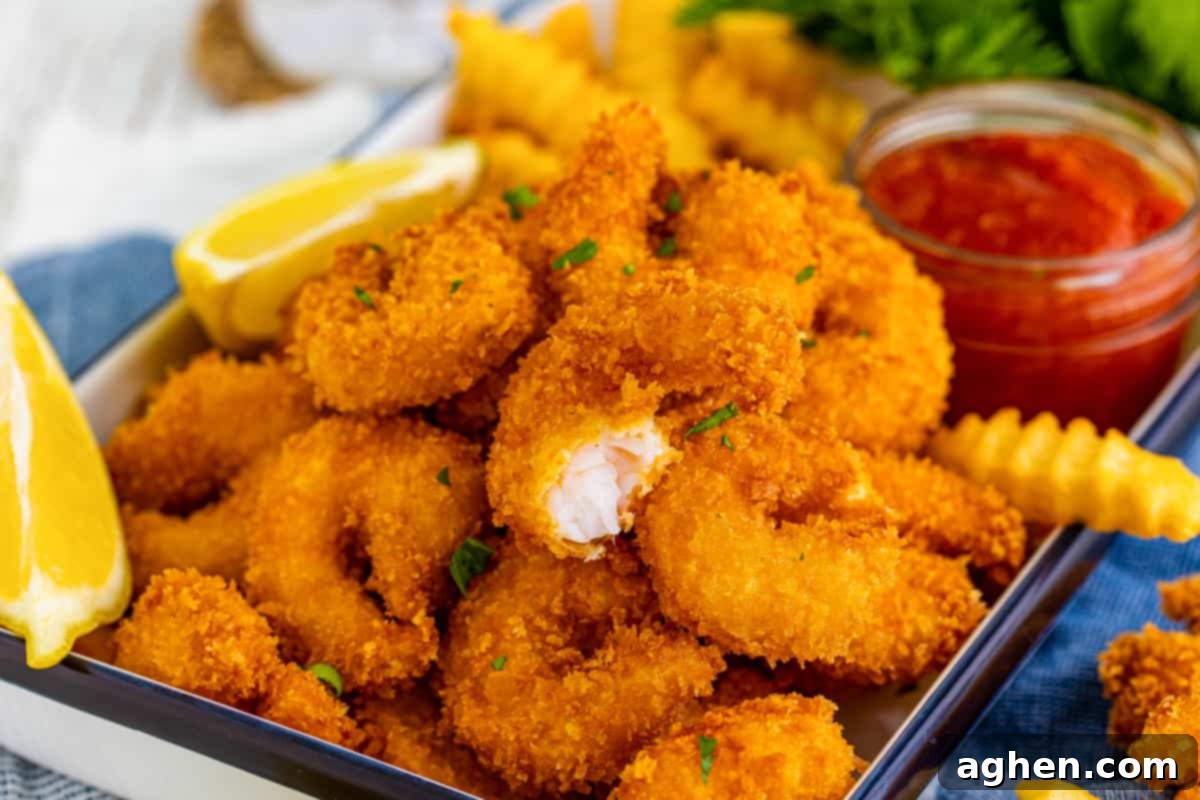
Our secret to that irresistible crunch lies in the **panko breadcrumbs**. Before frying, each shrimp is meticulously seasoned with a blend of garlic powder, onion powder, salt, and pepper, then coated with a thin, even layer of panko. These Japanese-style breadcrumbs are celebrated for their light, airy, and flaky texture, which results in a superior crispiness that regular breadcrumbs simply can’t match. The result? Shrimp that fry up beautifully golden brown, delivering a delightful crunch without feeling overly heavy or oily.
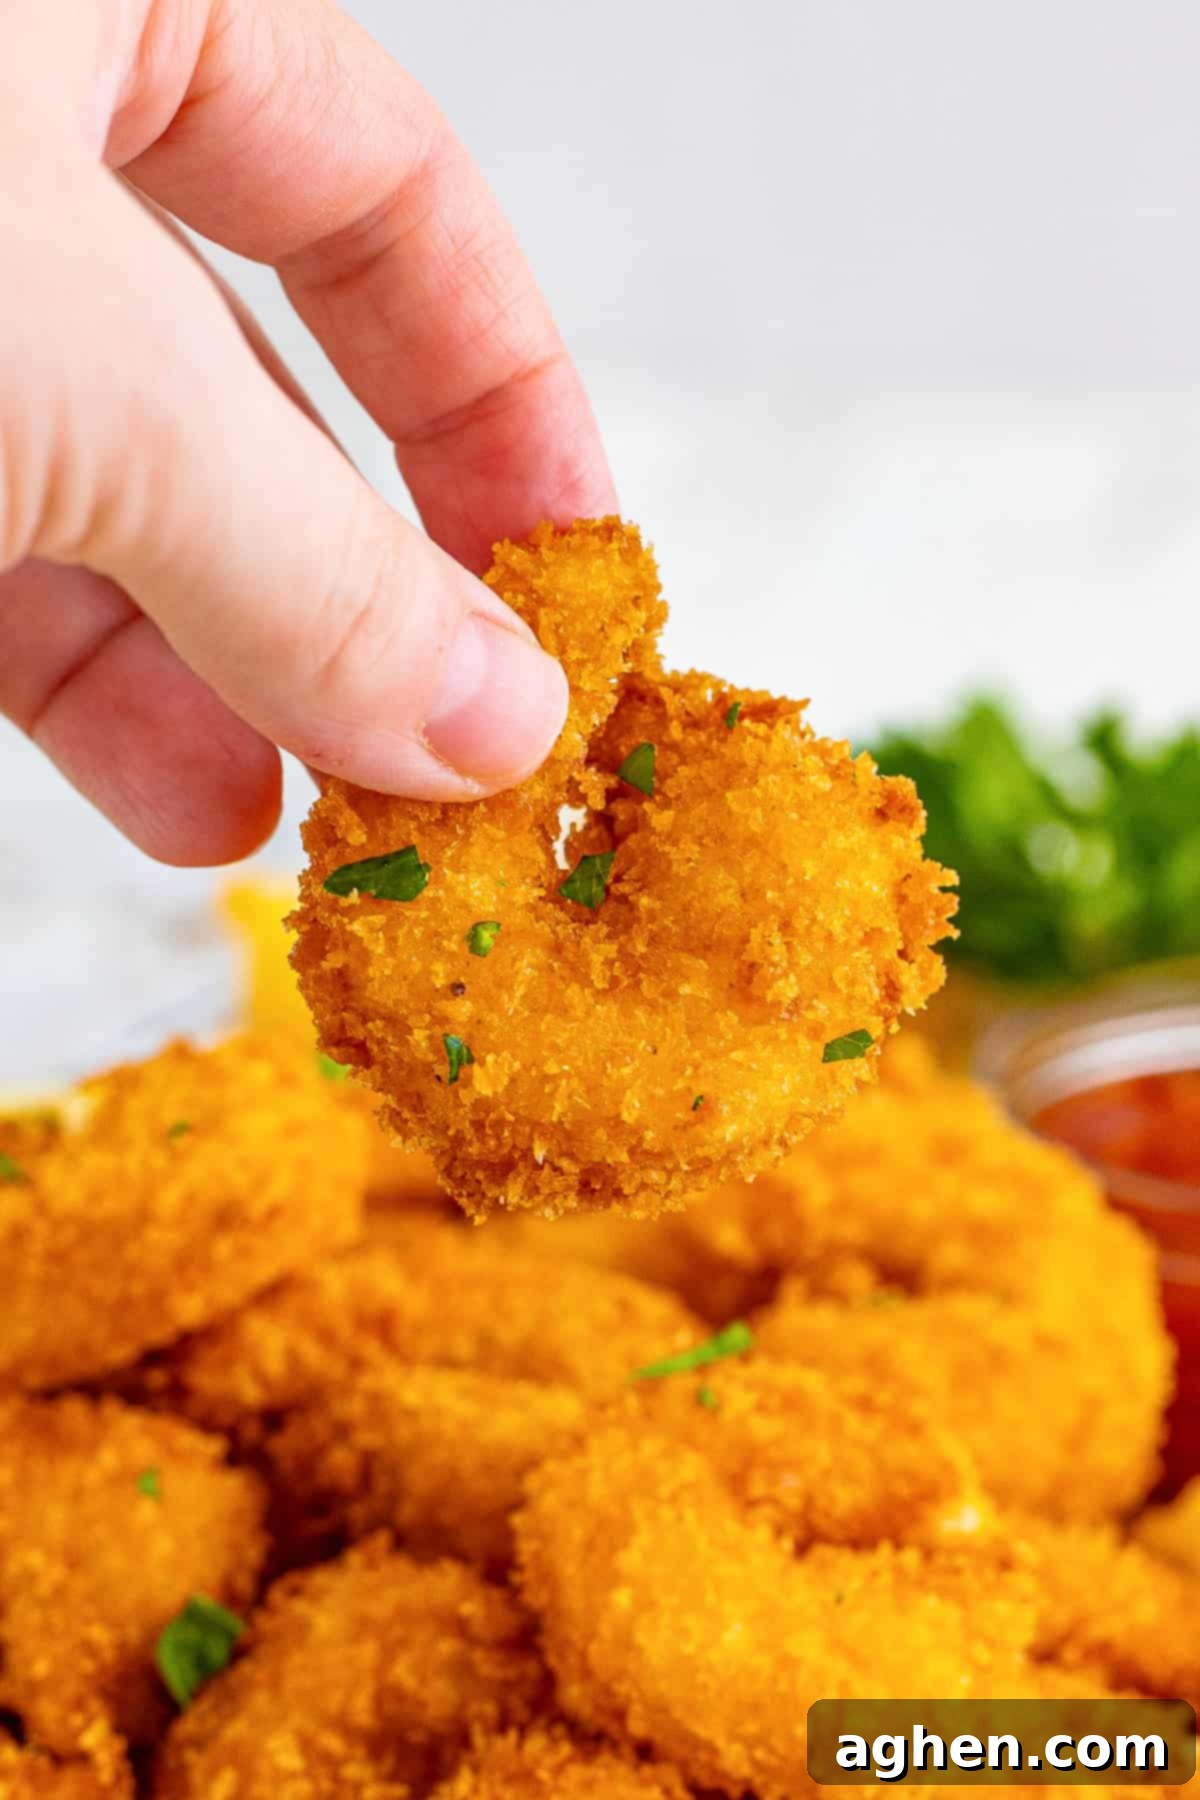
More Than Just an Appetizer: Versatility of Panko Shrimp
While these **fried panko shrimp** are undoubtedly a show-stopping appetizer, don’t feel obligated to save them only for special occasions. This versatile **panko shrimp recipe** is equally fantastic as a main dish. Pair it with your favorite side dishes for a complete and satisfying meal. We’ll share plenty of ideas below to help you create a memorable dinner!
If you’re a true shrimp super-fan, then you’re in the right place! We encourage you to explore more of our delicious shrimp recipes. Once you’ve savored this panko-fried delight, be sure to try our Popcorn Shrimp for another bite-sized treat, our comforting Cheesy Shrimp and Grits, or our incredibly Easy Shrimp Scampi. Each offers a unique way to enjoy this beloved seafood!
Essential Ingredients for Perfect Panko Shrimp
Crafting the best **crispy panko shrimp** starts with selecting quality ingredients. This section provides detailed notes on each ingredient and offers helpful substitution options. Find all precise measurements and instructions in the printable recipe card at the conclusion of this post.
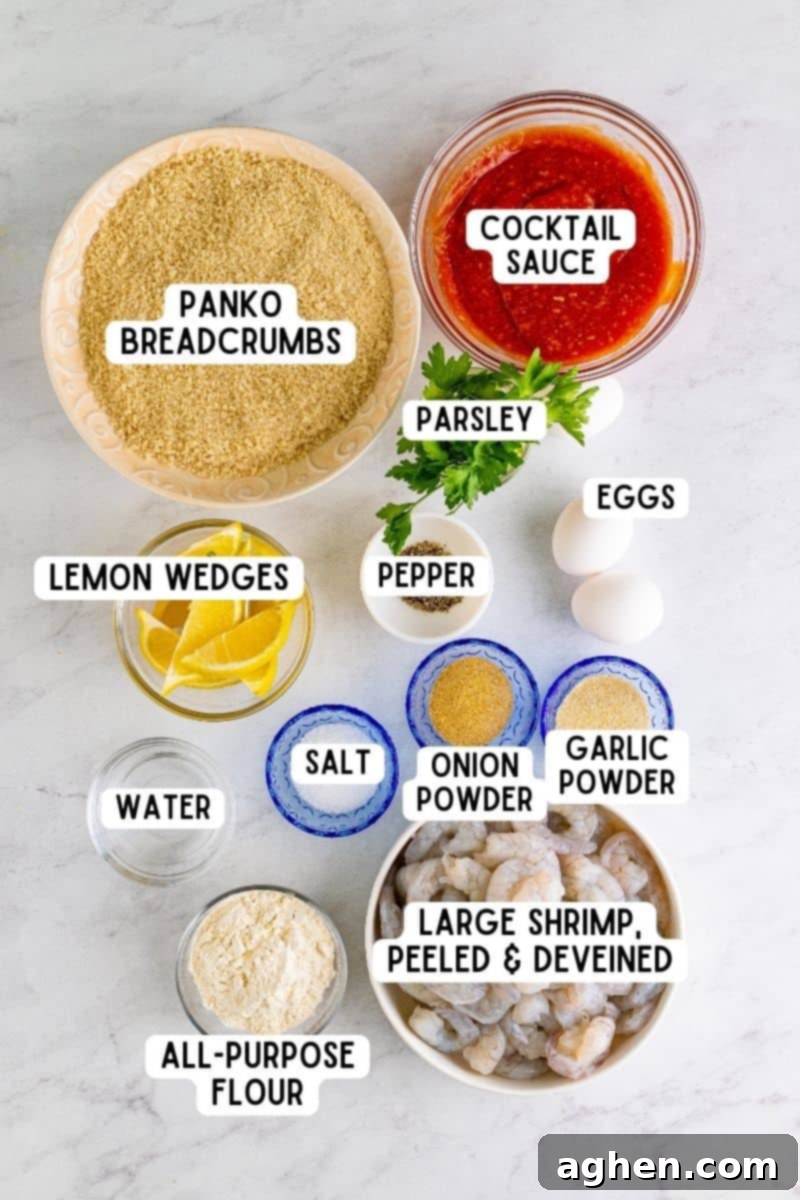
- Peanut Oil — This is our top recommendation for deep frying. Peanut oil boasts a high smoke point (around 450°F or 232°C), meaning it can reach the required frying temperature without burning or imparting off-flavors. Its neutral taste ensures the delicate flavor of the shrimp and seasonings shines through. You can also use other high-smoke point oils like canola or vegetable oil.
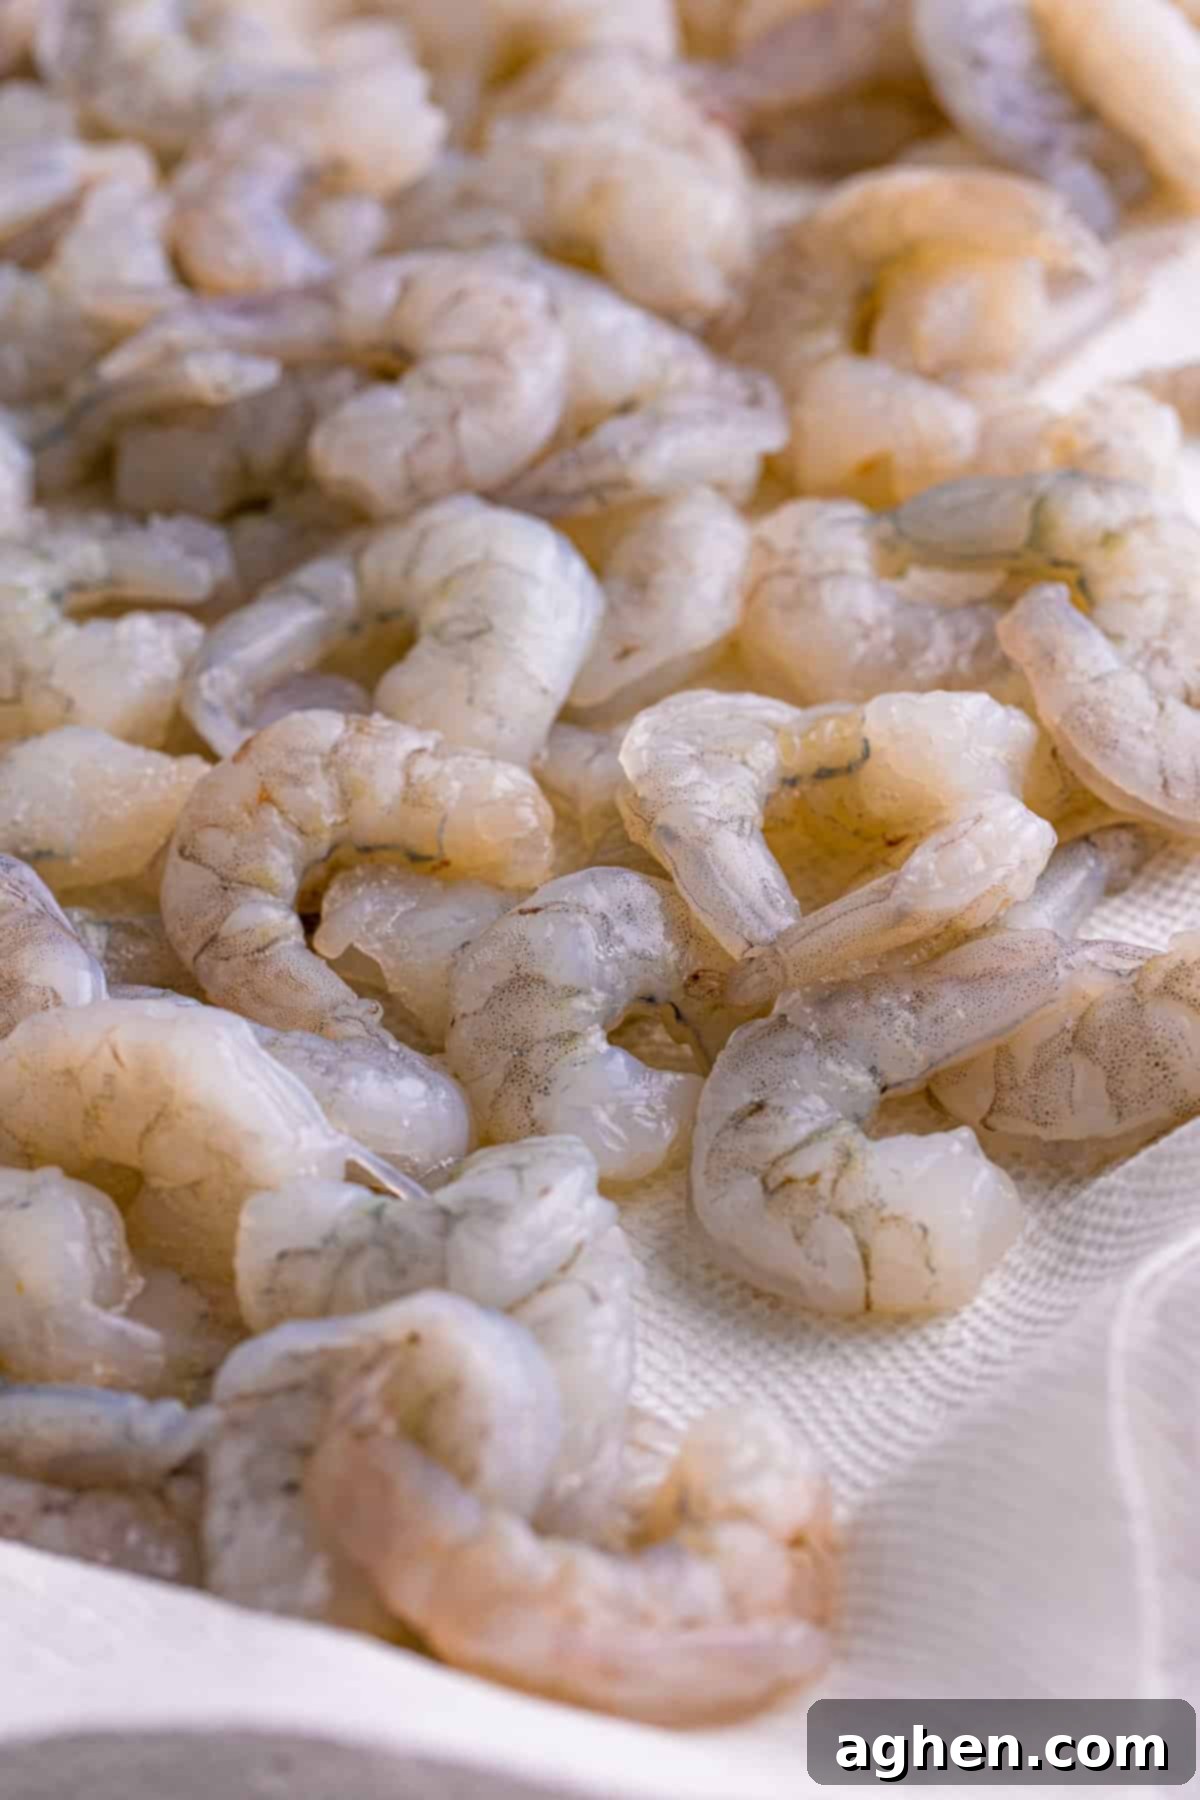
- Shrimp — For the best results, opt for large shrimp, ideally peeled, tail-off, and thoroughly deveined. Tail-on is also an option if you prefer a handle for dipping, but tail-off is easier for eating as an appetizer. Crucially, ensure your shrimp are completely thawed and patted dry before you begin the breading process; excess moisture can lead to a soggy coating and splattering oil.
- All-Purpose Flour — This forms the essential first layer of our breading station. When combined with our chosen seasonings, it creates a base that helps the egg wash and subsequently the panko breadcrumbs adhere perfectly to the shrimp, ensuring an even and crispy coating.
- Seasonings — Our simple yet effective blend includes garlic powder, onion powder, kosher salt, and freshly ground black pepper. These spices infuse the shrimp with savory depth without overpowering its natural sweetness. Feel free to adjust quantities to your taste or explore other seasoning blends mentioned in our variations section.
- Eggs and Water — Whisked together, these create the crucial “egg wash” that acts as the binding agent for the breadcrumbs. The egg provides stickiness, ensuring the panko adheres firmly, while a splash of water helps thin the mixture slightly for a smoother, more even coat.
- Panko Breadcrumbs — The star of our crispy coating! Always use plain panko breadcrumbs for this recipe, as we’re adding our own precise blend of seasonings. Panko’s distinctive large, flaky texture is what gives these shrimp their unparalleled crunch.
- Fresh Parsley — Chopped fresh parsley serves as a beautiful and aromatic garnish. It adds a touch of vibrant color and a fresh, herbaceous note that contrasts wonderfully with the richness of the fried shrimp.
- Lemons — A squeeze of fresh lemon juice over the hot, fried shrimp is a game-changer. The acidity brightens the flavors and cleverly cuts through any residual fried taste, leaving a clean, zesty finish. Lemon wedges are also perfect for serving, allowing guests to add more citrus as desired.
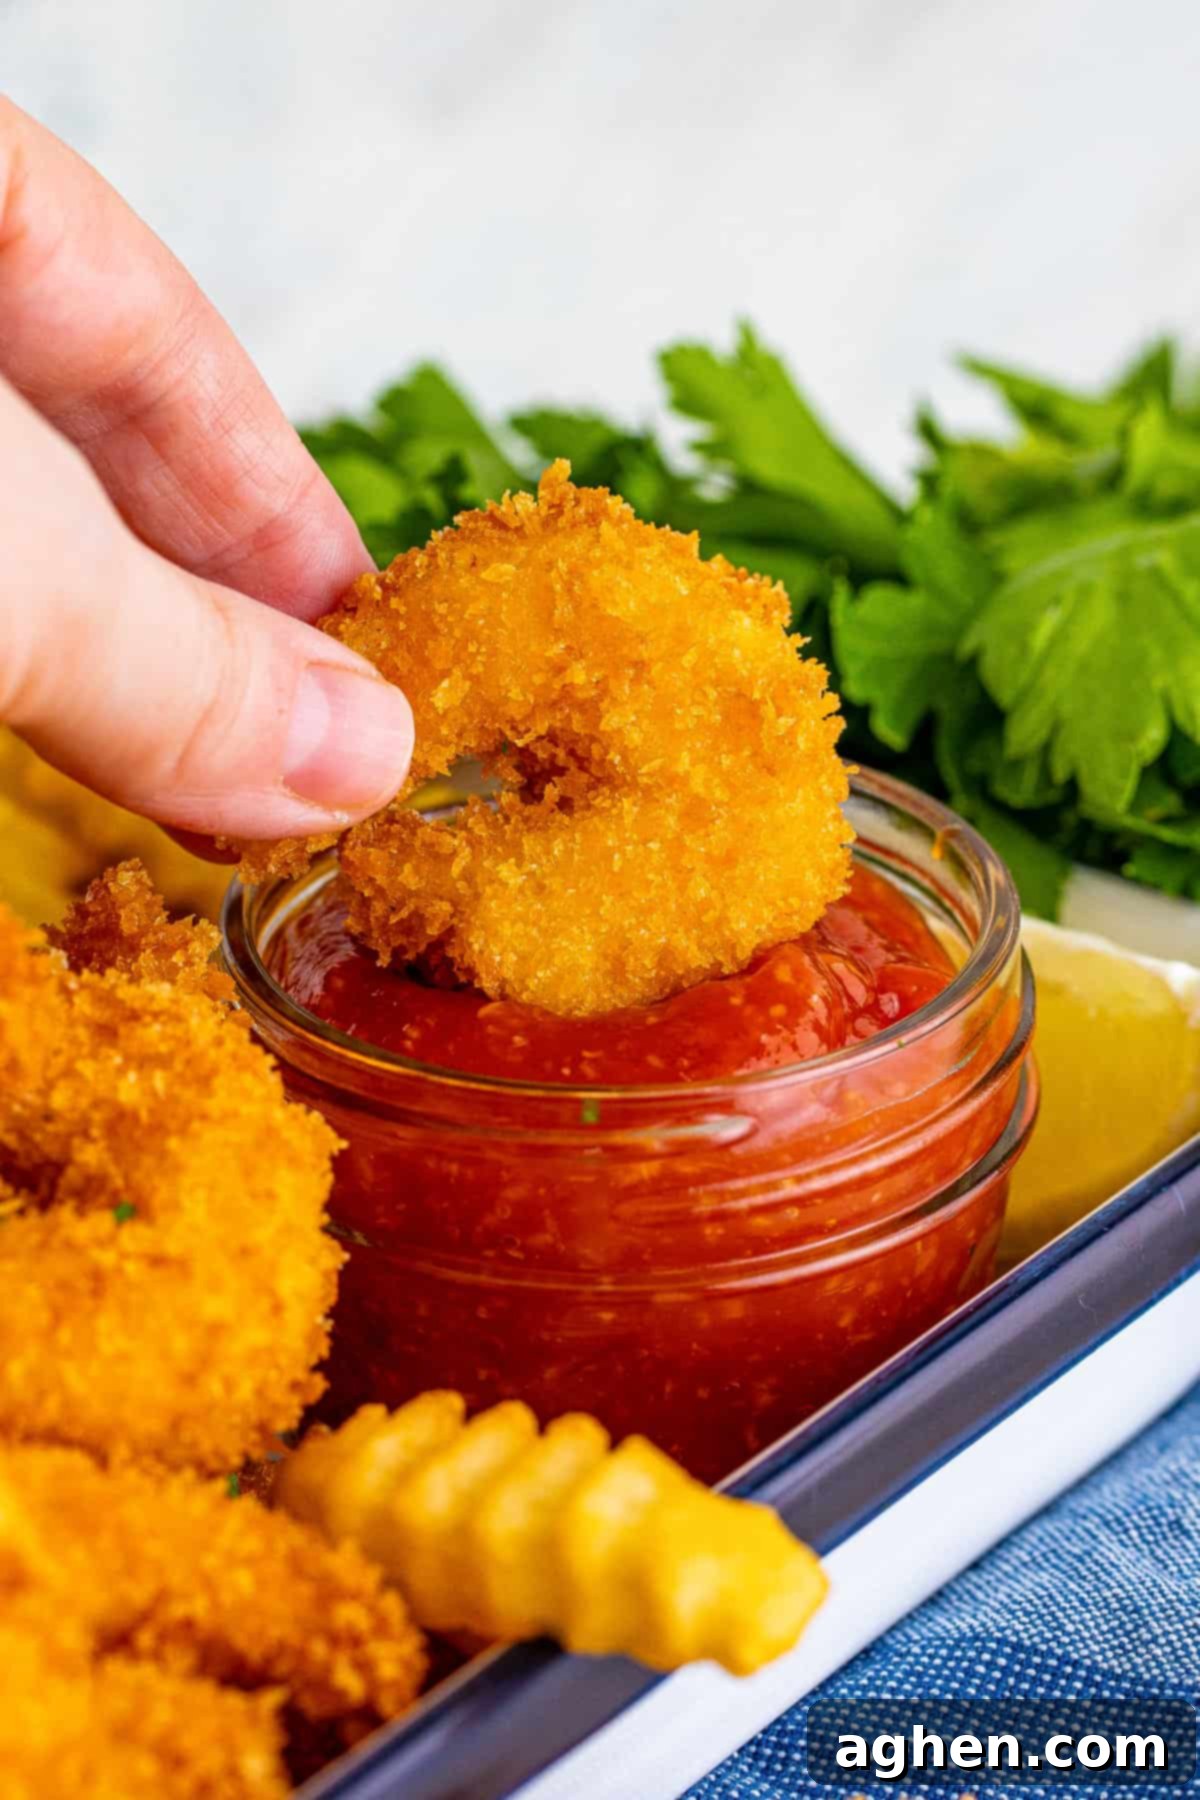
- Cocktail Sauce — The classic accompaniment for fried shrimp! Its tangy, slightly spicy profile perfectly complements the savory, crispy shrimp. Don’t limit yourself, though; we encourage you to use your favorite dipping sauce if cocktail sauce isn’t your preference.
Essential Equipment You’ll Need for Panko Shrimp
Before you dive into the cooking process, it’s a good idea to gather all your kitchen tools. Having everything ready will make the preparation of your **panko fried shrimp** smooth and enjoyable. Here’s what you’ll need:
- Deep fryer or Dutch oven — A deep fryer offers precise temperature control, but a heavy-bottomed Dutch oven works just as well for safe and even frying.
- Meat thermometer — Crucial for monitoring the oil temperature and ensuring the shrimp reach a safe internal temperature of 165°F (74°C) without overcooking.
- Mixing bowls — You’ll need at least three shallow mixing bowls for your breading station.
- Whisk — For thoroughly combining the egg wash.
- Sheet pan — For organizing your breaded shrimp before frying and for resting them afterward.
- Gallon zip-top bags — Ideal for easily coating the shrimp in the seasoned flour mixture.
- Parchment paper — To line your sheet pan, preventing sticking and making cleanup easier.
- Paper towels — Essential for patting shrimp dry and absorbing excess oil after frying.
- Wire rack — Placed over a sheet pan, this allows air to circulate around the fried shrimp, keeping them incredibly crispy as they cool.
How to Make Perfectly Crispy Fried Shrimp With Panko: Step-by-Step Guide
This section provides a detailed, step-by-step guide with accompanying photos to help you successfully make this recipe. For the complete printable recipe, including exact measurements and nutritional information, please refer to the recipe card below.
Step 1: Prepare the Frying Oil. Pour approximately 3 inches of peanut oil (or your chosen high-smoke point oil) into your deep fryer or heavy-bottomed Dutch oven. Begin preheating the oil to a precise 350°F (175°C). Using a meat thermometer to monitor the temperature is key for optimal frying.
Step 2: Prepare the Shrimp. While the oil is heating, take your raw, peeled, and deveined shrimp and thoroughly pat them dry with paper towels. This step is critical; removing excess moisture ensures the flour adheres properly and promotes maximum crispiness during frying, preventing a soggy coating.
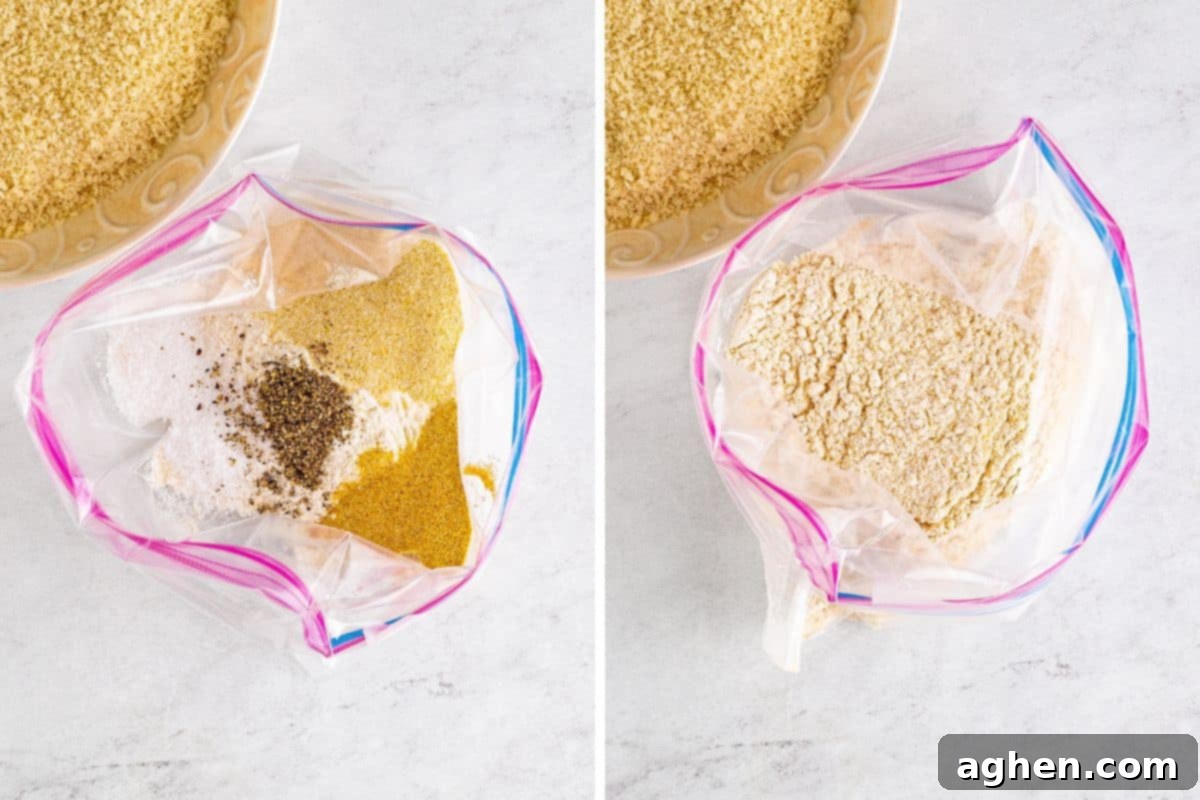
Step 3: Create the Seasoned Flour Mixture. Grab a large gallon-sized zip-top bag. Add the all-purpose flour, garlic powder, onion powder, kosher salt, and black pepper into the bag. Seal the top, allowing some air, and shake vigorously until all the seasonings are thoroughly combined with the flour. This creates our flavorful first layer.
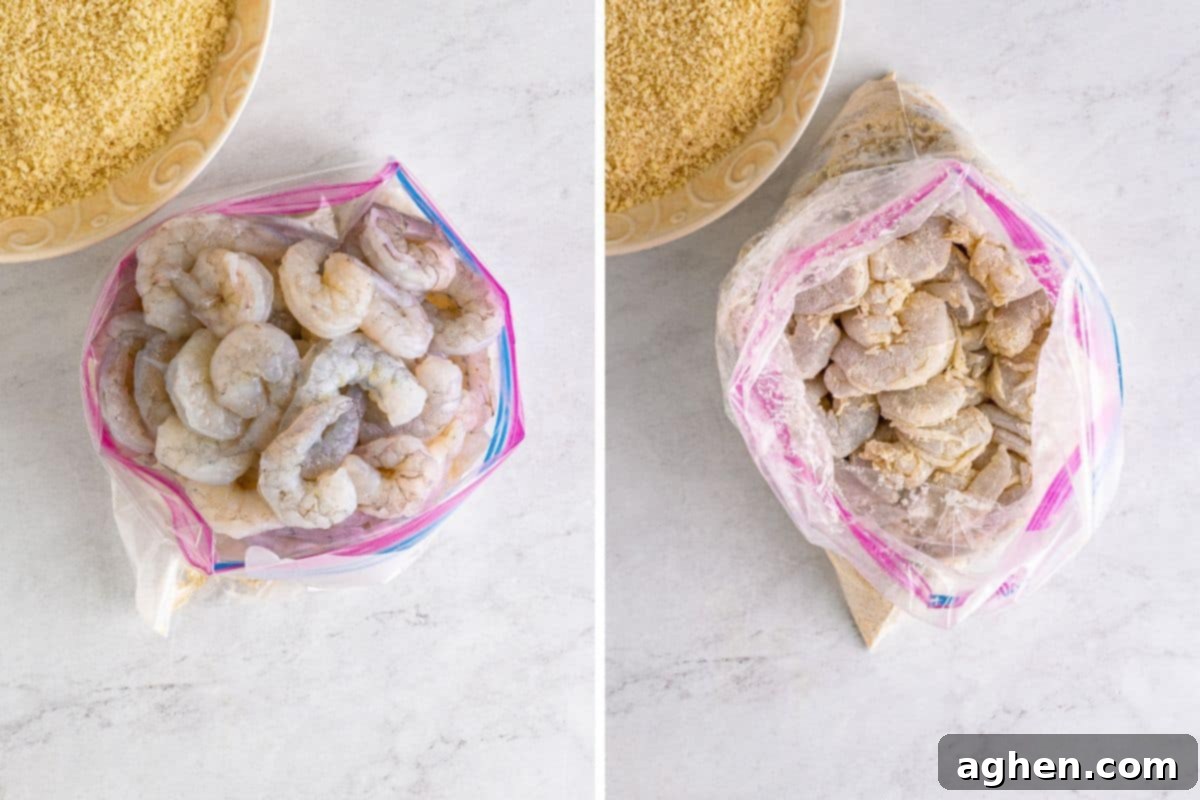
Step 4: Flour the Shrimp. Add the prepared, patted-dry shrimp to the bag containing the seasoned flour. Close the top tightly, ensuring some air remains inside, and shake the bag gently but thoroughly until all the shrimp are evenly coated in the flour mixture. Set the bag aside for a moment.
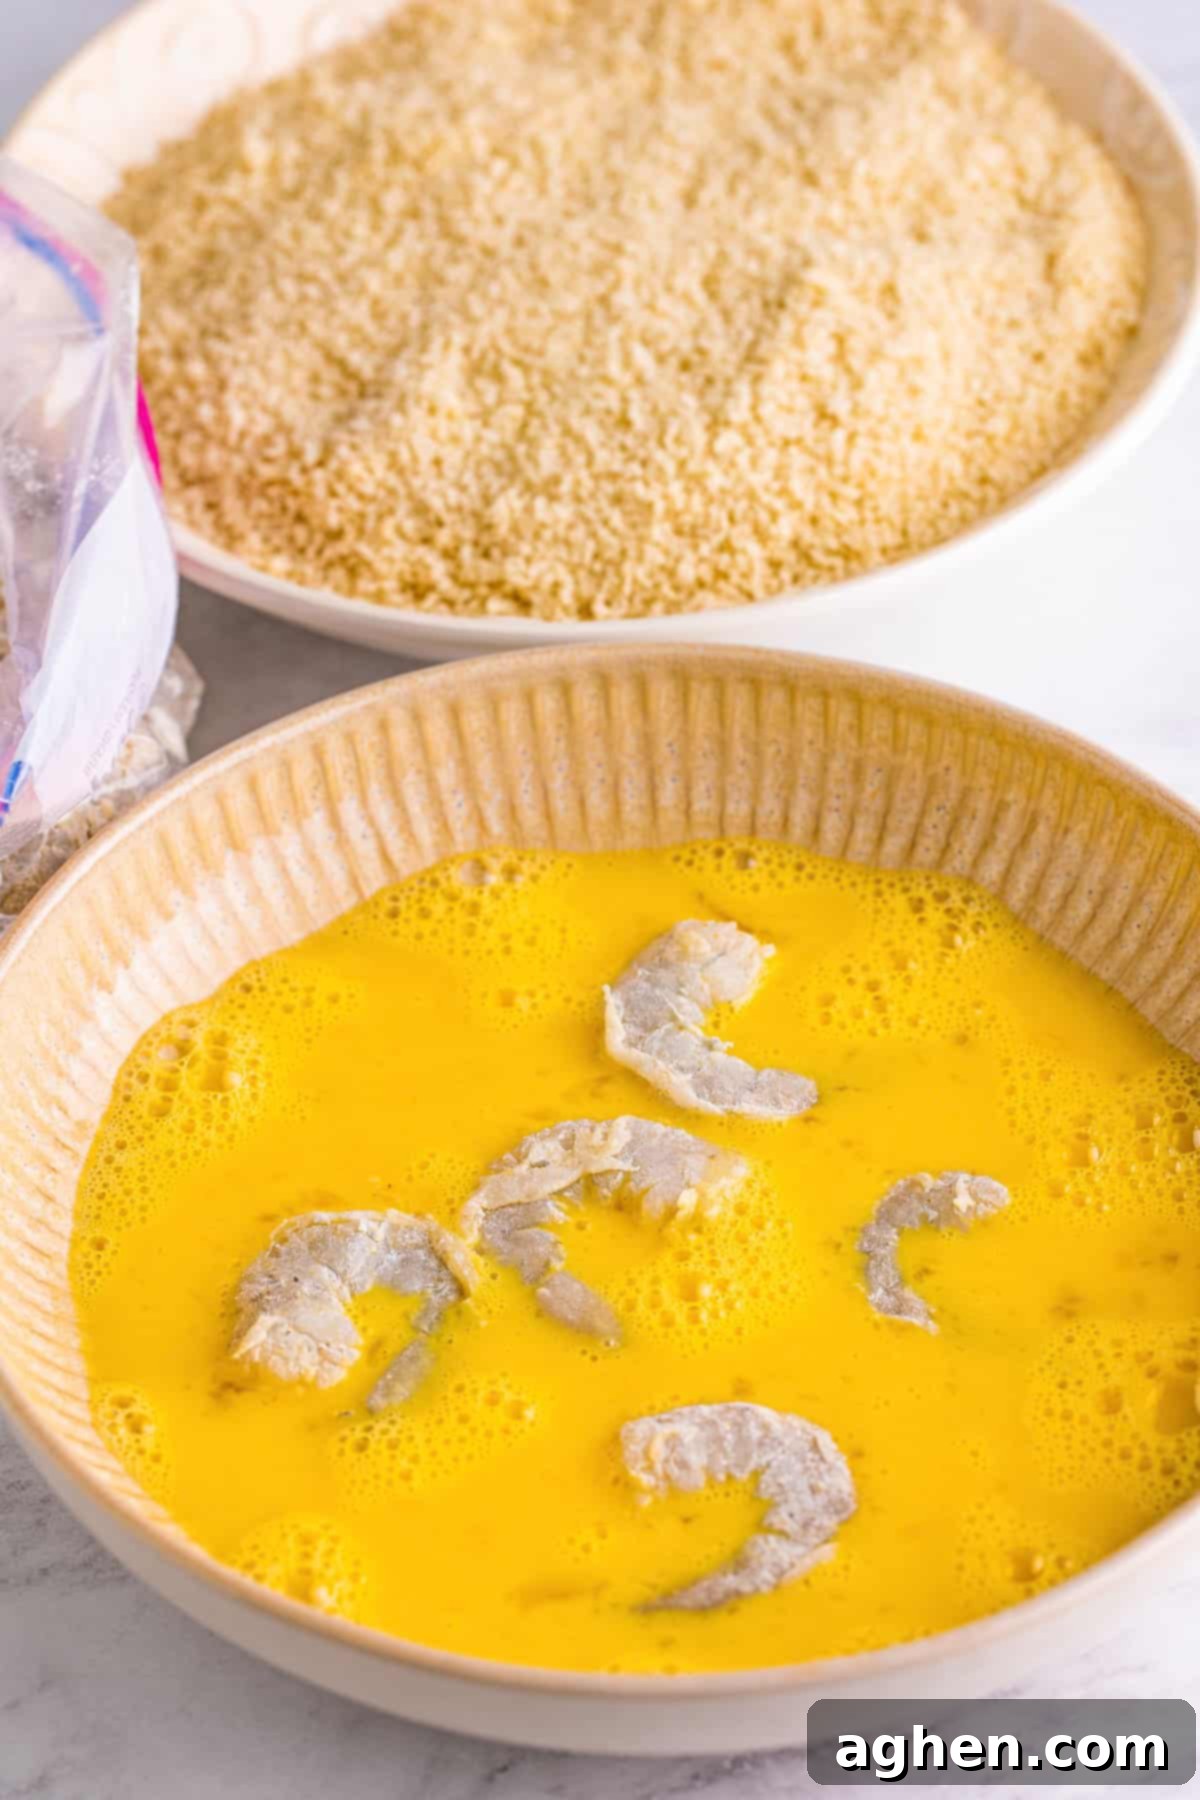
Step 5: Prepare the Egg Wash. In a shallow bowl, whisk together the eggs and a splash of water until the mixture is well combined and slightly frothy. This egg wash is essential for creating a sticky surface for the panko to adhere to.
Step 6: Prepare the Panko. Pour the plain panko breadcrumbs into another shallow dish. This will be the final coating for your shrimp.
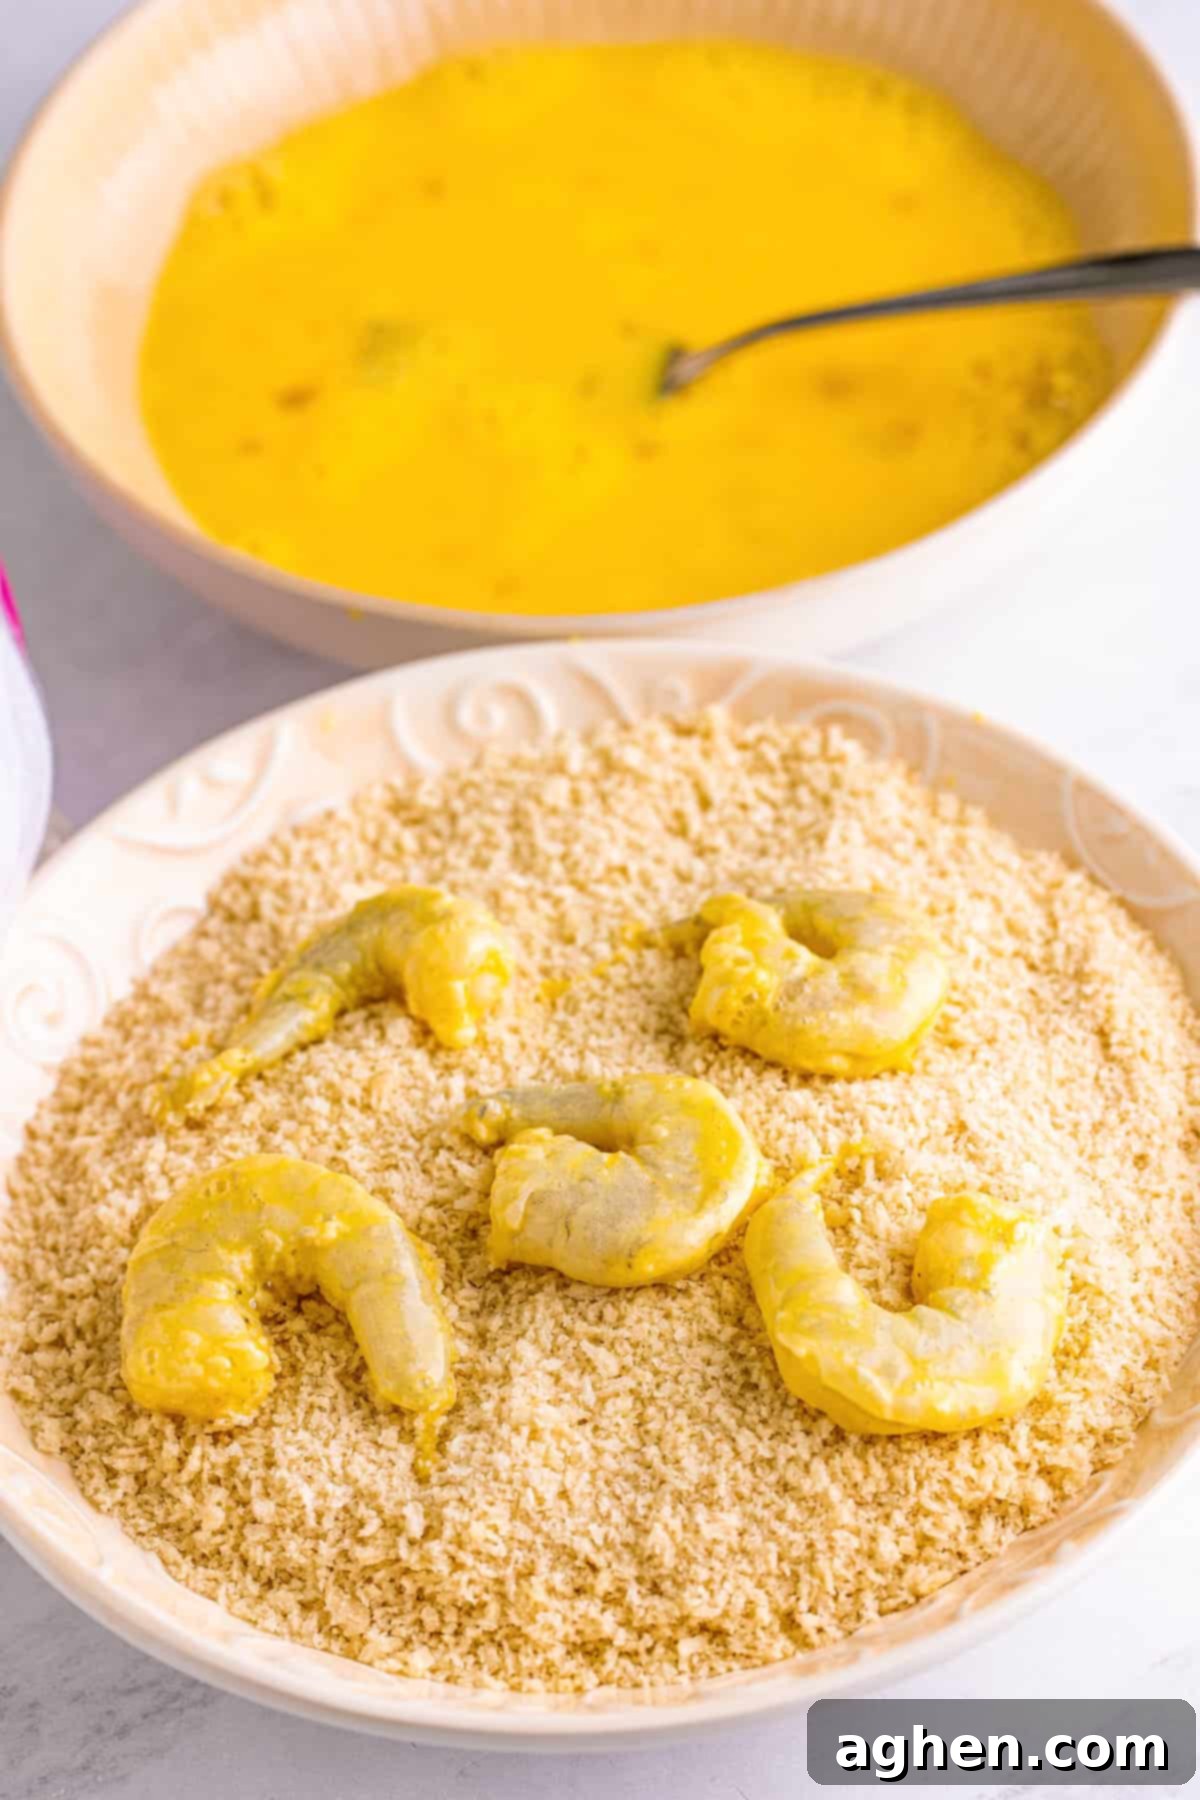
Step 7: Egg Dip the Shrimp. Take a few shrimp at a time from the flour bag, gently shaking off any excess flour. Place them into the whisked egg mixture, turning them carefully until they are fully coated. Ensure an even layer of egg wash on each shrimp.
Step 8: Panko Coat the Shrimp. After dipping in the egg wash, allow any excess liquid to drip off briefly. Then, transfer the egg-coated shrimp directly into the panko breadcrumbs. Gently press the shrimp into the panko, turning them as needed, to ensure they are completely and generously coated on all sides. The more panko, the crispier the result!
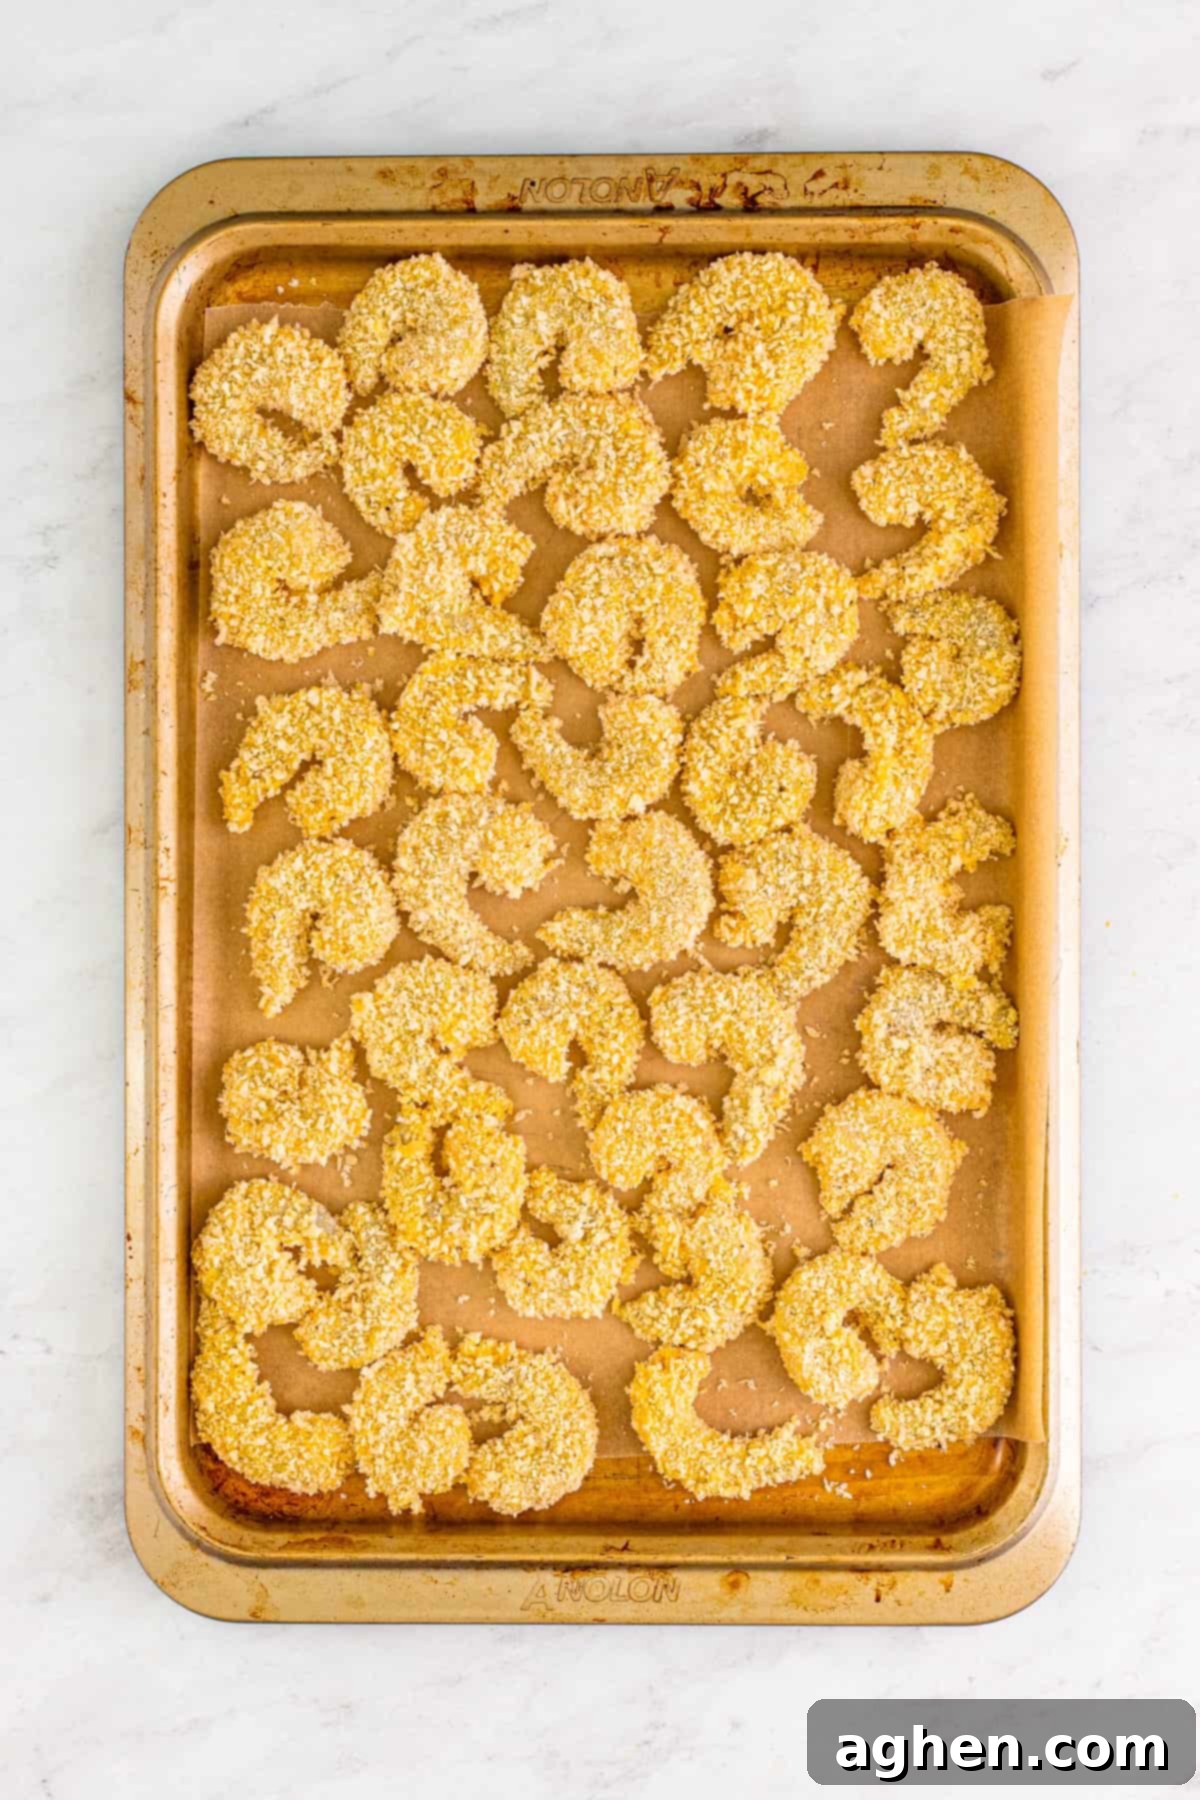
Step 9: Prepare for Frying. Line a clean sheet pan with parchment paper. As you finish breading each shrimp, carefully place it on the prepared sheet pan, ensuring they don’t touch each other. Repeat this breading process with all the remaining shrimp.
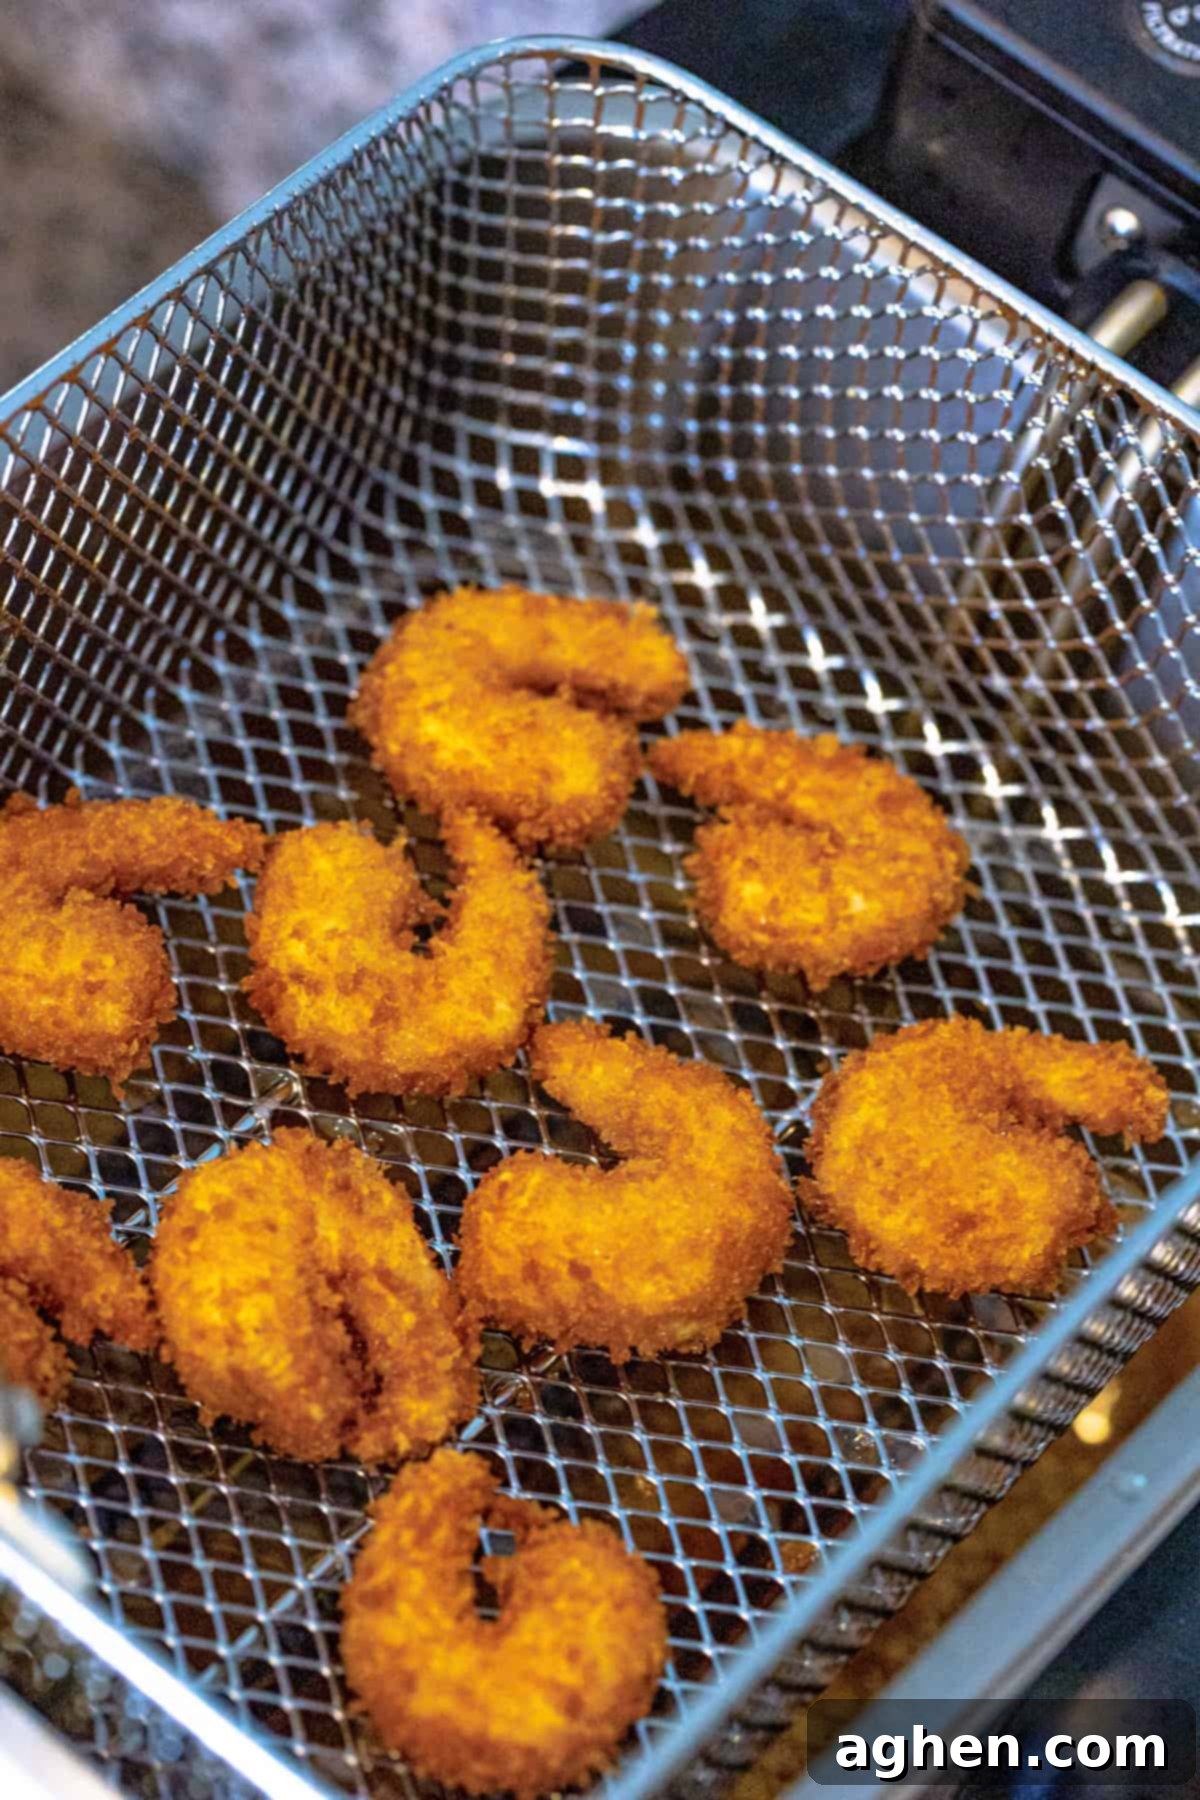
Step 10: Fry the Shrimp. Once your oil has reached the target temperature of 350°F (175°C), carefully add the breaded shrimp to the hot oil in small batches. It’s crucial not to overcrowd the pan, as this will lower the oil temperature and result in soggy shrimp. Cook the shrimp for approximately 2 to 3 minutes, or until they achieve a beautiful golden-brown color and are wonderfully crispy. Use your meat thermometer to confirm an internal temperature of 165°F (74°C) to ensure they are fully cooked.
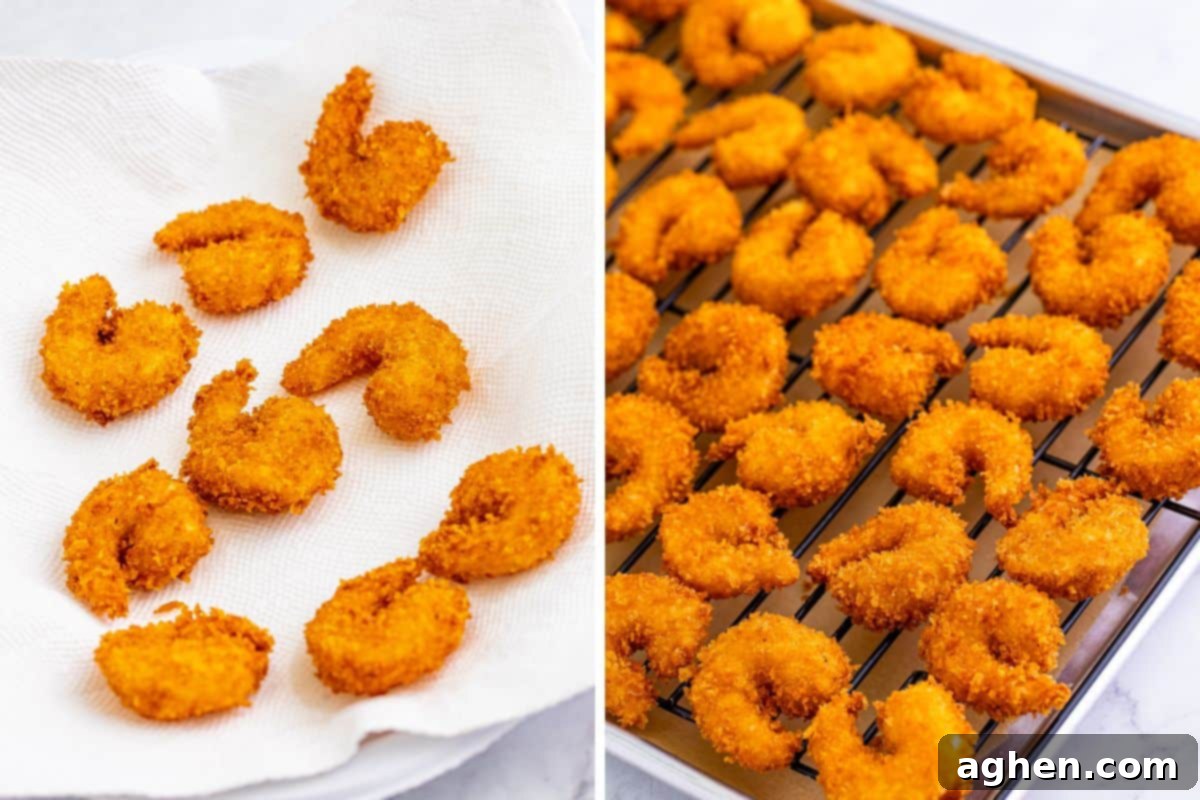
Step 11: Drain and Keep Crispy. As each batch of shrimp finishes frying, carefully remove them from the oil using a slotted spoon or spider. Place them immediately onto a plate lined with paper towels to absorb any excess oil. After a brief moment, transfer the shrimp to a wire rack that has been placed over a clean baking sheet. The wire rack allows for continuous air circulation around the shrimp, preventing them from steaming and ensuring they remain incredibly crispy until serving.
Step 12: Serve and Enjoy. Repeat steps 10 and 11 with the remaining breaded shrimp until all are cooked to golden perfection. Serve your hot, crispy **panko breaded shrimp** immediately, garnished generously with fresh chopped parsley and a side of bright lemon wedges. Don’t forget the classic cocktail sauce, or any of your favorite dipping sauces, for an ultimate culinary experience!
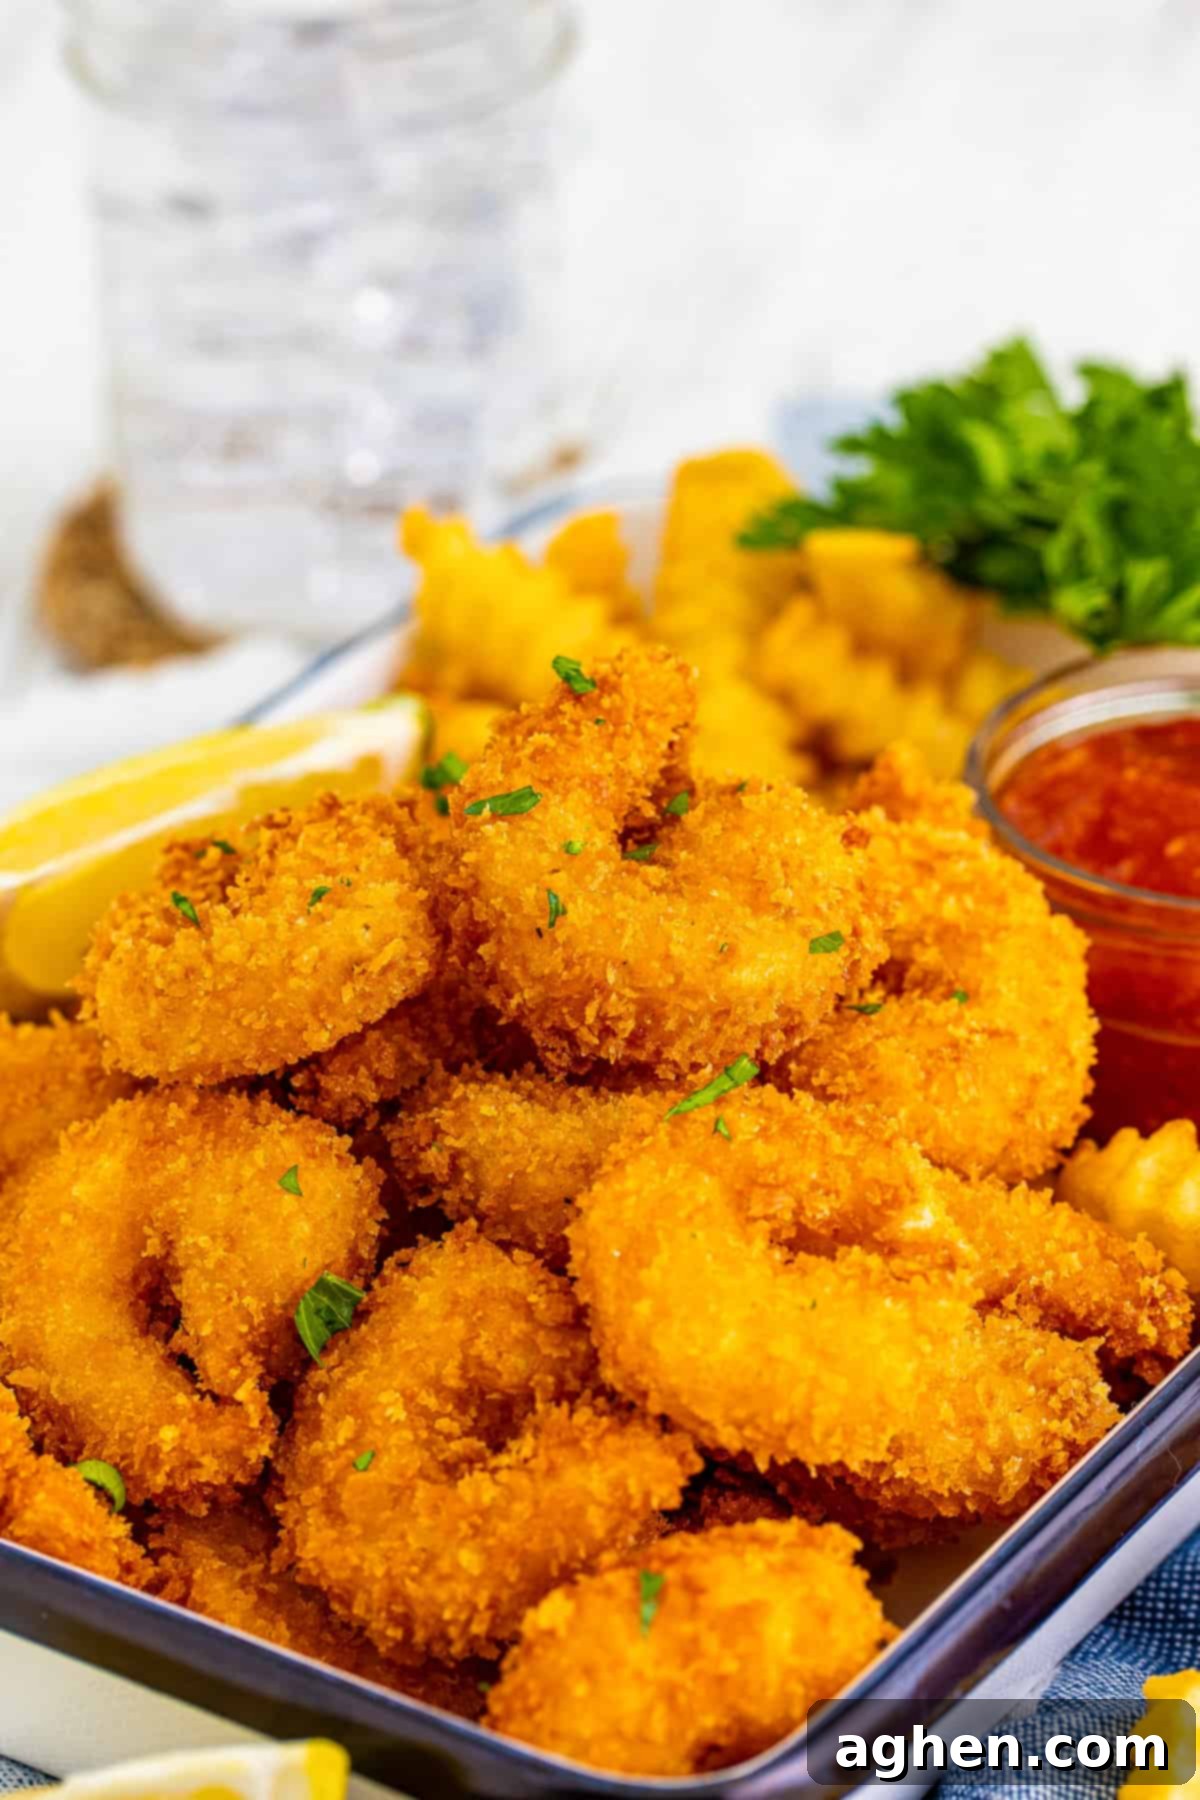
What to Serve With Crispy Panko Shrimp
Looking for the perfect accompaniments to complete your meal? Whether you’re serving your **crispy panko shrimp** as an appetizer or a main course, we have a range of delicious side dish options that will complement their flavorful crunch beautifully!
- Creamy Coleslaw: A refreshing, tangy coleslaw offers a perfect contrast to the rich fried shrimp.
- Pan Seared Asparagus: Lightly seared asparagus adds a healthy, vibrant green vegetable with a delicate crunch.
- Creamed Spinach: For a more indulgent side, creamy spinach offers a rich, comforting pairing.
- Creamed Corn: Sweet and creamy, this is a delightful and comforting complement to seafood.
- Stovetop Mac and Cheese: A classic comfort food, mac and cheese is always a hit and provides a satisfying counterpoint to the shrimp.
- Roasted Potatoes (made in the air fryer): Crispy on the outside, fluffy on the inside, these potatoes are an excellent carb option.
Beyond these specific suggestions, simple sides like classic french fries, fluffy white rice, or a crisp green salad with a light vinaigrette also work wonderfully, providing easy and satisfying options that let the **panko fried shrimp** shine.
Storage and Freezing Instructions for Panko Shrimp
To ensure your **panko fried shrimp** remain delicious for future enjoyment, proper storage is key. Here’s how to keep them fresh:
Refrigeration: Store any leftover panko fried shrimp in an airtight container in the refrigerator for up to 3 days. They can be enjoyed cold, but for the best experience, we highly recommend reheating them to restore their crispiness. To reheat, place them in an air fryer at 350°F (175°C) for 3-5 minutes, or in a hot oven at 375°F (190°C) for about 8-12 minutes, until they are warmed through and crispy again. We do not recommend reheating in the microwave, as this can make the breading soggy and cause the shrimp to become rubbery.
Freezing: For longer storage, panko shrimp can be frozen for up to 3 months. Arrange the completely cooled fried shrimp in a single layer on a baking sheet and freeze until solid (this prevents them from sticking together). Once frozen, transfer them to an airtight freezer-safe container or a heavy-duty zip-top bag. When ready to enjoy, you can reheat them directly from frozen in an air fryer or oven (adjusting cooking time slightly) for a quick and easy meal.
Expert Recipe Tips and Tricks for the Best Panko Shrimp
Achieving perfectly **crispy fried panko shrimp** is easier than you think with these expert tips:
- Adjust for Shrimp Size: If you opt for smaller shrimp, you’ll naturally have more individual pieces to bread. In this case, consider adding an extra egg to your egg wash and increasing the amount of panko breadcrumbs to ensure you have enough coating for every delicious bite.
- Choose the Right Oil Wisely: The type of oil you use is paramount for successful deep frying. Always select a neutral-flavored oil with a high smoke point to prevent your kitchen from filling with smoke and to ensure the shrimp fry evenly to a golden crisp without imparting unwanted flavors. Peanut oil is ideal, but canola oil or avocado oil are excellent alternatives. Absolutely avoid olive oil for deep frying, as its low smoke point and strong flavor are unsuitable for this recipe.
- Don’t Skip the Lemon Squeeze: A simple squeeze of fresh lemon juice over the hot, fried shrimp can make a world of difference. The bright acidity not only enhances the natural sweetness of the shrimp but also wonderfully cuts through the richness of the fried coating, creating a balanced and incredibly fresh flavor profile.
- Avoid Crowding the Fryer: This is a golden rule for all deep frying. When you add too many shrimp to the oil at once, the oil temperature drops significantly. This leads to shrimp that absorb too much oil, becoming greasy and soggy instead of delightfully crispy. Fry in small batches to maintain optimal oil temperature and ensure consistent results.
- Ensure Even Breading: Take your time during the breading process. Make sure each shrimp is fully coated in the flour mixture, then the egg wash, and finally generously pressed into the panko breadcrumbs. A thorough coating is the foundation of that satisfying crunch.
- Monitor Oil Temperature: Use a kitchen thermometer to keep your oil at a consistent 350°F (175°C). If the oil is too cold, shrimp will be greasy; if too hot, they will burn on the outside before cooking through.
Delicious Additions and Creative Variations
While our classic **panko shrimp recipe** is fantastic as is, don’t hesitate to get creative with these delicious additions and variations:
Experiment with Different Seasonings. The beauty of this recipe is its adaptability. Instead of the garlic and onion powder blend, feel free to swap in your favorite seasoning mixes. Popular choices include:
- **Old Bay Seasoning:** A classic choice for seafood, offering a distinct blend of herbs and spices.
- **Creole Seasoning:** For a spicier, more robust kick, perfect if you love a bit of heat.
- **Lemon Pepper Seasoning:** Enhances the citrus notes and adds a zesty, peppery flavor.
- **Blackening Seasoning:** Offers a deeper, smoky flavor profile.
**Important Note:** If using a pre-made seasoning blend, always check its sodium content. Many blends are quite salty, so you may need to eliminate or significantly reduce the kosher salt specified in our recipe to avoid over-salting.
Try Seasoned Panko Breadcrumbs. For an extra layer of flavor with minimal effort, you can find pre-seasoned panko breadcrumbs at most grocery stores. These often include Italian herbs or garlic. If you go this route, be mindful of the added salt and other seasonings in the panko and adjust the amount of salt and other spices in the flour mixture accordingly to maintain a balanced taste.
Serve with a Variety of Dipping Sauces. While classic cocktail sauce is undeniably delicious with shrimp, don’t be afraid to broaden your horizons! Offer a selection of dipping sauces to cater to different tastes:
- **Tartar Sauce:** Another traditional favorite, offering a creamy, tangy complement.
- **Homemade Ginger Orange Dipping Sauce:** A sweet and savory option with an Asian-inspired flair.
- **Honey Mustard:** Provides a delightful balance of sweet and tangy.
- **Spicy Mayonnaise or Sriracha Aioli:** For those who enjoy a little heat.
- **Garlic Aioli:** A rich, garlicky, and creamy choice.
- **Sweet Chili Sauce:** A popular, vibrant, and slightly spicy option.
Having multiple options makes your **panko shrimp** platter even more exciting!
Make it Gluten-Free. This recipe is easily adaptable for those with gluten sensitivities. Simply substitute the all-purpose flour with a gluten-free all-purpose flour blend (ensure it contains xanthan gum for best results), and use gluten-free panko breadcrumbs, which are widely available in most health food sections or specialty stores.
Panko Shrimp Recipe FAQ
Panko shrimp are incredibly versatile! As an appetizer, serve them with a variety of dipping sauces like classic cocktail sauce, spicy mayo, or a tangy tartar sauce. For a complete meal, pair them with classic sides such as crispy french fries, fluffy rice, a fresh green salad, roasted vegetables (like asparagus or corn), or even a comforting mac and cheese. The key is to balance the rich, crispy shrimp with something fresh or contrasting in texture.
While cocktail sauce is the traditional and most popular choice, don’t be afraid to get creative! Other fantastic options include: spicy mayonnaise (sriracha aioli), sweet chili sauce, tangy tartar sauce, creamy garlic aioli, a zesty lemon-dill sauce, or even a homemade ginger-soy dipping sauce for an Asian-inspired twist. Honey mustard also provides a delightful sweet and savory balance that complements shrimp beautifully.
Absolutely! Air frying is a fantastic and healthier alternative to deep frying, significantly reducing calories and fat while still delivering a wonderful crisp. To air fry panko shrimp, preheat your air fryer to 400°F (200°C). Lightly spray the air fryer basket with cooking spray to prevent sticking. Place the breaded shrimp in a single layer in the basket, ensuring they don’t overlap. Cook for about 8 minutes, flipping the shrimp halfway through to ensure even browning. Always use a meat thermometer to check that the internal temperature reaches 165°F (74°C) and the exterior is golden and crispy. If needed, cook for an additional 2-3 minutes and recheck.
Yes, panko crumbs are distinctly different from regular breadcrumbs, and this difference is key to their superior crispiness. Panko is a type of Japanese breadcrumb made from crustless white bread that is processed into large, airy, and flaky shards. Regular breadcrumbs, in contrast, are typically made from various types of dried bread and are ground into a finer, denser texture. The larger surface area and porous nature of panko allow it to absorb less oil during frying, resulting in a lighter, crunchier, and less greasy coating that stays crispy for longer. This unique texture makes panko the preferred choice for truly crispy fried foods like these shrimp.
Patting the shrimp thoroughly dry with paper towels is a crucial step for two main reasons. First, excess moisture on the shrimp will prevent the flour from adhering properly, leading to an uneven and patchy coating. Second, moisture creates steam when it hits hot oil, which can make your breading soggy instead of crispy, and can also cause the oil to splatter dangerously. A dry surface ensures all layers of the breading stick well, resulting in a perfectly crispy and golden finish.
More Scrumptious Seafood Recipes to Explore
If you’re a seafood enthusiast, you’ll love these other fantastic recipes from our collection. Dive in and discover new favorites!
- Sheet Pan Shrimp Fajitas – An incredibly easy and flavorful weeknight meal, this recipe combines tender shrimp with vibrant peppers and onions, all cooked on one sheet pan. It’s perfect if you adore Mexican food and seafood!
- Instant Pot Shrimp Scampi – A brilliant excuse to pull out your Instant Pot! This recipe delivers comforting, garlicky shrimp scampi over pasta in a fraction of the time, making it ideal for busy evenings.
- Instant Pot Tuna Casserole – Another quick and satisfying Instant Pot creation, this classic tuna casserole is a family-friendly favorite, perfect for meat-free Mondays or during Lent.
- Sheet Pan Salmon – Experience incredibly flavorful and tender salmon baked with colorful red onions and bell peppers, all on a single sheet pan for easy cleanup. Truly *Chef’s kiss*!
- Tuna Noodle Casserole – Revisit this beloved classic, a budget-friendly and hearty meal made with pantry staples like canned tuna and egg noodles.
Panko Fried Shrimp
Author: Jaclyn
Ingredients
- 2 pounds large shrimp peeled and deveined
- peanut oil for frying
- 1/2 cup all-purpose flour
- 1 Tablespoon garlic powder
- 1 Tablespoon onion powder
- 2 teaspoons kosher salt
- 1/2 teaspoon black pepper
- 3 large eggs
- splash of water
- 3 cups plain panko breadcrumbs
- fresh chopped parsley for garnish
- lemon wedges to serve
- cocktail sauce to serve
Instructions
-
Preheat 3 inches of peanut oil in a deep fryer or Dutch oven to 350°F.
-
Prep the shrimp while the oil is heating. Pat the shrimp dry with paper towels.
-
Add the flour, garlic powder, onion powder, salt, and pepper to a gallon-sized zip-top bag. Toss to combine the ingredients.
-
Add the shrimp to the bag. Zip the top and shake the bag to coat the shrimp in the flour mixture. Set aside.
-
Whisk the eggs and water in a shallow bowl until combined.
-
Add the breadcrumbs to another shallow bowl.
-
Place shrimp a few at a time into the egg wash, moving them around so they are coated.
-
Let the excess egg wash drop off, and then place the shrimp in the panko, covering them with breadcrumbs. Gently press them in so they stick.
-
Line a sheet tray with parchment paper. Place the breaded shrimp the tray.
-
When the oil is hot, add shrimp in small batches. Do not crowd the pan. Cook the shrimp for 2 to 3 minutes, until golden brown and the internal temperature reaches 165°F.
-
Place the shrimp onto a plate lined with paper towels to absorb the excess oil. Then, transfer the shrimp to a wire rack set on top of a sheet pan to catch any drips. This will keep the shrimp crispy.
-
Repeat steps 7 through 11 with the remaining shrimp. Garnish with fresh chopped parsley, lemon wedges, and cocktail sauce.
Notes
- Substitute your favorite seasoning blend for the ones in this recipe, if you prefer. Old Bay, lemon pepper, or Creole seasoning are all great choices. If using bottled seasoning mixes, skip the salt in this recipe.
- Squeeze a little fresh lemon juice over the shrimp to cut through the fried flavor and brighten them up.
- Serve with your favorite dipping sauce. Cocktail sauce is one of our favorites.
- Store in the fridge for up to 3 days. Enjoy them cold or reheat them in the fryer or oven.
- Freeze for up to 3 months.
Nutrition

Did You Make This Recipe?
Share it with me on Instagram @crayonsandcravings and follow on Pinterest @crayonsandcravings for even more!
Pin Recipe
Leave A Review
We hope this comprehensive guide has inspired you to create your own batch of utterly delicious **crispy panko shrimp**. Whether you serve them as an impressive appetizer or a satisfying main course, their irresistible crunch and savory flavor are sure to be a hit. Don’t forget to experiment with different sauces and sides to truly make this recipe your own. Happy cooking!
