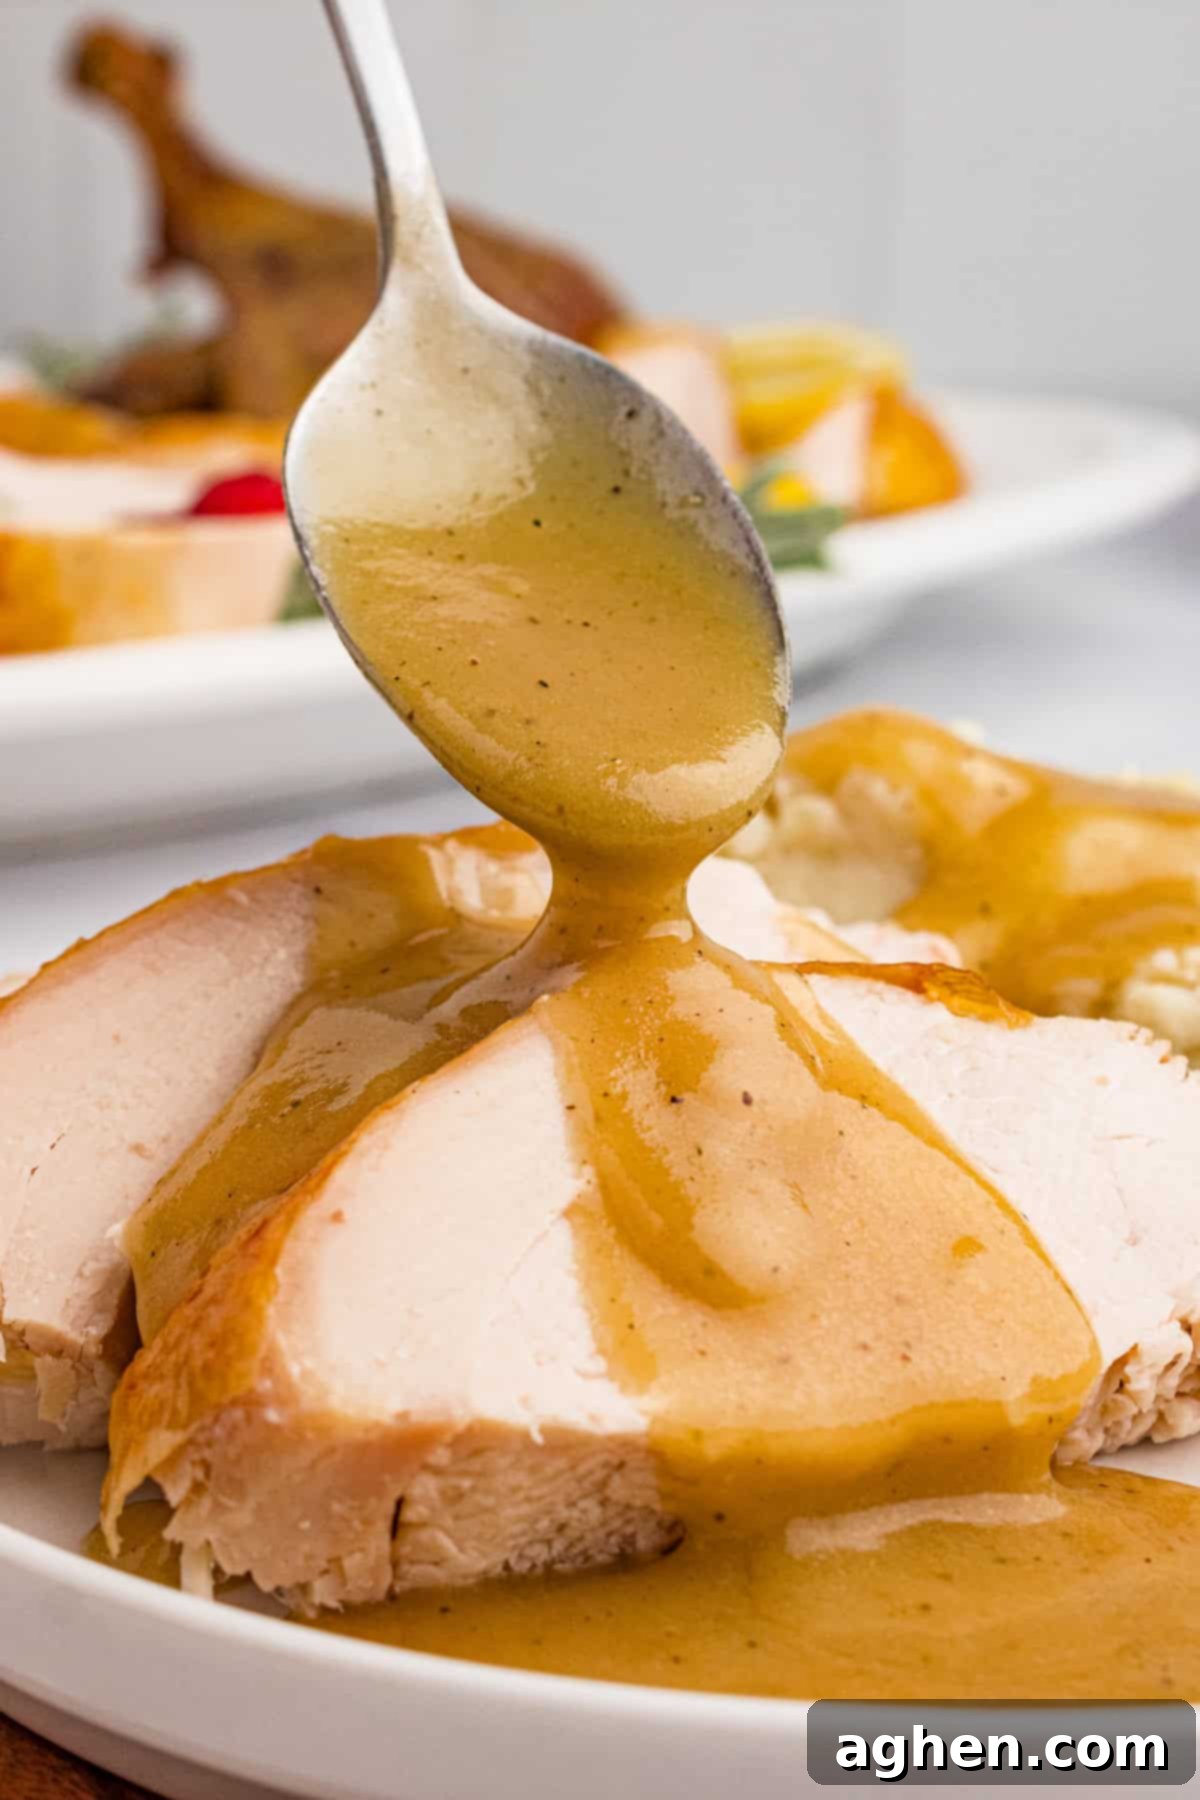
The Best Homemade Turkey Neck Gravy: Rich, Flavorful, and Essential for Your Holiday Table
Are you searching for that ultimate homemade gravy to beautifully complement your roast turkey? Look no further! This exceptional turkey neck gravy is a celebration of deep, savory flavor, meticulously crafted using the roasted turkey neck and precious pan drippings from your bird. It’s not just a side; it’s an indispensable part of your Thanksgiving, Christmas, or any festive holiday gathering. This recipe elevates your meal with a richness and authenticity that simply cannot be matched by any store-bought alternative, promising a truly unforgettable culinary experience.
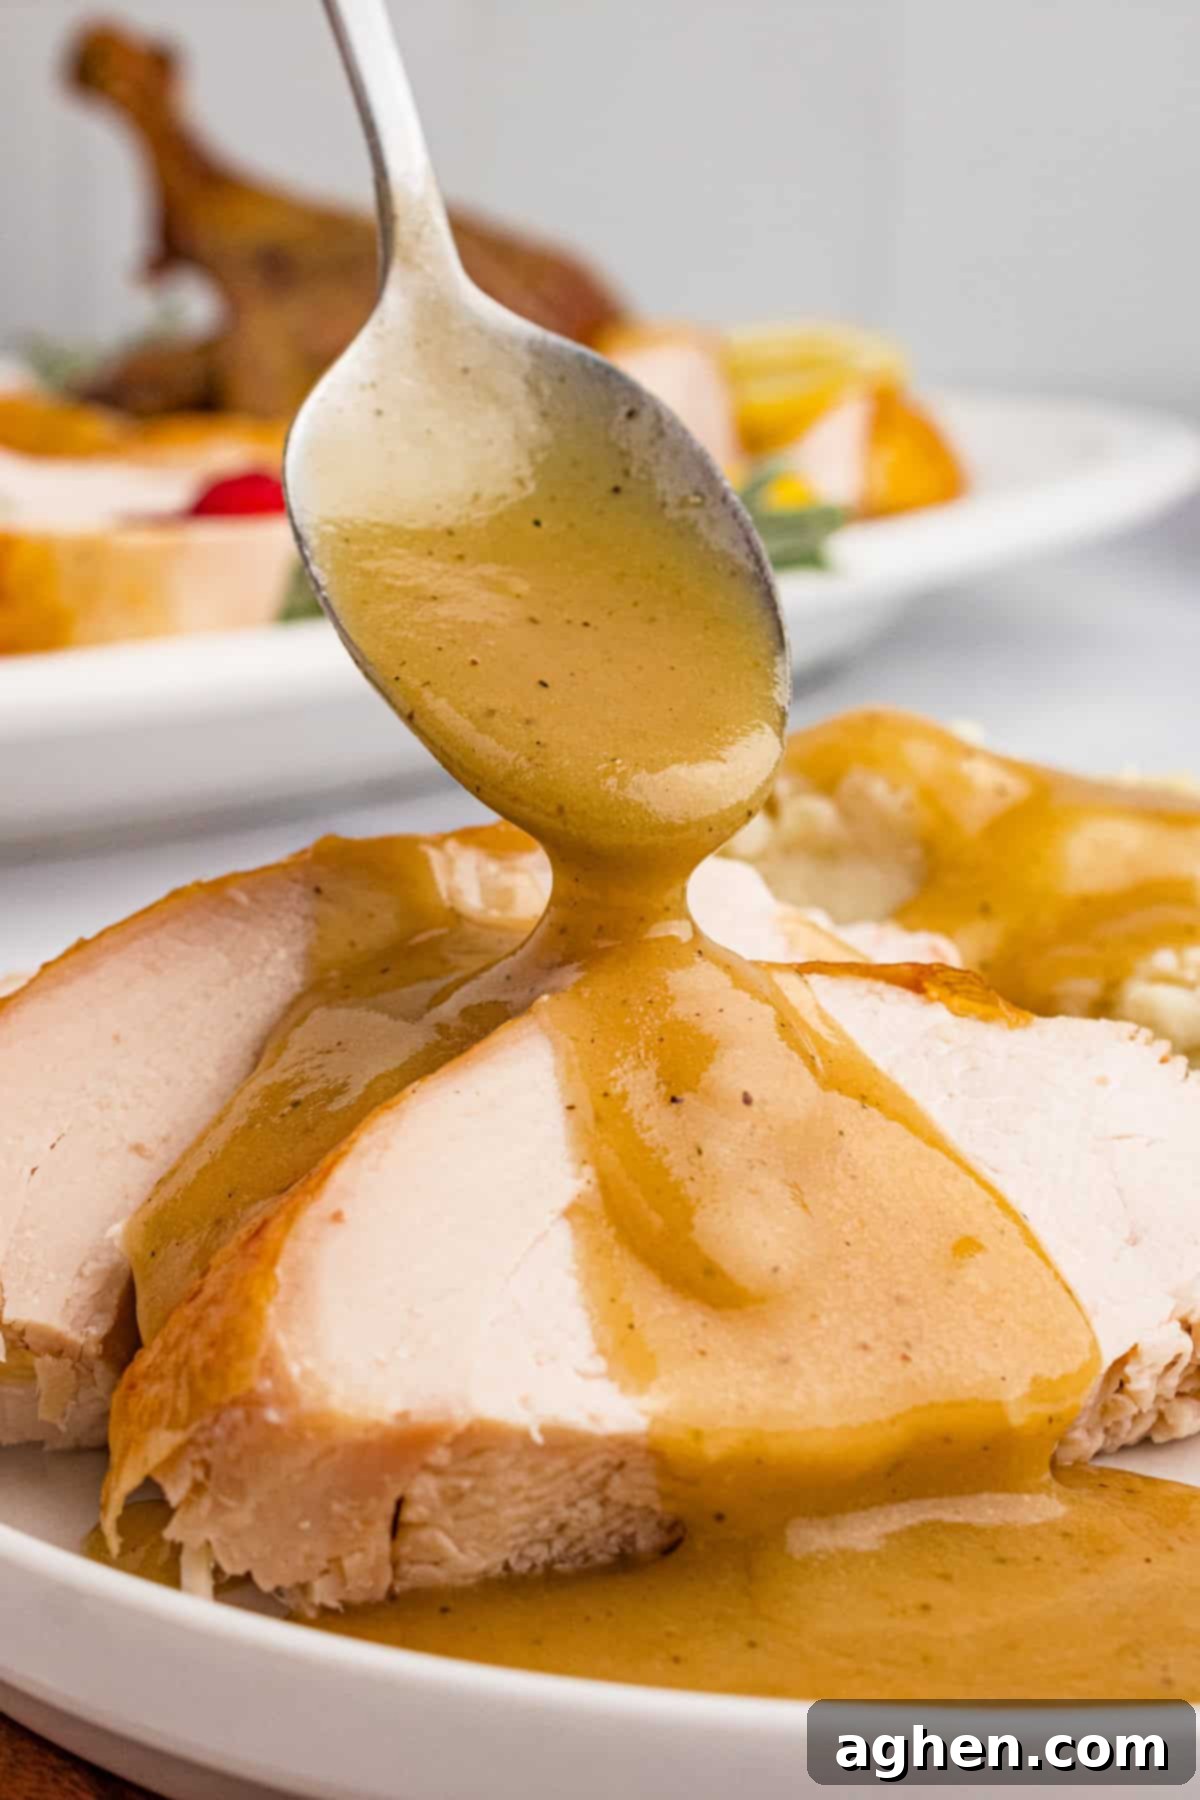
What truly sets this turkey neck gravy recipe apart is its remarkable versatility and straightforward preparation. By thoughtfully utilizing the turkey neck and the flavorful drippings collected from your perfectly roasted bird, you ensure that every part of the turkey contributes to your feast. This method not only minimizes waste but also forms the foundation for a deeply savory, golden-hued gravy that will be the highlight of your holiday spread. It’s the kind of homemade gravy that makes everything taste better, enhancing every bite from the succulent turkey slices to the fluffy mashed potatoes and savory stuffing.
Beyond its incredible taste, making this gravy allows you to take pride in a truly scratch-made component of your meal. The process of extracting maximum flavor from the turkey neck and combining it with the rich drippings creates a complex depth that mass-produced gravies can only dream of. This commitment to flavor and quality ensures that every drop of this golden elixir is packed with the essence of your holiday bird, making it the perfect finishing touch for any festive plate.
Why You’ll Love This Homemade Turkey Gravy Recipe
- Unparalleled Deep, Rich Flavor: The secret to this amazing gravy lies in the turkey neck and pan drippings. By roasting and simmering the turkey neck, we build an intensely flavorful broth. This, combined with the caramelized bits and fat from the roasting pan, creates a profoundly savory and complex base that is simply unmatched. It’s a taste of true homemade goodness.
- Zero Waste, Maximum Flavor: This recipe is a testament to smart cooking. Using the turkey neck, which often gets discarded, ensures that no part of your turkey goes to waste. Instead, it becomes the star ingredient, imparting an incredible depth of flavor that enriches the entire gravy. It’s an economical and delicious approach to holiday cooking.
- Simple Ingredients, Impressive Results: Despite its gourmet taste, this turkey neck gravy is made with straightforward, everyday pantry staples. You won’t need any exotic items, making it an accessible recipe for home cooks of all skill levels. The magic happens through proper technique and patience, not a long list of obscure ingredients.
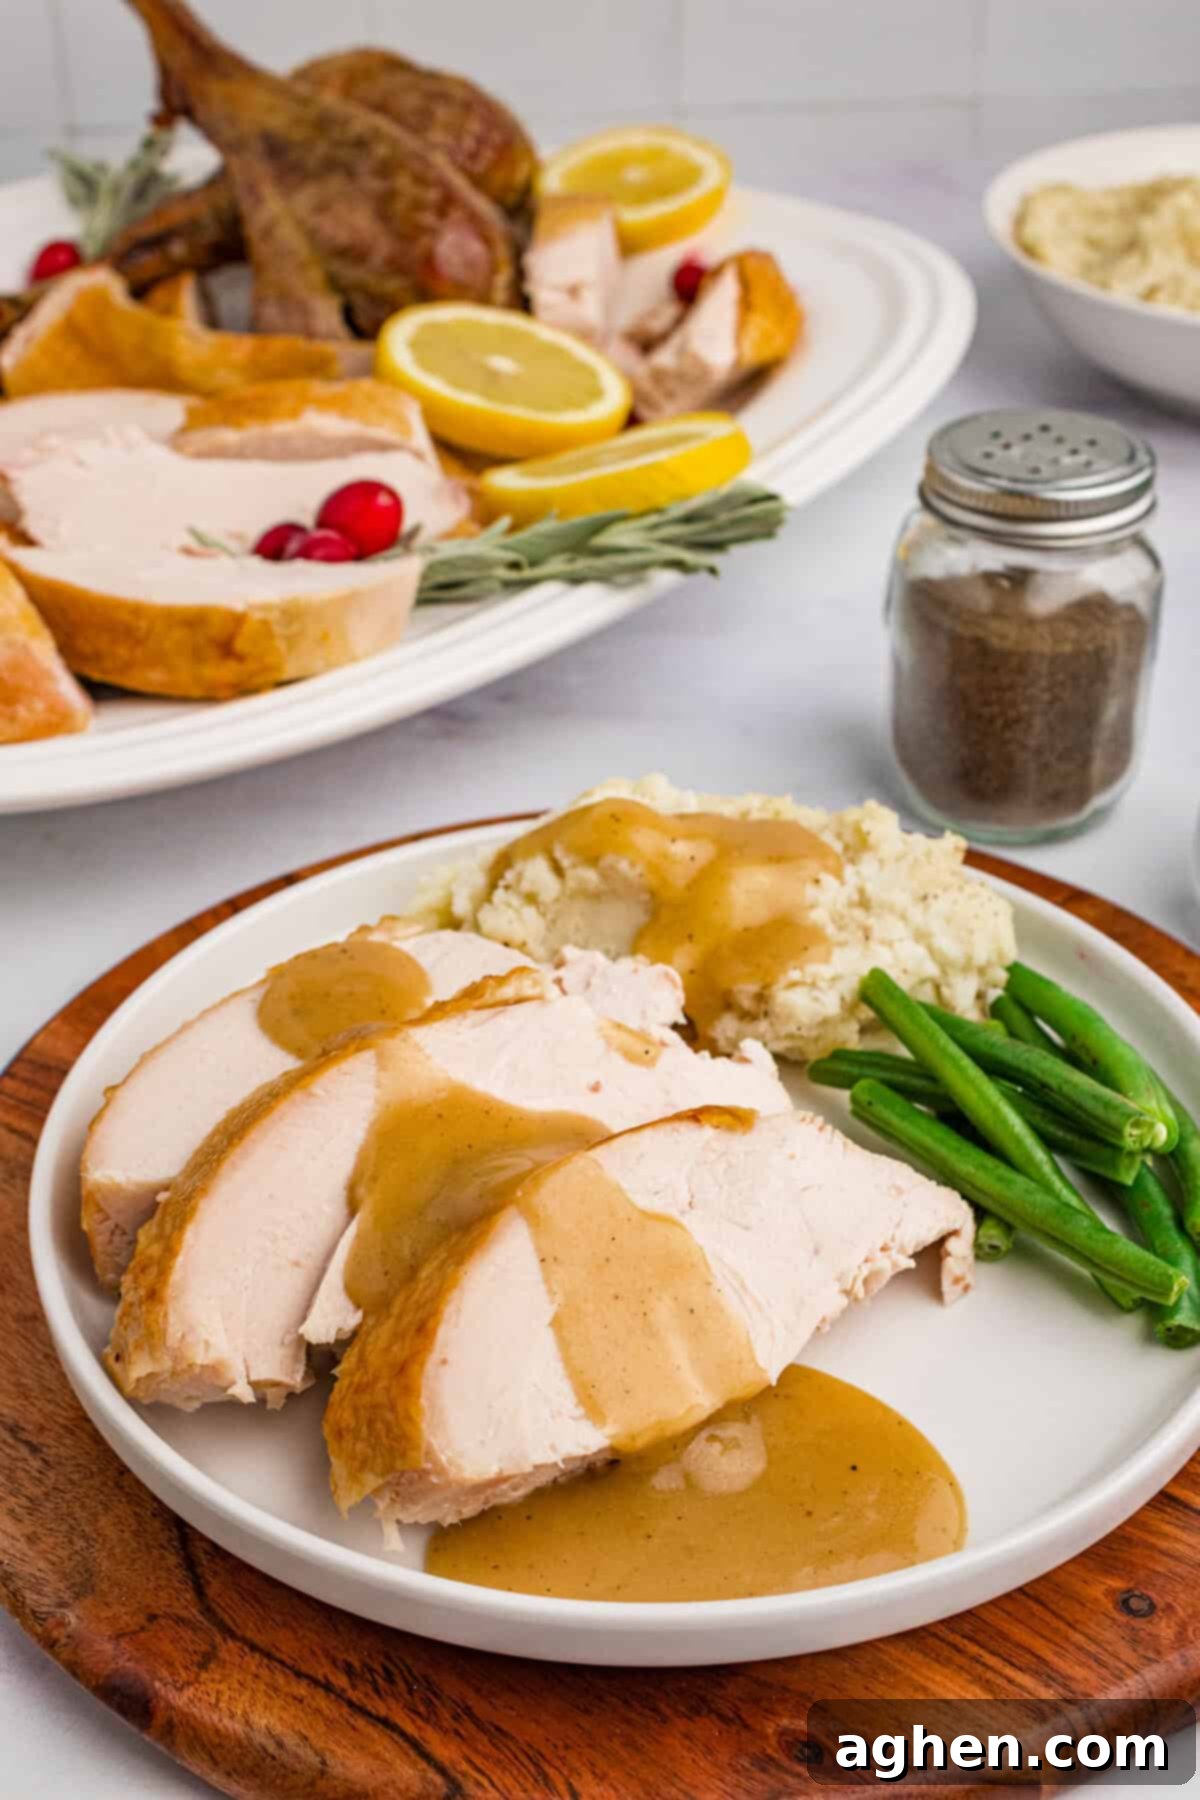
- The Ultimate Holiday Companion: This homemade turkey gravy is the quintessential addition to any holiday meal. It’s the perfect drizzle for your Thanksgiving turkey, a luxurious topping for creamy mashed potatoes, and an essential component for moistening stuffing. Whether it’s Thanksgiving, Christmas, Easter, or any special occasion, this gravy guarantees a truly festive and satisfying dining experience.
- Customizable to Your Taste: While the core recipe is fantastic, it’s also highly adaptable. You can easily adjust seasonings, add fresh herbs, or even incorporate giblets for an even richer, more textured gravy. This flexibility allows you to tailor the gravy to your family’s preferences.
Essential Ingredient Notes for Your Turkey Neck Gravy
This section provides detailed notes on each ingredient, including potential substitutions and tips for optimal flavor. All precise measurements, ingredients, and step-by-step instructions can be found in the printable recipe card at the very end of this post.
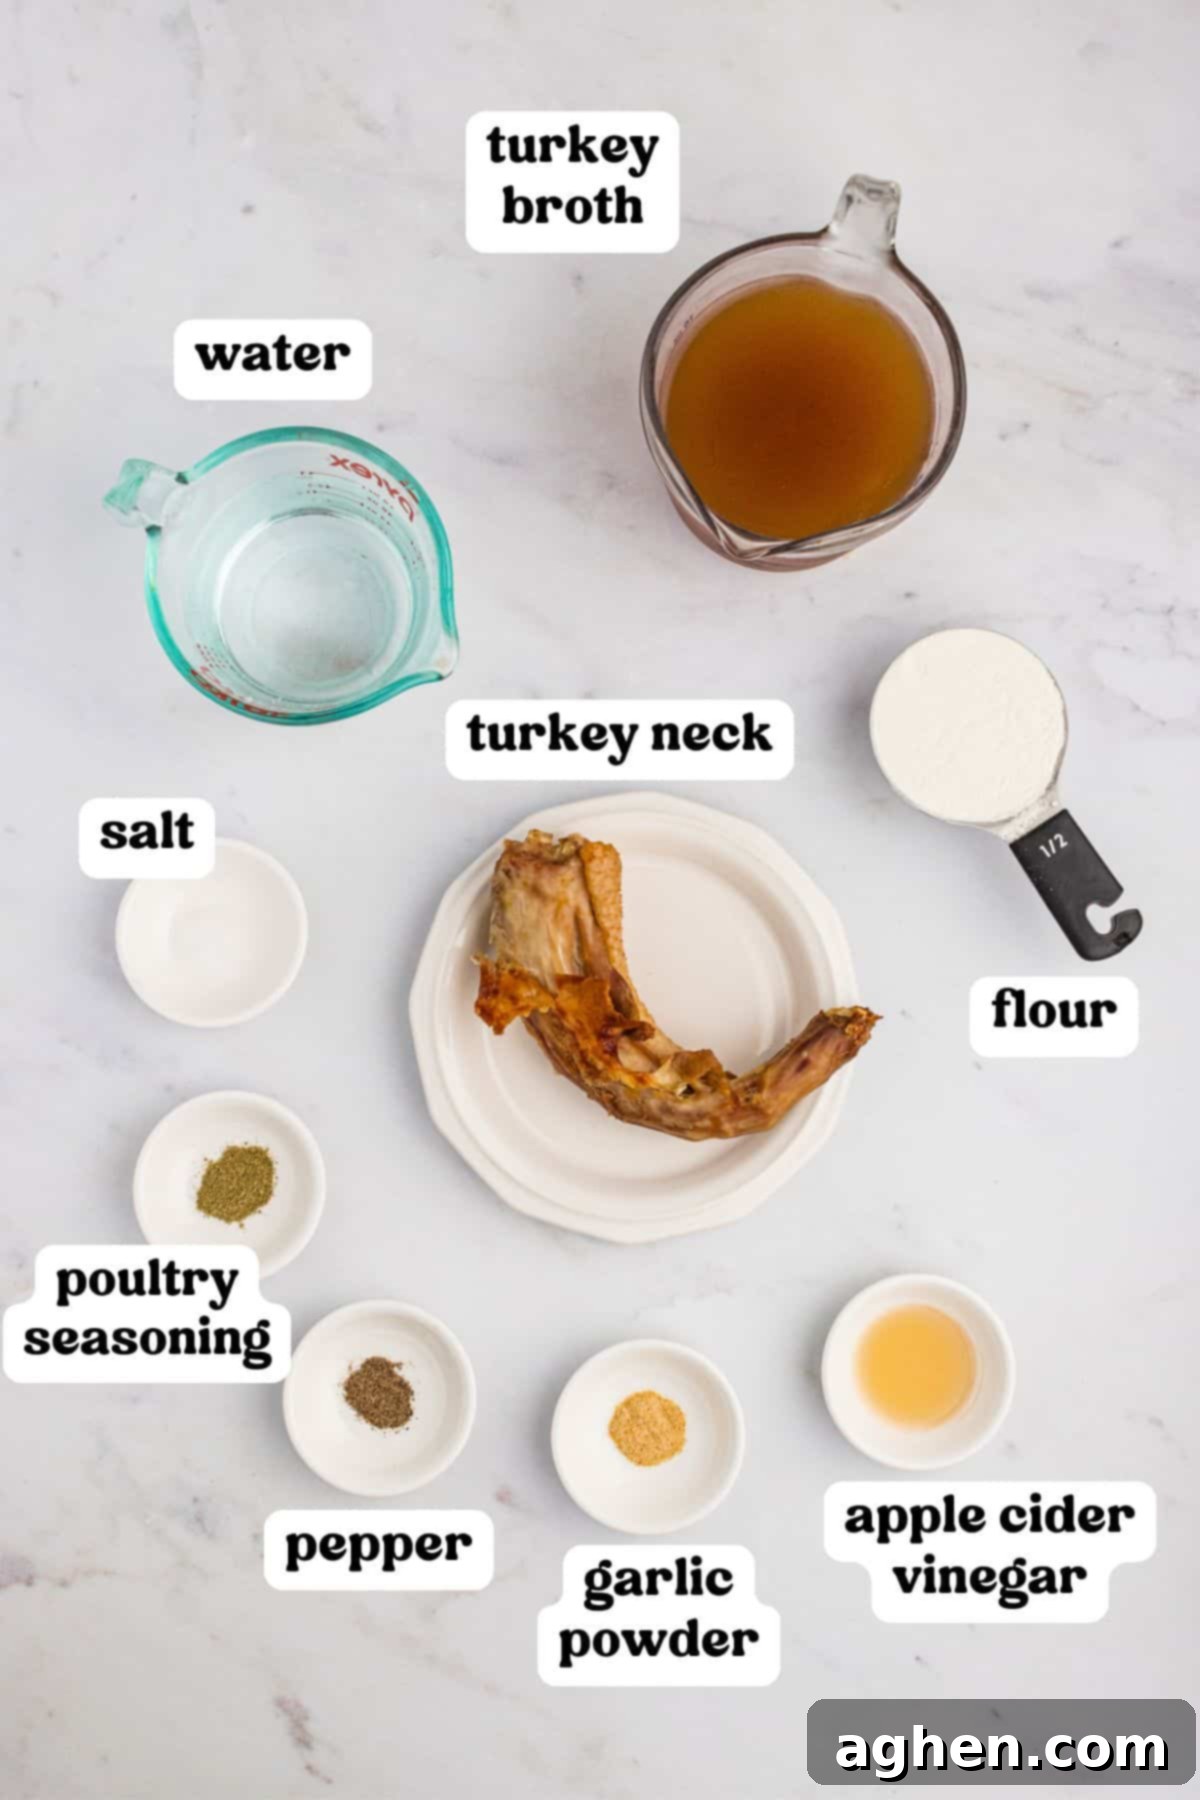
- Turkey Neck: This often-overlooked component is the cornerstone of our gravy’s rich flavor. The turkey neck is typically found tucked inside the body cavity of your turkey, usually alongside the giblets. Roasting and simmering the neck extracts collagen and deep savory notes, forming a robust base. While you can discard it after simmering, we highly recommend shredding any tender meat from the neck to add to the finished gravy for an extra layer of texture and flavor, truly maximizing the “no waste” philosophy.
- Turkey Broth: This liquid gold forms the primary base of your luscious gravy. Using good quality turkey broth is crucial for a full-bodied flavor. If turkey broth is unavailable or you need to supplement, chicken broth is an excellent substitute. For an even deeper, more complex flavor profile, you can use a mix of half chicken broth and half beef broth. Ensure you choose low-sodium options to control the overall saltiness of your gravy.
- Drippings from Roast Turkey: These are the invaluable, concentrated juices and rendered fat collected at the bottom of your roasting pan after cooking your turkey. They are packed with incredible depth and richness, providing that authentic roasted turkey flavor. If you find you don’t have enough drippings, or if you prefer to make gravy without them, you can substitute the fat with an equal amount of butter and make up the liquid volume with additional broth.
- All-Purpose Flour: Flour is our thickening agent, essential for creating a smooth, velvety gravy consistency. It combines with the reserved fat to form a roux, which is the foundation of many classic gravies and sauces. Ensure you whisk it thoroughly to prevent lumps.
- Spices & Seasonings (Poultry Seasoning, Garlic Powder, Salt, and Pepper): These seasonings enhance and round out the turkey’s natural flavors. Poultry seasoning typically includes a blend of savory herbs like sage, thyme, rosemary, and marjoram, which are classic complements to turkey. Garlic powder adds an aromatic depth without the raw bite of fresh garlic. **Crucially, always taste your gravy before adding salt.** Pan drippings and store-bought broths can be quite salty, so adjusting salt at the end prevents over-seasoning.
- Apple Cider Vinegar (Optional): A small splash of apple cider vinegar at the end is a game-changer for some, brightening the gravy with a subtle tang and cutting through the richness. It’s optional, but it can elevate the overall flavor profile by adding a touch of acidity that makes the other flavors pop.
Can I Make This Gravy Without Drippings?
Absolutely! While turkey drippings undeniably add an incredible depth of flavor and richness, you can certainly make a delicious homemade turkey neck gravy without them. This option is perfect if you didn’t roast a turkey, or simply prefer a lighter gravy. If you don’t have enough turkey drippings, or choose not to use them, you’ll need to use approximately 1/2 cup of butter in place of the fat from the drippings to make your roux in step 6. The resulting gravy might not be quite as robustly rich as one made with pan drippings, but it will still be incredibly flavorful, savory, and a vast improvement over anything store-bought, thanks to the roasted turkey neck base.
If your preference is to skip both the neck and the drippings entirely, you can find another fantastic option with this easy turkey gravy without drippings recipe, ensuring everyone can enjoy a delicious homemade gravy.
How to Make Flavorful Gravy with Turkey Neck: Step-by-Step Guide
This section walks you through each stage of making this incredible gravy with detailed step-by-step photos and clear instructions. For the full, printable version of the recipe, please refer to the comprehensive recipe card located further down on this page.
1. Roast or Sear the Turkey Neck for Deep Flavor: The first step is crucial for developing the foundational flavor of your gravy. If you are roasting a whole turkey, simply add the raw turkey neck to the bottom of your roasting pan, underneath the rack, with the turkey. Allow it to roast with your turkey for the first 60-90 minutes. This slow roasting process browns the neck beautifully and contributes to the overall drippings. Alternatively, if you’re not roasting a whole turkey or prefer to sear the neck separately, heat 1 tablespoon of oil in a sturdy pan over medium heat. Sear the turkey neck until it’s deeply browned on all sides, creating a rich caramelized crust that packs in flavor.
2. Simmer the Turkey Neck to Create a Flavorful Broth: Once the turkey neck is browned, transfer it to a medium saucepan. Pour in 1 cup of water and 2 cups of turkey broth (or your chosen substitute). Bring this mixture to a rolling boil over medium-high heat. As soon as it boils, reduce the heat to low, cover the saucepan, and let it gently simmer for 60-90 minutes. This slow simmering process extracts all the delicious, gelatinous flavors from the turkey neck, creating a rich and aromatic base for your gravy while your main turkey continues to roast.
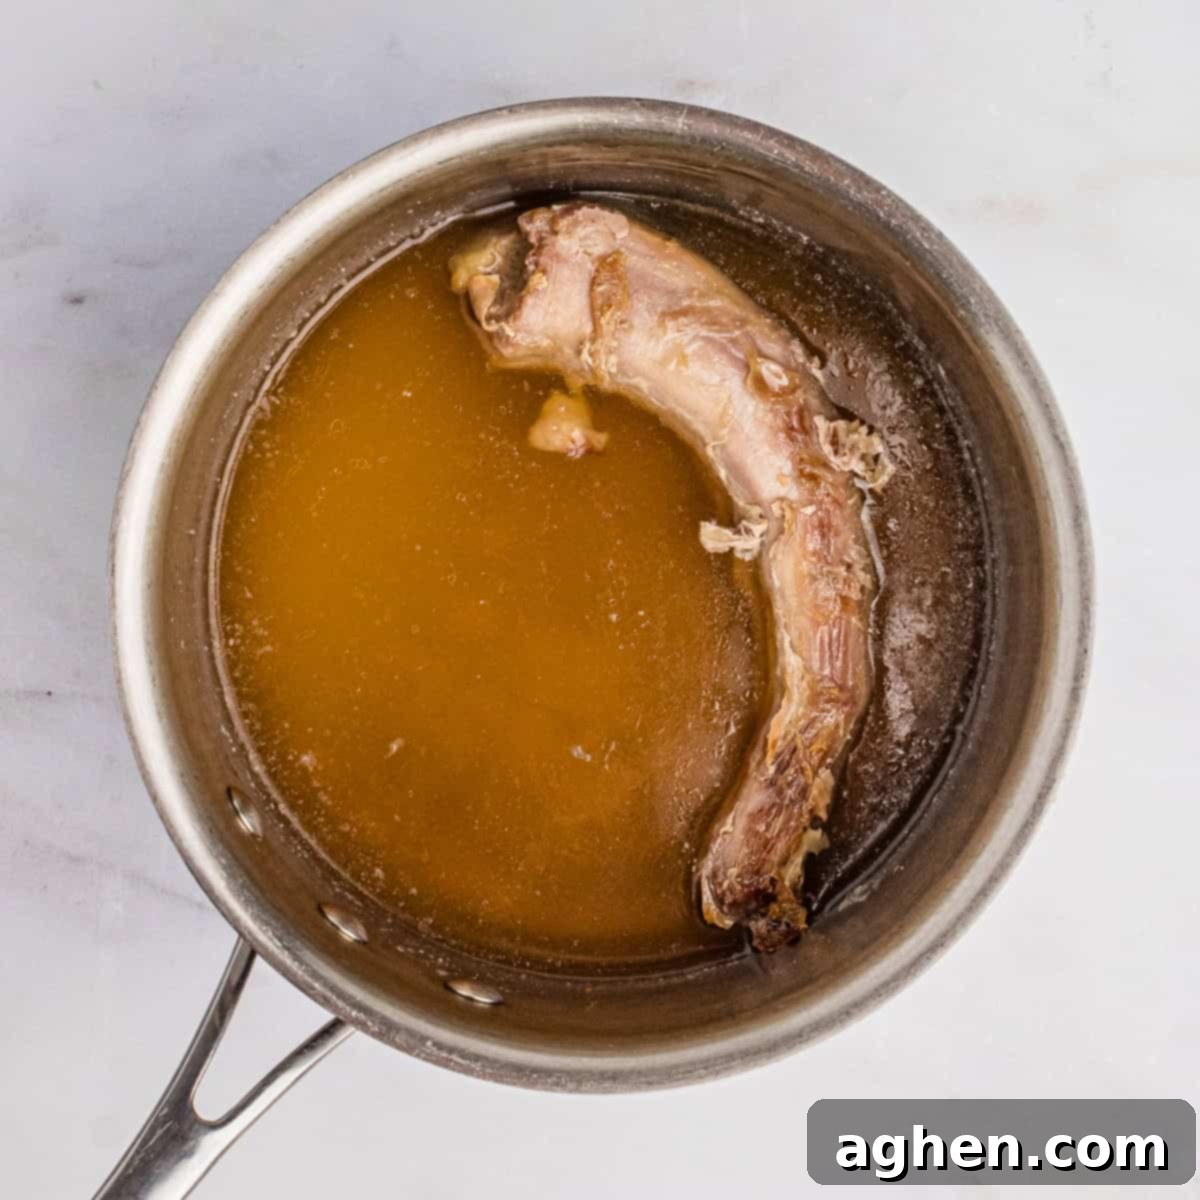
3. Remove and Strain the Neck Broth: After the simmering time is complete and the turkey is nearly done roasting, carefully remove the cooked turkey neck from the saucepan. At this point, you can discard it, or set it aside to cool slightly. If you wish, once cool enough to handle, you can pick any tender meat from the neck and finely shred it to stir into the finished gravy for added texture and richness. Next, strain the remaining flavorful liquid from the saucepan into a large, heat-safe bowl, ensuring a smooth, clear broth. This step removes any small bone fragments or impurities, guaranteeing a silky gravy.
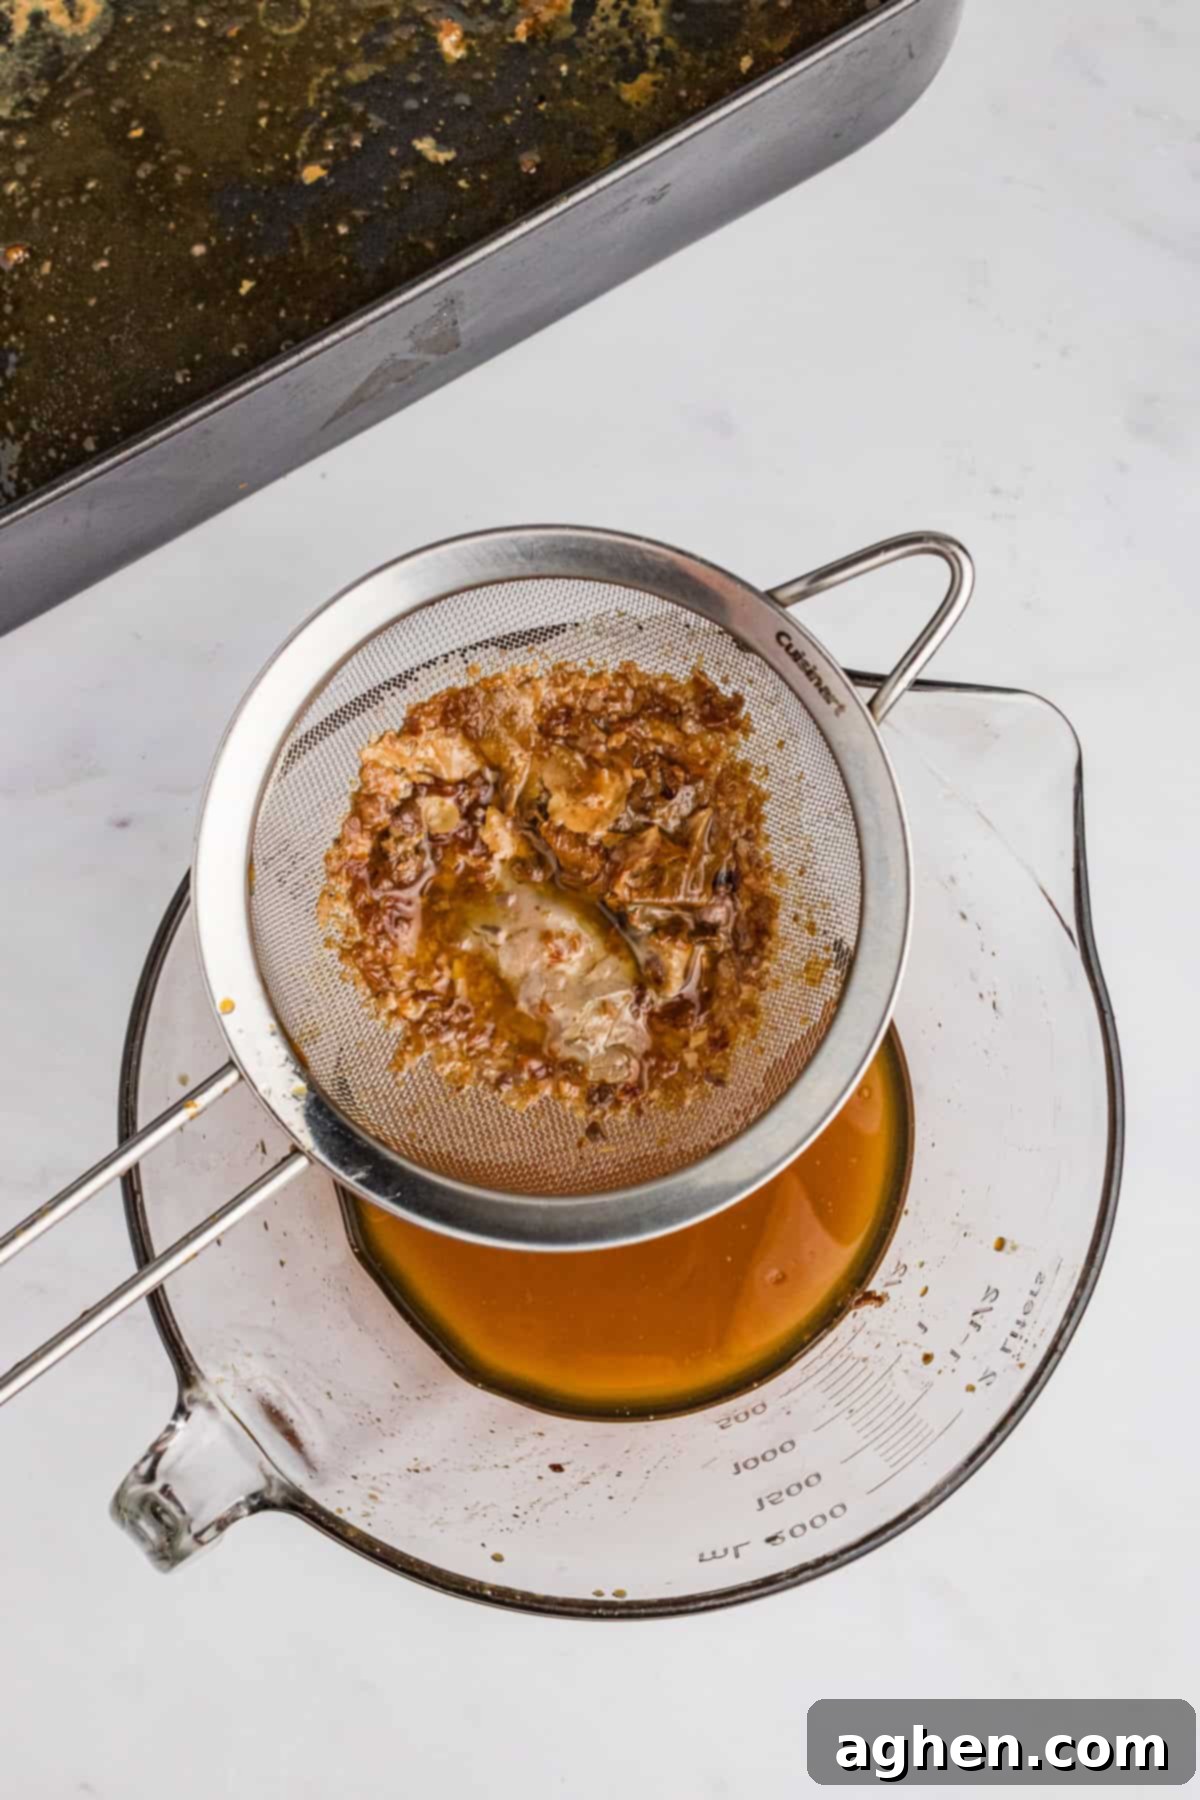
4. Prepare and Measure the Pan Drippings: Once your roast turkey is gloriously golden and resting, it’s time to capture those precious drippings. Add ½ cup of water to your hot roasting pan. Place the pan back over a burner on medium heat or on the stovetop (if it’s stovetop safe), and use a wooden spoon to vigorously scrape up all the wonderfully browned bits stuck to the bottom of the pan. This process, known as deglazing, lifts all the caramelized flavor into the liquid. Carefully pour these deglazed pan drippings through a fine-mesh strainer into the bowl containing your turkey neck broth. Allow the mixture to settle for a few minutes, which will cause the fat to rise to the top. Use a fat separator or a spoon to carefully skim off ½ cup of the separated fat, reserving it for your roux. Discard any excess fat. Finally, measure the total liquid (broth + drippings). If it’s less than 4 ¾ cups, add enough additional turkey broth to reach the desired total volume.
Pro Tip for the Smoothest Gravy
Using a fat separator is highly recommended for this recipe. It makes the process of pouring off the intensely flavorful drippings while efficiently separating the excess fat incredibly simple and mess-free. This ensures your gravy is perfectly balanced, smooth, and rich without being overly greasy.
5. Prepare the Roux: The Thickening Base: In a clean, heavy-bottomed saucepan, heat the reserved ½ cup of fat (either from the drippings or butter, if substituting) over medium heat. Once shimmering, gradually whisk in the all-purpose flour. Continue whisking constantly until the mixture is completely smooth and forms a thick paste, known as a roux. Cook this roux for about 1 minute, still whisking, until it turns a light golden brown. Cooking the roux helps to eliminate the raw flour taste and contributes a nutty undertone to the gravy.
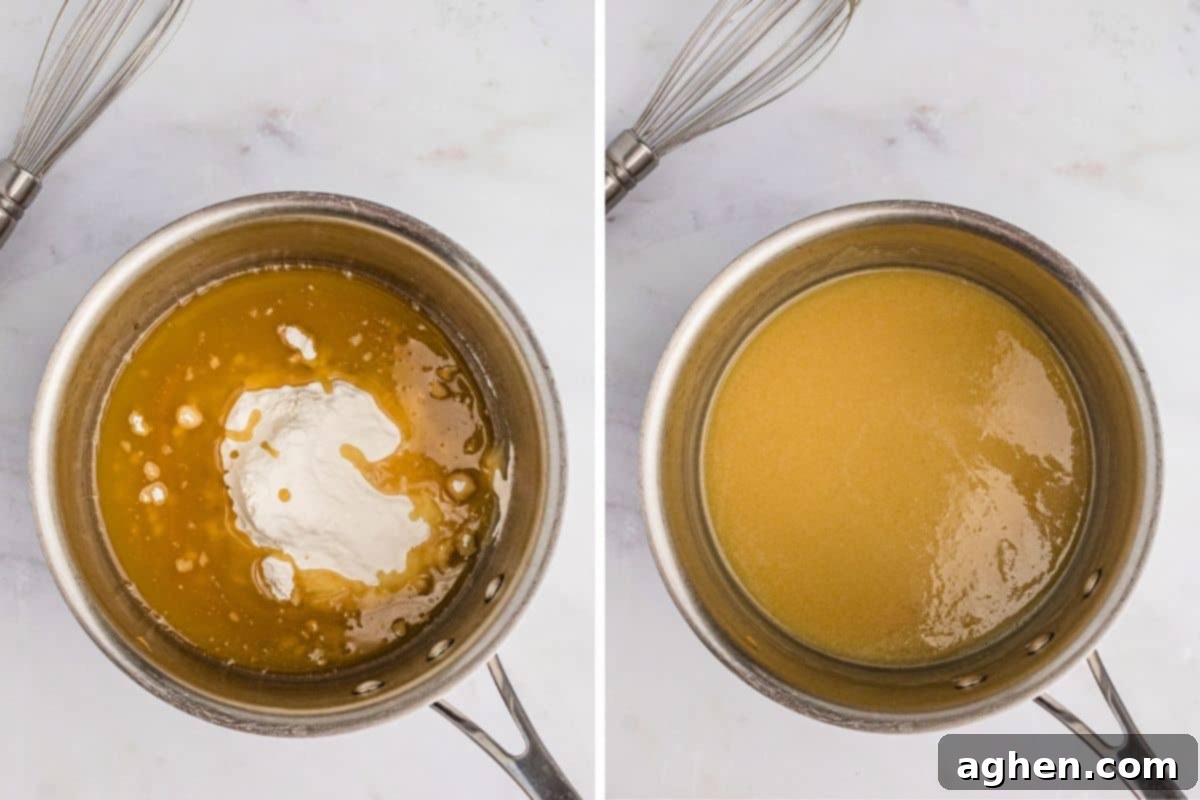
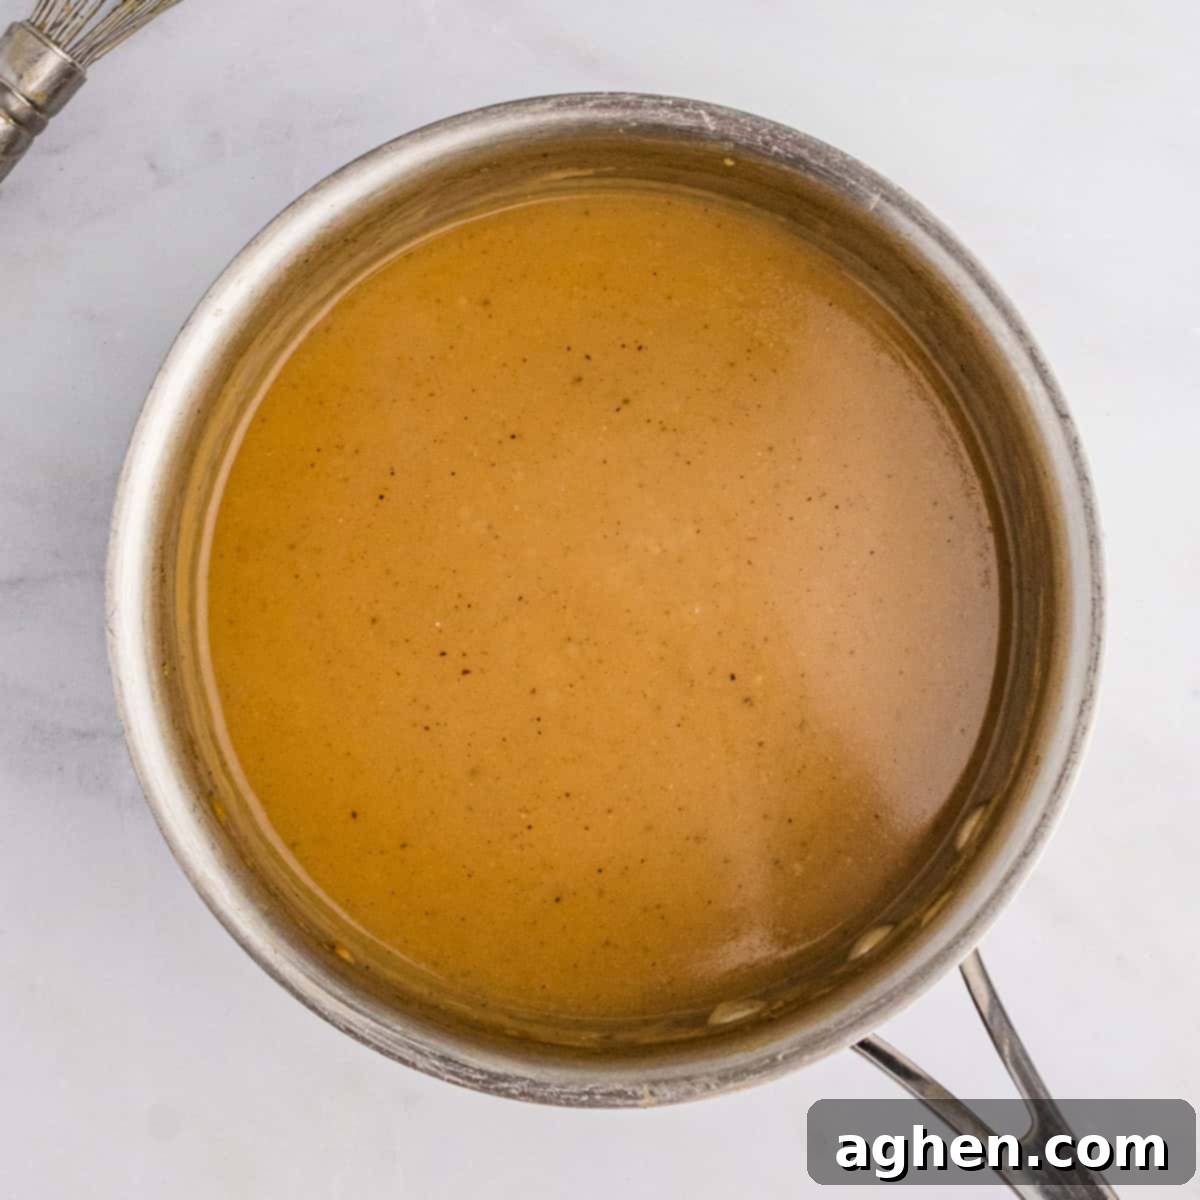
6. Finish and Season Your Rich Gravy: With the roux ready, it’s time to bring your gravy to life. Slowly pour the combined drippings/broth mixture into the saucepan with the roux, whisking continuously and vigorously to prevent any lumps from forming. Continue to stir constantly as the gravy heats and begins to thicken. Once it reaches your desired consistency, stir in the black pepper, poultry seasoning, garlic powder, and the optional apple cider vinegar. Let the gravy gently simmer for a few more minutes, stirring frequently, allowing the flavors to meld and the gravy to fully thicken. Finally, taste the gravy and adjust the salt as needed, keeping in mind that the drippings may already contribute significant saltiness.
Storage and Reheating Instructions
Proper storage and reheating ensure your delicious homemade turkey neck gravy remains fresh and flavorful, allowing you to enjoy leftovers just as much as the initial serving.
Storage: Any leftover turkey neck gravy can be stored securely in an airtight container. Keep it in the refrigerator for up to 3 days for optimal freshness. For longer storage, this gravy freezes beautifully. Transfer it to a freezer-safe container or heavy-duty freezer bag, leaving a little headspace, and freeze for up to 2 months. Thaw frozen gravy overnight in the refrigerator before reheating.
Reheating: To reheat, gently warm the gravy in a saucepan over low heat. Whisk it frequently to ensure even heating and to prevent it from sticking to the bottom of the pan. Gravy tends to thicken further when cooled, so if it’s too thick for your liking, add a splash of additional turkey broth or water until it reaches your preferred smooth, pourable consistency.
Expert Tips for Crafting the Best Homemade Gravy
- Deglaze for Maximum Flavor: Never skip the deglazing step! Those browned bits stuck to the bottom of your roasting pan after the turkey is cooked are flavor powerhouses. Scraping them up with a wooden spoon while adding water or broth is essential for infusing your gravy with an extra boost of concentrated, savory depth that truly defines homemade richness.
- Skim Excess Fat for Perfect Balance: While fat is crucial for flavor and making the roux, too much can make your gravy greasy. If you don’t have a fat separator, simply allow the drippings and broth mixture to sit undisturbed for a few minutes. The fat will naturally rise to the surface, allowing you to carefully skim it off with a spoon. Aim for a balanced gravy that is rich but not heavy.
- Whisk Vigorously for Smooth Gravy: The key to a lump-free gravy lies in continuous and vigorous whisking, especially when adding the flour to the fat to make the roux, and then when slowly incorporating the liquid. A smooth gravy has a luxurious mouthfeel and is much more appealing.
- Season Last for Optimal Taste: This is a critical tip! Always wait to add extra salt until the very end, after all the drippings and broth have been combined and the gravy has thickened. Turkey drippings and many broths already contain sodium, so seasoning too early can result in an overly salty gravy. Taste, then adjust.
- Adjust Consistency as Needed: Gravy can be a bit finicky, thickening more than expected or seeming too thin. If your gravy is too thick, gradually whisk in a little more hot broth or water until it reaches your desired pourable consistency. If it’s too thin, you can simmer it gently for a few more minutes to reduce, or make a small slurry of flour (or cornstarch for a gluten-free option) mixed with cold water and whisk it into the simmering gravy until thickened.
Delicious Additions and Creative Variations for Your Gravy
While this turkey neck gravy is perfect as is, you can easily customize it with these additions and variations to suit your taste preferences and create an even more unique holiday side.
- Add Shredded Neck Meat: For a heartier, more substantial gravy, don’t let that cooked turkey neck go to waste! Once it’s cool enough to handle, pick off any tender meat, finely shred it, and stir it into the gravy just before serving. This adds wonderful texture and an extra layer of savory turkey flavor.
- Infuse with Fresh Herbs: Elevate the aromatic profile by stirring in a handful of finely chopped fresh herbs during the final simmering stage. Thyme, rosemary, sage, or parsley are classic choices that beautifully complement turkey and add a burst of freshness.
- Make it Luxuriously Creamy: For an even richer, more decadent gravy, stir in ¼ cup of heavy cream or half-and-half during the final few minutes of simmering. This will add a smooth, velvety texture and a subtle richness that is truly indulgent.
- Transform into a Giblet Gravy: To make a traditional neck and giblet gravy, simply simmer the turkey giblets (excluding the liver, as it can make the gravy bitter) along with the turkey neck for 90 minutes or until fully cooked through and tender. Remove the giblets, chop them finely once cooled, and stir them into the finished gravy for an authentic holiday favorite.
- Introduce Earthy Mushrooms: For an umami-rich twist, sauté thinly sliced mushrooms (such as cremini or button) in a little butter until golden brown and tender. Stir these savory mushrooms into your gravy during the final thickening phase for an earthy, gourmet addition that pairs wonderfully with turkey.
- A Hint of Wine: For an adult twist, you can deglaze the roasting pan with half a cup of dry white wine or even a dry red wine instead of water. Allow the wine to simmer and reduce for a few minutes before adding the broth, intensifying the flavor profile of your drippings.
More Essential Thanksgiving Recipes to Complete Your Feast
Round out your holiday meal with these other fantastic and delicious Thanksgiving recipes that perfectly complement your roast turkey and homemade gravy:
- Creamy Corn Casserole with Jiffy Mix
- Moist Cheesecloth Turkey with Dry Brine
- Fluffy Mashed Potatoes with Cream Cheese
- Cheesy Broccoli Casserole
- Classic Baked Macaroni and Cheese
- Soft and Buttery Potato Rolls
- Sweet Glazed Carrots in the Crockpot
- Fun Thanksgiving Rice Krispie Treats
Turkey Neck Gravy
Author: Jaclyn
Equipment
-
fat seperator optional
-
Fine Mesh Sieve
Ingredients
- 1 raw turkey neck
- 1 cup water
- 4-5 cups turkey broth divided
- drippings from roasted turkey
- ½ cup all-purpose flour
- ½ teaspoon black pepper
- ½ teaspoon poultry seasoning
- ¼ teaspoon garlic powder
- 1 teaspoon apple cider vinegar optional
- salt to taste
Instructions
-
Add the turkey neck to the bottom of your roasting pan under the rack and roast with your turkey for the first 60-90 minutes of cooking. Alternatively, heat 1 Tablespoon of oil in a pan over medium heat and sear turkey neck until browned on both side.
-
Transfer turkey neck to a saucepan and cover with 1 cup of water and 2 cups of broth. Bring to a boil, then lower the temperature and simmer for 60-90 minutes or until your turkey is removed from the oven and resting.
-
Remove the turkey neck and discard (or set aside if you would like to add the neck meat into the gravy later). Strain the remaining liquid into a large heat-safe bowl.
-
Add ½ cup water to your roasting pan and use a wooden spoon to scrape the browned bits from the bottom of the pan (deglaze). Carefully stain the pan drippings into the bowl.
-
Separate the fat from the drippings by using a fat separator or carefully skimming the fat from the top of the liquid. Reserve ½ cup of the fat and discard the remaining fat. Measure the remaining liquid and add just enough broth to make a total of 4 ¾ cups.
-
Heat the ½ cup fat in the saucepan over medium heat. Whisk in the flour until there are no lumps and cook, whisking constantly, until it turns golden brown.
-
Slowly pour in the drippings/broth, whisking constantly. Add pepper, poultry seasoning, garlic powder, and vinegar. Bring gravy to a simmer, and cook until it thickens, whisking often. Salt to taste.
Optional: Shred the meat from the neck and stir in to the gravy before serving.
Notes
- The turkey neck is usually found tucked inside the turkey’s body cavity.
- Add salt after combining the broth and drippings to prevent over-salting.
- To include giblets, remove and discard the liver and then simmer them with the turkey neck for 90 minutes or until cooked through. Once cooked, chop the giblets and stir them into the gravy before serving.
- Storage: Refrigerate leftover gravy in an airtight container for up to 3 days or freeze for up to 2 months.
- Reheating: Reheat over low heat, whisking frequently. Add a splash of broth or water to thin the consistency if needed.
Nutrition

Did You Make This Recipe?
Share it with me on Instagram @crayonsandcravings and follow on Pinterest @crayonsandcravings for even more!
Pin Recipe
Leave A Review
