Crunchy & Guilt-Free: The Ultimate Guide to 0-Point Oven-Baked Apple Chips for Weight Watchers
Are you searching for a deliciously satisfying, yet incredibly healthy snack that aligns perfectly with your wellness goals, especially if you’re following Weight Watchers? Look no further! These simple oven-baked apple chips are a game-changer. With just three basic ingredients and minimal effort, you can transform ordinary apples into irresistibly crispy, naturally sweet treats. Perfect for those mid-afternoon hunger pangs, a light dessert craving, or a wholesome addition to your lunchbox, these apple chips are not only bursting with flavor but also boast a fantastic 0 WW (Weight Watchers) Points per serving, making them an ideal choice for smart snacking.
Forget the processed, sugar-laden snacks; homemade apple chips offer a pure, unadulterated taste of nature’s candy. They provide that delightful crunch we often crave, without any added oils, sugars, or artificial ingredients. This comprehensive guide will walk you through everything you need to know to create perfect batches of these crispy delights, from selecting the best apples to mastering the baking process and exploring exciting flavor variations. Get ready to elevate your snacking game with a recipe that is as nourishing as it is delicious!
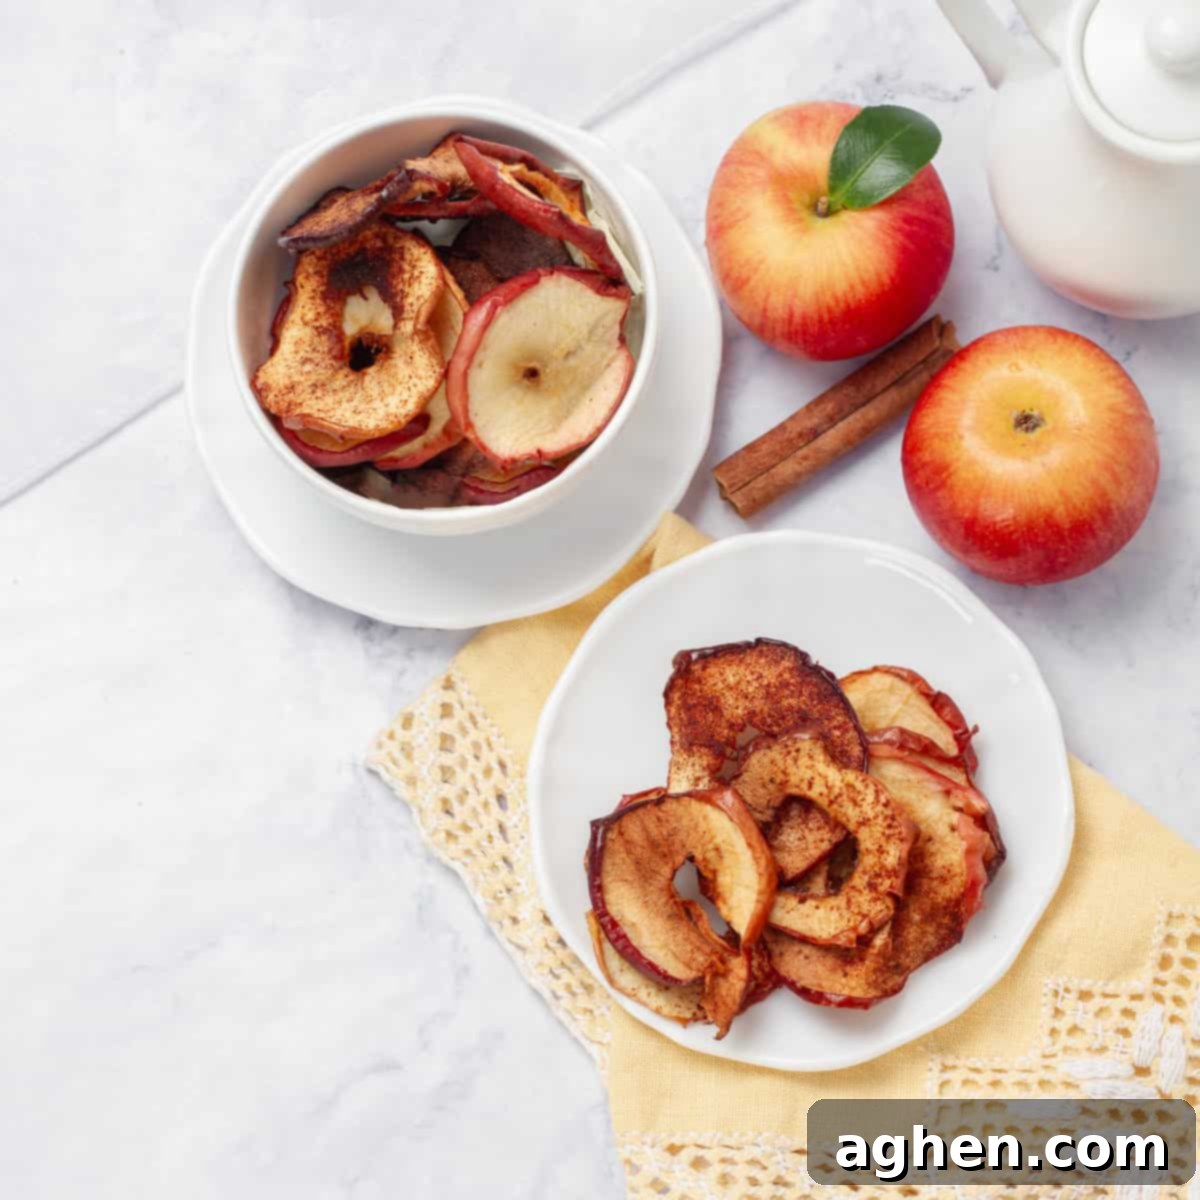
Recipe Overview: Delicious & Healthy Apple Chips
Crafting these healthy apple chips is straightforward and rewarding. Below is a quick glance at what to expect in terms of preparation and cooking time, along with the yield and nutritional highlights for those tracking their intake.
- Yield: This recipe makes approximately 4 generous servings.
- Serving Size: One serving is equivalent to about 1 medium apple’s worth of chips.
- Preparation Time: A quick 15 minutes is all you need for slicing and seasoning.
- Cooking Time: 1.5 to 2 hours of slow baking to achieve optimal crispiness.
- WW Points Per Serving: 0 Points (based on the Freestyle/PersonalPoints program, as apples, cinnamon, and lemon juice are typically zero-point foods).
This recipe is designed for maximum flavor with minimal fuss, making it perfect for busy individuals seeking wholesome snack alternatives. The gentle, low-temperature baking process dehydrates the apple slices, concentrating their natural sweetness and creating an addictive crispy texture.
Essential Ingredients for Your Homemade Apple Chips
One of the best aspects of this recipe is its simplicity, requiring only three common ingredients. Quality ingredients will yield the best results, so choose your apples wisely!
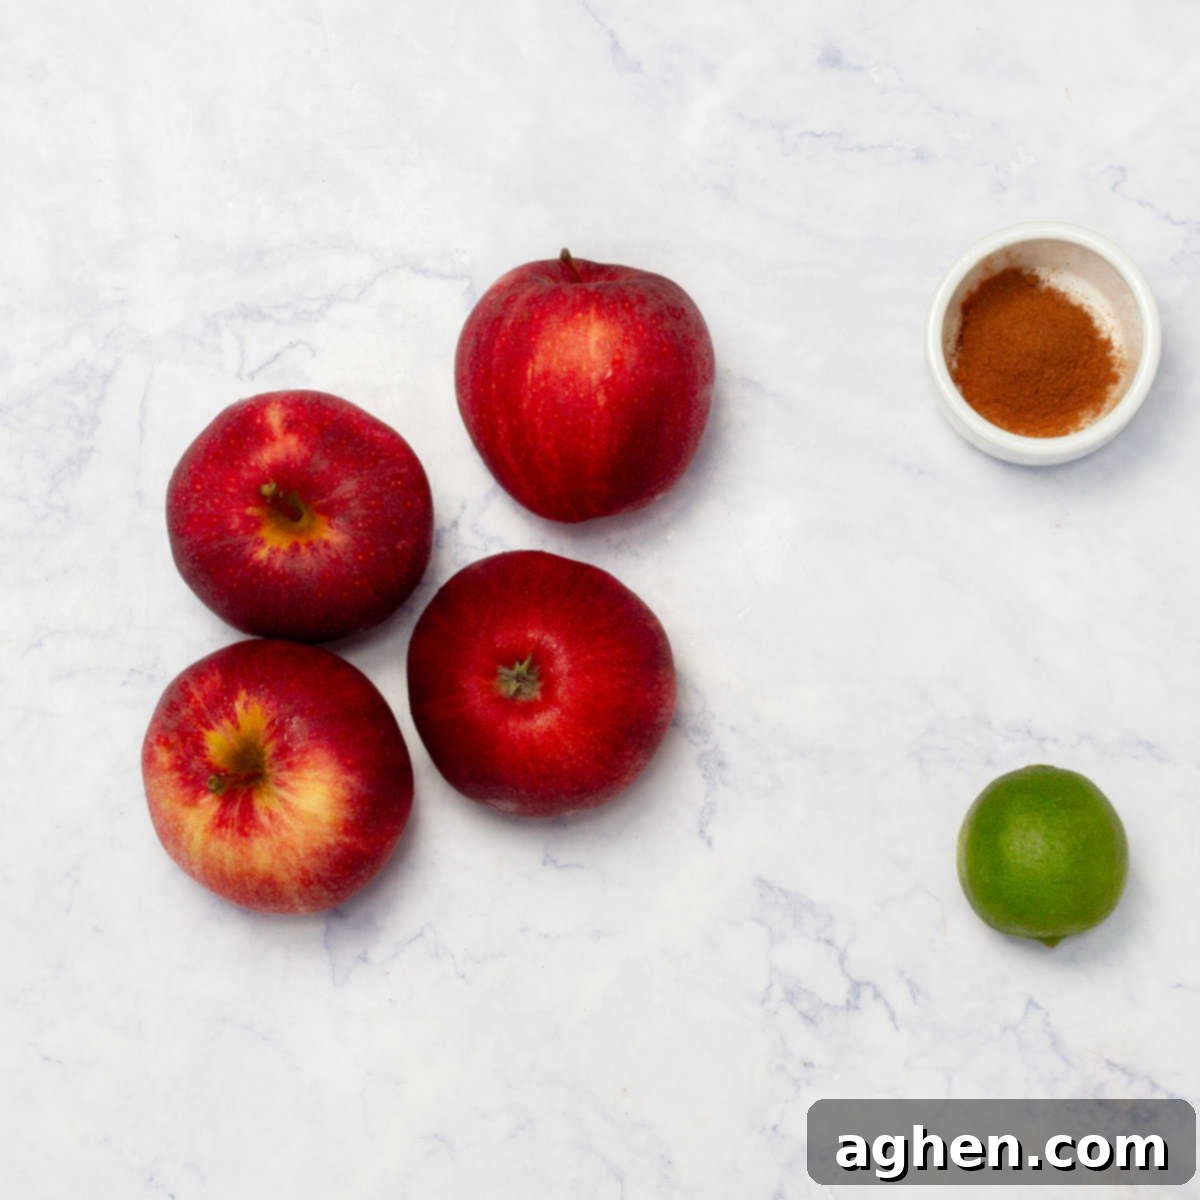
- 4 medium-sized apples: Firm, crisp apple varieties like Gala, Fuji, Honeycrisp, or Golden Delicious are highly recommended for the best texture. They hold their shape well and crisp up beautifully.
- 1 teaspoon ground cinnamon: This classic spice perfectly complements the natural sweetness of apples, adding warmth and a delightful aroma. Adjust to your preference.
- Juice of 1 lemon: Lemon juice is crucial for two reasons: it prevents the apple slices from browning during the baking process, ensuring an appealing golden color, and adds a subtle, bright tartness that balances the sweetness.
That’s it! No added sugars, no unhealthy fats, just pure, wholesome goodness.
Step-by-Step Instructions: How to Make Perfect Baked Apple Chips
Follow these detailed steps to ensure your apple chips come out perfectly crispy and flavorful every time. Precision in slicing and proper oven temperature are key to success.
1. Preparation is Key
Before you begin slicing, it’s important to set up your baking environment correctly. This ensures a smooth and efficient cooking process.
- Preheat your oven to a low temperature of 200°F (93°C). The low heat is essential for slowly dehydrating the apples, resulting in a crispy rather than burnt texture.
- Line two large baking sheets with parchment paper or silicone baking mats. This prevents the thinly sliced apples from sticking to the trays and makes for easy cleanup. If you only have one baking sheet, you may need to bake in two batches.
2. Slice the Apples Thinly and Uniformly
This step is perhaps the most critical for achieving truly crispy apple chips. Consistency is paramount for even baking.
- Wash and thoroughly dry the apples. Any excess moisture can prolong baking time.
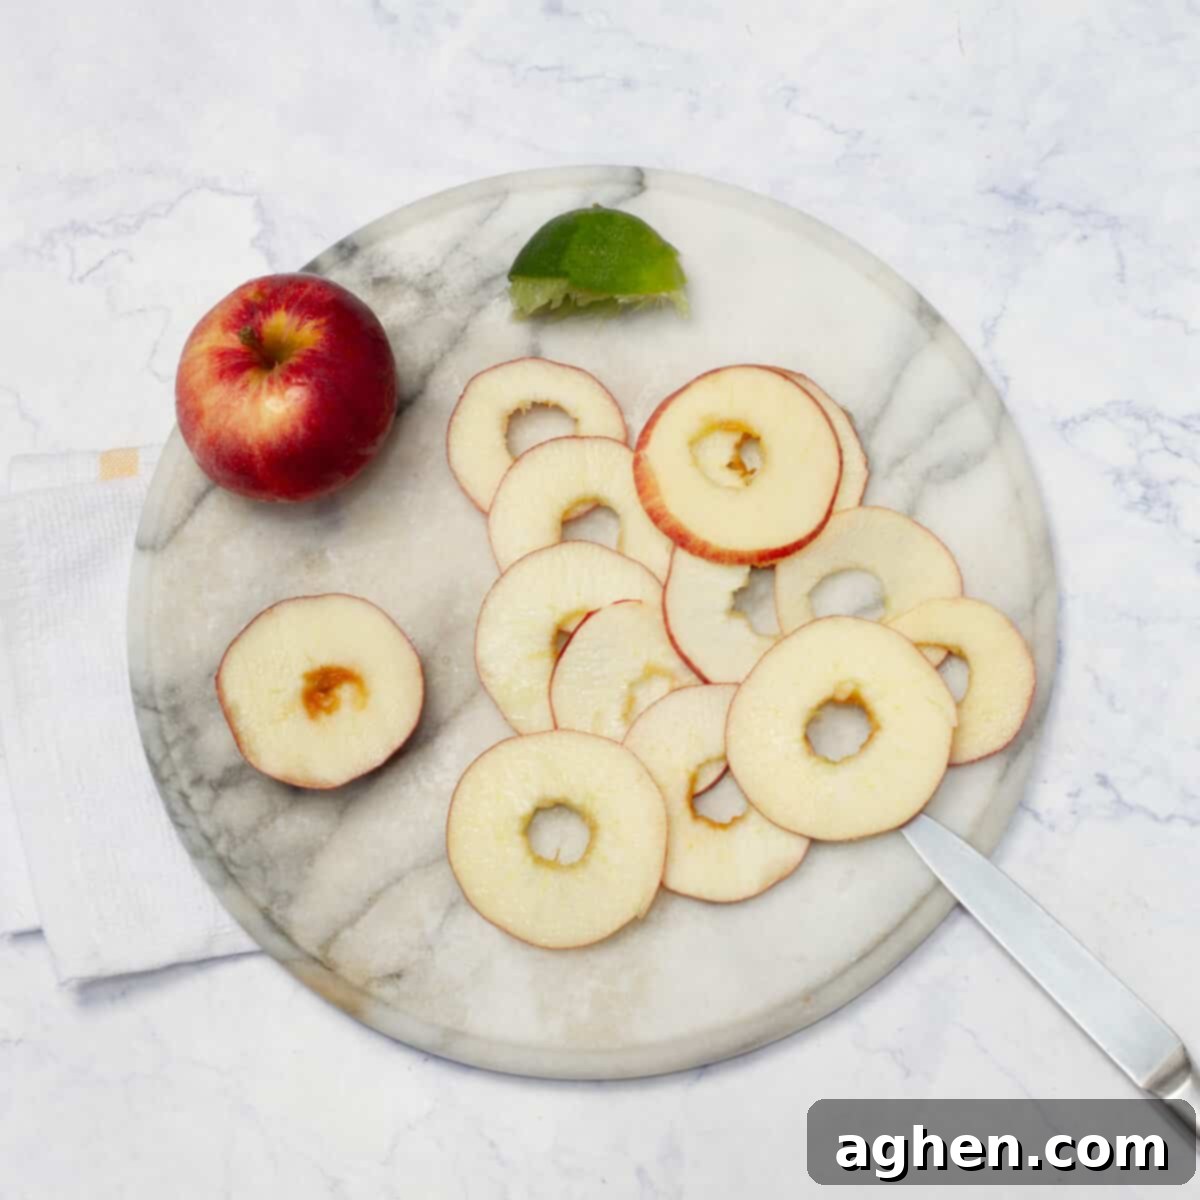
- Using a sharp knife or, ideally, a mandoline slicer, slice the apples as thinly as possible, aiming for about 1/8 inch (3 mm) thick. A mandoline ensures uniform slices, which is key to all chips finishing at the same time. If using a knife, take your time to make each slice as consistent as the last.
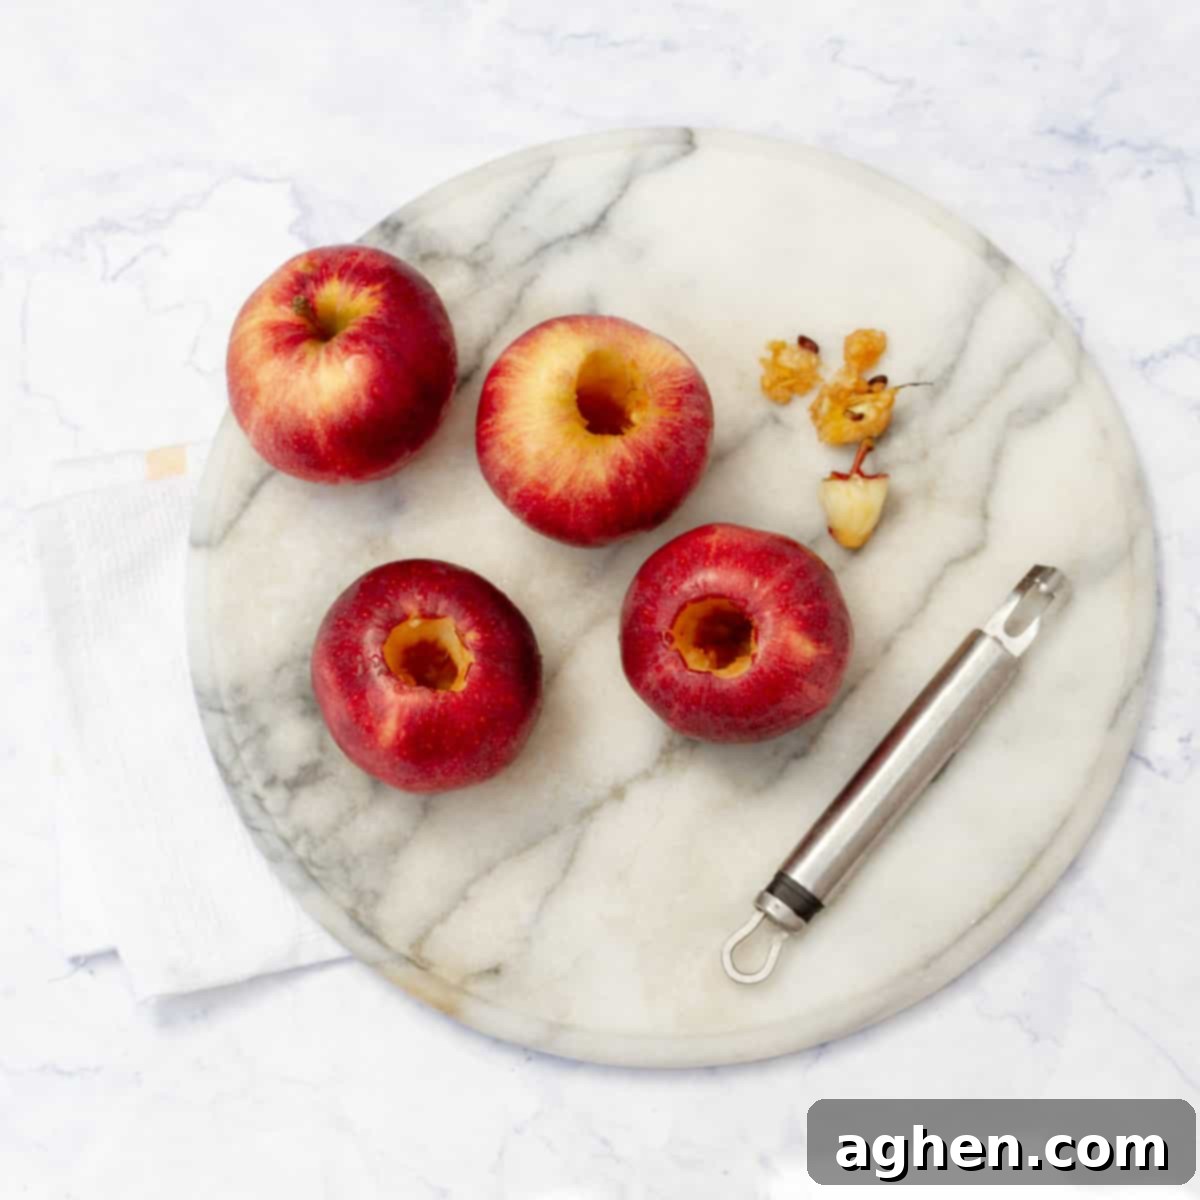
- As you slice, remove the seeds and core from each apple ring. You can use a small round cookie cutter for this or simply cut around the core.
3. Season the Apple Slices
Now it’s time to infuse the apples with flavor and prevent browning.
- Place all the thinly sliced apple pieces in a large mixing bowl.
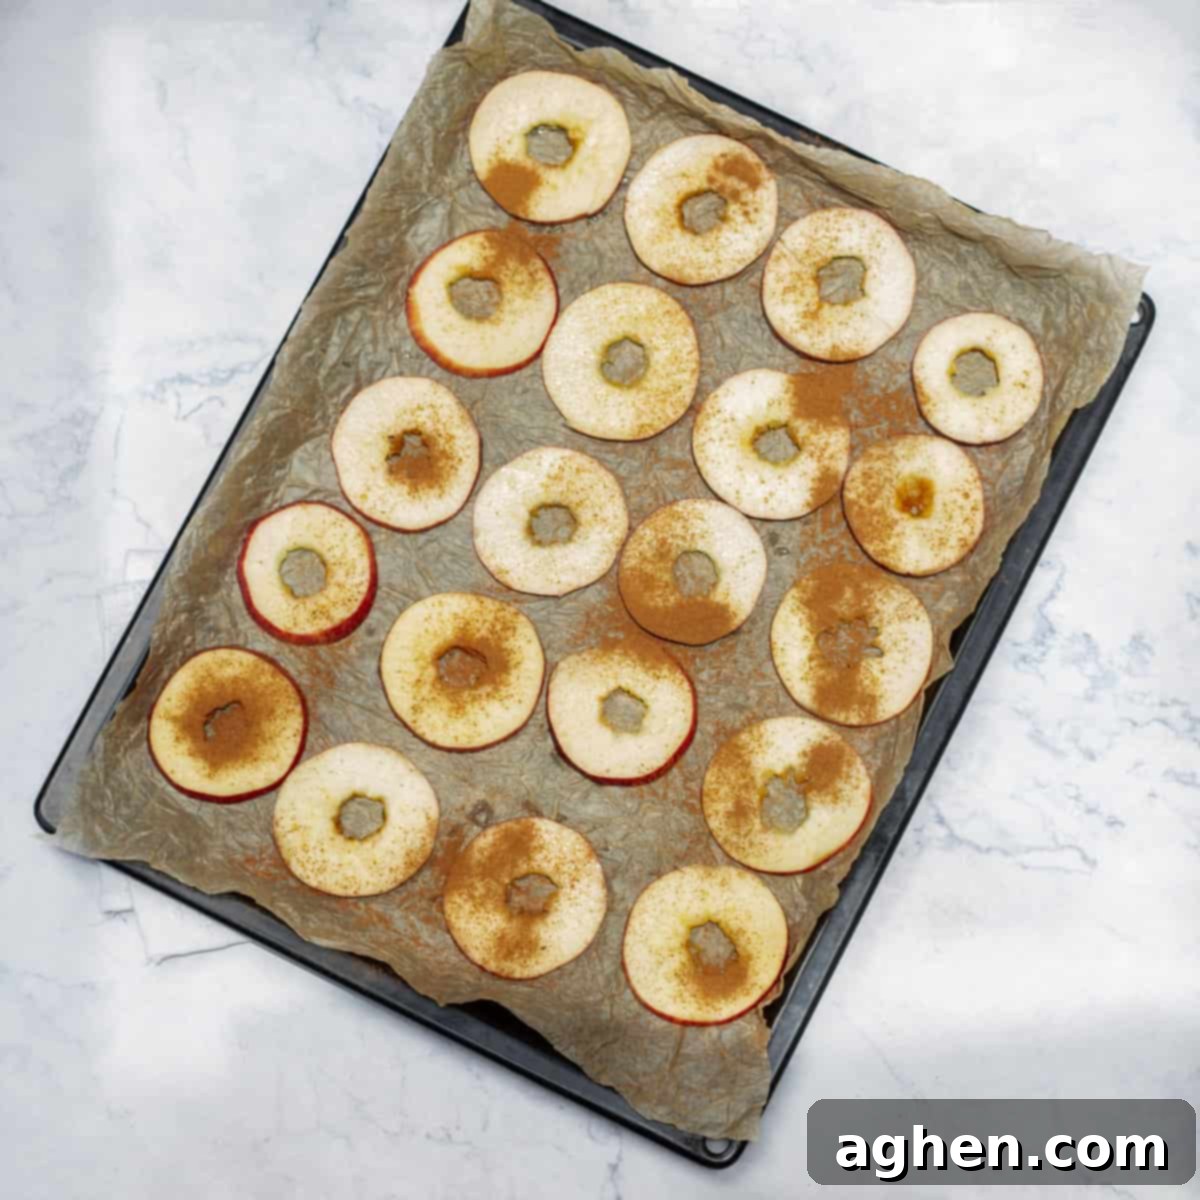
- Evenly sprinkle the ground cinnamon over the slices. Toss them gently with your hands or a spatula to ensure every piece is lightly coated. The aroma of cinnamon with fresh apples is truly inviting!
- Squeeze the fresh juice from one lemon over the seasoned apple slices. Toss again to distribute the lemon juice evenly. The citric acid in the lemon juice is a natural antioxidant that prevents enzymatic browning, keeping your apple chips looking vibrant and appetizing.
4. Arrange on Baking Sheets
Proper spacing on the baking sheets is vital for air circulation and even dehydration.
- Carefully arrange the seasoned apple slices in a single layer on your prepared baking sheets. It’s crucial that the slices do not touch or overlap. Overlapping slices will steam instead of crisp, resulting in chewy rather than crunchy chips. Use both baking sheets to avoid overcrowding.
5. The Baking Process
Patience is a virtue when baking apple chips; slow and low is the way to go.
- Place the baking sheets into your preheated 200°F (93°C) oven.
- Bake for a total of 1.5 to 2 hours. The exact time will depend on the thickness of your slices and the moisture content of your apples.
- Halfway through the baking time (around 45 minutes to 1 hour), gently flip each apple slice. This ensures even cooking and crisping on both sides.
- Keep a close eye on the chips, especially towards the end of the baking time, to prevent them from burning. They should be crisp to the touch and lightly golden brown, not dark brown or burnt. If some pieces are thinner, they might finish earlier, so remove them as they crisp up.
6. Cool and Serve Your Crispy Apple Chips
The cooling process is just as important as the baking for achieving that perfect crunch.
- Once baked to perfection, remove the baking sheets from the oven.
- Allow the apple chips to cool completely on the baking sheets. Do not remove them too soon! As they cool, any residual moisture will evaporate, and the apple chips will continue to crisp up, becoming perfectly crunchy.
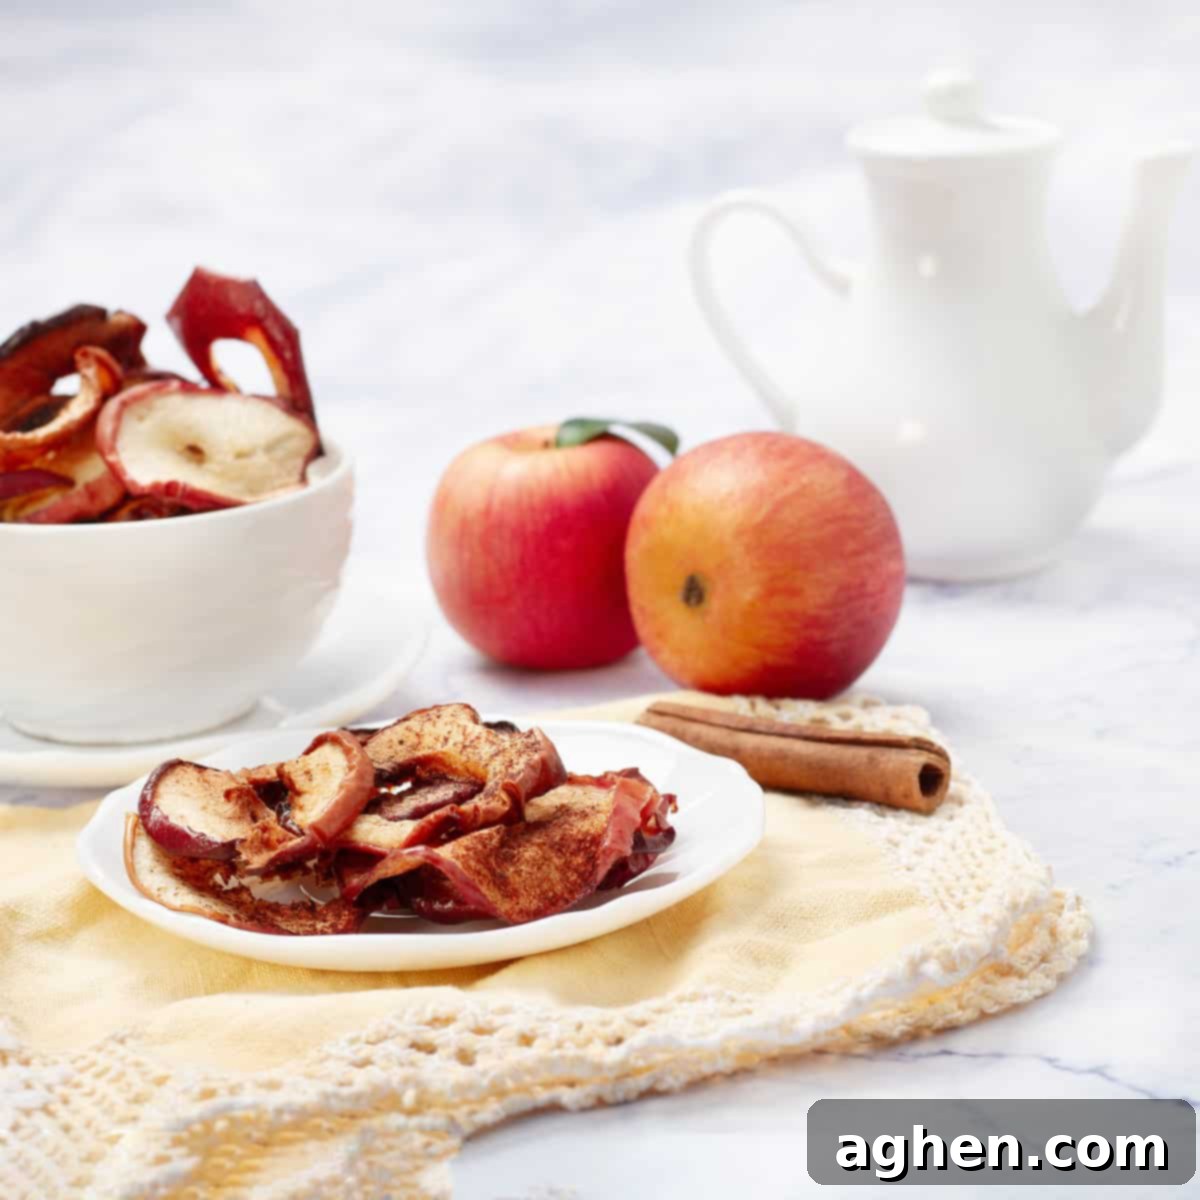
- Serve these wholesome and flavorful baked apple chips immediately as a satisfying snack, or get creative by adding them to your favorite Greek yogurt, oatmeal, salads, or even as a garnish for healthy desserts.
- To store, transfer the completely cooled apple chips to an airtight container. They will remain fresh and crispy for up to one week at room temperature. For longer storage, you can freeze them for up to a month in a freezer-safe bag, though their texture might be slightly altered upon thawing.
Creative Variations and Substitutions
While the classic cinnamon apple chip is a winner, don’t hesitate to experiment and customize your batches to suit your taste preferences or available ingredients. These variations can add exciting twists to your healthy snack repertoire:
- Other Fruit Varieties: Pears are an excellent substitute for apples, offering a similar texture and sweetness that pairs beautifully with cinnamon. You can also try thinly sliced mango, pineapple, or even sweet potatoes (for a more savory chip, omit the cinnamon and add a pinch of salt and paprika).
- Spice It Up: Beyond cinnamon, consider adding a sprinkle of nutmeg, allspice, or a pinch of ground ginger for an extra burst of autumnal flavor. A light dusting of pumpkin pie spice blend is also a fantastic option. For a more exotic touch, try a tiny amount of cardamom.
- Citrus Zest: Instead of just lemon juice, grate some lemon zest into the bowl with the apple slices. The zest contains essential oils that will infuse a more intense citrus aroma and flavor. Orange zest can also be used for a sweeter, warmer citrus note.
- Sweetener Boost (Optional): If your apples aren’t very sweet or you prefer a slightly sweeter chip, you can lightly dust them with a zero-calorie sweetener (like erythritol or stevia) before baking. For those not tracking WW points as strictly, a very light drizzle of maple syrup or honey can be added *after* the chips have cooled and crisped up, but be mindful that this will add calories and sugar.
- Savory Chips: For a completely different take, skip the cinnamon and lemon. Instead, toss the apple slices with a pinch of sea salt, black pepper, and a tiny amount of garlic powder or smoked paprika. This creates a unique sweet-and-savory experience.
Expert Tips and Tricks for Achieving Perfectly Crispy Apple Chips
Making crispy apple chips is an art, but these tips will help you master it and avoid common pitfalls:
- Choose the Right Apples: As mentioned, firm varieties like Gala, Fuji, Honeycrisp, or Golden Delicious are best. Softer, mealy apples tend to become chewy rather than crispy. Avoid Red Delicious as they often have a less desirable texture when baked.
- Slice Thickness is Everything: Aim for consistent 1/8 inch (3 mm) slices. Thicker slices will take significantly longer to bake and may remain chewy, while overly thin slices can burn quickly. A mandoline slicer is truly your best friend here.
- Combat Moisture: Apples contain a lot of water. If your apples seem particularly juicy, gently pat the slices dry with paper towels before seasoning and baking. Reducing initial moisture can help speed up the dehydration process and improve crispiness.
- Don’t Crowd the Pan: Always arrange apple slices in a single layer without touching or overlapping. Crowding traps moisture and leads to steaming, not crisping. Use multiple baking sheets if necessary.
- Use Parchment Paper or Silicone Mats: These are essential for preventing sticking and making sure your delicate chips don’t break when you try to remove them from the pan.
- Flip Halfway: Flipping the slices ensures even dehydration on both sides, leading to uniformly crispy chips.
- Monitor Closely: Baking times are approximate. Ovens vary, and apple moisture content differs. Start checking for crispness and browning around the 1.5-hour mark. If edges are browning too quickly, you might need to slightly lower the oven temperature or remove those pieces.
- Cool Completely: The chips will feel slightly pliable when hot out of the oven but will crisp up considerably as they cool. Resist the urge to snack on them immediately! Allow them to cool completely on the baking sheet for maximum crunch.
- Proper Storage: Store cooled apple chips in an airtight container at room temperature. Exposure to air will make them lose their crispness over time. If they do become slightly soft, you can try re-baking them for a short period (10-15 minutes) at a low temperature to re-crisp.
Embrace the satisfying crunch and natural sweetness of homemade crispy apple chips. This nutritious snack option is sure to become a beloved household favorite, proving that healthy eating can be incredibly delicious and easy!
Weight Watchers Points Breakdown
For those following the Weight Watchers program, these apple chips are an absolute dream. Here’s why they come out to 0 PersonalPoints:
- Apple: 0 points (typically a ZeroPoint food)
- Ground cinnamon: 0 points
- Fresh lemon juice: 0 points
Enjoy these flavorful chips without any guilt, knowing they fit perfectly into your healthy lifestyle!
Oven Baked Apple Chips
4
servings
15 minutes
2 hours
2 hours
15 minutes

Ingredients
-
4 medium-sized apples (firm varieties like Gala, Fuji, or Honeycrisp) -
1 teaspoon ground cinnamon (or more, to taste) -
Juice of 1 lemon (freshly squeezed)
Prevent your screen from going dark
Instructions
-
1. Preheat Oven & Prepare Baking Sheets: Set your oven to 200°F (93°C). Line two large baking sheets with parchment paper or silicone baking mats to prevent sticking.
-
2. Slice Apples: Wash and thoroughly dry the apples. Using a mandoline slicer or a very sharp knife, slice the apples thinly, aiming for about 1/8 inch (3 mm) thick. Remove the seeds and cores from the slices.
-
3. Season the Slices: Place the apple slices in a large bowl. Sprinkle ground cinnamon evenly over them, then squeeze the juice of one lemon over the slices. Toss gently to ensure all apple pieces are well coated with both cinnamon and lemon juice.
-
4. Arrange on Baking Sheets: Arrange the seasoned apple slices in a single layer on the prepared baking sheets. Make sure there is no overlapping, allowing enough space between slices for proper air circulation.
-
5. Bake Until Crispy: Place the baking sheets in the preheated oven. Bake for 1.5 to 2 hours, flipping the apple slices gently halfway through the baking time (around 45-60 minutes). Keep a close eye on them during the last 30 minutes to prevent burning. The chips are done when they are crisp and lightly golden brown.
-
6. Cool and Serve: Remove the baking sheets from the oven and allow the apple chips to cool completely on the sheets. They will continue to crisp up significantly as they cool. Once fully cooled, serve immediately or store in an airtight container for up to one week. Enjoy your healthy, homemade apple chips!
Notes
Nutrition
Serving:
236
g
Calories:
119
kcal
Carbohydrates:
32
g
Protein:
0.6
g
Fat:
0.4
g
Saturated Fat:
0.1
g
Potassium:
251
mg
Fiber:
5.4
g
Sugar:
23
g
Calcium:
14
mg
Iron:
0.3
mg
Nutrition information is automatically calculated and should only be used as an approximation. It is based on the ingredients as listed and may vary depending on specific product brands and preparation.
Tried this recipe?
Mention
@drizzlemeskinny or tag
#drizzlemeskinny!
