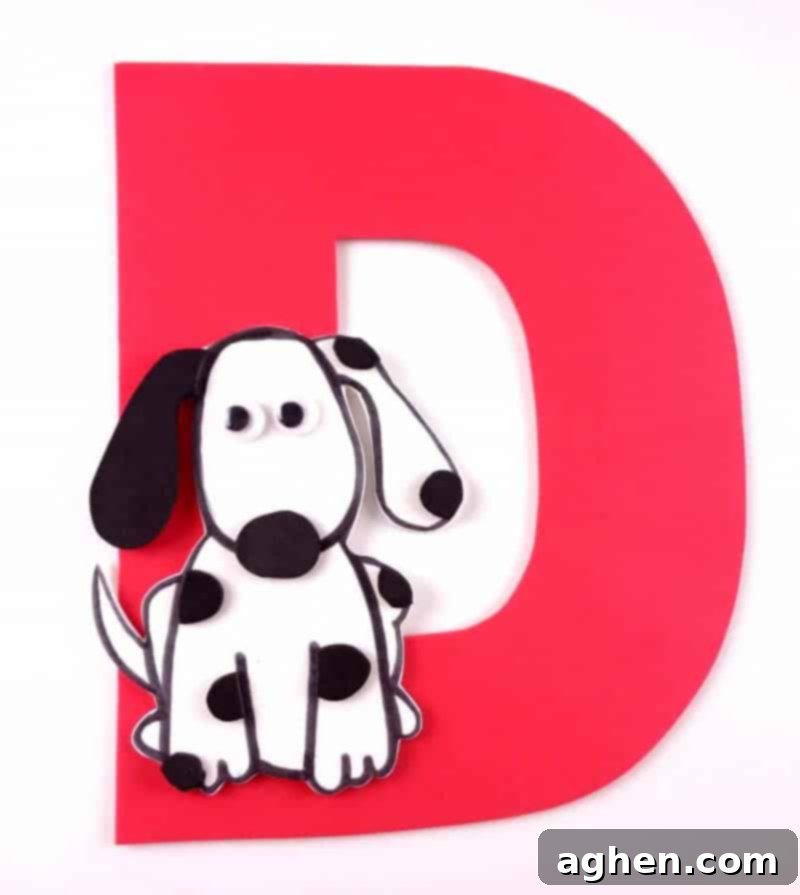
Letter D is for Dog Craft: Fun & Educational Preschool Activity with Free Printable Template
Welcome to another exciting installment of our popular “Letter of the Week” craft series! This week, we’re diving into the delightful world of the letter D with an adorable dog craft that’s perfect for preschoolers and toddlers. Designed to make letter recognition both fun and memorable, this hands-on activity utilizes a free printable template, making it super easy for parents, teachers, and caregivers to set up. Engaging in crafts like this not only helps children associate the letter D with its sound and a familiar object (a dog!) but also nurtures crucial fine motor skills, creativity, and hand-eye coordination. Get ready to embark on a charming crafting adventure that brings the alphabet to life!
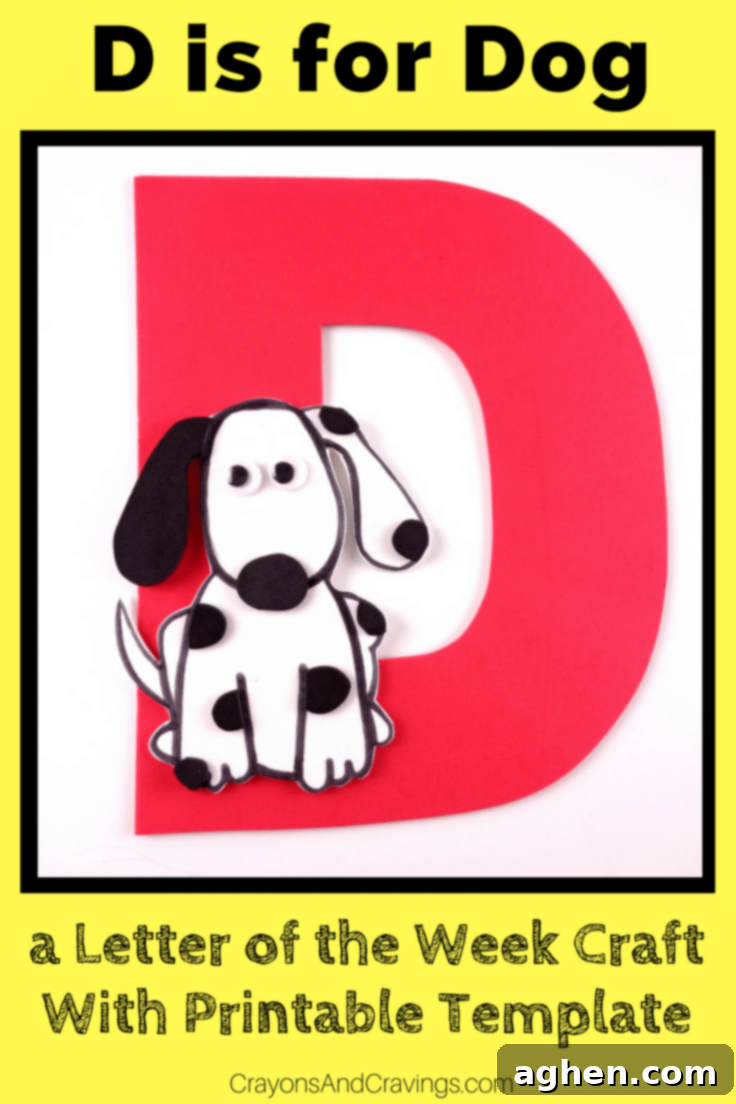
Following our engaging Letter C is for Caterpillar craft, we’re wagging our tails with excitement to introduce the letter D. This week’s featured craft brings a friendly canine companion to life, helping young learners visually connect the uppercase letter D with a recognizable animal. Our comprehensive “Letter of the Week” series is carefully curated to provide a structured yet playful approach to early literacy, ensuring that each letter of the alphabet becomes an adventure rather than a chore. These activities are fantastic for home learning, classroom settings, or even a fun rainy-day project!
View our entire collection of Letter of the Week crafts here!
Developing Essential Skills with Your Letter D Dog Craft
This delightful dog craft is more than just an art project; it’s a powerful tool for early childhood development. It primarily involves cutting, tracing, and gluing – activities that are fundamental for refining fine motor skills. Depending on the child’s age and developmental stage, you can easily adapt the level of assistance provided. For instance, younger toddlers might benefit most from having an adult pre-trace and pre-cut the trickier shapes, allowing them to focus on the joy of assembling and gluing the pieces. This approach builds confidence and introduces them to the craft process in a manageable way, enhancing their tactile exploration and creativity.
For older preschoolers or kindergarteners, encourage them to take on more responsibility. Guiding them through tracing the letter D and dog shapes onto craft foam or colored cardstock can significantly boost their hand-eye coordination and precision. While they might still need a little help with the more intricate cuts, allowing them to practice with scissors under supervision is invaluable for strengthening hand muscles and developing dexterity. The act of cutting along lines, applying glue carefully, and positioning pieces thoughtfully all contribute to cognitive development, problem-solving skills, and a sense of accomplishment. Remember, the goal is participation and learning, not perfection!
Crafting Your Adorable Letter D Dog
Essential Supplies for Your Letter D Dog Craft
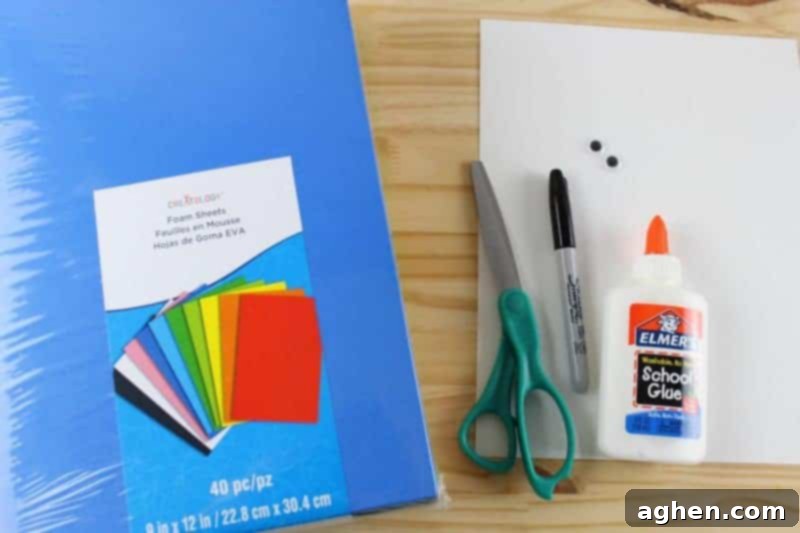
Gathering your materials is the first exciting step in any crafting adventure! For this fun Letter D dog project, we’ve carefully selected supplies that are easy to find and wonderful for little hands to work with. While we opted for craft foam due to its durability and vibrant colors, colored cardstock is an excellent and equally effective alternative. Make sure you have everything ready before you start to ensure a smooth and enjoyable crafting experience for your child.
- Letter D Printable Template: Get your free printable Letter D template here. This forms the foundational shape of your craft.
- Dog Printable Template: Download the companion Dog template here to create your charming canine friend.
- Craft Foam or Colored Cardstock: Choose vibrant colors that appeal to your child. We used craft foam for a slightly textured look, but sturdy colored cardstock works just as well. You’ll need at least two colors: one for the letter D and one for the dog’s body, plus a third for accents like ears and spots. Consider sourcing craft foam or colored cardstock online for convenience.
- Child-Safe Scissors: Essential for developing cutting skills. Ensure they are appropriate for your child’s age and supervised use.
- Craft Glue: A good quality craft glue or glue stick for securely attaching pieces.
- Black Marker: For outlining and adding facial details to your dog.
- Googly Eyes: These add a playful and expressive touch to your dog, bringing it to life!
Step-by-Step Guide: Crafting Your Letter D Dog
Follow these simple, illustrated steps to create a delightful Letter D dog craft with your child. Remember to adjust the level of assistance based on their age and skill level, ensuring a positive and engaging experience and maximizing the educational benefits.
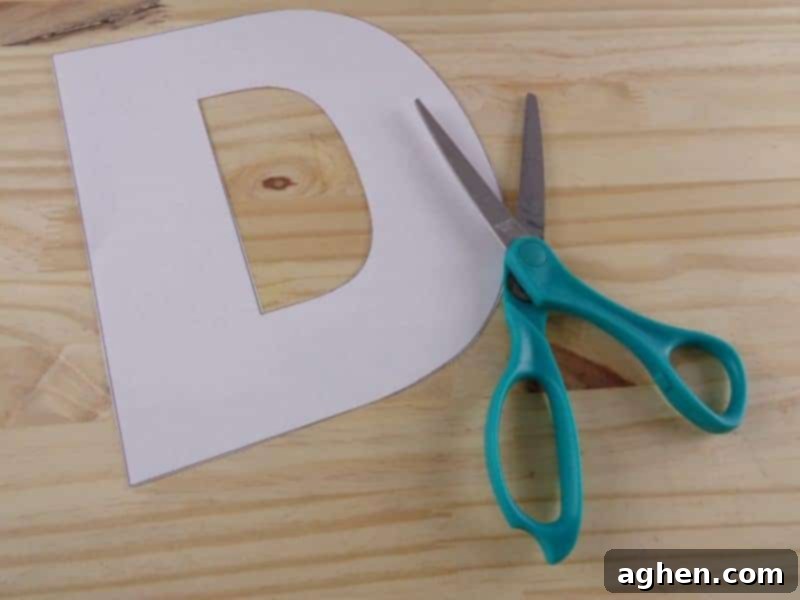
1. Prepare the Letter D Template: Carefully cut out the large uppercase letter D shape from the printable Letter D template. This will serve as the sturdy base for your dog. For younger children, an adult should handle this step to ensure clean lines and a precise shape. For older children, supervise as they practice their cutting skills, reinforcing careful scissor use.
2. Trace Letter D onto Craft Material: Place your cut-out paper Letter D template onto your chosen craft foam or colored cardstock. Using a pen or pencil, meticulously trace around the edges of the letter D. Choose a bright, contrasting color for your letter D to make it stand out! This tracing practice is excellent for developing fine motor control and hand stability.
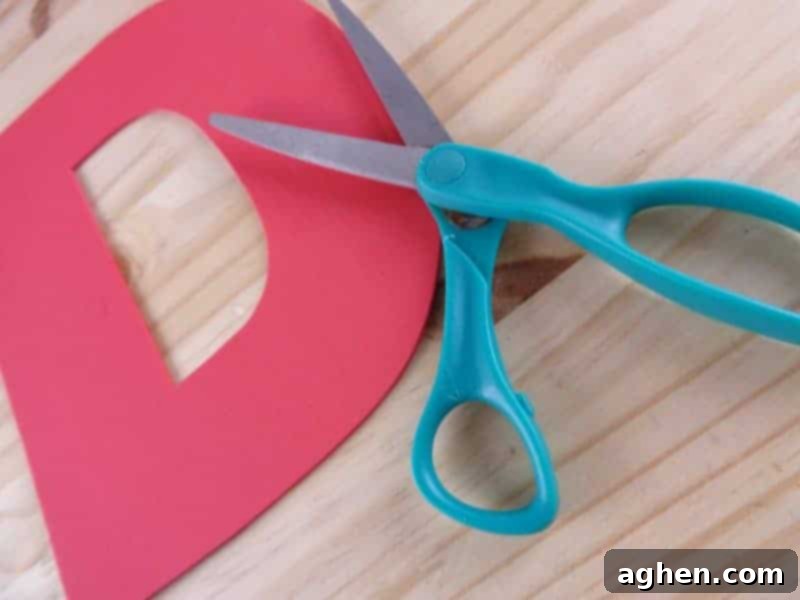
3. Cut Out the Craft Foam Letter D: Now, carefully cut out the traced letter D from your craft foam or cardstock. This is a great opportunity for older children to practice their scissor skills. Encourage them to stay as close to the traced line as possible. This large, distinct letter will be the foundation upon which your dog will be built, reinforcing its shape and form. Always ensure children use child-safe scissors and are supervised during this step.

4. Prepare the Dog’s Body: Take the dog template, cut out its shape, and then trace it onto a contrasting color of craft foam (e.g., white or light brown). Once traced, carefully cut out the dog’s body. This will be the main part of your adorable canine friend, and its color will provide a nice contrast against the letter D.
5. Create Dog Features (Nose, Ear, Spots): From a darker color of craft foam (like black or dark brown), cut out several circles of varying sizes. You’ll need one larger circle for the nose, one medium-sized circle for a floppy ear, and a few smaller irregular shapes for the dog’s characteristic spots. Encourage creativity here – children can decide how many spots their dog will have, fostering imaginative play!
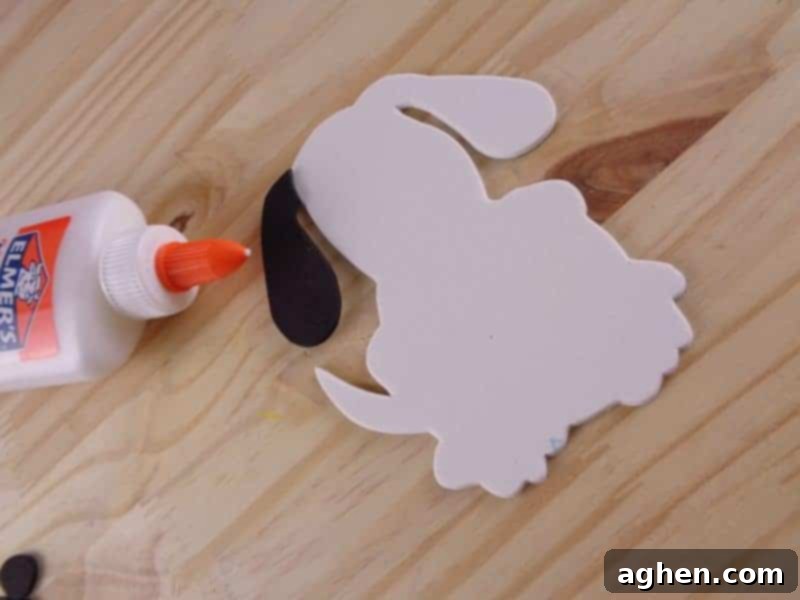
6. Attach the Ear: Apply a small amount of glue to the back of the black ear piece and carefully attach it to the dog’s head. Position it slightly overlapping the edge to give it a realistic, floppy appearance. If any excess white foam from the dog’s body is visible behind the ear, trim it neatly for a clean finish. This step teaches children about spatial awareness and neatness.
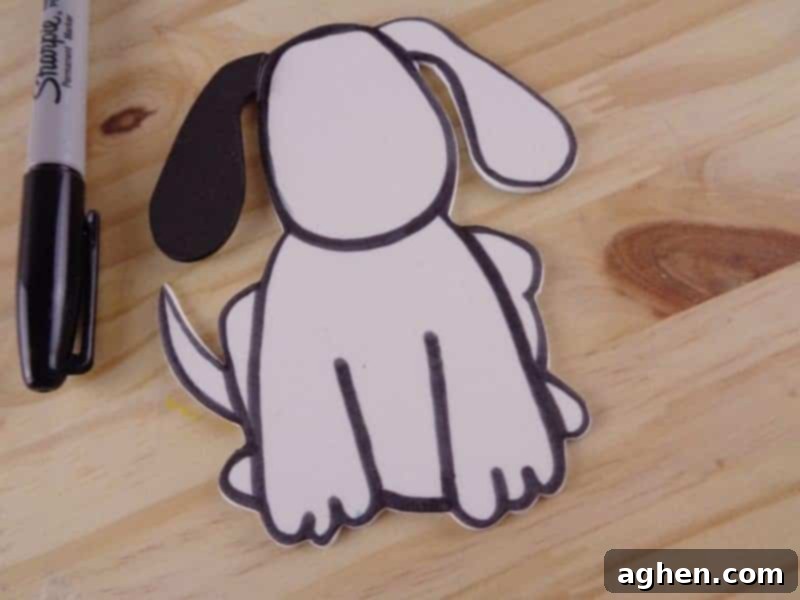
7. Outline the Dog with Marker: Using your black marker, carefully outline the entire perimeter of the dog’s body. This step adds definition and makes the dog’s shape pop! You can also draw a small mouth under the nose if desired, adding more personality to your creation. This helps refine fine motor control and artistic expression, making the dog truly unique.
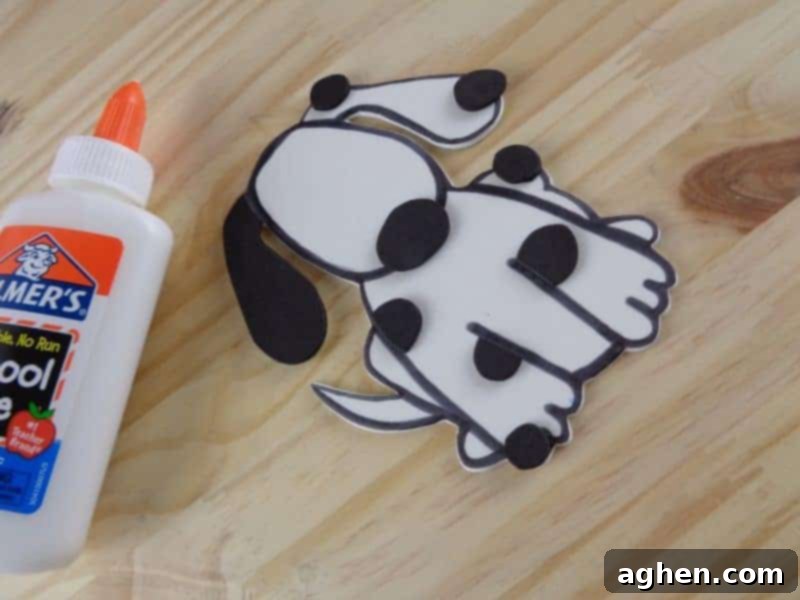
8. Glue on Nose and Spots: Now it’s time to give your dog its distinct features! Apply glue to the back of the nose piece and position it centrally on the dog’s snout. Then, strategically place the smaller black spots onto the dog’s body. Let your child decide where their dog’s spots will go, encouraging their creativity and sense of ownership over the project. This is where their unique dog truly comes to life!
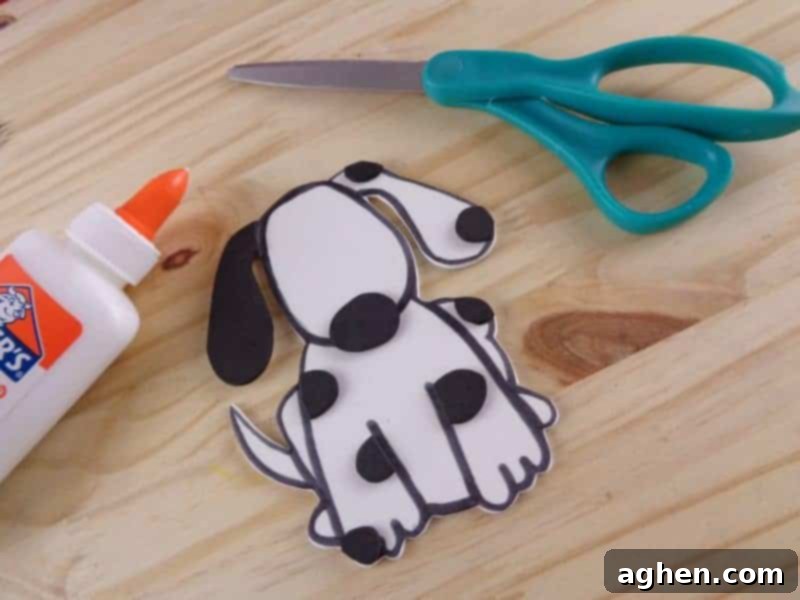
9. Trim Any Excess (If Needed): After gluing the nose and spots, briefly inspect the dog. If any edges or glue appear untidy, carefully trim off any excess craft foam or clean up glue marks. This ensures a neat and polished final look for your dog, teaching attention to detail and helping to create a display-worthy piece.
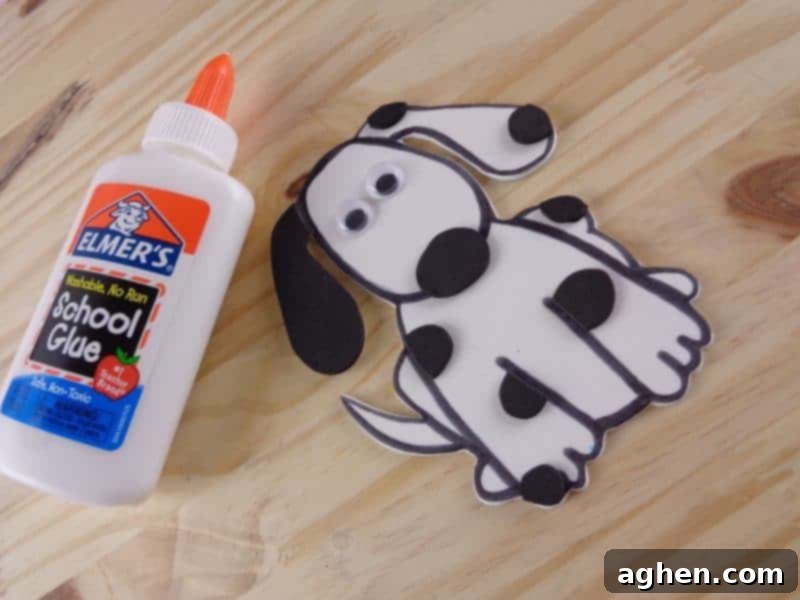
10. Add the Googly Eyes: The final touch to bring your dog to life – the googly eyes! Apply a tiny dab of glue to the back of each googly eye and carefully place them above the dog’s snout. Watch as your child’s creation suddenly gains a personality and becomes even more endearing with those wiggly eyes! This step is often a favorite among little crafters.
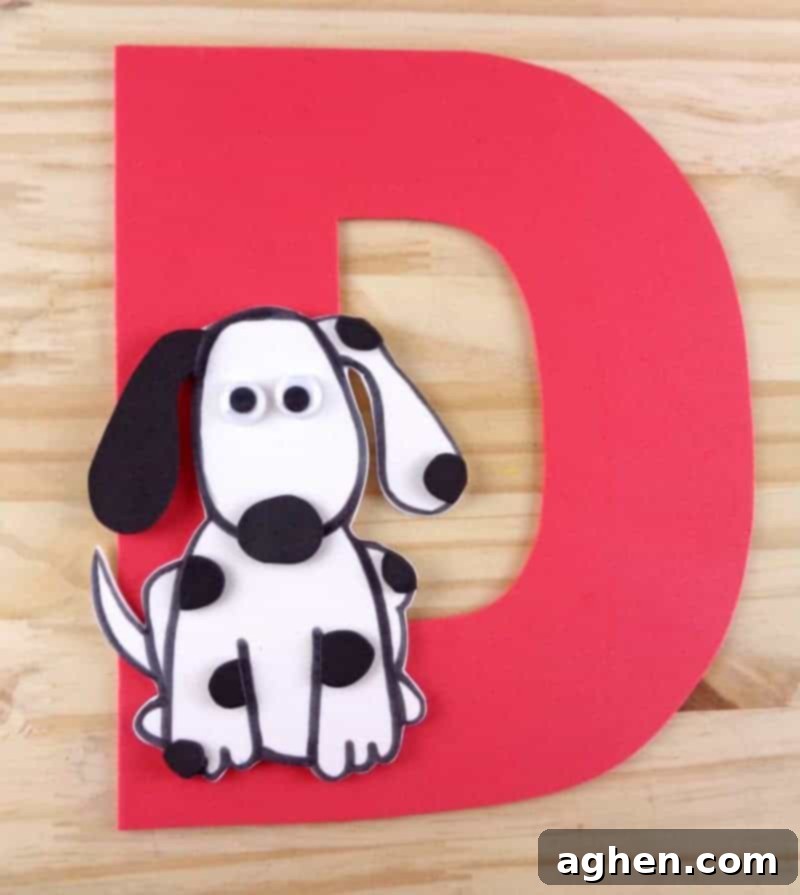
11. Assemble Your Letter D Dog: The grand finale! Carefully apply glue to the back of your completed dog and firmly attach it to the large letter D shape you prepared earlier. Position the dog so it looks like it’s resting playfully on or beside the letter, creating a cohesive and delightful visual representation of “D is for Dog.” Allow sufficient time for the glue to dry completely before displaying your masterpiece and celebrating your child’s success!
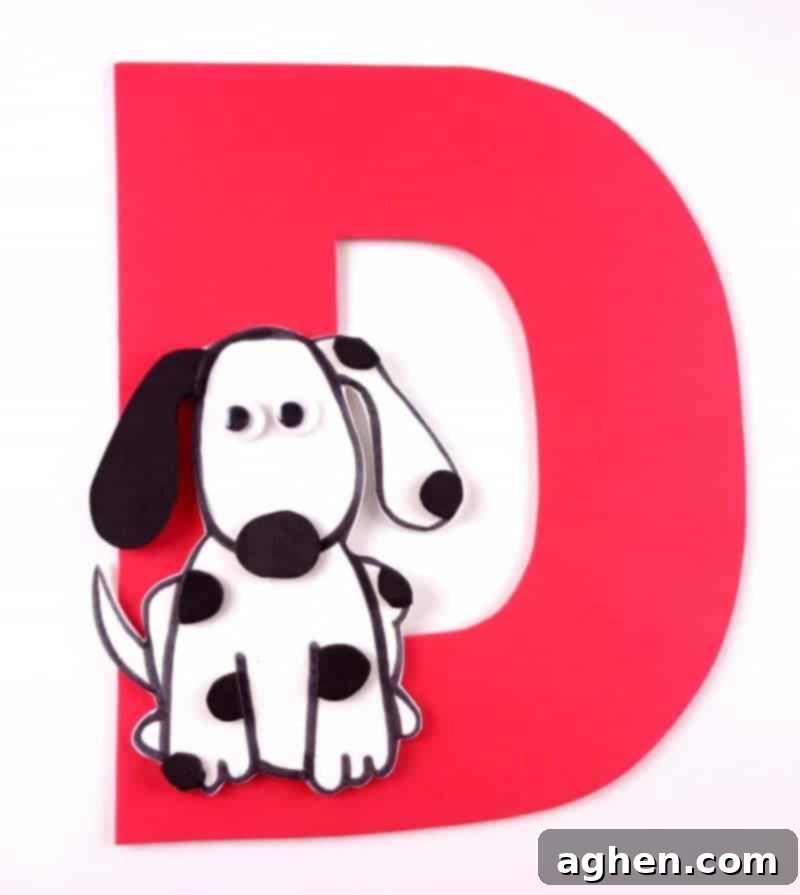
Celebrate Learning with Your Letter D Dog Craft!
Congratulations! You and your child have successfully created an adorable Letter D dog craft, transforming a simple letter into a playful friend. This activity is a wonderful way to reinforce letter recognition in a memorable and tactile manner. Display your child’s finished craft proudly – whether on the fridge, a bulletin board, or as part of an alphabet display – to celebrate their hard work and artistic achievement. Each time they see it, they’ll be reminded of the letter D and the fun they had making their dog.
Crafting together offers so much more than just a finished product; it provides precious bonding time, encourages communication, and fosters a love for learning that extends beyond the craft table. We truly hope you enjoyed this engaging and educational Letter D craft experience. It’s been a joy guiding you through this step-by-step process, and we encourage you to explore more of our Letter of the Week series to continue your alphabet adventure. Keep the learning excitement going! Make sure to look out for next week’s adventure as we delve into the world of the letter E with our upcoming Letter E craft. Happy crafting and happy learning!
