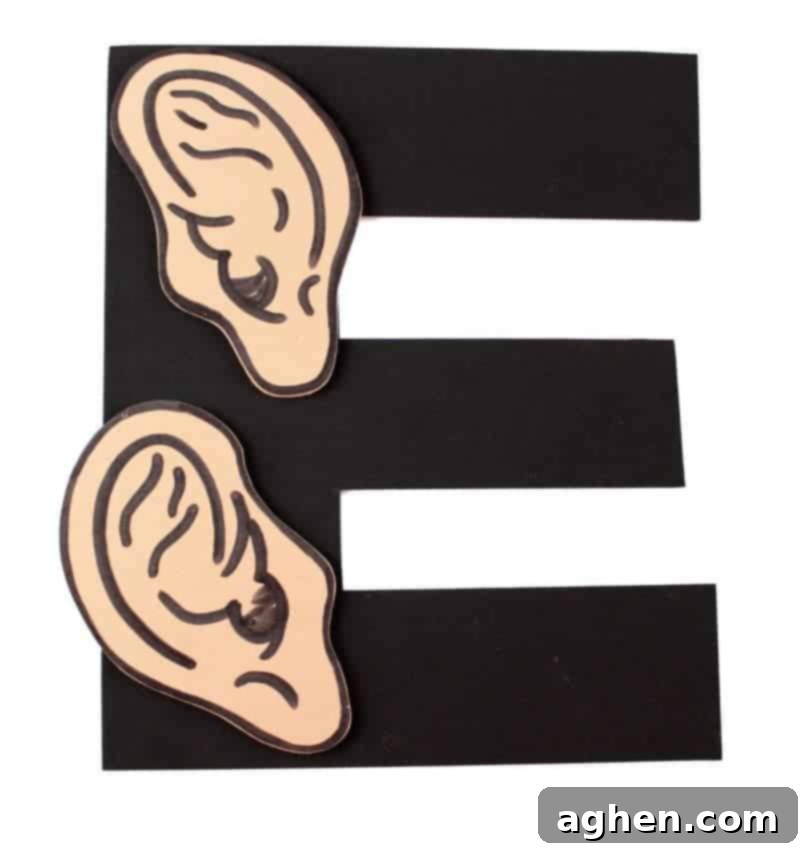
Engaging Letter E Craft: E is for Ears Activity with Free Printable Template for Preschoolers
Welcome to another exciting installment of our popular “Letter of the Week” craft series! Designed specifically to boost letter recognition and develop crucial fine motor skills in toddlers and preschoolers, these activities make learning the alphabet a joyful adventure. This week, we’re diving into the fifth letter of the alphabet with an adorable and educational Letter E craft: ‘E is for Ears’!
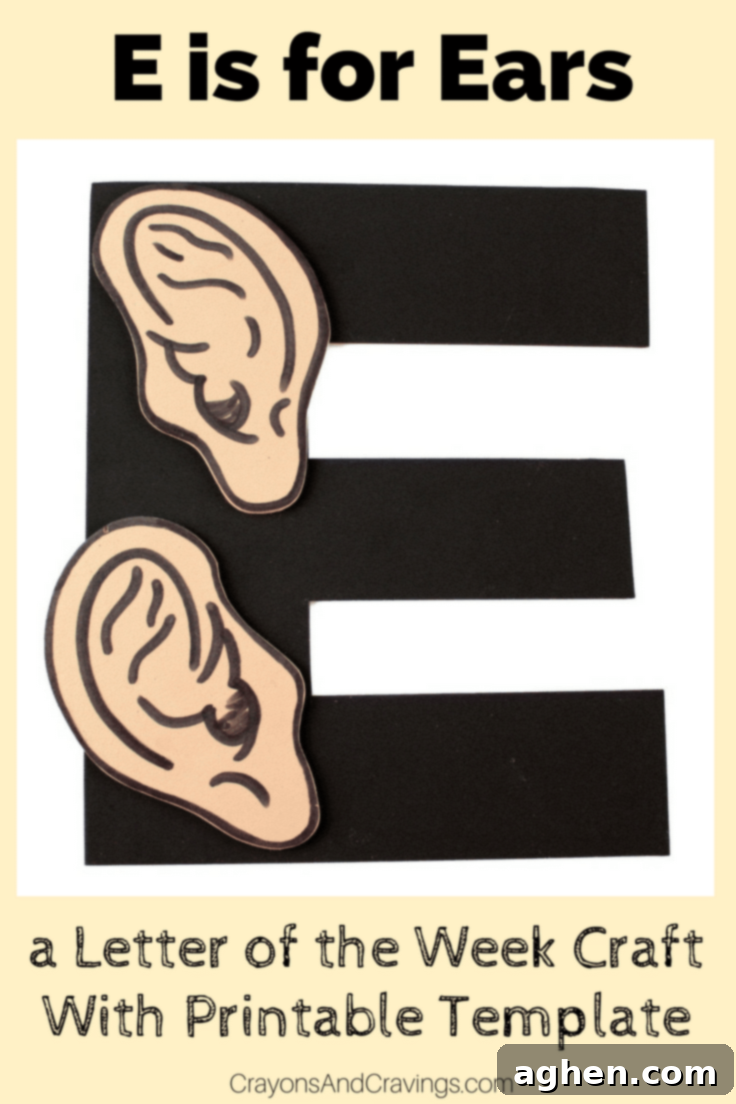
Just last week, we had a blast creating our Letter D is for Dog craft, and now we’re eagerly moving on to the letter E. The word “Ear” is a perfect starting point, not only because it begins with the letter E, but also because it provides a wonderfully tangible and relatable concept for young children. This craft isn’t just about gluing pieces together; it’s about connecting the abstract shape of a letter to a familiar object, reinforcing phonetic sounds, and building confidence in early literacy.
View our entire Letter of the Week craft series here and explore more fun educational activities!
Why “E is for Ears” is a Perfect Letter E Craft
Choosing “E is for Ears” for our Letter E craft is intentional. It provides a clear, phonetic association that helps children grasp the short ‘e’ sound. The visual representation of ears attached to the letter E makes the learning process concrete and memorable. As children engage with this craft, they’re not only learning to recognize the letter E but also expanding their vocabulary and understanding how letters form words. This multi-sensory approach is highly effective for early childhood education, making abstract concepts more accessible and enjoyable.
The Educational Benefits of Engaging in Letter Crafts
Crafting goes far beyond just cutting and gluing. For young learners, activities like this Letter E craft offer a multitude of developmental benefits:
- Fine Motor Skill Development: The acts of cutting, tracing, and gluing are fantastic for strengthening small hand muscles and improving dexterity, which are crucial for future writing skills.
- Letter Recognition: Repeated exposure to the letter E in a fun, interactive way solidifies its shape and association in a child’s mind.
- Hand-Eye Coordination: Aligning shapes, applying glue precisely, and cutting along lines all enhance hand-eye coordination.
- Following Instructions: Children learn to listen and follow a sequence of steps, an essential skill for both academic and everyday life.
- Creativity and Imagination: While guided, there’s always room for personal touches, allowing children to express their creativity.
- Problem-Solving: Sometimes pieces don’t fit perfectly, or glue is too sticky; these small challenges encourage gentle problem-solving.
- Vocabulary Expansion: Introducing words like “ear,” “enormous,” or “elephant” during the craft session broadens their lexicon.
- Parent-Child Bonding: Crafting together provides a wonderful opportunity for quality time, communication, and shared learning experiences.
Preparing for Your Letter E Craft Adventure: Age-Appropriate Adaptations
This Letter E craft involves several steps including cutting, tracing, and adding line details. The level of assistance required will vary greatly depending on your child’s age and skill level. We always encourage adapting our crafts to best suit your child’s individual needs:
- For Younger Toddlers (18-30 months): You may want to pre-cut all the pieces (the letter E and the ear shapes) for them. Focus on the gluing process, allowing them to practice placing the ears onto the letter E. This provides them with the satisfaction of completing the craft while still building recognition skills. You can also trace the detail onto the ears for them to color in with a marker.
- For Older Toddlers & Preschoolers (2.5 – 4 years): Allow them to practice tracing the templates onto the craft foam or paper with your guidance. You might need to hold their hand while they use scissors for the first time, or provide safety scissors and supervise closely. The goal here is to introduce these skills gently.
- For Pre-K and Kindergarteners (4-6 years): Encourage these older children to try cutting the pieces out on their own as much as possible, as this is an excellent opportunity to refine their fine motor skills. They might still need some help tracing the templates accurately onto the foam or cardstock, but the cutting should be more independent. They can also take full ownership of adding the ear details with a marker.
Remember, the process is more important than perfection. Celebrate their effort and creativity!
Letter E is for Ears: Craft Supplies
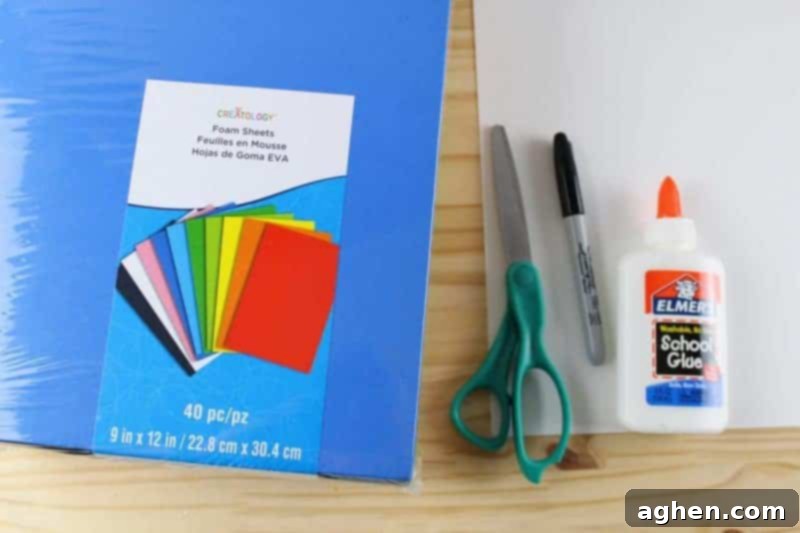
Gathering your supplies is the first step to a successful crafting session. Here’s what you’ll need for your “E is for Ears” craft:
- Letter E Template: Printed on sturdy paper or cardstock. This will be your guide for cutting out the main letter shape. Get your free Letter E Printable Template here!
- Ear Template: Also printed on paper or cardstock. These will be the foundation for your adorable ears. Download your Ear Printable Template here!
- Craft Foam or Colored Cardstock: We opted for colorful craft foam for its texture and durability, which can add a nice tactile element to the craft. However, sturdy colored cardstock works just as well and is often more readily available. Choose any colors you like!
- Child-Safe Scissors: Ensure you have a pair of scissors appropriate for your child’s age and skill level. For younger children, provide blunt-tip safety scissors and supervision.
- Craft Glue: Any standard liquid craft glue or a glue stick will work. Liquid glue might offer a stronger hold, but glue sticks are less messy for little hands.
- Black Marker: A regular black marker (washable, of course!) for adding essential details to the ears.
Step-by-Step Guide: Crafting Your “E is for Ears” Masterpiece
Let’s get started on bringing your Letter E to life! Follow these simple steps for a fun and engaging crafting experience. Remember to offer assistance as needed, turning each step into a learning opportunity.
Step 1: Preparing Your Letter E Template
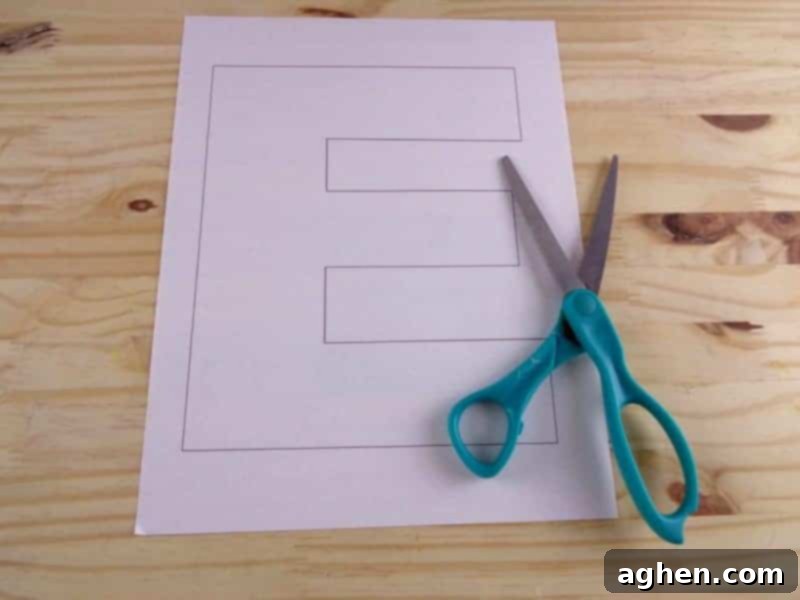
1. Begin by carefully cutting the Letter E shape out from the printable template. This will serve as your sturdy guide for the next step. If your child is old enough, encourage them to practice their scissor skills here!
Step 2: Tracing the Letter E
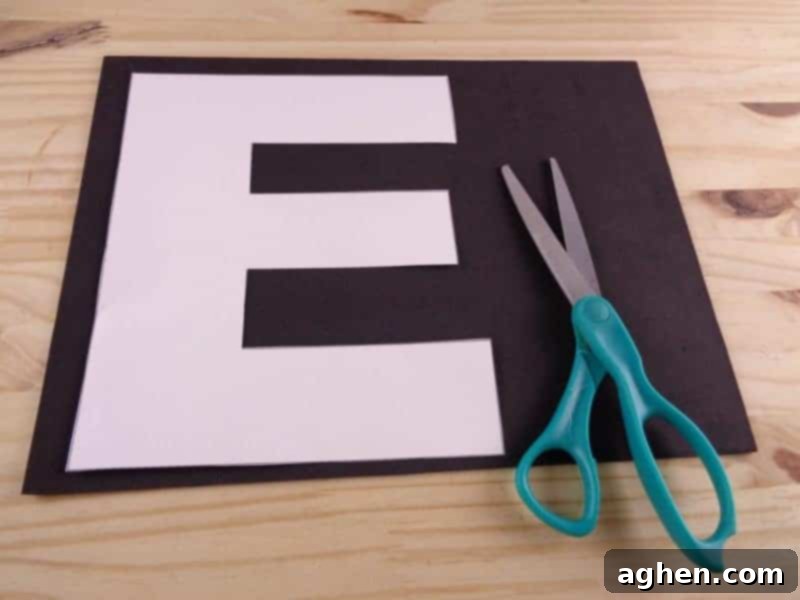
2. Now, place your cut-out Letter E template onto your chosen sheet of craft foam or colored cardstock. Using a pen or pencil, carefully trace around the edges of the letter. This is a great opportunity to talk about lines and shapes with your child.
Step 3: Bringing the Letter E to Life
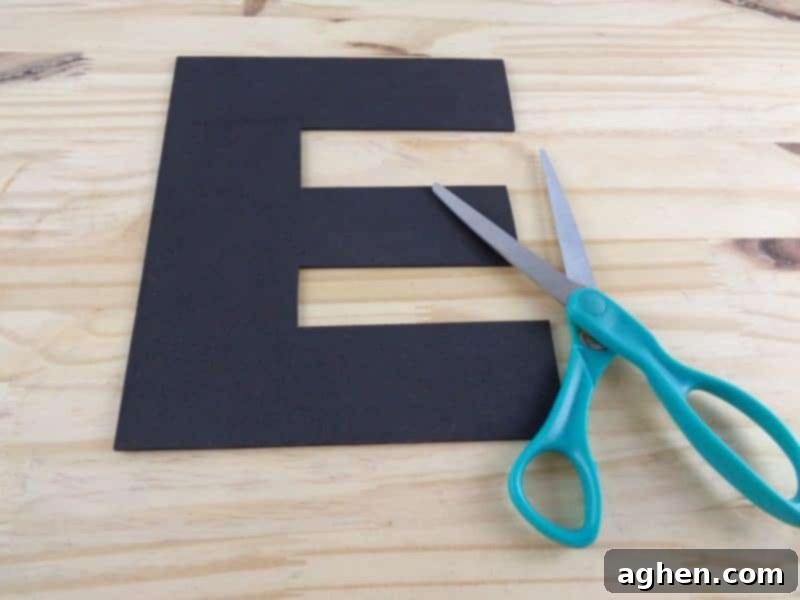
3. With your tracing complete, it’s time to cut out the actual letter E from the craft foam or cardstock. Guide your child to follow the traced lines as accurately as possible. This step really hones their cutting precision.
Step 4: Crafting the Ears
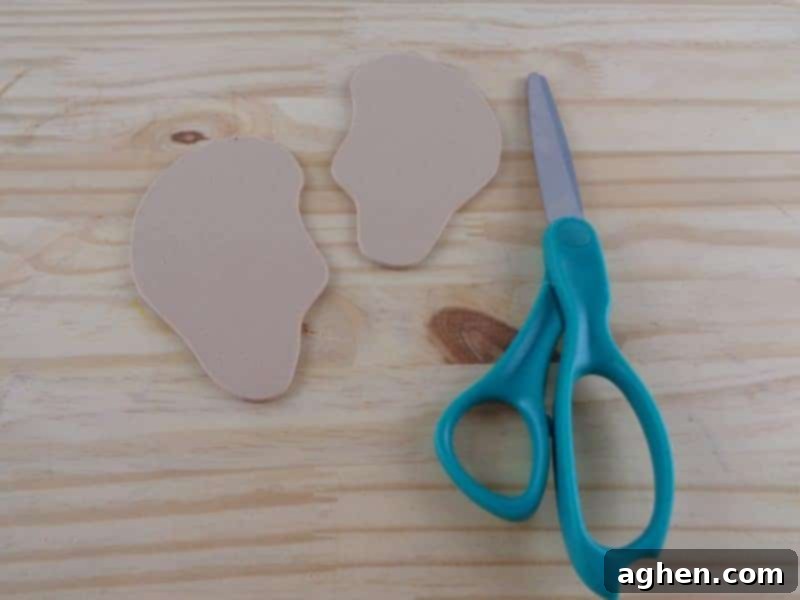
4. Next, take your ear template. Cut out this shape, then trace it onto your craft foam or cardstock – you’ll need two ear shapes for your letter E. Once traced, carefully cut out both ears. This doubles the practice for cutting skills!
Step 5: Adding Detail to the Ears
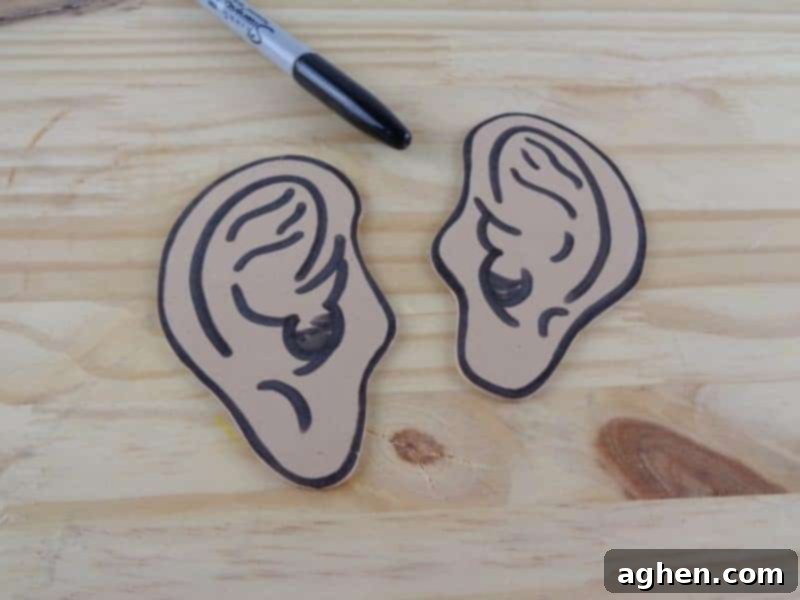
5. Now for the fun part that brings the ears to life! Use a black marker to add simple line details to each ear. You can draw a small curve or a few lines to mimic the inner structure of an ear. Encourage your child to add their own creative touches here!
Step 6: Assembling Your “E is for Ears” Craft
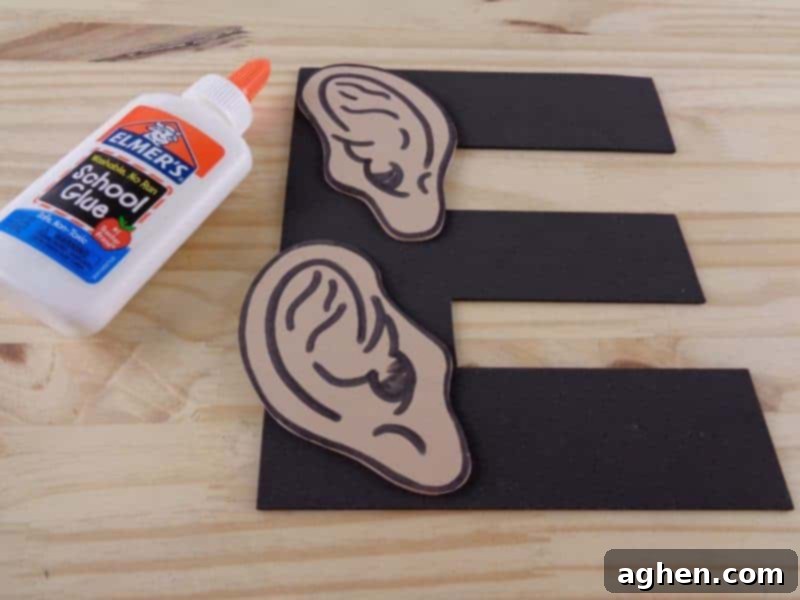
6. The final step is to assemble your craft! Apply glue to the bottom edge of each ear and firmly press them onto the upper “arms” or horizontal lines of the letter E. Hold them in place for a few seconds to ensure they stick. And just like that, your adorable Letter E is for Ears craft is complete!
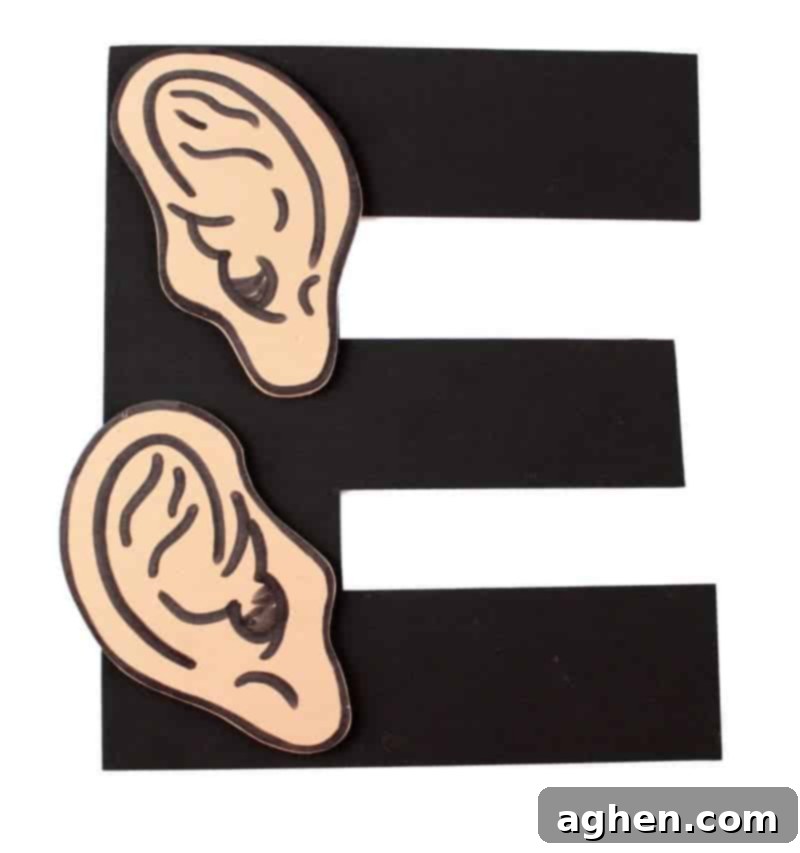
Displaying Your Child’s Creation
Once the glue is dry, find a special place to display your child’s fantastic “E is for Ears” craft! You can hang it on the refrigerator, create an alphabet wall in their playroom, or even bind all your “Letter of the Week” crafts into a personalized alphabet book. Seeing their work proudly displayed boosts their confidence and reinforces the learning. Take a moment to admire their hard work and discuss the letter E again!
Extending the Learning: More “E” Words and Activities
Don’t stop the learning at just ears! Here are a few ideas to extend your “E” exploration:
- Brainstorm “E” Words: Ask your child to name other words that start with the letter E (e.g., elephant, egg, eagle, engine, exit, elf).
- Sound Hunt: Go on an “E” sound hunt around the house, looking for objects that start with the letter E.
- Read “E” Books: Find picture books featuring words that start with E, or even books dedicated to the letter E.
- Practice Writing: Encourage older children to practice writing the uppercase and lowercase letter E.
Join Our Letter of the Week Craft Series
We hope you and your little one thoroughly enjoyed creating this fun and educational Letter E craft. This activity is a testament to how simple materials can transform into powerful learning tools, helping children master the alphabet one letter at a time.
Keep an eye out next week as we embark on a new crafting adventure with our exciting Letter F craft! Our goal is to make learning engaging and accessible for every child.
Until next time, happy crafting and happy learning!
