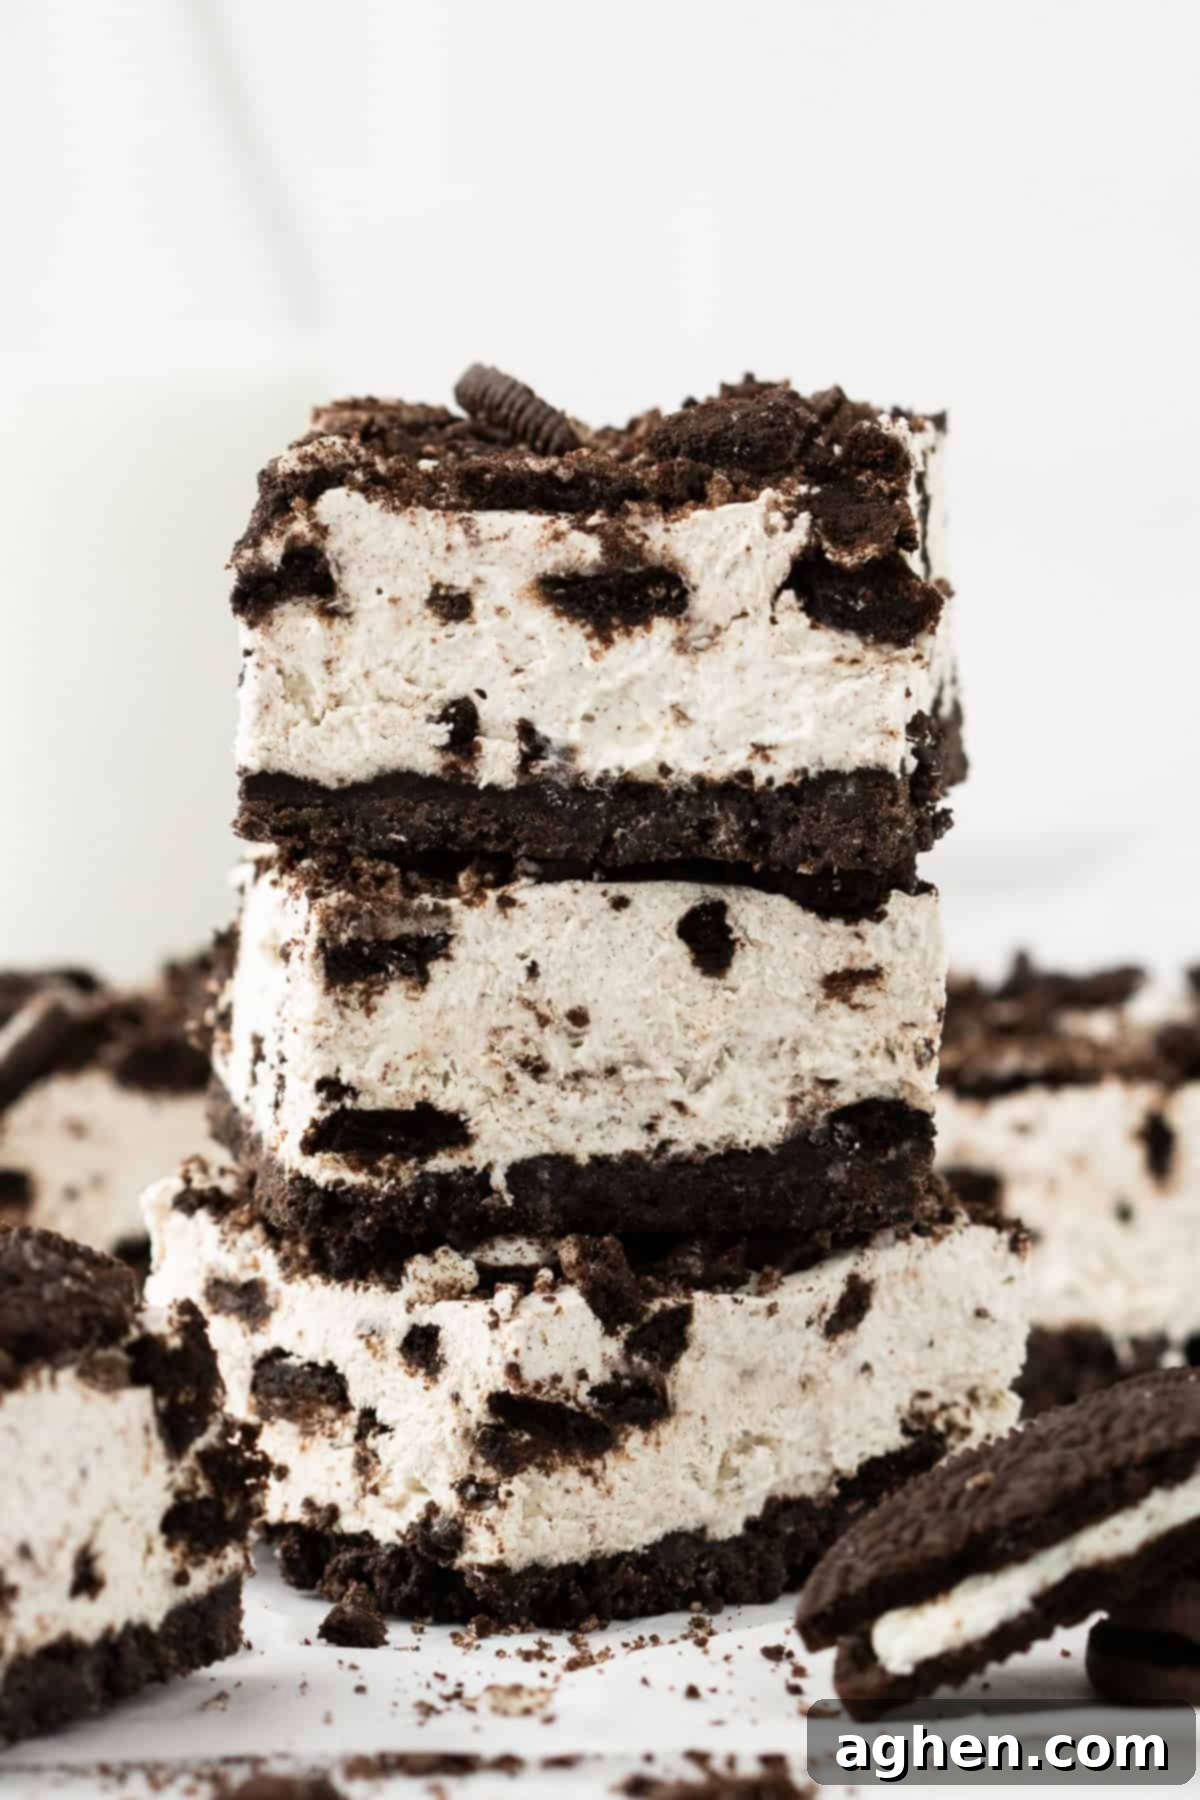
Irresistible No-Bake Oreo Cheesecake Bars: The Ultimate Easy Dessert
Are you a fan of classic cheesecake but dread the baking process? Or perhaps a devoted lover of cookies and cream? Then get ready to discover your new favorite dessert: No-Bake Oreo Cheesecake Bars! These incredibly creamy, sweet, and crunchy bars are the perfect solution for anyone craving a decadent treat without turning on the oven.
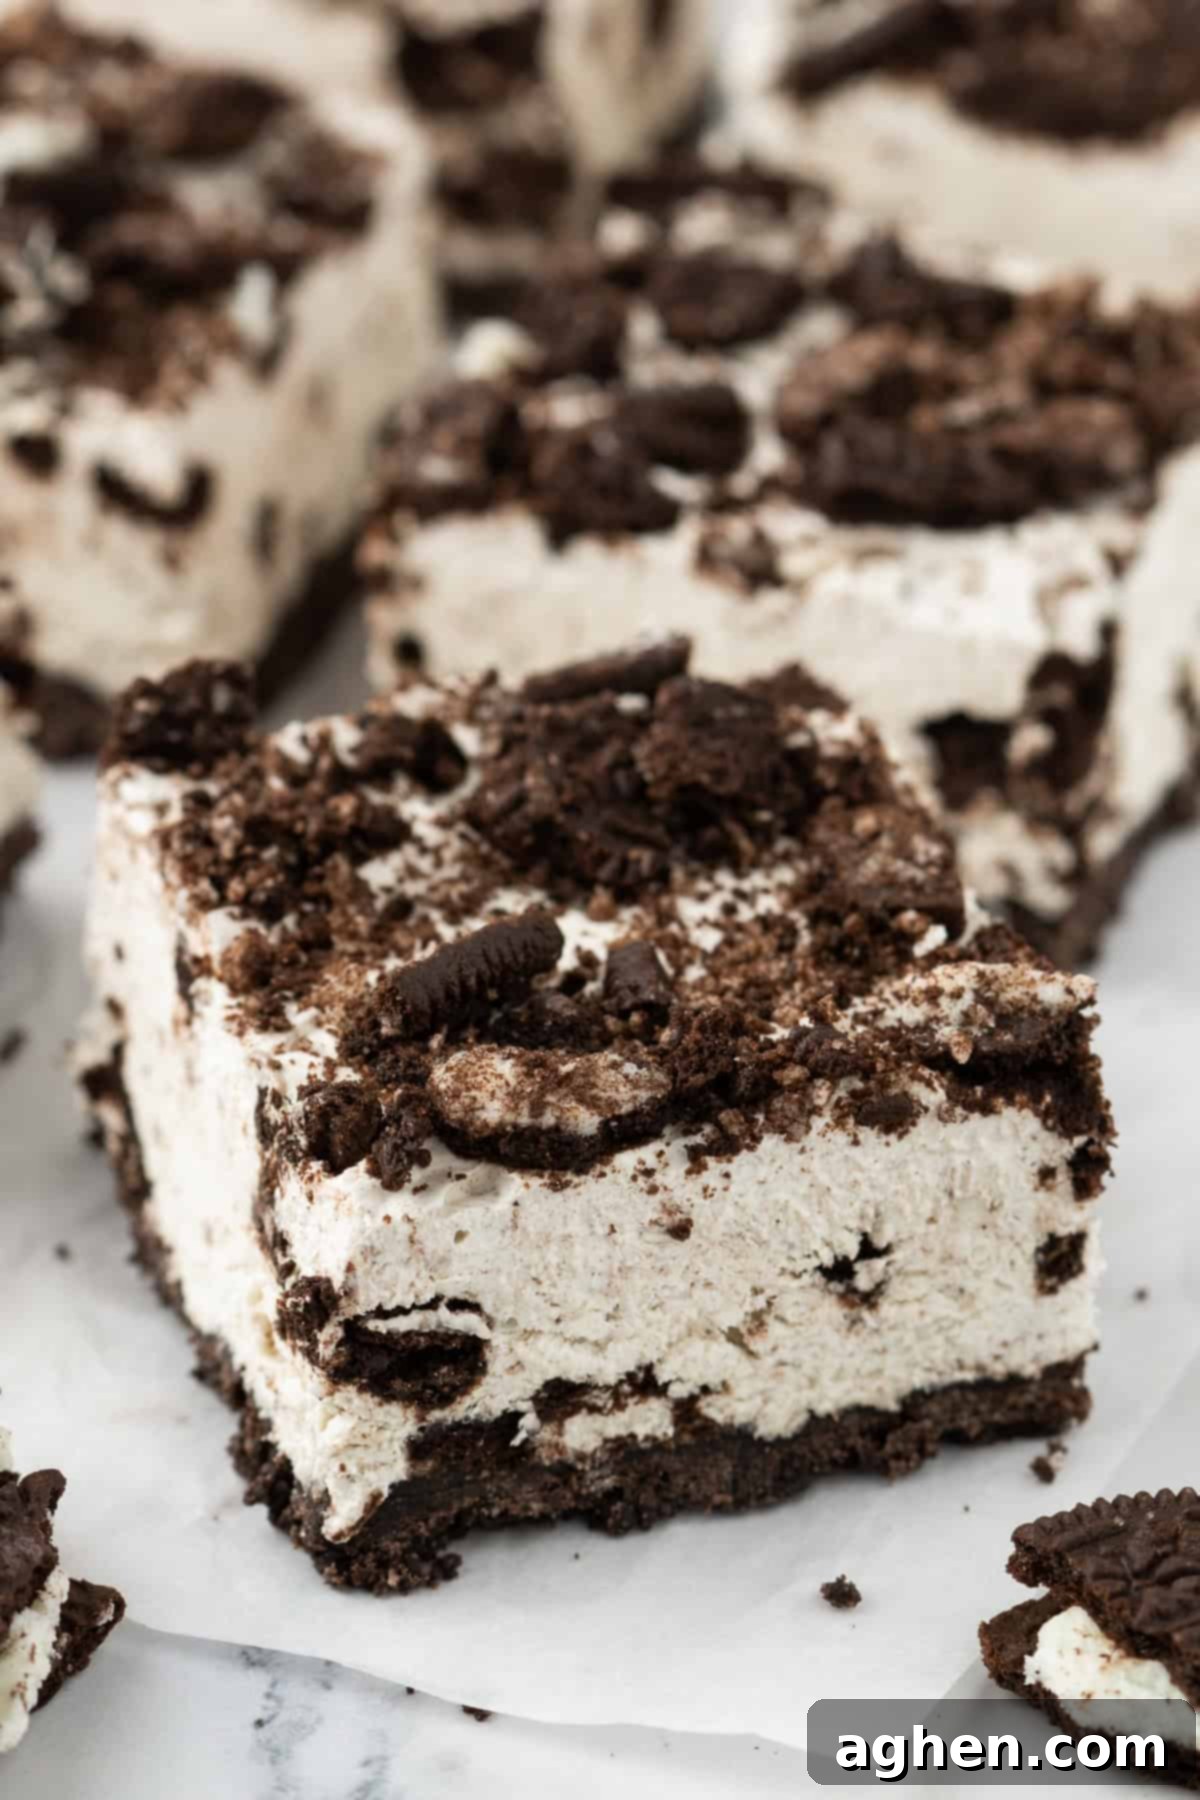
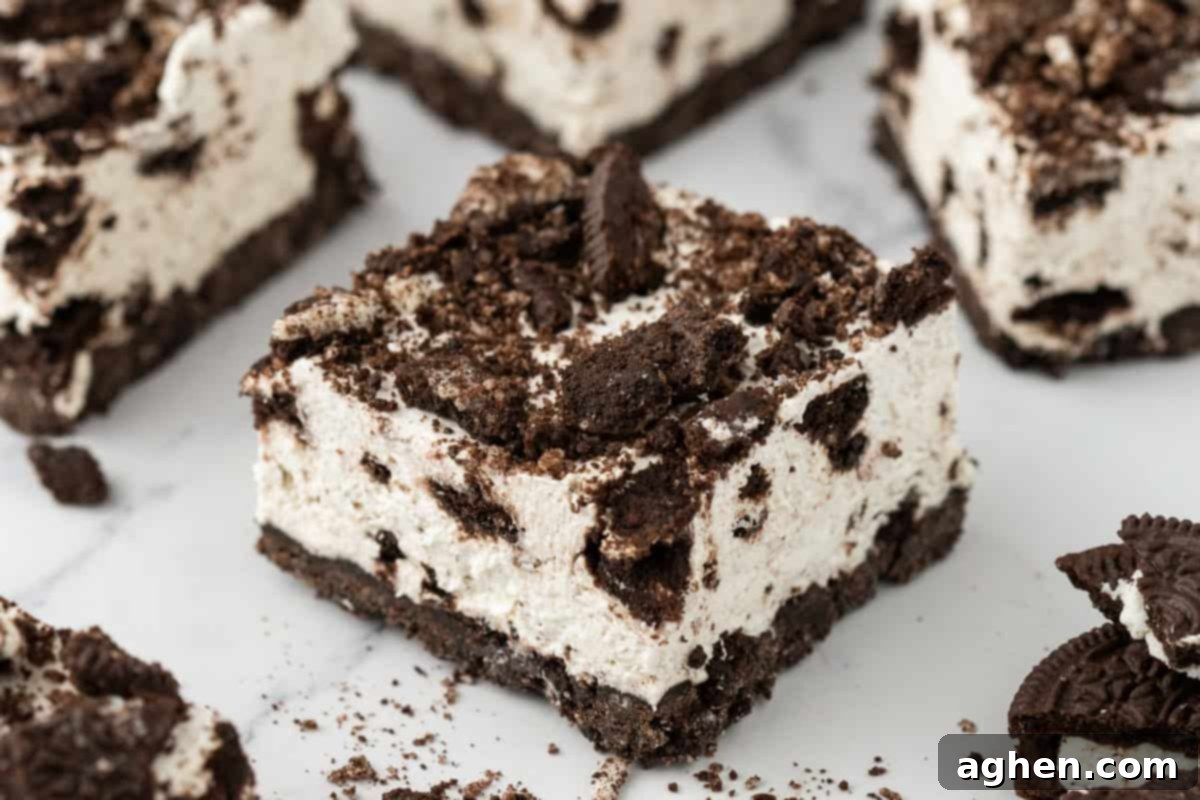
Forget the stress of water baths, cracked tops, or over-baking. This no-fuss recipe is designed for maximum flavor with minimal effort, making it truly stress-free and unbelievably delicious. Each bar features a thick, rich chocolate Oreo cookie crust, a luscious vanilla cheesecake filling studded with crunchy Oreo pieces, and a generous sprinkle of crushed Oreos on top. It’s a symphony of textures and flavors that captivates both kids and adults alike.
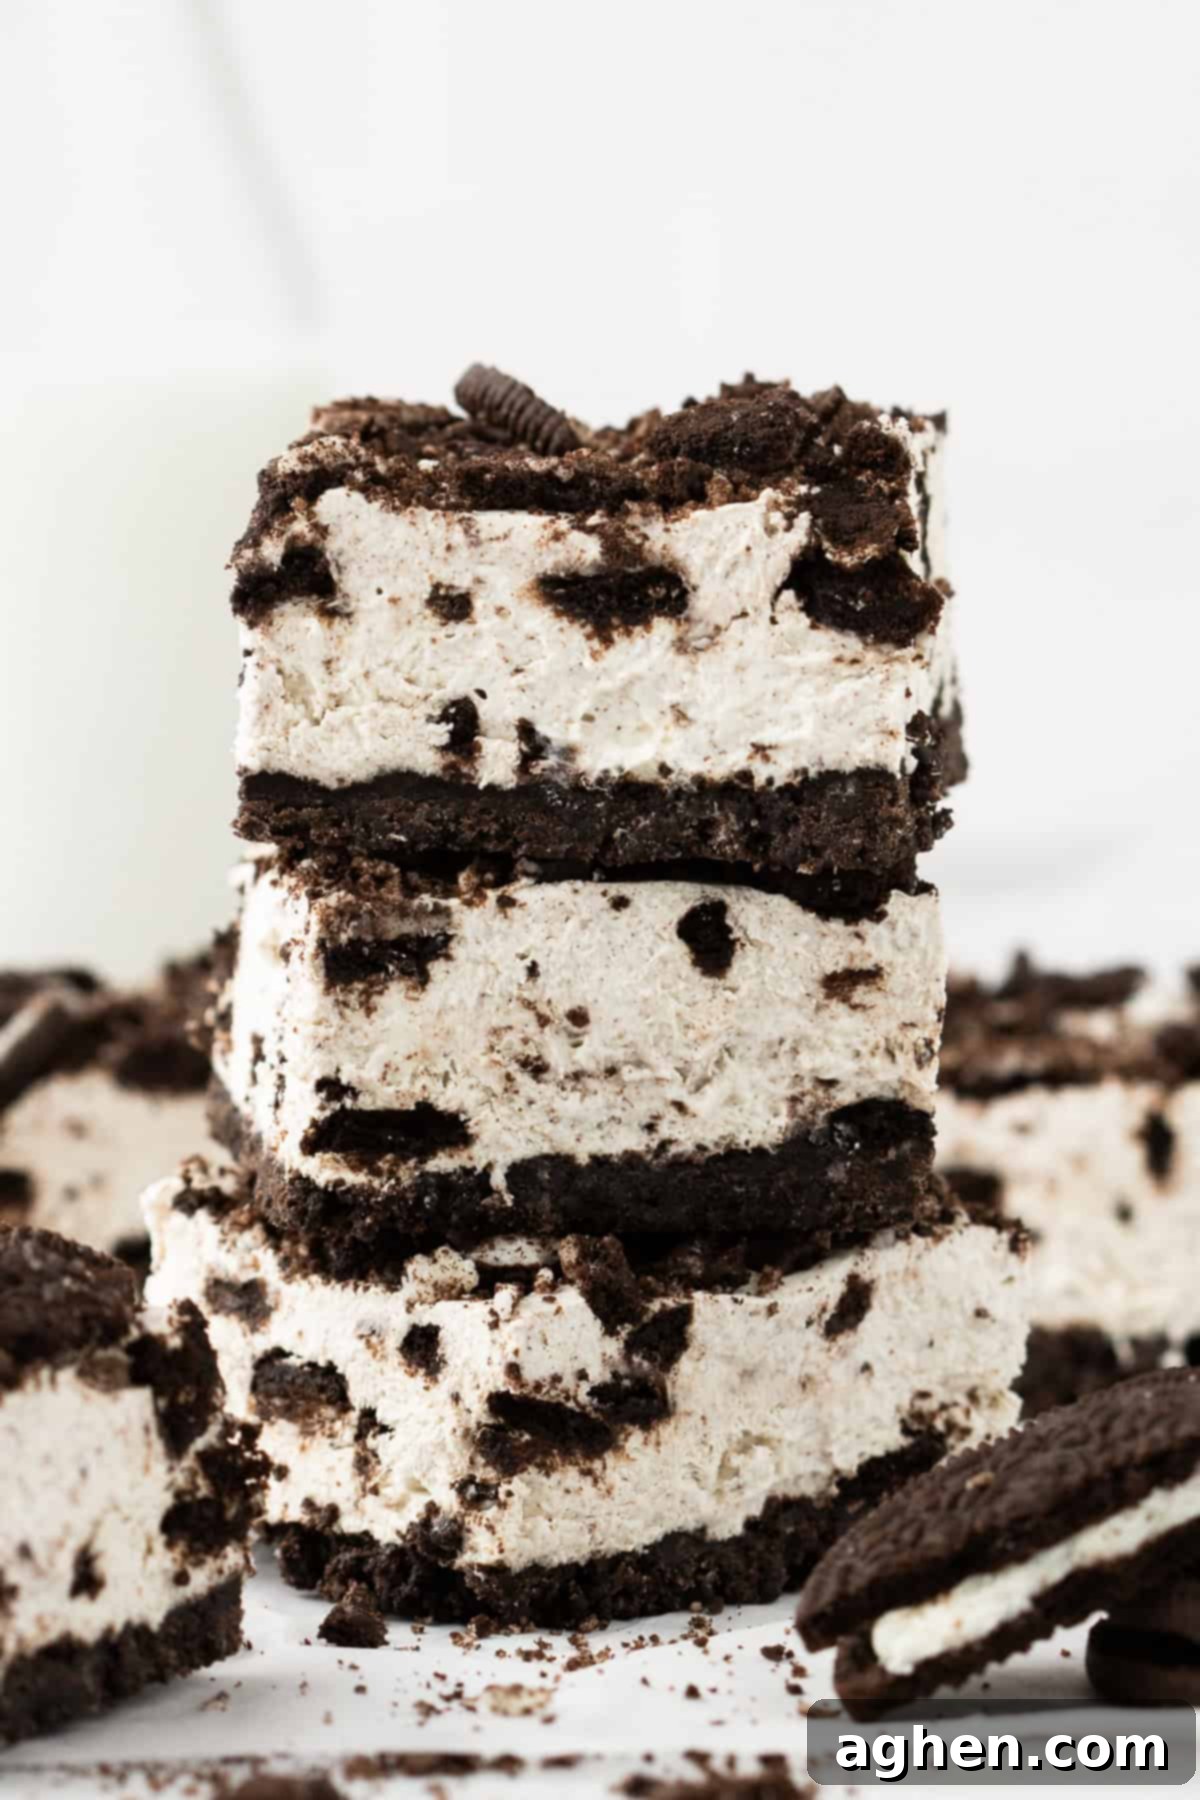
These bars are not just easy to make; they are a guaranteed crowd-pleaser, delivering maximum flavor with every bite. Whether you’re hosting a party, looking for a simple dessert for a weeknight, or just want to satisfy a sweet craving, these Oreo cheesecake bars fit the bill perfectly. Their refreshing, cool texture makes them an ideal dessert for warmer months, but honestly, they’re fantastic any time of year.
If you’re as obsessed with no-bake Oreo treats as we are, be sure to explore more fantastic recipes like my Oreo fluff, this incredibly simple 3-ingredient Oreo fudge, or the fun and whimsical dirt and worms dessert. Each one promises a delightful Oreo experience!
Why You’ll Fall in Love with This No-Bake Oreo Cheesecake Recipe
- Effortless Preparation: With only about 20 minutes of active prep time, you can create a show-stopping dessert without the hassle of baking. No oven required means more time enjoying and less time worrying!
- Simply Indulgent: These bars strike the perfect balance between simple ingredients and an incredibly rich, luxurious taste. They’re a truly indulgent treat, yet so easy to make, suitable for casual gatherings or elegant occasions.
- Perfect for Sharing: This recipe yields 9 generous large bars or 12 smaller portions, making it ideal for sharing with family and friends, bringing to potlucks, or serving at parties. Everyone will be asking for the recipe!
- No-Fail Texture: Achieve that signature creamy cheesecake texture every time, complemented by the satisfying crunch of Oreos, without any baking mishaps.
- Kid-Friendly & Adult-Approved: The universally loved combination of Oreos and cheesecake makes these bars a hit with all ages, from toddlers to grandparents.
Essential Ingredients for Your Creamy Oreo Cheesecake Bars
This section provides detailed ingredient notes, expert tips for selection, and handy substitution options to ensure your no-bake Oreo cheesecake bars turn out perfectly every time. You’ll find all exact measurements and step-by-step instructions in the comprehensive printable recipe card located further down this page.
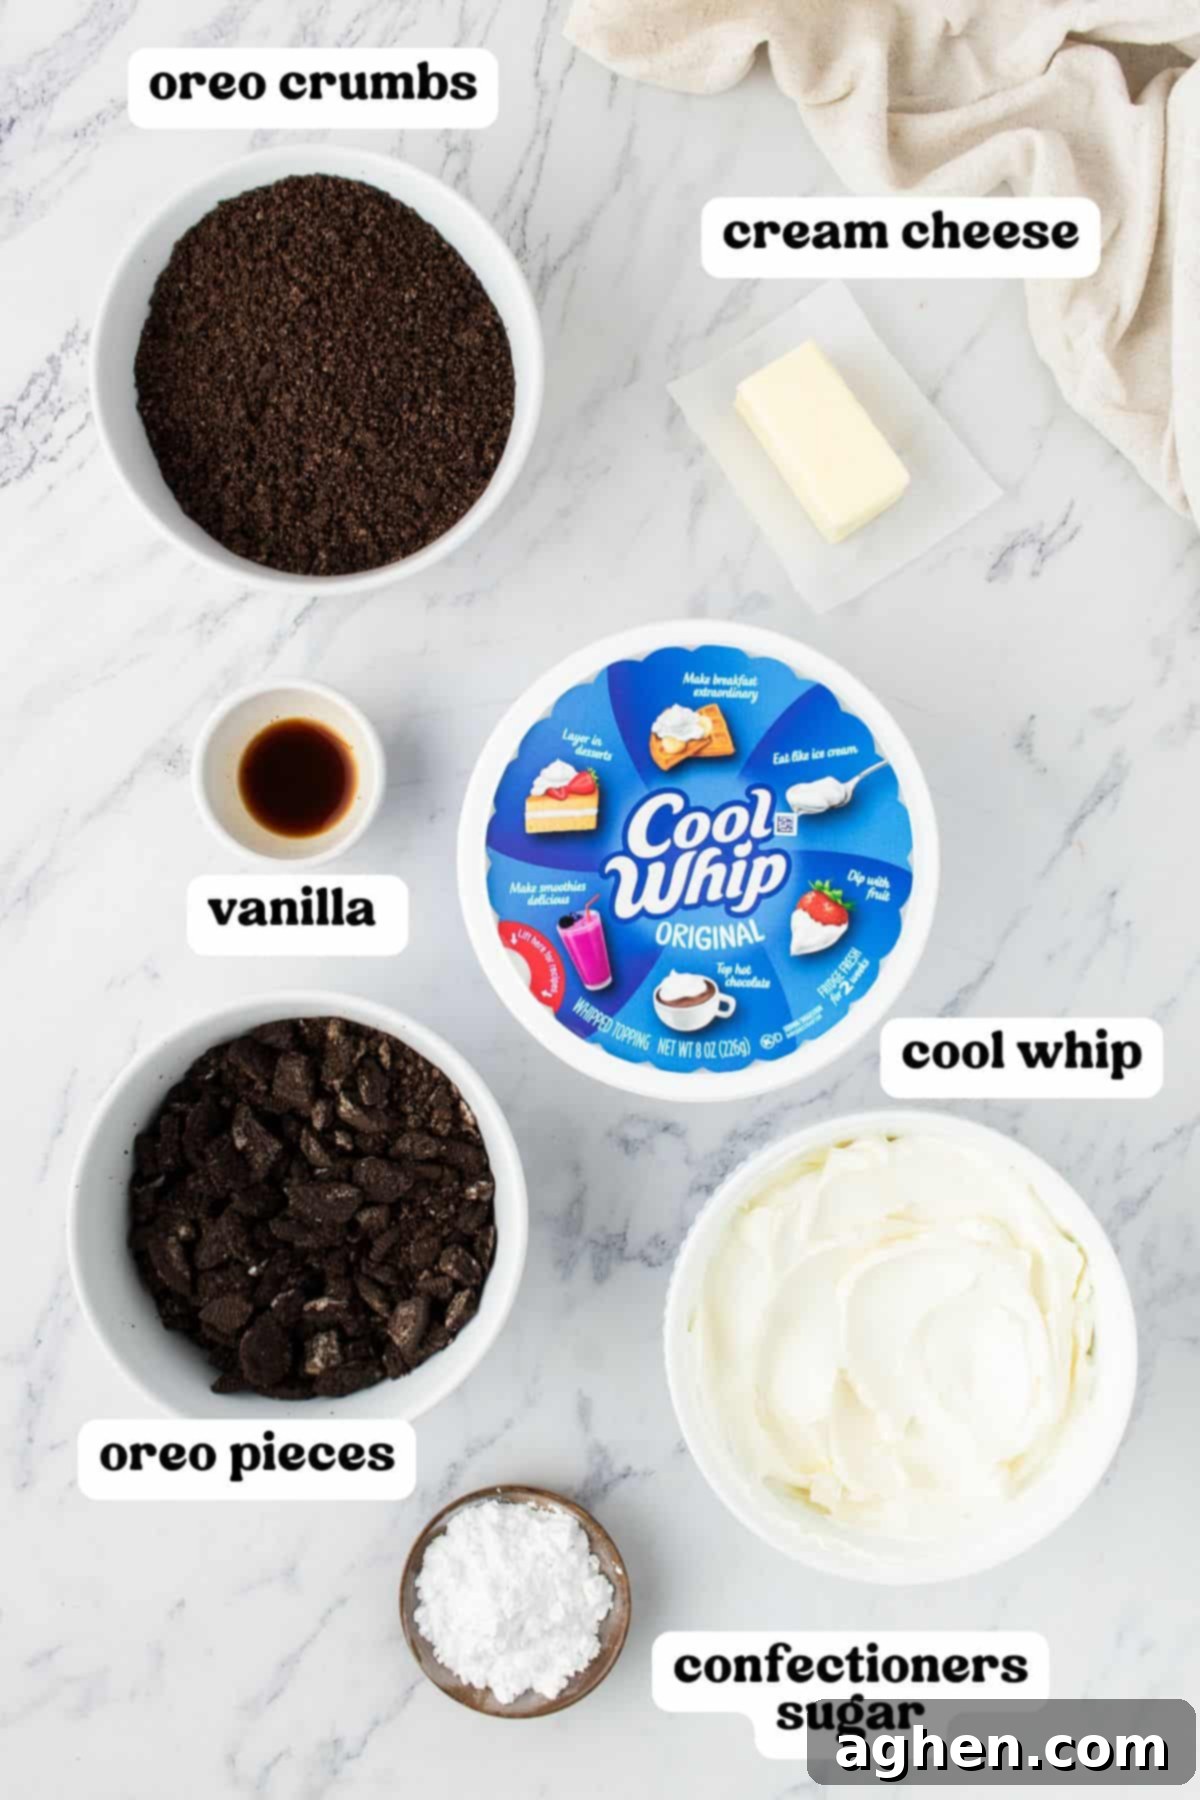
- Oreo Crumbs: The foundation of our delicious crust! For the best fine crumbs (which help the crust set firmly), use a food processor to crush whole Oreos, including their creamy filling. If you don’t have a food processor, a heavy-duty freezer bag and a rolling pin work wonderfully – just ensure they’re crushed into a consistent, fine texture. You’ll need about 1 ½ cups of crumbs for the crust.
- Unsalted Butter: Melted butter acts as the binding agent for your Oreo crumbs, creating a sturdy and flavorful crust. Using unsalted butter allows you to control the overall saltiness of the dessert.
- Cream Cheese: This is the star of your creamy filling! It’s crucial to use full-fat block cream cheese, not the spreadable type in a tub, as it provides the necessary structure and richness. Ensure it’s fully softened at room temperature for 40-60 minutes before mixing. This step is key to achieving a perfectly smooth, lump-free cheesecake filling.
- Confectioners’ Sugar (Powdered Sugar): Besides adding sweetness, confectioners’ sugar helps the no-bake filling set beautifully and contributes to its silky-smooth texture.
- Vanilla Extract: A good quality pure vanilla extract will elevate the overall flavor profile of your cheesecake filling, complementing the chocolatey Oreos perfectly.
- Whipped Topping (Cool Whip): Thawed whipped topping, such as Cool Whip, adds a wonderful lightness and airy texture to the cheesecake filling, making it incredibly fluffy. Remember to thaw it in the refrigerator beforehand. For those who prefer homemade, you can absolutely use stabilized whipped cream as an excellent alternative.
- More Oreos (Crushed): These are essential for both incorporating into the filling for bursts of chocolatey crunch and for sprinkling generously on top as a garnish. Roughly crush them for an appealing textural contrast.
Step-by-Step Guide: How to Craft Your Delicious No-Bake Oreo Cheesecake Bars
Follow these simple steps with accompanying photos to create your decadent no-bake Oreo cheesecake bars. For the complete, printable recipe card with exact measurements and detailed instructions, scroll down to the end of this post.
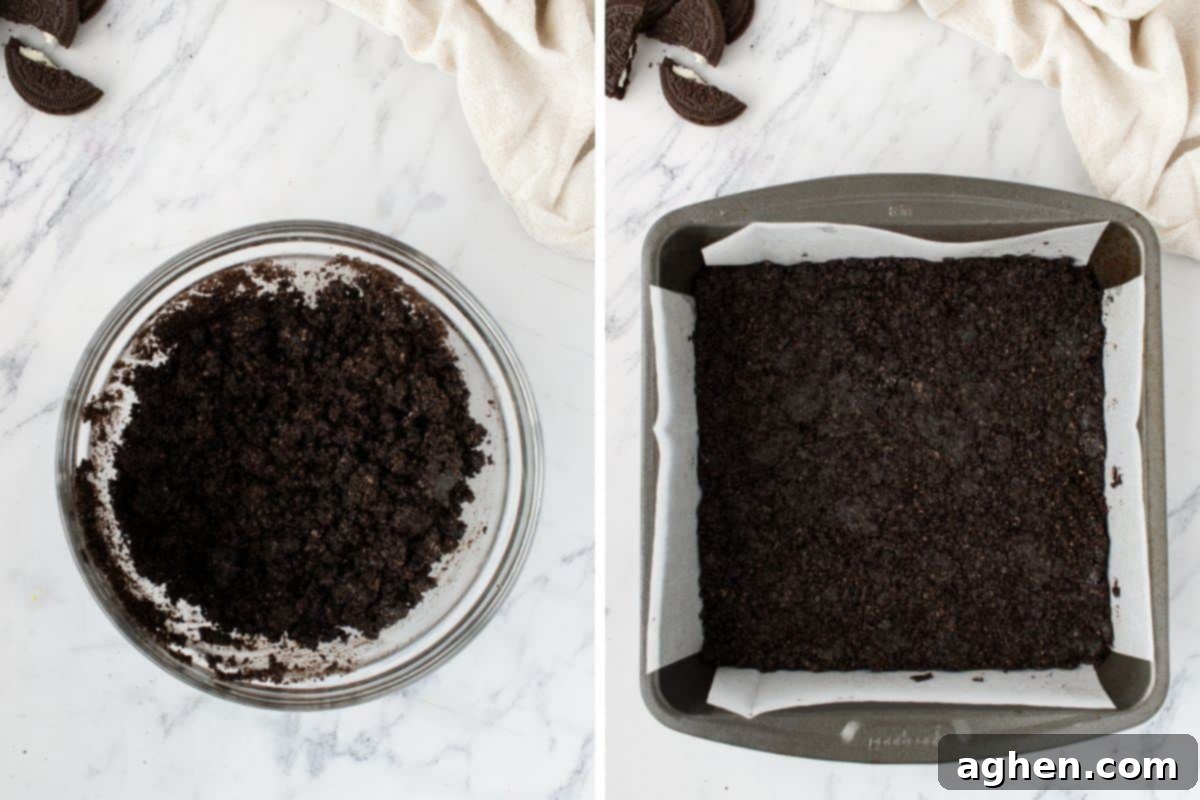
Step 1: Prepare the Oreo Crust. In a medium-sized bowl, combine the finely crushed Oreo crumbs with the melted unsalted butter. Mix thoroughly until the crumbs are uniformly moistened and resemble wet sand. (You can also perform this step directly in your food processor if you prefer). Line a 9-inch baking dish with parchment paper, allowing an overhang on the sides for easy removal later. Press the Oreo mixture firmly and evenly into the bottom of the prepared pan. A flat-bottomed glass or the back of a spoon works well for this. Once pressed, transfer the pan to the refrigerator to chill for a minimum of 30 minutes, allowing the crust to firm up.
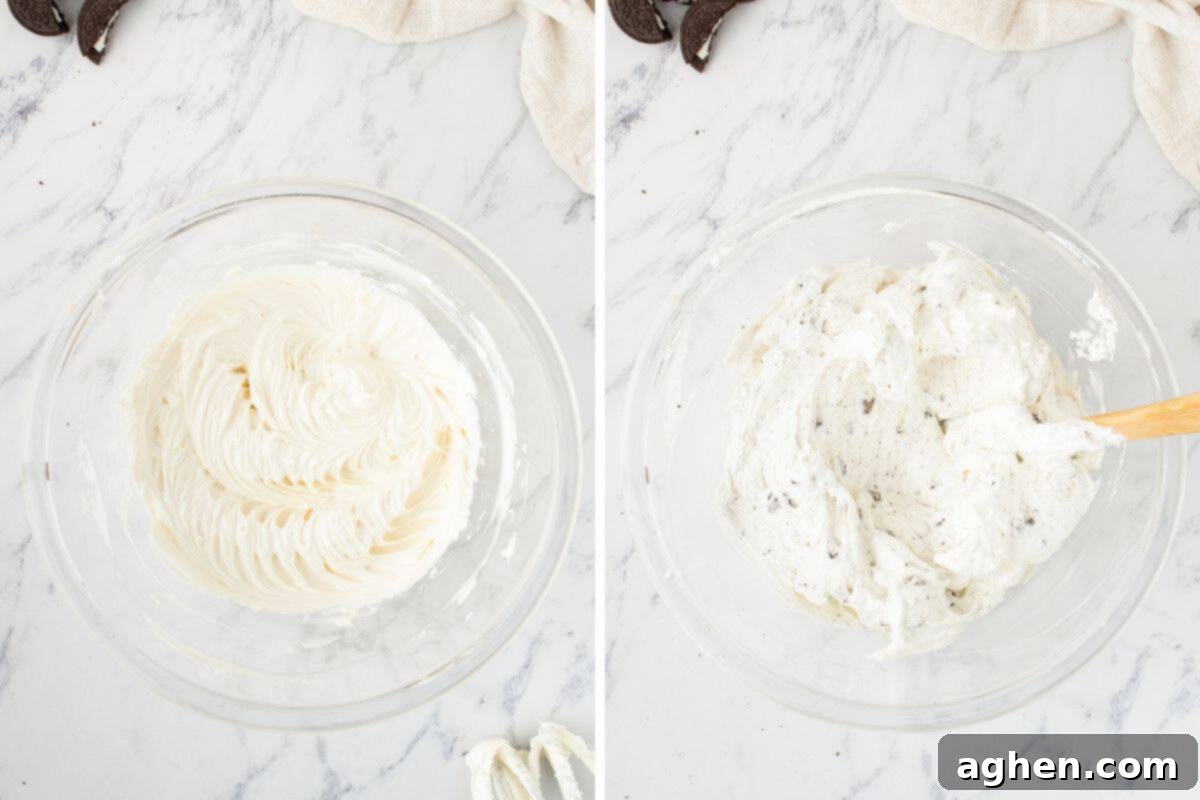
Step 2: Create the Creamy Cheesecake Filling. While your crust is chilling, prepare the star of the show! In a large mixing bowl, using either a stand mixer fitted with a paddle attachment or a hand-held electric mixer, beat the softened cream cheese, confectioners’ sugar, and vanilla extract. Beat until the mixture is completely smooth and creamy, with no lumps remaining. Remember to scrape down the sides of the bowl periodically to ensure all ingredients are well incorporated. Next, gently fold in the thawed Cool Whip until just combined. Be careful not to overmix, as this can deflate the whipped topping. Finally, fold in half of your roughly crushed Oreos, distributing them evenly throughout the filling.
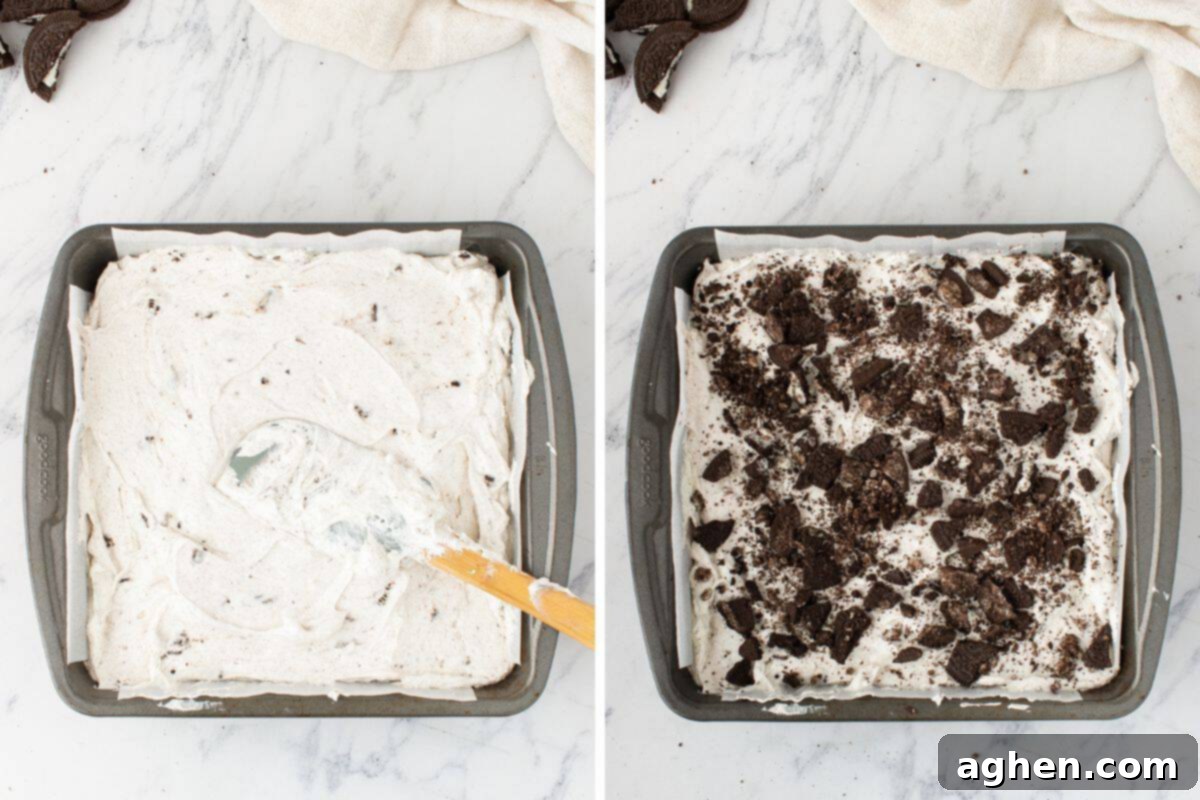
Step 3: Assemble and Garnish. Retrieve your chilled Oreo crust from the refrigerator. Carefully pour the prepared cheesecake mixture over the crust. Use a rubber spatula or the back of a spoon to gently spread the filling into an even, smooth layer across the entire pan. Once the filling is level, generously sprinkle the remaining crushed Oreos over the top. This adds both visual appeal and an extra layer of delicious crunch.
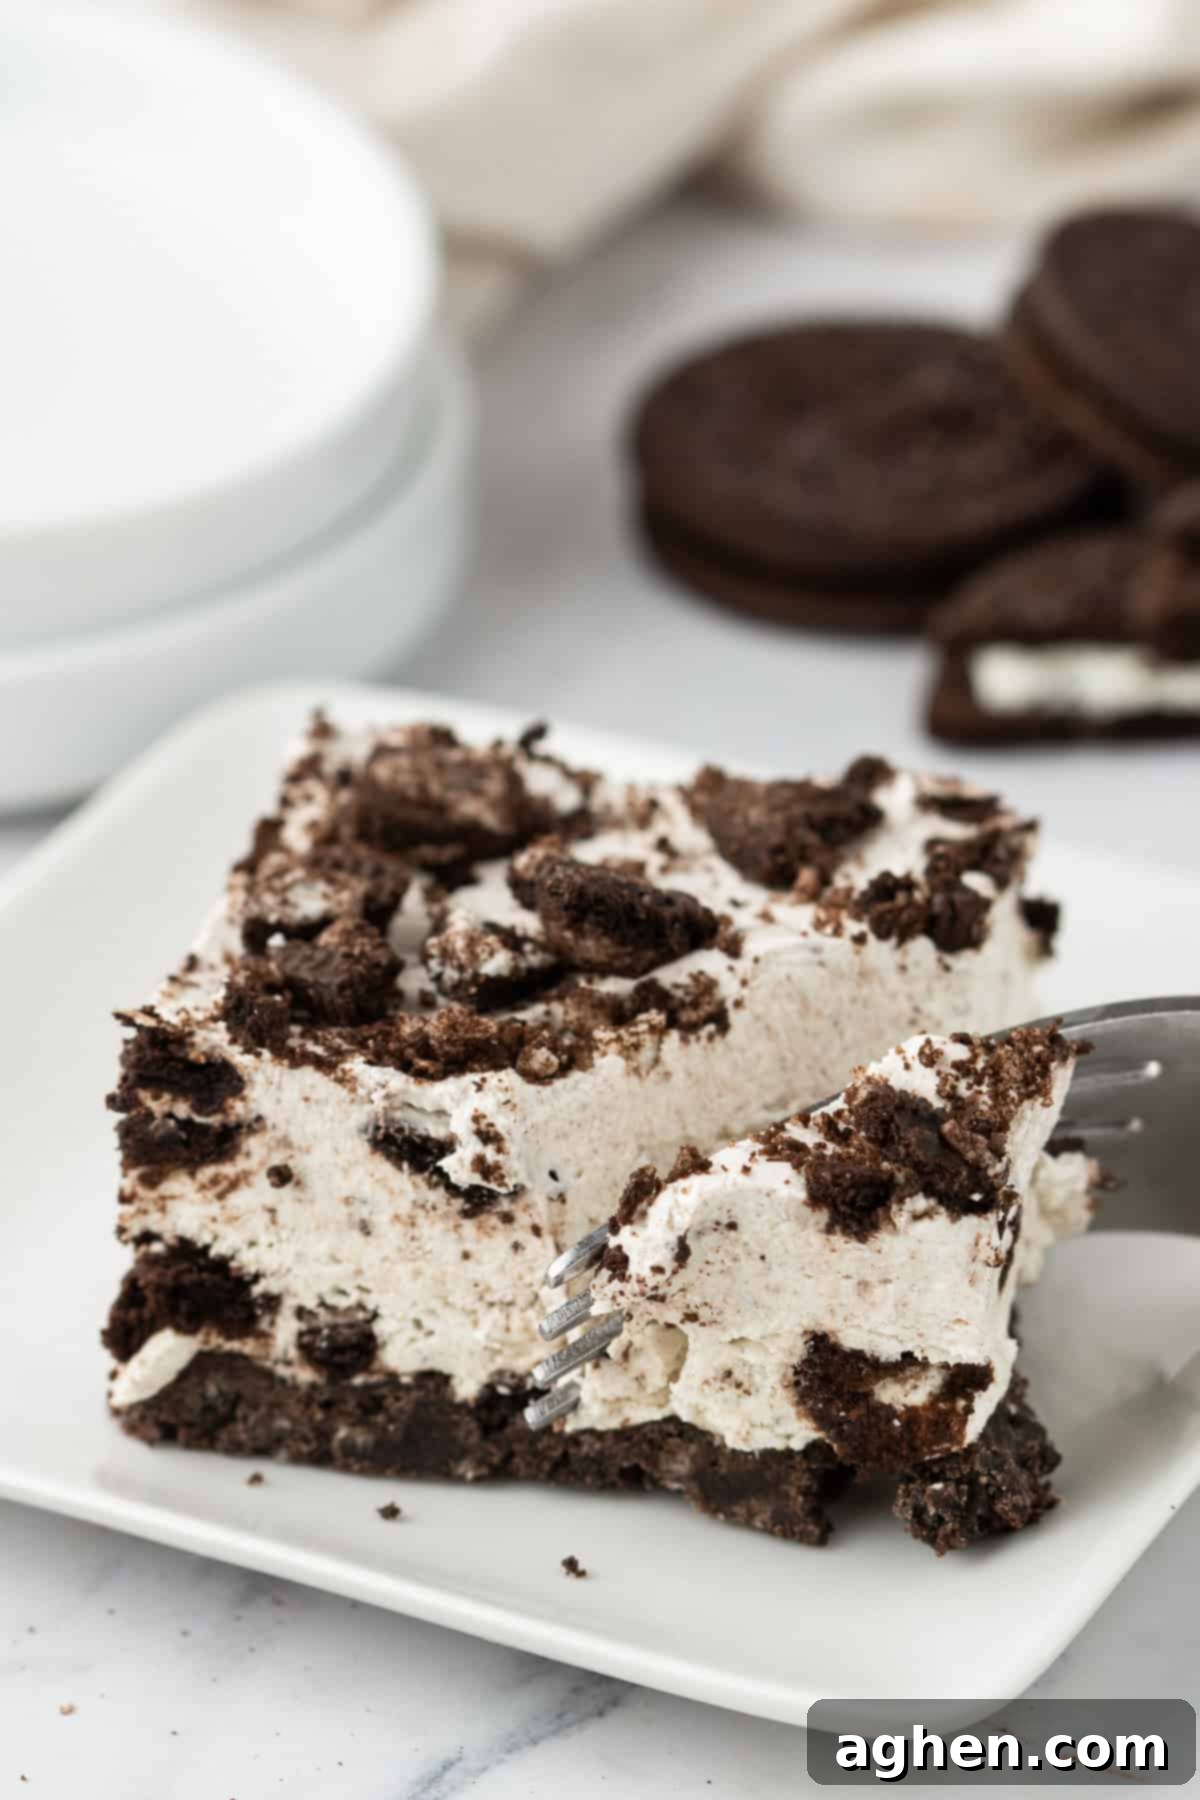
Step 4: Chill and Serve. This is the most important step for the bars to set properly! Place the pan of Oreo bars into the freezer for at least 3 hours, or for a slightly creamier texture, refrigerate for at least 4 hours (overnight is ideal for the best set). Once thoroughly chilled and firm, use the parchment paper overhang to lift the entire cheesecake slab out of the pan. Place it on a cutting board and use a sharp knife (wiping it clean between cuts) to slice into 9 even squares. Serve immediately and enjoy these delightful no-bake treats!
Pro Tip: Mastering Your Cheesecake Texture
The chilling method significantly impacts the final texture of your no-bake Oreo cheesecake bars. Refrigerating them for at least 4 hours (or ideally overnight) will result in a beautifully creamy, classic cheesecake-like consistency. Freezing them for at least 3 hours will yield a firmer, almost ice cream cake-like bar, perfect for hot days or when you prefer a less yielding dessert. Both are equally delicious, so choose your adventure!
Storage & Make-Ahead Tips for Oreo Cheesecake Bars
Proper storage ensures your delicious no-bake Oreo cheesecake bars stay fresh and flavorful for as long as possible. They’re also a fantastic make-ahead dessert!
Refrigerator: To keep this creamy Oreo cheesecake dessert at its best, store the bars in an airtight container in the refrigerator for up to 4 days. This will maintain their smooth, rich texture and prevent them from drying out or absorbing odors.
Freezer: For extended storage or to prepare them well in advance, these bars freeze beautifully for up to 3 months. I recommend cutting them into individual bars first. Then, flash freeze the cut bars on a baking sheet lined with parchment paper until they are completely firm (this prevents them from sticking together). Once solid, wrap each bar individually in plastic wrap, then again in aluminum foil. This double layer of protection helps prevent freezer burn. Thaw in the refrigerator for a few hours before serving, or enjoy them straight from the freezer for a firmer, ice-cream-like treat!
Essential Recipe Tips for No-Fail Oreo Cheesecake Bars
- Always Prep the Pan: Lining your baking pan with parchment paper is a game-changer! Make sure to leave an overhang on the sides. This creates “handles” that allow you to easily lift the entire chilled cheesecake slab out of the pan, making slicing effortless and mess-free.
- Choose the Right Cream Cheese: For the best structure and creamiest texture, always use full-fat block cream cheese. Avoid whipped or spreadable cream cheese from a tub, as these have a different consistency and water content that won’t allow the bars to set properly.
- Room Temperature Cream Cheese is Key: Ensure your cream cheese is truly softened to room temperature (about an hour on the counter) before mixing. This is critical for achieving a smooth, lump-free cheesecake filling. Cold cream cheese will result in a lumpy texture that’s difficult to incorporate evenly.
- Crush Oreos Efficiently: A food processor is your best friend for quickly getting perfectly fine Oreo crumbs for the crust. For the filling and topping, a slightly coarser crush adds wonderful texture. If you don’t have a food processor, a blender or a sealed freezer bag and a rolling pin work well too – just aim for consistent crumbs.
- Don’t Overmix the Whipped Topping: Once you’ve added the thawed whipped topping (Cool Whip) to the cream cheese mixture, fold it in gently. Overmixing can deflate the air from the topping, resulting in a denser, less airy cheesecake filling.
- Chill for Best Results: While these bars can be ready in a few hours, for the firmest set and easiest slicing, I highly recommend letting them chill in the refrigerator overnight. This allows all the flavors to meld and the filling to fully firm up.
- Perfect Slices Every Time: To get neat, professional-looking bars, use a sharp, thin-bladed knife. For extra clean cuts, run the knife under hot water, wipe it dry, and then slice. Wipe the knife clean between each cut.
Frequently Asked Questions About No-Bake Oreo Cheesecake Bars
Got questions about making these delightful no-bake treats? Here are some common queries and their answers:
- Can I use homemade whipped cream instead of Cool Whip? Yes, absolutely! If you prefer to make your own whipped cream, I highly recommend using a stabilized whipped cream recipe (like the one linked in the ingredients section). This will help the filling hold its structure and prevent it from weeping. Regular whipped cream may not be firm enough for a no-bake cheesecake.
- Why didn’t my cheesecake filling set properly? The most common reasons are using cold cream cheese (which leads to lumps and a weaker set), using low-fat or spreadable cream cheese (which lacks the necessary fat content and stabilizers), or not chilling the bars for long enough. Always ensure your cream cheese is softened and give the bars ample time to firm up in the fridge or freezer.
- Can I make this recipe in a springform pan? Yes, you can! A 9-inch springform pan would work well for a round, pie-like cheesecake. Just be sure to press the crust up the sides slightly and adjust chilling time as needed. The slicing will be a bit different, of course.
- Can I add other mix-ins to the filling? Get creative! While classic Oreos are fantastic, you could certainly experiment with other additions like mini chocolate chips, a swirl of melted caramel, or even a different flavor of crushed cookies. Just be mindful not to add too much liquid.
- How far in advance can I make these? These no-bake Oreo cheesecake bars are excellent make-ahead desserts. You can prepare them up to 2-3 days in advance and keep them covered in the refrigerator. For longer storage, freeze them as instructed in the storage section.
More Irresistible No-Bake Desserts You’ll Love
If you’re hooked on the ease and deliciousness of no-bake treats, you’ll want to explore these other fantastic recipes. Perfect for any occasion when you want a delightful dessert without the oven!
- Refreshing Banana Icebox Cake
- Classic Strawberry Jello Pie
- Easy No-Bake Strawberry Cheesecake Bars
- Decadent No-Bake Eclair Cake
- Bright and Zesty Lemon Icebox Cake
These No-Bake Oreo Cheesecake Bars are a testament to how simple yet incredibly satisfying a dessert can be. They combine the beloved crunch of Oreos with a creamy, dreamy cheesecake, all without the need for an oven. Whether you’re a seasoned baker or a complete novice, this recipe is designed for success and maximum enjoyment. Whip up a batch today and treat yourself to the ultimate cookies and cream indulgence!
No-Bake Oreo Cheesecake Bars
Author: Jaclyn
Ingredients
Oreo crust
- 1 ½ cups oreo cookie crumbs
- 4 Tablespoons unsalted butter melted
Oreo filling
- 16 ounces cream cheese softened
- 3 Tablespoons confectioners sugar
- 1 teaspoon vanilla extract
- 8 ounces whipped topping thawed (such as Cool Whip)
- 1 ½ cups oreo cookies crushed
Instructions
For the crust
-
Line a 9 inch baking pan with parchment paper and set aside.
-
In a mixing bowl, combine the oreo crumbs and melted butter. Press firmly into the bottom of the prepared pan in an even layer. Place in the refrigerator to chill for at least 30 minutes.
For the filling
-
While the crust chills, prepare the cheesecake filling. In a large bowl with a stand mixer or hand mixer, beat the softened cream cheese, confectioners sugar, and vanilla together until smooth.
-
Fold in the cool whip.
-
Fold in half of the crushed oreos.
-
Pour the filling over the crust and use a rubber spatula to smooth into an even layer.
-
Sprinkle the remaining crushed oreos over top.
-
Freeze for at least 3 hours or refrigerate for at least 4 hours before serving.
Notes
- Use a food processor to get the oreo cookies crushed into fine crumbs.
- I recommend letting the dessert chill overnight to give it maximum time to set.
- You can enjoy straight from the fridge or freezer. Refrigerating gives them more of a creamy cheesecake texture while freezing make them more firm.
Nutrition

Did You Make This Recipe?
Share it with me on Instagram @crayonsandcravings and follow on Pinterest @crayonsandcravings for even more!
Pin Recipe
Leave A Review
