Mastering Your Weber Grill Rotisserie: Advanced Recipes and Techniques for Unforgettable Outdoor Cooking
If you’re already familiar with the incredible versatility of your Weber Grill, then you’re likely aware of the magic that its rotisserie attachment can bring to your outdoor cooking. While a perfectly cooked whole chicken or a succulent roast on the spit is a fantastic starting point, the world of rotisserie cooking extends far beyond these traditional favorites. It’s time to unleash your culinary creativity and explore the advanced uses of your Weber Grill rotisserie attachment, transforming ordinary meals into extraordinary feasts.
Rotisserie cooking offers a unique advantage: the constant, slow rotation ensures that your food cooks evenly from all sides, leading to unparalleled tenderness, juiciness, and a consistently crispy exterior. The self-basting action, where fats and juices continually coat the surface, means your meats are infused with flavor and moisture throughout the entire cooking process. Get ready to elevate your grilling game and impress your family and friends with these next-level rotisserie recipes and expert tips.
1. The Ultimate Rotisserie Turkey
Transform your holiday meals or special gatherings by preparing a whole turkey on your Weber rotisserie. This method guarantees a show-stopping centerpiece with incredibly moist meat and irresistibly crispy, golden-brown skin. The consistent rotation ensures every part of the turkey cooks perfectly, eliminating dry spots often found with oven roasting.
Preparing Your Turkey for the Spit
To prepare your turkey for rotisserie perfection, start with a well-thawed bird. For maximum flavor and moisture, consider brining the turkey overnight. Pat it thoroughly dry before seasoning. Liberally apply your favorite herb and spice blend – think sage, thyme, rosemary, garlic powder, and paprika for a classic flavor, perhaps mixed with softened butter rubbed under the skin for extra richness. Crucially, truss the turkey securely with baking twine. This step is essential to keep the wings and legs tucked in close to the body, preventing them from flopping around, burning, or snagging during rotation, and ensuring a compact, evenly cooked roast.
Rotisserie Cooking and Basting
Once trussed and seasoned, secure the turkey onto the rotisserie spit. Position it over indirect heat on your Weber grill, aiming for a consistent temperature of around 325-350°F (160-175°C). Place a large drip pan directly underneath the turkey to catch all the flavorful drippings. These drippings are liquid gold – use them for basting the turkey throughout the cooking process to enhance flavor and moisture, or reserve them to create an unforgettable gravy. Cooking time will vary based on the turkey’s size, but expect roughly 15-20 minutes per pound. Always use a reliable meat thermometer to ensure the thickest part of the thigh reaches a safe internal temperature of 165°F (74°C). Once cooked, remove the turkey from the spit and allow it to rest for at least 20-30 minutes before carving; this allows the juices to redistribute, ensuring every slice is incredibly tender.
2. Exquisite Rotisserie Prime Rib
For an indulgent culinary experience that will truly impress your guests, cooking a prime rib on the rotisserie is unparalleled. The slow, even rotation ensures a perfectly medium-rare interior from edge to edge, complemented by a magnificent, crusty exterior that seals in all the succulent juices.
Seasoning and Setup for Prime Rib
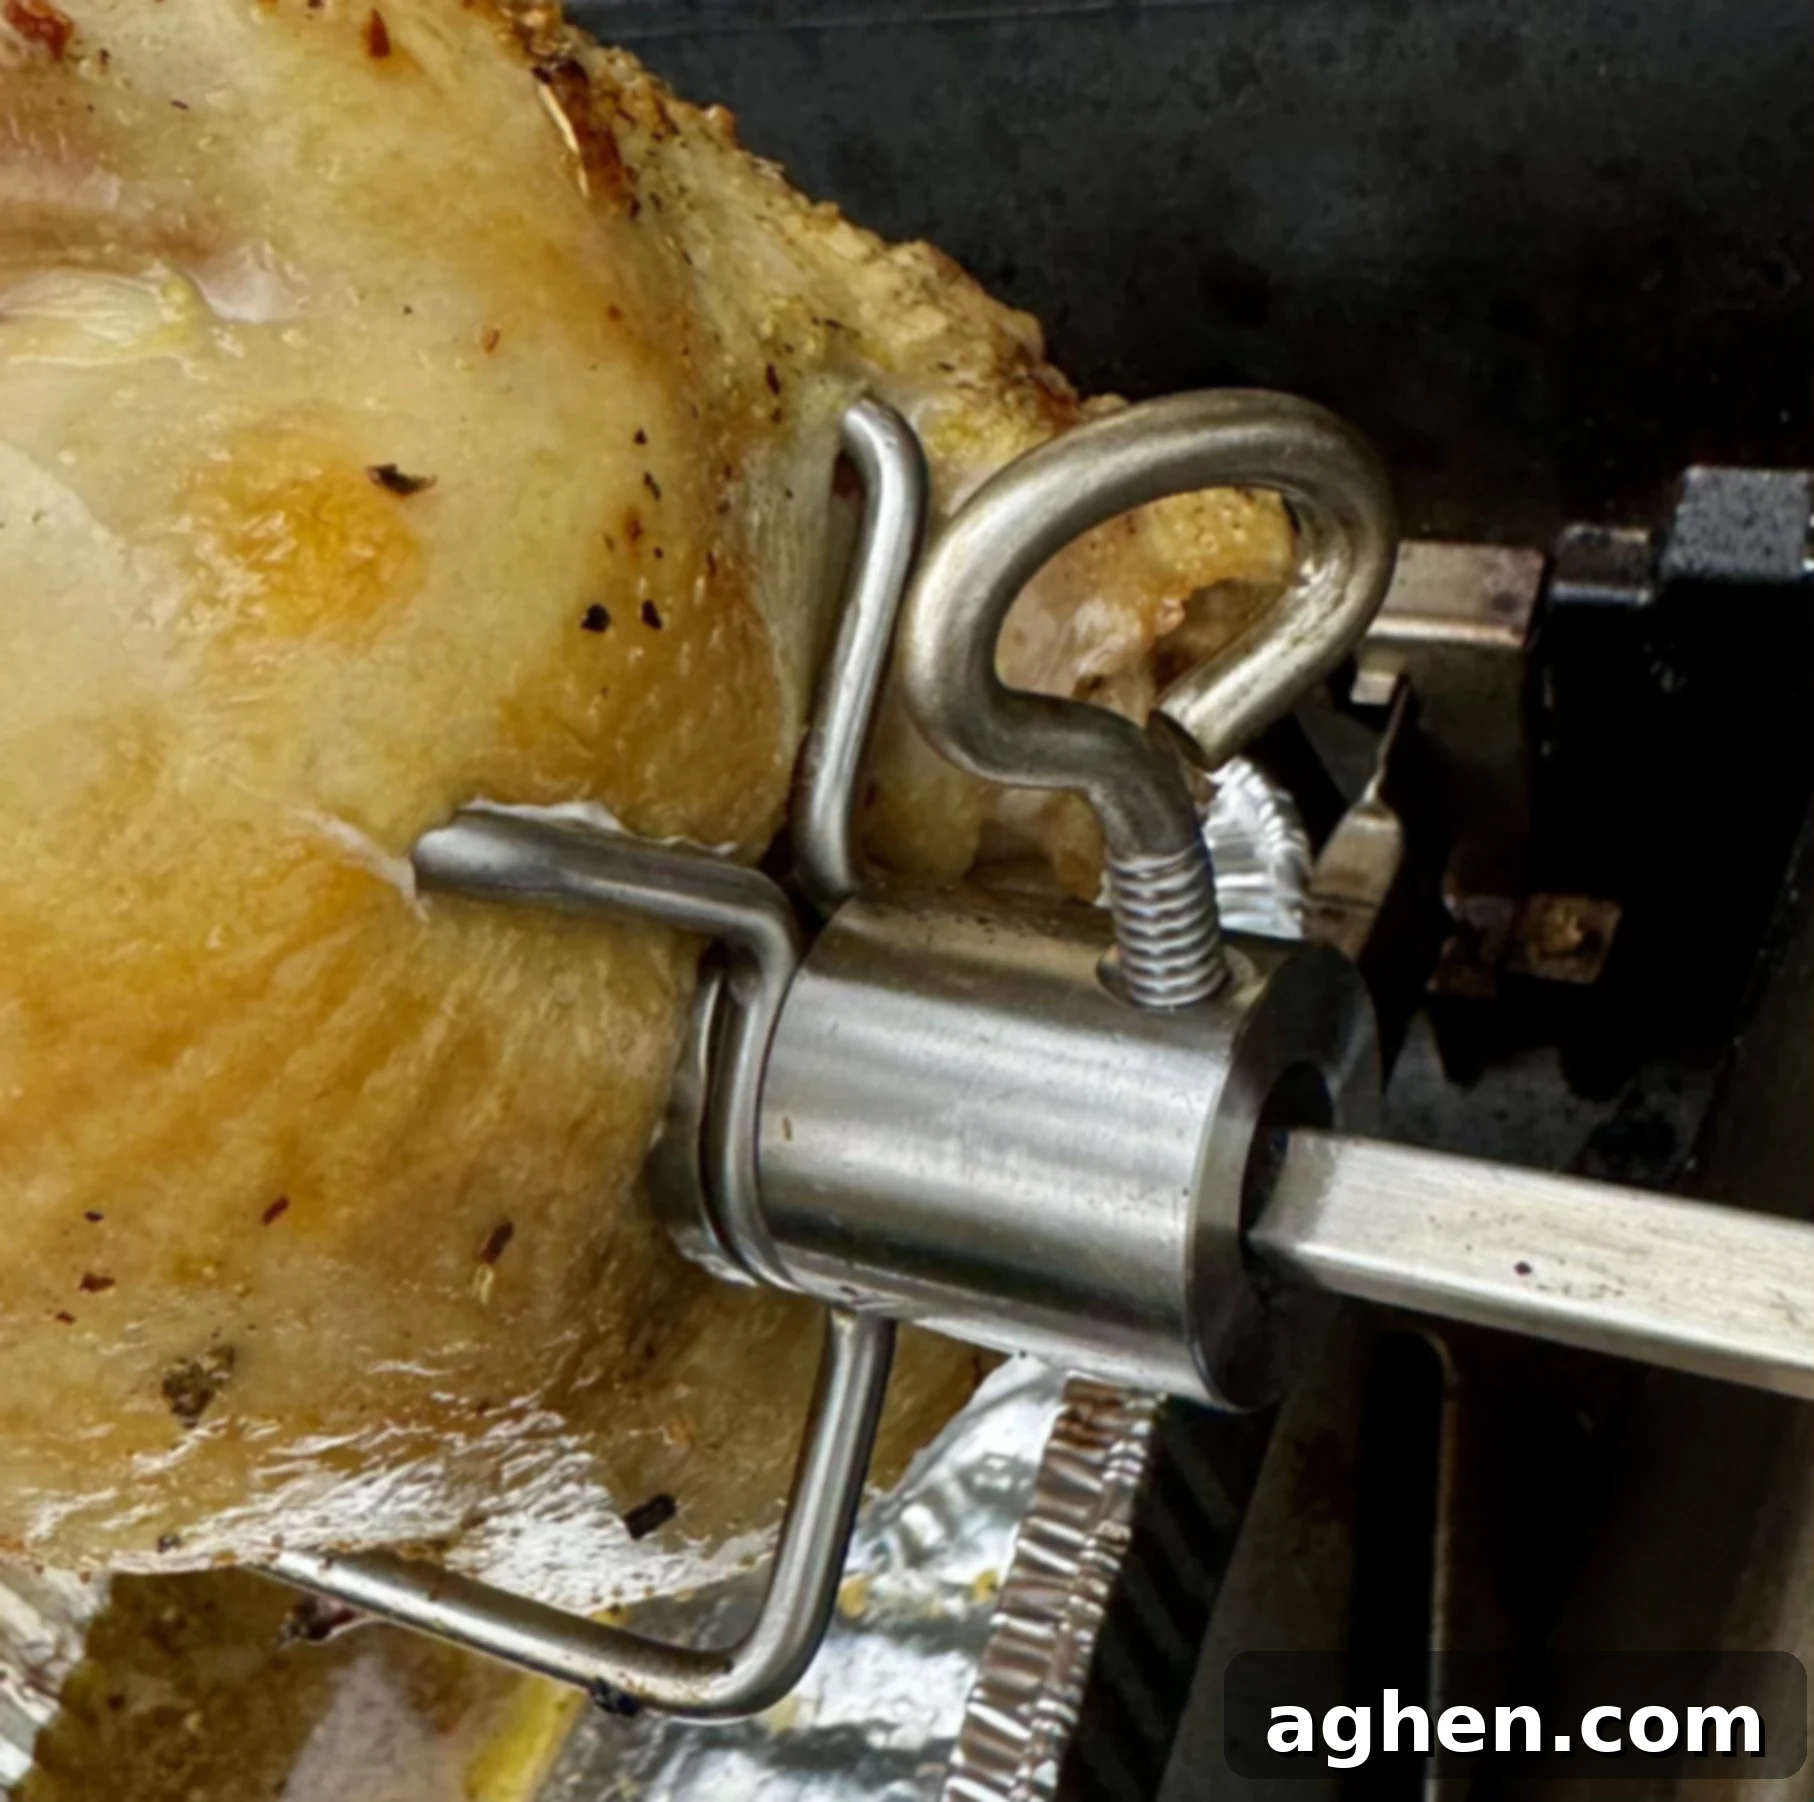
Begin with a high-quality prime rib roast, ideally bone-in for maximum flavor. Pat the roast dry and score the fat cap in a crosshatch pattern without cutting into the meat. Season it generously with coarse salt, freshly cracked black pepper, granulated garlic, and your preferred dry rub. Rosemary and thyme also pair beautifully with prime rib. Secure the roast firmly onto the rotisserie spit, ensuring it’s balanced for smooth rotation. If your prime rib is particularly large, consider using rotisserie forks or additional twine to keep it snug on the spit.
Achieving Perfect Doneness
Set up your Weber grill for indirect heat, aiming for a temperature of 275-300°F (135-150°C). Allow the prime rib to rotate slowly. The rotisserie’s gentle heat and continuous movement promote even cooking and render the fat cap perfectly. Monitor the internal temperature closely using a high-quality meat thermometer. For a medium-rare finish, remove the roast when it reaches 120-125°F (49-52°C). Remember that the temperature will rise by several degrees during resting. Once off the grill, transfer the prime rib to a cutting board, tent it loosely with foil, and let it rest for a minimum of 20-30 minutes. This critical resting period ensures the juices redistribute throughout the meat, resulting in an incredibly juicy, tender, and flavorful prime rib with a gorgeous, savory crust.
3. Succulent Rotisserie Pork Loin or Tenderloin
Pork loin and pork tenderloin are lean cuts of meat that benefit immensely from the rotisserie cooking method. The continuous rotation allows the meat to self-baste, resulting in an exceptionally succulent and flavorful outcome that’s remarkably tender. This method also imparts a wonderful smoky flavor that’s difficult to achieve with other cooking techniques.
Preparing and Seasoning Your Pork
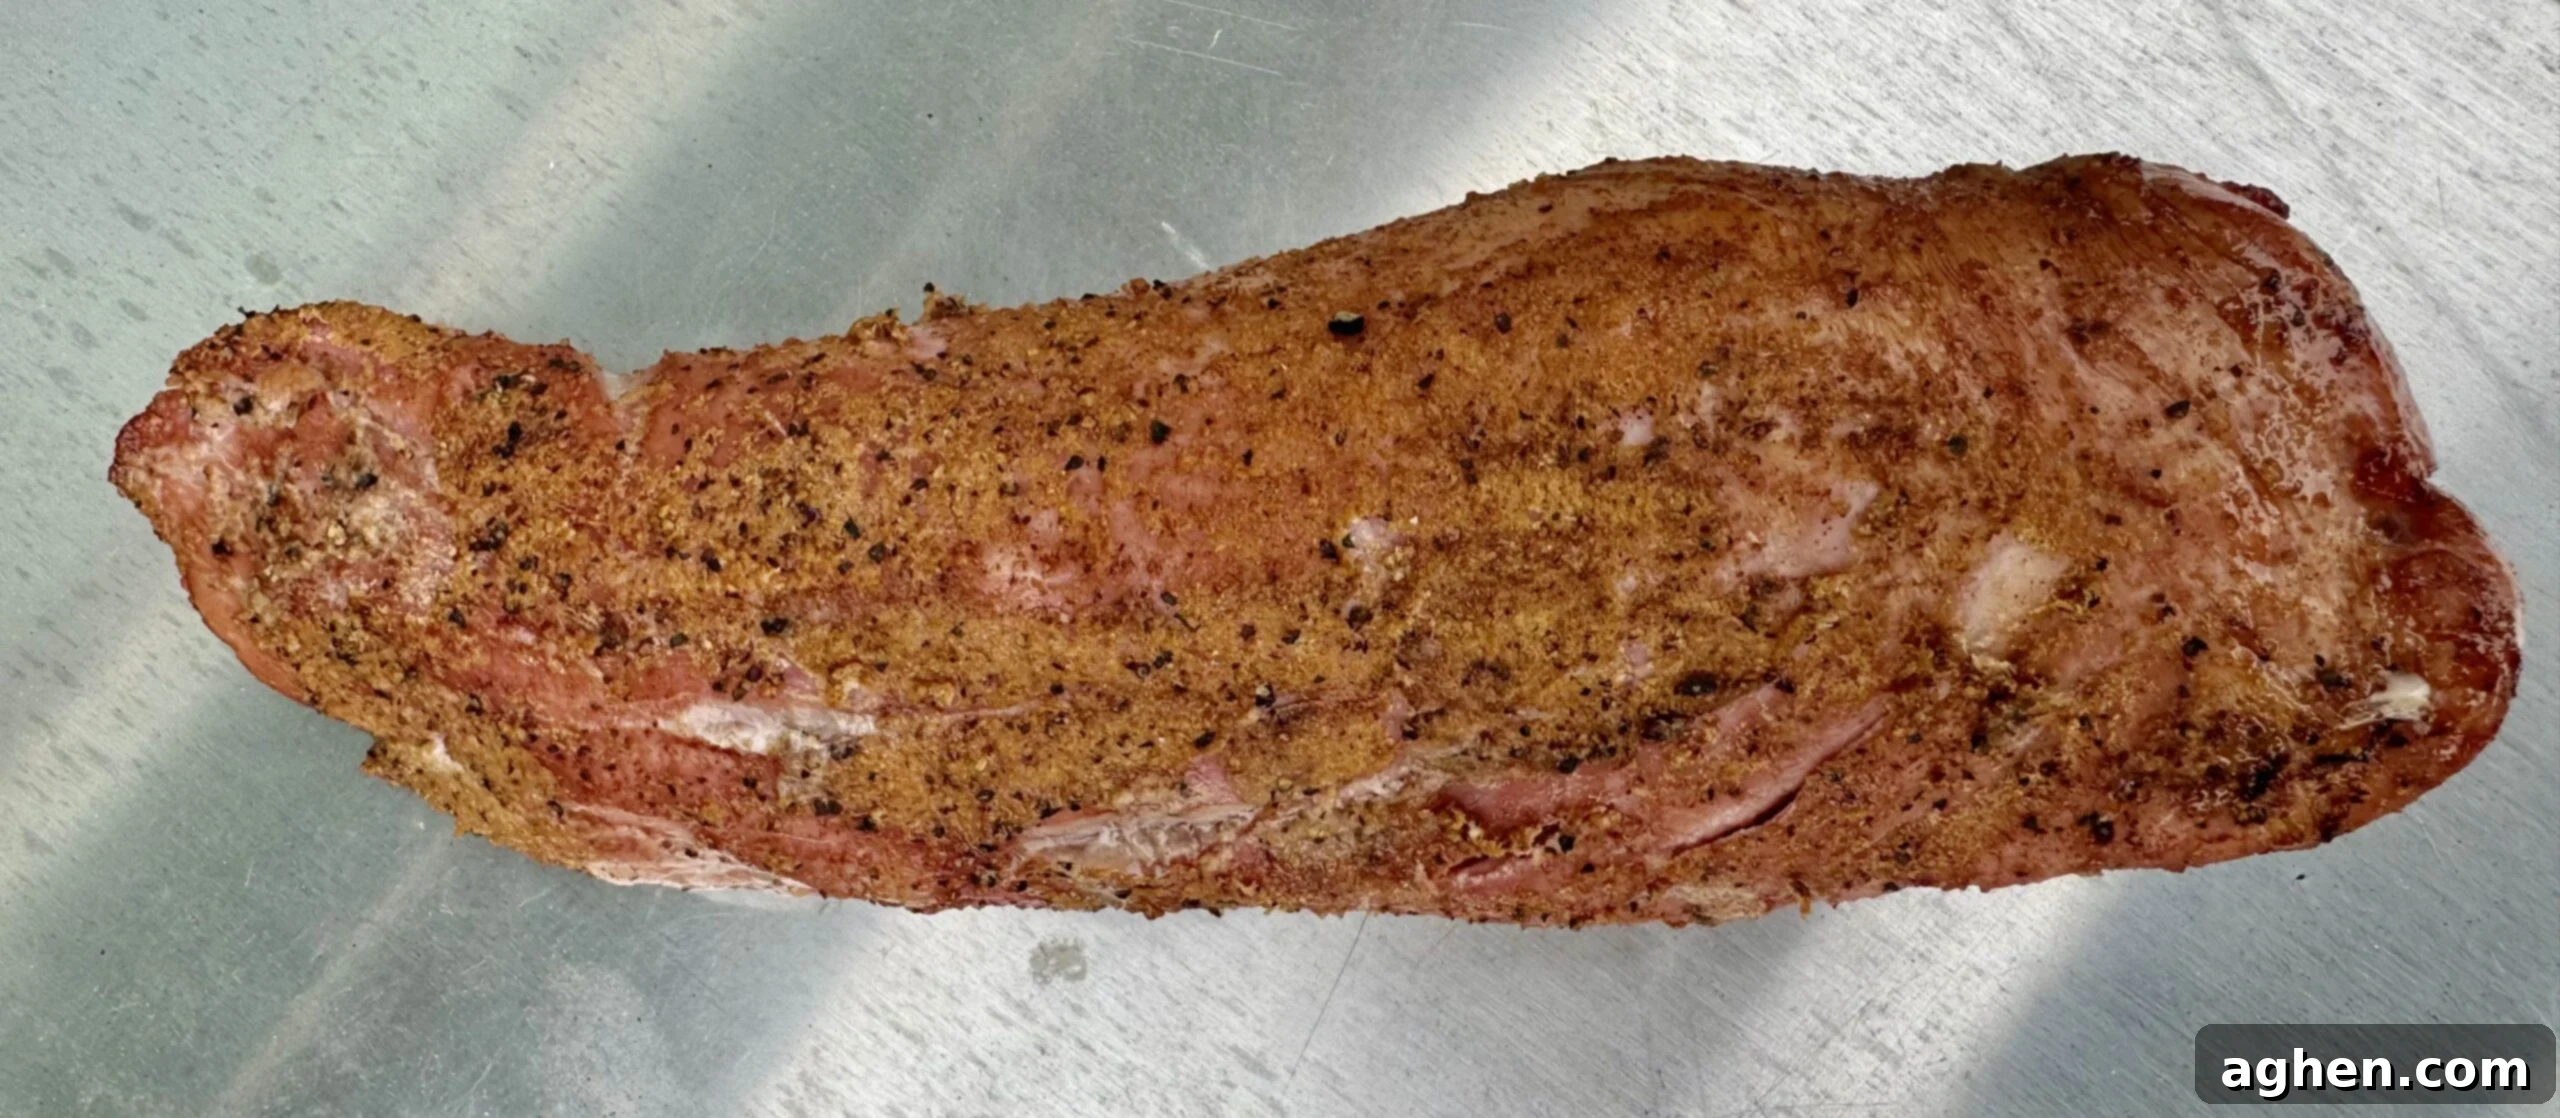
Whether you choose a larger pork loin or smaller pork tenderloins, preparation is key. You can marinate the pork for several hours or overnight to infuse it with flavor and moisture. A simple marinade of olive oil, garlic, herbs (like thyme or oregano), and a splash of citrus works wonders. Alternatively, a dry rub consisting of brown sugar, paprika, garlic powder, onion powder, and a touch of cayenne pepper can create a beautiful crust. For pork loin, you might even consider butterflying it open, stuffing it with a mixture of apples, onions, and herbs, then rolling it up and tying it with twine before securing it to the spit.
Rotisserie Cooking for Tenderness
Once seasoned, thread the pork onto the rotisserie spit, ensuring it’s balanced. Cook it over indirect heat on your Weber grill, maintaining a consistent temperature of around 350-375°F (175-190°C). Pork tenderloins cook relatively quickly, typically in 30-60 minutes, while a larger loin will take longer. The key to perfect pork is to avoid overcooking, as it can quickly become dry. Use a meat thermometer to pull the pork from the grill when it reaches an internal temperature of 145°F (63°C) for tenderloin or 145-150°F (63-65°C) for loin. Allow the pork to rest for 10-15 minutes before slicing. This rest is crucial for retaining juices and ensuring maximum tenderness. Serve with a fruit-based glaze like apricot or apple for an extra layer of flavor.
4. Aromatic Rotisserie Leg of Lamb
Cooking a leg of lamb on the rotisserie is an exquisite way to infuse it with rich flavors and achieve a beautifully tender, juicy texture. It’s a truly elegant dish that makes a fantastic centerpiece for any special occasion, with meat that practically melts in your mouth.
Flavoring and Securing the Lamb
Start with a boneless or bone-in leg of lamb. For intense flavor, create small incisions all over the lamb and stud them with slivers of fresh garlic and sprigs of rosemary. A marinade of olive oil, lemon juice, red wine, oregano, and black pepper can also enhance the lamb’s distinctive taste. Pat the lamb dry before applying seasonings. If using a boneless leg, you may need to tie it into a compact roast with baking twine to ensure even cooking and easy rotation. Secure the lamb firmly onto the rotisserie spit, ensuring it’s balanced.
Rotisserie Cooking for Optimal Flavor
Set up your Weber grill for indirect heat, aiming for a temperature of 300-325°F (150-160°C). Allow the leg of lamb to rotate slowly, letting the continuous movement and gentle heat render fat and create a wonderful crust. A drip pan placed underneath will catch juices for basting or creating a pan sauce. Cook until the internal temperature reaches your desired doneness: 130-135°F (54-57°C) for medium-rare, or 135-140°F (57-60°C) for medium. Remember to account for carry-over cooking during the resting phase. Once removed from the spit, transfer the lamb to a carving board and tent it with foil, allowing it to rest for 15-20 minutes before carving against the grain. This ensures maximum juiciness and tenderness. Serve with a classic mint sauce or a side of roasted root vegetables for a complete gourmet meal.
5. Luxurious Rotisserie Duck
For a truly unique and luxurious rotisserie experience, consider cooking a whole duck. The rotating spit is particularly effective with duck, as it expertly renders the significant layer of duck fat, resulting in incredibly crispy skin and succulent, flavorful meat. It’s a culinary adventure that yields impressive results.
Preparing Duck for Crispy Skin
Preparation is key to achieving that coveted crispy duck skin. First, remove any excess fat from the cavity. Then, prick the duck skin all over with a sharp fork or skewer, being careful not to pierce the meat below. This helps the fat render out more effectively. You can even blanch the duck in boiling water for a few minutes and then pat it completely dry; this tightens the skin. Season the duck generously inside and out with a blend of spices – a classic five-spice powder, orange zest, ginger, salt, and pepper works beautifully. For a glossy finish, you might prepare a glaze with honey, soy sauce, and a touch of vinegar to apply towards the end of the cooking process. Truss the duck tightly to keep its shape and prevent wings or legs from burning.
Rotisserie Cooking and Fat Rendering
Secure the prepared duck onto the rotisserie spit. Set up your Weber grill for indirect heat, aiming for a moderate temperature of 325-350°F (160-175°C). Place a drip pan underneath to catch the rendered fat – this is a valuable byproduct that can be strained and saved for cooking potatoes or other dishes. The duck will rotate slowly, allowing the fat to render out, creating an incredibly crispy skin while the meat cooks to tender perfection. Cooking time can range from 2 to 3 hours, depending on the duck’s size. Check the internal temperature in the thickest part of the thigh, aiming for 170-175°F (77-79°C). Once cooked, remove the duck from the spit, and let it rest for 10-15 minutes before carving. The result is a richly flavored, tender duck with an irresistible, crackling-crisp skin.
Essential Tools for Rotisserie Success
As you can see, your Weber Rotisserie attachment is capable of producing an impressive array of dishes far beyond the basics. To ensure your advanced rotisserie endeavors are consistently successful, a few key tools will prove invaluable in your outdoor kitchen.
Baking Twine
Baking twine, also known as butcher’s twine, is an absolute must-have. It’s used to securely truss poultry like duck, turkey, or chicken, as well as roasts like pork loin or leg of lamb. Trussing is critical for several reasons: it keeps wings, legs, and loose ends tucked in, preventing them from burning or flopping around during rotation. This ensures even cooking and a more attractive presentation. You can also use baking twine to reassemble any meat that you’ve stuffed or butterflied, maintaining a compact shape on the spit.
Extra Drip Pans
Weber drip pans, or any heavy-duty disposable aluminum pans, are incredibly versatile. Placing a drip pan directly underneath the meat while it rotates on the rotisserie serves multiple vital functions. Firstly, it catches all the flavorful drippings, which are perfect for basting, making gravies, or creating savory sauces. Secondly, and very importantly, it acts as a barrier, preventing fat from dripping directly onto the heating elements or coals, which can cause severe flare-ups and potential fires, thus making cleanup significantly easier. You can even add vegetables or potatoes to the drip pan with a little liquid to cook alongside your roast, soaking up all the delicious flavors.
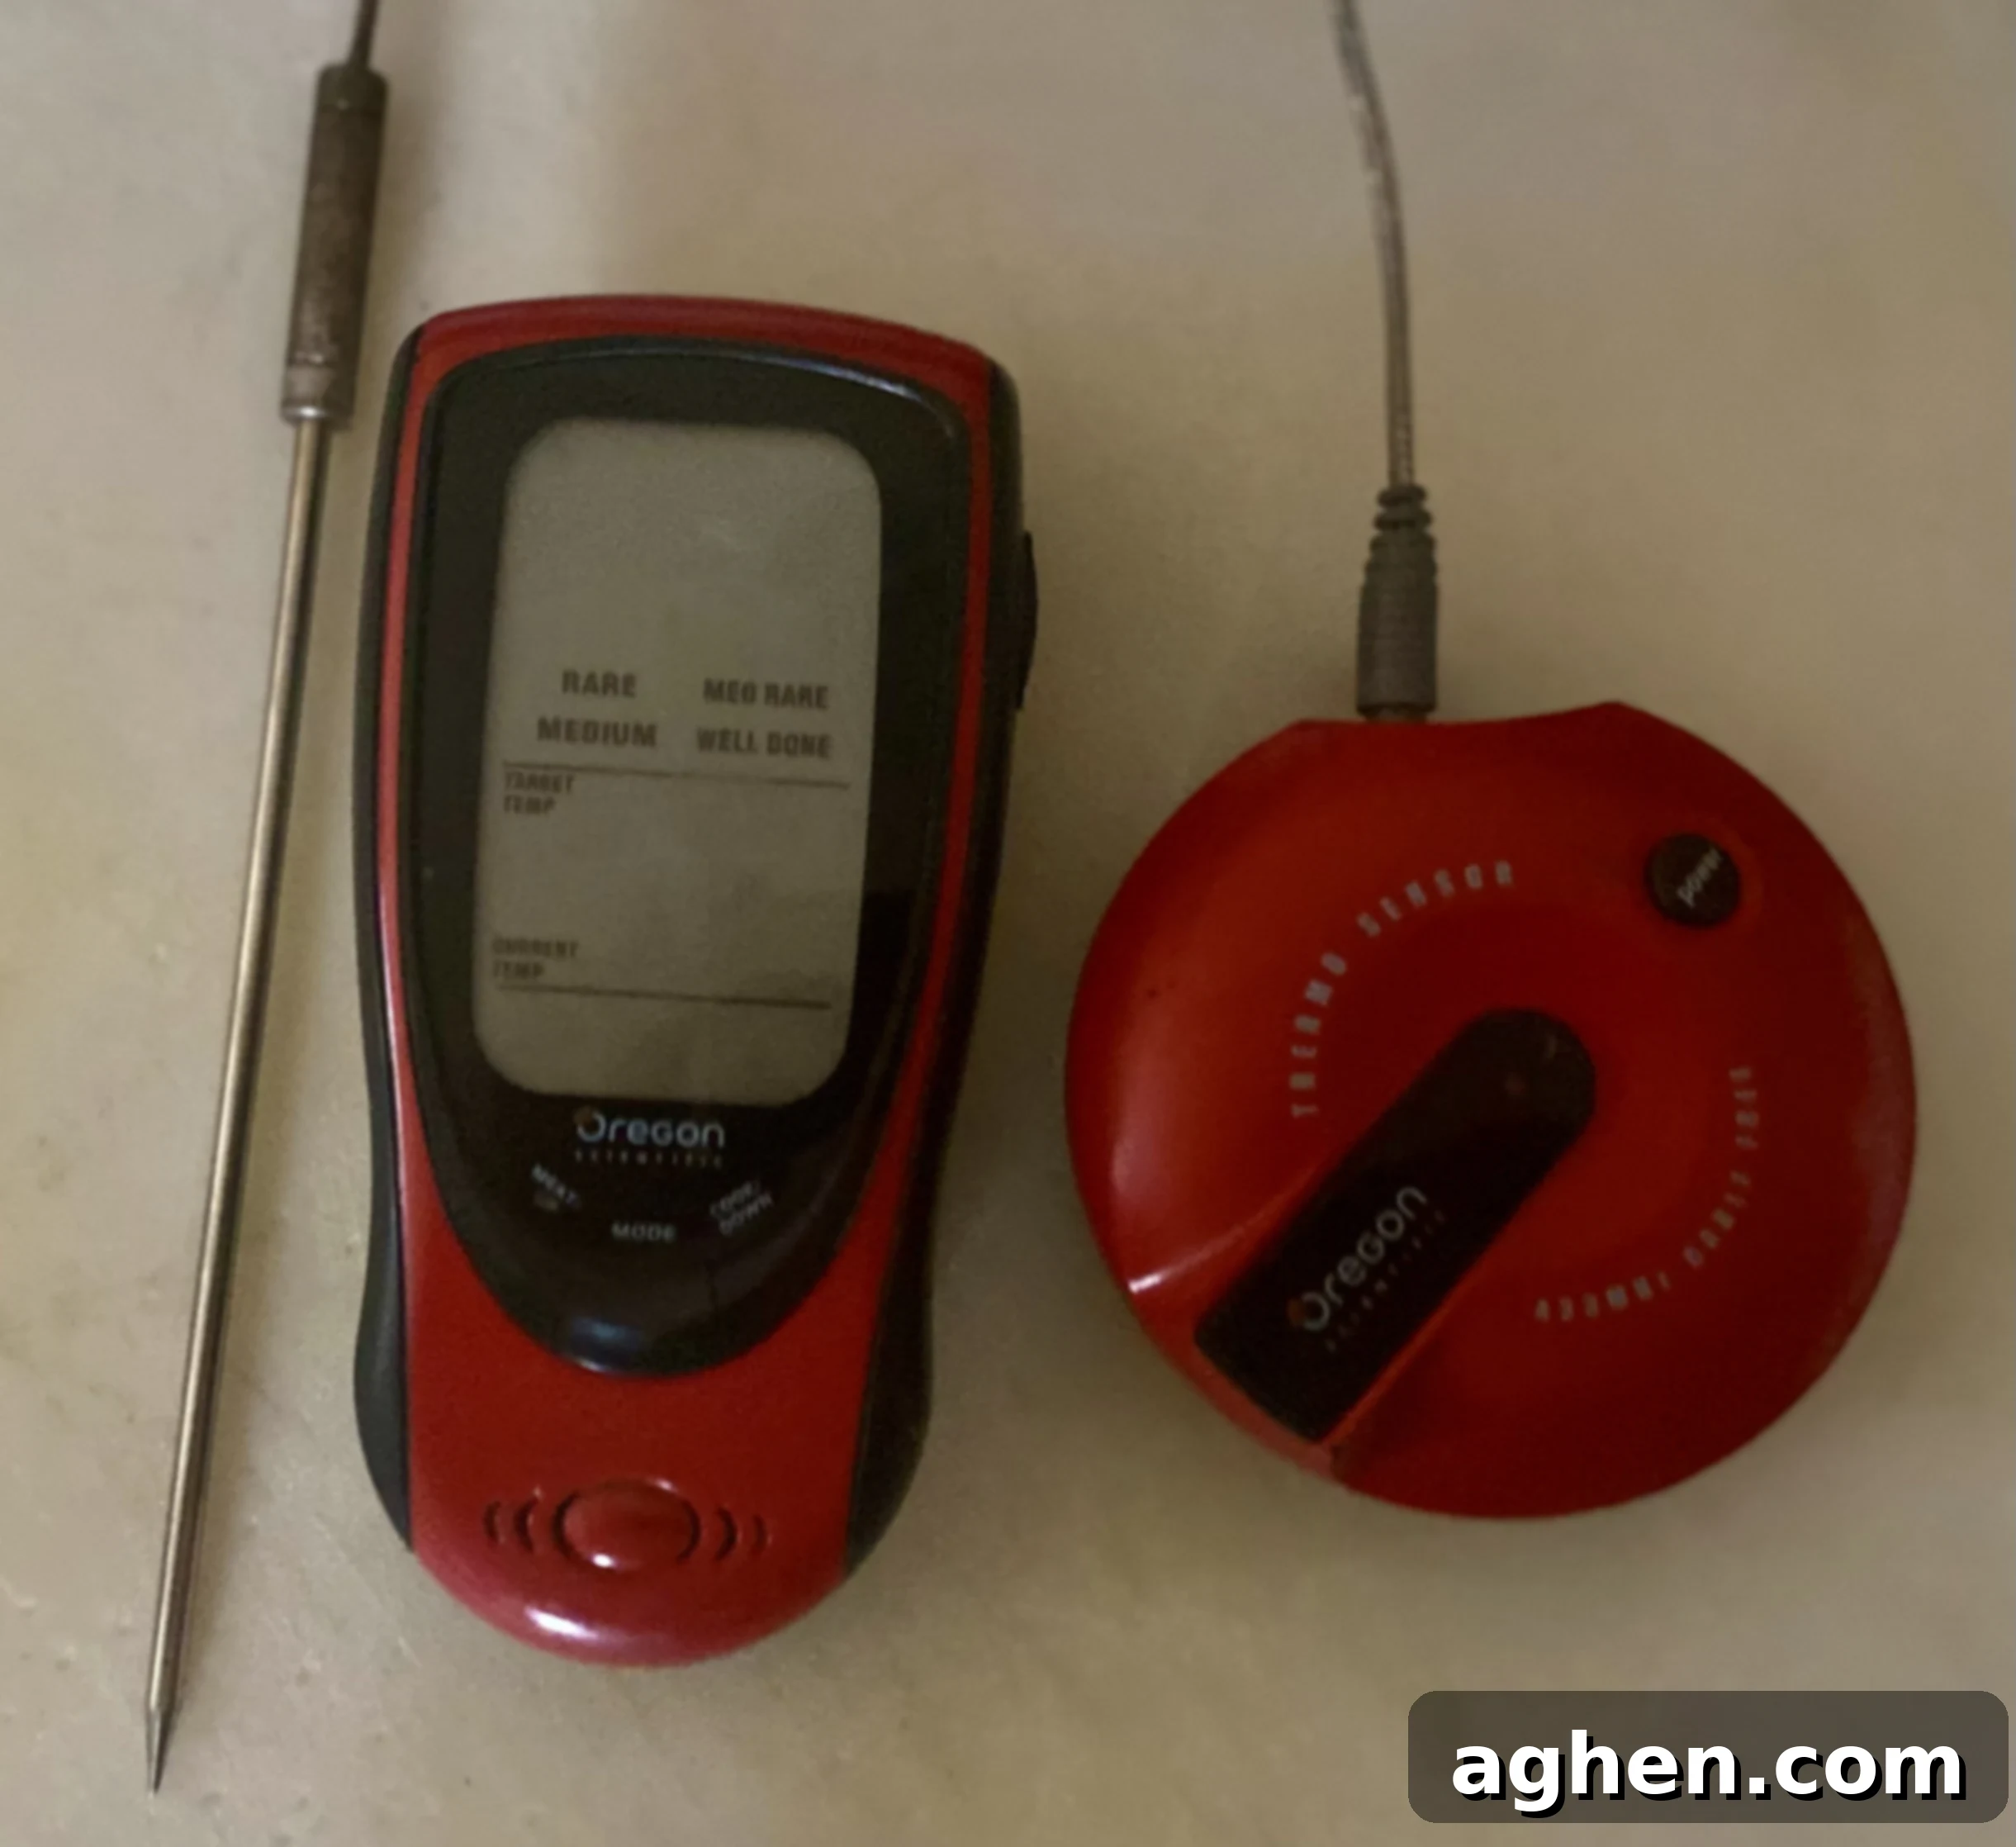
Quality Meat Thermometer
This is arguably the most crucial tool for rotisserie cooking. Since your meat is constantly rotating, it’s impossible to tell its doneness just by looking. An accurate, instant-read meat thermometer is essential to check the internal temperature before serving. Always check the temperature in multiple places – especially the thickest part of the meat, avoiding bones – to ensure it’s safely and perfectly cooked throughout. Investing in a good quality thermometer prevents undercooked or overcooked results, guaranteeing food safety and culinary perfection every time.
Heat-Resistant Gloves
Handling hot spits, adjusting food, or removing cooked meats from the grill requires protection. A pair of heavy-duty, heat-resistant grilling gloves will protect your hands from high temperatures and make the process much safer and more comfortable.
Basting Brush
For applying glazes, marinades, or collected drippings to your rotating masterpiece, a long-handled silicone basting brush is ideal. It allows you to add layers of flavor and moisture without getting too close to the heat.
Sharp Carving Knife and Fork
After all that effort, you’ll want to carve your perfectly cooked roast with precision. A sharp carving knife and a sturdy carving fork are essential for cleanly slicing your meats and presenting them beautifully.
General Tips for Rotisserie Mastery
- Preheat Thoroughly: Always preheat your Weber grill to the target temperature before placing your meat on the rotisserie.
- Maintain Indirect Heat: Rotisserie cooking generally works best with indirect heat to prevent scorching and allow for even cooking. Adjust your burners or charcoal setup accordingly.
- Balance Your Load: Ensure the meat is centered and securely balanced on the spit. An unbalanced load will cause the motor to strain and result in uneven cooking.
- Don’t Peek Too Often: Resist the urge to constantly open the grill lid, as this causes heat loss and extends cooking time.
- Clean Up: After each use, clean your rotisserie spit and forks thoroughly. This prevents food buildup and keeps your equipment in top condition.
These advanced rotisserie uses for your Weber Grill are designed to elevate your cooking game and allow you to explore the full potential of this fantastic attachment. With a little creativity, the right cuts of meat, and these essential tools, you can confidently use your rotisserie attachment to prepare a wide range of impressive and delicious dishes that will truly stand out. Don’t hesitate to experiment with different seasonings, marinades, and glazes to customize the flavors to your liking and discover your new signature rotisserie recipe. The next time you fire up your Weber Grill, consider taking your rotisserie cooking to new heights with these advanced techniques and savor the incredible flavors you create.
