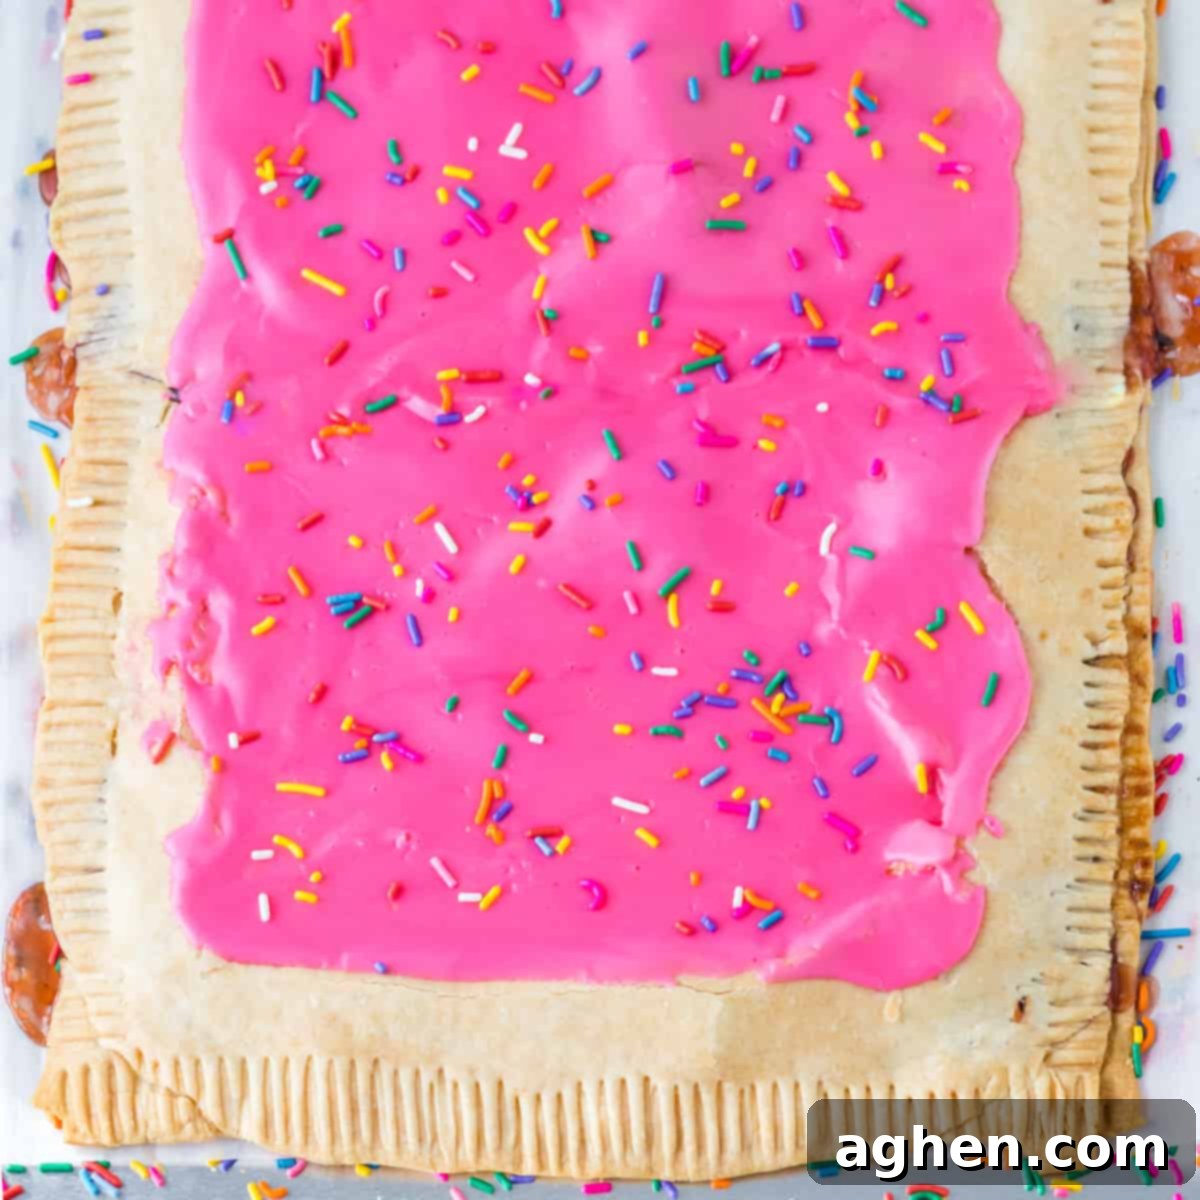
Giant Strawberry Pop Tart Recipe: Your Ultimate Guide to a Supersized Homemade Treat
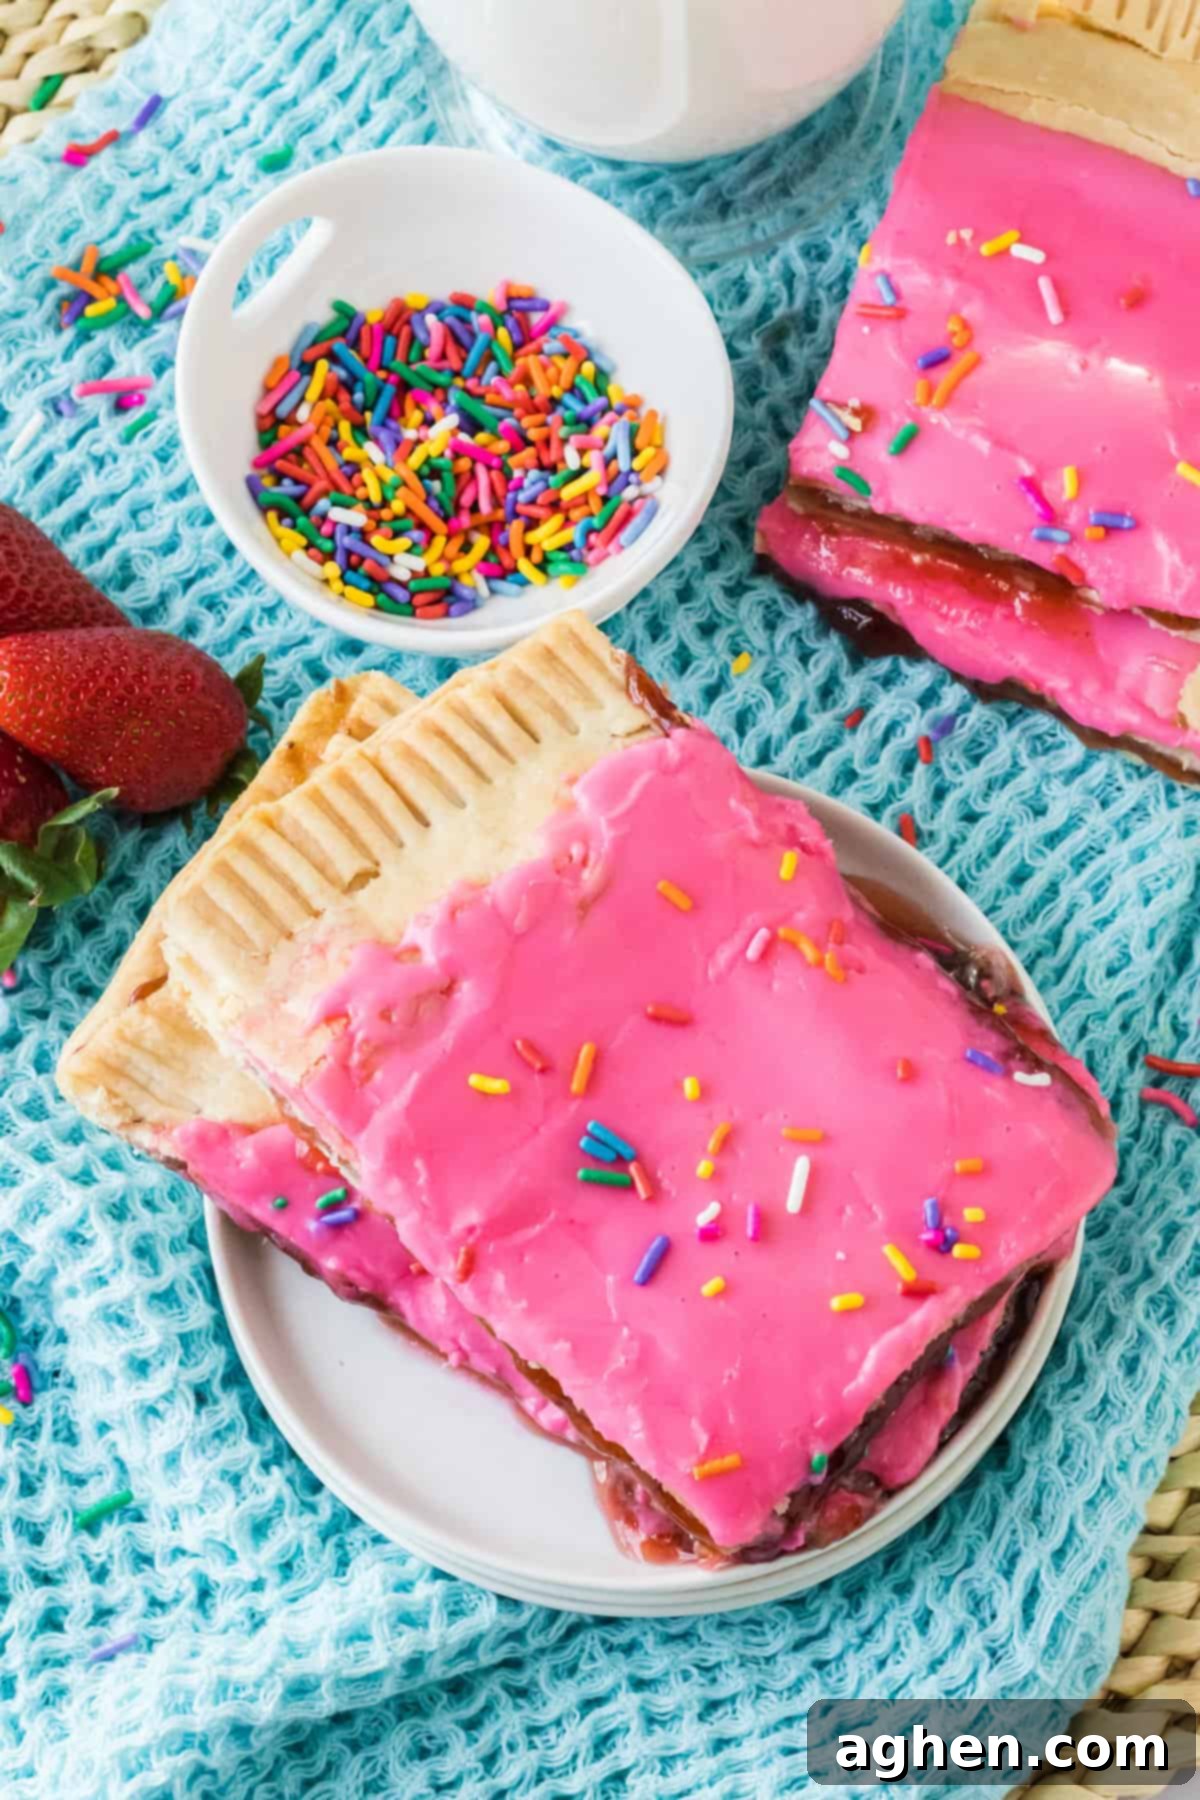
This giant pop tart recipe is a game-changer, elevating your love for the classic toaster pastry to an entirely new dimension. Imagine a supersized, delightful treat featuring a luscious, sweet strawberry jam filling, all encased within a wonderfully flaky and buttery crust. To top it all off, it’s adorned with a sweet vanilla glaze and a shower of colorful sprinkles, making it an irresistible spectacle and a feast for the senses.
If your heart beats for sweet breakfast delights, you’ll also adore our easy monkey bread recipe and this clever TikTok cinnamon roll hack. For those who prefer a savory start to their day, our sheet pan recipe for sausage egg and cheese breakfast sliders offers a quick and satisfying option.
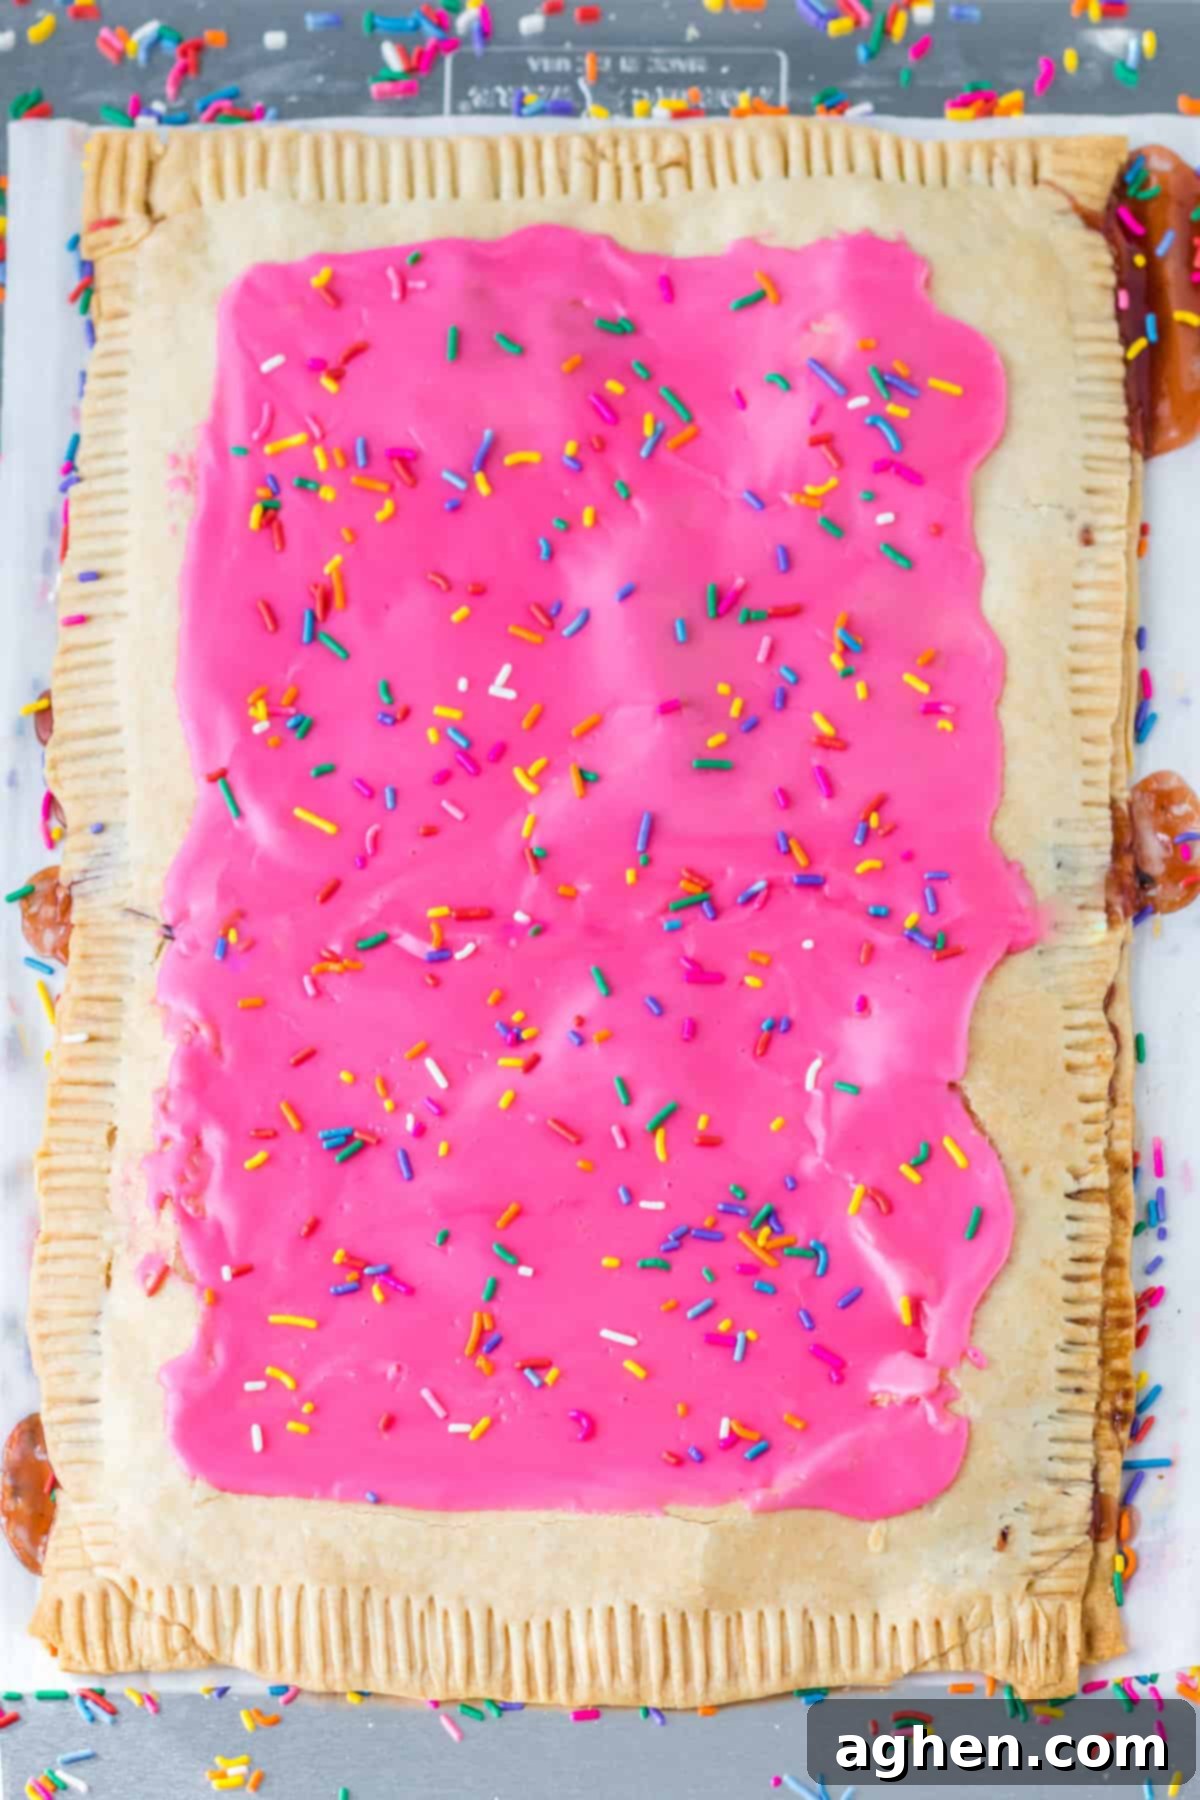
Growing up, few things sparked as much joy as my mom bringing home a box of Pop-Tarts. While I certainly enjoyed the classic blueberry and brown sugar varieties, the vibrant strawberry flavor always held a special place in my heart as my absolute favorite. That nostalgic affection is precisely what inspired this mega-sized, homemade rendition of that beloved childhood treat. This isn’t just a bigger Pop-Tart; it’s a celebration of flavor and fun, designed to bring smiles to every face at the breakfast table or any gathering.
Whether you’re yearning for a comforting taste of nostalgia to kickstart your morning or searching for an impressive, shareable dessert to cap off a meal, this giant strawberry pop tart is guaranteed to hit the spot. It’s not just a recipe; it’s an experience that will satisfy your deepest cravings and delight your inner child with every delicious bite. Its impressive size makes it perfect for sharing, ensuring everyone gets a generous slice of happiness.
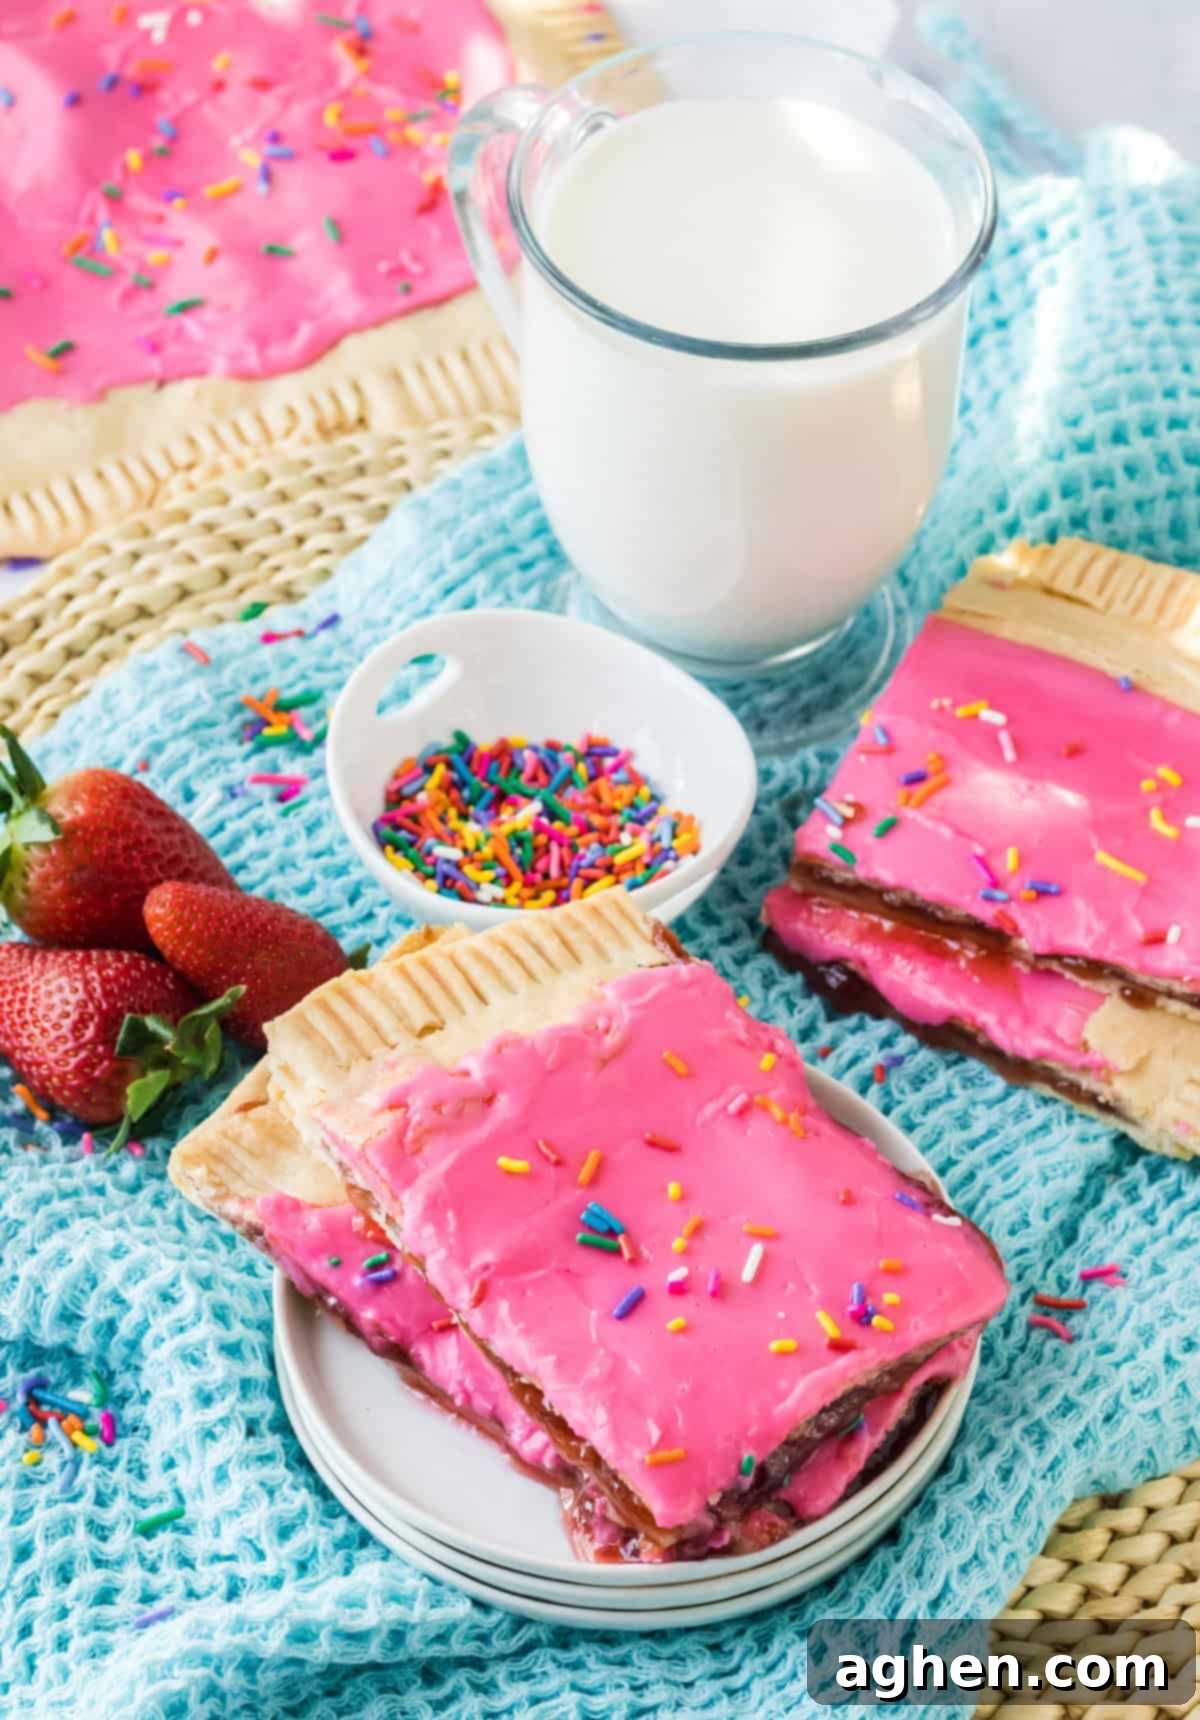
Why You’ll Love This Giant Pop Tart Recipe
There are countless reasons to fall in love with this giant pop tart. It takes a beloved classic and transforms it into something even more special and exciting. Here’s why this recipe deserves a spot in your baking repertoire:
- Effortlessly Easy to Make: Forget the complexities of making dough from scratch. This recipe leverages the convenience of store-bought pie crusts and your favorite strawberry jam, cutting down prep time significantly. It’s perfect for bakers of all skill levels, even beginners!
- A Guaranteed Crowd-Pleaser: This impressive, supersized treat is an instant hit with everyone, from the pickiest kids to nostalgic adults. Its fun presentation and delicious flavor make it a focal point at any gathering.
- Perfect for Parties & Nostalgia: Planning an ’80s or ’90s themed party? This giant pop tart is the ultimate throwback! It’s also a fantastic way to introduce your children to your cherished childhood favorites, creating new memories around a classic taste.
- A Fun and Indulgent Twist: It’s not just a larger version; it’s a homemade, heartier, and more customizable take on the original. The flakey crust and generous filling provide a more satisfying and indulgent experience than its packaged counterpart.
- Endlessly Customizable: While we adore strawberry, this recipe serves as a versatile canvas. Easily adapt it with various fruit fillings, different colored glazes, or an assortment of fun sprinkles and toppings to suit any preference or occasion.
Essential Ingredients for Your Giant Pop Tart
Creating this magnificent giant pop tart requires just a few simple, readily available ingredients. We focus on quality and convenience to ensure a delicious outcome without unnecessary fuss. Gather these items to begin your baking adventure:
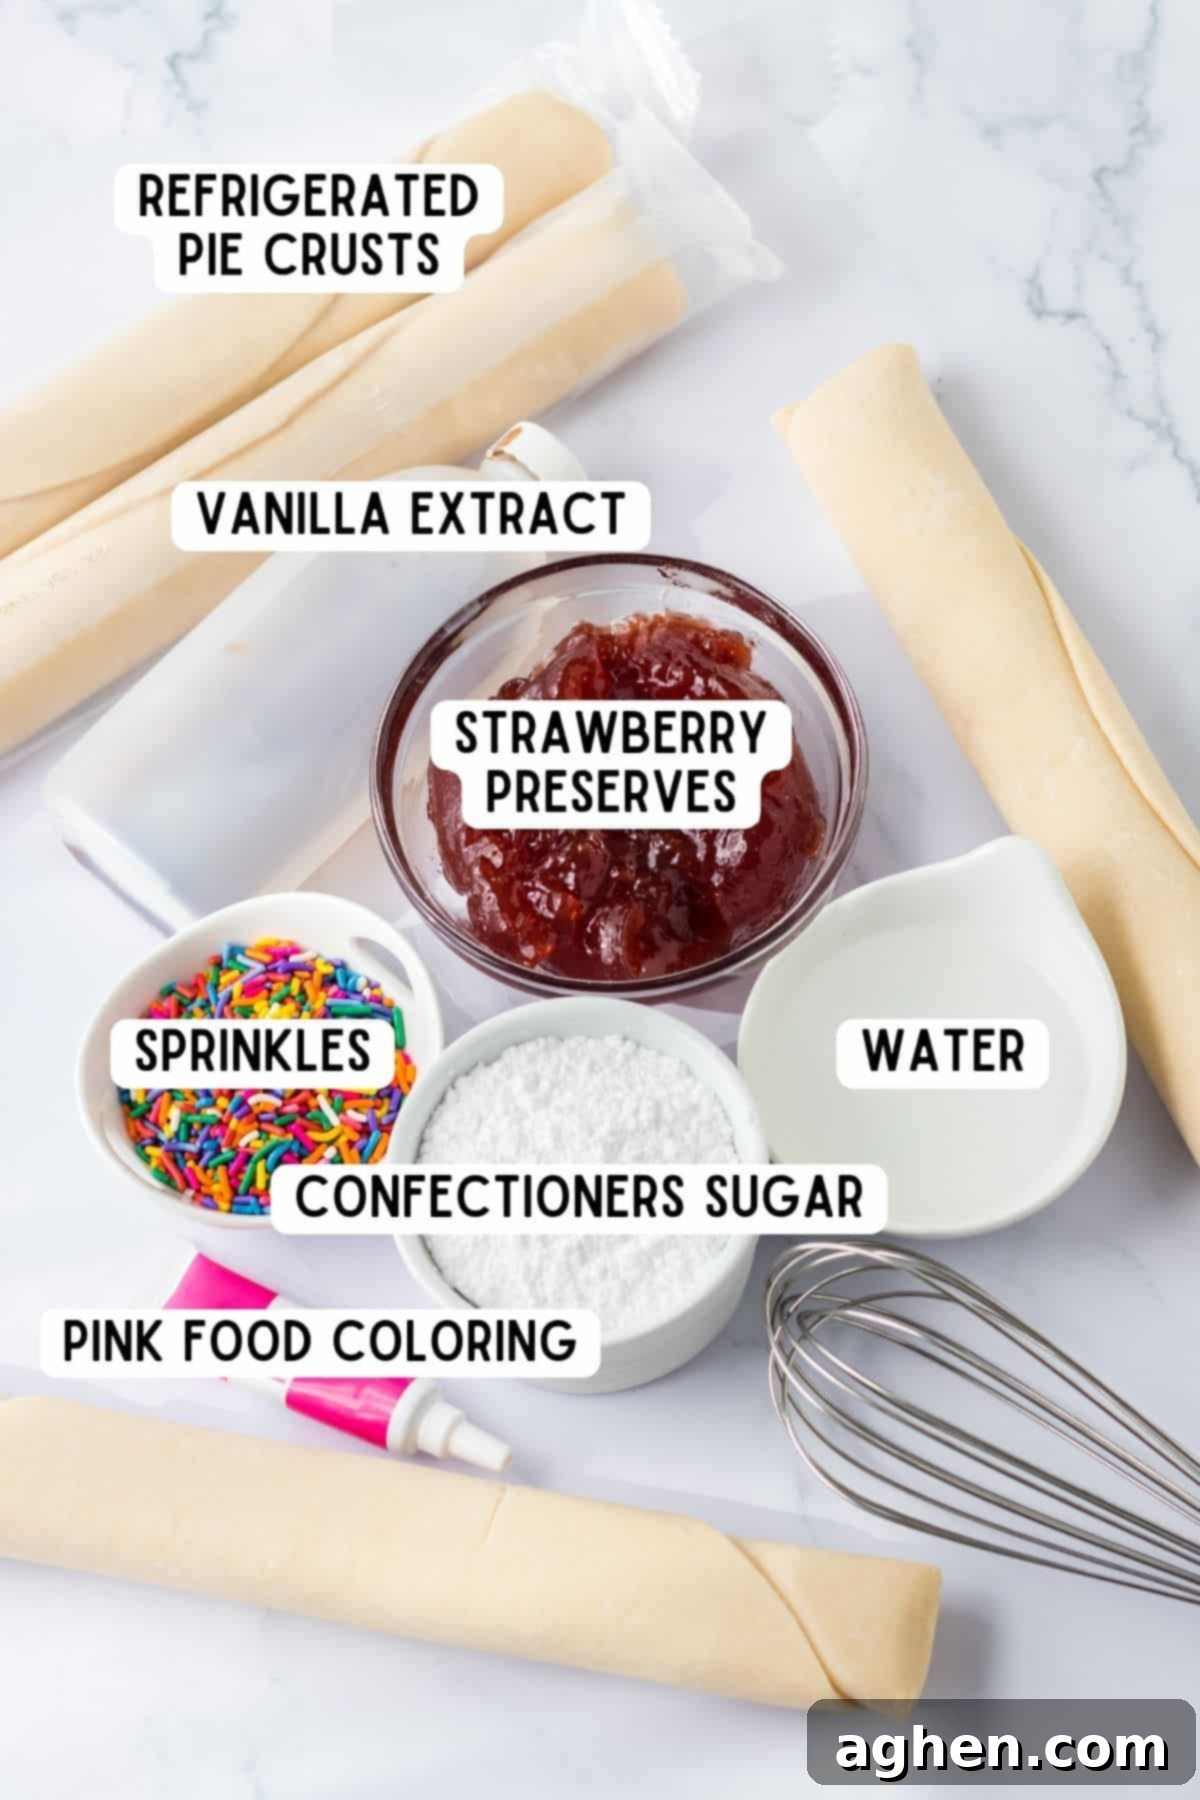
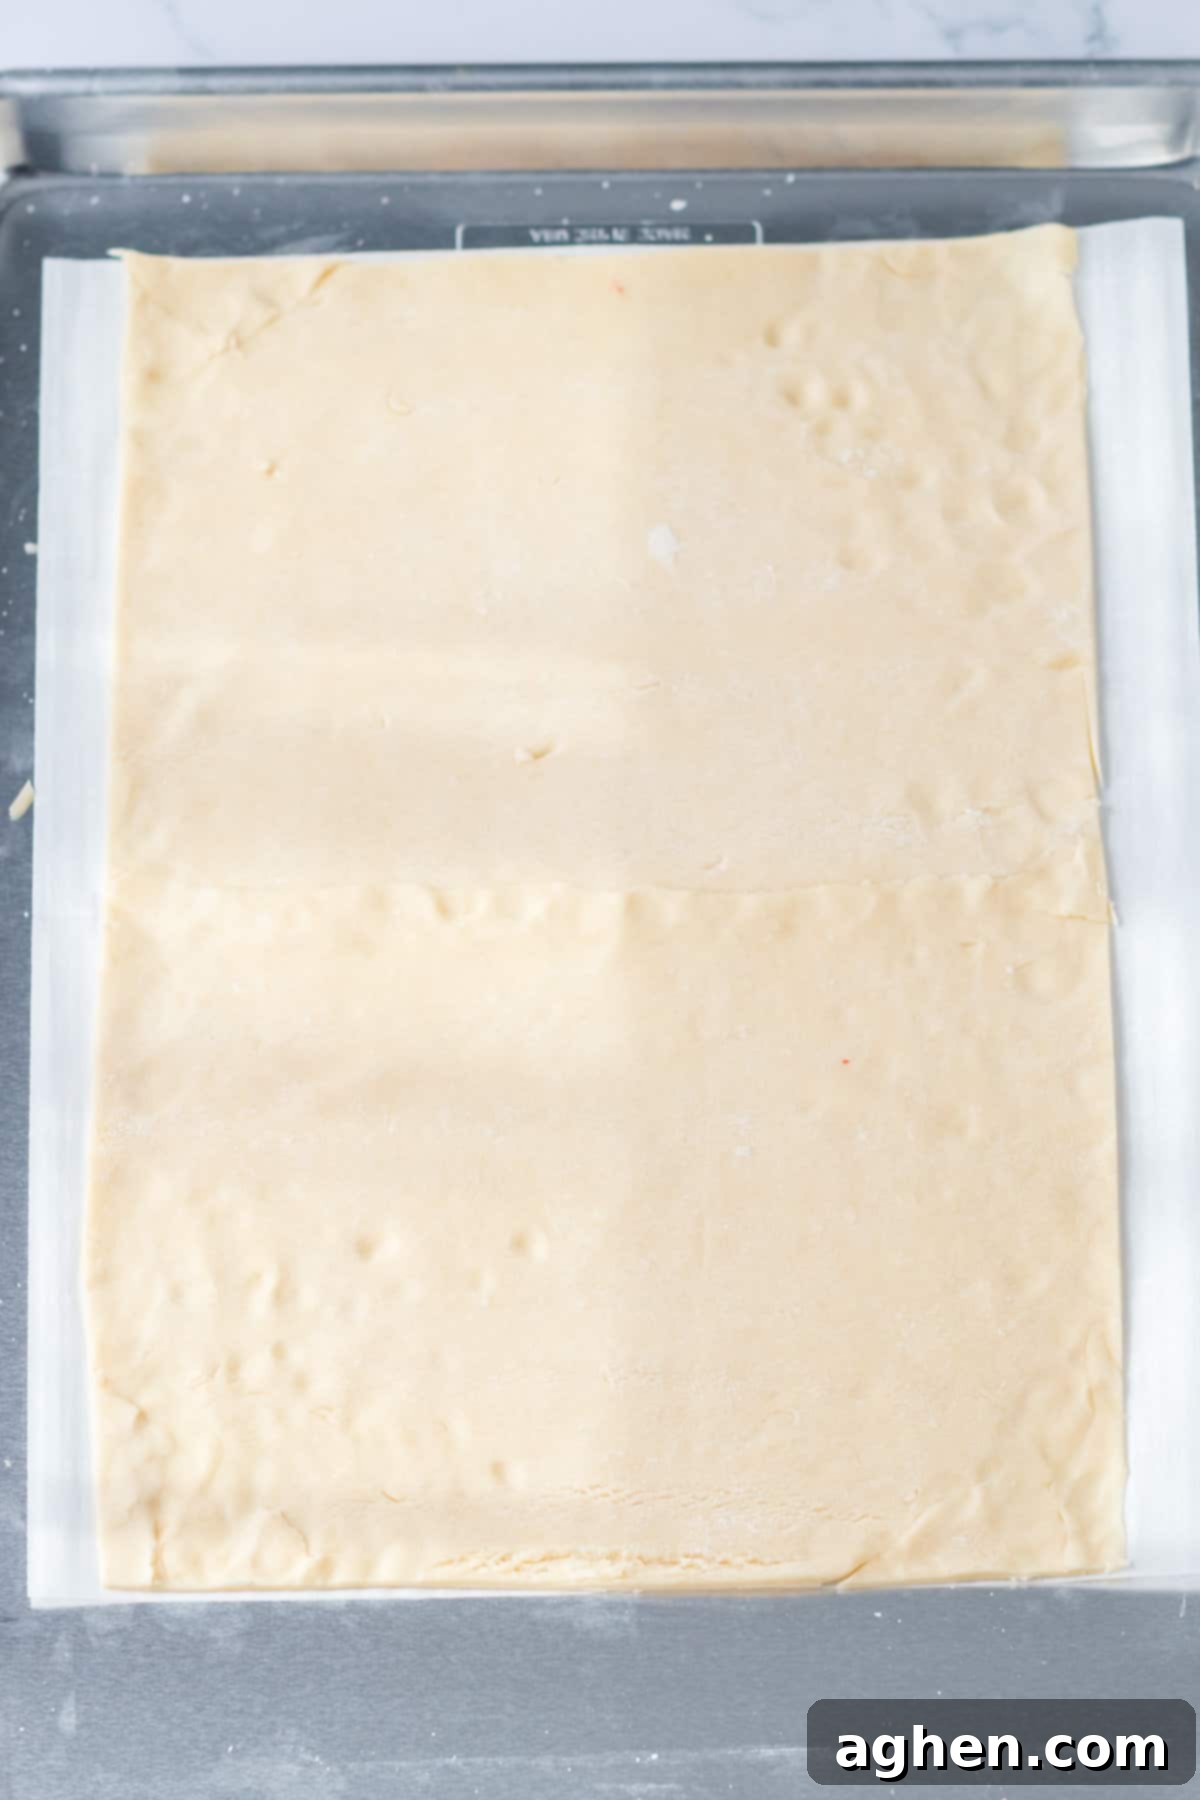
- Refrigerated Pie Crusts: These are your secret weapon for an easy and quick giant pop tart. Using ready-to-bake pie dough eliminates the time and effort of making pastry from scratch, ensuring a consistently flaky and tender crust with minimal fuss. Make sure to check the packaging for any specific instructions on handling, such as bringing them to room temperature before unrolling.
- Strawberry Jam or Preserves: The heart of our giant pop tart! For the most authentic and delightful flavor, opt for a high-quality strawberry jam or preserves. Brands like Bonne Maman preserves or Smucker’s jam are excellent choices, known for their rich fruit flavor and good consistency. Not a fan of strawberry? Feel free to experiment with other fruit fillings like blueberry jam, raspberry preserves, or even a homemade peach jam for a unique twist.
- Confectioners’ Sugar: Also widely known as powdered sugar or icing sugar, this finely milled sugar forms the base of our sweet and smooth pink icing. Its fine texture dissolves easily, creating a silky glaze without any grittiness.
- Vanilla Extract: A touch of pure vanilla extract is added to the icing to provide a warm, sweet aroma and a depth of flavor that complements the strawberry and pie crust beautifully. It’s a small addition that makes a big difference.
- Pink Gel Food Coloring: This is entirely optional, but highly recommended if you want your homemade strawberry pop tart to truly capture the iconic look of the original. Just a few drops will create a vibrant, fun pink icing. You can certainly leave the frosting white, or even choose another color to match a theme!
- Rainbow Sprinkles: While also optional, rainbow sprinkles are almost a non-negotiable for that authentic Pop-Tart aesthetic. They add a playful burst of color and a delightful crunch, making your supersized treat even more visually appealing and fun to eat. Plus, who doesn’t love sprinkles?
Essential Equipment for Success
Having the right tools on hand will make the baking process smooth and enjoyable. Here’s what you’ll need to create your giant pop tart:
- Parchment paper: Essential for preventing sticking and easy cleanup.
- Half sheet pan: A large, rimmed baking sheet is crucial for containing this generously sized pastry.
- Small mixing bowl: For whisking together your vibrant icing.
- Pizza cutter or sharp knife: For neatly trimming and shaping your pie crusts.
- Fork: For crimping the edges and poking vent holes.
How to Make a Giant Strawberry Pop Tart: Step-by-Step Instructions
Creating this impressive giant pop tart is easier than you might think! Follow these detailed steps to bring your supersized breakfast or dessert dream to life.
Step 1: Prepare Your Baking Environment. Begin by preheating your oven to 350 degrees F (175 degrees C). Line a large, rimmed baking sheet (a half sheet pan works perfectly) with a sheet of parchment paper. This prevents the pop tart from sticking and makes cleanup a breeze.
Step 2: Construct the Bottom Crust. Unroll two of your refrigerated pie dough sheets onto the prepared baking sheet. Position them so they slightly overlap in the middle. Using a pizza cutter or a sharp knife, carefully trim the overlapping portion from the top dough sheet. Use this excess dough, along with any trimmings from the rounded ends of the circular crusts, to fill in any gaps, forming a single, large rectangle of dough. Gently use your fingers to press all the seams firmly together, ensuring a solid base for your filling.
Step 3: Add the Sweet Filling. Once your bottom crust is a cohesive rectangle, evenly spread 1 cup of your chosen strawberry jam or preserves over the dough. Be sure to leave a clear 1-inch border uncovered around all the edges of the pop tart. This border is essential for properly sealing the top and bottom crusts together and preventing the delicious jam from leaking out during baking.
Step 4: Prepare the Top Crust. On a separate sheet of parchment paper, repeat the unrolling, trimming, and shaping process from Step 2 with the two remaining pie crusts. Aim to create a rectangle that is the same size as your bottom crust, ensuring it will fit perfectly on top.
Step 5: Assemble and Seal the Pop Tart. Carefully lift the parchment paper with the prepared top crust and gently invert it onto the bottom layer of dough, aligning the edges. Once positioned, use your fingers to firmly press the edges of the top and bottom crusts together. Then, with the tines of a fork, crimp all around the perimeter to create a decorative edge and a secure seal. This helps to lock in the jam filling. Finally, use the fork or a toothpick to poke several small holes evenly across the entire top surface of the pop tart. These vent holes allow steam to escape during baking, preventing the crust from puffing up excessively.
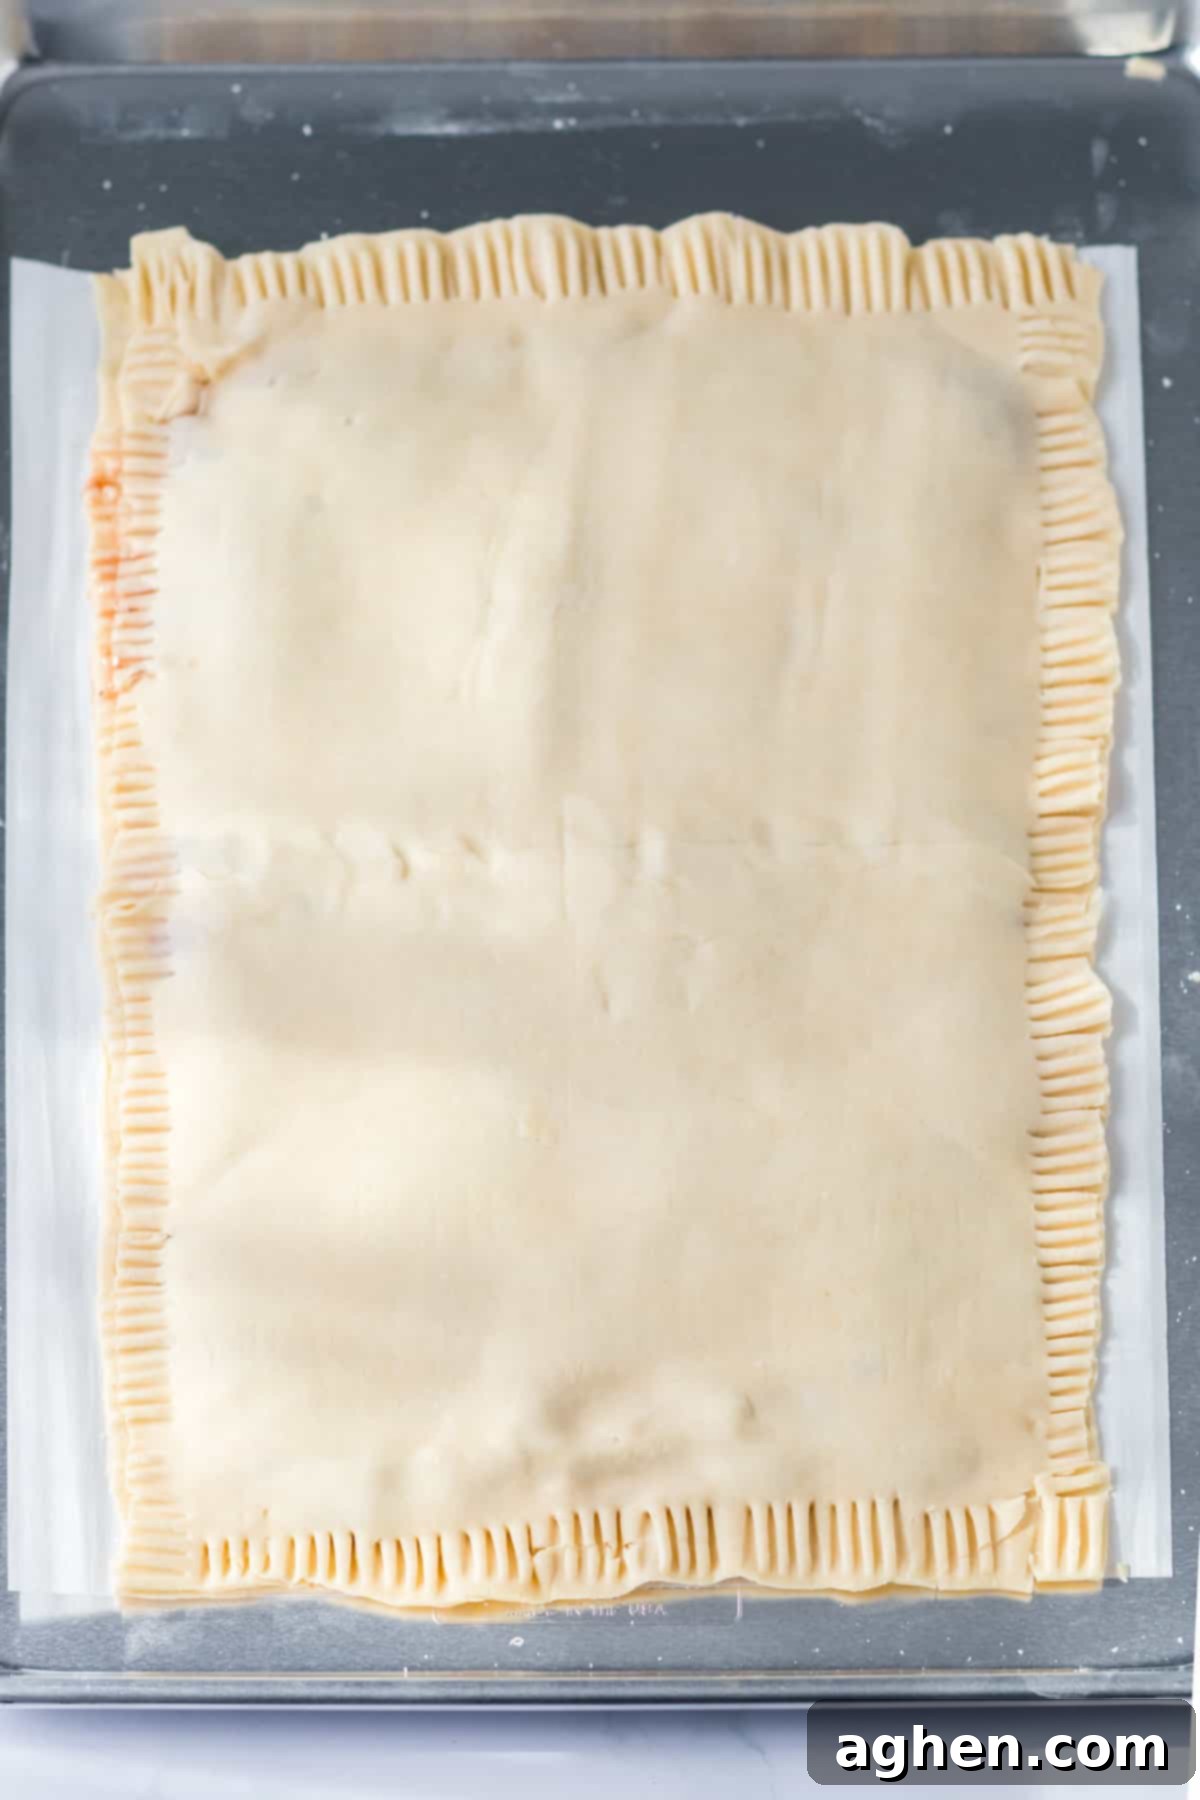
Step 6: Bake to Golden Perfection. Place your assembled giant pop tart in the preheated oven and bake for 24-26 minutes, or until the crust achieves a beautiful light golden brown color. Keep an eye on it to prevent over-browning. Once baked, remove the baking sheet from the oven and allow the giant pop tart to cool completely on the baking sheet for approximately 30-45 minutes. This crucial cooling time allows the pastry to set and makes it easier to handle and slice.
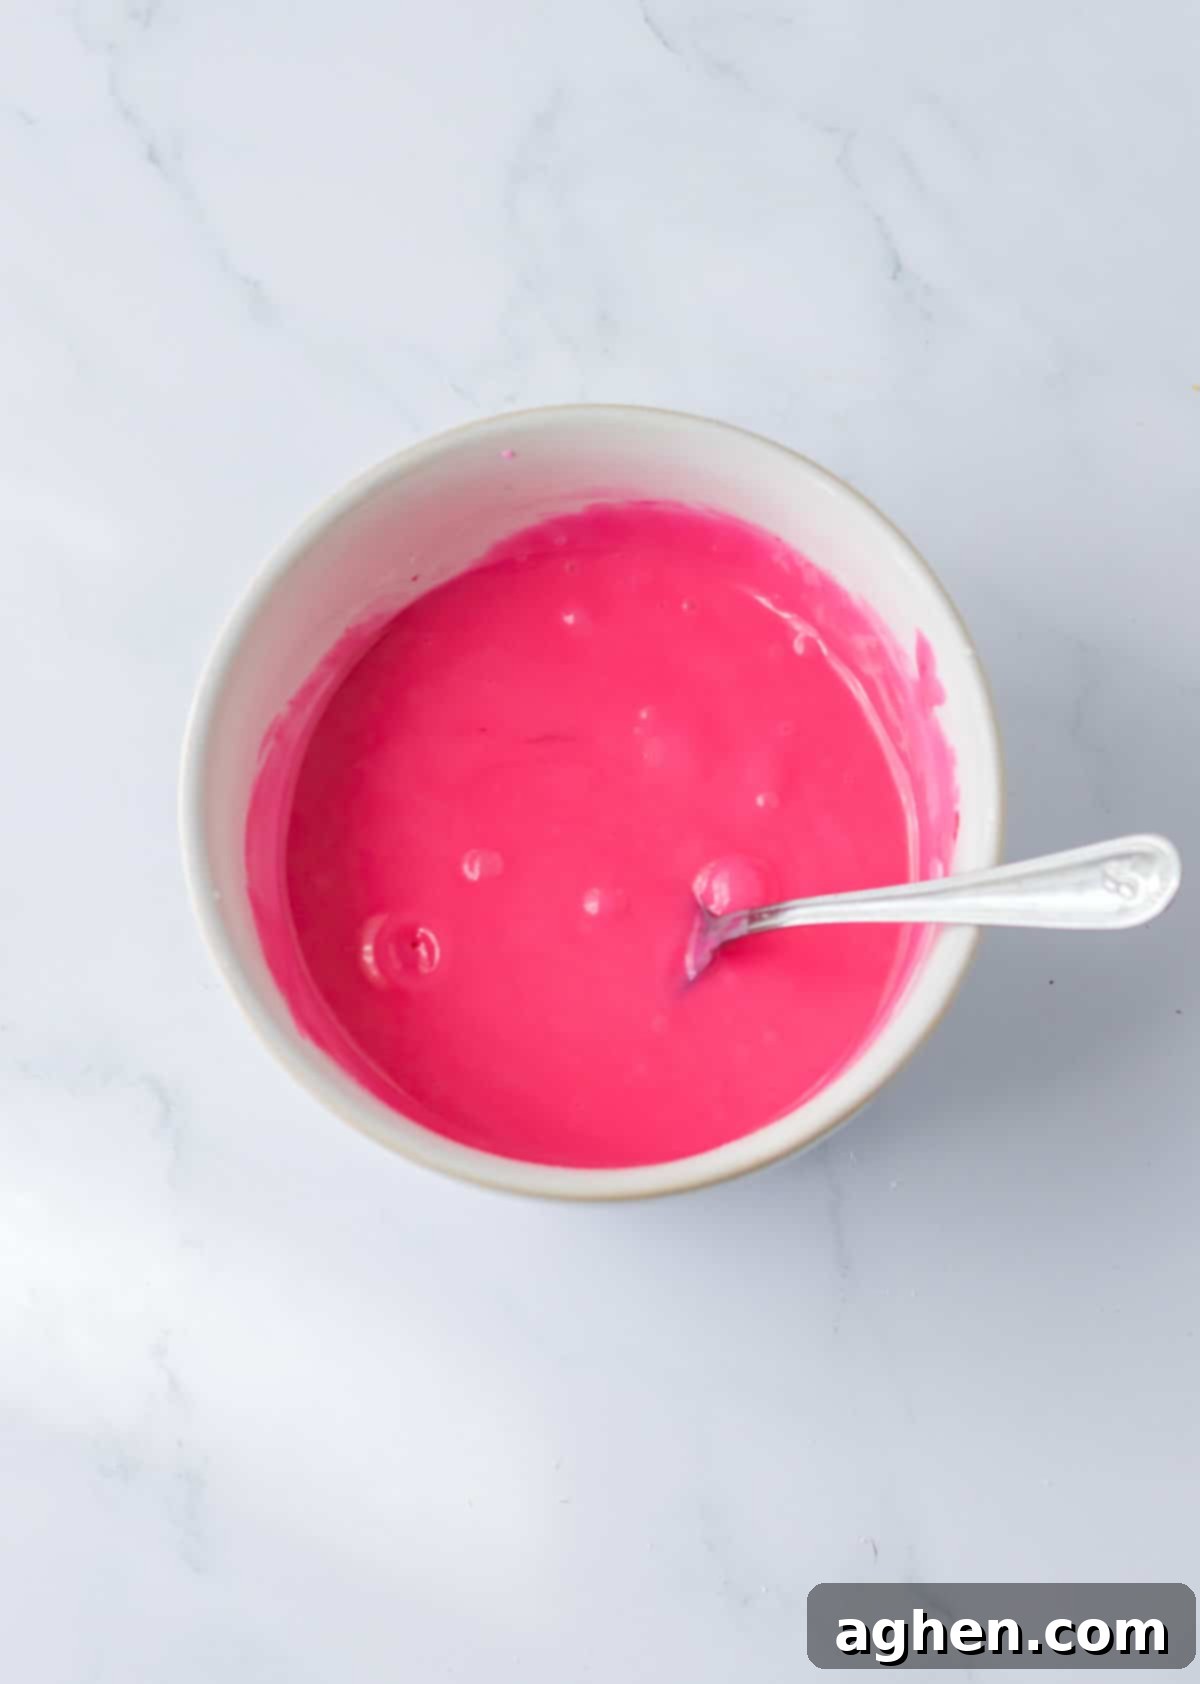
Step 7: Prepare the Sweet Vanilla Glaze. While the pop tart is cooling, prepare your icing. In a small mixing bowl, whisk together the confectioners’ sugar, 3 tablespoons of water, and vanilla extract until smooth. You’re aiming for a consistency that is thick enough to coat the back of a spoon and not drip excessively off the sides of the pop tart, yet thin enough to be easily pourable and spreadable. If needed, add a tiny bit more water (a teaspoon at a time) to thin it, or more powdered sugar to thicken it. If desired, stir in a few drops of pink gel food coloring until you achieve your preferred shade of pink.
Tip: Achieving the perfect icing consistency is key! It should be flowy but not watery, allowing it to coat the pop tart beautifully without running off.
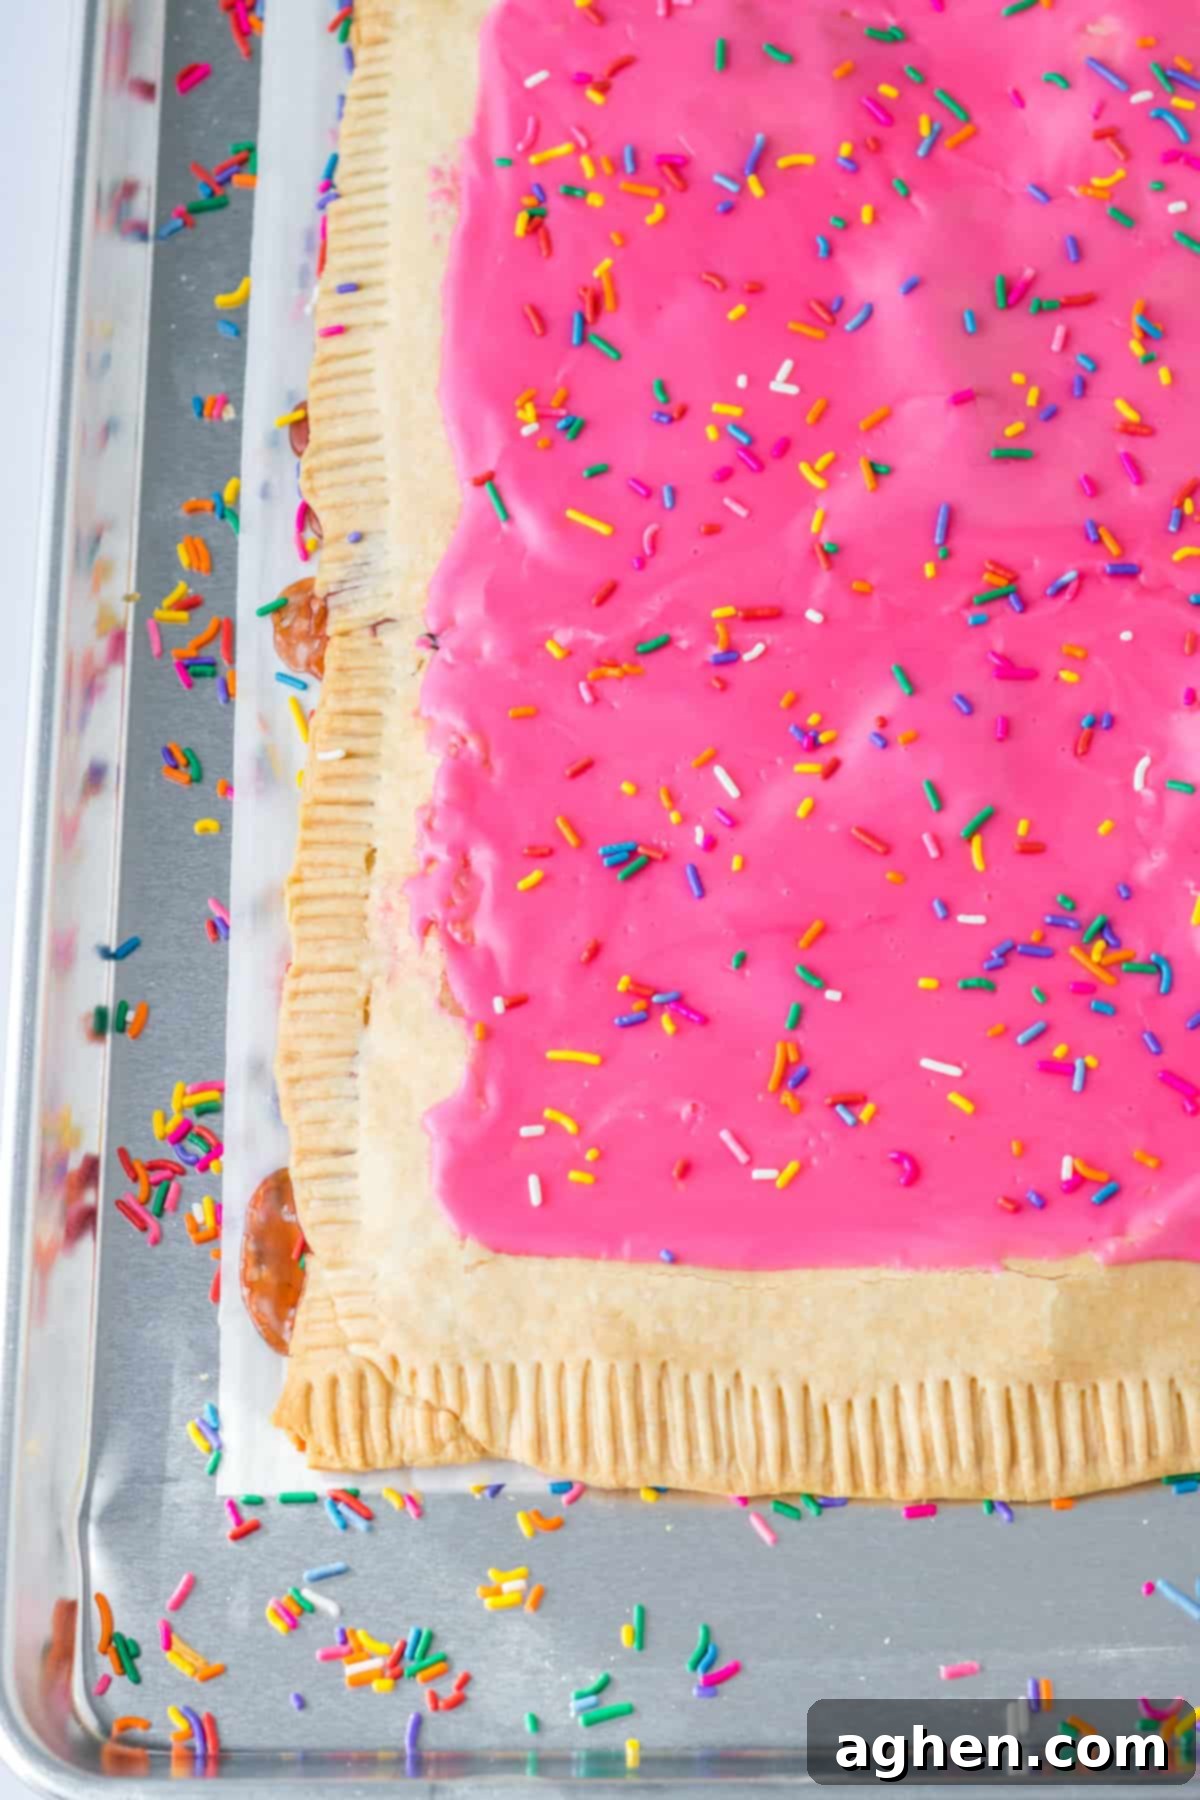
Step 8: Glaze, Decorate, and Serve. Once the giant pop tart has cooled sufficiently, pour the prepared icing evenly over the entire top surface. Work quickly to spread it if necessary, then immediately scatter your rainbow sprinkles generously over the wet icing. Allow the icing to set and harden for about 10 minutes. Once the glaze is firm to the touch, use a sharp knife to slice the giant pop tart into large rectangles. Serve immediately and enjoy this delightful, homemade supersized treat!
Storage Instructions for Leftovers
If by some miracle you have any leftover giant pop tart, proper storage will keep it fresh and delicious for a few days. Store cooled slices in an airtight container in the refrigerator for up to three days. To prevent the glazed pieces from sticking together, it’s a good idea to separate layers with sheets of parchment paper.
Unfortunately, due to its size and delicate nature, this homemade giant pop tart isn’t sturdy enough for a standard toaster. However, you can easily reheat individual pieces in a toaster oven for a slightly crisper crust, or simply warm them in the microwave for a softer texture. Alternatively, they are perfectly delightful served at room temperature.
Recipe Tips & Tricks for the Perfect Giant Pop Tart
Achieving a bakery-worthy giant pop tart is easy with these helpful hints and shortcuts:
- Handle Pie Crusts with Care: Always check the packaging of your refrigerated pie crusts for specific unrolling instructions. Many brands recommend letting the crusts come to room temperature for a few minutes or even a brief zap in the microwave (just a few seconds!) before attempting to unroll them. This prevents cracking and tearing, ensuring a smooth, intact crust.
- Don’t Skimp on the Border: When spreading the jam, strictly adhere to leaving a 1-inch border around the edges. This crucial space allows the top and bottom layers of crust to be securely crimped and sealed. Without this buffer, the jam can easily leak out during baking, leading to a messy and less appealing result.
- Slice Smartly for Portions: This giant pop tart is incredibly versatile for serving. You can slice it into 12 generous, large pieces, perfect for a decadent breakfast or dessert. Alternatively, cut it into 24 smaller pieces, ideal for a party platter, snack-sized treats, or when serving a larger crowd.
- Avoid Overfilling: While it’s tempting to load up on jam, resist the urge to overfill. Too much filling can make the pastry difficult to seal and more prone to leaking. The recommended 1 cup provides a perfect balance of sweetness and texture.
- Cool Completely Before Icing: Patience is key! Ensure the pop tart has cooled significantly before applying the icing. If the pastry is still warm, the icing will melt and run off, creating a less attractive and harder-to-manage glaze.
Delicious Additions and Creative Variations
While the classic strawberry giant pop tart is undeniably delicious, don’t hesitate to get creative and customize this recipe to your heart’s content. Here are some fantastic ideas for additions and variations:
- Experiment with Different Fillings: The possibilities are endless! Beyond strawberry, try other fruit preserves like raspberry, apricot, or a mixed berry blend. For a truly gourmet touch, this homemade peach jam would be incredible, or explore rich and creamy options like lemon curd, chocolate-hazelnut spread (Nutella), or even a spiced apple butter for a fall-inspired treat. A simple cinnamon-sugar filling (butter, brown sugar, cinnamon) can also be surprisingly delightful.
- Craft Your Own Strawberry Jam: While store-bought jam offers ultimate convenience, making your own strawberry jam from scratch elevates the flavor profile to an exceptional level. If you have an abundance of fresh strawberries and a little extra time, a homemade jam will make your giant pop tart truly unforgettable.
- Create Individual Homemade Pop Tarts: If you prefer smaller, individual servings, simply slice the dough sheets into regular Pop-Tart-sized rectangles before filling. This allows for personalized flavors and makes them easier to hand out at parties or pack for lunchboxes. Just remember to adjust the baking time, as smaller pastries will cook faster.
- Vary the Glaze and Toppings: Instead of vanilla glaze, consider a lemon glaze for a citrusy tang, a chocolate drizzle, or even a cream cheese frosting. Beyond rainbow sprinkles, get creative with chopped nuts, shredded coconut, mini chocolate chips, or a sprinkle of coarse sugar for extra texture and sparkle.
Giant Homemade Pop Tart FAQ
A giant pop tart is a dramatically oversized, homemade version of the iconic toaster pastry, the Pop-Tart. Unlike the small, individually packaged originals, this recipe creates a large, sheet-pan sized pastry that is perfect for sharing. It typically features a flaky crust, a sweet fruit filling (like strawberry jam), and is topped with a glaze and sprinkles, offering a nostalgic yet elevated baking experience.
While not strictly necessary for the recipe to be delicious, an egg wash is a fantastic addition if you want to enhance the appearance of your giant pop tart. Brushing the top crust with an egg wash before baking will give it a beautiful, glossy golden-brown sheen and a slightly richer color, making your homemade pastry even more appealing. To prepare an egg wash, simply crack one large egg into a small bowl and whisk it thoroughly until the yolk and white are fully combined. Then, using a pastry brush, gently and evenly brush the beaten egg over the entire top layer of the pop tart just before it goes into the oven.
More Delicious Strawberry Recipes to Try
If you can’t get enough of the sweet, vibrant flavor of strawberries, here are some other fantastic recipes to explore:
- Strawberry Dump Cake
- Strawberry Pretzel Salad
- Strawberry Jello Pie
- Strawberry Fluff Salad
Giant Pop Tart
Author: Jaclyn
15 minutes
25 minutes
45 minutes
1 hour
25 minutes
12
Saved!
Ingredients
Pop Tart Ingredients
-
4
ready-to-bake refrigerated pie crusts
9-inch (ensure they are at room temperature for easy unrolling) -
1
cup
strawberry preserves or jam
or your favorite fruit flavor choice
Icing Ingredients
-
2
cups
confectioners sugar
(also known as powdered sugar or icing sugar) -
3
Tablespoons
water
plus more, a teaspoon at a time, to thin if necessary -
1
teaspoon
vanilla extract -
pink gel food coloring
optional, for a classic Pop Tart look -
rainbow sprinkles
optional, but highly recommended for fun!
Instructions
-
Preheat your oven to 350℉ (175°C). Line a large, rimmed baking sheet (half sheet pan) with parchment paper, ensuring it covers the entire surface for easy cleanup and non-stick baking.
-
Unroll and place 2 pie crusts onto the lined baking sheet, positioning them to slightly overlap each other in the middle. Use a pizza cutter or a sharp knife to carefully trim the overlapping portion from the top sheet of dough. Utilize this trimmed dough, along with the two outer rounded ends of the circular crusts, to fill in any gaps or missing areas, thereby creating a single, cohesive large rectangle. Gently use your fingers to firmly press all the seams together, ensuring a seamless and sturdy base.
-
Evenly spread the strawberry preserves over the bottom crust. Be sure to leave a distinct 1-inch border uncovered around all the edges of the pop tart. This border is essential for a good seal.
-
On a separate sheet of parchment paper, repeat the rolling and trimming process with the remaining two pie crusts, creating a second rectangle of dough that is the same size as your first. This separate parchment makes transfer much easier.
-
Gently turn the second piece of dough out on top of the bottom, jam-filled layer. Press the edges together firmly with your fingers, then use the back of a fork to crimp all around the edges. This creates a decorative seal and helps prevent leaks. Finally, use the tines of the fork to poke several small holes evenly over the entire top crust; this allows steam to escape.
-
Bake for 24-26 minutes, or until the crust turns a beautiful light golden brown. Once out of the oven, let the giant pop tart cool on the baking sheet for a crucial 30-45 minutes. This cooling time allows the pastry to set properly before icing.
-
While the pop tart cools, prepare the icing. In a small bowl, whisk together the confectioners’ sugar, 3 tablespoons of water, and vanilla extract until smooth. Check the consistency: you want the glaze thick enough that it won’t drip entirely off the pop tart, yet thin enough to be pourable and spread easily. Add more confectioners’ sugar (for thickness) or water (for thinning), one teaspoon at a time, as needed. If desired, stir in a few drops of pink food coloring for a classic look.
-
Once the pop tart is cooled and the icing is ready, pour the icing evenly over the top of the giant pastry. Immediately top with your rainbow sprinkles (if using) before the icing sets. Allow the icing to harden for about 10 minutes. Then, using a sharp knife, slice the pop tart into large rectangles and serve. Enjoy your spectacular homemade treat!
Notes
- Pie Crust Handling: For best results, check the pie crust packaging for instructions on unrolling. Often, they recommend bringing the crust to room temperature first or microwaving it for a few seconds to prevent cracking.
- Sealing the Filling: Be sure to meticulously leave a 1-inch edge uncovered when spreading the jam. This space is vital for the top and bottom crust layers to be properly crimped together, forming a tight seal and preventing the jam from leaking out during baking.
- Storage & Reheating: Store any cooled leftover pieces in an airtight container in the refrigerator for up to 3 days. To prevent the glazed sections from sticking, separate layers with sheets of parchment paper. While they aren’t suitable for a standard toaster, you can easily warm them in a toaster oven for a slightly crispy crust, or in the microwave for a softer texture. They are also delicious served at room temperature.
Nutrition
Calories:
417
kcal
|
Carbohydrates:
67
g
|
Protein:
4
g
|
Fat:
15
g
|
Saturated Fat:
5
g
|
Polyunsaturated Fat:
2
g
|
Monounsaturated Fat:
7
g
|
Sodium:
241
mg
|
Potassium:
77
mg
|
Fiber:
2
g
|
Sugar:
34
g
|
Vitamin A:
1
IU
|
Vitamin C:
2
mg
|
Calcium:
17
mg
|
Iron:
2
mg
Did You Make This Recipe?
Share it with me on Instagram @crayonsandcravings and follow on Pinterest @crayonsandcravings for even more!
Pin Recipe
Leave A Review
