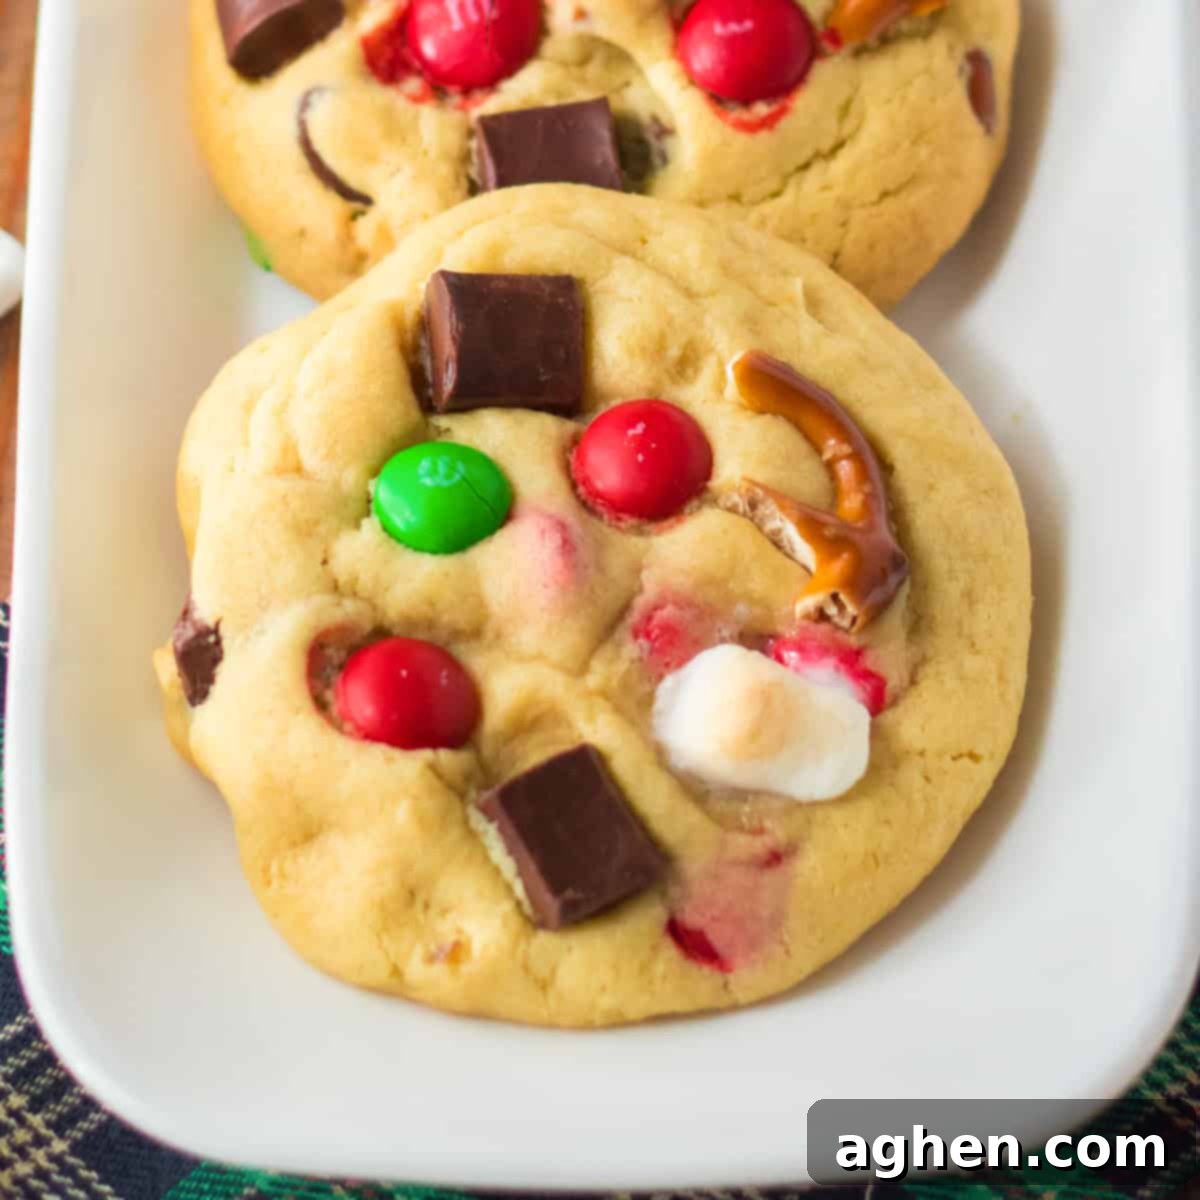
The Ultimate Kitchen Sink Christmas Cookies: A Festive Sweet & Salty Delight
Get ready to bake the most exciting and delicious cookies of the holiday season! These Kitchen Sink Christmas Cookies are the epitome of festive indulgence, packed with an incredible combination of flavors and textures that will make your taste buds sing. Imagine soft, chewy vanilla pudding cookies generously loaded with miniature marshmallows, vibrant red and green M&Ms, crunchy pretzel pieces, and rich chocolate chunks. Every bite is an adventure, delivering that perfect balance of sweet, salty, and utterly irresistible goodness. It’s no wonder these are rumored to be Santa’s absolute favorite!
What makes these festive treats truly special is their effortless preparation. In just under 30 minutes of active time, you can whip up a batch of these spectacular Christmas cookies. They are incredibly versatile, perfect for adorning holiday cookie trays, impressing friends at a Christmas cookie exchange, or simply enjoyed with a cozy glass of milk while you curl up to watch your favorite holiday movies. Their vibrant appearance and delightful taste make them a standout addition to any festive gathering.
Forget plain sugar cookies this year and embrace the magic of a cookie that truly has “everything but the kitchen sink.” These cookies bring joy and cheer with their playful mix-ins, capturing the spirit of Christmas in every bite. They’re not just cookies; they’re an experience, designed to bring smiles and satisfy even the most discerning sweet tooth (and salty craving!).
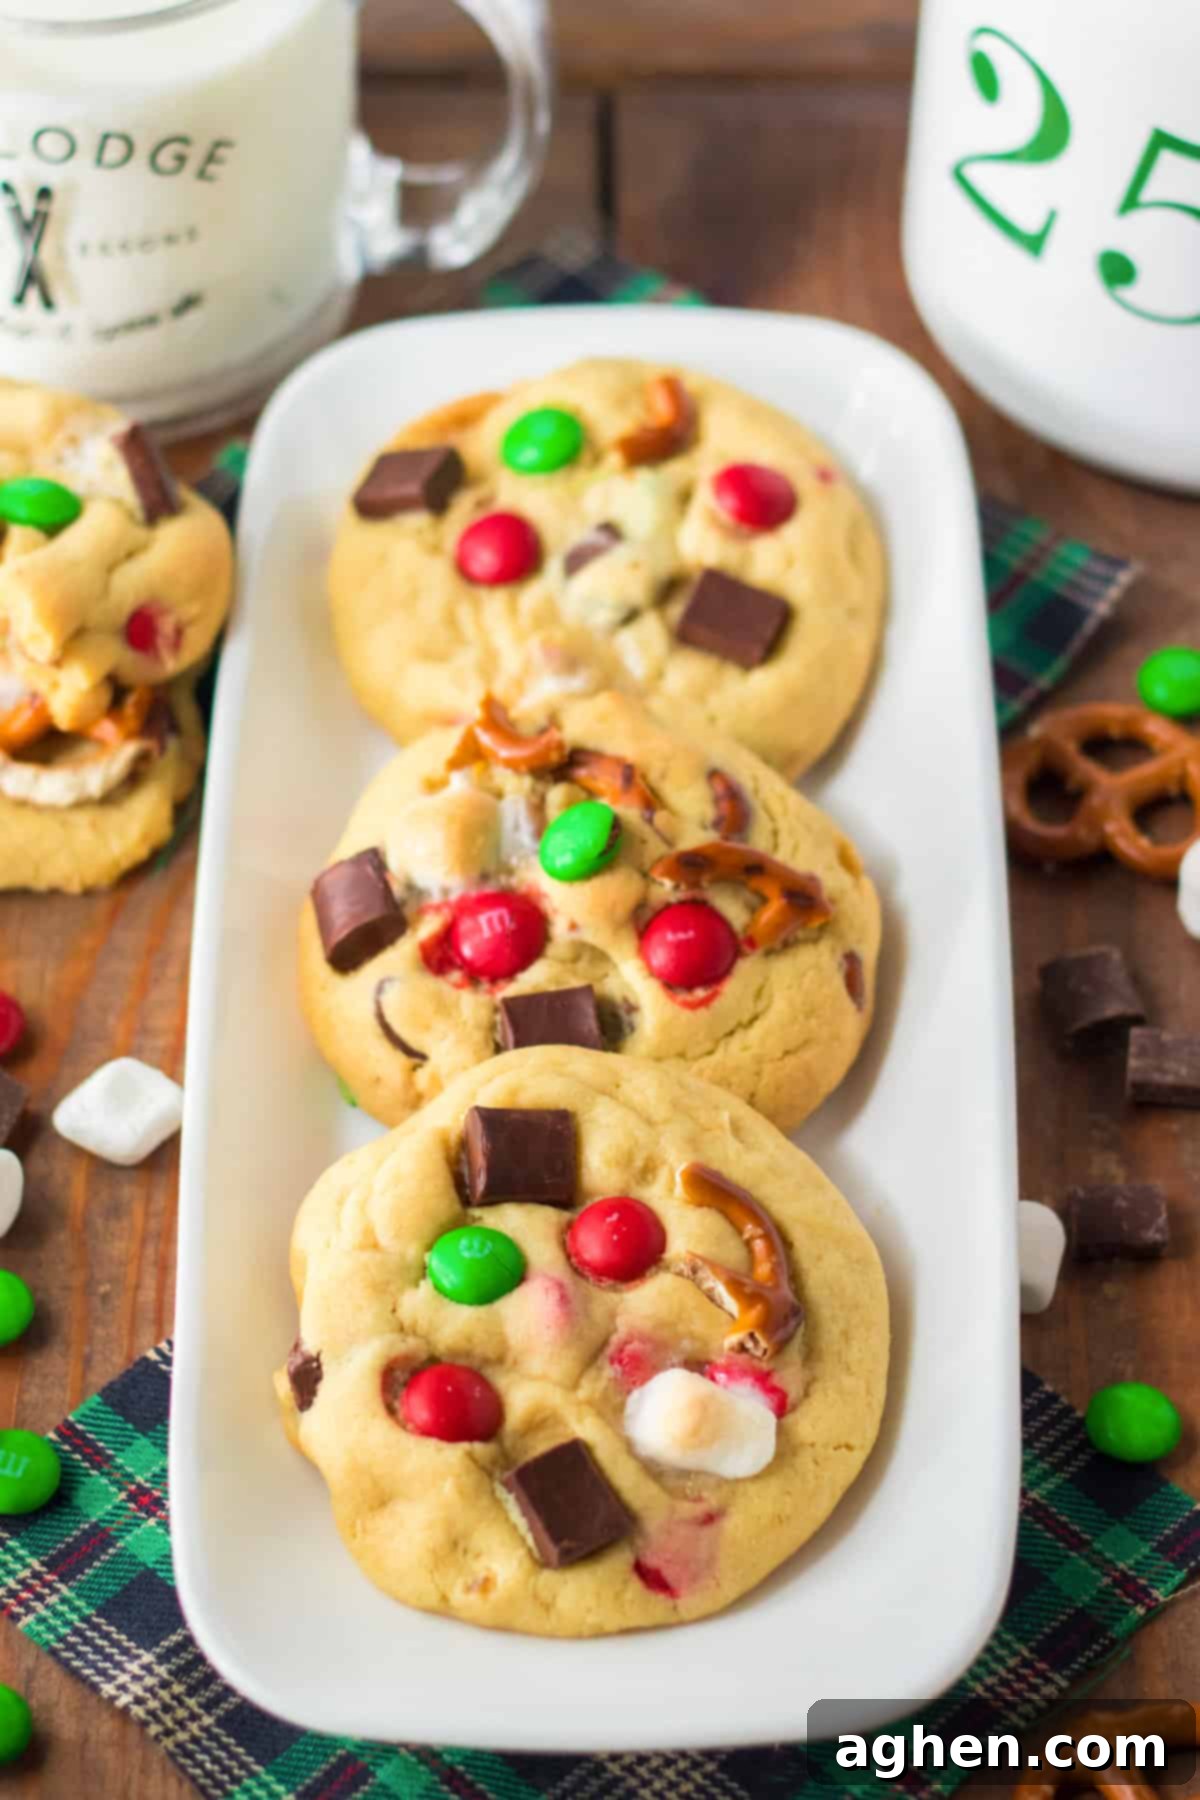
While you’re here, be sure to explore more delightful holiday treats! If you’re looking for other festive baking inspiration, don’t miss out on my Christmas snowball cookies, whimsical Grinch cookies, or convenient Christmas cookie bars. Each recipe offers a unique way to celebrate the season with homemade goodness.
Why You’ll Love These Christmas Kitchen Sink Cookies
If you’re already a devotee of Panera’s famous kitchen sink cookies, then prepare to fall head over heels for this festive Christmas version! We’ve taken that beloved concept of a cookie loaded with “everything but the kitchen sink” and given it a joyful holiday twist. These cookies are renowned for their irresistibly soft and thick texture, which yields to a perfectly chewy bite. The rich vanilla flavor of the cookie base is merely the canvas for a symphony of exciting additions.
The magic truly happens with the mix-ins. Imagine the delightful crunch of pretzels meeting the melt-in-your-mouth sweetness of marshmallows, all complemented by the satisfying pop of M&Ms and the decadent richness of chocolate chunks. This harmonious blend creates a spectacular contrast of sweet and salty flavors in every single mouthful. It’s a flavor profile that keeps you coming back for more, making each cookie feel like a little piece of heaven. They’re simply perfect for satisfying all your holiday cravings!
Key Ingredients for the Best Kitchen Sink Christmas Cookies
Creating these irresistible cookies starts with a selection of high-quality ingredients, thoughtfully chosen to achieve that perfect soft, chewy texture and festive flavor. Below, you’ll find a detailed breakdown of each component, along with helpful notes and potential substitution options to ensure your baking success. For precise measurements and step-by-step instructions, please refer to the complete printable recipe card located at the end of this post.
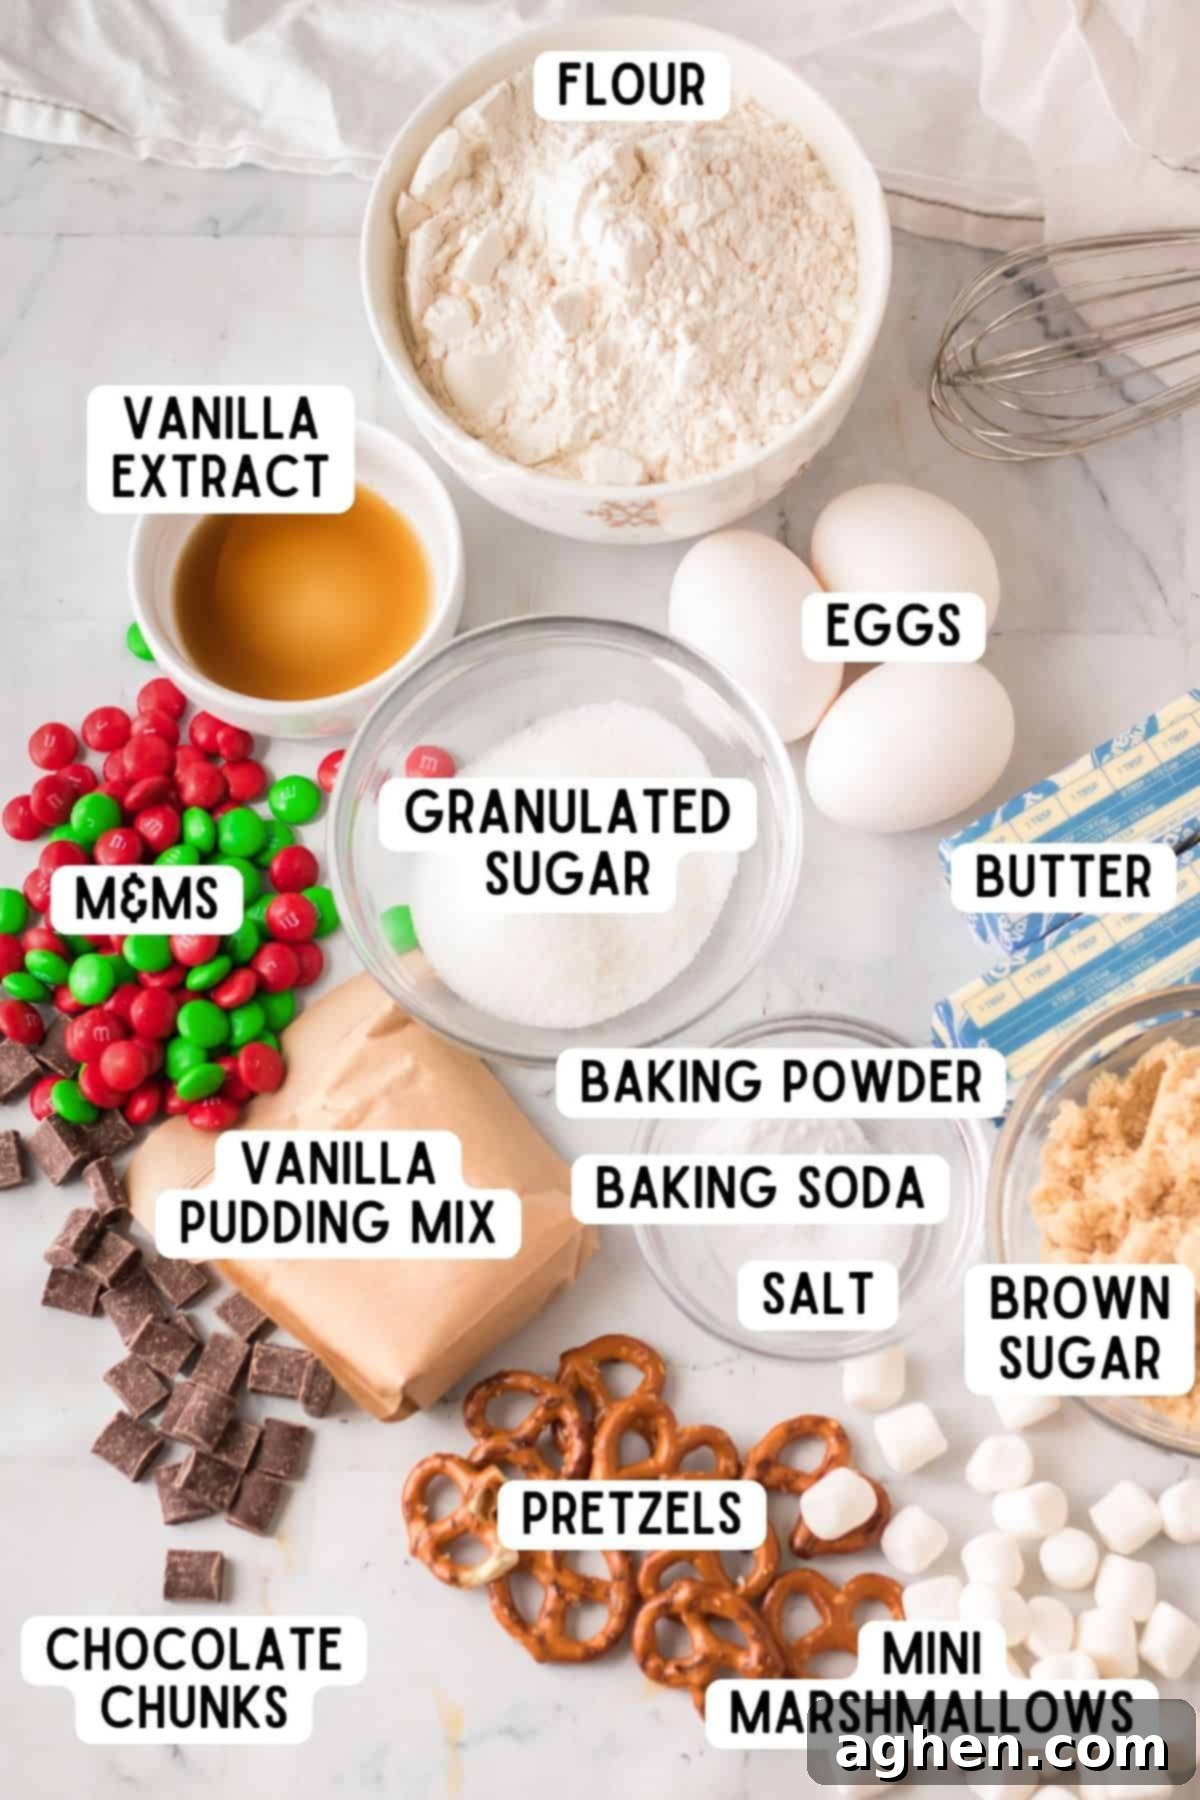
- Unsalted Butter: We opt for unsalted butter to give you complete control over the salt content in your cookies. If salted butter is all you have, simply reduce the added salt in the recipe to ¼ teaspoon to prevent them from becoming too salty. Remember, for the best creaming results, your butter should be at room temperature – soft enough to make an indent with your finger but not melted. Take it out of the fridge at least an hour before you plan to bake.
- Granulated White Sugar & Light Brown Sugar: This dynamic duo provides both sweetness and contributes significantly to the cookie’s texture. Granulated sugar helps with spread and crispness, while light brown sugar adds a lovely caramel note and ensures a wonderfully soft and chewy interior. Make sure to pack your brown sugar tightly when measuring!
- Large Eggs: Eggs are crucial binders that add moisture, richness, and help the cookies rise. Just like butter, using large eggs at room temperature is key. Room temperature eggs emulsify better with the butter and sugar, resulting in a more uniform and tender dough.
- Pure Vanilla Extract: Don’t skimp on quality here! A high-quality 100% pure vanilla extract elevates the overall flavor profile, adding a warm, aromatic depth that perfectly complements all the mix-ins. It’s the secret weapon for a truly delicious cookie base.
- All-Purpose Flour: Standard all-purpose flour is perfect for this recipe. It provides the necessary structure for your cookies. Ensure you measure your flour correctly – spoon it into your measuring cup and then level it off with a straight edge, rather than scooping directly from the bag, which can lead to too much flour.
- Vanilla Instant Pudding Mix: This is a game-changer ingredient that helps keep your cookies incredibly soft and chewy for days! It also infuses an extra layer of vanilla flavor. It is absolutely essential to use instant pudding mix; the “cook and serve” variety will not work as it requires different preparation and won’t achieve the desired effect in the cookie dough.
- Salt: A small amount of salt is vital for balancing the sweetness of the sugars and enhancing all the other flavors in the cookies. It truly brings out the best in every ingredient, especially the chocolate.
- Baking Soda and Baking Powder: This powerful leavening combination is responsible for giving these cookies their perfect rise and a slightly puffy, yet still chewy, texture. Baking soda reacts with the acidic brown sugar, while baking powder provides additional lift, ensuring a light crumb.
- Semisweet Chocolate Chunks: The generous size of chocolate chunks provides delightful pockets of melted chocolate throughout the cookies, offering a more substantial bite than standard chocolate chips. However, if chocolate chips (semi-sweet, milk, or dark) are what you have on hand, they make an excellent substitute.
- Mini Marshmallows: These soft, pillowy additions melt slightly as the cookies bake, creating wonderfully gooey pockets. Mini marshmallows are the ideal size; full-size marshmallows would be too large and could cause spreading issues.
- Red and Green M&Ms: Beyond adding a pop of festive color, M&Ms bring a satisfying candy crunch and chocolatey sweetness. While red and green M&Ms are perfect for the Christmas theme, feel free to use any color or even mini M&Ms for a different texture.
- Lightly Crushed Pretzels: This is where the “salty” in sweet and salty truly shines! Lightly crushed pretzel twists provide a fantastic savory crunch and a welcome contrast to the sweetness of the other ingredients. Be sure to crush them into distinct pieces, not fine crumbs, so you can still appreciate their texture in every bite.
Essential Equipment for Perfect Christmas Kitchen Sink Cookies
Having the right tools on hand can make your cookie-baking experience much smoother and more enjoyable. Here’s a list of the basic equipment you’ll need to create these festive Kitchen Sink Christmas Cookies:
- Electric Mixer: A hand-held or stand mixer is highly recommended for creaming butter and sugars effectively, ensuring a light and airy cookie dough base.
- Mixing Bowls: You’ll need at least two good-sized mixing bowls – one for wet ingredients and one for dry, before combining them.
- Wire Whisk: Essential for thoroughly combining your dry ingredients, preventing lumps and ensuring even distribution of leavening agents.
- Measuring Cups and Spoons: Accurate measurements are crucial in baking, so have a reliable set on hand for both liquid and dry ingredients.
- Cookie Sheets: At least two large baking sheets will allow you to bake in batches efficiently.
- Parchment Paper: A baker’s best friend! Lining your cookie sheets with parchment paper prevents sticking, promotes even baking, and makes for super easy cleanup.
- Cookie Scoop: While optional, a cookie scoop ensures uniformly sized cookies, which means they bake evenly and look professional. A 1 ½ to 2-inch scoop (approximately 2.5-3 tablespoons) is ideal for this recipe.
How to Make Irresistibly Chewy Kitchen Sink Christmas Cookies
Follow these straightforward steps to create a batch of delightful Kitchen Sink Christmas Cookies that are sure to be a holiday hit. Each instruction is designed to guide you through the process, ensuring perfect results. For a complete, print-friendly version of the recipe, scroll down to the recipe card at the bottom of this page.
Step 1: Prepare Your Baking Station. Begin by preheating your oven to 350°F (175°C). This ensures your oven is at the correct temperature when your dough is ready to bake. Line two large cookie sheets with parchment paper. Parchment paper is crucial here as it prevents the cookies from sticking and helps with even baking. Set these prepared sheets aside.
Step 2: Cream the Wet Ingredients. In a spacious mixing bowl, combine the softened unsalted butter with both the granulated white sugar and light brown sugar. Using an electric mixer, beat these ingredients together on medium speed until the mixture is light, fluffy, and well combined. This creaming process incorporates air, which contributes to the cookies’ light texture.
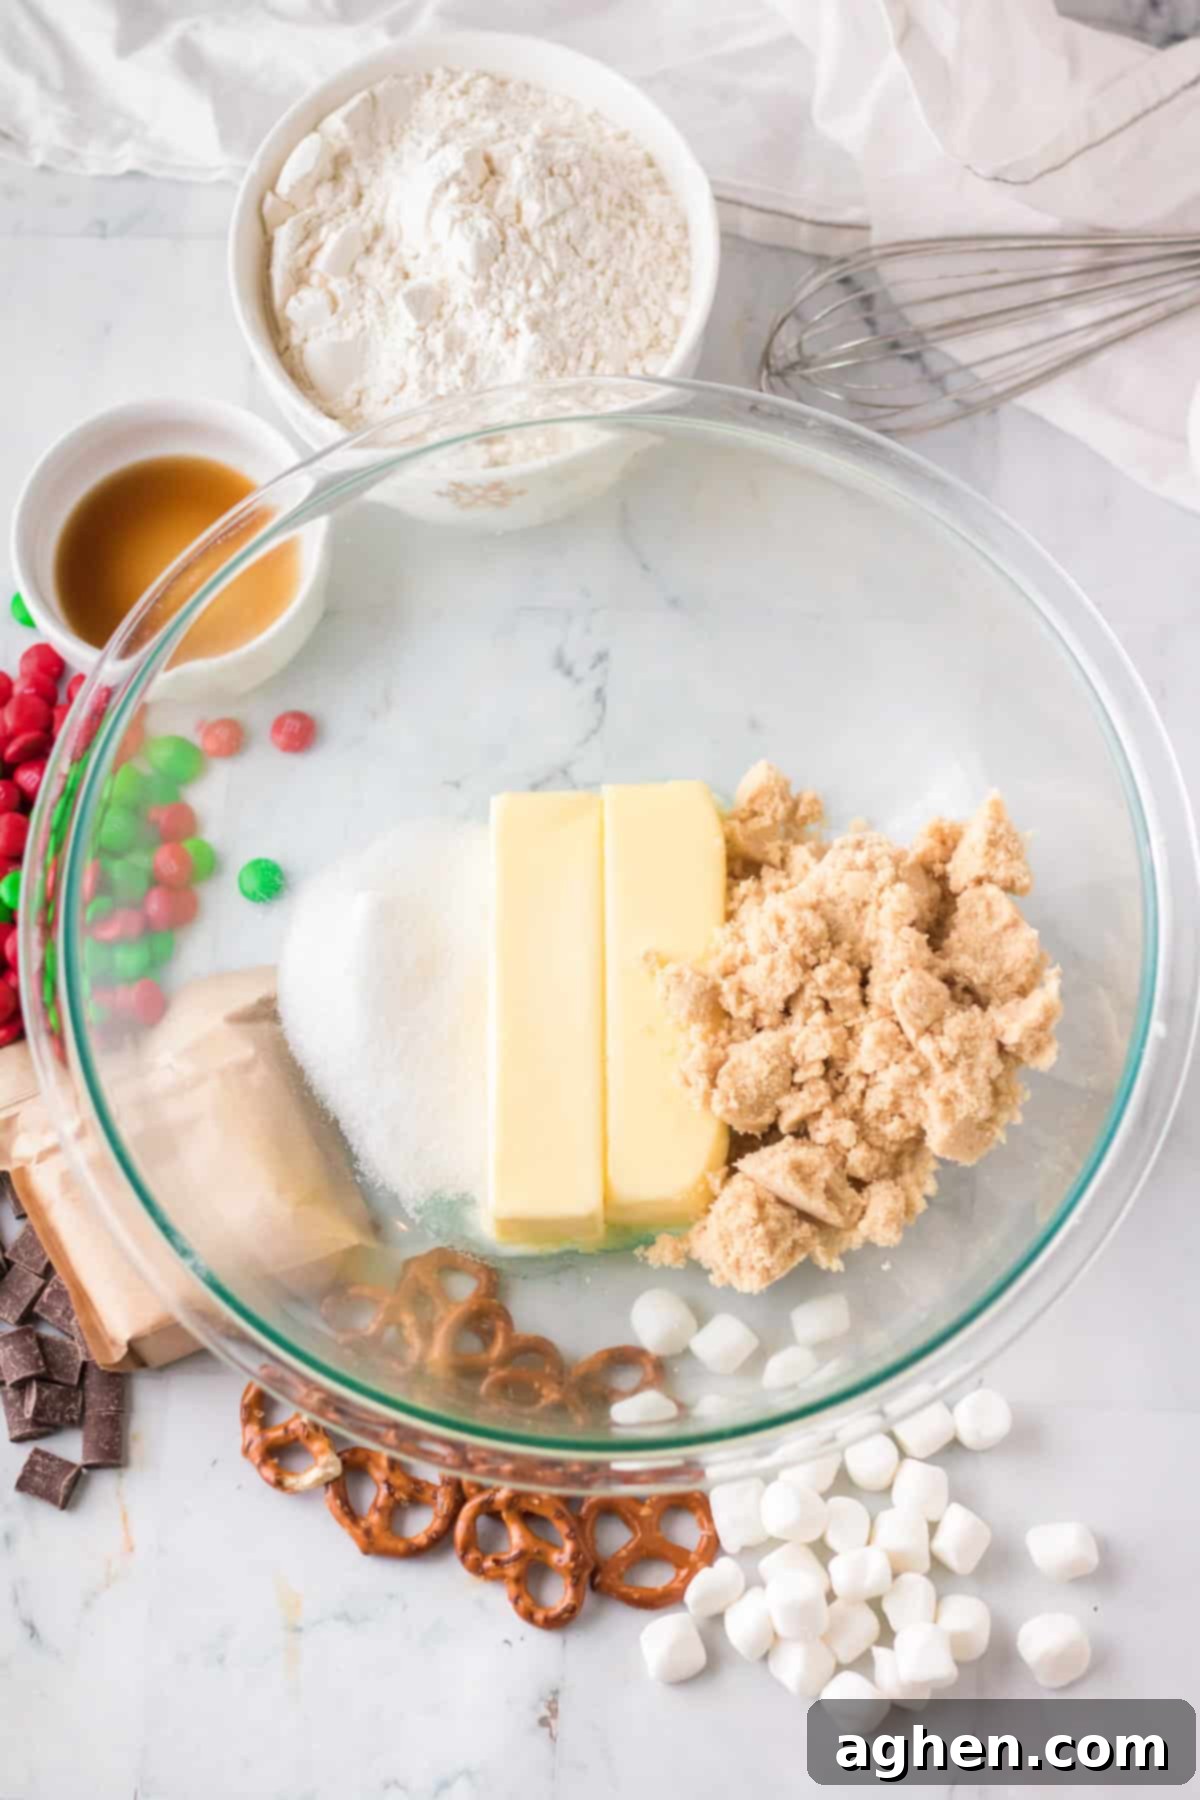
Step 3: Incorporate Eggs, Vanilla, and Pudding Mix. Add the two large, room-temperature eggs one at a time, mixing well after each addition until fully incorporated. Then, stir in the pure vanilla extract and the dry vanilla instant pudding mix. Continue to beat until the mixture is smooth and the pudding mix is fully integrated, adding that essential softness and flavor to your dough.
Step 4: Combine Dry Ingredients. In a separate, medium-sized bowl, whisk together the all-purpose flour, baking soda, and salt. Whisking ensures these dry ingredients are evenly distributed, which is important for uniform rising. Gradually add this dry mixture to your wet ingredients in the large bowl, mixing on low speed until just combined. Be careful not to overmix the dough at this stage, as overmixing can lead to tough cookies.
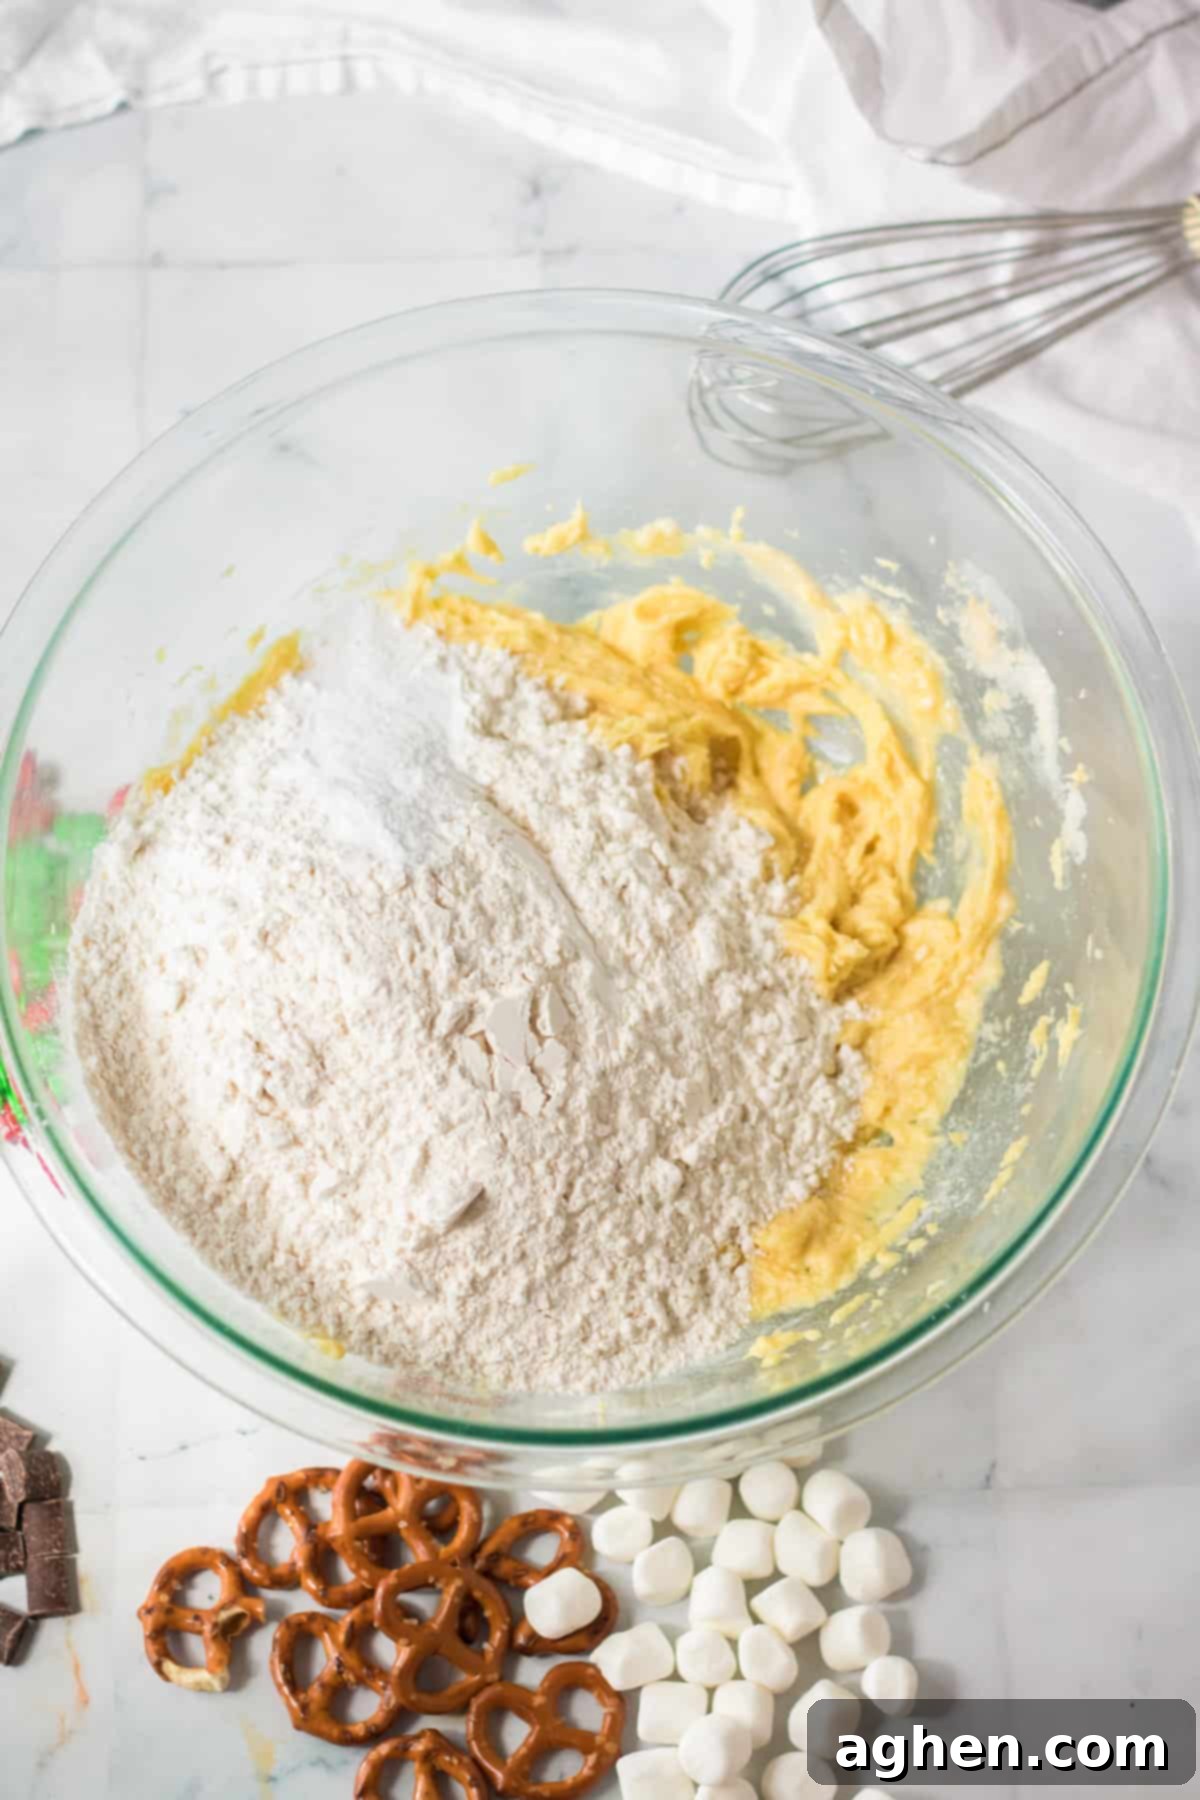
Step 5: Fold in the Fun Mix-Ins. Now for the best part – adding the “kitchen sink” elements! Gently fold in the semisweet chocolate chunks, mini marshmallows, red and green M&Ms, and lightly crushed pretzels. Use a spatula or a spoon and mix until these delightful additions are just evenly distributed throughout the dough. Avoid overmixing, as you want to keep the pretzels from becoming too fine.
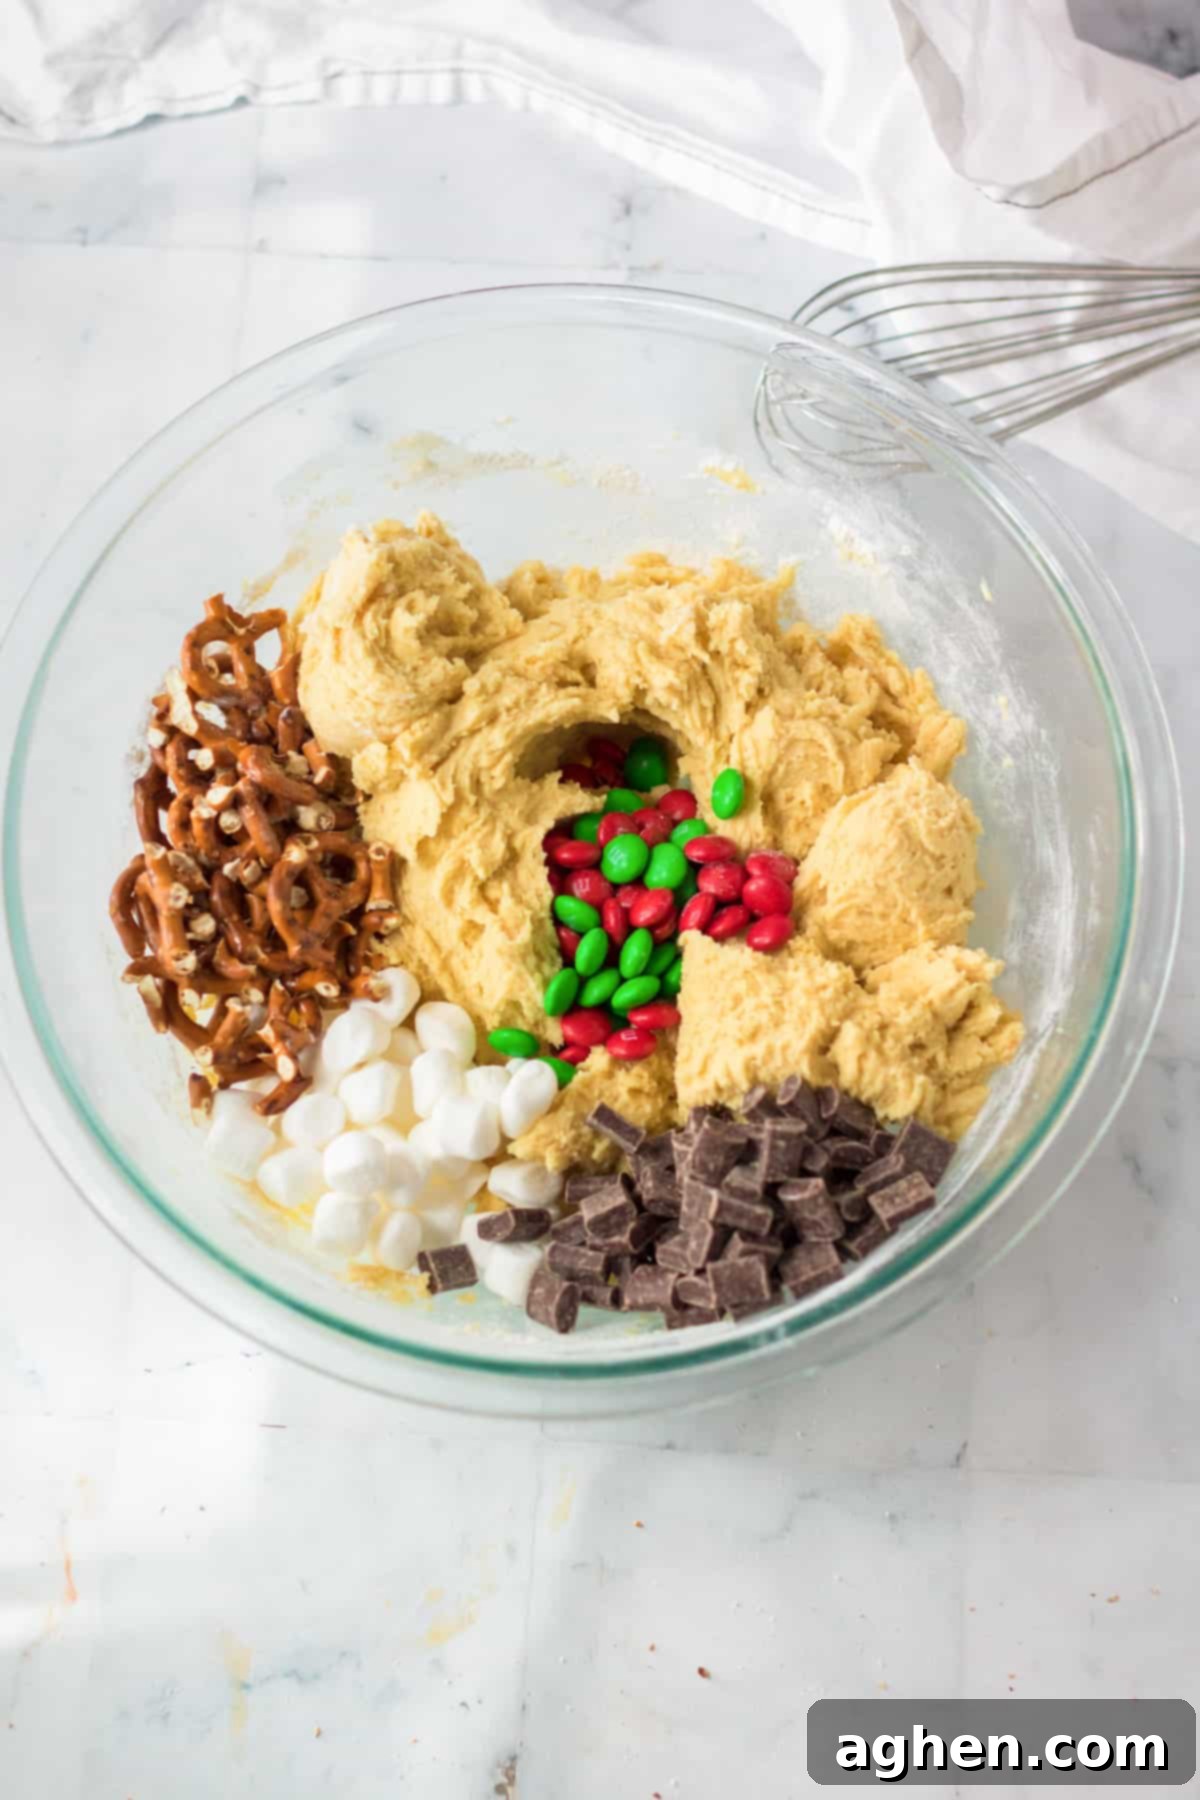
Step 6: Portion and Prepare for Baking. Using a cookie scoop (about 1 ½ to 2 inches in diameter, or 2 ½-3 tablespoons of dough), scoop out uniform balls of dough. Roll them lightly between your palms if desired to ensure a neat shape. Place the dough balls onto the prepared baking sheets, ensuring they are spaced about 2 inches apart to allow for spreading. An important tip: make sure no marshmallows are sticking out of the bottom or sides of the cookie dough balls, as they can melt onto the pan and cause sticking. Gently press down on each ball to slightly flatten it. For an extra festive touch, you can press a few additional chocolate chunks, marshmallows, M&Ms, and pretzel pieces onto the tops of the dough balls before baking.
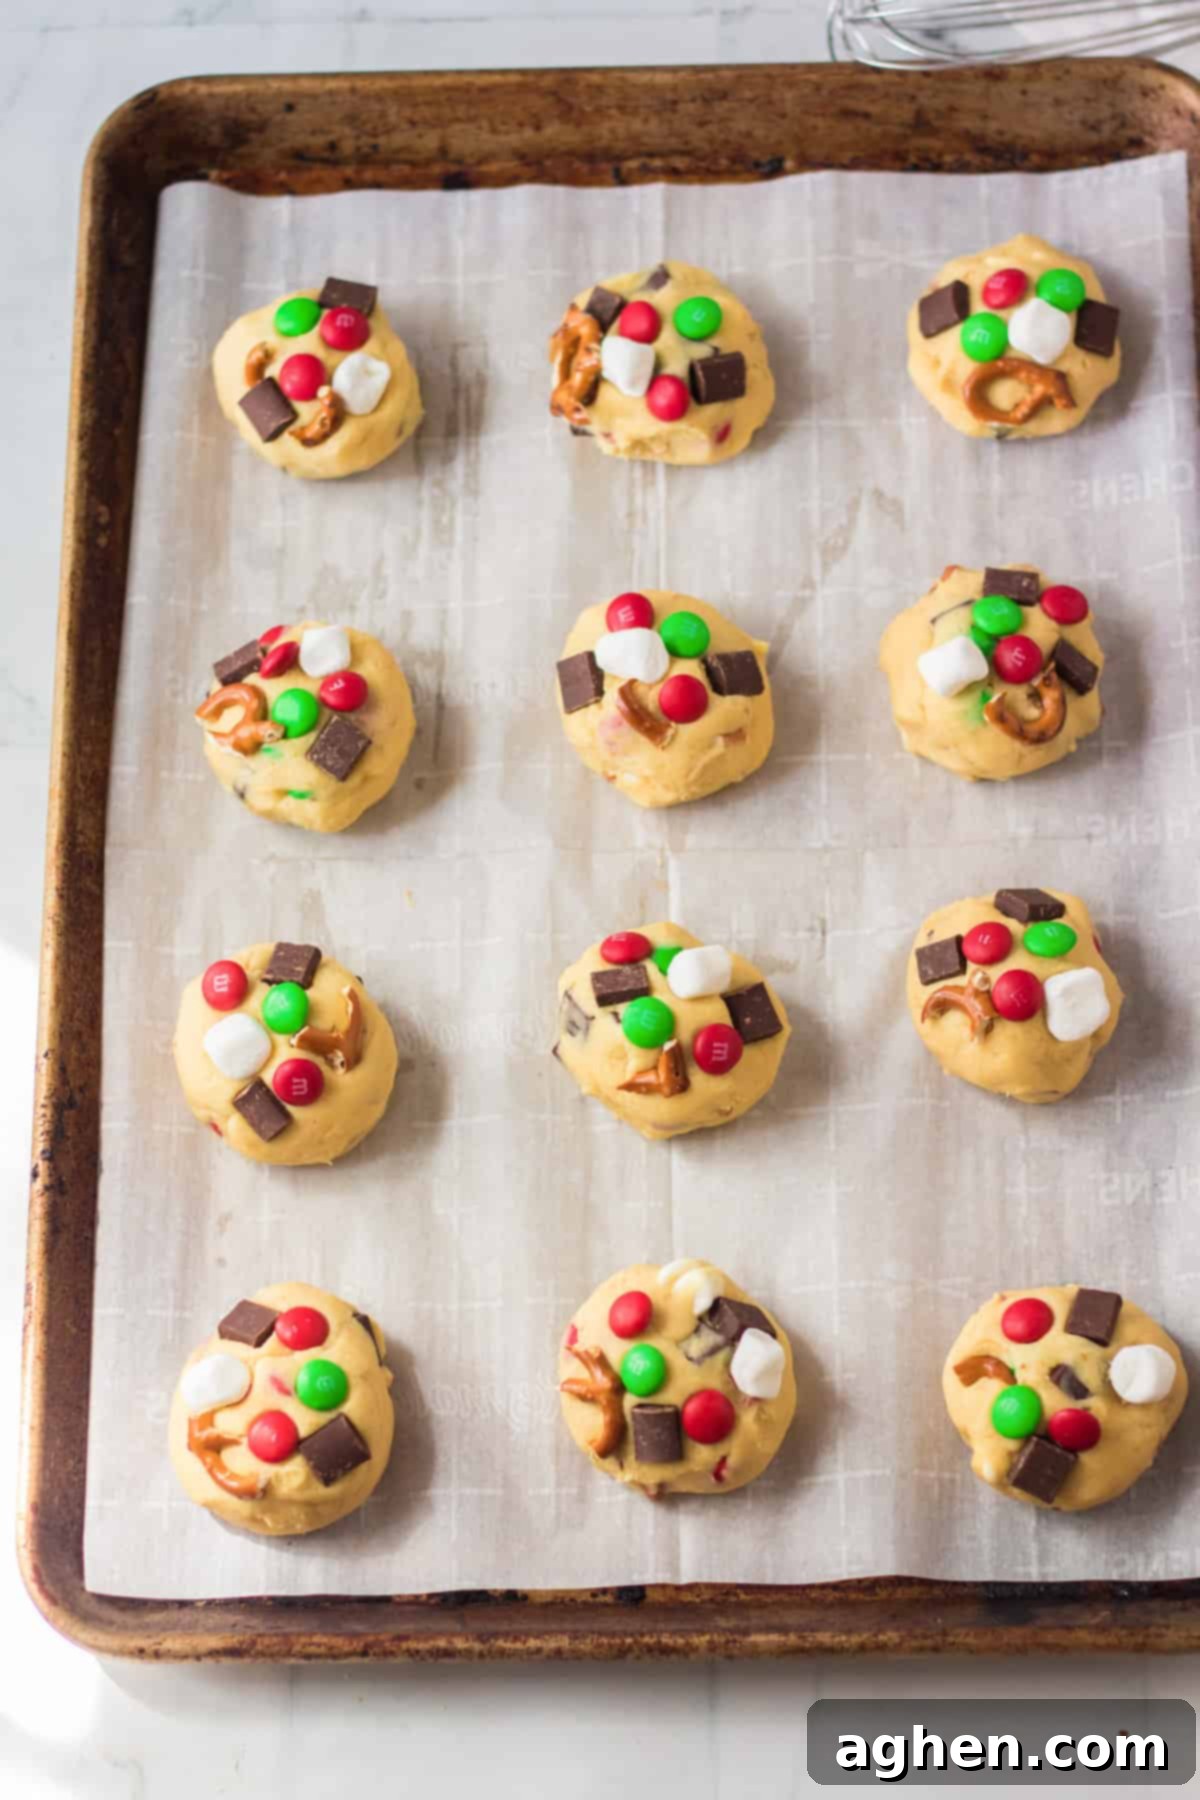
Step 7: Bake to Golden Perfection. Bake your cookies for approximately 10-12 minutes. Look for the edges to be set and lightly golden brown, while the centers may still appear slightly soft. This is key to achieving that perfectly chewy texture – resist the urge to overbake! They will continue to cook and set on the hot baking sheet after they are removed from the oven, resulting in that ideal gooey center.
Step 8: Cool and Enjoy. Once baked, remove the cookie sheets from the oven and allow the cookies to cool directly on the baking sheets for about 10 minutes. This cooling time on the hot pan helps them firm up and finish baking without becoming dry. After 10 minutes, carefully transfer the cookies to a wire cooling rack to cool completely. If the cookies are still too soft to move, simply leave them on the baking sheets to cool fully. Then, it’s time to enjoy your festive creations! And remember, don’t forget to save a special plate for Santa on Christmas Eve – these are his favorite, after all!
Storage Tips for Fresh and Chewy Cookies
One of the best qualities of these Kitchen Sink Christmas Cookies is how well they keep, allowing you to enjoy their deliciousness for several days after baking. Here’s how to properly store them to maintain their irresistible soft and chewy texture:
These delightful cookies do not require refrigeration, making them perfect for gifting or leaving out for guests. Store your freshly baked cookies at room temperature in an airtight container. This will keep them wonderfully soft and fresh for up to 5 days. To prevent the cookies from sticking together, especially with the melty marshmallows and chocolate, place a sheet of wax paper or parchment paper between each layer. This simple trick ensures every cookie is perfect when you reach for it.
For longer storage, these cookies also freeze beautifully. Once completely cooled, place the baked cookies in a freezer-safe bag or an airtight container. They can be frozen for up to 2 months. When you’re ready to enjoy them, simply thaw them at room temperature. You can even warm them slightly in the microwave for a few seconds to bring back that freshly baked gooeyness!
Creative Additions and Festive Variations
While the classic Kitchen Sink Christmas Cookie recipe is a showstopper on its own, it’s also incredibly adaptable. Feel free to get creative and customize your batch with these exciting additions and variations:
- Swap the Pudding Flavor: Change the entire dynamic of your cookies by simply swapping the vanilla instant pudding mix. French vanilla will add a richer, more gourmet vanilla note, while butterscotch pudding mix introduces a delightful caramel-like sweetness that pairs wonderfully with the other mix-ins.
- Vary Your Chocolate Chips: If chocolate chunks aren’t available, or you prefer a different chocolate experience, feel free to use an equal amount of your favorite chocolate chips. Semi-sweet chocolate chips are a classic choice, milk chocolate chips will add extra sweetness, and white chocolate chips can provide a creamy contrast and a beautiful look, especially when combined with red and green M&Ms.
- Experiment with New Mix-Ins: The “kitchen sink” concept is all about creativity! Consider adding other delicious components like chopped nuts (pecans, walnuts), butterscotch chips, peanut butter chips for a nutty twist, crushed potato chips for an extra salty crunch, toffee bits for a chewy caramel element, or even festive holiday sprinkles for more color. Remember to maintain a good ratio of cookie dough to mix-ins to ensure the cookies bake properly and don’t become too crumbly.
Expert Tips & Tricks for Perfect Cookie Baking
Achieving the perfect batch of Kitchen Sink Christmas Cookies is easy with a few insider tips. Keep these in mind to ensure your cookies are consistently soft, chewy, and absolutely delicious every time:
- Utilize a Cookie Scoop for Uniformity: For professional-looking cookies that bake evenly, a cookie scoop is your best friend. It helps portion the dough into uniform sizes, preventing some cookies from burning while others are underbaked. Aim for a 1 ½ to 2-inch scoop.
- Manage Marshmallows Carefully: Marshmallows can be tricky. When scooping or rolling your dough balls, always check the bottom and sides to ensure that no marshmallows are exposed. Any exposed marshmallows can melt directly onto the hot baking sheet, causing the cookies to stick and potentially burn. If you spot any, gently push them back into the dough and cover with a small bit of dough. Marshmallows on the *top* of the cookies, however, are perfectly fine and add a beautiful toasted look!
- Resist Overbaking: This is arguably the most crucial tip for soft and chewy cookies. Remove your cookies from the oven when the edges are just set and lightly golden brown. The centers may still appear slightly soft or underbaked, but don’t worry! They will continue to cook and set on the hot baking sheet after they are removed from the oven, resulting in that ideal gooey center. Overbaking will lead to dry, hard cookies.
- Plan Ahead with Make-Ahead Dough: If you’re planning a holiday baking marathon or simply want to prep in advance, this dough is perfect for making ahead. You can prepare the cookie dough up to 24 hours in advance. Once made, cover the bowl tightly with plastic wrap and refrigerate. When you’re ready to bake, let the dough sit at room temperature for about 15-20 minutes to soften slightly before scooping and baking as directed.
- Room Temperature Ingredients: As mentioned in the ingredient section, ensuring your butter and eggs are at room temperature is vital. This allows them to cream together more effectively, creating a smoother, more emulsified dough that traps air better, leading to a lighter and more tender cookie.
Christmas Kitchen Sink Cookie Recipe FAQ
Absolutely! This versatile cookie dough freezes beautifully, allowing you to prepare ahead for future baking sessions. To freeze, roll the dough into individual balls as if you were going to bake them. Place these balls on a parchment-lined sheet pan and freeze for about 30 minutes until firm. Once firm, transfer the frozen dough balls to a freezer-safe bag or an airtight container. They can be stored in the freezer for up to 3 months. When ready to bake, simply place the frozen dough balls on a prepared baking sheet and bake as directed, adding a minute or two to the baking time if needed.
No, definitely not! For this recipe, you are only using the dry vanilla instant pudding mix directly from the box. Do not prepare it by adding milk or any other liquids as instructed for actual pudding. The dry mix is incorporated into the dough to enhance flavor and contribute to the cookies’ incredibly soft and chewy texture.
No, it is crucial to use instant pudding mix for this recipe. “Cook and serve” pudding mix has a different chemical composition and requires heat to activate its thickening properties. It will not yield the same tenderizing and flavor-enhancing results in the cookie dough as instant pudding mix, which is designed to work without cooking.
The name “Kitchen Sink Cookies” is inspired by the colloquialism “everything but the kitchen sink,” which implies including a vast array of items. True to its name, these Kitchen Sink Cookies are generously loaded with all sorts of delicious mix-ins – from sweet chocolate and marshmallows to salty pretzels – creating a delightful medley of flavors and textures in every bite. They are sometimes also playfully referred to as Christmas trash cookies due to their eclectic mix of ingredients, but rest assured, they are far from trashy in taste!
There are a few key tips to prevent excessive spreading. First, ensure your butter isn’t too soft or melted; it should be softened but still cool to the touch. Second, chill your dough for at least 30 minutes (or even an hour) before baking. This helps the fats solidify, making the cookies hold their shape better. Third, make sure your oven temperature is accurate; a too-low oven can cause cookies to spread quickly before they set. Lastly, avoid overcrowding the baking sheet, as the steam released can also encourage spreading.
More Delicious Christmas Cookie Recipe Ideas
The holiday season is perfect for baking, and if you love these Kitchen Sink Christmas Cookies, you’ll surely enjoy these other festive treats from my kitchen:
- Delightful Frosted Christmas Cookies
- Classic Cut-Out Sugar Cookies, perfect for decorating
- Chewy White Chocolate Cranberry Oatmeal Cookies
- Bakery-Style Jumbo Soft Snickerdoodles
- Rich Chocolate Cherry Thumbprint Cookies

Kitchen Sink Christmas Cookies Recipe
Author: Jaclyn
Prep Time: 15 mins |
Cook Time: 12 mins |
Chill Time: 1 hr |
Total Time: 1 hr 27 mins
Servings: 16 cookies
Soft and chewy vanilla pudding cookies are loaded with marshmallows, M&Ms, pretzels, and chunks of chocolate for the ultimate Christmas cookie.
Pin Recipe
Ingredients
- 1 cup unsalted butter, room temperature
- ¾ cup light brown sugar, packed
- ¼ cup granulated sugar
- 2 large eggs, room temperature
- 1 teaspoon vanilla extract
- 1 box (3.4 ounces) vanilla instant pudding mix
- 2 ½ cups all-purpose flour
- 1 teaspoon baking soda
- 1 teaspoon baking powder
- ½ teaspoon salt
- ⅓ cup semisweet chocolate chunks
- ⅓ cup red and green M&Ms
- ⅓ cup crushed pretzels
- ¼ cup mini marshmallows
- Optional: extra chocolate chunks, marshmallows, M&Ms, and pretzel pieces for topping
Instructions
- Preheat your oven to 350°F (175°C). Line two cookie sheets with parchment paper and set aside.
- In a large bowl, use an electric mixer to beat together the butter, granulated sugar, and light brown sugar until light and fluffy.
- Mix in the eggs one at a time, then add the vanilla extract and the dry vanilla instant pudding mix, beating until well combined.
- In a separate medium bowl, whisk together the all-purpose flour, baking soda, and salt. Slowly add the dry ingredients to the wet ingredients, mixing on low speed until just combined.
- Gently stir in the semisweet chocolate chunks, mini marshmallows, red and green M&Ms, and crushed pretzels until evenly distributed.
- Scoop or roll about 2 ½-3 tablespoons worth of dough into balls. Place them on the prepared baking sheets about 2 inches apart. Press down slightly to flatten. If desired, press additional mix-ins onto the tops of the cookies for a decorative finish.
- Bake for 10-12 minutes, or until the edges are lightly golden and set, but the centers still look slightly soft. Avoid overbaking.
- Allow the cookies to cool on the baking sheet for 10 minutes before transferring them to a wire cooling rack to cool completely.
Recipe Notes
- Store cookies in an airtight container at room temperature for up to five days.
- Chocolate chunks can be substituted with an equal amount of semi-sweet, milk, or white chocolate chips.
- Ensure marshmallows are not exposed on the bottom or sides of the cookie dough balls to prevent sticking and burning. Cover any visible marshmallows with dough.
Nutrition Information
Serving: 1 cookie | Calories: 350 kcal


Did You Make This Recipe?
We’d love to see your creations! Share them with us on Instagram @crayonsandcravings and be sure to follow us on Pinterest @crayonsandcravings for even more delicious recipe inspiration and baking tips!
Pin Recipe
Leave A Review
