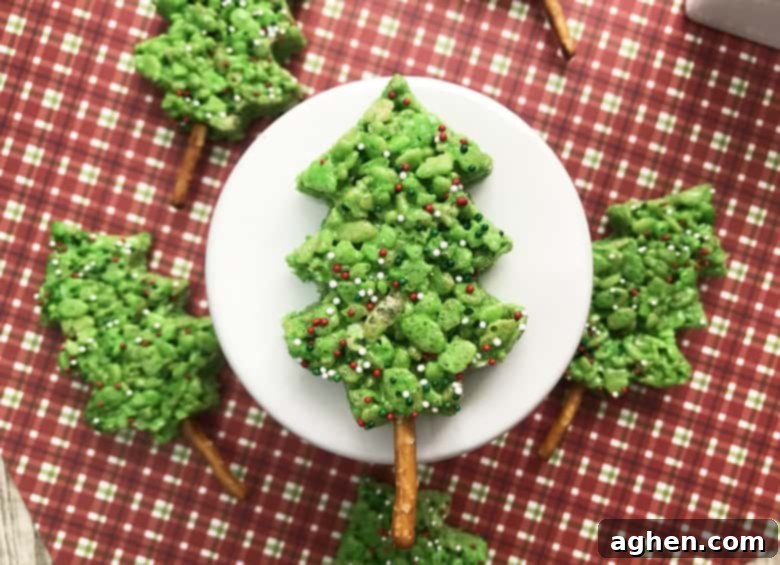
Easy No-Bake Christmas Tree Rice Krispie Treats: Your Go-To Festive Holiday Dessert
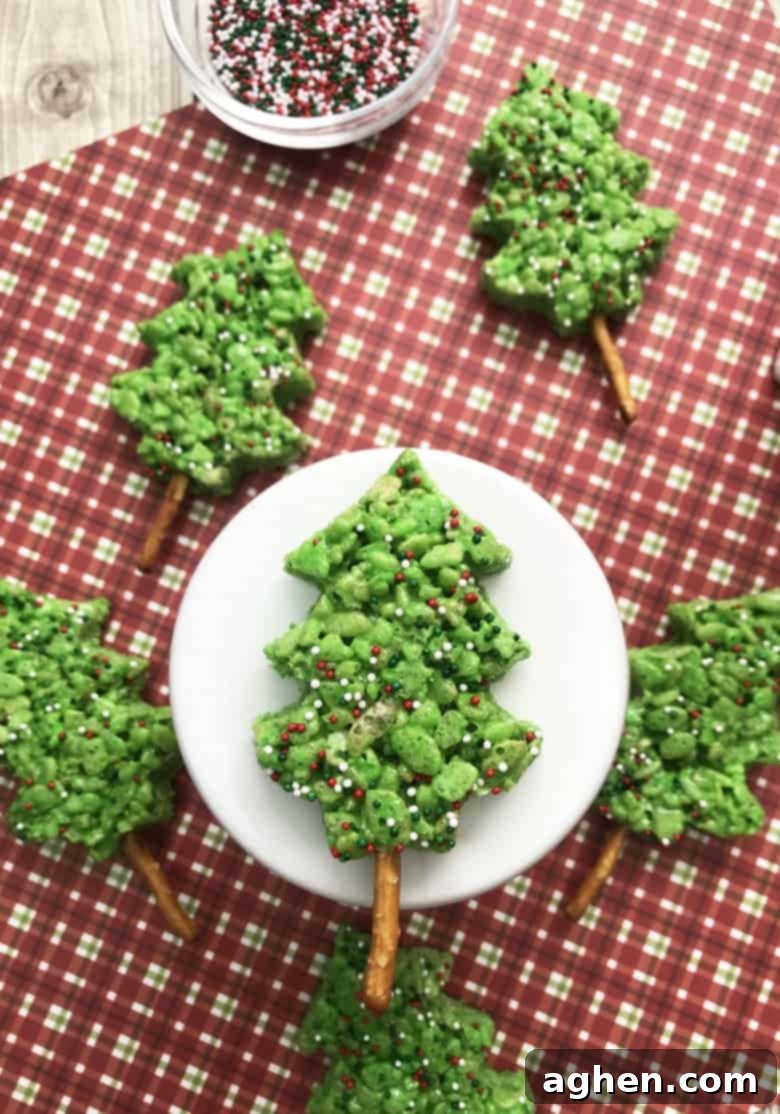
The holiday season is a magical time, filled with warmth, joy, and, of course, delicious treats! While traditional baking can be wonderful, sometimes you need a quick, simple, and utterly charming dessert that requires no oven at all. That’s where these delightful Christmas Tree Rice Krispie Treats come in! Green, sparkly, and shaped like miniature festive trees, they are guaranteed to be the star of your holiday dessert table, captivating both young and old alike.
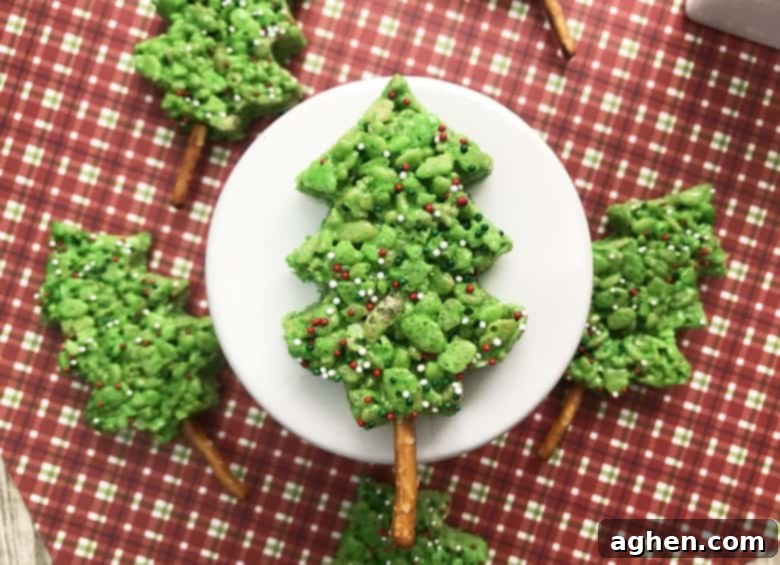
There’s an undeniable joy that comes from creating treats that not only taste amazing but also embody the spirit of the season. From spooky Halloween snacks to heart-shaped Valentine’s Day delights, shaping food to match a festive occasion just elevates the fun. These Christmas Tree Rice Krispie Treats are a prime example, transforming a beloved classic into an enchanting holiday centerpiece.
Everyone adores classic Rice Krispie Treats for their chewy texture and sweet simplicity. But imagine taking that beloved treat and molding it into something truly special for Christmas! Just like our playful Santa Hat Rice Krispie Treats, these charming green Christmas trees instantly make dessert time more exciting and memorable, especially for the kids who will be thrilled to see these edible festive shapes.
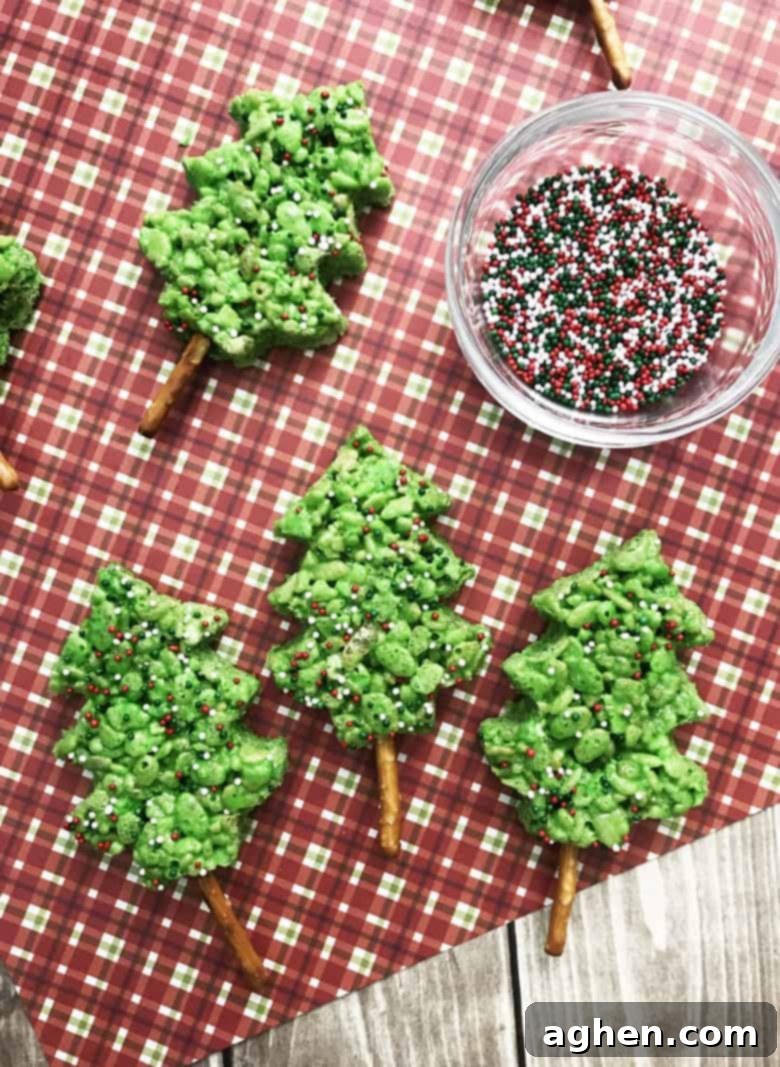
The Magic of No-Bake Holiday Treats
During the busy holiday season, simplifying things wherever possible is a huge win. No-bake desserts are true saviors when your oven is tied up with turkeys or casseroles, or when you just don’t have the time for elaborate baking projects. These no-bake Christmas Tree Rice Krispie Treats are not only quick to prepare, but they also require minimal cleanup, making them perfect for last-minute holiday gatherings or a relaxed afternoon with the family. The quick chilling time means you can whip up a batch and have them ready to serve in just over an hour!
Why Rice Krispie Treats Are a Timeless Holiday Favorite
Rice Krispie treats hold a special place in many hearts, evoking childhood memories and a sense of comforting nostalgia. Their simple combination of crispy cereal, gooey marshmallows, and butter is universally loved. What makes them particularly fantastic for the holidays is their incredible versatility. They can be easily colored, shaped, and decorated to fit any theme. For Christmas, transforming them into vibrant green trees, complete with edible ornaments, adds an extra layer of festive charm that traditional cookies or cakes sometimes miss.
Crafting Your Edible Christmas Trees: A Fun & Easy Recipe
This recipe for green Christmas Tree Rice Krispie Treats is just as delightful and easy as our Christmas Tree Cupcakes, Christmas Tree Strawberries, and Christmas Tree Meringues. The simplicity means less stress for you and more fun for everyone involved in the kitchen. The magic truly happens when you start decorating. While the recipe suggests using classic Christmas sprinkles, don’t be afraid to unleash your creativity! You could use red and green mini M&Ms as colorful ornaments, small silver dragées for a touch of sparkle, or even pipe thin lines of white icing to mimic garlands. Tiny candy stars on top would make perfect tree toppers.
One of the best parts about these festive treats is making them a family activity. Imagine setting up a decorating station where each child can personalize their own Rice Krispie Christmas tree. It’s a wonderful way for kids to express their creativity, and they’ll undoubtedly enjoy eating their unique creations even more!
Essential Tools & Ingredients for Perfect Christmas Tree Rice Krispie Treats
Gathering your ingredients and equipment beforehand will make the process even smoother. You’ll need the usual suspects for Rice Krispie treats: Rice Krispies Cereal, butter, and mini marshmallows. For that vibrant festive look, green gel food coloring is essential, as it provides a much richer color than liquid food coloring without affecting the consistency. To decorate your trees, Christmas sprinkles are perfect, and pretzel sticks serve as the adorable tree trunks.
Beyond the ingredients, a few key pieces of equipment will ensure success. A 9 x 13 inch pan is ideal for pressing your mixture evenly. A Christmas Tree cookie cutter is, of course, crucial for shaping your trees. And don’t forget wax or parchment paper – it’s a game-changer for easy removal and mess-free pressing!
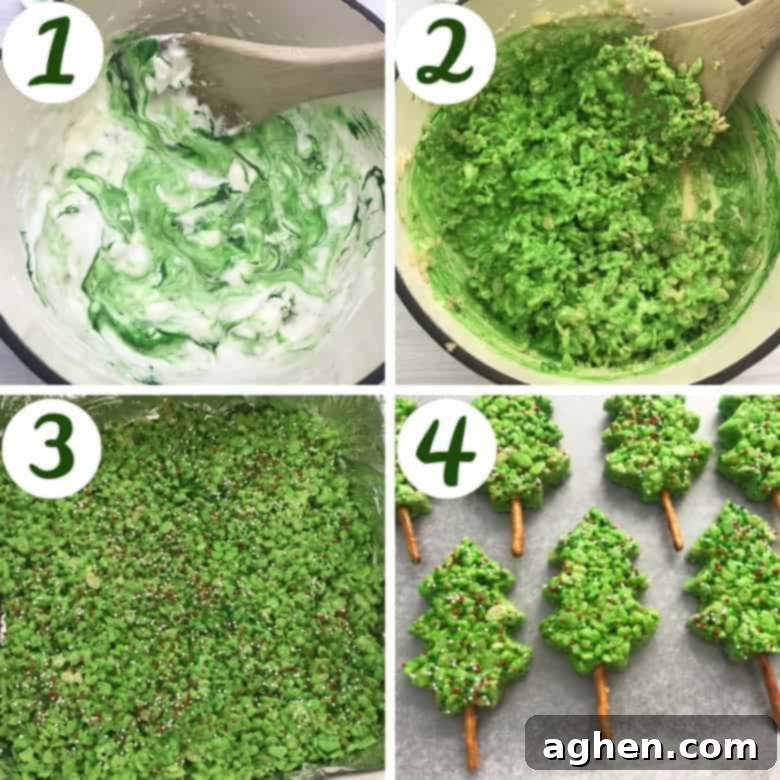
How to Make Your Festive Rice Krispie Christmas Trees: Quick Steps
The process is incredibly straightforward, perfect for a fun family activity. Here’s a quick overview of the simple steps:
- Prepare your pan by lining it with wax or parchment paper.
- Melt butter and marshmallows in a large saucepan until smooth and gooey.
- Stir in the green food coloring and then the Rice Krispies cereal until everything is beautifully combined and green.
- Press the mixture evenly into your prepared pan, then generously scatter your festive sprinkles on top.
- Chill the mixture in the refrigerator for about an hour to firm up.
- Once chilled, use your Christmas tree cookie cutter to cut out the tree shapes.
- Carefully insert a pretzel stick into the base of each treat to form the tree trunk.
These brief steps give you a snapshot, but you’ll find even more detailed instructions, exact measurements, and helpful tips included on the printable recipe card below. We’ve ensured every step is clear, so you can create perfect festive treats every time.
Tips for Success: Ensuring Perfect Treats
- Don’t Overcook Marshmallows: Melt them just until smooth. Overcooking can lead to hard treats.
- Use Fresh Marshmallows: Fresher marshmallows melt more easily and result in softer treats.
- Butter Your Hands or Spatula: The mixture is sticky! Lightly buttering your hands or a spatula before pressing the mixture into the pan will prevent it from sticking to everything.
- Press Evenly but Gently: Press the mixture firmly enough to hold its shape, but not so hard that it becomes dense and difficult to eat.
- Chill Thoroughly: The chilling step is crucial for the treats to firm up and hold their tree shape perfectly when cut.
- Cut Efficiently: When using the cookie cutter, try to cut the shapes as close together as possible to minimize scraps. Don’t worry, the scraps are still delicious!
Storing Your Festive Creations
Once your beautiful Christmas Tree Rice Krispie Treats are ready, proper storage will keep them fresh and delicious for days. Store them in an airtight container at room temperature for up to 2-3 days. If you need to stack them, place a piece of parchment paper between layers to prevent sticking. They are best enjoyed within the first day or two for optimal crispiness and chewiness, but they’ll still be a delightful treat a few days later.
We truly hope that you and your family have an absolute blast making and devouring this fun and easy Christmas Rice Krispie Treat recipe! They’re not just a dessert; they’re an experience, a memory in the making, and a perfect way to add a homemade touch to your holiday celebrations.
More Kid-Friendly Christmas Treats for Endless Holiday Fun
Looking for more easy and exciting holiday treat ideas to make with or for your kids? We’ve got you covered with a selection of other delightful and festive recipes that are sure to bring smiles and holiday cheer to your home. Explore these options for even more seasonal fun!
- Grinch Punch
- Christmas Popcorn Balls
- Santa Hat Cupcakes
- Sugar Cookie Pudding Cups
- Easy Reindeer Brownies
- Grinch Rice Krispies Treats
- Reindeer Cupcakes
Christmas Tree Rice Krispie Treats
Author: Jaclyn
Equipment
-
Wilton Recipe Right Non-Stick 9 x 13-Inch Pan
-
Christmas Tree Cookie Cutter Set
-
Wilton Holiday Sprinkles 4-Pack
-
Wilton Gel Icing Colors
Ingredients
- 6 cups Rice Krispies
- 10 oz mini marshmallows
- 3 Tablespoons butter cut into chunks
- Green gel food coloring
- Pretzel sticks broken to about 3/4 of original size, for tree trunks
- Holiday sprinkles
Instructions
-
Line a 9 x 13 inch pan with wax or parchment paper, ensuring some overhang on the sides for easy lifting. Set aside.
-
In a large saucepan, melt butter over medium heat. Add mini marshmallows and stir frequently until completely melted and smooth. Remove the saucepan from the heat. Stir in the Rice Krispies cereal and a few drops of green gel food coloring, mixing until the cereal is evenly coated and vibrantly green. Add more food coloring if necessary to achieve your desired shade.
-
Pour the warm cereal mixture into the prepared 9 x 13 inch pan. Using a piece of wax or parchment paper, or a buttered spatula, gently but firmly press the mixture down evenly into the pan. Immediately sprinkle with your chosen Holiday sprinkles, pressing them lightly into the warm treats so they adhere well. Place the pan in the refrigerator to chill for at least 1 hour, or until firm.
-
Once thoroughly chilled and firm, lift the entire slab of Rice Krispie treats out of the pan using the parchment paper overhang. On a clean cutting surface, use a Christmas tree cookie cutter to cut out tree shapes. Try to cut them as close together as possible to maximize your yield.
-
To create the tree trunks, use a toothpick to make a small hole in the base of each cut-out treat. Carefully insert a broken pretzel stick into each hole. Serve and enjoy these festive green Christmas Tree Rice Krispie Treats!

Did You Make This Recipe?
We’d love to see your creations! Share your delicious Christmas Tree Rice Krispie Treats with us on Instagram @crayonsandcravings and make sure to follow us on Pinterest @crayonsandcravings for even more fantastic recipes and holiday inspiration!
Pin Recipe
Leave A Review
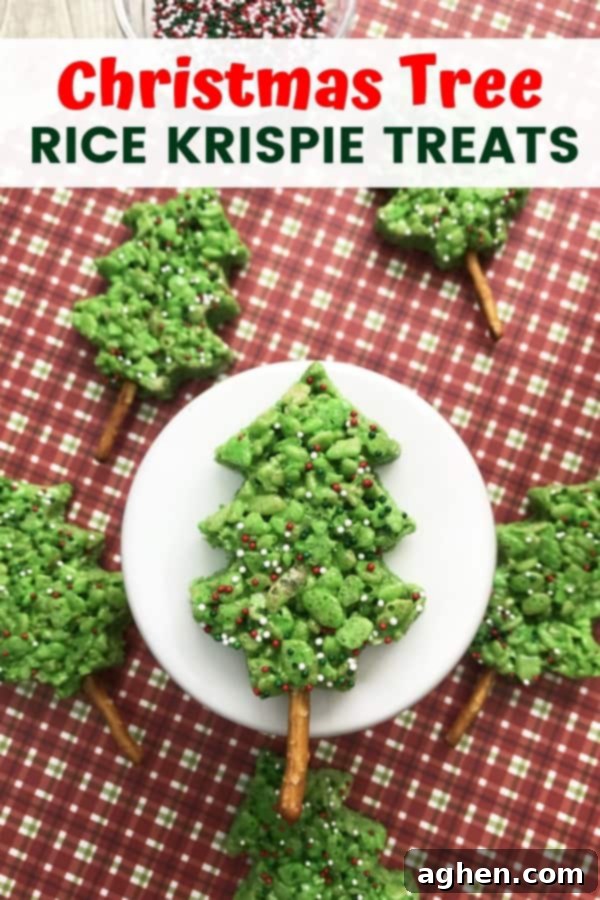
Pin for Later: Save This Festive Christmas Tree Rice Krispie Treat Recipe!
Don’t let this adorable and easy holiday treat get lost in your feeds! Pin it now to your favorite Christmas dessert boards on Pinterest so you can easily find it when you’re ready to add some festive cheer to your holiday season.
These delightful Christmas Tree Rice Krispie Treats were also featured and shared on The Weekend Potluck, a testament to their popularity and simple charm!
