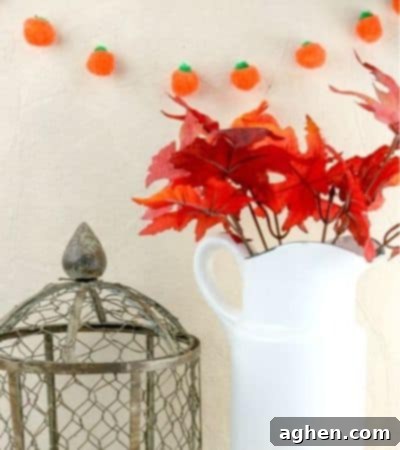
Easy DIY Pumpkin Pom Pom Garland: Your Ultimate Guide to Charming Fall Decor
As the leaves begin to turn golden and a crisp chill fills the air, there’s no better way to embrace the enchanting spirit of autumn than by infusing your home with warm, festive decorations. If you’re searching for an incredibly simple, budget-friendly, and utterly adorable DIY project to celebrate the Fall season, look no further! This delightful pumpkin pom pom garland is the perfect craft for adding a touch of cozy charm to your living space, making it ideal for Fall, Thanksgiving, and even Halloween.
Handmade decorations hold a special place in creating a welcoming atmosphere, and this garland is no exception. It’s a craft that combines minimal effort with maximum impact, transforming humble pom poms into a whimsical string of mini pumpkins. Whether you’re a seasoned crafter or just starting your DIY journey, this project promises a rewarding and enjoyable experience, resulting in a unique piece of decor that will bring smiles to all who see it.
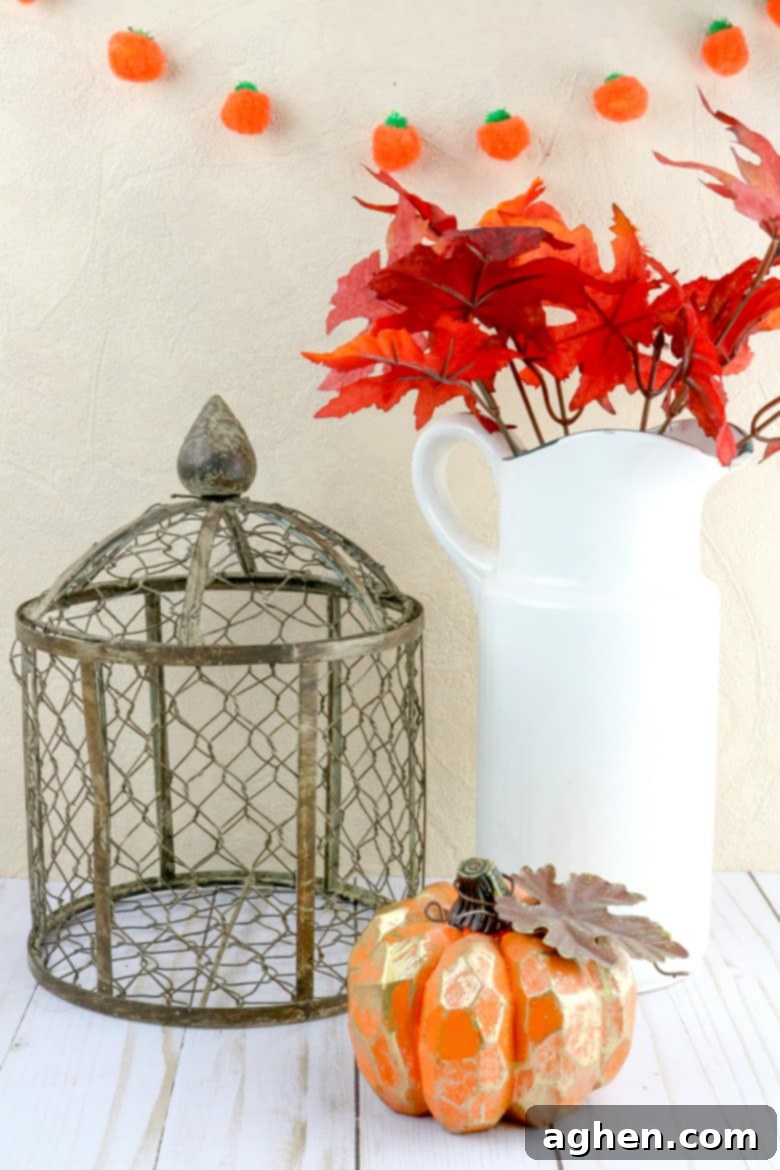
Why Choose This Pumpkin Pom Pom Garland for Your Fall Decorations?
Beyond its undeniable cuteness, this DIY pumpkin pom pom garland boasts several advantages that make it a superior choice for your seasonal decorating needs:
- Effortless Crafting: You don’t need to be an expert crafter to master this project. With just a few basic supplies and a hot glue gun, you can assemble this garland in under an hour. It’s a fantastic activity for a relaxed afternoon, requiring no complex techniques or specialized skills.
- Budget-Friendly: Crafting doesn’t have to break the bank. The primary materials for this garland—pom poms, glue, and thread—are incredibly inexpensive and readily available at most craft stores, dollar stores, or online retailers. This means you can create a beautiful, custom decoration without a hefty investment.
- Versatile Seasonal Decor: One of the best features of this garland is its adaptability. Its warm orange and green hues make it a natural fit for the entire Fall season. It seamlessly transitions from general autumn decor to a delightful accent for your Thanksgiving feast, and with a few spooky additions, it can even add a playful touch to your Halloween celebrations.
- Charming and Whimsical: The soft, fluffy texture of pom poms gives these miniature pumpkins a unique, inviting quality. They add a whimsical and cozy feel to any room, instantly making your home feel more festive and welcoming.
- Kid-Friendly Activity: Looking for a fun fall craft to do with children? While adult supervision is recommended for the hot glue gun, kids can actively participate in selecting pom poms, arranging them, and even helping to glue the green “stems” onto the orange “pumpkins.” It’s a wonderful way to engage their creativity and get them excited about holiday decorating.
Where to Display Your Adorable Pumpkin Garland
The beauty of this pumpkin pom pom garland lies in its versatility. Its lightweight nature and charming design allow it to be displayed in a multitude of creative ways throughout your home. Here are some popular and imaginative ideas:
- The Heart of Your Home: The Mantle. One of the most classic and effective placements is draped elegantly across your fireplace mantle. Pair it with autumn leaves, small gourds, scented candles, or other fall-themed trinkets for a stunning focal point in your living room. The soft pom poms will add texture and warmth to your existing decor.
- Accentuate Walls and Furniture. Hang the garland on a bare wall to add a pop of seasonal color and texture. It looks fantastic above a console table, a bookshelf, or draped around a large mirror, creating a cozy vignette. You can use small command hooks or invisible tape to secure it without damaging your surfaces.
- Window or Doorway Charm. Drape the garland across a window frame or along a doorway to instantly brighten the space and welcome guests with a festive touch. The invisible thread will make the pumpkins appear to float, adding an ethereal quality.
- Staircase Swag. If you have a staircase, weave the garland through the banister for a captivating cascading effect. This adds a grand, festive ambiance to your entryway or hallway.
- Tablescape Centerpiece. For your Thanksgiving dinner, use the pumpkin garland as a unique element in your tablescape. Weave it around a central floral arrangement, or lay it down the middle of your dining table to complement your festive meal.
- Kids’ Room Decor. Bring the joy of autumn into a child’s bedroom or playroom. The soft, playful nature of the pom pom pumpkins makes them a perfect, safe, and fun decoration for little ones’ spaces.
- Shelf Styling. Lay the garland across shelves, intertwined with books, small plants, or other decorative items to add a subtle seasonal accent.
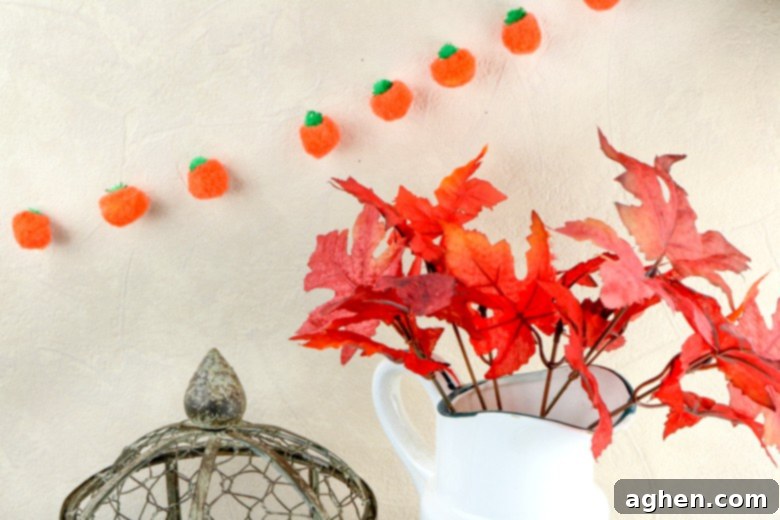
Ready to create your very own charming pumpkin pom pom garland? Read on for the easy step-by-step tutorial!
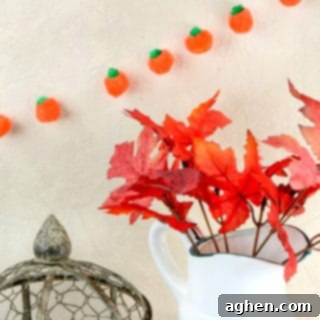
Pumpkin Pom Pom Garland
Author: Jaclyn
Equipment
-
Hot Glue Gun (with glue sticks)
-
Large Sewing Needle (with a sturdy eye)
-
Scissors
Supplies
- 8 to 10 50 mm (approx. 2 inch) orange pom poms (choose a fluffy, vibrant orange for best pumpkin effect)
- 8 to 10 10 mm (approx. 0.4 inch) green glitter or tinsel pom poms (or plain green pom poms, or small felt leaves for an alternative stem)
- Invisible nylon thread (or clear fishing line for a floating effect)
Instructions
-
Step 1: Prepare Your Pumpkins. Begin by heating up your hot glue gun. Once it’s ready, carefully apply a small, pea-sized dot of hot glue to the very top center of one 50mm orange pom pom. This will be the base of your pumpkin.

-
Step 2: Attach the Stems. Immediately after applying the glue, firmly press a small 10mm green pom pom onto the hot glue dot on top of the orange pom pom. Hold it in place for approximately 3-5 seconds to ensure a secure bond as the glue cools. The green pom pom acts as the pumpkin’s stem, adding a lovely contrast. Repeat this process for all your orange pom poms until you have created your desired number of individual pumpkins. We recommend making at least 8-10 pumpkins for a good garland length.

-
Step 3: String Your Garland. Once all your pom pom pumpkins are assembled and the glue is completely dry, it’s time to string them together. Thread your large sewing needle with the invisible nylon thread. Pull a long piece of thread through the needle, but leave the other end still attached to the spool – this allows for flexibility in determining your final garland length. Carefully push the needle through the very base of each green pom pom (the stem) on your pumpkins. Aim to go through the dense center of the green pom pom to ensure it hangs straight and is securely anchored. Continue stringing all your pumpkins onto the thread, leaving about 3-5 inches of space between each pumpkin for the best visual effect.

-
Step 4: Secure and Finish. Once all your pumpkins are strung and spaced to your liking, gently slide them along the thread to achieve even distribution. To prevent the pumpkins from sliding too much, you can add a tiny dot of hot glue to the thread on either side of each pumpkin, securing its position. Carefully cut the thread from the spool, leaving an extra 6-8 inches of thread at each end of the garland. Tie a small loop at both ends of the invisible thread for easy hanging. Your charming pumpkin pom pom garland is now ready to adorn your home!

Did You Make This Craft?
We’d love to see your beautiful creations! Share your DIY pumpkin pom pom garland with us on Instagram @crayonsandcravings and be sure to follow us on Pinterest @crayonsandcravings for even more inspiring craft ideas, seasonal decor, and fun projects!
Pin Craft
Leave A Review
Tips for a Perfect Pumpkin Pom Pom Garland
- Safety First with Hot Glue: Always supervise children when using a hot glue gun. Ensure proper ventilation and be mindful of hot glue drips.
- Choose Your Pom Poms Wisely: While 50mm orange and 10mm green are recommended, feel free to experiment with different sizes and shades of orange, or even add a few cream or yellow pom poms for variety. For the stems, plain green pom poms or small felt leaves cut into a stem shape also work beautifully.
- Even Spacing is Key: For a balanced and aesthetically pleasing garland, try to maintain consistent spacing between each pumpkin. Eyeball it or use a ruler for precise measurements.
- Adjust Length as Needed: By keeping the invisible thread attached to the spool, you have the flexibility to create a garland of any length. Once all pumpkins are strung, hold it up to your desired display area to determine the perfect length before cutting.
- Add Extra Embellishments: Get creative! You can string small wooden beads, faux autumn leaves, or tiny bells between the pumpkins for added texture and sound.
- Storage: To ensure your garland lasts for many seasons to come, gently roll it up and store it in a dry, cool place, perhaps in a clear plastic bag or container to protect it from dust and tangles.
Frequently Asked Questions About DIY Pumpkin Pom Pom Garlands
Q: Can I use regular thread instead of invisible nylon thread?
A: Yes, you can! Regular sewing thread in a neutral color (like white or beige) or a color that matches your wall can work. However, invisible nylon thread or clear fishing line is highly recommended because it gives the pumpkins a “floating” effect, making them appear to be suspended magically, which enhances the garland’s whimsical charm.
Q: How long does it typically take to make this garland?
A: This is a wonderfully quick craft! Once you have all your supplies gathered, you can easily assemble this pumpkin pom pom garland in about 15-30 minutes, depending on how many pumpkins you’re making and your speed with the hot glue gun. It’s perfect for a last-minute decoration project.
Q: Is this craft durable enough to last for multiple seasons?
A: Absolutely! Pom poms are quite resilient, and hot glue creates a strong bond. As long as you store your garland carefully (rolled up or loosely folded to prevent tangling and crushing) in a dry place, it should last for many Fall seasons to come, bringing joy year after year.
Q: Can I customize the colors for Halloween or other themes?
A: Definitely! To lean into Halloween, you could use black and orange pom poms, or add small white pom poms for ghosts. For a rustic Thanksgiving look, incorporate cream, brown, or deeper red pom poms. The possibilities are endless, allowing you to tailor the garland to any theme or color scheme you desire.
Q: What’s the best way to secure the garland for hanging?
A: For light garlands like this one, small adhesive hooks (like Command hooks) work wonderfully and won’t damage your walls. You can also use small nails, thumbtacks, or simply drape it over existing hooks or furniture. Ensure the loops you tie at the ends of the invisible thread are strong enough to hold the weight.
Conclusion
This easy DIY pumpkin pom pom garland is more than just a decoration; it’s a simple yet effective way to invite the warmth and charm of the autumn season into your home. With minimal effort and cost, you can create a personalized piece that will delight family and friends throughout Fall, Thanksgiving, and Halloween. So gather your supplies, unleash your creativity, and enjoy crafting a beautiful garland that perfectly captures the spirit of the season!
