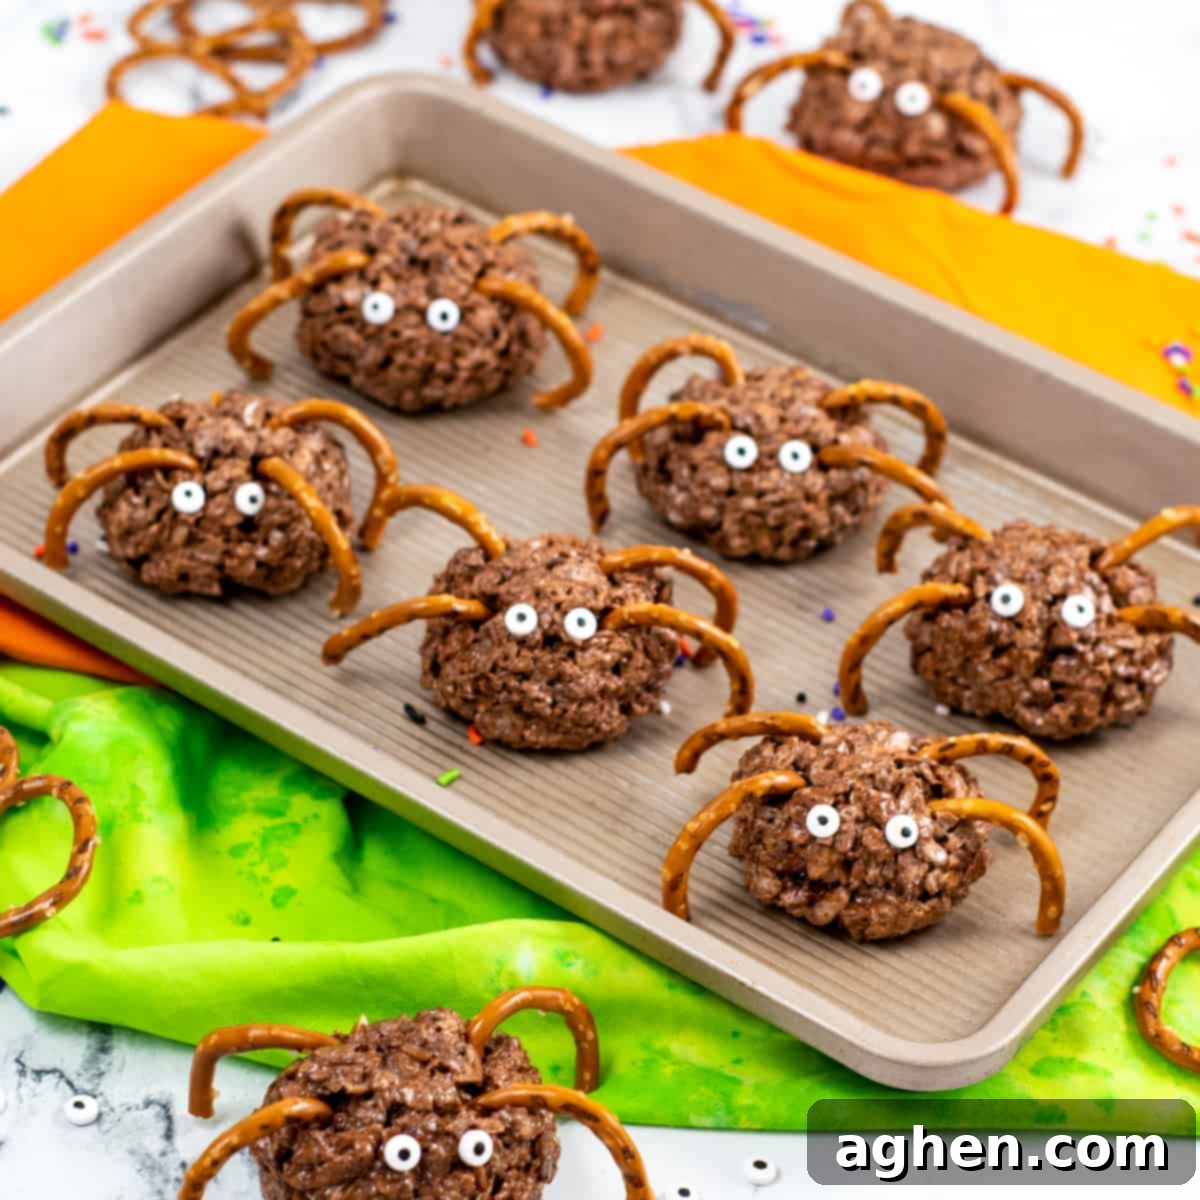
Easy & Spooky Cocoa Krispie Treat Spiders: Your Ultimate Halloween Dessert Guide
Get ready to weave some magic into your Halloween celebrations with these utterly adorable and deliciously creepy Cocoa Krispie Treat Spiders! This recipe transforms classic crispy rice treats into a festive, no-bake dessert that’s guaranteed to be a hit with both kids and adults. Made with simple ingredients like Cocoa Krispies cereal, gooey marshmallows, rich butter, and crunchy pretzels, these spider treats are quick to assemble and perfect for adding a touch of spooky fun to any party or gathering.
Halloween is a time for costumes, candy, and, of course, delightfully spooky snacks! While there are countless elaborate Halloween dessert ideas out there, sometimes you need something that’s both impressive-looking and incredibly easy to make. That’s exactly where our Rice Krispie Treat Spiders come in. Just like our other popular no-bake Halloween recipes, such as the Mummy Rice Krispies Treats and Candy Corn Fudge, these spider treats offer maximum impact with minimal effort, making them an ideal Halloween party dessert that everyone will remember.
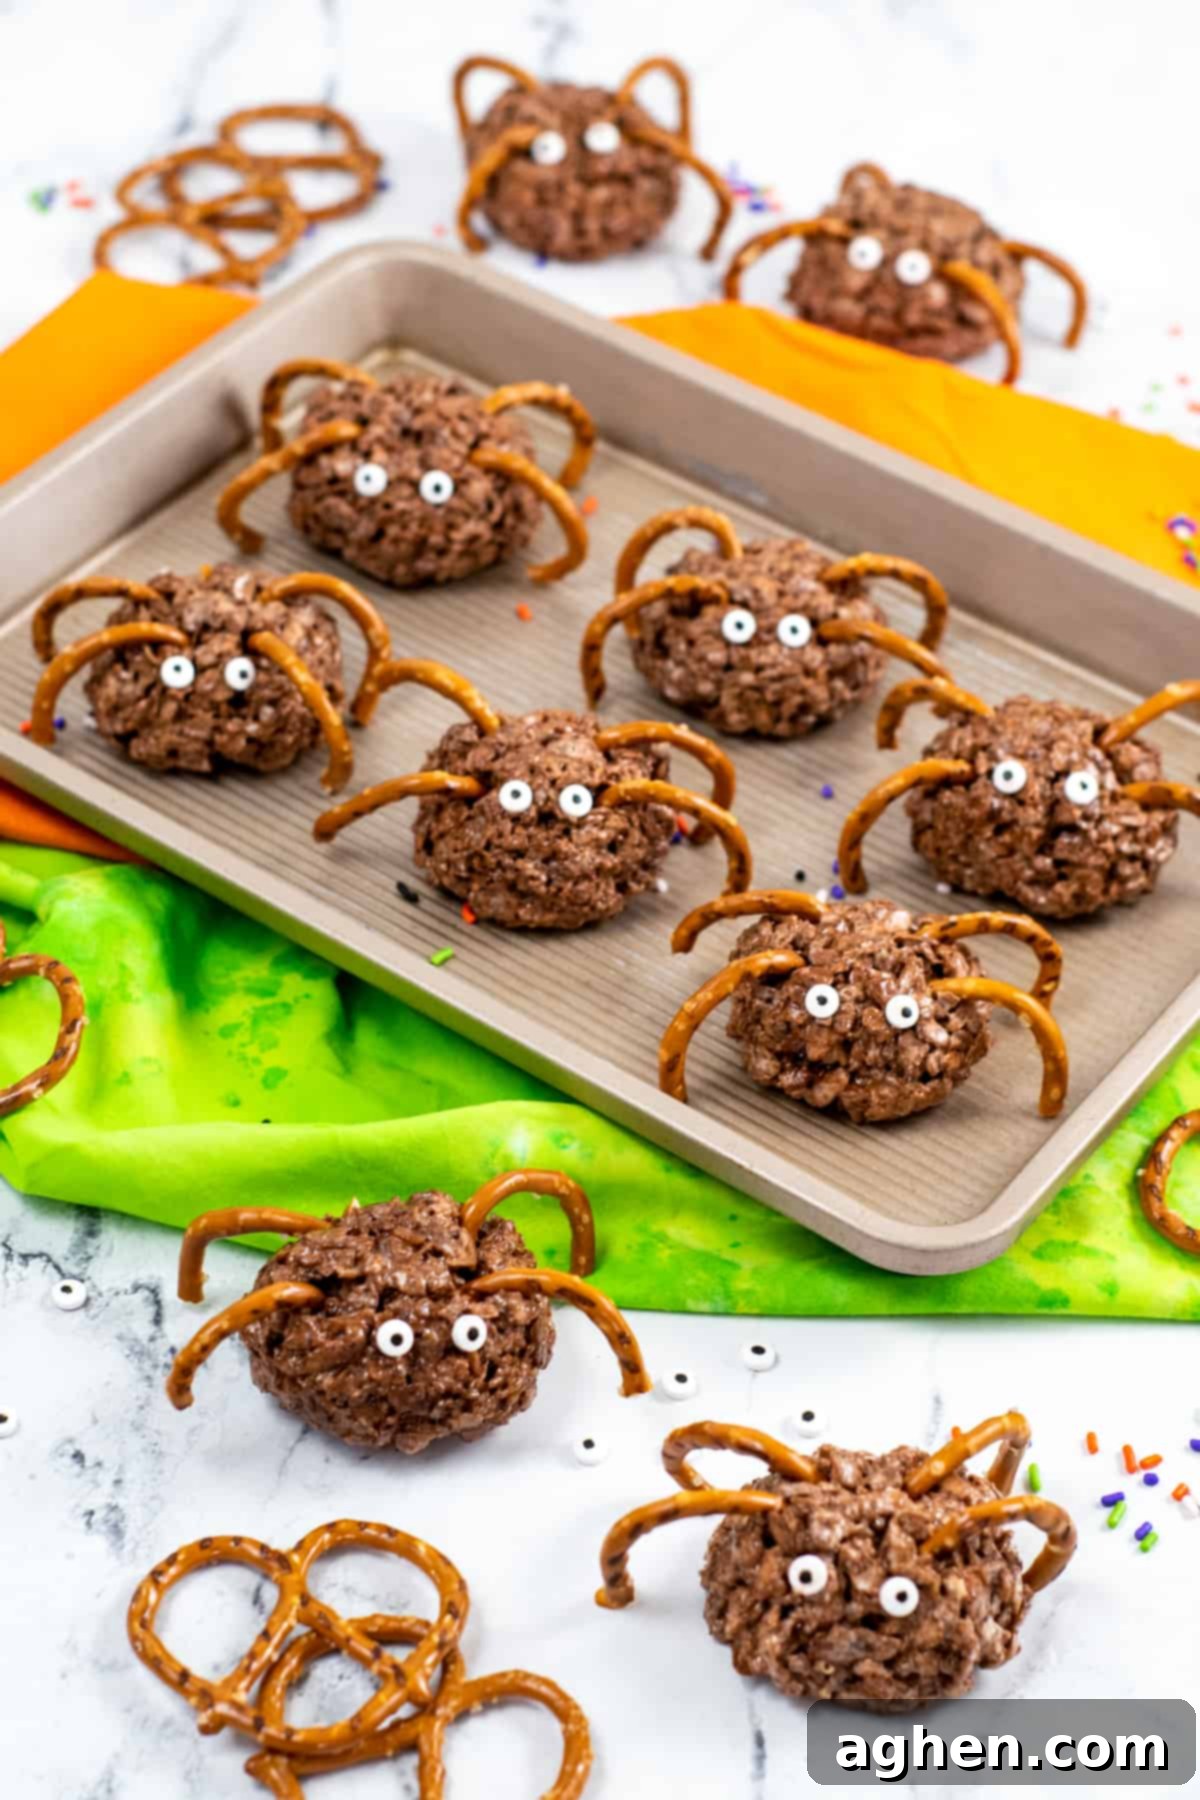
Why These Rice Krispie Treat Spiders Are Your New Favorite Halloween Dessert
There’s a lot to love about these charmingly creepy spider treats. They bring an irresistible combination of flavor, texture, and festive fun that makes them a standout for any Halloween occasion. Here’s why these Cocoa Krispie Treat Spiders will quickly become a cherished part of your annual holiday traditions:
Simple & No-Bake: Perfect for Busy Schedules
One of the biggest advantages of these spider treats is their incredible simplicity. There’s no need to turn on your oven, which means less time baking and more time enjoying the holiday festivities. The entire process from start to finish is straightforward, involving just melting, mixing, and shaping. This makes it an excellent choice for last-minute party contributions or a fun afternoon activity.
Kid-Friendly & Fun to Make
Involving children in the kitchen can be one of the most rewarding aspects of holiday cooking, and these Rice Krispie Treat Spiders are designed for exactly that! Kids will absolutely adore helping to create these spooky confections. They can assist with stirring the ingredients (under supervision, of course), rolling the sticky mixture into spider bodies, and, most excitingly, carefully placing the candy eyes and pretzel “legs” to bring their little creatures to life. It’s a fantastic way to develop fine motor skills and spark creativity, all while making delicious memories together.
Irresistible Sweet & Salty Crunch
The base of chocolatey Cocoa Krispies and sweet marshmallows creates a classic, chewy, and satisfying treat. But what truly elevates these spiders is the addition of salty pretzels, which provide a delightful crunch and a perfect counterpoint to the sweetness. This balance of flavors and textures makes each bite incredibly addictive, ensuring these treats disappear quickly from any dessert table.
Visually Engaging for Parties
These spider treats are not just tasty; they’re also incredibly eye-catching! Their dark, round bodies, whimsical candy eyes, and pretzel legs create an instantly recognizable and festive Halloween motif. They are perfect for school parties, neighborhood gatherings, or as a fun addition to your family’s Halloween dinner. Prepare for plenty of compliments and requests for the recipe!
Ingredients for Your Spooky Spider Treats
Crafting these salty-sweet spider treats requires just a handful of common ingredients, making them super accessible for any home cook. You’ll be amazed at how easily these simple items come together to create such a festive and delicious dessert!
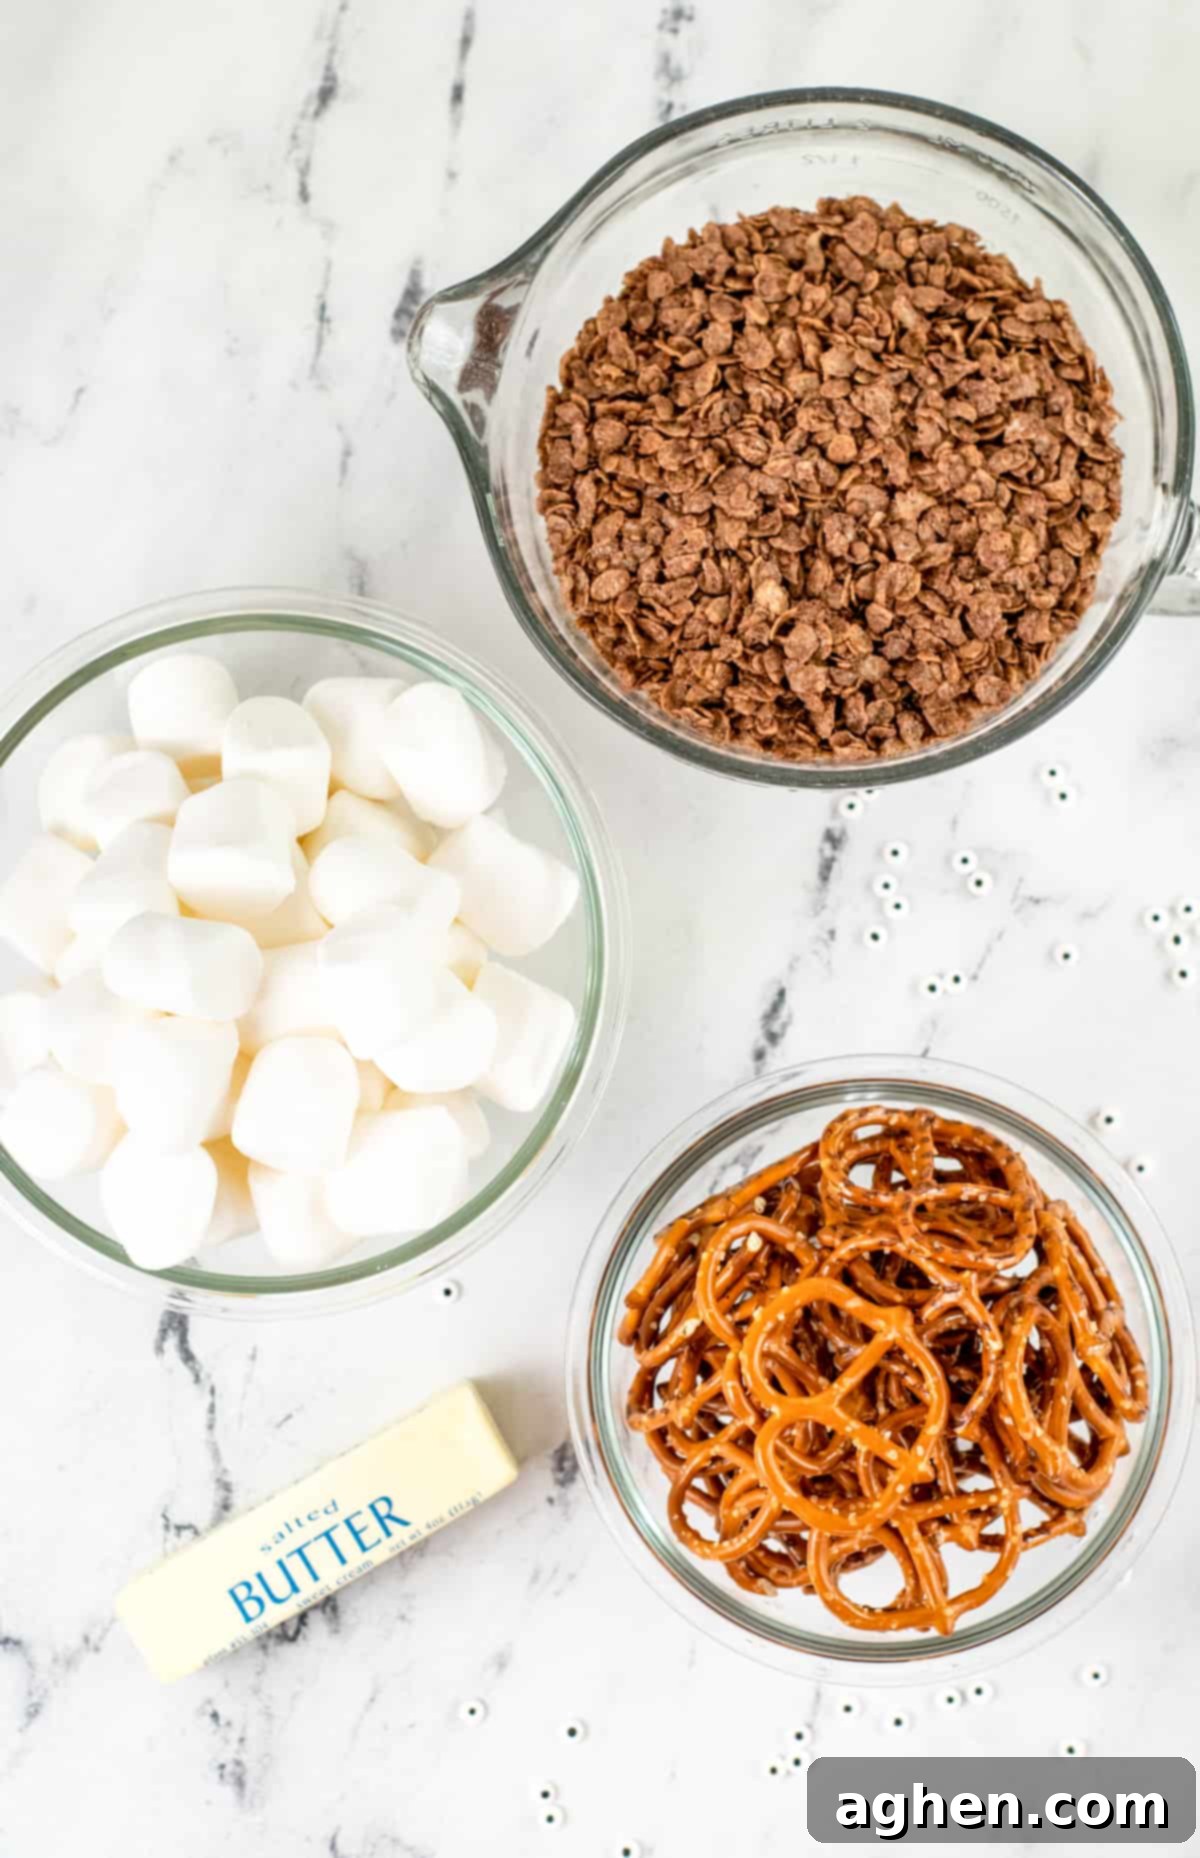
Here’s what you’ll need for your delicious Halloween Rice Krispie Treat Spiders:
- 6 cups Cocoa Krispies cereal: The star of our show! Cocoa Krispies provide that essential chocolate flavor and dark color, perfect for convincing spider bodies. While regular Rice Krispies can be used, the chocolate version truly enhances the spooky aesthetic.
- 4 Tablespoons butter: Essential for both flavor and creating the sticky base that holds everything together. We recommend using unsalted butter to control the overall saltiness, especially with the pretzels.
- 12 oz bag of mini marshmallows: While regular-sized marshmallows work, we’ve found that mini marshmallows melt much more evenly and quickly. This makes them easier to work with, resulting in a smoother, more consistent treat mixture. If you only have large marshmallows, you can use them, but be prepared for a slightly longer melting time and more stirring.
- 32 thin pretzels: These are crucial for creating the spider legs. Thin pretzels are ideal because they are easy to break into the right shapes and less likely to overpower the delicate treat flavor. You could use pretzel sticks for a different look, but the arched parts of thin pretzels lend themselves well to a more realistic “leg” shape.
- 32 edible candy eyeballs: These are a must-have for bringing your spiders to life and adding that touch of playful creepiness! You can find them in most baking aisles or online. They come in various sizes, so choose ones that fit your desired spider “face” best.
- Brown gel food coloring (optional, for dark brown spider treats): If you want to achieve an even deeper, richer brown color for your spiders, a few drops of gel food coloring can make a big difference. Gel coloring is preferred over liquid as it won’t thin out your marshmallow mixture.
How to Make Spooky & Easy Rice Krispie Treat Spiders
Creating these delightful Cocoa Krispie Treat Spiders is a fun and straightforward process. Follow these detailed steps to ensure your Halloween treats turn out perfectly spooky and delicious!
Step 1: Prepare Your Workspace
Before you begin, ensure you have a clean, flat surface ready for shaping and cooling your treats. Line it with wax paper or parchment paper. This will prevent your treats from sticking and make cleanup a breeze.
Step 2: Melt the Butter and Marshmallows
In a large, heavy-bottomed pot, melt the butter over medium heat. Keep a close eye on it to prevent burning. Once the butter is fully melted, add your marshmallows. If you’re using mini marshmallows, they will melt quite quickly. Stir continuously with a spatula or wooden spoon until the marshmallows are completely smooth and melted, forming a gooey, uniform mixture. If you desire a darker, more intense brown color for your spiders, now is the time to stir in a few drops of brown gel food coloring until evenly distributed.

Step 3: Incorporate the Cocoa Krispies
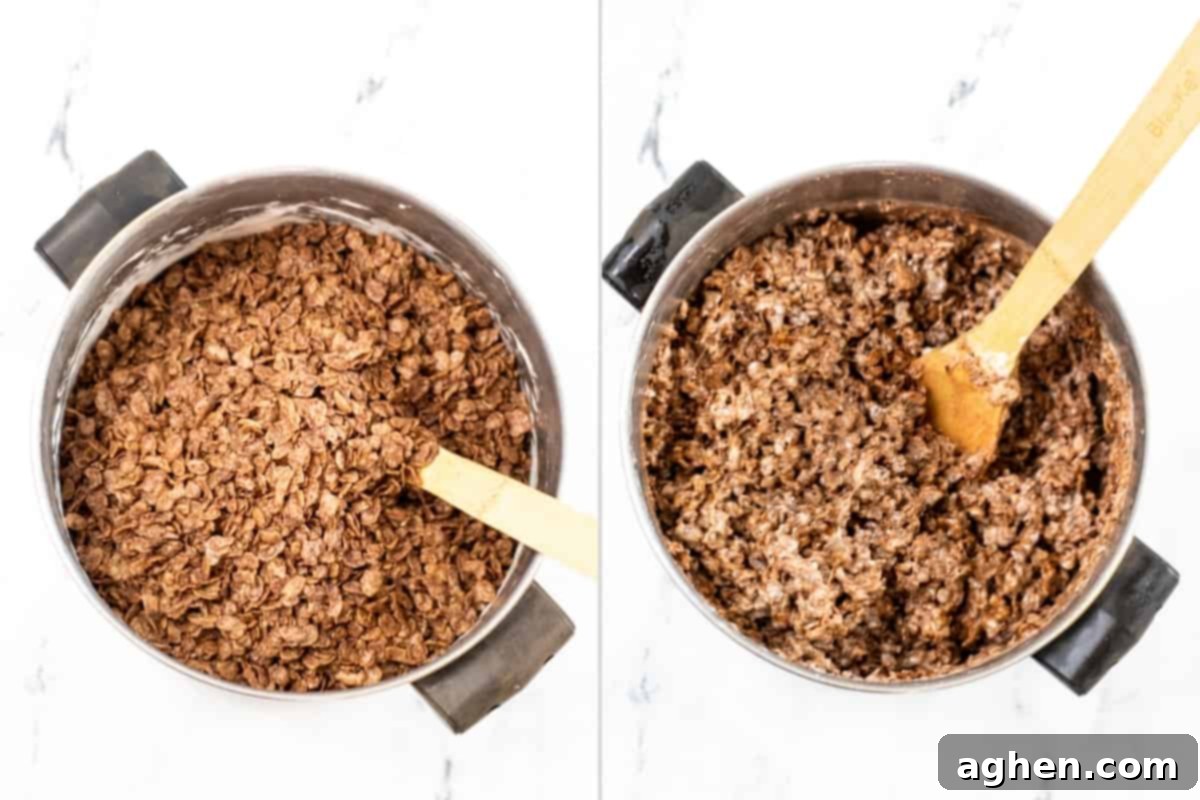
Remove the pot from the heat immediately after the marshmallows are melted. This prevents the mixture from becoming too tough. Pour in the Cocoa Krispies cereal. Using your spatula or wooden spoon, gently fold and stir the cereal into the marshmallow mixture. The key here is to be gentle to avoid crushing the cereal, but thorough enough to ensure every piece is well coated with the sticky marshmallow goodness.
Step 4: Form the Spider Bodies
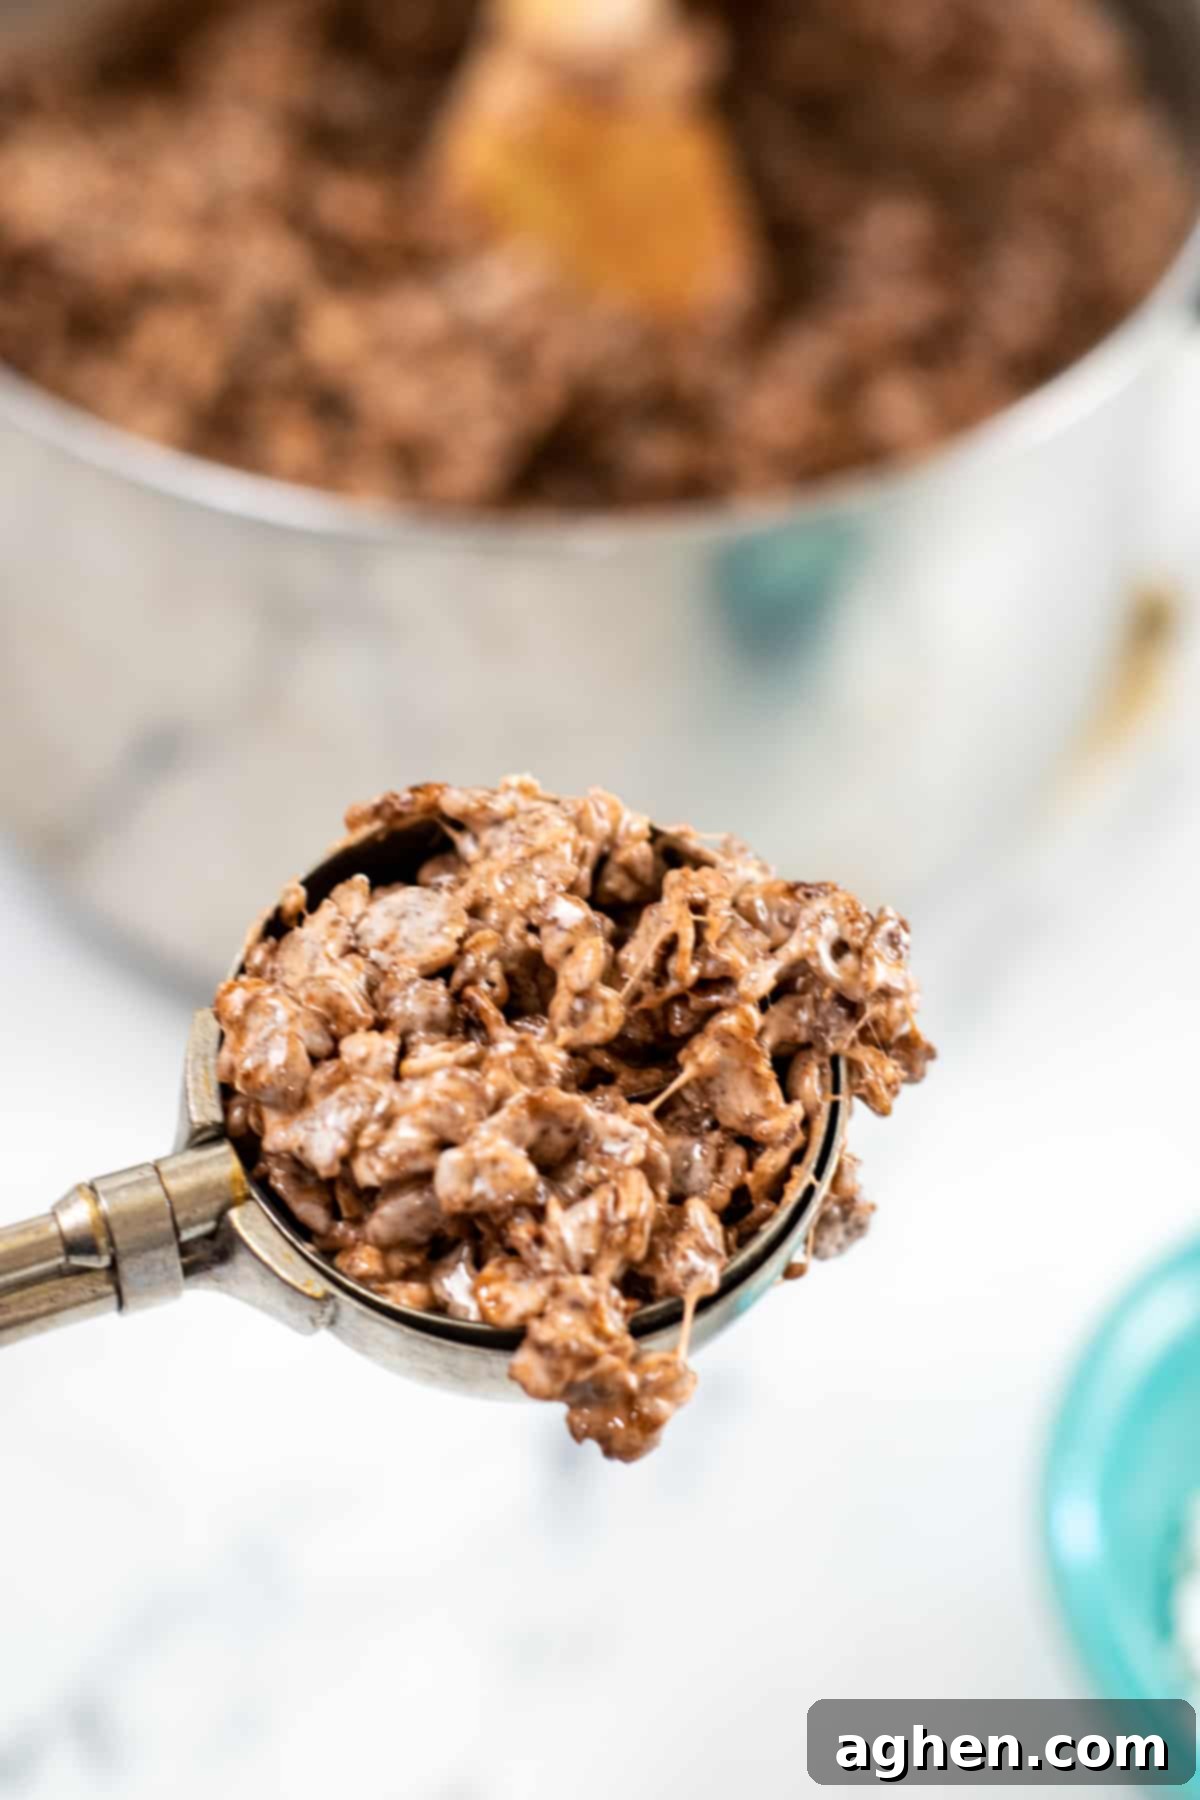
To prevent the sticky mixture from adhering to your hands, lightly coat your hands with non-stick cooking spray or a thin layer of butter. Scoop out approximately ¼ cup of the Cocoa Krispies mixture for each spider. Gently roll and press the mixture in your hands to form a firm, round ball. Place each formed ball onto your prepared wax or parchment-lined surface. Repeat until all the mixture is used, creating around 16 spider bodies.
Step 5: Decorate Your Spiders!
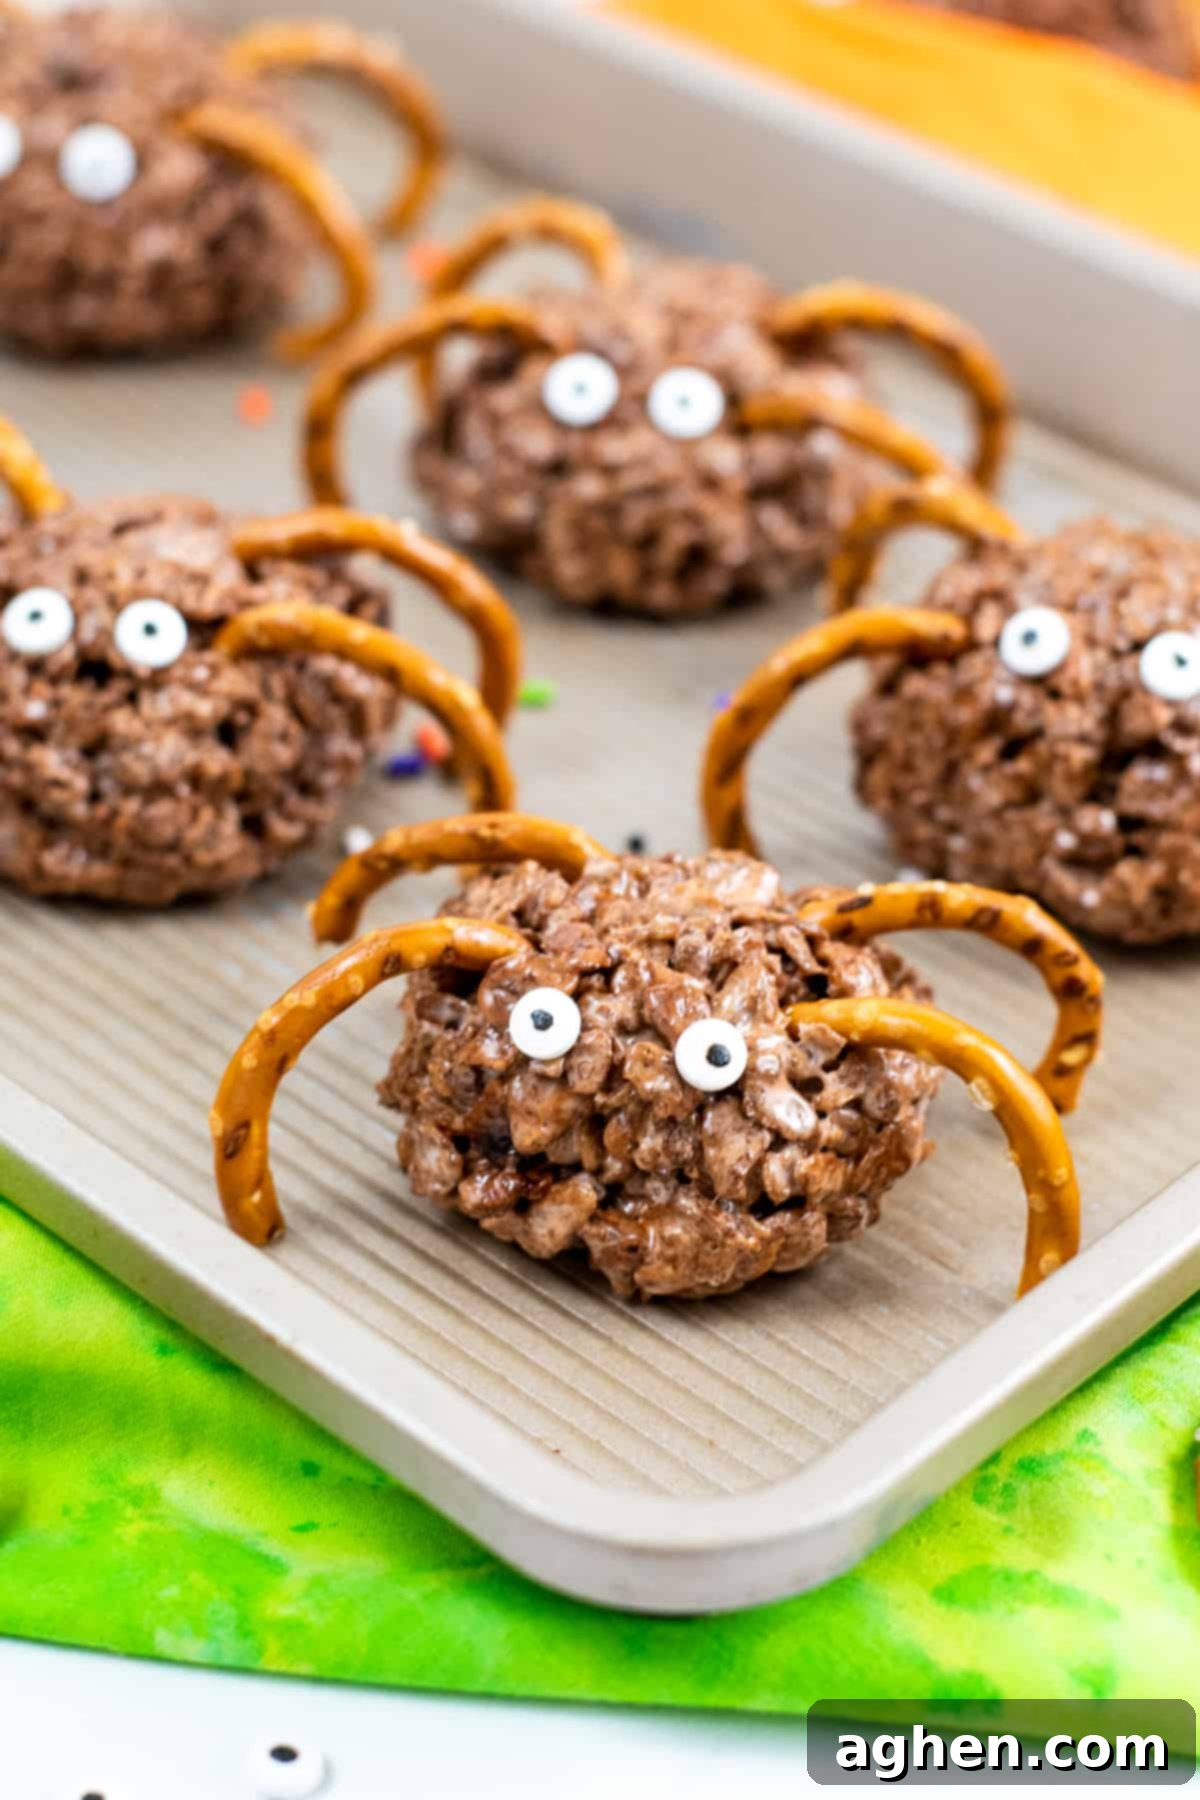
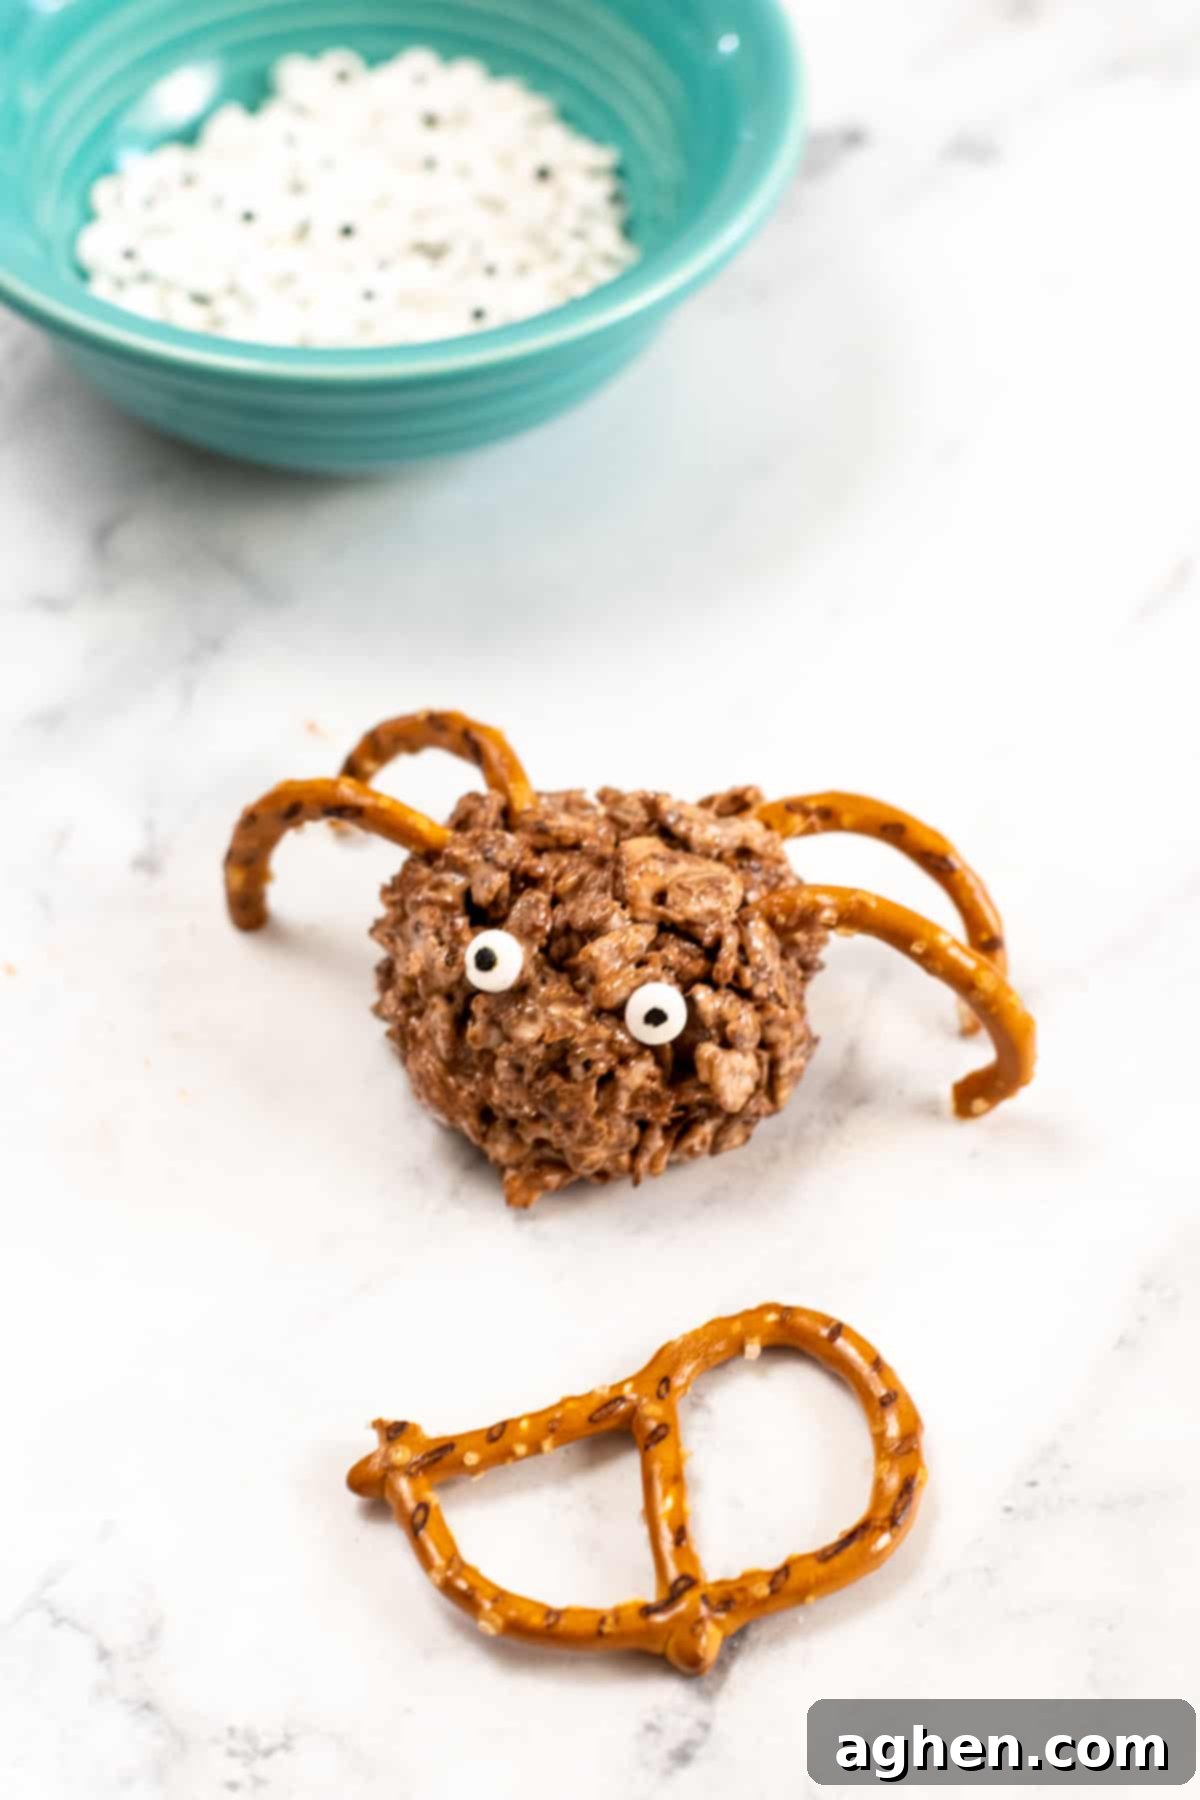
This is where your spiders truly come to life! Carefully press two edible candy eyes into the front of each Rice Krispie treat ball. The stickiness of the mixture should hold them in place. For the legs, take two thin pretzels per spider. Break off the two large arched parts from each pretzel – these naturally curve, making perfect spider legs. Using a toothpick or a thin skewer, gently poke four holes into each side of the spider body. Carefully insert the pretzel pieces into these holes. If the pretzel doesn’t feel secure, gently squeeze the treat around the pretzel to help hold it in place. Arrange the legs to give your spiders a creepy, crawly appearance.
Pro Tip for Working with Rice Krispie Treats:
If your Cocoa Krispies mixture starts to become too firm or difficult to mold while you’re still working on shaping your spiders, don’t worry! Simply pop the mixture back into the microwave for about 10-15 seconds. This will soften it up just enough to make it pliable and easy to work with again, ensuring all your spiders are perfectly formed.
Spider Anatomy: Eight Legs or Four?
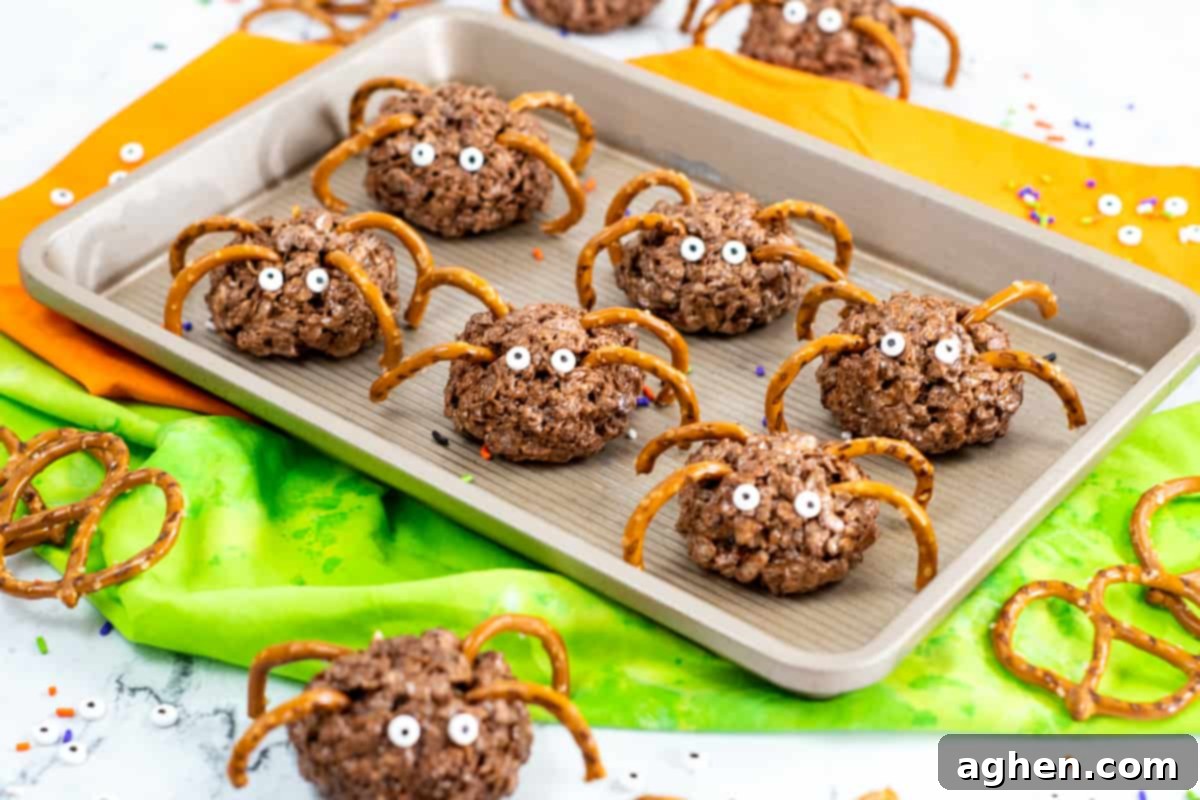
You might have noticed that our adorable Rice Krispie Treat Spiders typically sport four legs instead of the biologically accurate eight. And yes, you’re right, real spiders indeed have eight legs!
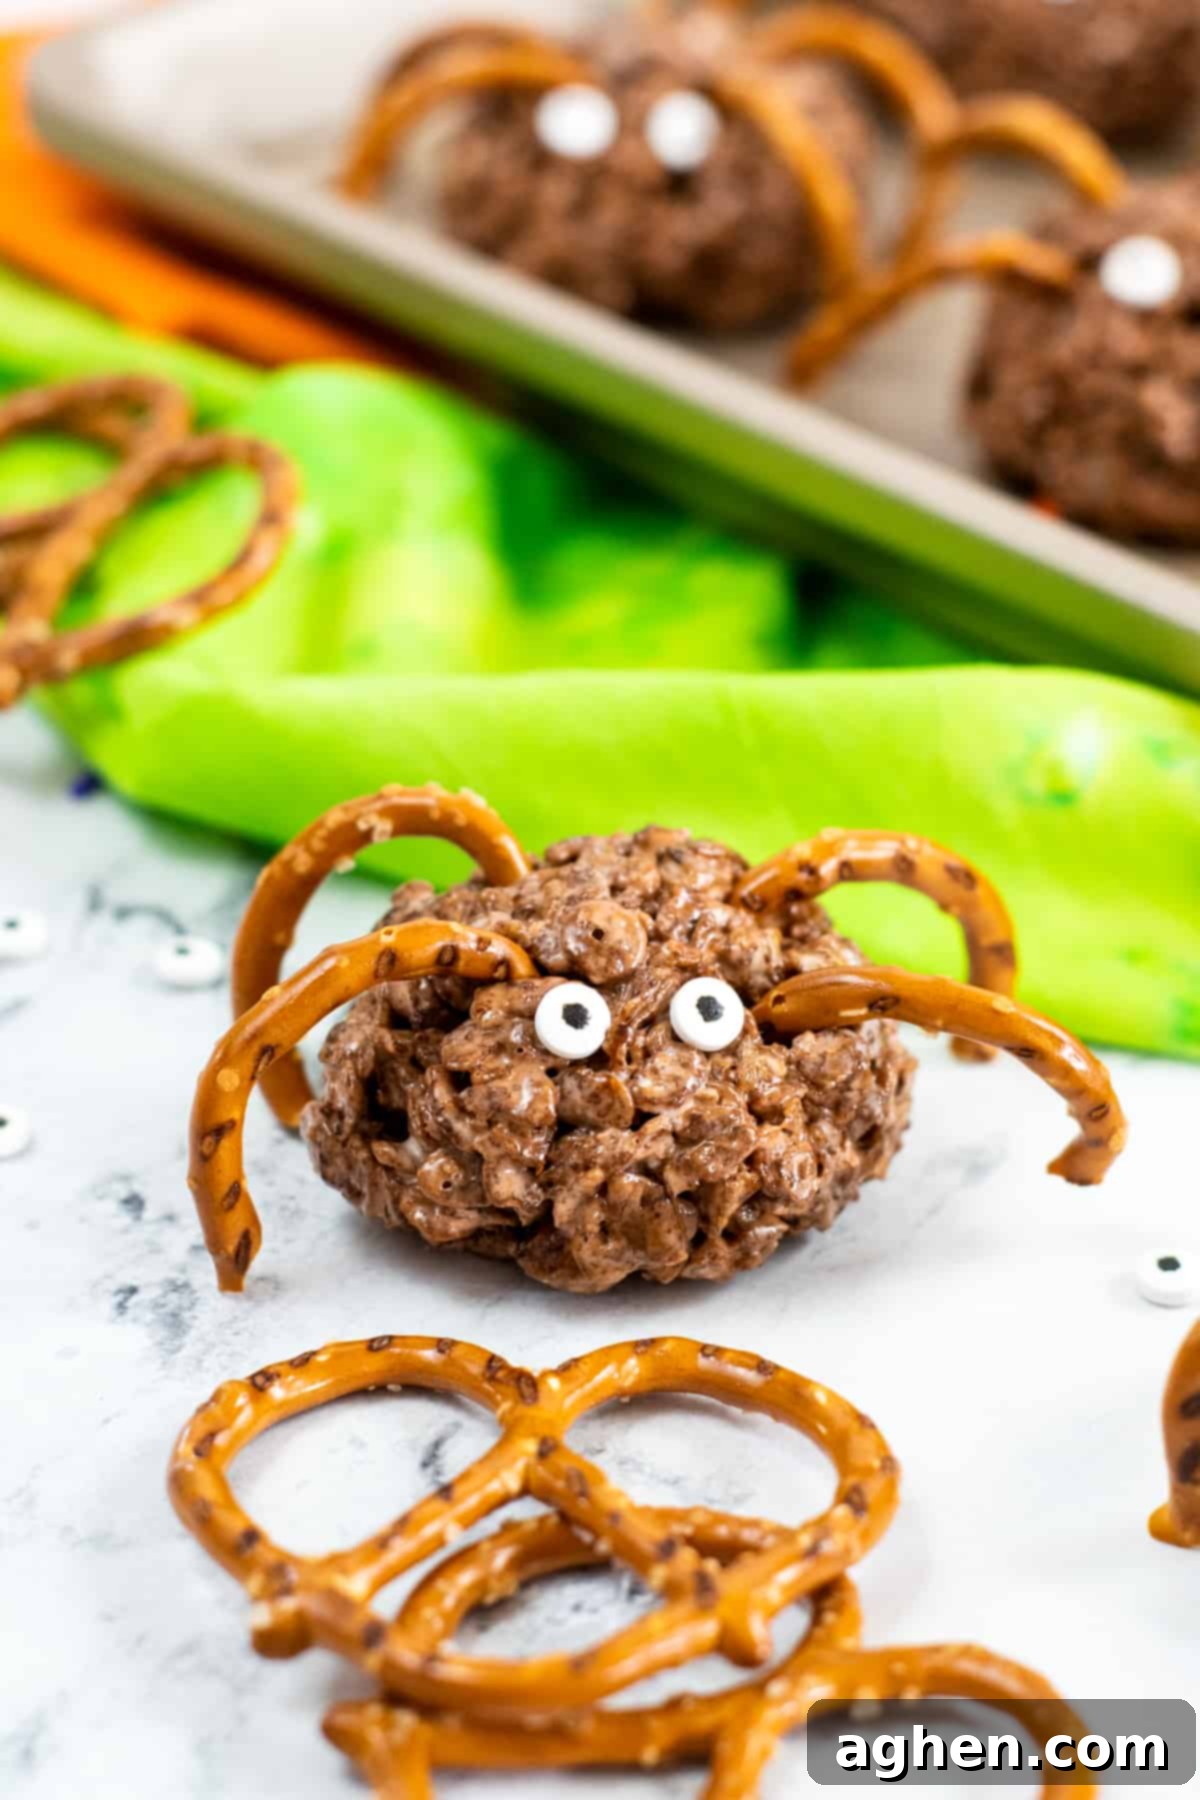
To be completely honest, meticulously breaking and placing eight individual pretzel pieces into each small treat can become quite tedious, especially if you’re making a large batch for a party. Furthermore, fitting eight legs into a treat of this size can be challenging without making it look overly crowded or causing the pretzel pieces to break off easily. Our main goal is to create a fun, easy, and recognizable Halloween treat.
Most importantly, we believe that these Halloween Rice Krispie Treat Spiders look perfectly charming and “spider-like” with just four legs. The essence of the spider is captured with the round body, candy eyes, and a few well-placed pretzel legs, conveying the spooky theme effectively without unnecessary fuss.
That said, if you are a stickler for anatomical accuracy and absolutely want your spiders to have eight legs, we totally support you! In that case, we would suggest making your Rice Krispie treat balls slightly larger. A bigger “body” will provide more surface area to accommodate all eight pretzel legs comfortably, making them easier to insert and more stable once in place. This small adjustment will allow you to achieve your perfect eight-legged spider treats without compromising their structural integrity or your patience!
Creative Variations & Customization Ideas
While these Cocoa Krispie Treat Spiders are perfect as is, you can easily customize them to suit your taste or add even more festive flair! Here are a few ideas to get your creative juices flowing:
- Cereal Swap: Don’t have Cocoa Krispies? Use regular Rice Krispies for a lighter-colored spider, or try other chocolate-flavored puffed cereals for a different texture and taste.
- Extra Chocolatey: Drizzle melted dark or white chocolate over your finished spiders for an extra decadent touch. You can even use chocolate frosting to draw small spiderwebs on top!
- Colorful Legs: Dip your pretzels in melted colored candy melts (orange, purple, green) before attaching them for a vibrant, fun look.
- Spooky Sprinkles: Before the treats fully set, sprinkle some orange, black, or Halloween-themed sprinkles over the bodies for added texture and sparkle.
- Gourmet Spiders: For an adult-friendly version, consider adding a pinch of sea salt to the marshmallow mixture or using dark chocolate-covered pretzels for the legs.
Storage Tips for Your Halloween Spider Treats
To keep your delightful Halloween spider treats fresh and delicious, proper storage is key. Once your spiders are fully cooled and decorated, place them in an airtight container. Store the container at room temperature. They will maintain their best quality, chewiness, and freshness for up to 2 days. While you can refrigerate them to extend their shelf life slightly, this can sometimes alter the texture, making them a bit firmer. For optimal enjoyment, room temperature storage is recommended.
Frequently Asked Questions (FAQs)
Can I use regular Rice Krispies instead of Cocoa Krispies?
Yes, you can! Regular Rice Krispies will give you a lighter-colored spider, which you can easily darken with brown gel food coloring if desired. The flavor will be slightly different, but still delicious.
How far in advance can I make these spider treats?
These treats are best enjoyed within 1-2 days of making them for optimal freshness and texture. You can definitely prepare them a day before your Halloween party, just ensure they are stored in an airtight container.
What if my marshmallow mixture is too sticky to roll?
This is a common issue! Make sure your hands are well-coated with non-stick cooking spray or butter. If the mixture is still too sticky, try chilling it in the refrigerator for 5-10 minutes. Sometimes adding a tiny bit more cereal can also help. Alternatively, press the mixture into a buttered pan and cut out circles with a cookie cutter, rather than rolling them by hand.
What if my mixture becomes too hard while I’m shaping the spiders?
As mentioned in our pro tip, simply place the mixture back in the microwave for 10-15 seconds. This will soften it up, making it pliable again for easy shaping.
Where can I find edible candy eyeballs?
Edible candy eyeballs are widely available in the baking aisle of most grocery stores, especially during the Halloween season. You can also find them easily online through retailers like Amazon.
More Bewitching Halloween Recipes to Try
If you’re looking for more fun and festive treats to complement your Rice Krispie Treat Spiders, explore some of our other popular Halloween recipes:
- Halloween Candy Trifle: A layered dessert packed with all your favorite Halloween candies.
- Witch Hat Cookies: Simple shortbread cookies topped with chocolate and candy, shaped like witch hats.
- Spiderweb Cupcakes: Delicious cupcakes with a spooky spiderweb design.
- Ghost Donuts: Adorable and easy ghost-shaped donuts.
- Mini Ghost Shaped Pizza: A fun and savory Halloween dinner idea!
- Witch Hat Cupcakes: Creative cupcakes decorated with pointed witch hats.
Cocoa Krispie Treat Spiders
Author: Jaclyn
Ingredients
- 6 cups Cocoa Krispies cereal
- 5-6 Tablespoons butter
- 12 ounce mini marshmallows
- 32 thin pretzels
- 32 candy eyes
- brown gel food coloring optional
Instructions
-
Prepare a flat surface with wax or parchment paper.
-
In a large pot, melt butter over medium heat. Add marshmallows and stir until melted. Stir in a few drops of brown food coloring if a dark brown spider color is desired.
-
Remove pot from heat and add Cocoa Krispies, gently stirring until they are well coated.
-
Coat your hands in non-sticking cooking spray or butter. Scoop out about ¼ cup of the mixture at a time and roll / press in your hands to form a ball. Set balls on prepared surface.
-
Press 2 eyes into the front of each ball.
-
For each ball, break the 2 large arched parts off of 2 pretzels to create the legs. Use a toothpick or skewer to make holes in the balls and gently press the pretzel pieces into them. If necessary, squeeze gently to secure the pretzels in place.
Notes
Store in an airtight container at room temperature for up to 2 days.
Nutrition

Did You Make This Recipe?
We’d love to see your spooky creations! Share them with us on Instagram @crayonsandcravings and follow on Pinterest @crayonsandcravings for even more delicious and fun recipe inspiration!
Pin Recipe
Leave A Review
Spin Your Own Web of Sweetness This Halloween!
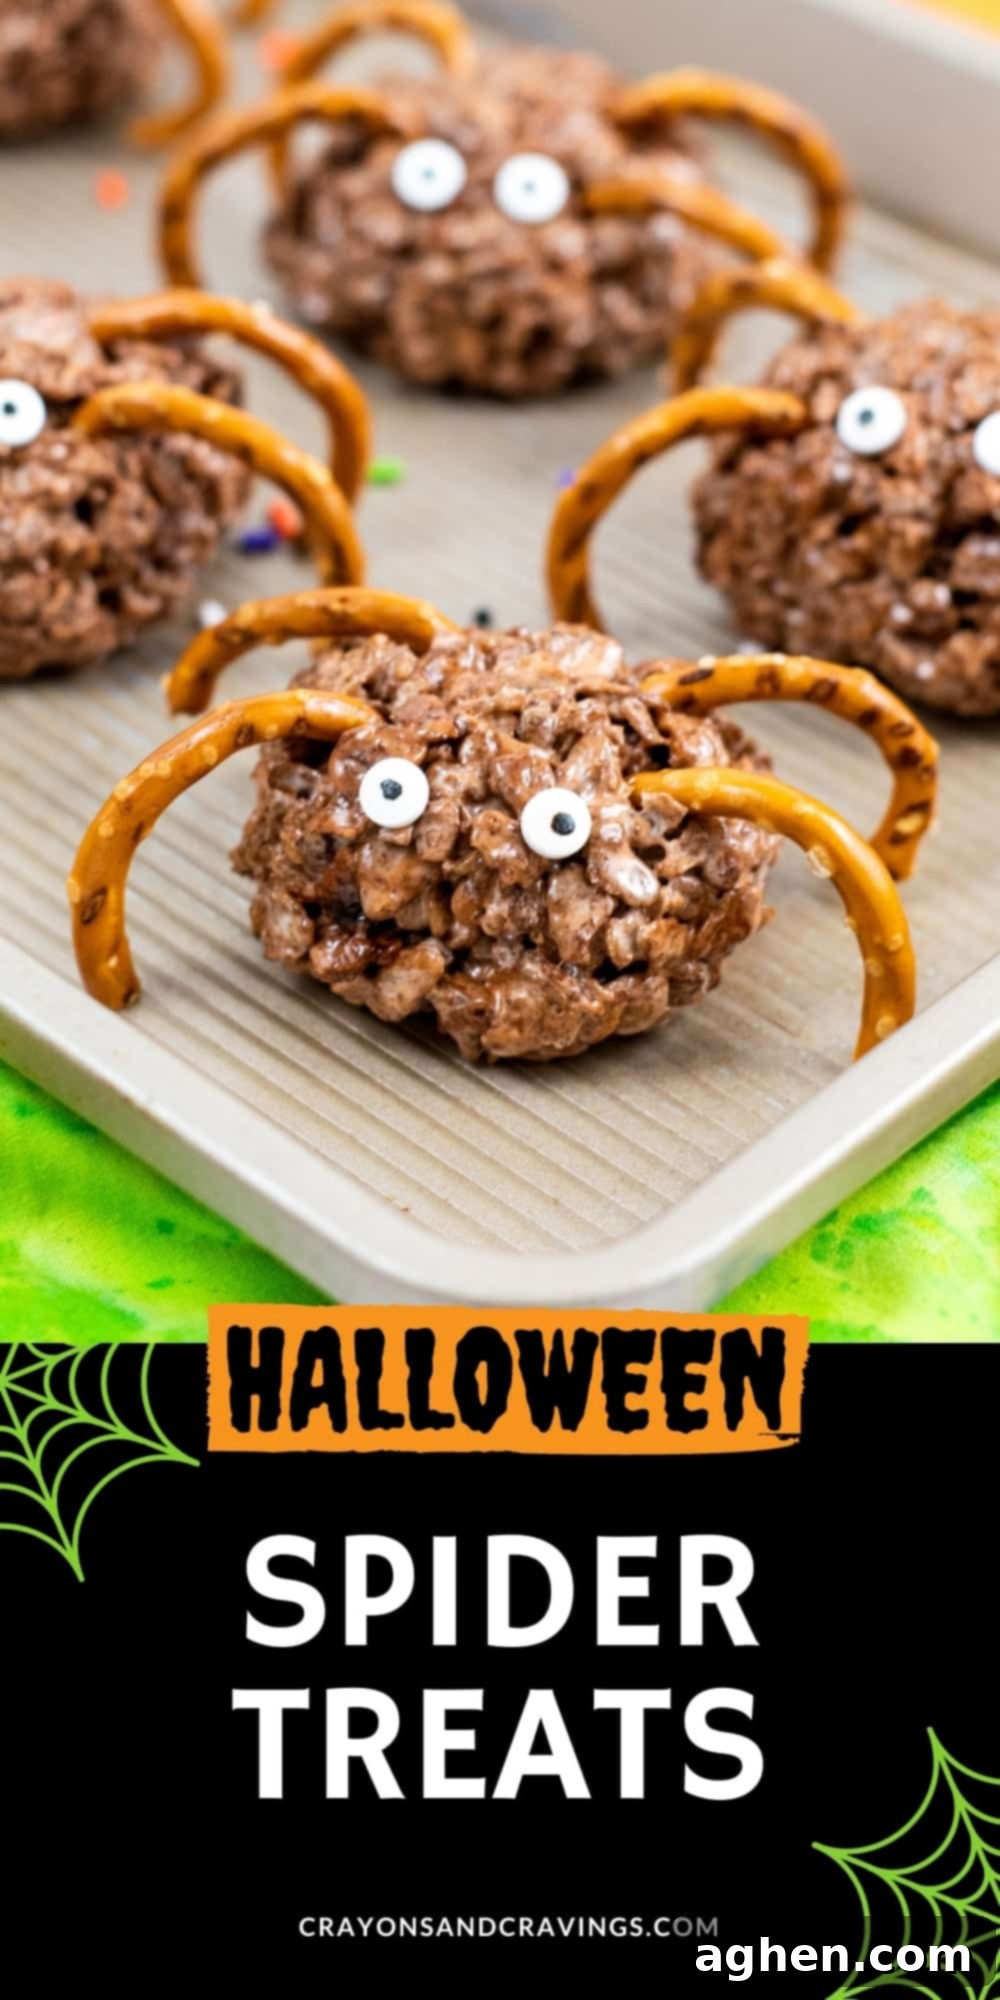
These Easy Rice Krispie Treat Spiders offer a delightful blend of fun, flavor, and fright that’s perfect for the Halloween season. They are simple to make, incredibly engaging for kids, and result in a treat that’s both chewy and crunchy with a perfect balance of sweet and salty. Whether you’re hosting a grand Halloween bash or simply looking for a fun activity with the family, these Cocoa Krispie Treat Spiders are sure to be a beloved addition to your spooky menu. Don’t wait – gather your ingredients and start creating your own army of adorable, edible spiders today!
