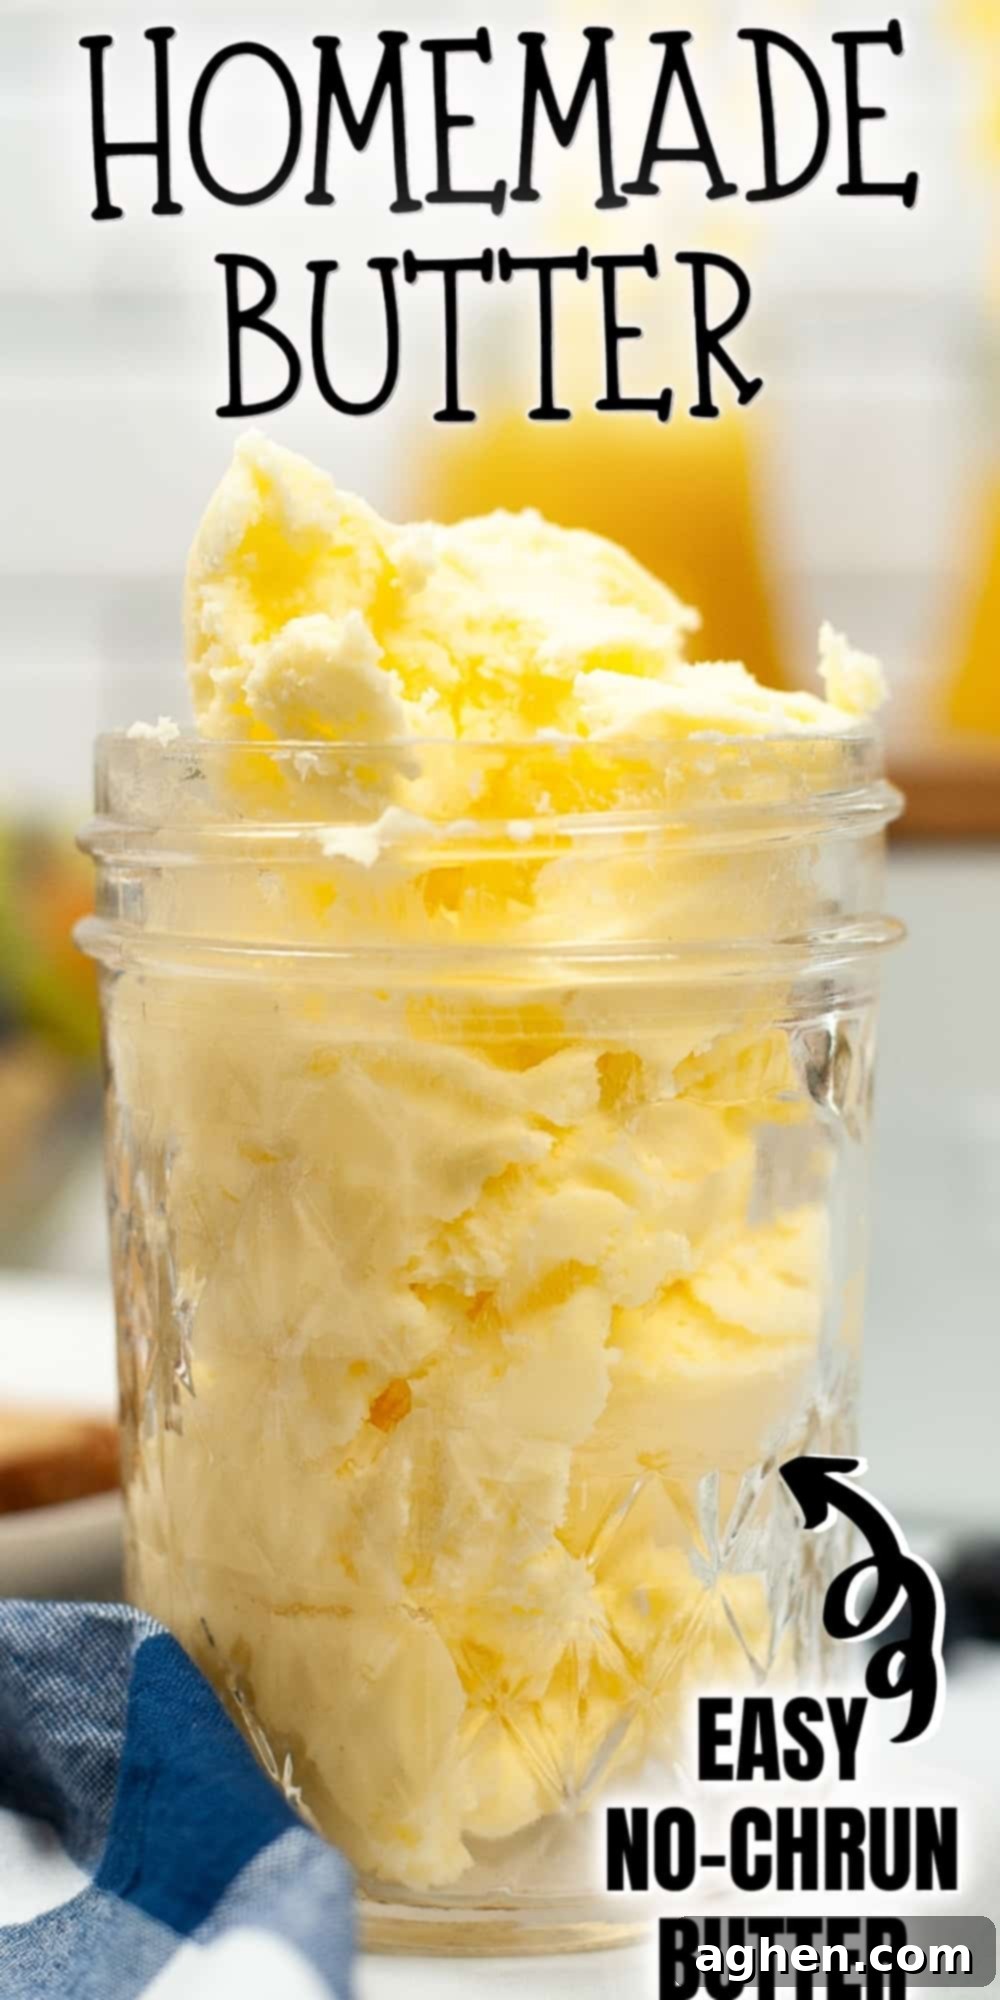
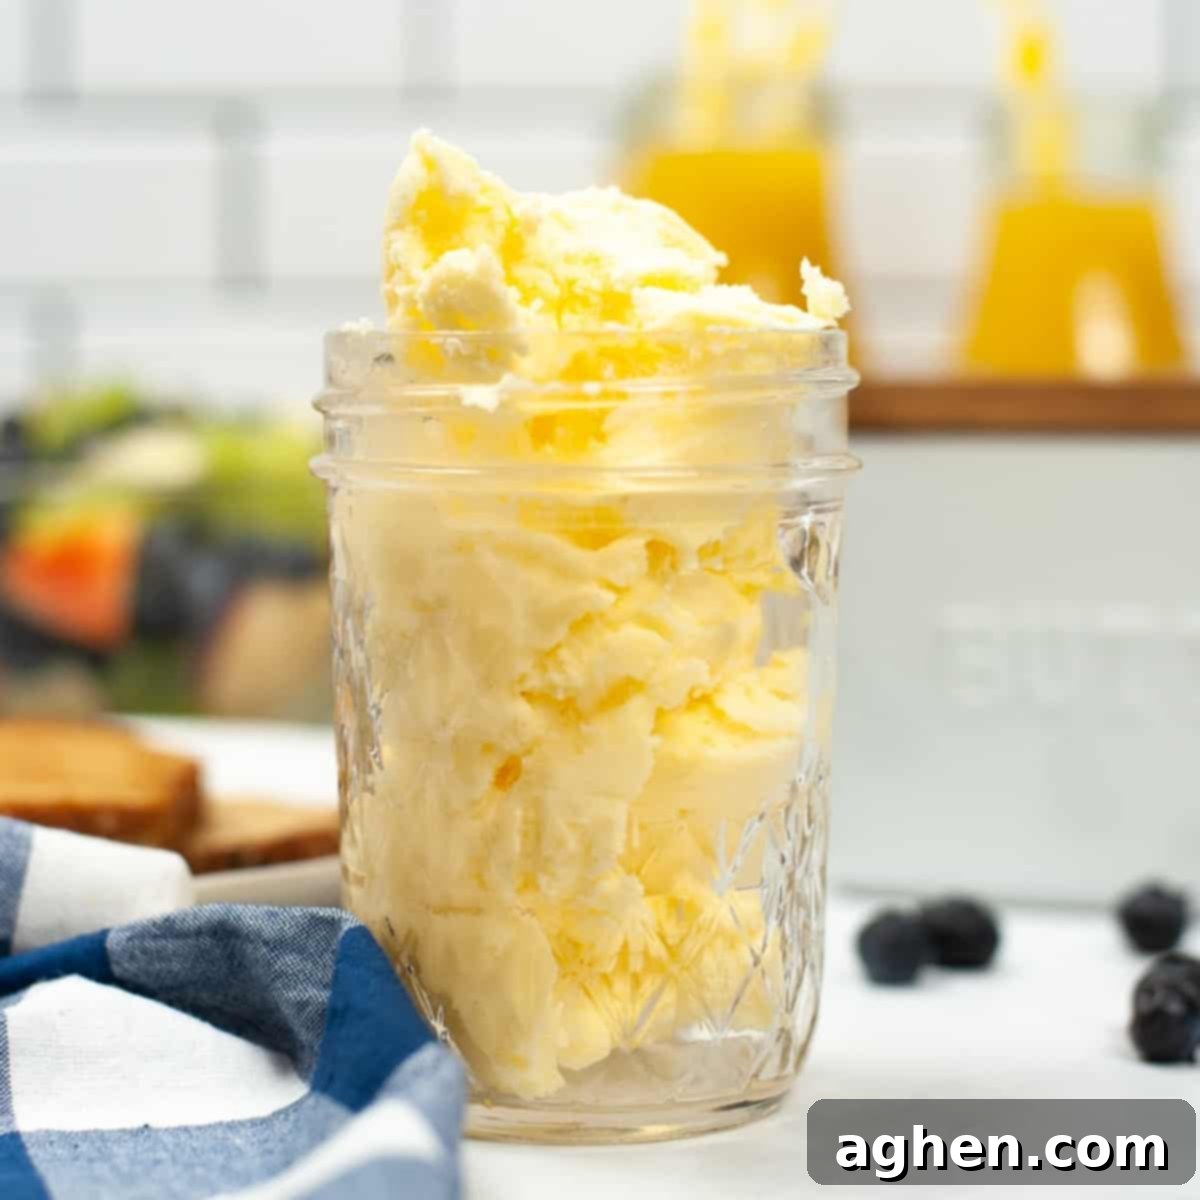
Easy Homemade Butter: How to Make Fresh Butter from Cream Using a Stand Mixer, Hand Mixer, or Mason Jar
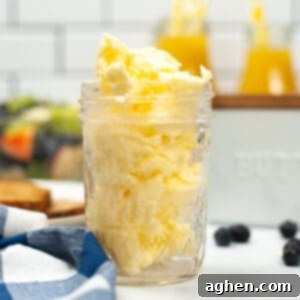
Imagine spreading rich, creamy, and undeniably fresh butter on your morning toast, knowing exactly what went into it – just pure, delicious cream! Many people believe that making butter at home is a complex, old-fashioned chore reserved for the farm, involving heavy butter churns and extensive manual labor. However, that couldn’t be further from the truth. With modern kitchen appliances, or even just a simple jar, crafting your own homemade butter from heavy cream is a surprisingly straightforward and incredibly rewarding process.
This guide will show you just how simple it is to transform heavy cream into golden butter, right in your own kitchen. Whether you prefer the hands-off approach of a stand mixer, the versatility of a hand mixer, or the fun, energetic method of shaking a mason jar, you’ll be amazed at how quickly you can create superior butter that far surpasses anything you can buy at the store. Once you experience the unparalleled taste and freshness of homemade butter, you might find yourself saying goodbye to store-bought varieties forever!
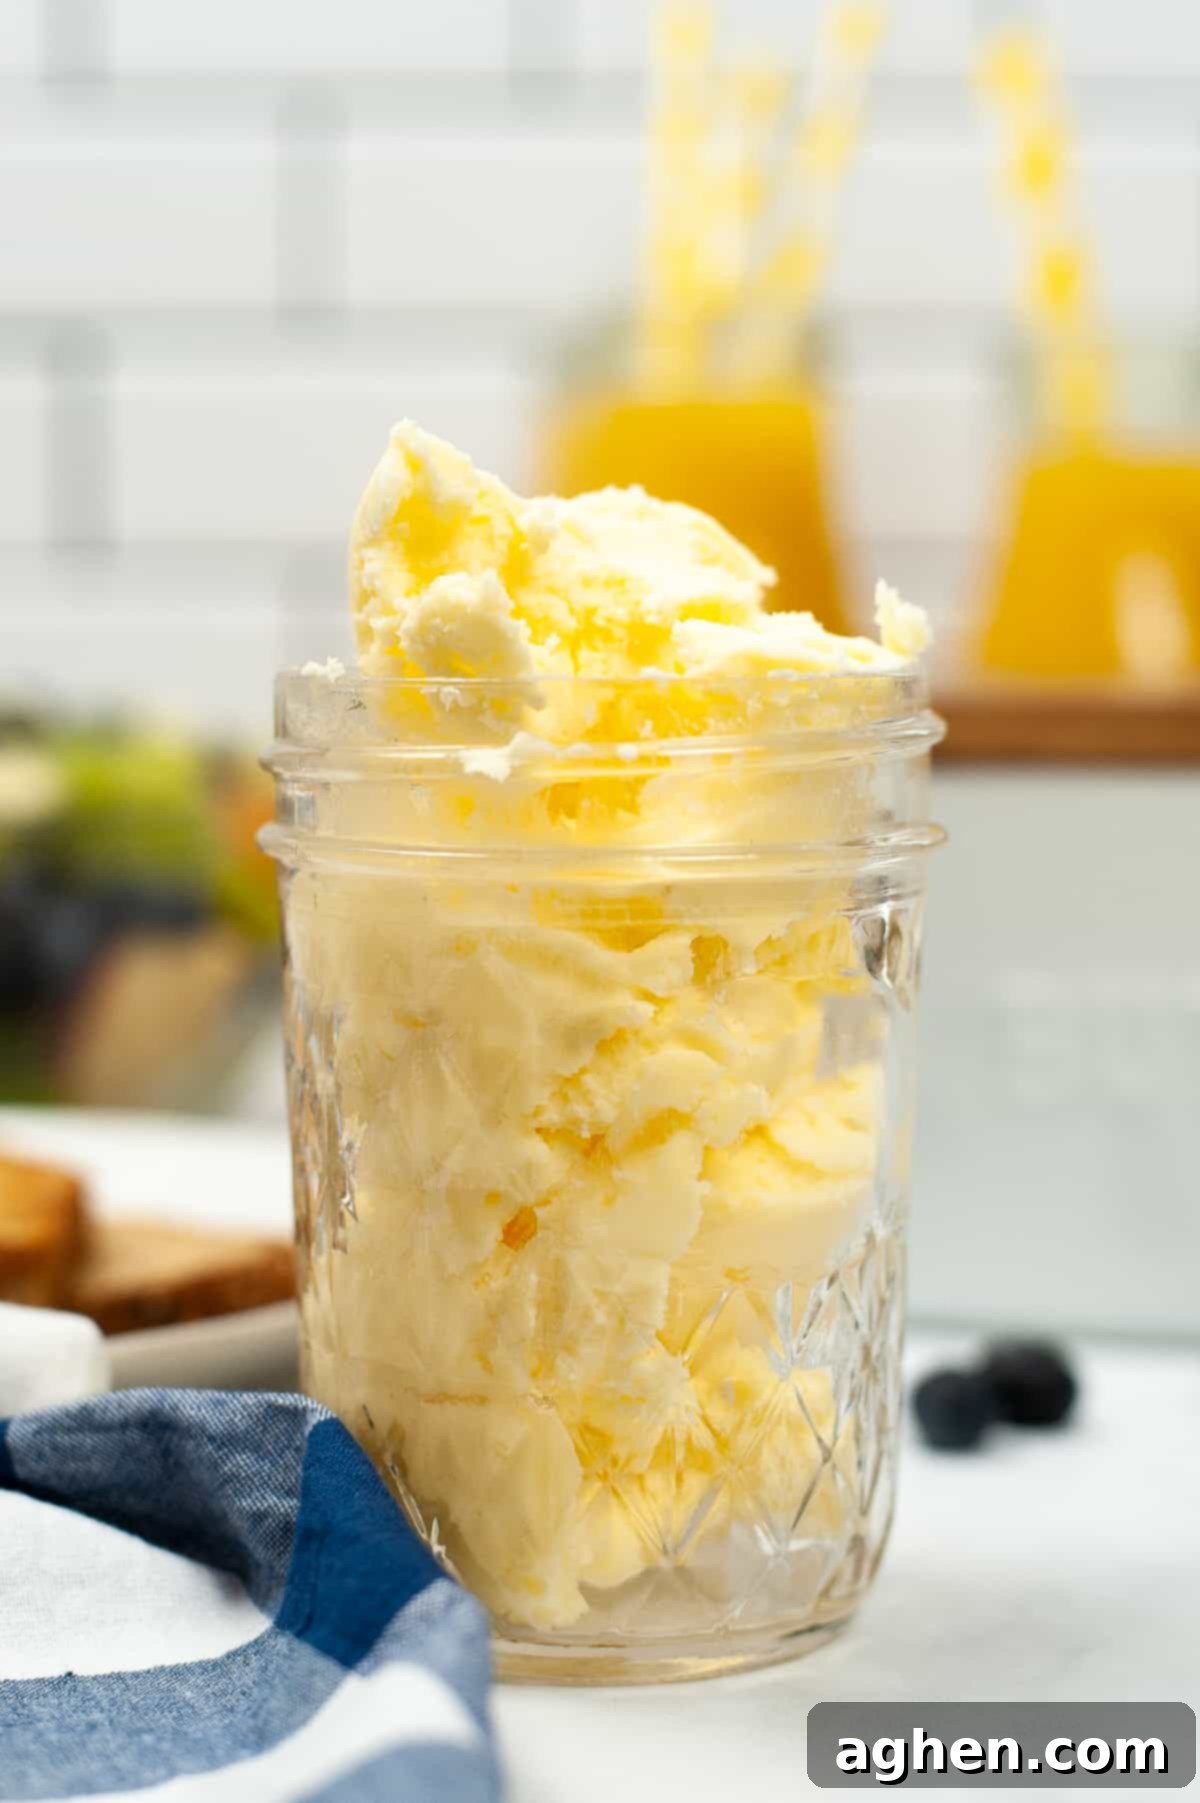
Why Make Your Own Homemade Butter? The Benefits!
Beyond the simple satisfaction of DIY, there are several compelling reasons to make your own butter:
- Unbeatable Freshness: Store-bought butter can sit on shelves for weeks. Homemade butter, on the other hand, is at its peak of freshness, offering a richer, creamier flavor that’s simply unmatched.
- Control Over Ingredients: You decide what goes in. No artificial colors, preservatives, or other additives. Just pure heavy cream and optional salt. This is especially appealing for those with dietary concerns or who prefer natural foods.
- Cost-Effective: Often, buying heavy cream and making butter yourself can be more economical than purchasing high-quality artisanal butter from a grocery store. Plus, you get a bonus — delicious buttermilk!
- Simple & Fun: The process itself is quite simple and can be a fun activity for families, especially the mason jar method which doubles as an engaging science lesson for children.
- Versatility: You can customize your butter with different salts, herbs, or spices immediately after making it, creating gourmet compound butters with minimal effort.
Embracing the art of butter making connects you with traditional culinary practices and provides a deeply satisfying experience, transforming a humble ingredient into a kitchen staple.
How to Make Homemade Butter: Choosing Your Method
Making butter at home is surprisingly straightforward, and you have a few convenient methods at your disposal, each with its own advantages. The core principle remains the same: agitating heavy cream until its milk fat separates from the buttermilk. Here are the two primary approaches:
- Mixer Method (Stand Mixer or Hand Mixer): This is the quickest and least labor-intensive option. Both stand mixers and hand mixers effectively churn the cream, allowing you to watch the fascinating transformation unfold with minimal effort on your part. It’s perfect for those who want efficiency and consistent results.
- Mason Jar Method: For a more hands-on, traditional, and even educational experience, the mason jar method is fantastic. While it does require a good 10-20 minutes of vigorous shaking, it’s a great way to engage kids in the kitchen and truly appreciate the process. Just be prepared for a bit of an arm workout!
Regardless of the method you choose, the basic ingredients and the subsequent steps of washing and salting the butter remain consistent, ensuring you get a perfectly fresh and delicious final product every time.
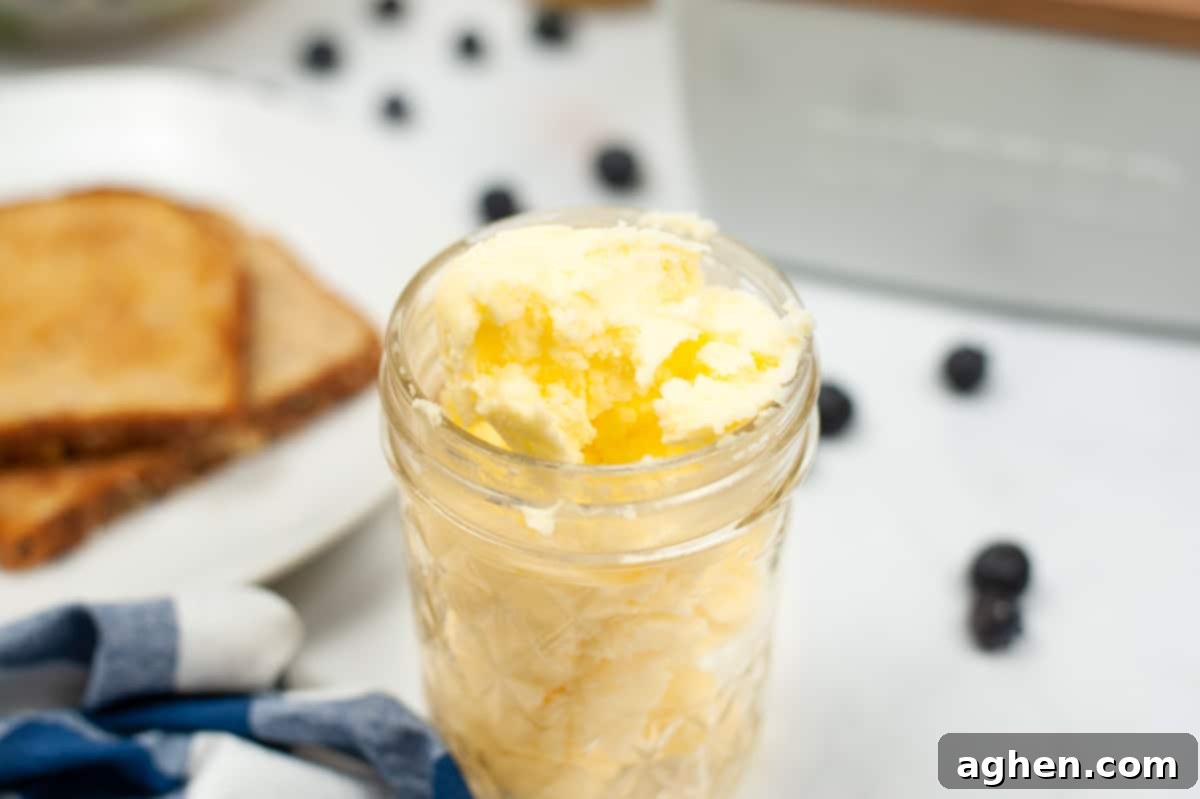
Ingredients for Homemade Butter
The beauty of homemade butter lies in its simplicity. You only need one or two core ingredients, ensuring a pure and natural product.
- 2 cups Heavy Cream: This is the star of our recipe! Ensure you use heavy cream (also known as heavy whipping cream) with a fat content of at least 36%. Lower fat creams will not churn into butter. For best results, your cream should be very cold, straight from the refrigerator. Organic or grass-fed cream can offer richer flavor and a more vibrant yellow color in your finished butter.
- ¼ – 1 tsp Salt (optional, for salted butter): If you prefer salted butter, fine-grain salt like table salt, sea salt, or kosher salt works best for easy incorporation. Start with ¼ teaspoon and add more to taste. For unsalted butter, simply omit the salt.
- 2-3 cups Ice-Cold Water (for rinsing): While not technically an ingredient in the butter itself, ice-cold water is crucial for washing the butter and extending its shelf life.
That’s it! With just these basic items, you’re well on your way to enjoying delicious homemade butter.
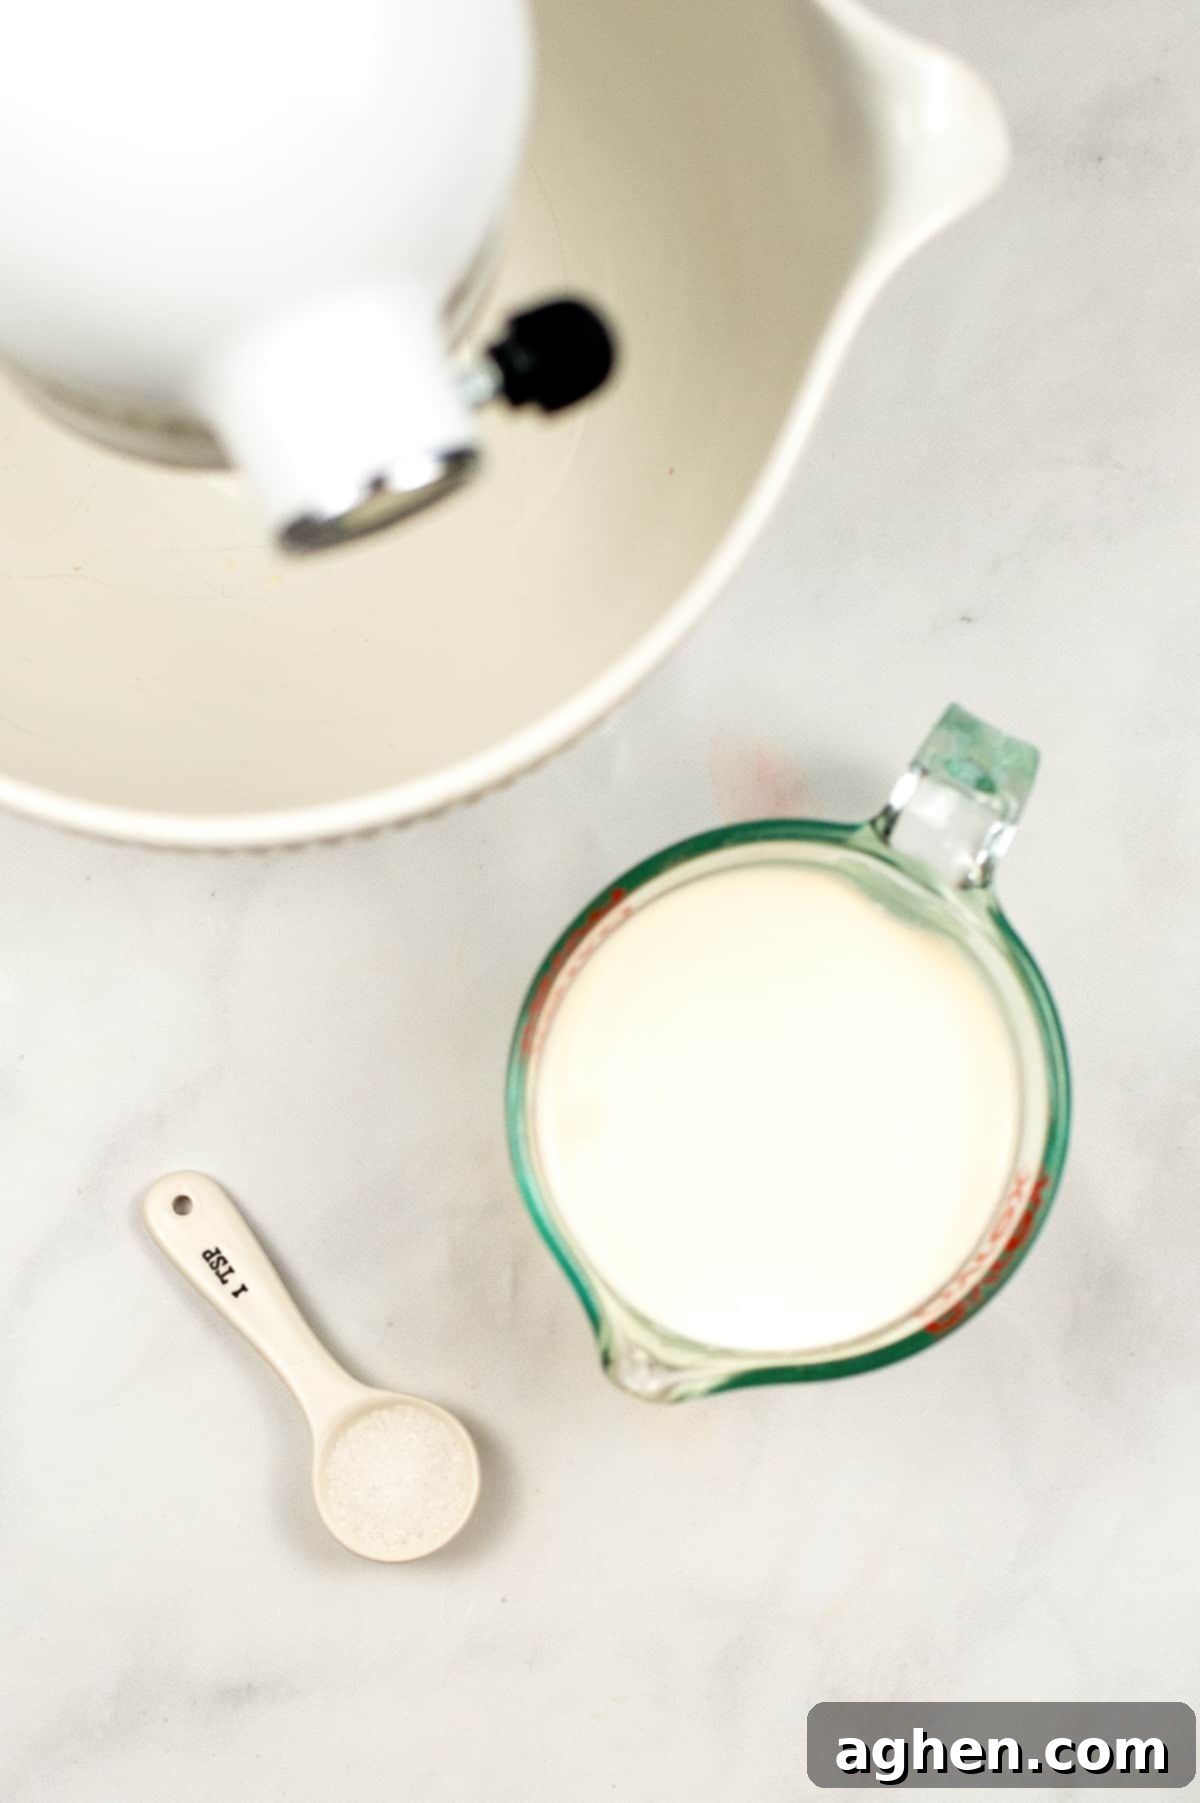
Step-by-Step Instructions for Making Butter
While the mixer method is generally recommended for its ease and efficiency, the mason jar method offers a unique, interactive experience that’s particularly fun for children. Below, you’ll find detailed instructions for both methods.
To Make Butter Using a Mixer (Stand Mixer or Hand Mixer)
- Prepare and Churn the Cream: Pour your cold heavy cream into the bowl of a stand mixer fitted with the whisk attachment, or into a large mixing bowl if using a hand mixer. Begin mixing on a low speed to avoid splatters as the cream begins to warm slightly. Gradually increase the speed to medium-high as the cream thickens.
- Prevent Splatter: As the cream progresses through the whipped cream stage and starts to separate, things can get a bit messy. Before reaching medium-high speed, it’s highly recommended to place a kitchen towel (or a dedicated splash guard if you have one) over your mixer. This will contain any buttermilk splashes as the milk fat separates.
- Watch the Transformation: Continue mixing at medium-high speed. The cream will go through several distinct stages:
- Whipped Cream: First, it will turn into soft whipped cream, then stiff whipped cream.
- Grainy Texture: Keep mixing, and the whipped cream will start to look grainy and slightly curdled. This means the fat globules are clumping together.
- Separation: Suddenly, the butterfat will visibly separate from the liquid buttermilk. You’ll see solid clumps of butter forming on the whisk and along the sides of the bowl, floating in a cloudy liquid (the buttermilk). This usually takes about 5-10 minutes in total, depending on your mixer and cream.
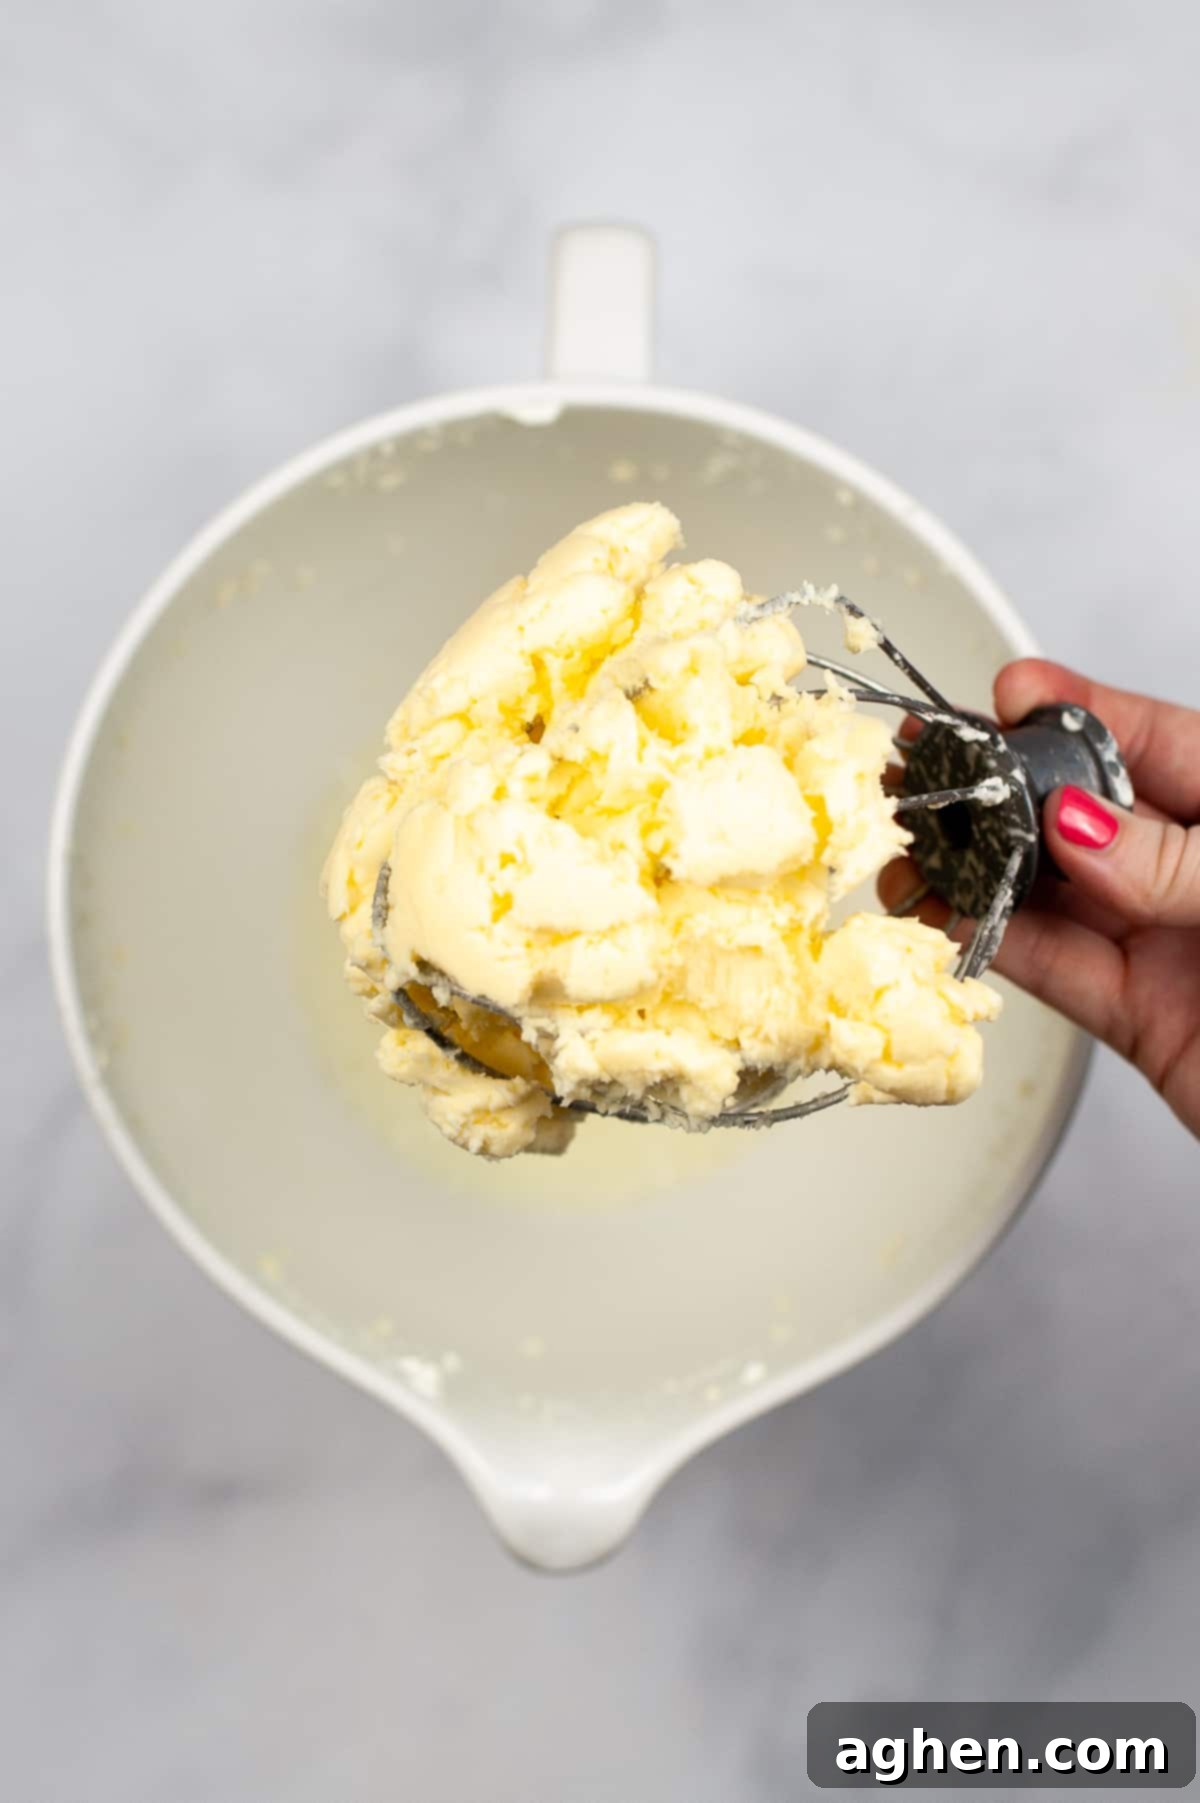
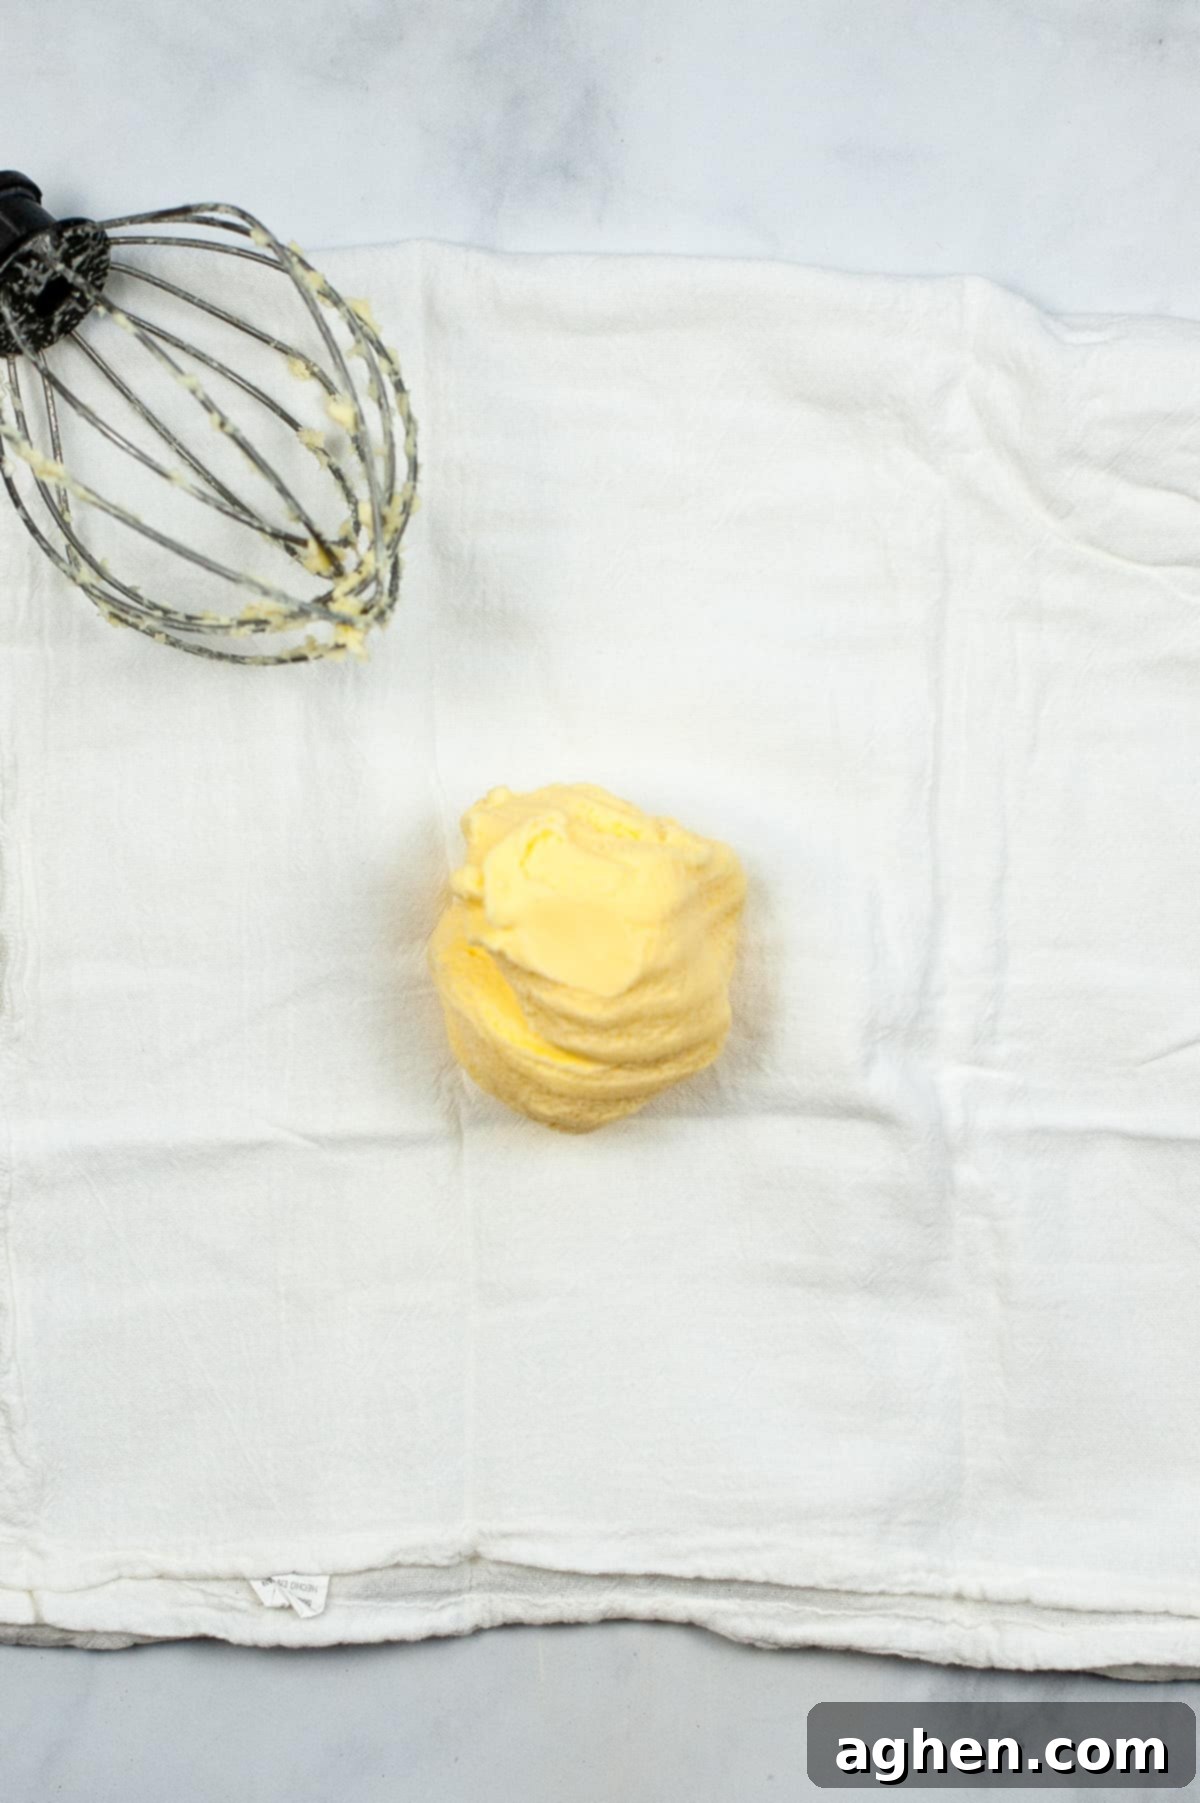
- Strain the Buttermilk: Once the butter has fully separated, stop the mixer. Use a fine-mesh sieve lined with cheesecloth (or a clean kitchen towel) placed over a separate bowl to strain the buttermilk from the butter. Gently press the butter against the sieve to extract as much liquid as possible. Reserve this fresh buttermilk! It’s excellent for baking and other recipes (like homemade buttermilk biscuits or pancakes).
- Wash the Butter: This is a crucial step for extending the shelf life of your homemade butter. Transfer the butter to a clean bowl. Add about ½ to 1 cup of ice-cold water. Using a spatula or your (clean) hands, press, knead, and squeeze the butter repeatedly to release any remaining buttermilk trapped within. The water will become cloudy. Drain the cloudy water. Refill the bowl with fresh ice-cold water and repeat this process. Continue to wash the butter, changing the water 3-5 times, or until the water remains completely clear after squeezing the butter. This ensures all milk solids are removed, which are what cause butter to spoil quickly.
- Remove Excess Moisture: After washing, gather the butter and press it firmly in a clean cheesecloth or a lint-free kitchen towel to remove any last traces of moisture. The drier the butter, the better it will keep.
- Add Salt (Optional): If you desire salted butter, transfer the thoroughly washed butter back to a clean bowl. Add ¼ teaspoon of fine salt and knead it into the butter until evenly distributed. Taste a small piece, and add more salt if desired, up to 1 teaspoon total. For unsalted butter, skip this step.
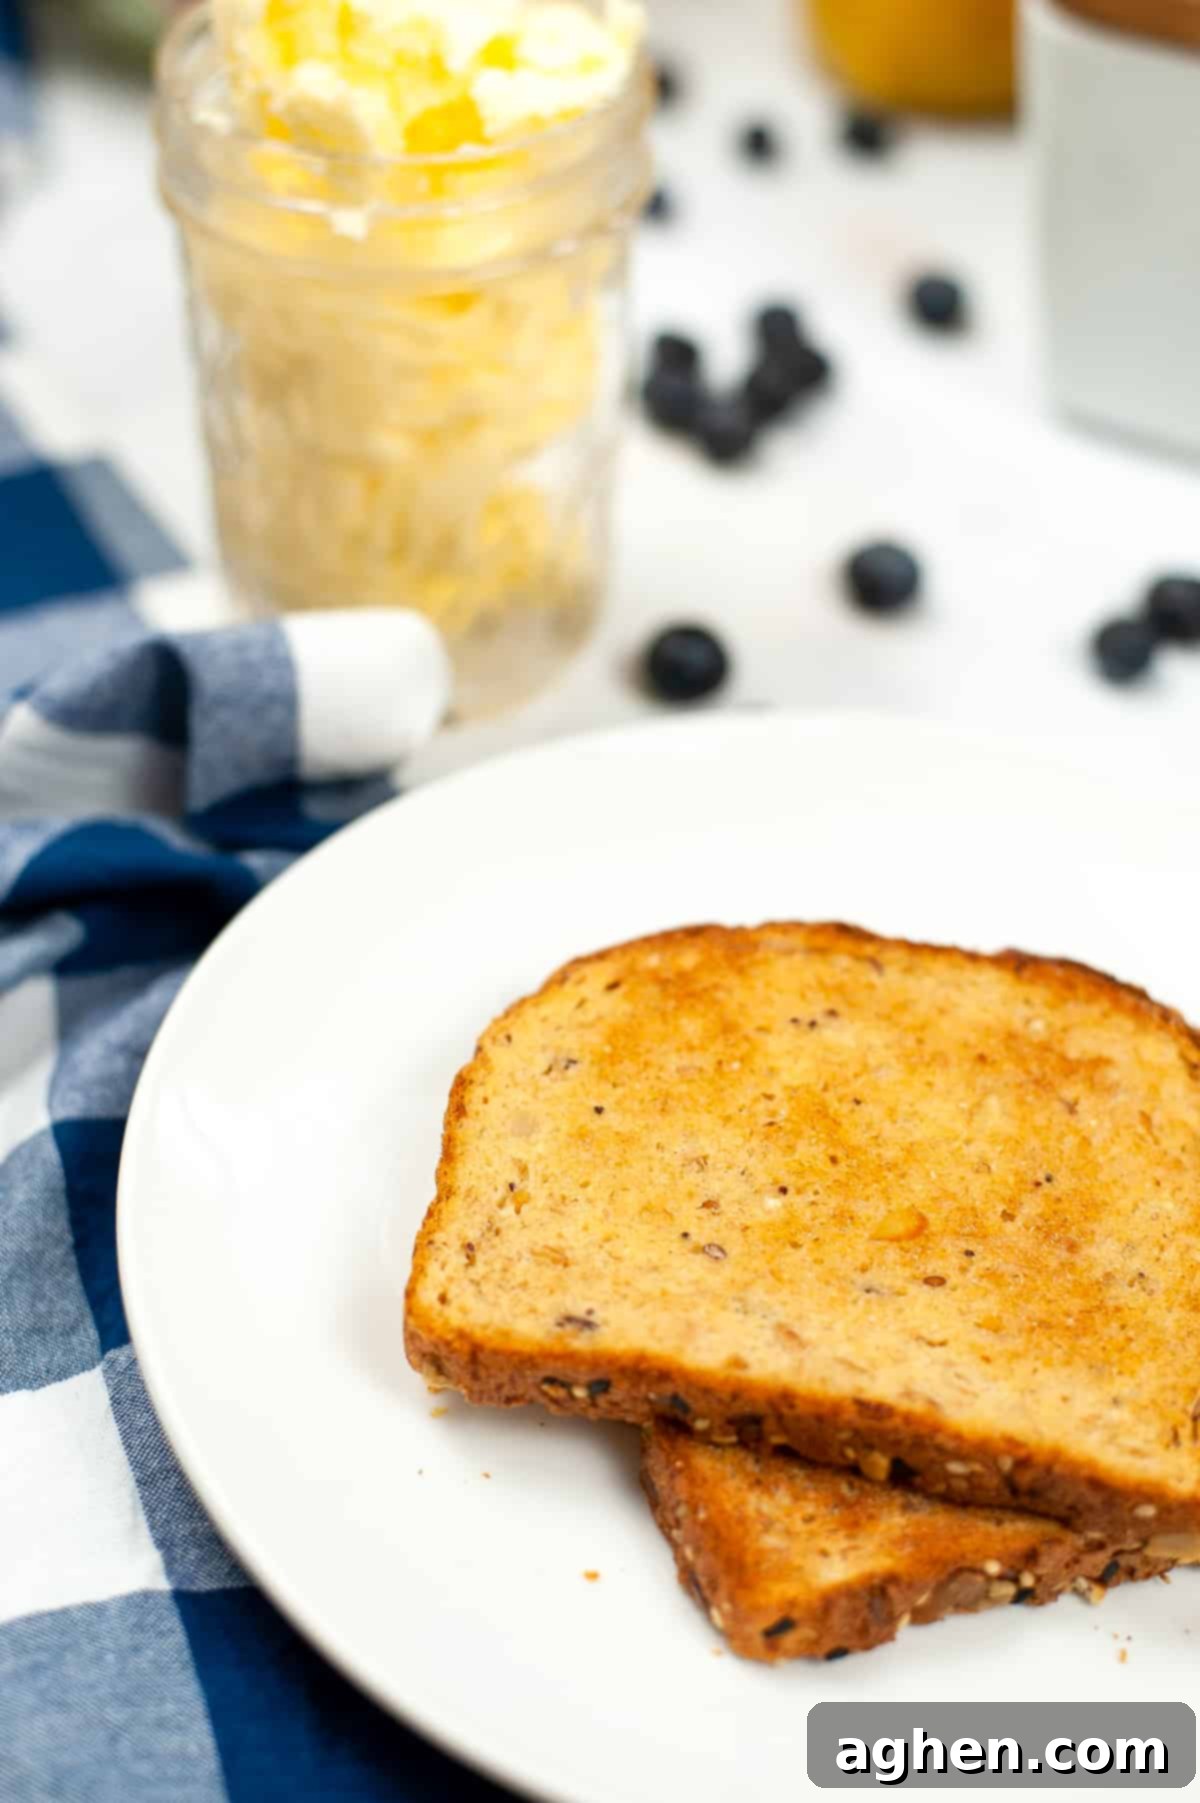
- Shape and Enjoy: Your fresh homemade butter is now ready to be enjoyed! Spread it generously on warm bread, soft and fluffy 7-up biscuits, fresh strawberry scones, or simply on your morning toast. It’s incredibly delicious and a true culinary treat.
How to Make Butter in a Mason Jar (The Fun & Active Method)
This method is fantastic for a fun, hands-on activity, especially with kids, or if you simply don’t have a mixer. It truly gives you an appreciation for the butter-making process.
- Fill and Shake: Begin by filling a clean, sturdy mason jar (pint or quart size works well) halfway with very cold heavy cream. It’s crucial not to overfill, as the cream needs room to move and agitate. Secure the lid tightly.
- The Churning Begins: Now for the workout! Shake the jar vigorously and continuously. You’ll notice the cream going through several stages, similar to the mixer method:
- First, it will become thick and fluffy, like whipped cream.
- Then, it will start to get even thicker, clinging to the sides of the jar.
- Finally, after about 10-20 minutes of diligent shaking, you’ll hear a distinct sloshing sound as the solid butter separates from the liquid buttermilk. You’ll see a solid mass of butter forming, floating in the buttermilk.
- Strain, Wash, and Salt: Once the butter has clearly separated, carefully open the jar. Follow steps 4 through 7 from the “Using a Mixer” instructions above to properly strain the buttermilk, wash the butter thoroughly with ice-cold water, and salt it if desired. The washing step is just as critical here to ensure good flavor and shelf life.
- Enjoy Your Handiwork: You’ve earned it! Enjoy your deliciously fresh, hand-churned butter.
While the mason jar method is more physically demanding, some innovative tools like this handy device claim to significantly reduce the shaking time, making it even quicker for a jar churn.
Storage for Homemade Butter & Buttermilk
Proper storage is key to enjoying your homemade butter for as long as possible:
- Refrigeration: Store your fresh butter in an airtight container or wrapped tightly in parchment paper or wax paper. It will keep well in the refrigerator for at least one week, and potentially up to two weeks, depending on how thoroughly it was washed. You can even shape it into traditional sticks using a silicone butter mold for convenience and presentation.
- Freezing: For longer-term storage, homemade butter freezes beautifully. Wrap it tightly in wax paper or plastic wrap, then place it in a freezer-safe bag or container. It can be frozen for up to 6 months. To use, thaw it in the refrigerator overnight.
Don’t forget about the valuable byproduct – homemade buttermilk! Store it in an airtight container in the refrigerator for up to a week. It’s perfect for adding moisture and tang to a variety of recipes:
- Fluffy buttermilk pancakes
- Tender coffee cake muffins
- Rich maple walnut coffee cake
- Creamy salad dressings
- Marinating chicken for extra tenderness
Recipe FAQ: Your Homemade Butter Questions Answered
Homemade butter will last at least a week, and often up to two weeks, when stored in an airtight container in the refrigerator. The exact shelf life largely depends on the initial freshness of your cream and how thoroughly you washed the butter to remove all buttermilk solids.
Absolutely! Homemade butter can be frozen for up to 6 months. To freeze, wrap it securely in wax paper or plastic wrap, then place it in a freezer bag or airtight container. Thaw it in the refrigerator overnight before use.
This homemade butter recipe, using 2 cups of heavy cream, will typically yield between ½ cup (approximately 1 stick) and 1 cup (2 sticks) of butter. You will also get about 1 cup of fresh buttermilk as a delicious byproduct.
Always use heavy cream or heavy whipping cream, which has a fat content of at least 36%. Lower fat creams like half-and-half or light cream will not churn into butter. For the best flavor and color, choose high-quality, fresh cream, preferably organic or grass-fed.
Recipe
Recipe
Homemade Butter
Author: Jaclyn
15
15
How to make homemade butter from cream easily using a stand mixer, hand mixer, or mason jar.
16
Pin Recipe
Ingredients
- 2 cups heavy cream
- ¼ teaspoon salt or to taste, optional
- 2-3 cups ice-cold water for rinsing
Instructions
Using a Mixer
-
Pour cream in the bowl of a stand mixer with the whisk attachment or into a mixing bowl if using a hand mixer. Turn mixer on low speed. Gradually increase the speed to medium-high as the cream thickens. I highly recommend placing a kitchen towel (or a splash guard if you have one) over the mixer to prevent splatter. Continue to mix until the butter has separated from the buttermilk.
-
Using a fine mesh strainer or cheesecloth, strain the buttermilk into a bowl and reserve for later, if desired. Transfer butter into a bowl and add about ½ a cup of ice-cold water. Using a spatula or your (clean) hands, press/squeeze the butter to remove buttermilk. Drain the water. Refill and repeat until the water remains clear. This should take between 3-5 changes of water. Squeeze the butter in a cheesecloth or kitchen towel again to remove any remaining moisture.
-
If you want to make salted butter, add salt to taste and knead into the butter.
-
Store your homemade butter in the refrigerator in an airtight container or wrapped in parchment or wax paper. You can also save your buttermilk in an airtight container in the refrigerator to use in recipes.
Using a Mason Jar
-
Churn butter – Fill a mason jar halfway with heavy cream and close the lid tightly. Shake shake shake until the butter separates from the buttermilk and forms a solid mass. This can take 10-20 mins.
-
Follow the instructions above to strain, wash, salt, and store the butter.
Notes
Homemade butter keeps for at least a week when stored in the refrigerator. I would recommend freezing the butter for long-term storage.
This recipe will yield between ½ cup (1 stick) and 1 cup (2 sticks) of butter. You will also get about 1 cup of buttermilk.
Nutrition
Serving: 1g | Calories: 101kcal | Carbohydrates: 1g | Protein: 1g | Fat: 11g | Saturated Fat: 7g | Polyunsaturated Fat: 0.5g | Monounsaturated Fat: 3g | Cholesterol: 34mg | Sodium: 44mg | Potassium: 28mg | Sugar: 1g | Vitamin A: 437IU | Vitamin C: 0.2mg | Calcium: 20mg | Iron: 0.03mg

Did You Make This Recipe?
We’d love to see your creations! Share your homemade butter masterpieces on Instagram by tagging @crayonsandcravings. For more delicious recipes and kitchen inspiration, be sure to follow us on Pinterest @crayonsandcravings!
Pin Recipe |
Leave A Review
