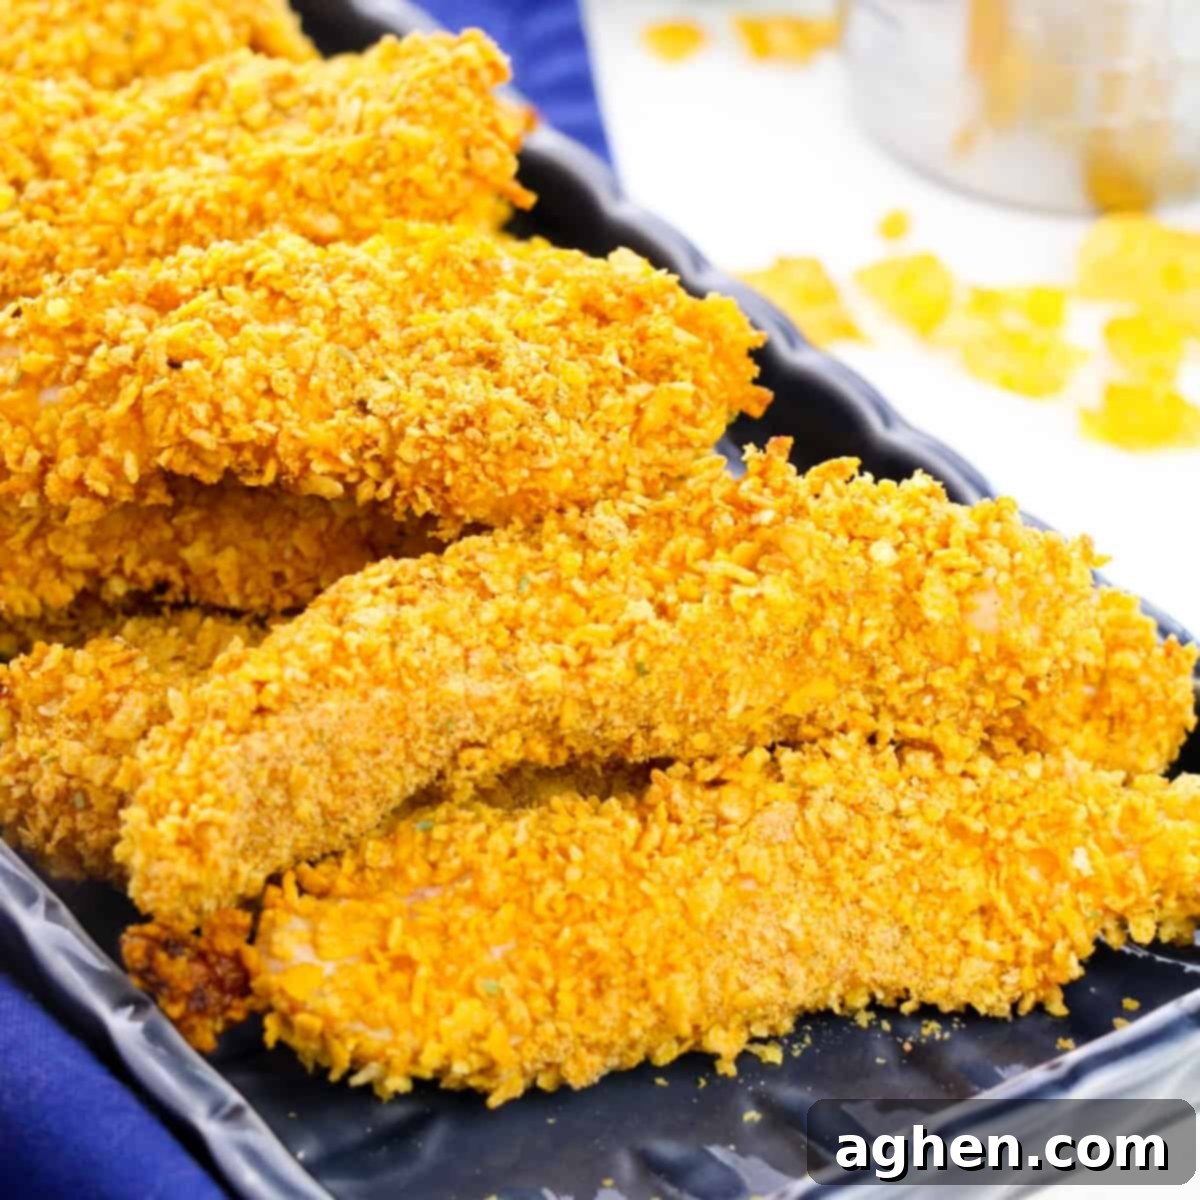
Crispy Baked Cornflake Chicken Tenders: Your Go-To Easy & Healthy Family Dinner
Get ready to delight your taste buds with these incredible **Crispy Baked Cornflake Chicken Tenders**! This recipe transforms humble chicken tenders into an unforgettable meal, featuring a perfectly crunchy coating made from seasoned cornflakes. Forget the deep fryer; these tenders are oven-baked to golden perfection, offering a healthier, lighter alternative to traditional fried chicken fingers without sacrificing any of that satisfying crispness.
Whether you’re planning a quick weeknight dinner, preparing an easy lunch, or looking for a crowd-pleasing appetizer, these dippable cornflake chicken tenders are an absolute must-make. They strike the perfect balance between simple preparation and irresistible flavor, making them a hit with both kids and adults alike. Prepare for empty plates and requests for seconds!
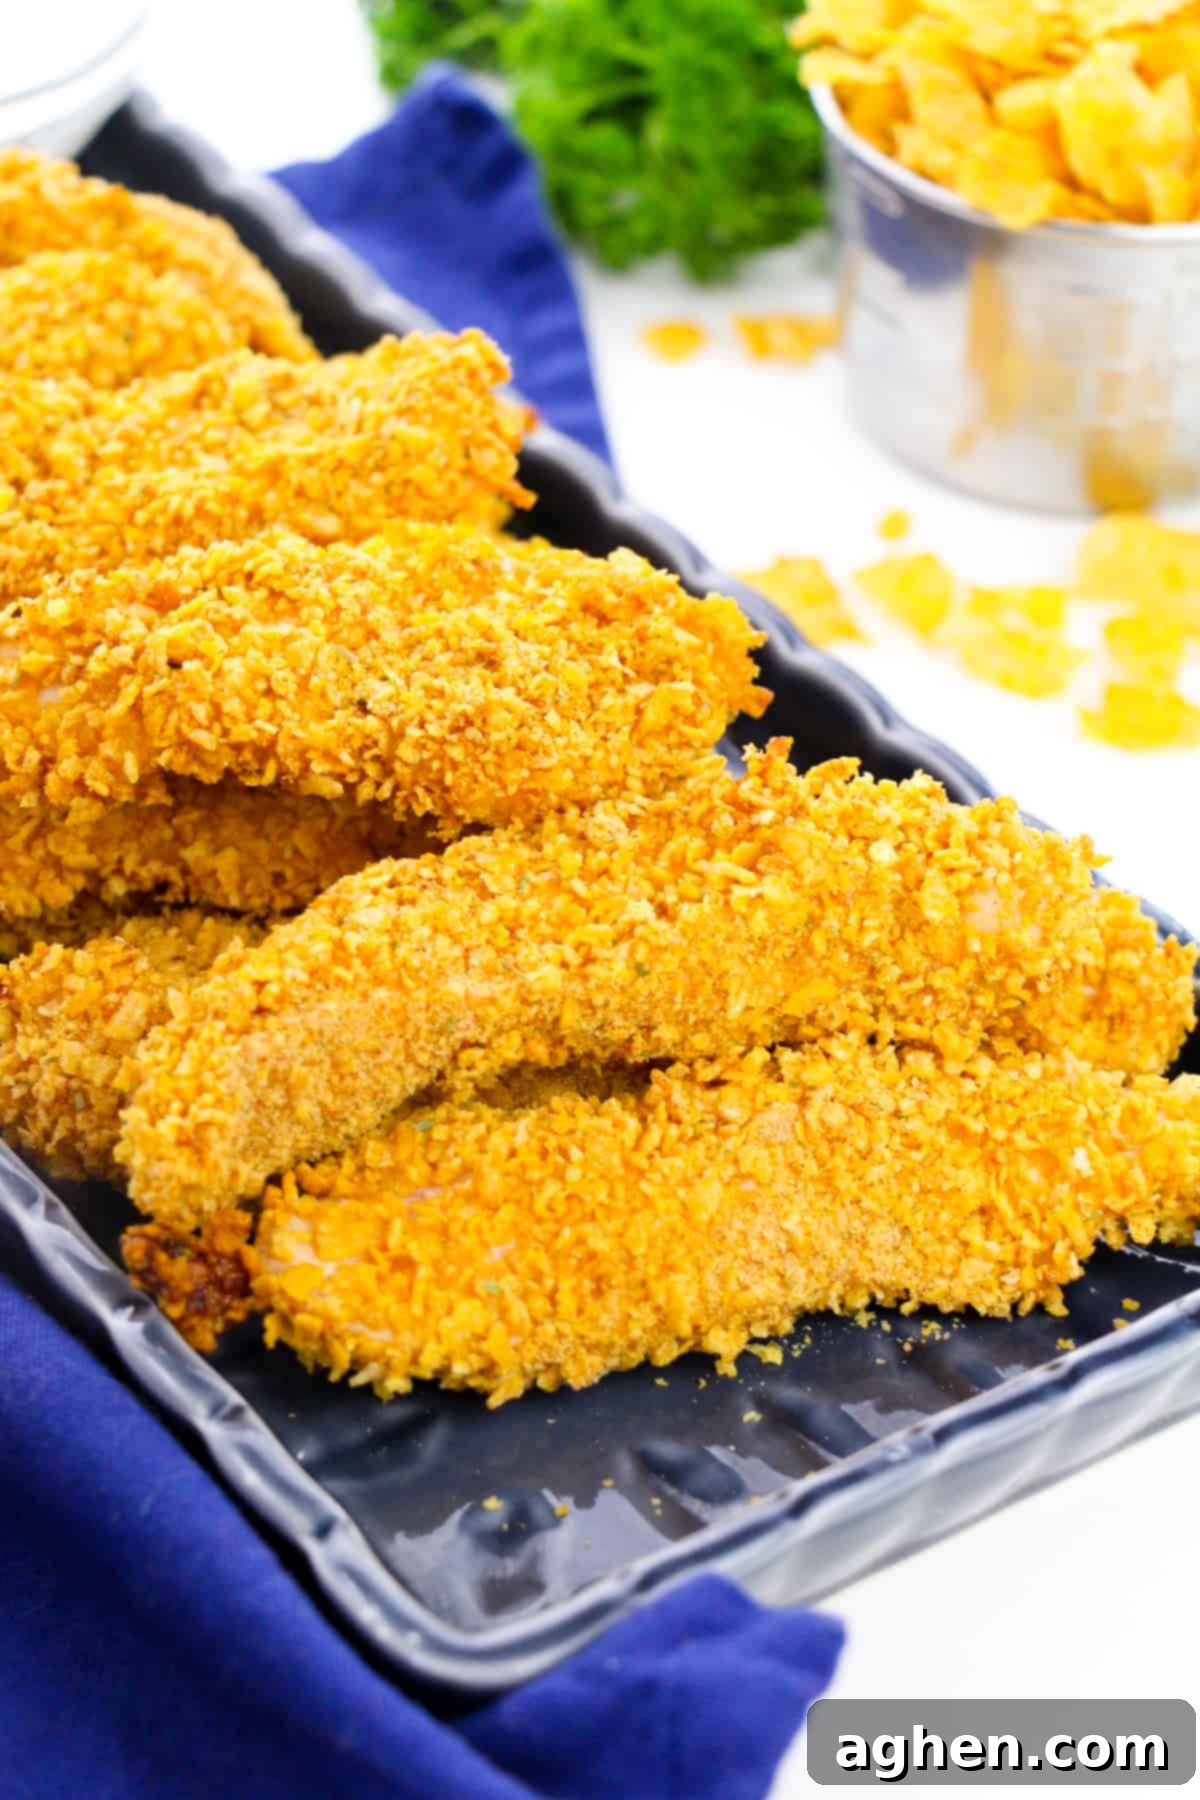
Why You’ll Love These Baked Cornflake Chicken Tenders
There are countless reasons why these **baked cornflake chicken tenders** will become a staple in your meal rotation. First and foremost, they offer a significant health benefit: by **baking** instead of frying, you drastically reduce the amount of oil, making them a much lighter option. But don’t let “healthier” fool you into thinking they’re less delicious! The cornflake crust delivers an unparalleled crunch and rich flavor that rivals any fried chicken.
Beyond being a healthier choice, this recipe is incredibly straightforward. It requires minimal effort and simple ingredients, making it ideal for busy evenings. Plus, they’re wonderfully versatile; serve them as a main course with your favorite sides or as a fun, dippable appetizer for gatherings. Kids adore these **crispy chicken fingers**, and parents appreciate the ease and nutritional value. It’s a win-win for the whole family!
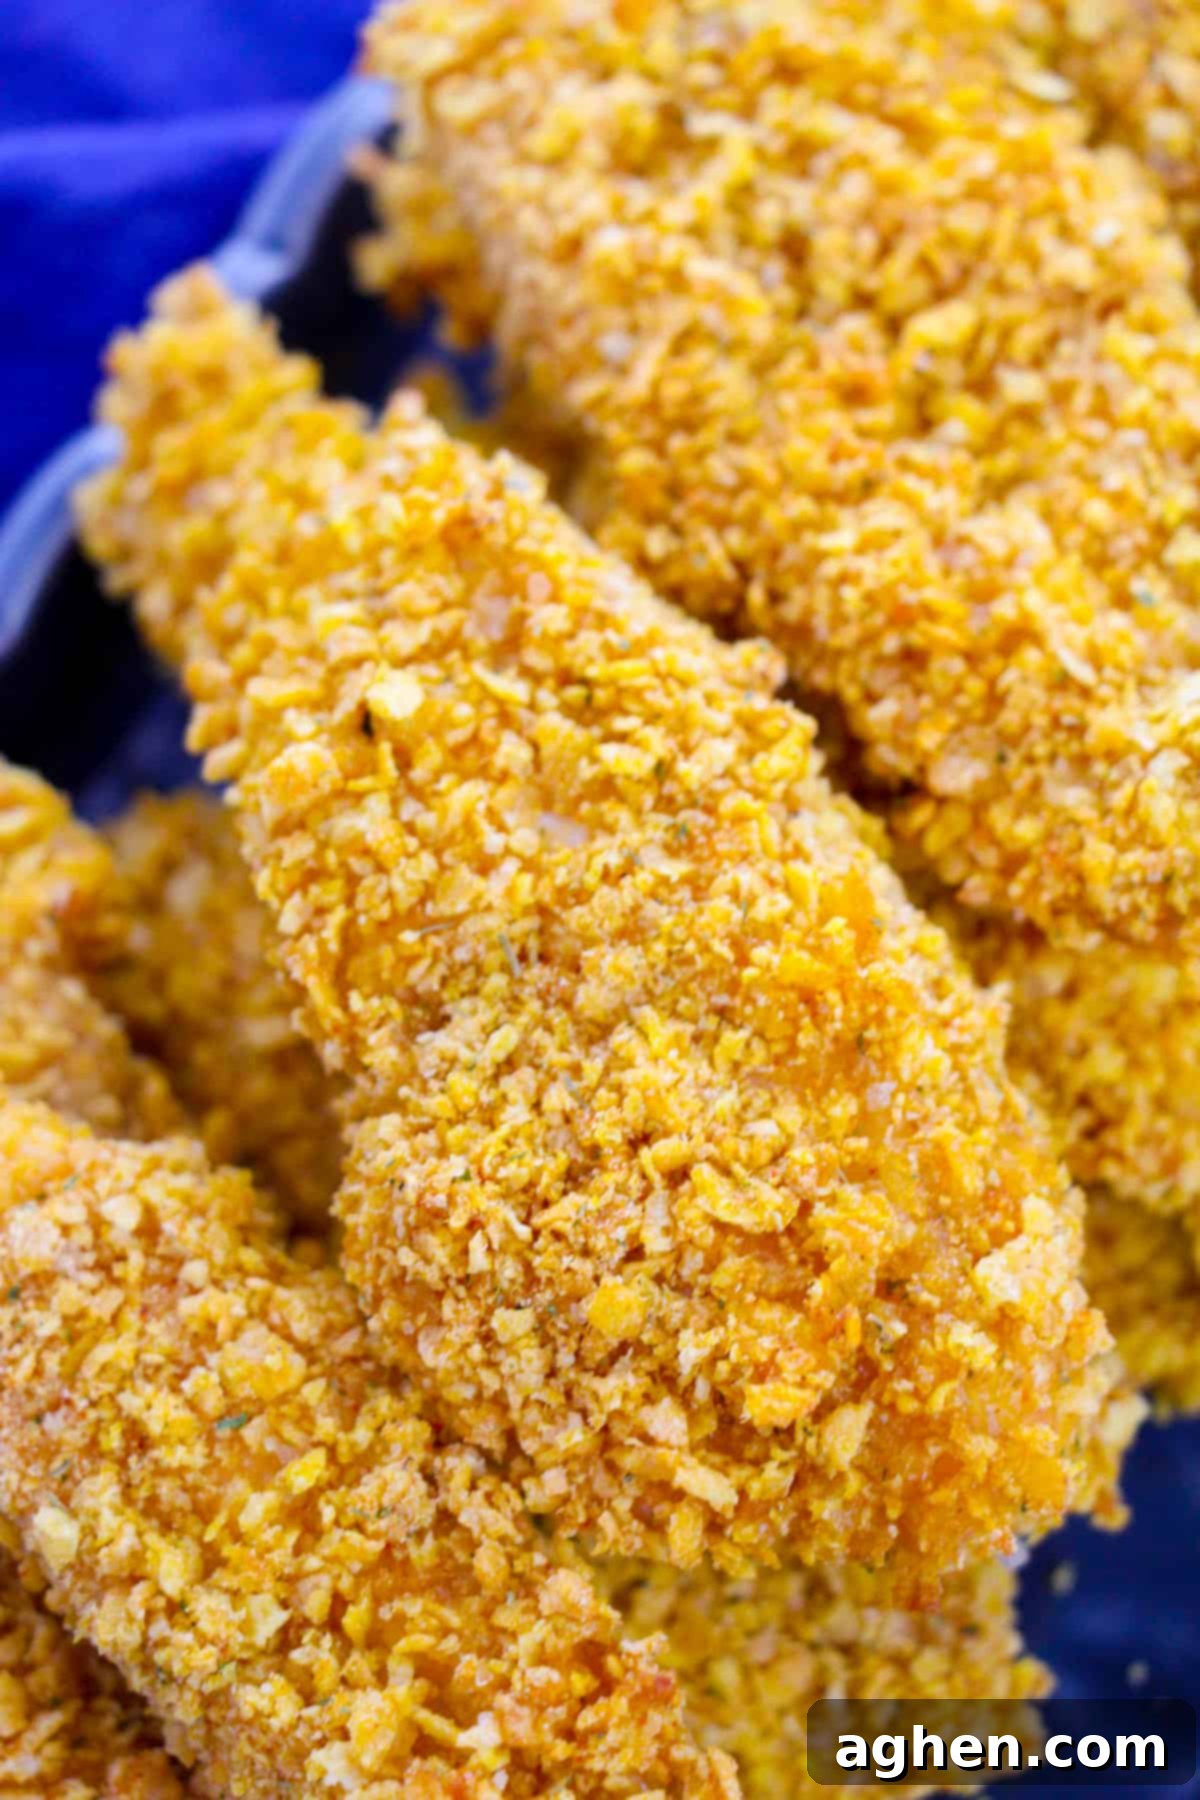
Essential Ingredients for Crispy Cornflake Chicken
Crafting these delicious **oven-baked chicken tenders** requires just a handful of common ingredients. The magic truly happens when these simple components come together to create a flavor-packed, crunchy coating. Here’s a closer look at what you’ll need and some tips for best results:
- Chicken Tenderloins – For convenience, pre-cut chicken tenderloins are perfect. However, you can easily use boneless, skinless chicken breasts by cutting them into uniform 1-inch thick strips. The key is to ensure all pieces are of similar size to guarantee even cooking and prevent some tenders from drying out while others are still cooking. Patting the chicken dry before dredging helps the coating adhere better.
- Cornflakes – This is the star of our crispy coating! Opt for plain, unsweetened cornflakes. Sugared varieties might burn or give an overly sweet flavor that isn’t ideal for a savory dish. The natural sweetness of the cornflakes, once crushed, provides the perfect crispy texture and subtle flavor foundation.
- Seasonings – Our secret weapon for incredible flavor! We use a blend of dry ranch seasoning mix, sweet paprika, and, of course, salt and pepper to taste. The ranch seasoning adds a tangy, herbaceous depth that pairs beautifully with chicken, while sweet paprika provides a mild, smoky flavor and a lovely reddish hue to the coating. Feel free to adjust the amounts or experiment with other spices like garlic powder, onion powder, or a pinch of cayenne for a little kick.
- Milk – Used in conjunction with eggs, milk helps create a liquid base for our dredge. Any type of milk (dairy or non-dairy) will work, adding a touch of richness and ensuring the cornflake coating sticks perfectly to the chicken.
- Eggs – Eggs are crucial for binding the cornflake mixture to the chicken. Whisk them well with the milk to create a smooth, consistent wet batter.
Step-by-Step: How to Make Cornflake Chicken Tenders
Making these **homemade chicken tenders** is surprisingly simple and comes together quickly. Follow these easy steps for perfectly crispy and juicy results every time:
Step 1: Prepare Your Baking Setup and Cornflake Coating
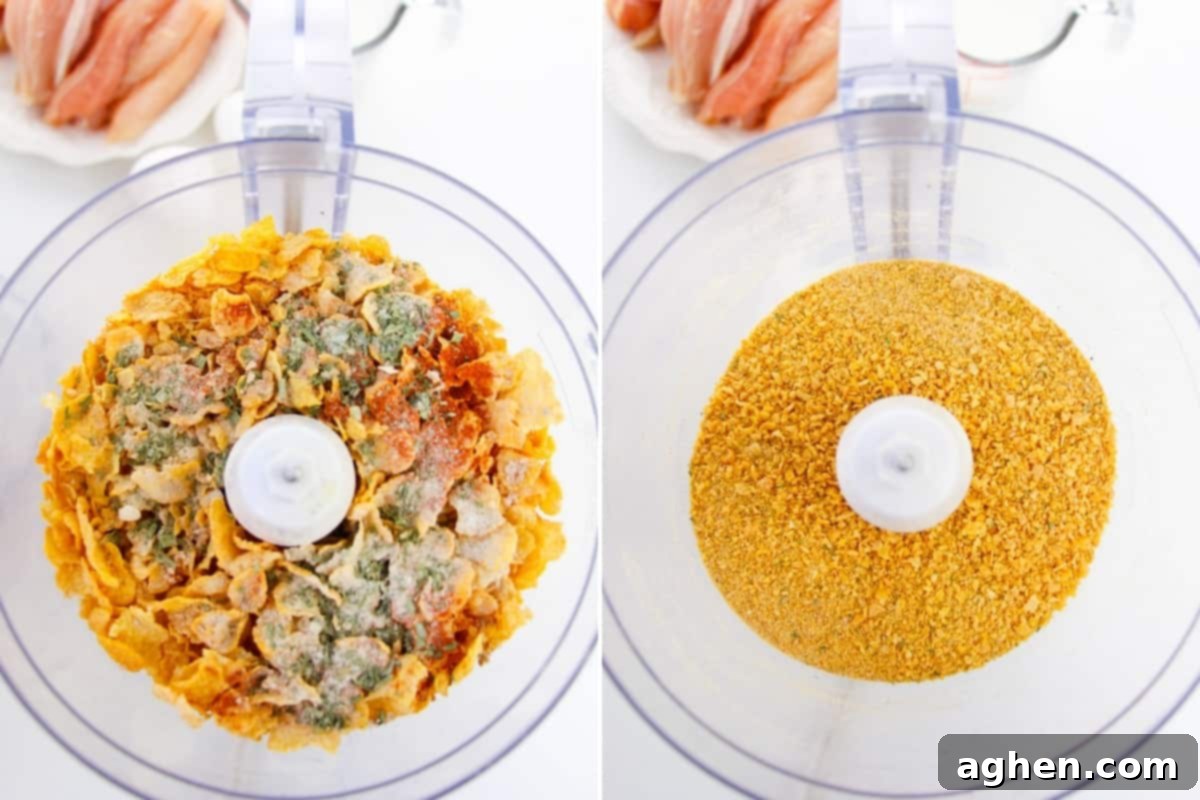
Preheat your oven to 400°F (200°C) as directed in the recipe card below. This ensures a hot oven for quick cooking and maximum crispiness. Line a large baking sheet with aluminum foil for easy cleanup, then place an oven-safe wire rack over the foil. This rack is essential for allowing air to circulate around the tenders, making them extra crispy on all sides without needing to flip them. Next, combine your plain cornflakes, sweet paprika, ranch seasoning, and a generous pinch of salt and pepper in a food processor. Pulse the mixture until it forms coarse, breadcrumb-like crumbs. Avoid over-processing; you want some texture, not a fine powder. Transfer these seasoned crumbs to a shallow bowl.
Step 2: Prepare the Wet Batter
In a separate shallow bowl, crack your eggs and pour in the milk. Whisk thoroughly until the eggs and milk are fully combined and smooth. This will be your wet batter, providing the sticky base for the cornflake crumbs.
Step 3: Dredge and Coat the Chicken Tenders
Now it’s time to coat your chicken! Take each chicken tenderloin (or breast strip) and first dip it into the wet egg and milk mixture, ensuring it’s fully saturated. Let any excess drip off. Then, transfer the chicken to the bowl of seasoned cornflake crumbs. Press the chicken firmly into the crumbs, turning to coat both sides completely. Make sure every inch of the chicken is covered to achieve that consistent crunch. Once dredged, place the coated chicken tenders in a single layer on the prepared wire rack on your baking sheet, leaving a little space between each piece for even cooking.
Step 4: Bake to Crispy Perfection and Serve
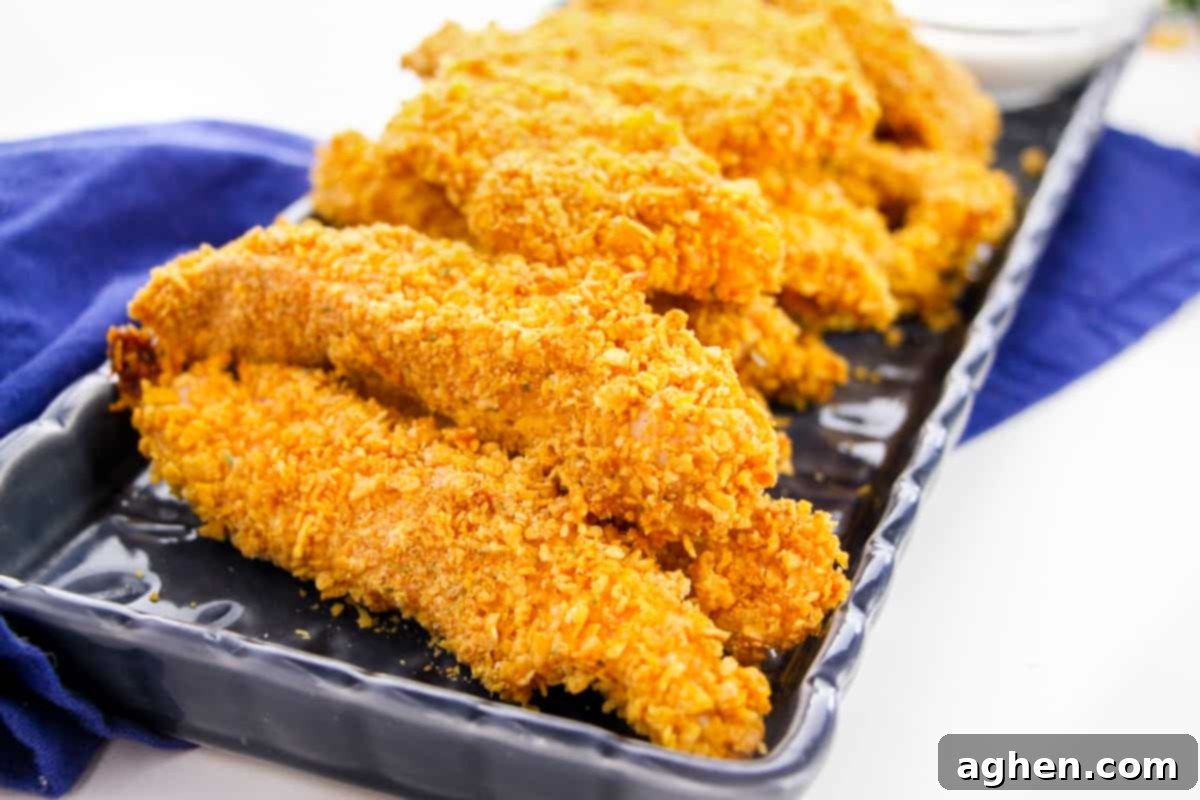
Transfer the baking sheet to your preheated oven. Bake the **cornflake chicken tenders** for 18-22 minutes, or until they are golden brown, crispy, and cooked through. To ensure doneness, use a meat thermometer; the internal temperature of the thickest part of the chicken should reach 165°F (74°C). Once cooked, remove from the oven and let them rest for a couple of minutes before serving. Enjoy these delectable, **crispy baked chicken tenders** hot with your favorite dipping sauces!
Tips for the Crispiest Baked Chicken Tenders
Achieving that ultimate crispiness without frying is easier than you think! Here are a few expert tips to ensure your **cornflake chicken tenders** are perfectly crunchy every time:
- Use a Wire Rack: This is non-negotiable for crispy baked tenders. A wire rack allows hot air to circulate all around the chicken, preventing the bottom from getting soggy and ensuring an even, golden crunch. Place it over a foil-lined baking sheet for easy cleanup.
- Don’t Overcrowd the Pan: Give your chicken tenders space. If they’re too close together, they’ll steam instead of bake, leading to a less crispy result. Bake in batches if necessary.
- Pat Chicken Dry: Before dipping your chicken into the wet batter, pat it thoroughly dry with paper towels. Excess moisture can prevent the coating from adhering properly, resulting in a less crispy crust.
- Coarse Crumbs, Not Fine Powder: When processing the cornflakes, aim for coarse crumbs, similar to panko breadcrumbs. A fine powder won’t give you the satisfying crunch. If you don’t have a food processor, a zip-top bag and a rolling pin work wonders!
- High Heat is Key: Baking at 400°F (200°C) ensures that the exterior gets crispy quickly while the interior cooks through without drying out.
Storing and Reheating Cornflake Chicken Tenders
These **baked cornflake chicken tenders** are best enjoyed fresh, but they also store and reheat wonderfully, making them excellent for meal prep or quick leftovers.
- In the Fridge: Store any leftover chicken tenders in an airtight container in the refrigerator for up to 3 days. When reheating, avoid the microwave if you want to retain crispiness. Instead, warm them in the oven at 350°F (175°C) for 10-15 minutes, or in an air fryer at 375°F (190°C) for 5-7 minutes, until heated through and re-crisped.
- In the Freezer: For longer storage, freeze cooked cornflake baked chicken tenders for up to 3 months. To freeze, arrange the cooked tenders in a single layer on a baking sheet and flash freeze for about 1-2 hours until solid. Then, transfer them to a freezer-safe bag or container. This prevents them from sticking together. Reheat from frozen in an oven at 375°F (190°C) for 20-25 minutes, or until hot and crispy, or in an air fryer for 10-15 minutes.
Recipe FAQs (Frequently Asked Questions)
The safest and most accurate way to ensure your chicken tenders are fully cooked is by using a meat thermometer. Insert the thermometer into the thickest part of a chicken tender, making sure it doesn’t touch any bone if you’re working with bone-in pieces (though these are usually boneless). The internal temperature should read 165°F (74°C). Visually, the coating will be golden brown, and the chicken juice will run clear.
These versatile **crispy chicken fingers** pair beautifully with a wide array of side dishes. For classic comfort, serve them with roasted potatoes, creamy macaroni and cheese, or a light and fresh pasta salad. For a healthier meal, consider steamed or roasted vegetables like broccoli, green beans, or asparagus. Don’t forget the dipping sauces! Ketchup, ranch, honey mustard, BBQ sauce, or even a spicy aioli are all fantastic choices to complete your meal.
No food processor? No problem! You can easily crush the cornflakes and spices using a sealable gallon-sized bag. Place the cornflakes and seasonings inside the bag, seal it tightly, removing as much air as possible, then use a rolling pin, the bottom of a heavy pan, or even your hands to crush the cereal into coarse crumbs. It might take a bit more effort, but you’ll achieve the perfect texture for your crunchy coating.
Absolutely! Air frying is a fantastic way to get these tenders extra crispy. Preheat your air fryer to 375°F (190°C). Spray the basket lightly with cooking spray. Arrange the coated chicken tenders in a single layer in the air fryer basket, ensuring they are not overcrowded. Cook for 12-18 minutes, flipping halfway through, until golden brown and the internal temperature reaches 165°F (74°C). Cooking time may vary depending on the size of your tenders and your air fryer model.
Yes, feel free to customize the seasoning blend to your liking! While the ranch seasoning and paprika provide a delicious base, you can experiment. Try adding garlic powder, onion powder, a pinch of chili powder for a smoky kick, Italian seasoning for an herb-rich flavor, or even some grated Parmesan cheese for a cheesy twist. Always remember to adjust salt and pepper accordingly.
More Delicious Chicken Recipes To Try
If you loved these **crispy baked chicken tenders**, you’re in for a treat! Here are more fantastic chicken recipes that are family favorites and sure to please:
- Poached Shredded Chicken – Perfect for salads, sandwiches, and quick meals.
- Hearty Chicken & Rice Casserole – A comforting, complete meal in one dish.
- Creamy Spinach Chicken Pasta – An amazing ONE-POT RECIPE that’s quick and delicious!
- Grilled Pineapple Chicken Skewers – Sweet and savory, perfect for grilling season.
- Spicy Jalapeño Popper Chicken – For those who love a little heat and a lot of flavor.
- For more family-friendly dinner ideas, don’t miss my crunchy Ritz Chicken Casserole or classic Tater Tot Casserole. Both are tried-and-true favorites in our house!
Baked Cornflake Chicken Tenders
Author: Jaclyn
Ingredients
- 1 ½ pound chicken tenders or boneless skinless chicken breasts cut into 1-inch thick strips
- ½ cup milk (any type)
- 2 large eggs
- 4 ½ cups plain cornflakes (unsweetened)
- ½ teaspoon sweet paprika
- 2 teaspoons dry ranch seasoning mix
- Salt and freshly ground black pepper to taste
Instructions
-
Preheat oven to 400°F (200°C). Line a large baking sheet with aluminum foil for easy cleanup, then place an ovenproof wire rack overtop. Set aside; this rack is crucial for crispy tenders.
-
In a food processor, combine the cornflakes, paprika, ranch seasoning, salt, and pepper. Pulse until coarse crumbs form, similar to panko breadcrumbs. Be careful not to over-process into a fine powder. Transfer this crumb mixture into a shallow bowl.
-
In a second shallow bowl, whisk together the milk and eggs until thoroughly combined to create your wet batter.
-
Dip each chicken tender first into the wet egg batter, letting any excess drip off. Then, transfer it to the seasoned cornflake crumbs, pressing gently to ensure both sides are fully and evenly coated. Place the crumb-coated chicken tenders on the prepared wire baking rack, leaving a little space between each piece.
-
Bake for 18-22 minutes, or until the chicken tenders are golden brown, crispy, and cooked through. Ensure the internal temperature of the thickest part of the chicken reaches 165°F (74°C) using a meat thermometer. Serve immediately and enjoy!
Notes
No food processor? Place the cornflakes and spices in a sturdy zip-top bag and crush them with a rolling pin or the bottom of a heavy pan until coarse crumbs form.
Nutrition
Did You Make This Recipe?
We’d love to see your delicious creations! Share it with me on Instagram @crayonsandcravings and follow on Pinterest @crayonsandcravings for even more tasty recipes and inspiration!
Pin Recipe
Leave A Review
