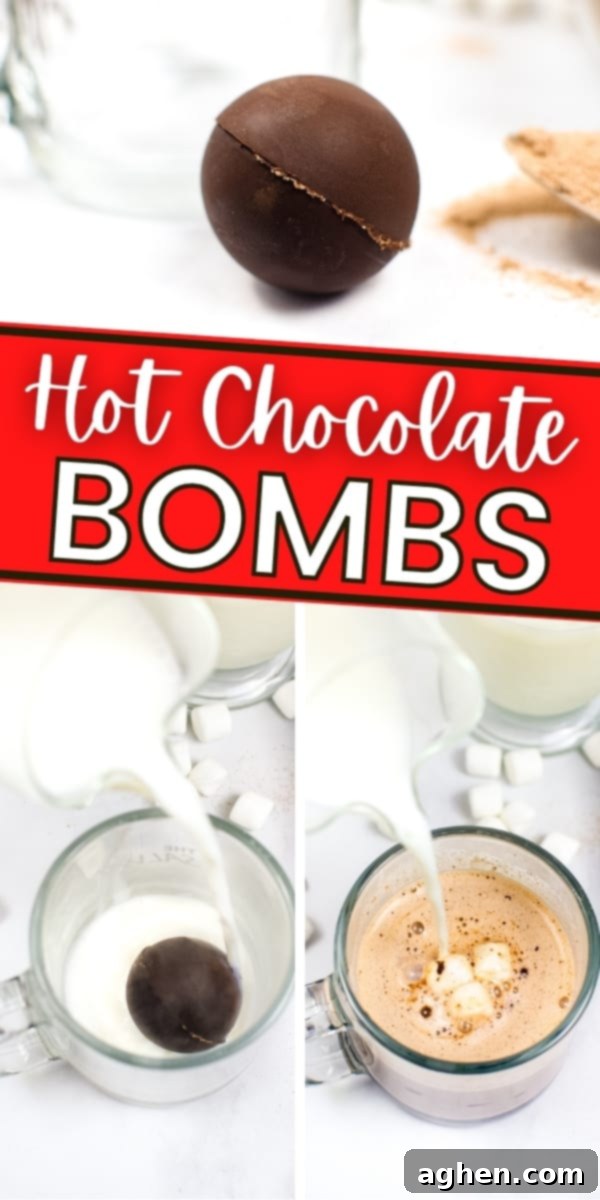
Inside: Follow this comprehensive, easy-to-follow recipe tutorial to craft your very own delightful DIY hot chocolate bombs at home!
For more decadent hot chocolate ideas and treats, be sure to explore our delicious hot chocolate dessert dip, learn how to make an easy DIY hot cocoa mix from scratch, or indulge in this whimsical pink hot chocolate recipe.
Craft Your Own Magic: The Ultimate Guide to Homemade Hot Chocolate Bombs
Imagine a chilly evening, a cozy blanket, and a steaming mug of rich, creamy hot chocolate. Now, imagine elevating that experience with a touch of magic and a burst of flavor! Hot chocolate bombs are precisely that – delightful hollow chocolate spheres, meticulously crafted and generously filled with your favorite hot chocolate powder, an abundance of fluffy marshmallows, and often a sprinkle of extra deliciousness.
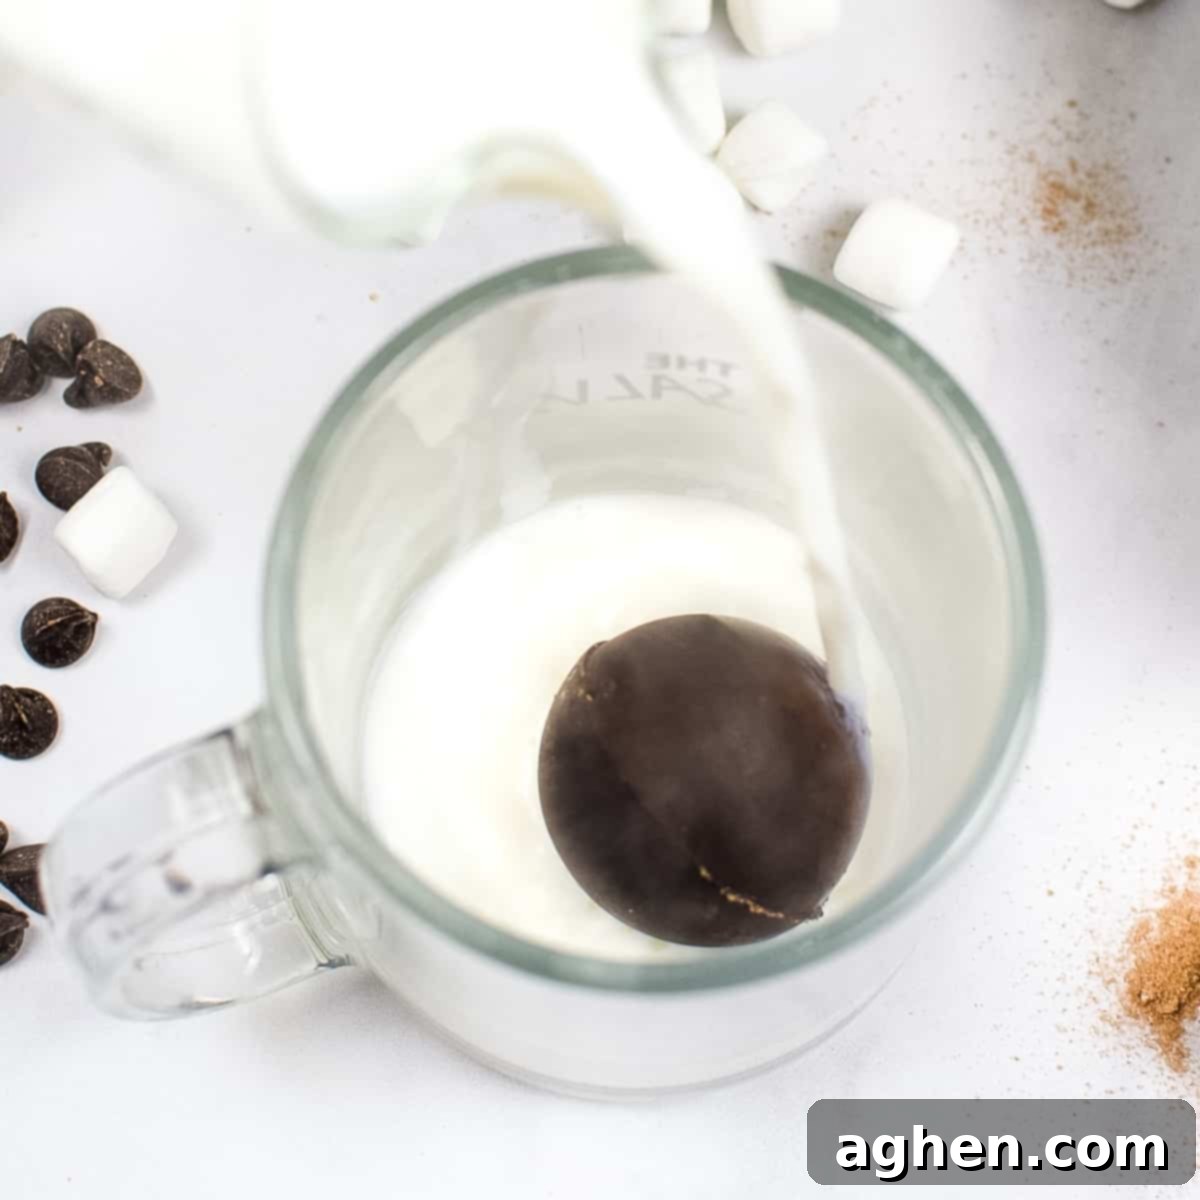
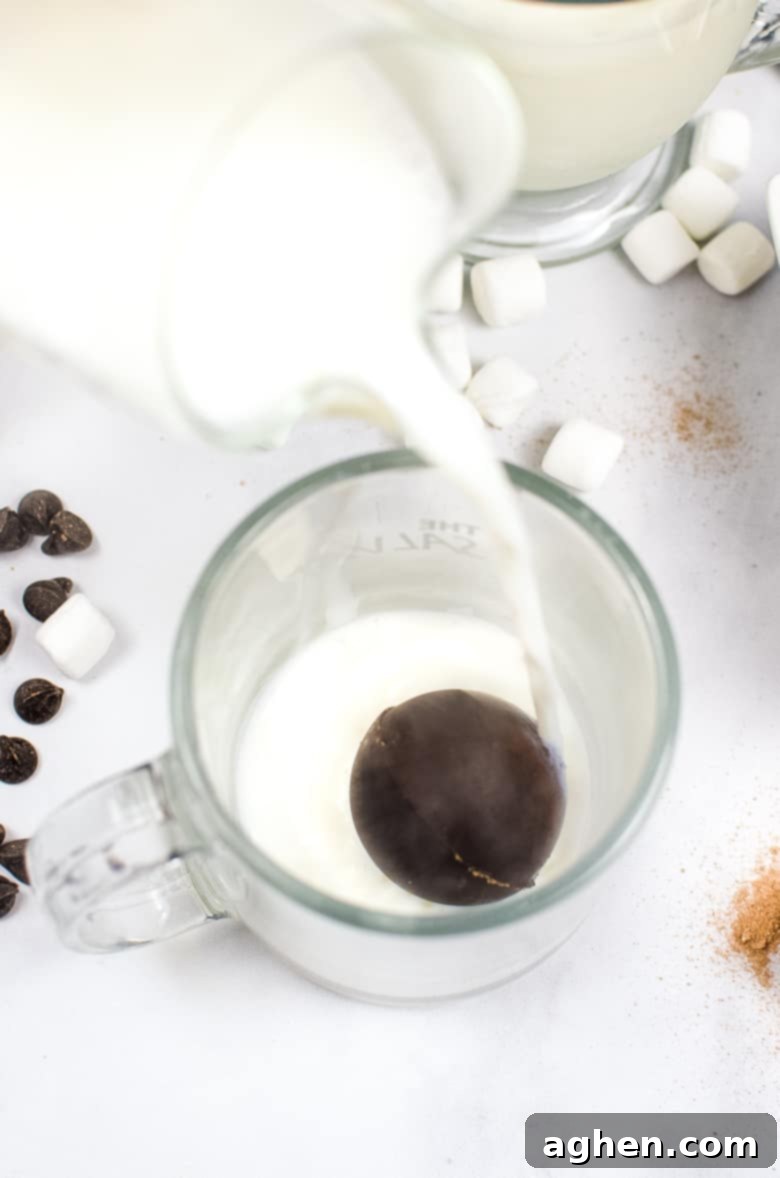
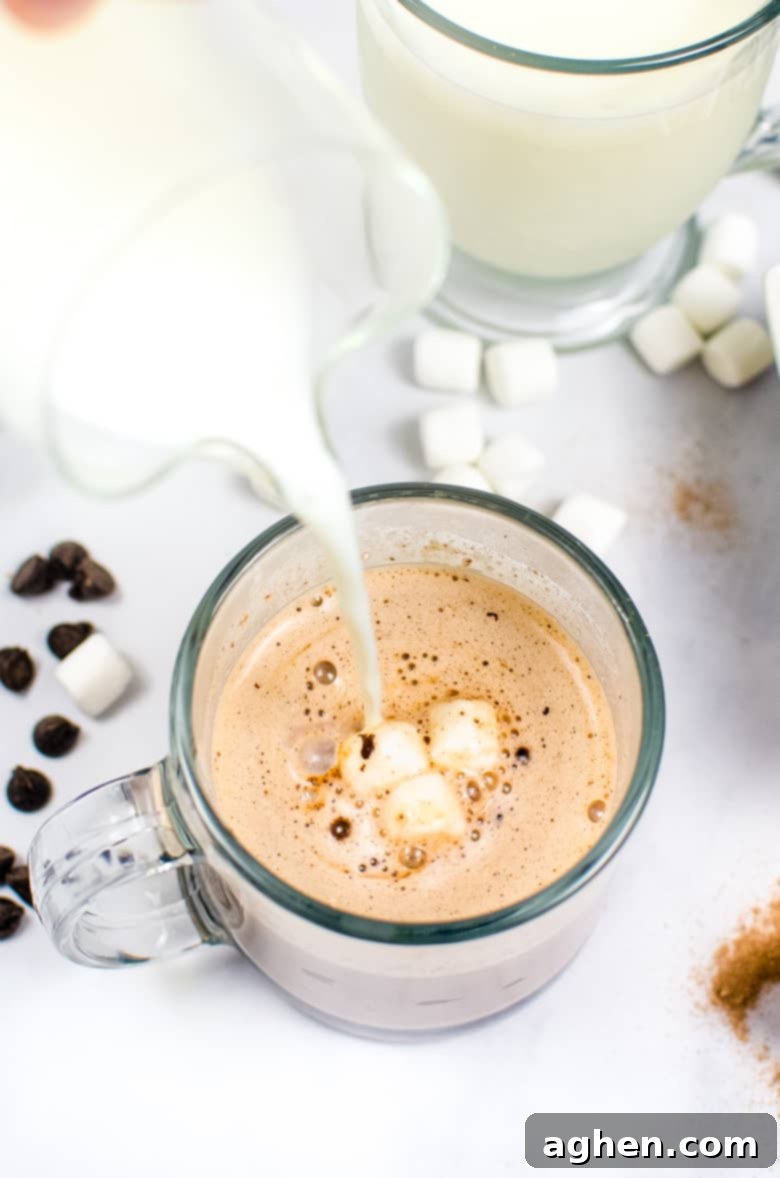
When you pour warm, comforting milk over these edible masterpieces, watch in awe as the chocolate shell gracefully melts away, dramatically releasing its hidden treasures. A gentle stir is all it takes to transform your milk into a perfectly blended, luxurious cup of hot cocoa, complete with a marshmallow topping that floats to perfection. These aren’t just drinks; they’re an experience, a miniature spectacle that promises to delight both young and old.
The Irresistible Charm of Homemade Hot Chocolate Bombs with Marshmallows
It’s no surprise that hot chocolate bombs have taken social media by storm, trending on platforms like TikTok and Pinterest with their captivating reveal videos. Beyond their viral appeal, they are genuinely incredibly fun to use and prepare, turning an ordinary hot chocolate moment into something truly special. The joy of watching them dissolve and release their delicious contents is unparalleled, making them a fantastic treat for family gatherings, sleepovers, or simply a quiet night in.
But the magic doesn’t stop there. These DIY hot chocolate bombs also make for exceptionally thoughtful and charming holiday gifts. Imagine presenting a loved one with a beautifully packaged bomb, nestled in a clear cellophane bag and tied with a festive ribbon. For an even more personal touch, consider pairing a homemade hot chocolate bomb with a cute, festive mug – a unique and heartfelt present that’s sure to bring warmth and smiles to anyone’s face. They are perfect for teachers, neighbors, friends, or anyone who appreciates a touch of homemade goodness.
Essential Ingredients for Crafting Your Hot Chocolate Bombs
Enough marveling at their charm; let’s dive into the exciting part: how to make these enchanting hot chocolate bombs with marshmallows right in your own kitchen!
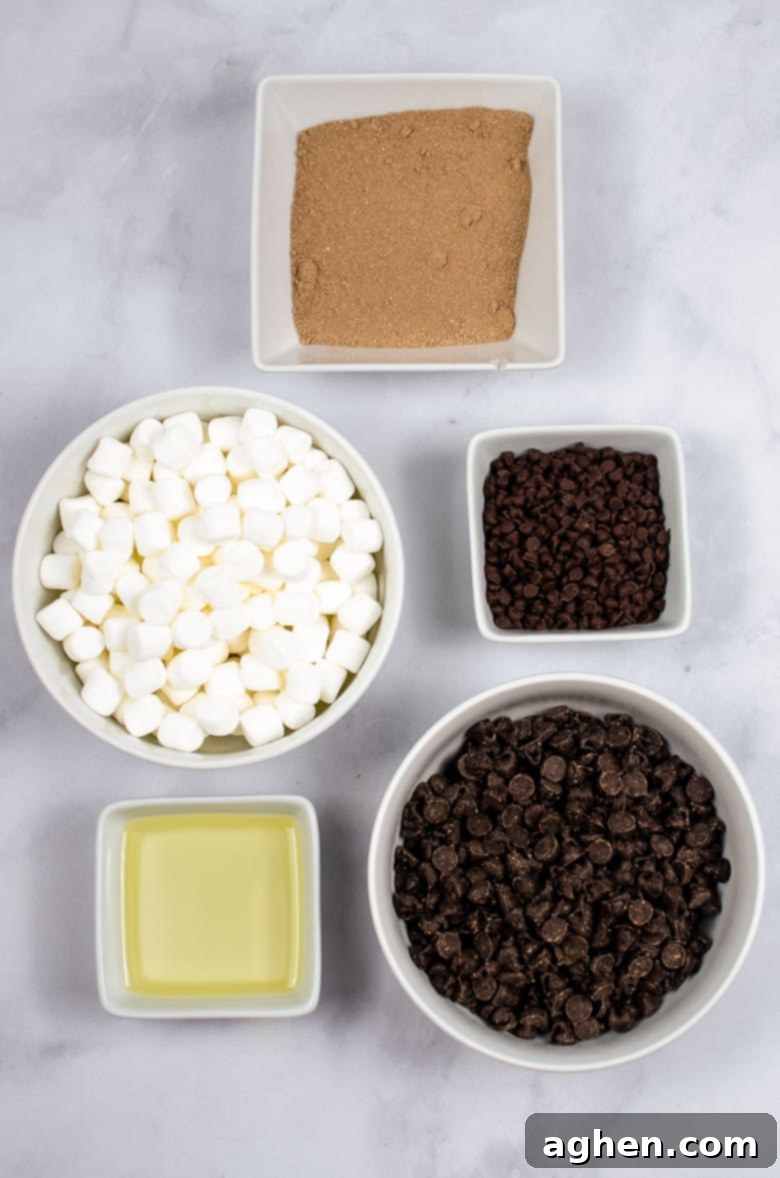
To embark on this delightful culinary adventure, you will need a few key components:
- Silicone Sphere Mold: This is arguably the most crucial tool for perfectly shaped bombs. A 2.5-inch diameter mold like this one is ideal, creating hot cocoa bombs that fit beautifully into standard mugs. Silicone molds are fantastic because they are flexible, making the removal of your delicate chocolate shells incredibly easy without breakage.
- High-Quality Chocolate: The foundation of your bomb! Semi-sweet chocolate chips, melting wafers, or good-quality baking chocolate bars all work wonderfully. For best results, choose a chocolate you genuinely enjoy eating, as its flavor will be prominent. If you’re using a baking bar, remember to chop it finely before melting to ensure an even and smooth consistency. Chocolate melts (often labeled as candy melts) are also an excellent option as they typically don’t require tempering and provide a smooth finish.
- Your Favorite Hot Cocoa Mix: This is where the flavor truly comes alive! Use your preferred powdered hot cocoa mix. We particularly enjoy this popular brand for its rich taste. Alternatively, for a truly personalized touch, you can always make your own homemade hot cocoa mix.
- Mini Marshmallows: The classic, essential topping for any hot chocolate! While regular mini marshmallows are perfectly delightful and what we used this time, dehydrated marshmallows are an excellent alternative. Their smaller size and lighter weight allow you to fit a greater quantity inside each bomb, promising an extra fluffy and sweet surprise when they burst open.
- Optional Add-ins: Get creative! Mini chocolate chips, white chocolate chips, peanut butter chips, crushed peppermint candies, or even a dash of cinnamon or chili powder can elevate your hot chocolate bomb experience.
Step-by-Step Guide: How to Make Hot Chocolate Bombs with Marshmallows
Let’s walk through the process to create these delightful chocolate treats. Precision and a little patience will ensure beautiful, delicious results.
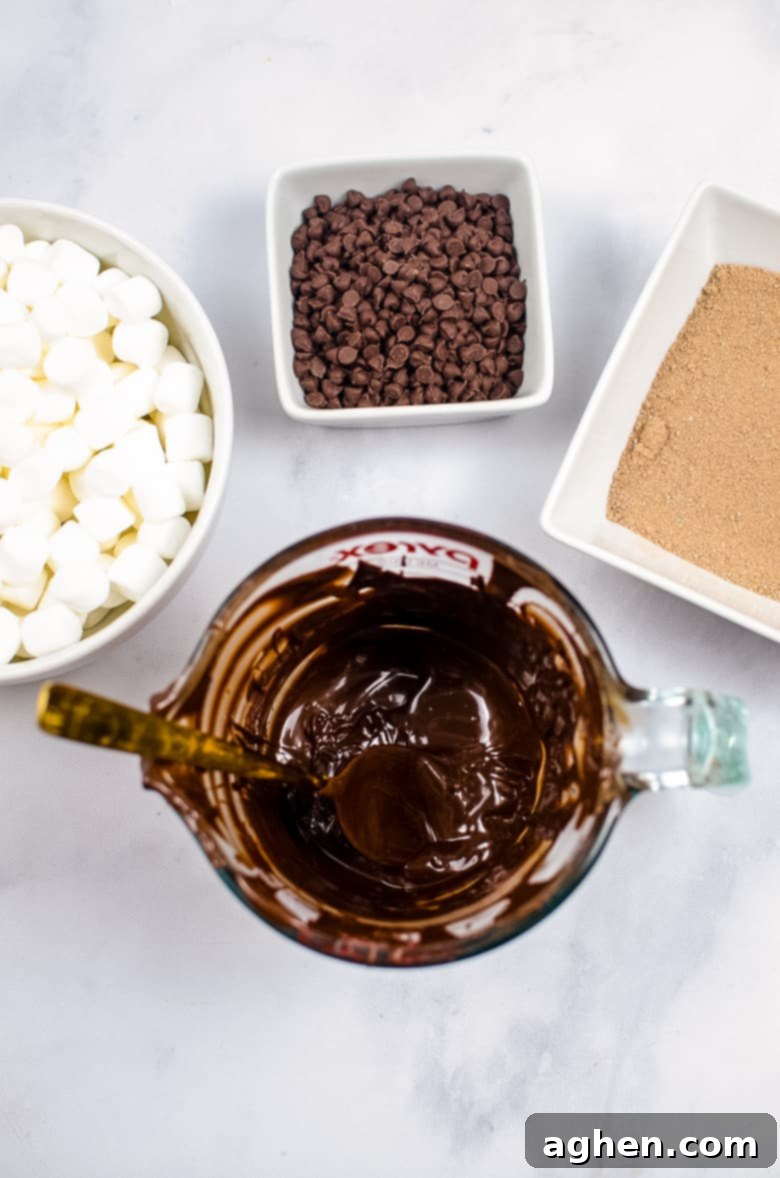
- Melt the Chocolate to Perfection: Begin by melting your chosen chocolate. The microwave method is quick and effective: place your chocolate in a microwave-safe bowl and heat for 30 seconds. Remove, stir thoroughly, and then return to the microwave, heating in precise 15-second increments. It’s crucial to stir well after each interval to prevent burning and ensure the chocolate melts smoothly and completely. A double-boiler method can also be used for a more controlled melt, especially with high-quality baking chocolate.
- Coat the Silicone Molds Evenly: Once your chocolate is velvety smooth, carefully spoon a small amount into each cavity of your silicone sphere mold. Using the back of a spoon or a small pastry brush, gently push and spread the melted chocolate around to completely cover the inside surface of each mold. Ensure an even coating without any thin spots, as these can lead to breakage. Apply a second thin coat if needed for extra durability.
- Chill to Set the Shells: Place the chocolate-coated molds, chocolate side up, into the freezer for approximately 10 minutes. This chilling time allows the chocolate to firm up quickly and thoroughly, making it easier to handle and release.
- Gently Remove the Chocolate Domes: Once the chocolate is completely set and hard to the touch, remove the mold from the freezer. Carefully turn the mold over and gently press on the back of each cavity. The flexible silicone should allow the perfectly formed chocolate domes to pop out with ease. Handle them by the edges to avoid fingerprints and keep them pristine.
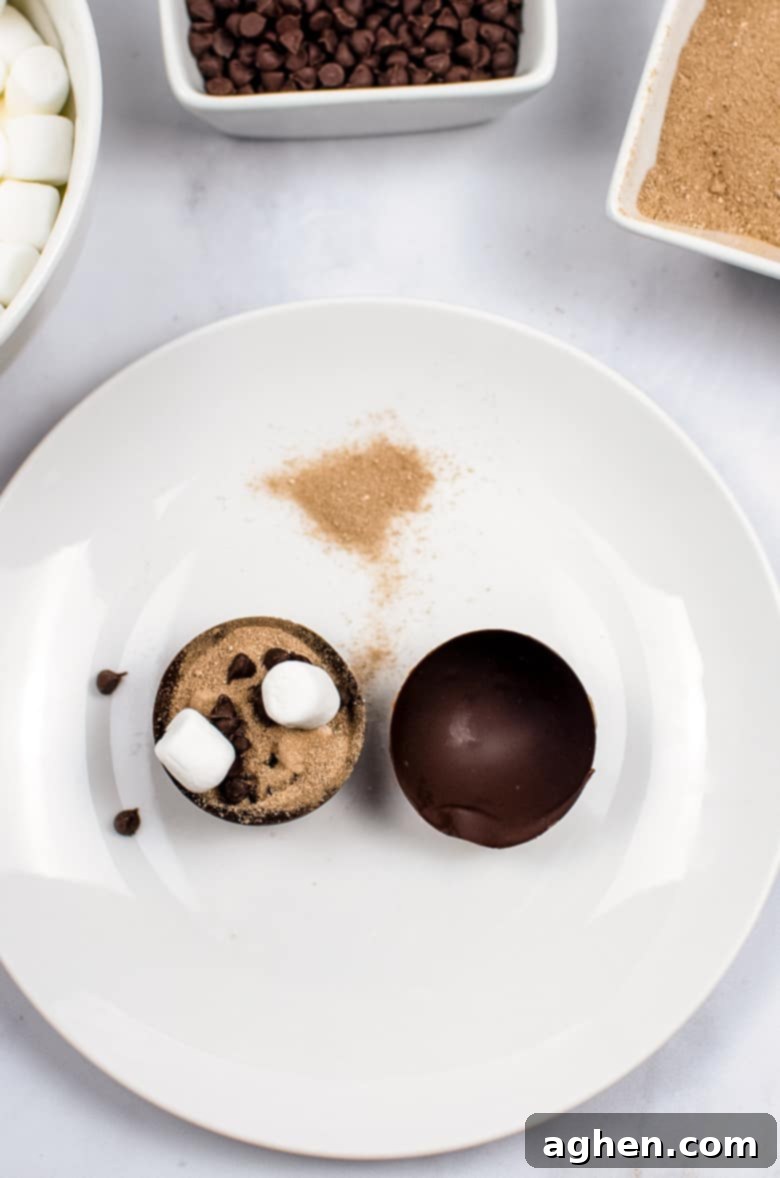
- Fill Your Bombs with Deliciousness: Now for the exciting part – filling! Take half of your chocolate domes and carefully place a generous tablespoon (or two, depending on dome size) of your chosen hot chocolate mix inside. Follow this with a handful of mini marshmallows. This is also the perfect moment to add any other desired mix-ins, such as mini chocolate chips for an extra chocolatey kick, crushed peppermints for a festive touch, or a sprinkle of caramel bits.
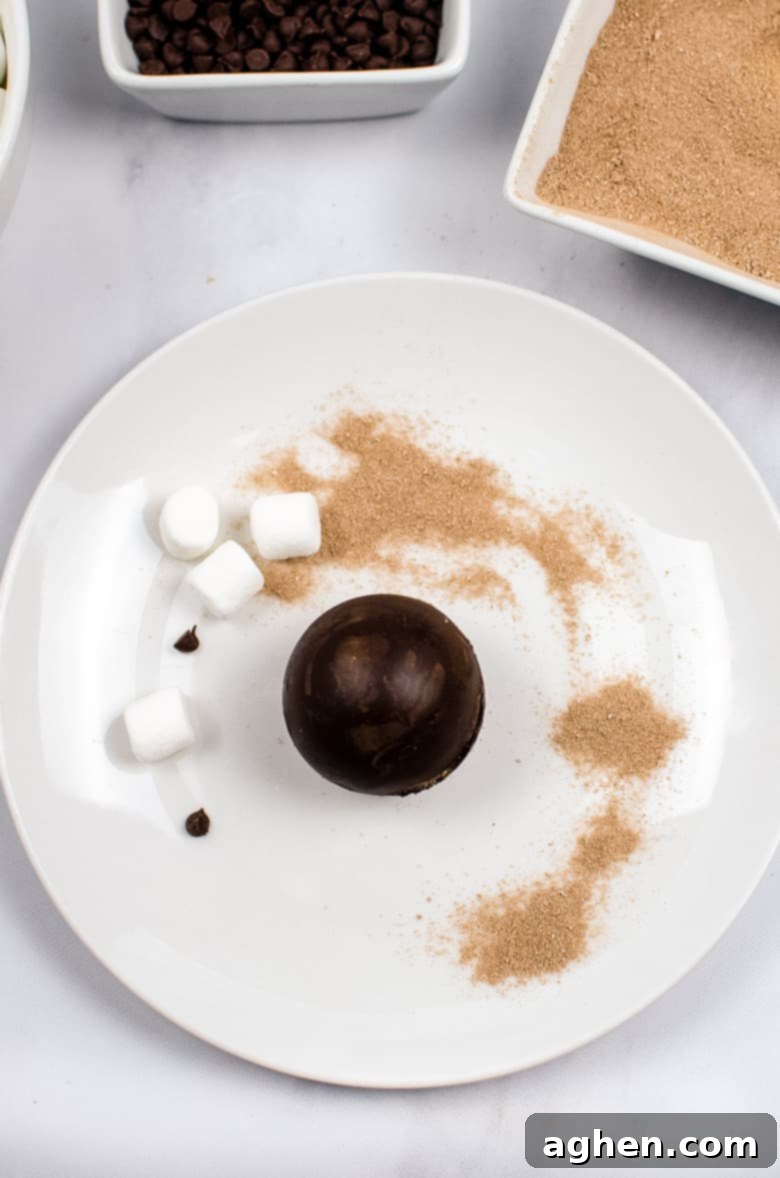
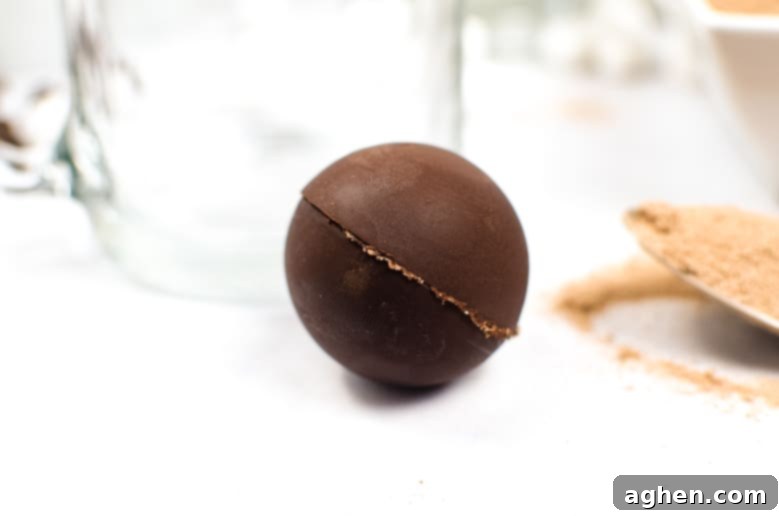
- Seal the Spheres Securely: To seal your hot chocolate bombs, gently melt the edge of an empty chocolate dome. The easiest way to do this is by warming a small plate in the microwave for about 30-45 seconds. Lightly rub the rim of an empty chocolate dome on the warm plate for a few seconds until the edge slightly melts. Immediately place this melted edge on top of a filled dome, carefully aligning the edges. Hold it firmly in place for a few seconds until the chocolate sets and the two halves are securely sealed. Repeat this process for all your hot chocolate bombs.
- Final Freeze for Setting: For a perfect, solid set, pop your newly assembled hot chocolate bombs back into the freezer for an additional 5 minutes. This ensures the seam is fully hardened and the bombs are robust enough for handling and storage.
Expert Tips and Tricks for Perfect Hot Chocolate Bombs
Achieving flawless hot chocolate bombs is simpler with a few insider tips:
- Gloves for a Pristine Finish: To prevent unsightly fingerprints and ensure your bombs look their best, consider wearing food-safe gloves while handling the chocolate spheres. Your creations will look professionally made!
- Unleash Your Creativity with Add-ins: Don’t limit yourself to just marshmallows! Experiment with a variety of exciting additions inside your bombs. Think mini chocolate chips for extra richness, white chocolate chips for a milder sweetness, crunchy peanut butter chips, festive crushed peppermint candies, or even other crushed hard candies for a pop of color and flavor.
- Decorate with Dazzling Drizzles: Elevate the visual appeal of your hot chocolate bombs by decorating them. A drizzle of contrasting melted white chocolate (or milk/dark chocolate if your bomb is white chocolate based) across the top, followed by a sprinkle of festive edible glitter or colorful sprinkles, can make them truly spectacular and gift-worthy.
- Proper Storage for Lasting Freshness: To maintain their shape, flavor, and integrity, store your finished cocoa bombs in an airtight container at room temperature. It’s crucial to keep them away from any heat sources or direct sunlight, which can cause the chocolate to melt or bloom. A cool, dry pantry or cabinet is an ideal storage location, where they can last for several weeks.
- Troubleshooting Common Issues: If your chocolate cracks when removing from the mold, it might be too thin – try a slightly thicker first layer or a second coat. If the seams don’t seal well, ensure your plate is warm enough and you hold the domes together for a few extra seconds. Practice makes perfect!
How to Magically Activate Your Hot Chocolate Bomb
The moment of truth! When a craving for a decadent cup of cocoa strikes, your homemade hot chocolate bomb is ready to perform its magic.
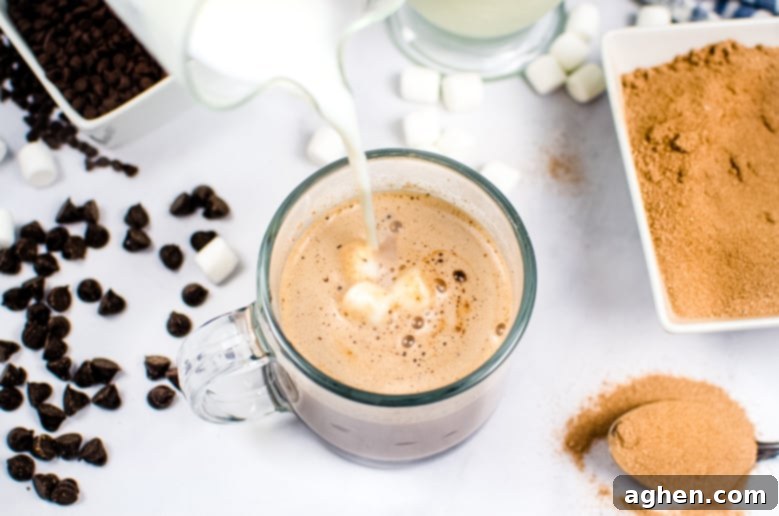
The process is wonderfully simple and incredibly satisfying: gently place one hot chocolate bomb into your favorite mug. Heat 8-10 ounces of milk (dairy or non-dairy alternatives work equally well) until it’s steaming hot but not boiling. Carefully pour the hot milk directly over the bomb. Watch as the chocolate shell gracefully melts, bursts open, and releases the rich cocoa mix and fluffy marshmallows. Give it a gentle stir to combine all the delicious ingredients, and then sit back, relax, and savor your perfectly crafted, warm cup of hot cocoa!
Discover More Delicious Hot Chocolate Recipes
If you’ve fallen in love with the world of hot chocolate, here are more delightful recipes to explore:
- Indulgent Hot Chocolate Cookies
- Whimsical Grinch Hot Chocolate
- Luxurious Salted Caramel Hot Chocolate
- Creamy White Hot Chocolate
Hot Chocolate Bombs with Marshmallows
Author: Jaclyn
Ingredients
- 1.5 cups semisweet chocolate chips or melting chocolate
- 6 Tablespoons hot chocolate mix
- 1 cup mini marshmallows
Instructions
-
In a medium-sized bowl, heat chocolate in the microwave for 30 seconds. Stir well. Return to microwave and heat in 15-second intervals, stirring between, until smooth and completely melted.
-
Add melted chocolate to a silicone sphere mold, using the back of a spoon to push the chocolate around to completely cover the mold.
-
Place molds into the freezer for 10 minutes to set, chocolate side up.
-
Once the chocolate has set, turn the mold over so it is chocolate-side down and press gently to remove the chocolate domes.
-
Fill half of the domes with hot cocoa mix and mini marshmallows.
-
Warm a small plate in the microwave for 30 seconds. Rub the edge of an empty dome on the warm plate to melt it a bit then place it on top of a filled dome, holding for a few seconds until it is sealed. Repeat to make all your bombs.
-
Freeze for 5 minutes then store at room temperate until ready to enjoy.
To serve: Place the bomb in a mug, pour hot milk over it, stir, and enjoy!
Notes
Dress up your hot chocolate bombs with a drizzle of melted white chocolate on top and some sprinkles.
Store your cocoa bombs in an airtight container at room temperature, away from heat or direct sunlight. In a cabinet or the pantry would be perfect.
Nutrition

Did You Make This Recipe?
We’d love to see your beautiful creations! Share it with us on Instagram @crayonsandcravings and be sure to follow us on Pinterest @crayonsandcravings for even more delicious recipes and creative inspiration!
Pin Recipe
Leave A Review
Pin for Later: Your Go-To Guide for Delicious Homemade Hot Chocolate Bombs

We hope this comprehensive guide inspires you to create your own magical hot chocolate bombs. They are a delightful way to add joy and warmth to any occasion, whether you’re making them for yourself, your family, or as thoughtful gifts. Happy bomb-making!
