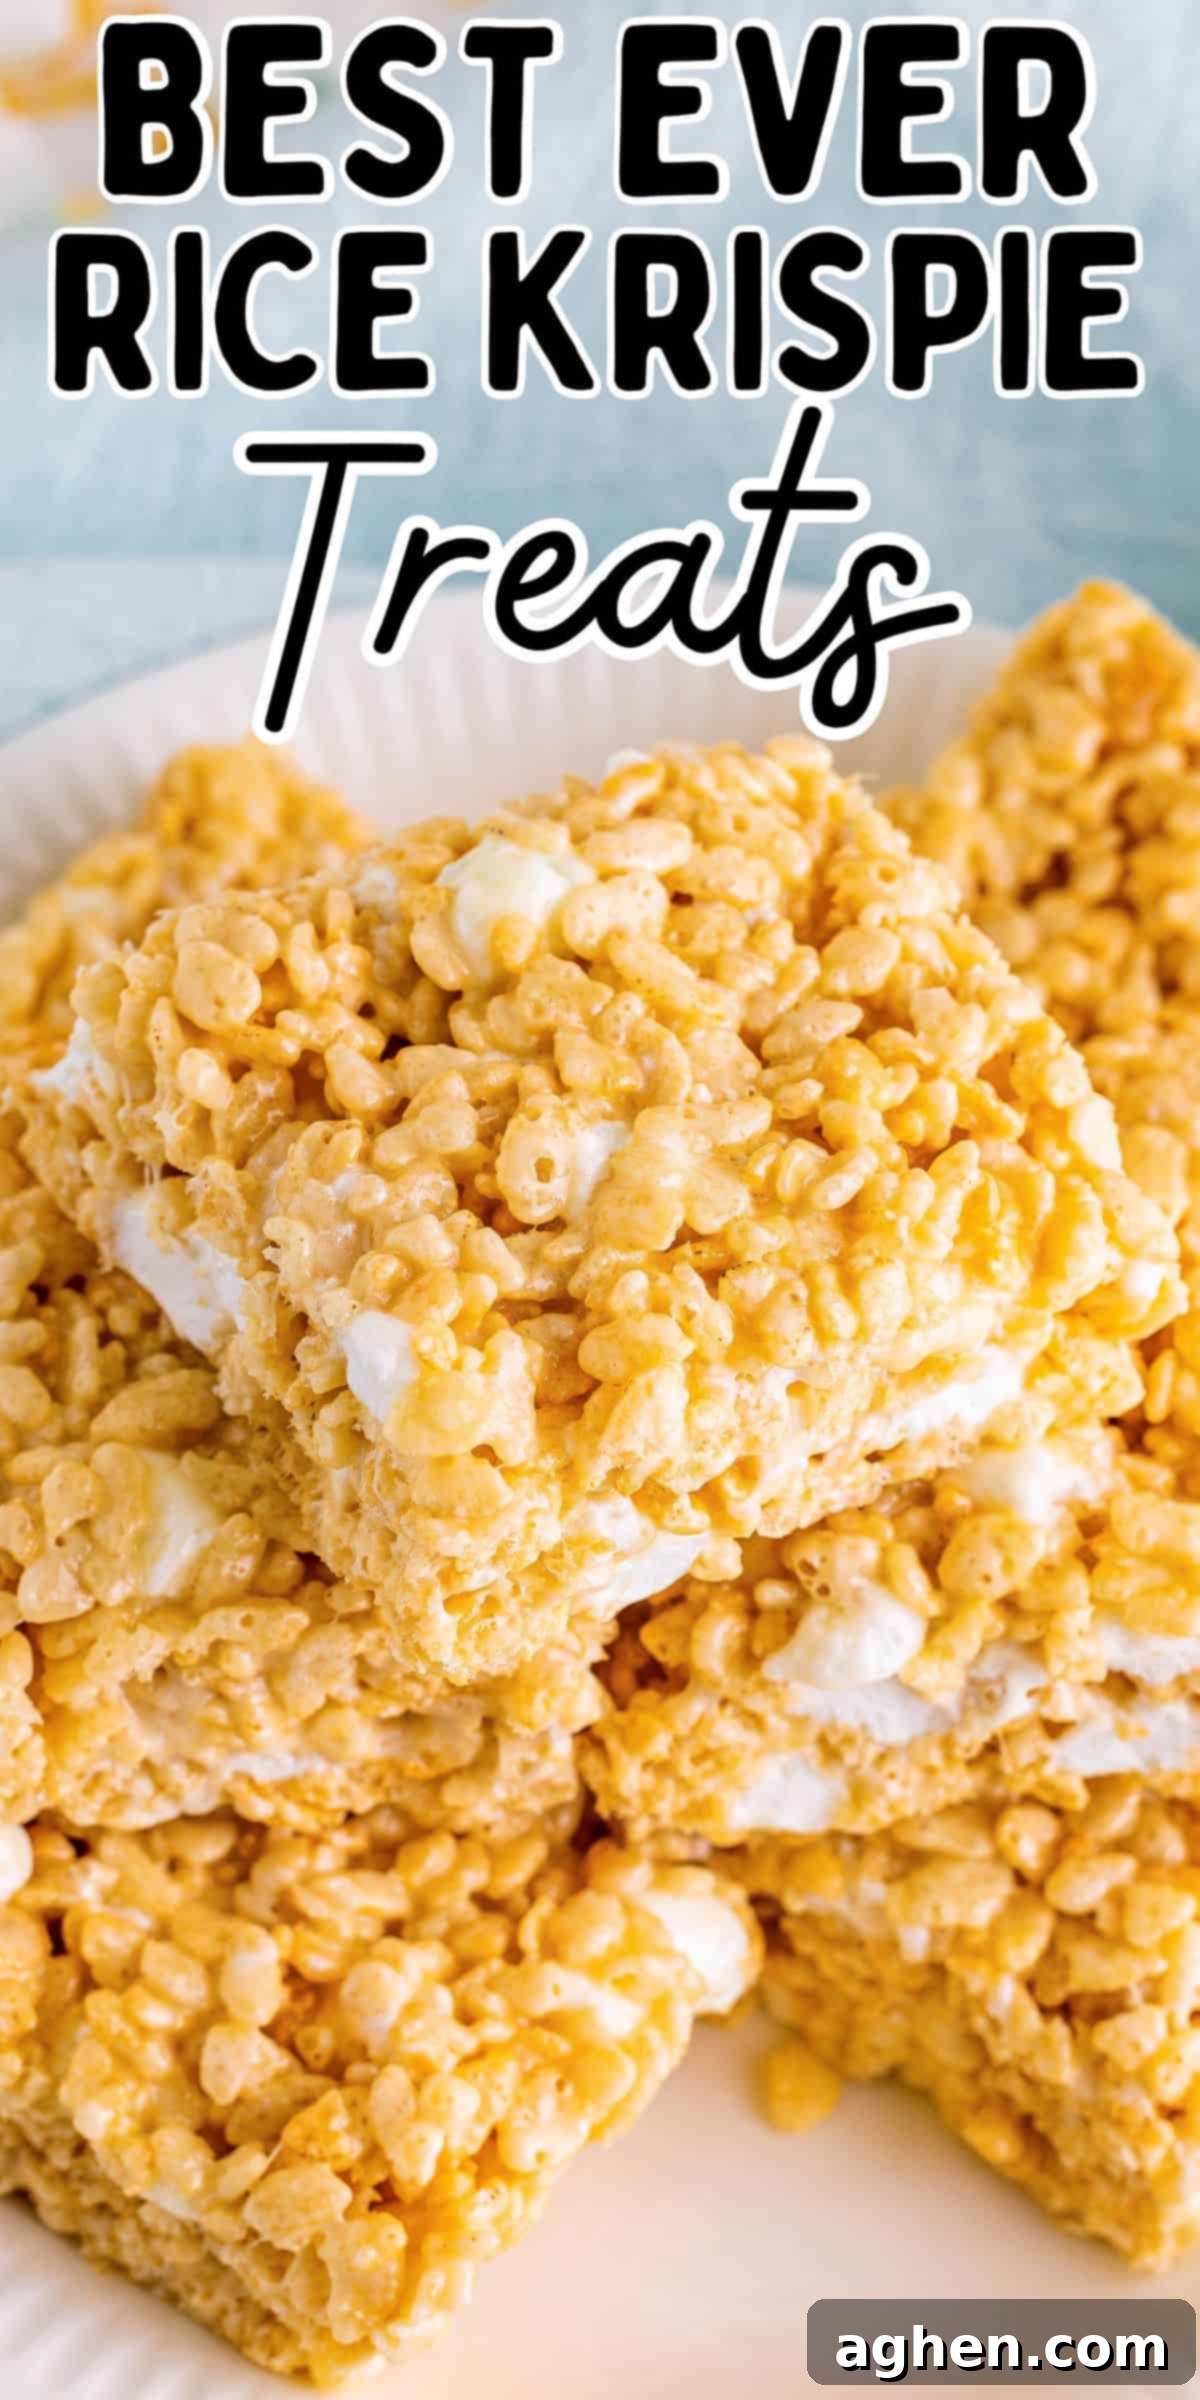
The Ultimate Gooey Rice Krispies Treats Recipe: An Enhanced Classic
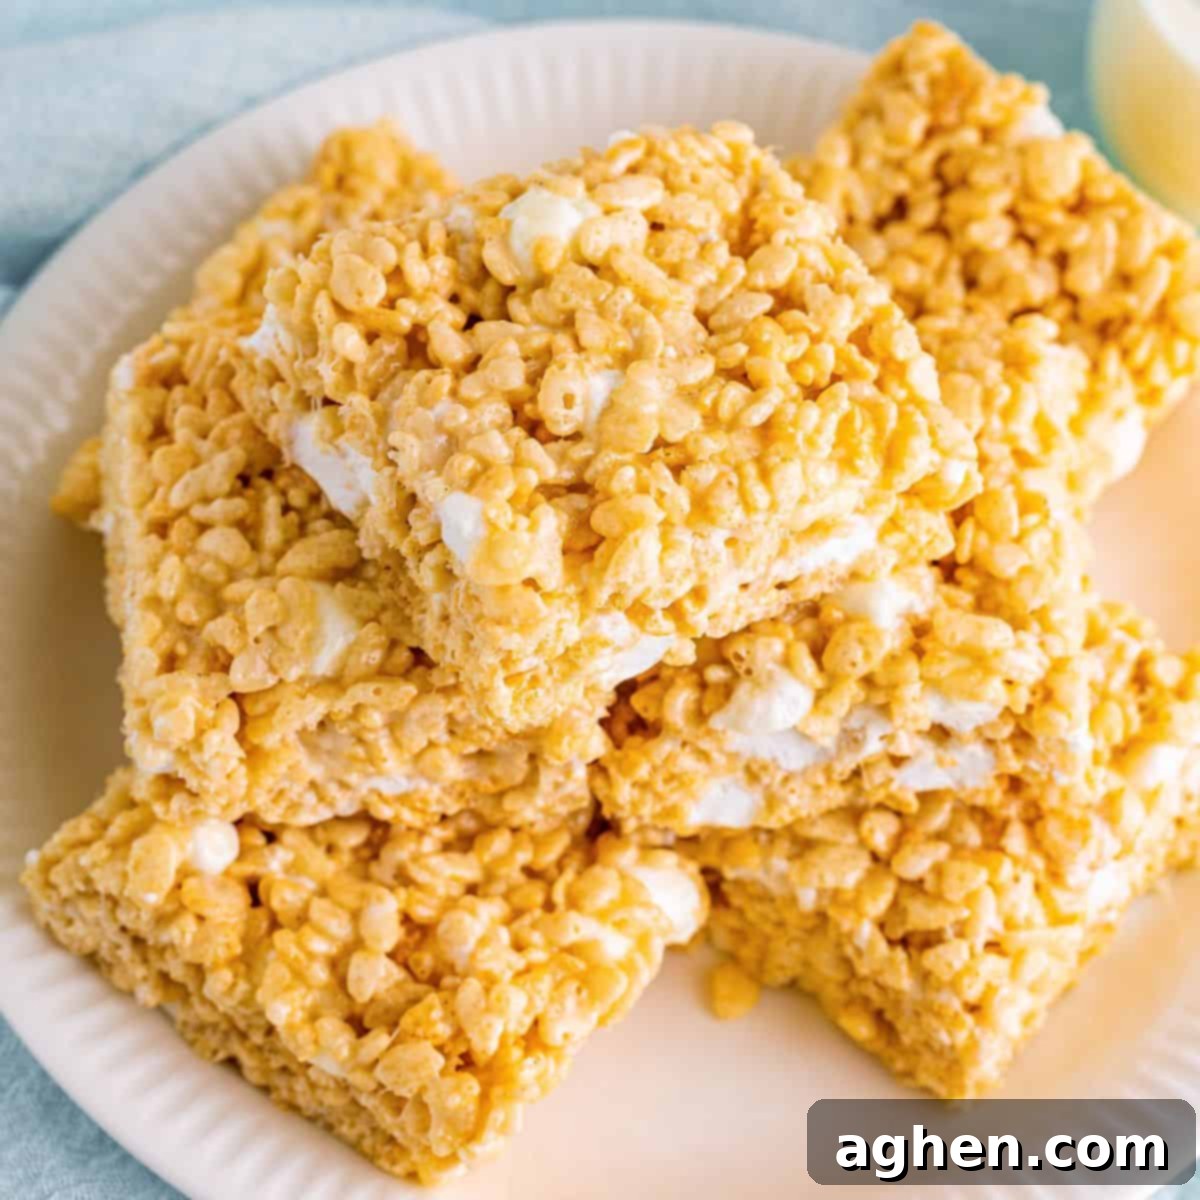
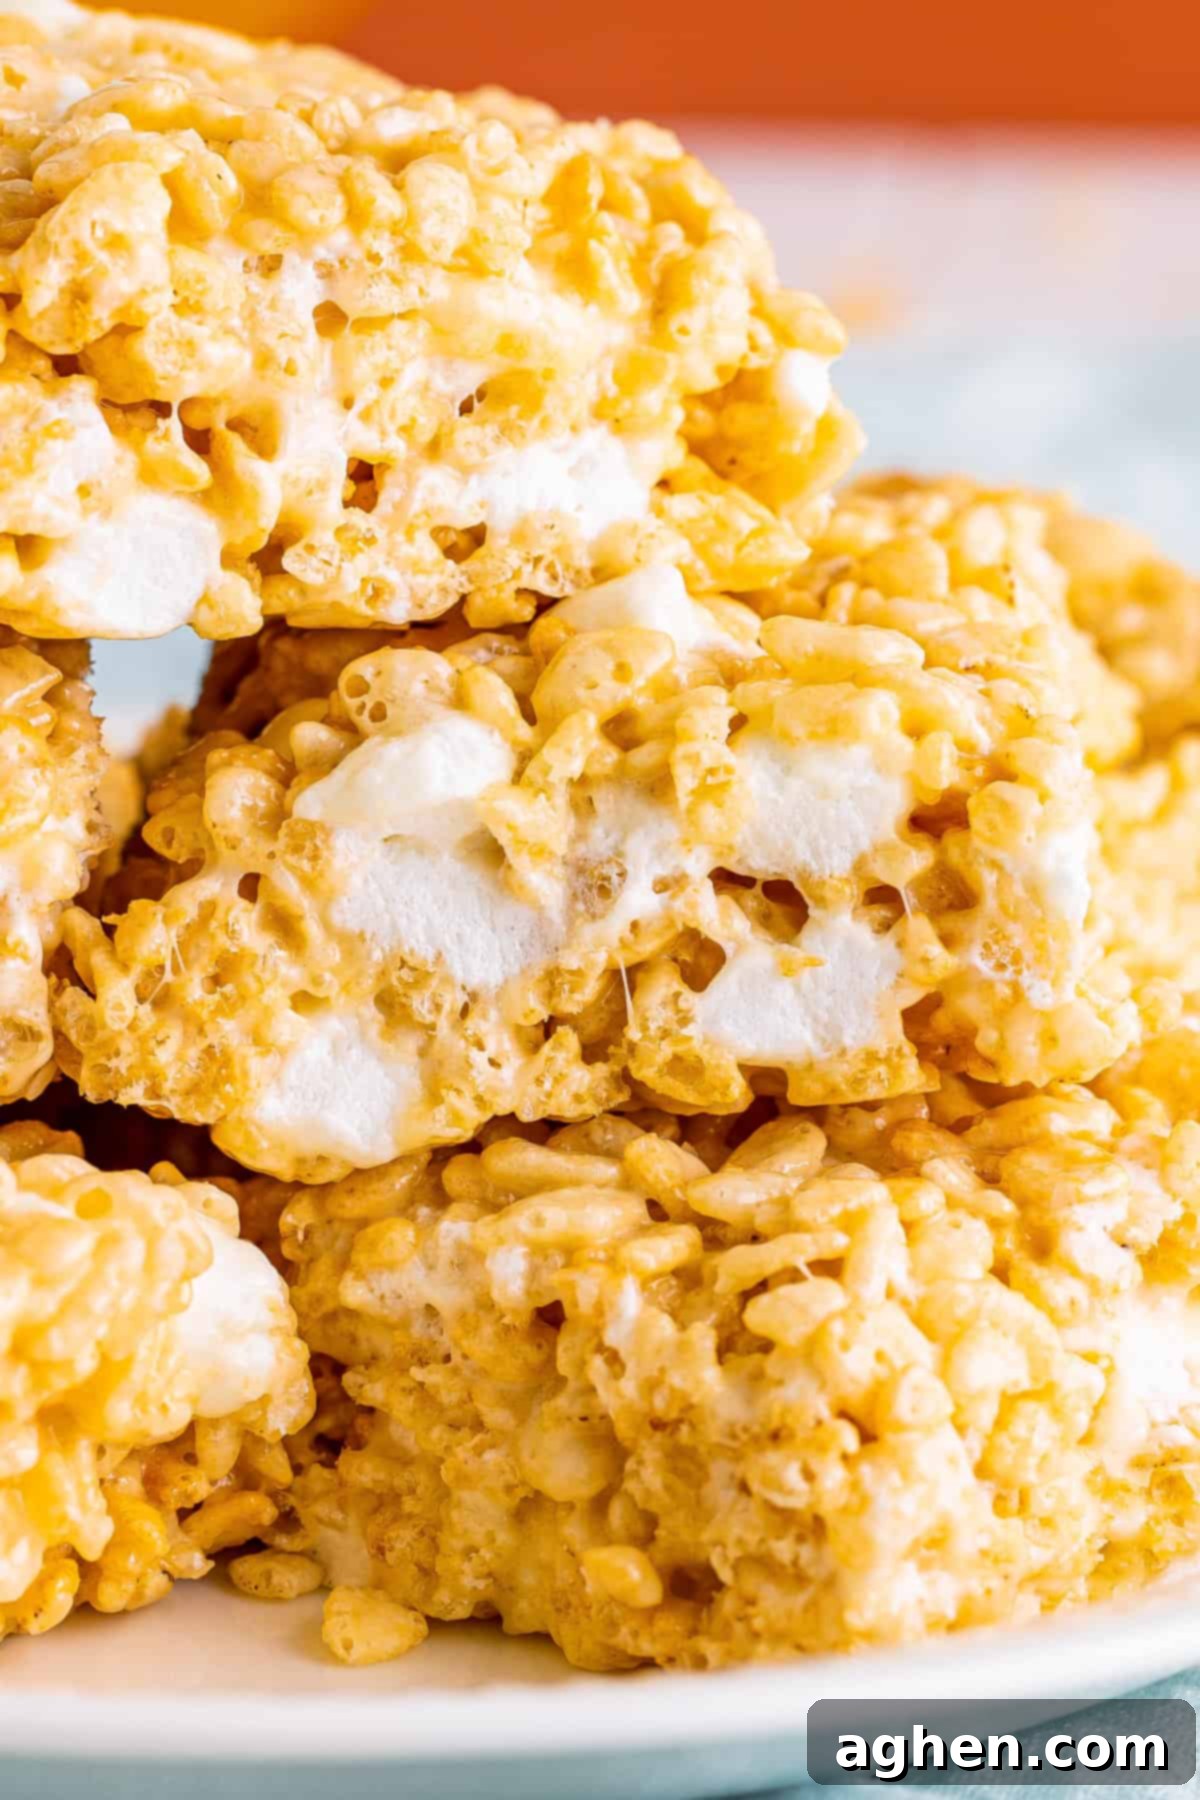
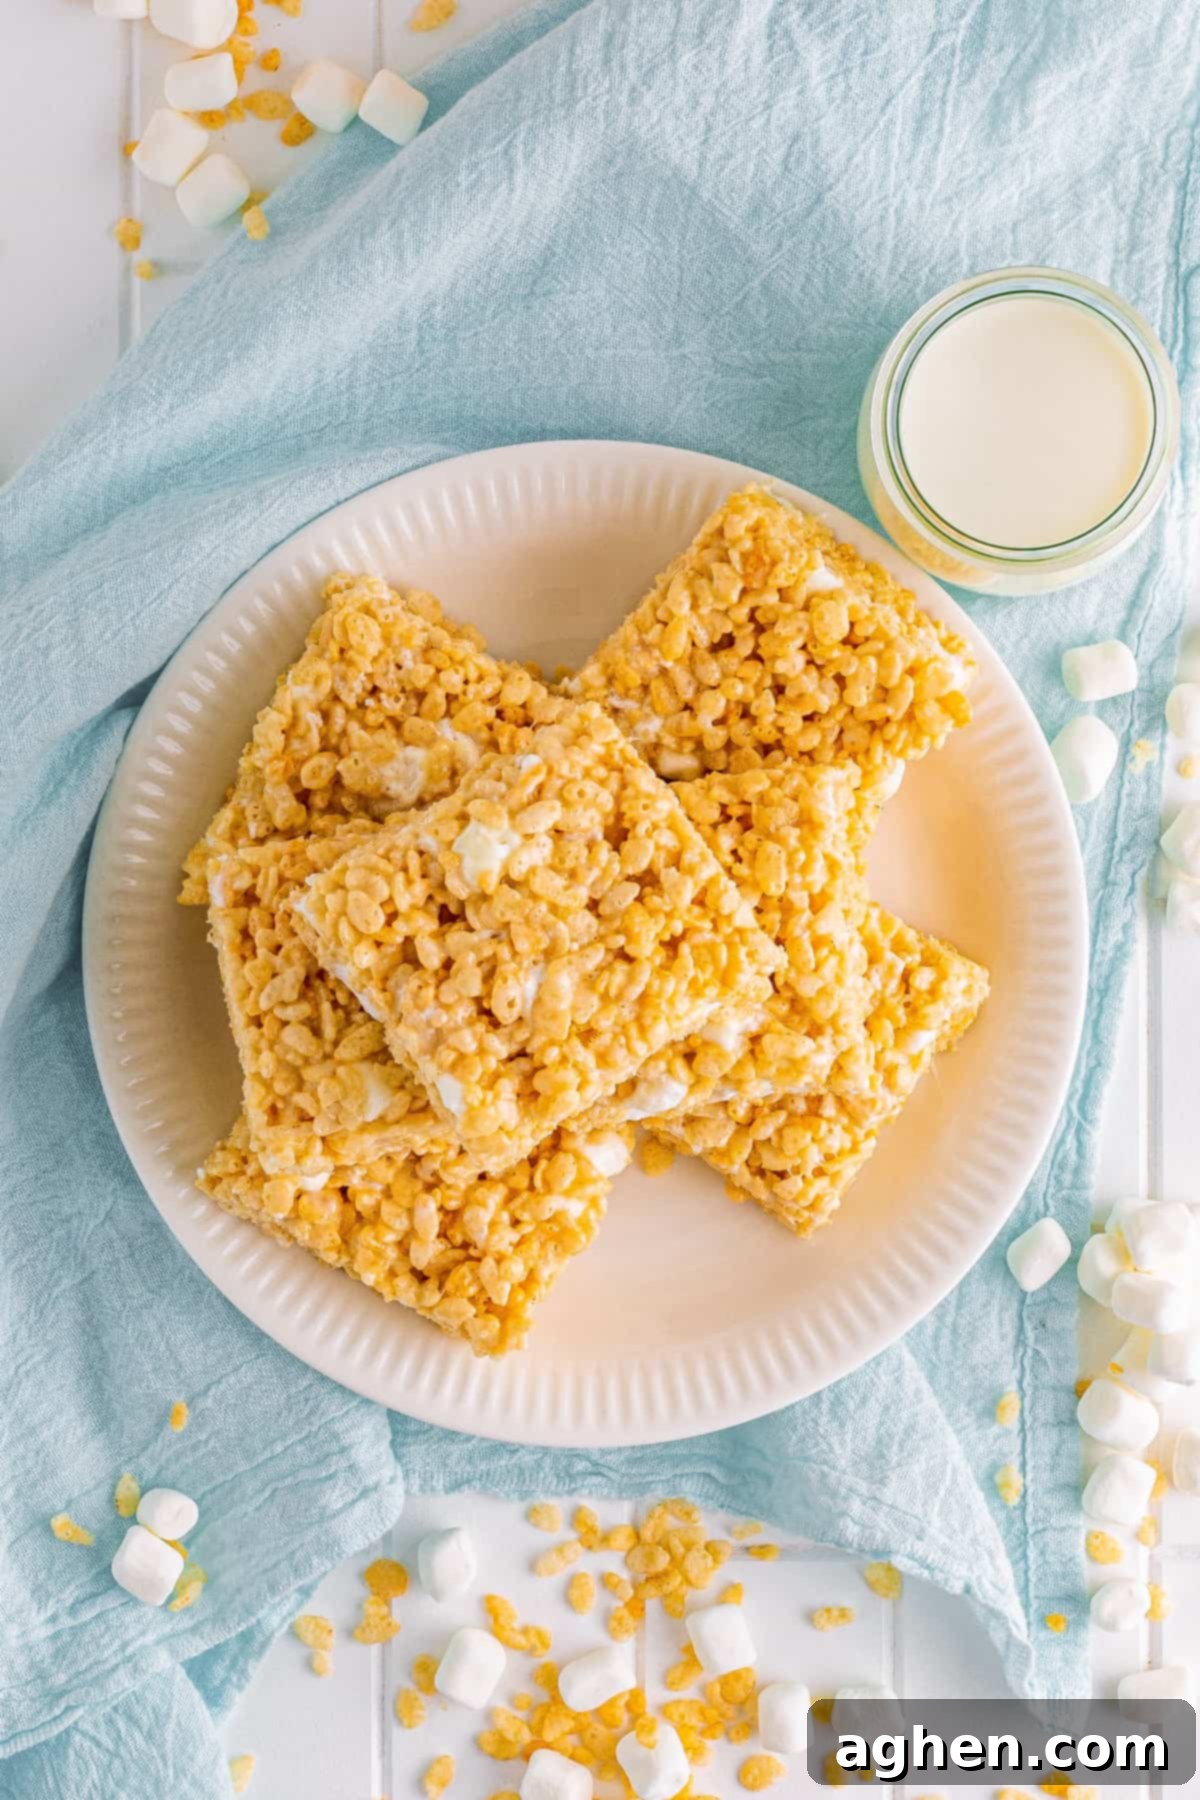
Prepare yourself for the **BEST Rice Krispies Treats recipe** you’ve ever tasted! This isn’t just your grandma’s classic no-bake treat; we’ve taken the beloved original and elevated it to new heights with a few simple, yet game-changing, alterations. Marshmallow enthusiasts and sweet-and-salty connoisseurs will fall head over heels for this upgraded version, packed with an abundance of extra marshmallows, rich vanilla extract, and a touch of fine sea salt that truly makes every bite sing.
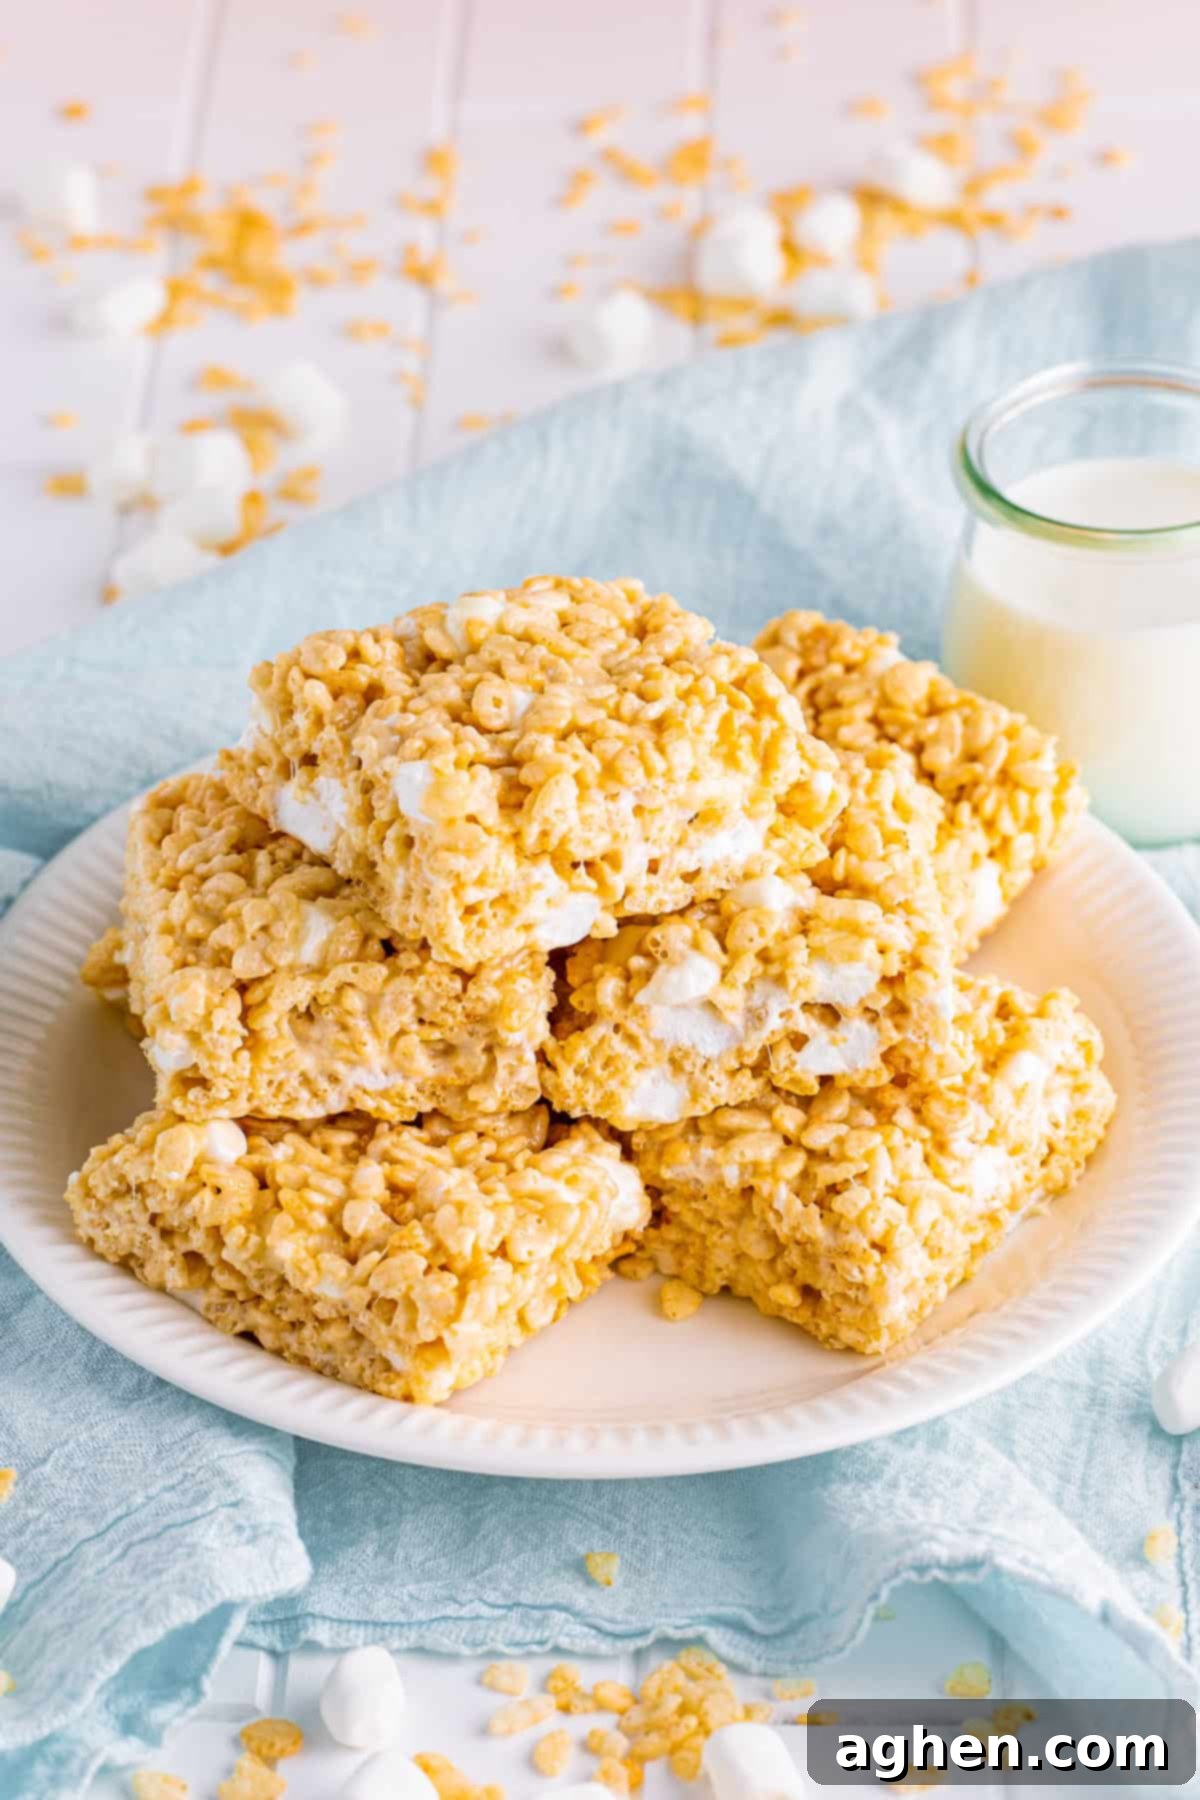
Rice Krispies Treats hold a special place in our hearts – they’re the quintessential no-bake dessert that instantly transports you back to childhood with just one bite. They remain a perfect lunchbox surprise or a quick-to-make party treat even today. While the straightforward recipe found on the back of the cereal box is undeniably a tried-and-true winner, imagine what a little extra love and a few strategic enhancements can do. We’re about to transform those simple marshmallow-y squares into something truly extraordinary.
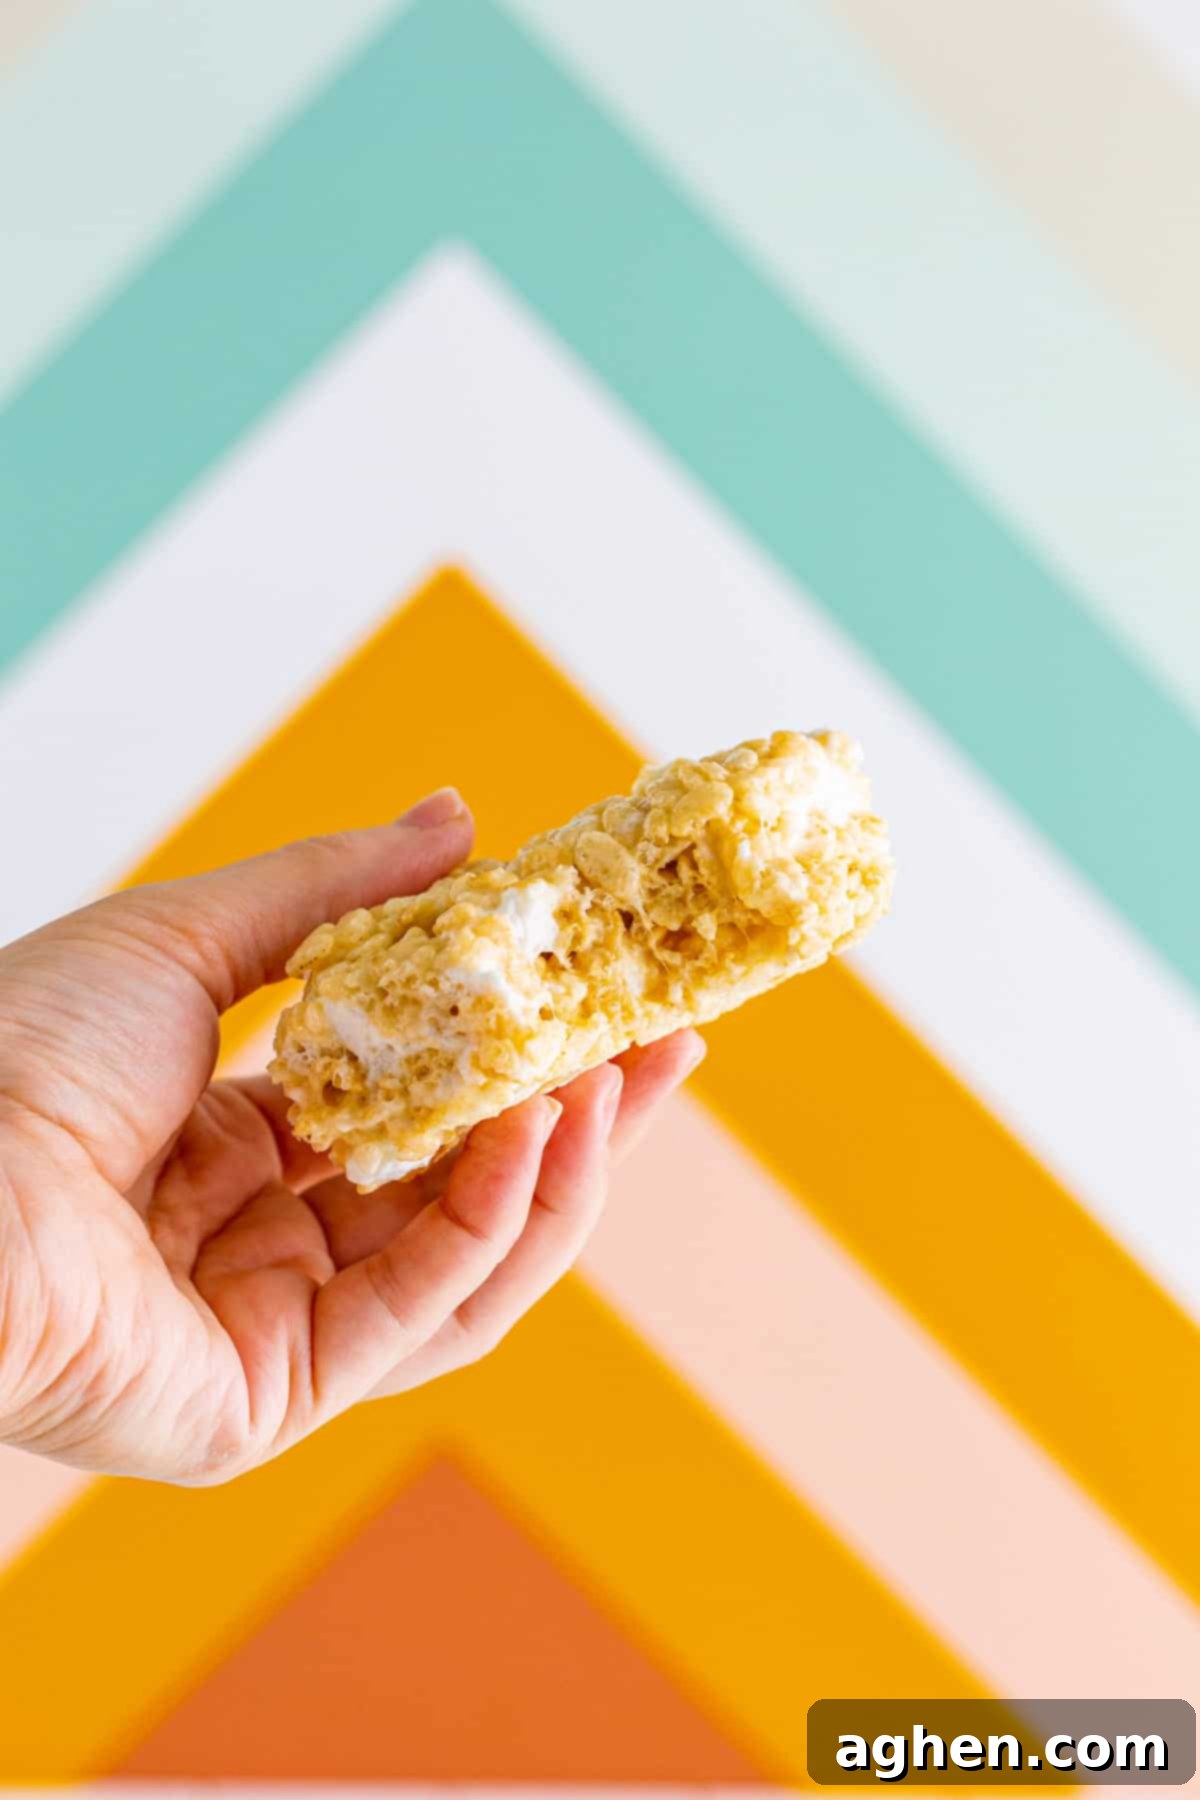
Our goal was to punch up the traditional recipe, infusing it with deeper flavors and an even more satisfying texture. We achieve this by using high-quality salted butter for a richer base, a generous amount of extra marshmallows for unparalleled gooeyness, a hint of pure vanilla extract for aromatic depth, and a sprinkle of fine sea salt to brilliantly balance and elevate all the sweet notes. Just as salt magically enhances the flavor of caramel, it performs the same wonder for your favorite childhood treat, turning a good dessert into an unforgettable one. Get ready for a treat that’s not just sweet, but complex, comforting, and absolutely irresistible.
Craving a different flavor adventure? Don’t limit your crispy cereal creativity! Be sure to explore these Chocolate Peanut Butter Rice Krispie Treats, a decadent blend of creamy peanut butter, peanut butter chips, and rich chocolate chips – truly a match made in heaven. I also love incorporating crispy rice cereal into these incredible Peanut Butter Balls with Rice Krispies, which are phenomenal for parties. And if you’re a true cereal treat enthusiast, you definitely can’t go wrong with the vibrant and delicious Funfetti Puppy Chow, another easy no-bake delight. But for now, let’s focus on gathering your simple ingredients and essential kitchen tools to embark on making the most glorious, extra-marshmallowy Rice Krispie treats you’ve ever experienced.
Ingredients for the Best Rice Krispies Treats
This section details each ingredient, offering helpful notes and potential substitution options to ensure your treats turn out perfectly every time. For precise measurements, the full ingredient list, and step-by-step instructions, please refer to the printable recipe card conveniently located at the end of this post.
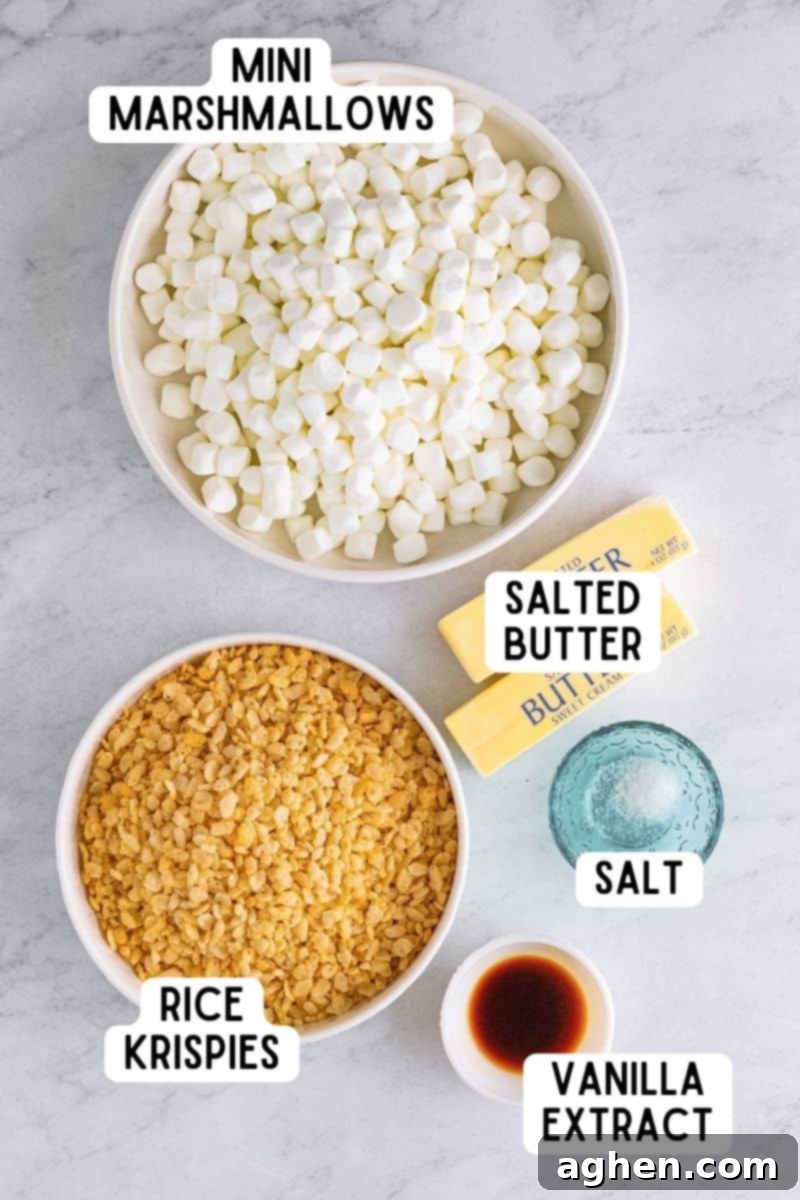
- Salted Butter — This is not a mistake! Using salted butter is a key enhancement. The salt naturally present in the butter acts as a flavor enhancer, balancing the intense sweetness of the marshmallows and bringing out a richer, more complex flavor profile. You’ll notice a significant difference compared to unsalted butter.
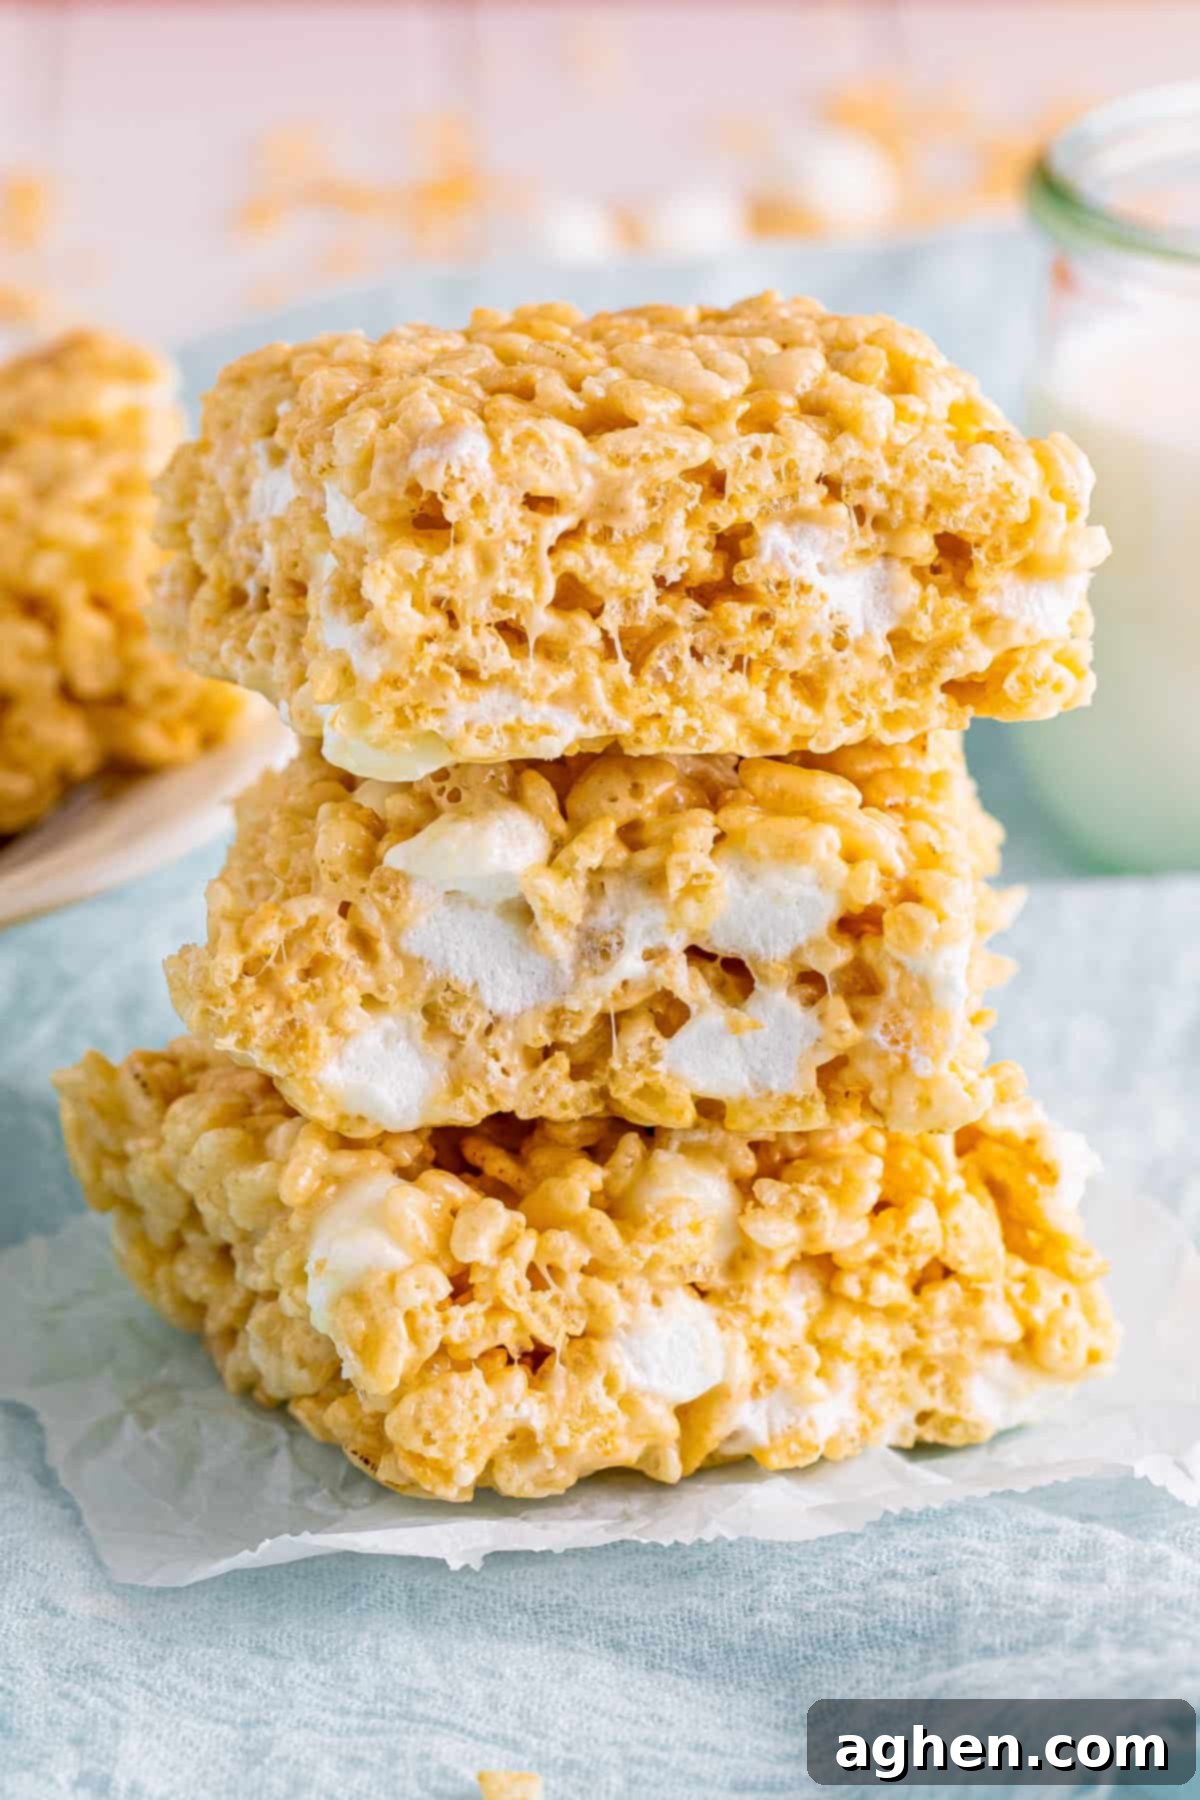
- Mini Marshmallows — Our recipe calls for an abundance of mini marshmallows – significantly more than the classic recipe – to ensure an exceptionally gooey, soft, and marshmallow-forward treat. Mini marshmallows are preferred because they melt more quickly and evenly than large marshmallows, making the cooking process smoother. For the absolute best results and the perfect gooey texture, always use fresh, soft marshmallows. Stale marshmallows can lead to a less desirable, tougher texture.
- Vanilla Extract — While often omitted from the classic recipe, pure vanilla extract is a crucial addition that elevates these treats from simple to sublime. It adds a warm, aromatic depth of flavor that complements the sweetness of the marshmallows beautifully. Pure vanilla extract offers the most robust flavor, but a good quality imitation vanilla will also work well if that’s what you have on hand. Don’t skip this ingredient if you want truly bakery-style treats!
- Fine Sea Salt — This is our secret weapon and perhaps the most surprising ingredient to some. A small amount of fine sea salt, in addition to the salted butter, performs magic by enhancing the perception of sweetness and adding a delightful counterpoint. It prevents the treats from being cloyingly sweet and introduces a subtle, gourmet touch. I highly recommend using fine sea salt for its clean taste and even distribution, but regular table salt can be used in a pinch, just be mindful of its stronger flavor.
- Rice Krispies Cereal — The foundation of our beloved treat! While any brand of crispy rice cereal will technically work, I find that the original Kellogg’s Rice Krispies cereal offers the best texture and flavor. Ensure your cereal is fresh and crisp, as stale cereal can compromise the final texture of your treats. Check the expiration date to be sure!
Essential Equipment for Crispy Treats
Gathering the right tools before you start ensures a smooth and enjoyable no-bake dessert making experience. Here’s a list of the kitchen essentials you’ll need to create the best homemade Rice Krispie Treats:
- 10×15 jelly roll pan or a 9×13 baking dish: A jelly roll pan provides a thinner, more classic-sized treat, while a 9×13 dish will yield thicker, chewier bars. Choose based on your preference!
- Aluminum foil: Crucial for lining your pan, preventing sticking, and making cleanup a breeze.
- Cooking spray: Essential for greasing the foil-lined pan and your hands, ensuring the sticky marshmallow mixture doesn’t cling everywhere.
- Large pot or Dutch oven: A sturdy, non-stick pot is ideal for melting butter and marshmallows without scorching. Its size allows for easy stirring and mixing.
- Measuring cups and spoons: For accurately portioning out your ingredients, ensuring consistency in the recipe.
- Rubber spatula: A heat-resistant spatula is perfect for stirring the melting marshmallows and folding in the cereal, as it won’t scratch your pot and handles sticky mixtures well.
- Sharp knife: For clean, precise cuts once the treats have set, allowing you to create neat bars.
- Air-tight container: For proper storage, keeping your treats fresh, soft, and delicious for longer.
How to Make the Best Rice Krispies Treats: Step-by-Step Guide
Follow these easy step-by-step instructions with accompanying photos to master this upgraded Rice Krispies Treats recipe. For the complete printable version, including all measurements and detailed notes, please scroll down to the recipe card below.
Step 1: Prepare Your Pan. Start by taking your chosen jelly roll pan or baking dish. Line it thoroughly with aluminum foil, ensuring the foil extends over the edges for easy lifting later. Lightly spray the foil with cooking spray to prevent any sticking whatsoever. This crucial step guarantees your treats will come out effortlessly. Set the prepared pan aside.
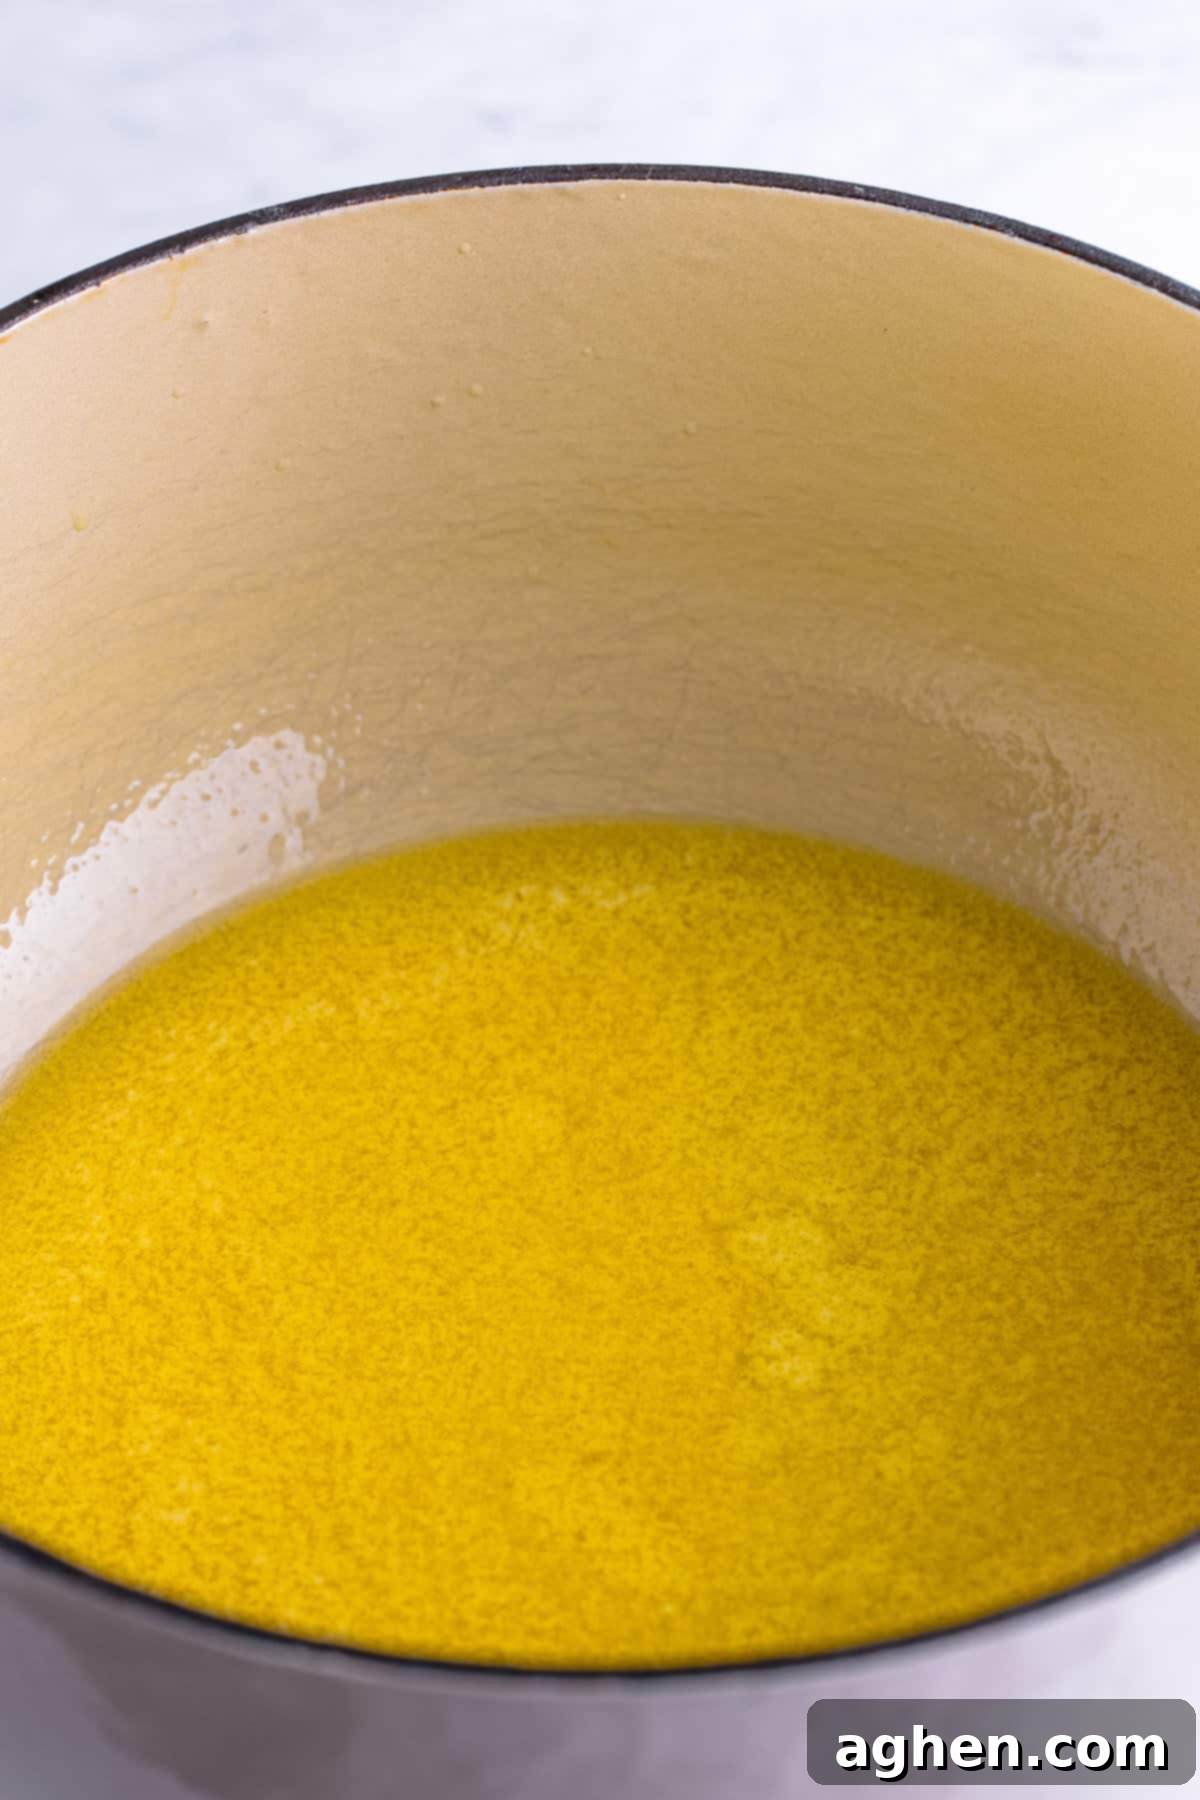
Step 2: Melt the Butter. In a large, heavy-bottomed pot or a Dutch oven, melt the salted butter over medium-low heat. It’s important to keep the heat low to prevent the butter from browning too quickly, which can alter the flavor of your treats. Allow it to melt completely until liquid.
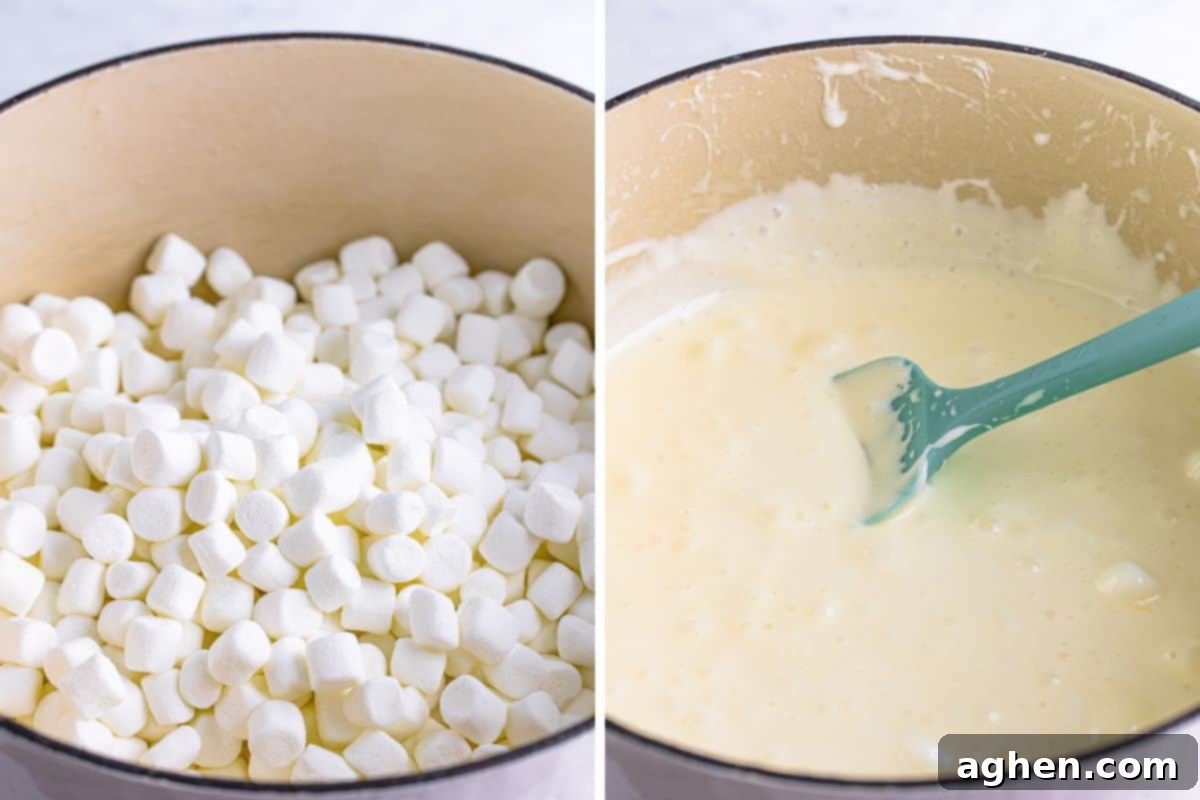
Step 3: Melt the Marshmallows. This recipe features extra marshmallows for ultimate gooeyness! Before adding them to the pot, set aside precisely 4 cups of mini marshmallows. These will be added later for pockets of soft, unmelted marshmallow texture. Add the *remaining* marshmallows to the melted butter in the pot. Stir the marshmallow mixture constantly and patiently over medium-low heat until it is completely melted and smooth. Avoid high heat, as this can make your treats hard.
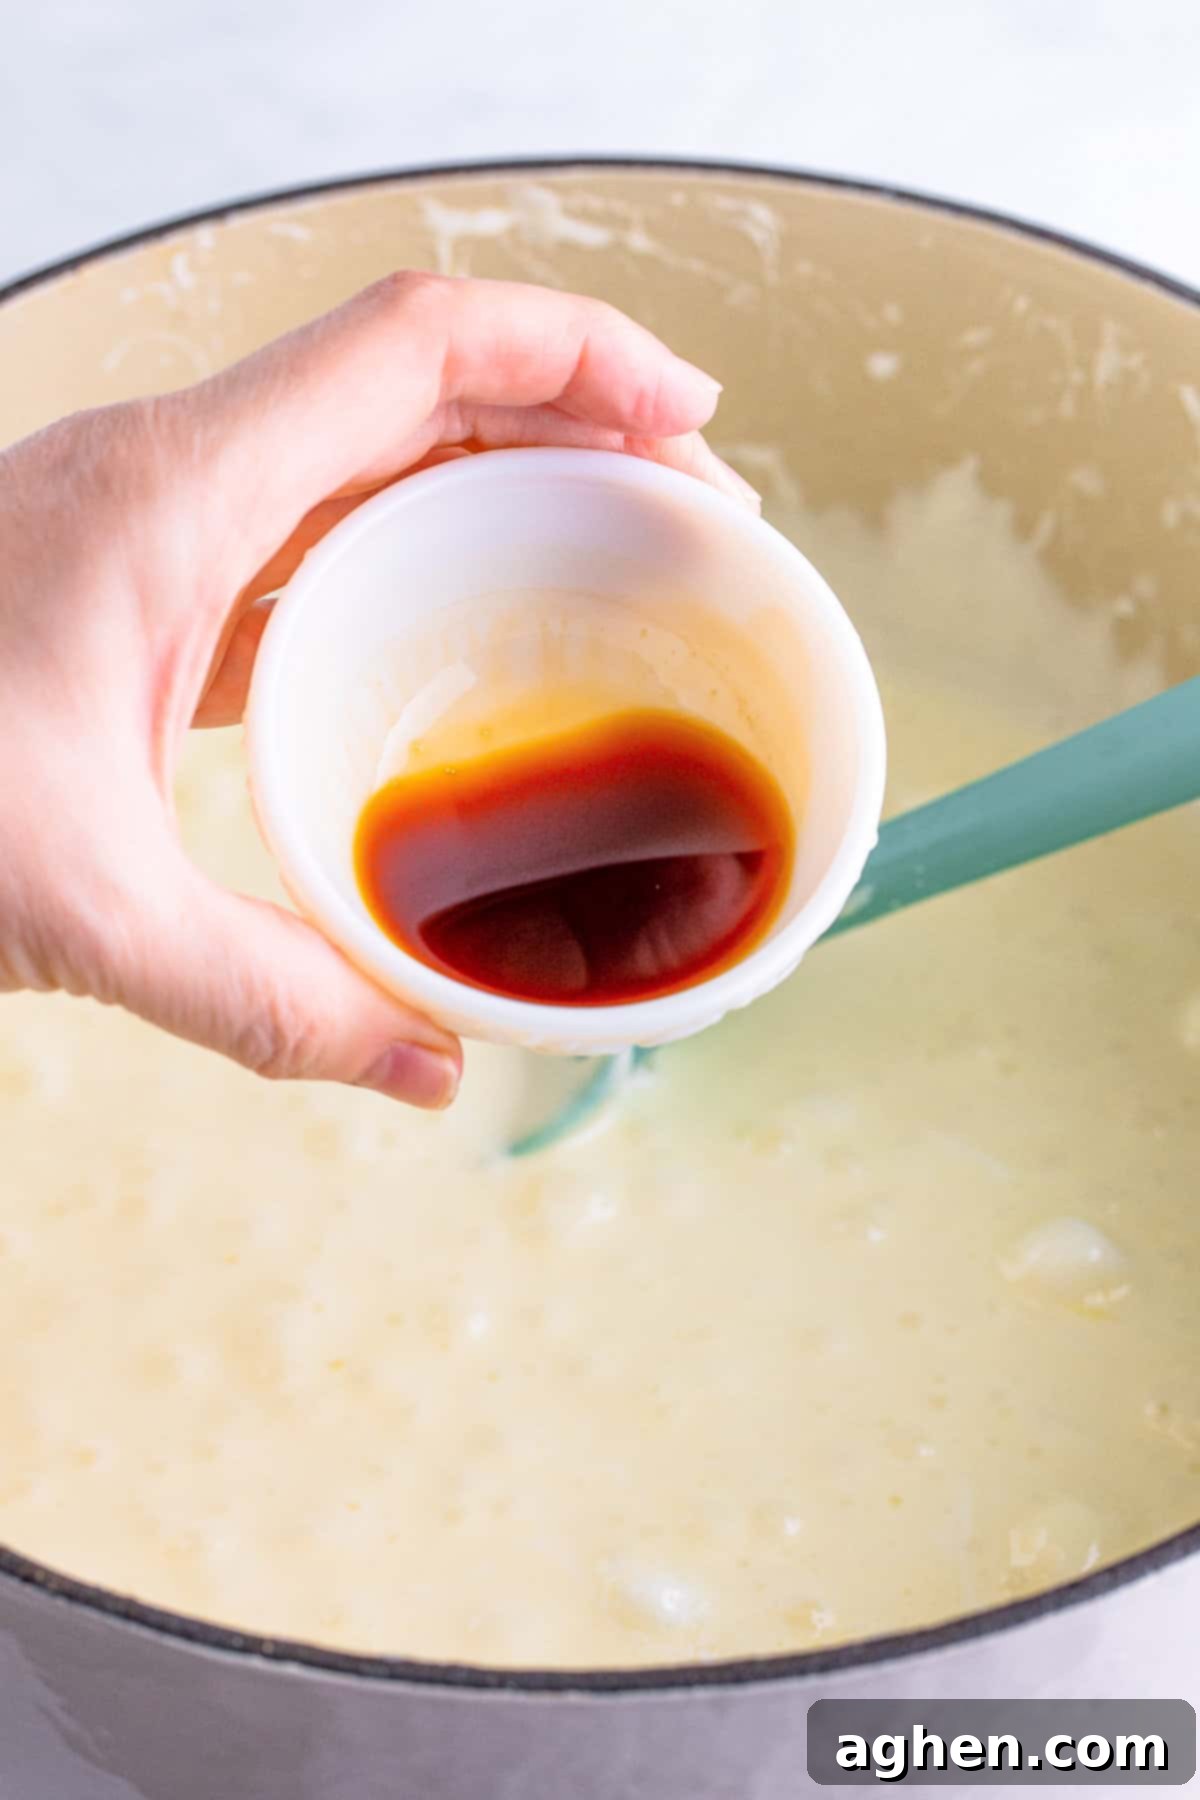
Step 4: Add Flavorings. Once the marshmallows are fully melted and glossy, immediately remove the pot from the heat. Stir in the vanilla extract and the fine sea salt. These additions are key to our upgraded flavor profile, adding depth and balance. Stir vigorously until both are thoroughly incorporated into the marshmallow mixture.
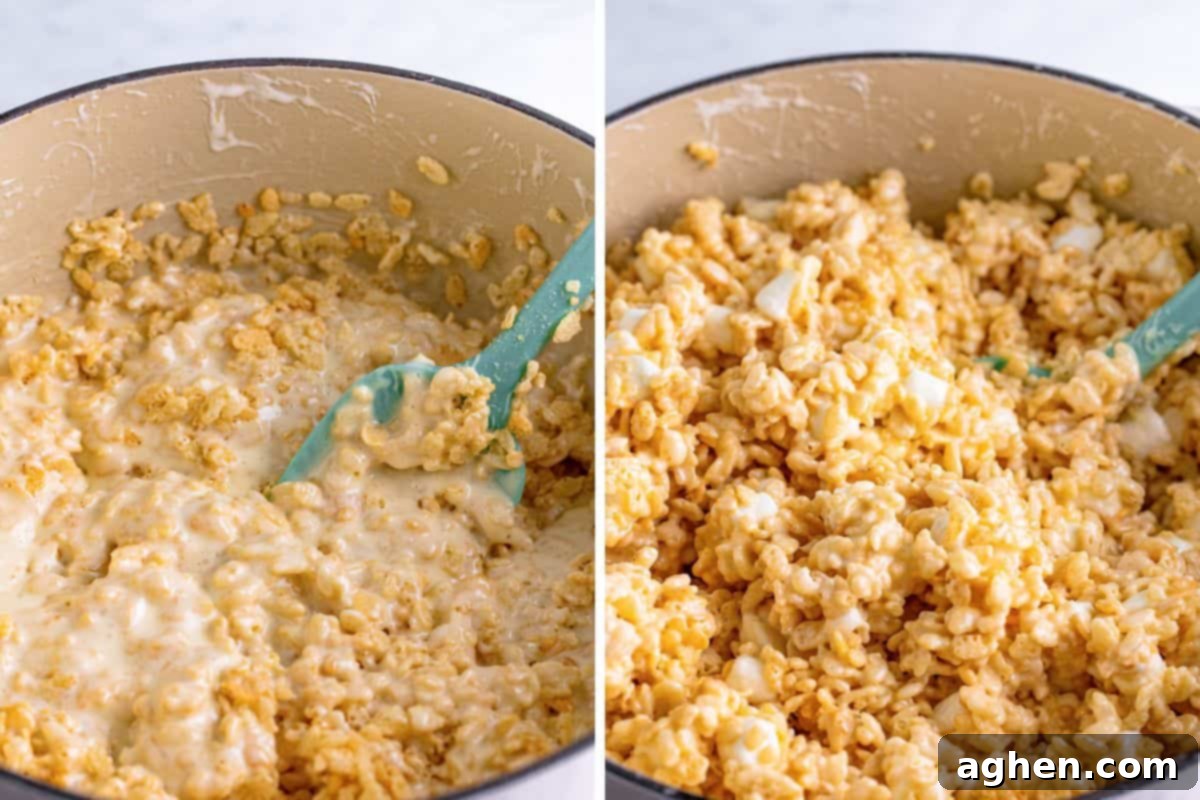
Step 5: Incorporate Cereal and Remaining Marshmallows. Now for the crispy part! Add approximately half of the Rice Krispies cereal to the pot and gently fold it into the marshmallow mixture using your rubber spatula until just combined. Next, add the remaining cereal and the 4 cups of reserved mini marshmallows that you set aside earlier. Continue to stir gently until all the cereal is coated and the whole marshmallows are evenly distributed throughout the mixture. Be careful not to overmix, as this can crush the cereal and lead to a denser treat.
Step 6: Press into Pan. Promptly pour the warm, sticky mixture into your prepared, foil-lined pan. For this step, lightly grease your hands (or the back of another piece of foil or parchment paper) with cooking spray. Gently and evenly press the mixture into the pan. The key here is to press *lightly*. Do not smash or compact the mixture down, as this will result in hard, dense treats. A gentle, even pressure is all you need to form the marshmallow and cereal mixture to the pan’s shape, ensuring a light and airy chew.
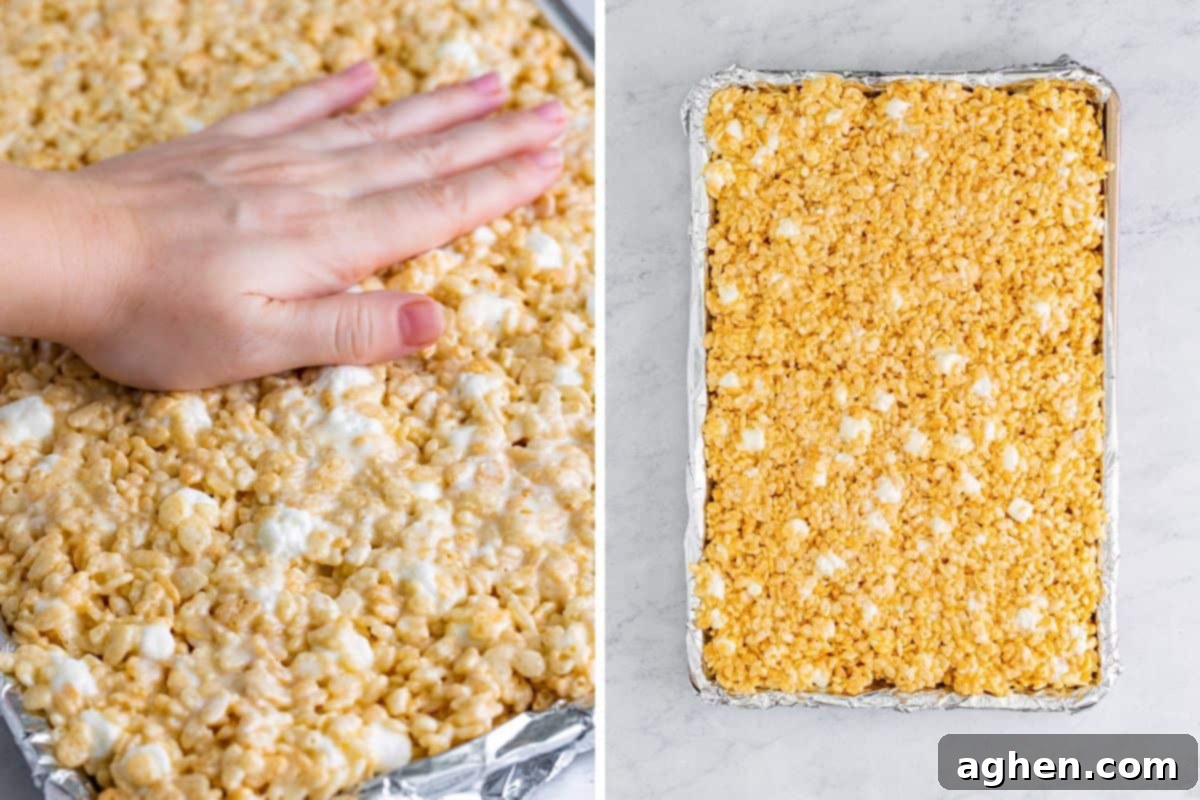
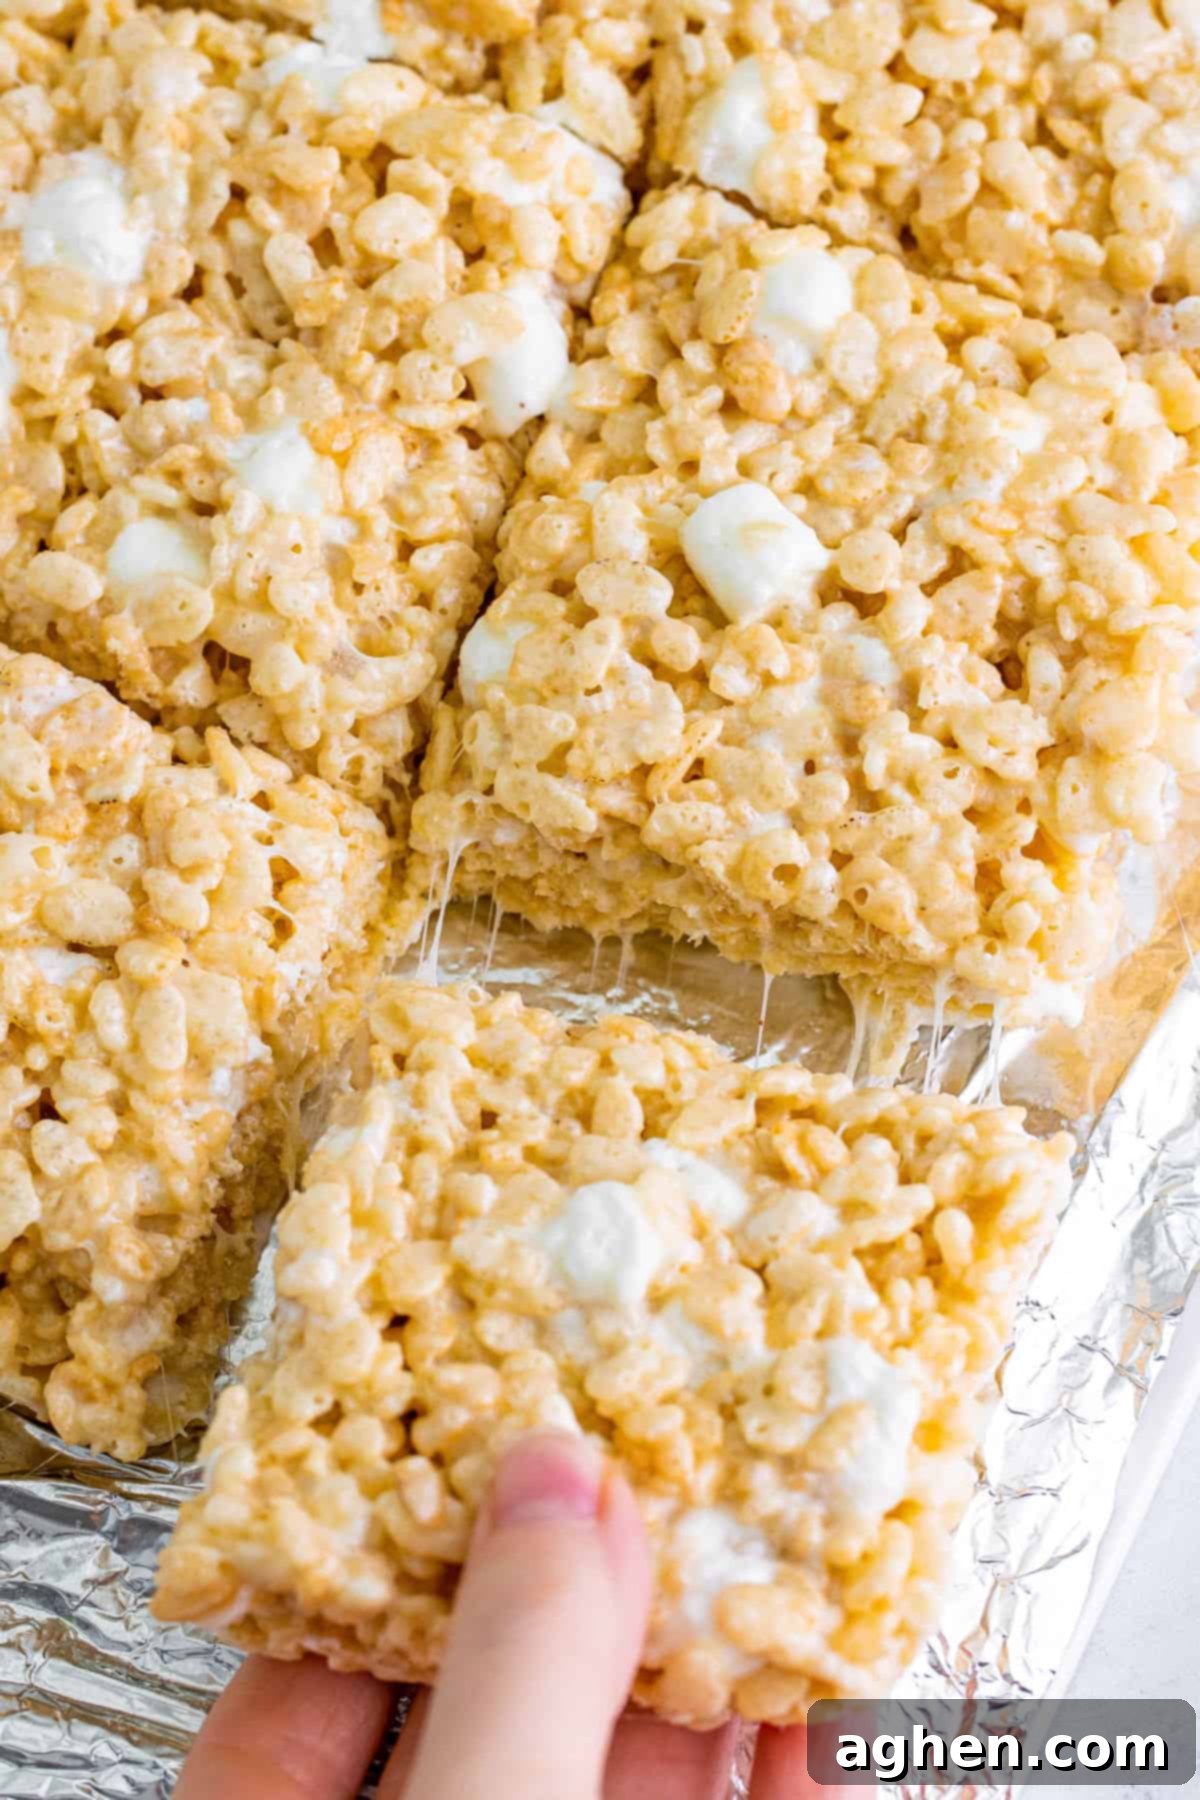
Step 7: Set and Serve. Allow your freshly made treats to set up at room temperature for at least 2 hours. This crucial setting time ensures they firm up properly, making them easier to cut and providing that perfect chewy texture. Once fully set, use the foil overhang to lift the entire slab of treats out of the pan. Place it on a cutting board, cut into your desired bar sizes, and serve immediately. Enjoy the rich, gooey, and perfectly balanced flavors!
Storage and Freezing Tips for Freshness
To ensure your homemade Rice Krispies Treats remain as delicious and soft as the day you made them, proper storage is key. Following these guidelines will help maintain their fresh texture and flavor for days or even months.
Room Temperature Storage: Store your crispy rice treats in an airtight container at room temperature for up to 5 days. Placing a piece of wax paper or parchment paper between layers can help prevent them from sticking together, especially if they are extra gooey. Avoid refrigerating Rice Krispies Treats, as the cold can cause them to harden and lose their signature chewiness.
Freezing for Long-Term Storage: Yes, you can freeze homemade Rice Krispies Treats! This is a fantastic option if you’re making a large batch or want to prepare them ahead of time. Wrap individual bars tightly in plastic wrap, then place them in a freezer-safe bag or an airtight container. They can be frozen for up to 3 months. When you’re ready to enjoy them, simply take them out of the freezer and let them thaw at room temperature for about 30-60 minutes. They’ll be almost as good as fresh!
Expert Rice Krispies Treats Recipe Tips and Tricks
Achieving the perfect batch of Rice Krispies Treats is easy when you know a few fundamental tricks. These tips will help you avoid common pitfalls and guarantee gooey, delicious results every time.
- Always Line and Grease Your Pan: This cannot be stressed enough! When making any crispy rice marshmallow treats, always line your baking pan with aluminum foil (or parchment paper) and then generously coat the liner with cooking spray. Skipping this step will result in a frustratingly sticky mess that’s incredibly difficult to remove and clean. The foil and cooking spray create a non-stick surface, ensuring your marshmallow treats lift out effortlessly.
- Use Fresh Marshmallows: The quality of your marshmallows directly impacts the texture of your treats. Make sure your marshmallows are super fresh and soft. Stale marshmallows contain less moisture, making them difficult to melt smoothly and resulting in a tougher, less gooey, and less stretchy final product. Always check the expiration date and opt for a fresh bag for that irresistible gooey factor we all love.
- Ensure Fresh Cereal: Just like marshmallows, the freshness of your crispy rice cereal matters. Stale cereal will lose its crispness, leading to a duller texture and flavor. It can also absorb moisture differently, affecting the overall consistency. Always use fresh cereal – check the expiration date on the box to guarantee a light, crisp bite.
- Do Not Overcook the Marshmallows: This is arguably the most crucial tip for soft, chewy treats. As soon as your marshmallows are fully melted and smooth, immediately remove the pot from the heat. Continuing to cook them, even for a short period, will cause the sugar in the marshmallows to crystallize and harden, resulting in rock-hard treats instead of light, stretchy ones. Cook them over low to medium-low heat and keep a close eye on them.
- Press Gently, Don’t Smash: When transferring the mixture to the prepared pan, resist the urge to press it down firmly. Lightly greasing your hands with cooking spray and gently pressing the mixture into the pan is all that’s needed. Over-compacting the cereal will crush it and push out the air pockets, leading to dense, hard, and unappealing treats.
Creative Additions and Delicious Variations
Once you’ve mastered the best basic Rice Krispies Treats recipe, the possibilities for customization are endless! Here are some fun and tasty ways to get creative with your crispy treats:
- Flavor Swap with Extracts: While vanilla extract adds wonderful depth, it’s incredibly versatile. You can easily swap it out for other extracts to suit a specific holiday, season, or personal preference. Imagine almond extract for a nutty twist, lemon extract for a bright, zesty treat, strawberry extract for a fruity touch, maple extract for a cozy fall vibe, or even cake batter extract for a celebratory flavor. For Christmas, a dash of peppermint extract is simply divine!
- Exciting Add-ins: Elevate your treats by stirring in some delicious additions! Some of my all-time favorites include mini chocolate chips (milk, dark, or white), colorful sprinkles for a festive look, chopped nuts (like pecans or walnuts) for crunch, bits of chopped candy bars (Snickers, Reese’s, Butterfinger), or a swirl of creamy peanut butter for an extra layer of richness. Add these after you’ve mixed in the cereal but before pressing into the pan.
- Fun Shapes with Cookie Cutters: Don’t limit yourself to simple squares! Once the treats are slightly firm but still pliable (about 30 minutes to an hour after setting), use cookie cutters to cut them into charming shapes. Think pumpkins and ghosts for Halloween, Christmas trees and stars for the holidays, hearts for Valentine’s Day, or flowers for spring. This makes them extra special for parties and holidays.
- Explore Different Crispy Cereals: Who says you have to stick to plain Rice Krispies? Get adventurous and experiment with other flavored crispy rice cereals! Lucky Charms Cereal Treats are a popular choice for their colorful marshmallows and sweet flavor. You could also try Cocoa Pebbles for a chocolatey version, Fruity Pebbles for a burst of fruit flavor, or even Cinnamon Toast Crunch for a spicy-sweet twist. Each cereal brings its own unique character to the treat!
Homemade Rice Krispies Treats FAQ
The most common reason for hard Rice Krispie treats is overcooking the marshmallows or cooking them at too high a temperature. When marshmallows are cooked for too long or over excessive heat, the sugar molecules can crystallize, leading to a brittle and hard texture once cooled. To achieve soft, light, and stretchy treats, always melt your butter and marshmallows over low or medium-low heat, and remove them from the stove immediately once they are smooth and fully melted.
If your Rice Krispies Treats are crumbly and not holding their shape, it usually indicates an imbalance in the ratio of marshmallow to cereal. Too much cereal or not enough melted marshmallow can prevent the mixture from binding properly. It’s an easy fix! If you find your mixture is too dry, simply return it to the pot over low heat and add an extra cup or two of mini marshmallows, stirring until just melted and combined. Conversely, if it seems too wet, add a bit more cereal to achieve the right sticky-but-manageable consistency.
For the best results and clean cuts, I strongly recommend waiting at least 2 hours for the crispy rice treats to set up completely at room temperature. This allows the marshmallow to firm up, making the treats much easier to slice into neat bars without excessive stickiness. If your patience is running thin and you can’t resist, waiting at least 30 minutes will allow for some firming of the ingredients, though they may still be quite soft and gooey.
Proper storage is essential to keep homemade Rice Krispie Treats soft, fresh, and gooey. Always store them in an airtight container at room temperature. To prevent them from sticking together, especially if you stack them, add a sheet of wax paper or parchment paper between each layer of treats. If you prefer to keep them in their baking dish, cover the dish very tightly with plastic wrap, pressing it directly onto the surface of the treats to minimize air exposure. Remember to avoid refrigeration, as it can cause them to become hard and brittle.
More Fun Rice Krispies Treats Recipes to Try
If you’re convinced this is truly the best Rice Krispies Treats recipe and you’re craving even more sugary, marshmallow-y goodness, then you’re in for a treat! Explore these fantastic and creative variations perfect for different holidays and occasions. Each one takes the classic concept and adds a unique, delightful twist:
- Grinch Rice Krispie Treats: Perfect for spreading holiday cheer with a mischievous green hue!
- Santa Hat Rice Krispie Treats: Adorably festive and a hit at any Christmas party.
- Christmas Tree Rice Krispie Treats: Fun to decorate and a delightful holiday activity for the whole family.
- Penguin Rice Krispies Treats: Cute and whimsical, great for winter celebrations or kid-friendly events.
- Mummy Rice Krispies Treats: Spooktacular and easy to make for Halloween festivities.
Best Rice Krispies Treats Recipe
Author: Jaclyn
Ingredients
- 1 cup salted butter
- 3 10-ounce bags mini marshmallows
- 1 Tablespoon vanilla extract
- ½ teaspoon fine sea salt
- 9 ounce box Rice Krispies cereal
Instructions
-
Line a 10×15 jelly roll pan (or 9×13 baking dish for thicker treats) with aluminum foil, ensuring overhang on the sides. Lightly spray the foil with cooking spray to prevent sticking. Set aside.
-
In a large Dutch oven or stock pot, melt the salted butter over medium-low heat.
-
Reserve 4 cups of the mini marshmallows on the side. Add the remaining marshmallows to the melted butter in the pot. Stir constantly until completely melted and smooth. Be careful not to overcook.
-
Remove the pot from the heat. Stir in the vanilla extract and fine sea salt until fully combined.
-
Add half of the Rice Krispies cereal and gently fold it in. Then, add the remaining cereal and the reserved 4 cups of marshmallows. Stir gently until all ingredients are combined and the whole marshmallows are distributed. Do not overmix.
-
Pour the mixture into the prepared pan. Lightly grease your hands with cooking spray and gently press the treats into the pan to form an even layer. Do not smash them down; use gentle pressure.
-
Let the treats set up at room temperature for at least 2 hours. Once set, lift them from the pan using the foil, cut into bars, and serve.
Notes
- If you don’t have a jelly roll pan, a 9×13 baking dish can be used instead. The treats will be thicker, and you will have fewer servings.
- You can substitute another extract for the vanilla if you wish. Almond, lemon, strawberry, or cake batter extract are all delicious options for a fun twist.
- Store at room temperature in an airtight container for up to 5 days. For longer storage, wrap individually and freeze for up to 3 months.
Nutrition
Carbohydrates: 38g |
Protein: 1g |
Fat: 8g |
Saturated Fat: 5g |
Polyunsaturated Fat: 0.4g |
Monounsaturated Fat: 2g |
Trans Fat: 0.3g |
Cholesterol: 20mg |
Sodium: 194mg |
Potassium: 18mg |
Fiber: 0.1g |
Sugar: 22g |
Vitamin A: 944IU |
Vitamin C: 7mg |
Calcium: 4mg |
Iron: 3mg
Did You Make This Recipe?
Share your delightful creations with me on Instagram @crayonsandcravings and be sure to follow on Pinterest @crayonsandcravings for even more inspiring recipes and treats!
Pin Recipe
Leave A Review
