Unlocking Ultimate Flavor: Advanced Grilling Techniques for Your Weber Grill
Grilling is more than just a method of cooking; it’s a celebrated culinary art form, a blend of science and intuition that transforms raw ingredients into delectable masterpieces. For dedicated Weber grill enthusiasts, true mastery extends far beyond the basic flipping of burgers or searing of steaks. It demands a sophisticated understanding of heat dynamics, strategic smoke management, and the intricate art of flavor infusion. Whether you’re a seasoned pitmaster looking to refine your craft or an eager novice ready to elevate your barbecue game, this comprehensive guide will equip you with advanced strategies to achieve consistently superior grilled meats that will undoubtedly impress even the most discerning palates.

Mastering Heat Zones: The Three-Zone Fire Method
One of the fundamental principles of advanced grilling, especially on versatile Weber grills, is the art of mastering heat zones. While many grillers are familiar with the concepts of direct and indirect heat, a truly advanced technique involves creating a dynamic Three-Zone Fire. This method grants you unparalleled control over your cooking space, allowing you to simultaneously manage different cooking temperatures for various applications.
Setting Up Your Three-Zone Fire
To implement this highly effective setup, arrange your charcoal in a specific manner: one side of the grill should have a concentrated pile of coals for high heat, the middle section should have a thinner, more spread-out layer for medium heat, and the third side should remain entirely free of coals, serving as a cool or resting zone. For gas grills, you can achieve a similar effect by adjusting individual burner settings – one burner on high, the middle on medium, and one or more off completely.
Benefits of the Three-Zone Fire
This versatile configuration is incredibly powerful. It’s perfect for techniques like reverse searing, where meat is gently cooked at a low temperature before being moved to high heat for a perfect crust. It also allows you to move items seamlessly between zones, ensuring delicate vegetables don’t burn while thicker cuts slowly come to temperature. The cool zone is invaluable for resting meats, keeping finished items warm without overcooking, or rescuing anything that might be cooking too quickly. This flexibility empowers you to handle any grilling scenario with precision and confidence, transforming your Weber into a multi-functional cooking station.
The Essence of Barbecue: Mastering Smoke Flavor
Smoke is the soul of barbecue, an elusive ingredient that can elevate your meats from merely good to truly extraordinary. However, wielding smoke effectively requires careful consideration. Using the wrong type of wood or over-smoking your meat can lead to bitter, unappetizing results. Understanding these key aspects will help you master the art of smoke infusion on your grill.
Wood Selection for Optimal Flavor
The type of wood you choose dramatically impacts the final flavor profile of your smoked meats. Experimentation is key to finding your signature taste:
- Fruitwoods (Apple, Cherry, Pecan): These woods impart a sweet, mild, and fruity smoke that pairs beautifully with lighter meats like poultry, pork, and fish. Cherry, in particular, also adds a lovely reddish hue to the meat.
- Mild Hardwoods (Oak, Alder): Oak offers a medium, earthy smoke that is versatile and works well with almost any meat, especially beef, pork, and game. Alder provides a delicate, slightly sweet smoke, often favored for fish and poultry.
- Strong Hardwoods (Hickory, Mesquite): Hickory delivers a robust, smoky bacon-like flavor, ideal for beef briskets, ribs, and pork shoulders. Mesquite, known for its intense and distinctive flavor, is best used sparingly, often with red meats or for adding a bold kick to dishes.
Consider blending different types of wood to create more complex and nuanced flavor profiles. For example, a mix of apple and hickory can provide a sweet-smoky balance perfect for pork ribs.
To Soak or Not to Soak Wood Chips?
This is a common debate among grillers. While some argue that soaking wood chips is unnecessary and only produces steam, many experienced grillers find that soaked chips produce a longer, more consistent smoke. The moisture in the wood must evaporate before the wood begins to smolder and smoke, delaying the onset of smoke but extending its duration.
- Soaked Chips: If you choose to soak, immerse chips in water (or even beer, wine, or juice for added flavor) for at least 30 minutes, then drain well. Place the soaked chips directly on hot coals for charcoal grills, or in a smoker box for gas grills.
- Dry Chips/Chunks: Dry chips ignite faster, providing immediate, intense smoke. For a more profound and sustained smoke flavor, especially for longer cooks, consider using larger wood chunks instead of chips. Chunks burn slower and produce a more consistent, cleaner smoke profile.
Controlling Smoke Levels and Quality
The quality and quantity of smoke are crucial. Too much smoke, or “dirty” smoke, can result in bitter, acrid, and overpowering flavors that ruin your meat. The goal is to achieve a “thin, blue smoke,” which indicates a clean-burning fire and optimal flavor infusion, rather than thick, white, billowy smoke.
Achieving thin blue smoke relies on proper airflow and maintaining a clean, hot fire. Adjust the top and bottom vents on your Weber charcoal grill to control the oxygen flow. More oxygen generally leads to a hotter, cleaner burn and less acrid smoke. For gas grills, ensure your smoker box or foil packet is placed correctly to smolder, not burn intensely. Always aim for a steady, gentle stream of barely visible, bluish smoke for the best results.
Advanced Meat Preparation Techniques for Superior Tenderness and Flavor
The journey to grilling perfection begins long before your meats ever touch the grates. Thoughtful and thorough preparation techniques are paramount to elevating the taste, moisture, and tenderness of your culinary creations.

The Power of Dry Brining
Dry brining is a game-changer for enhancing both flavor and moisture retention in meats, often yielding superior results compared to traditional wet brining. It involves generously rubbing the meat with salt (typically kosher salt or sea salt) and then allowing it to rest uncovered in the refrigerator. This process works in two stages:
- The salt initially draws moisture out of the meat, creating a concentrated brine on the surface.
- Over several hours or overnight, this salty liquid is reabsorbed into the meat, carrying the salt and any added seasonings deep into the muscle fibers.
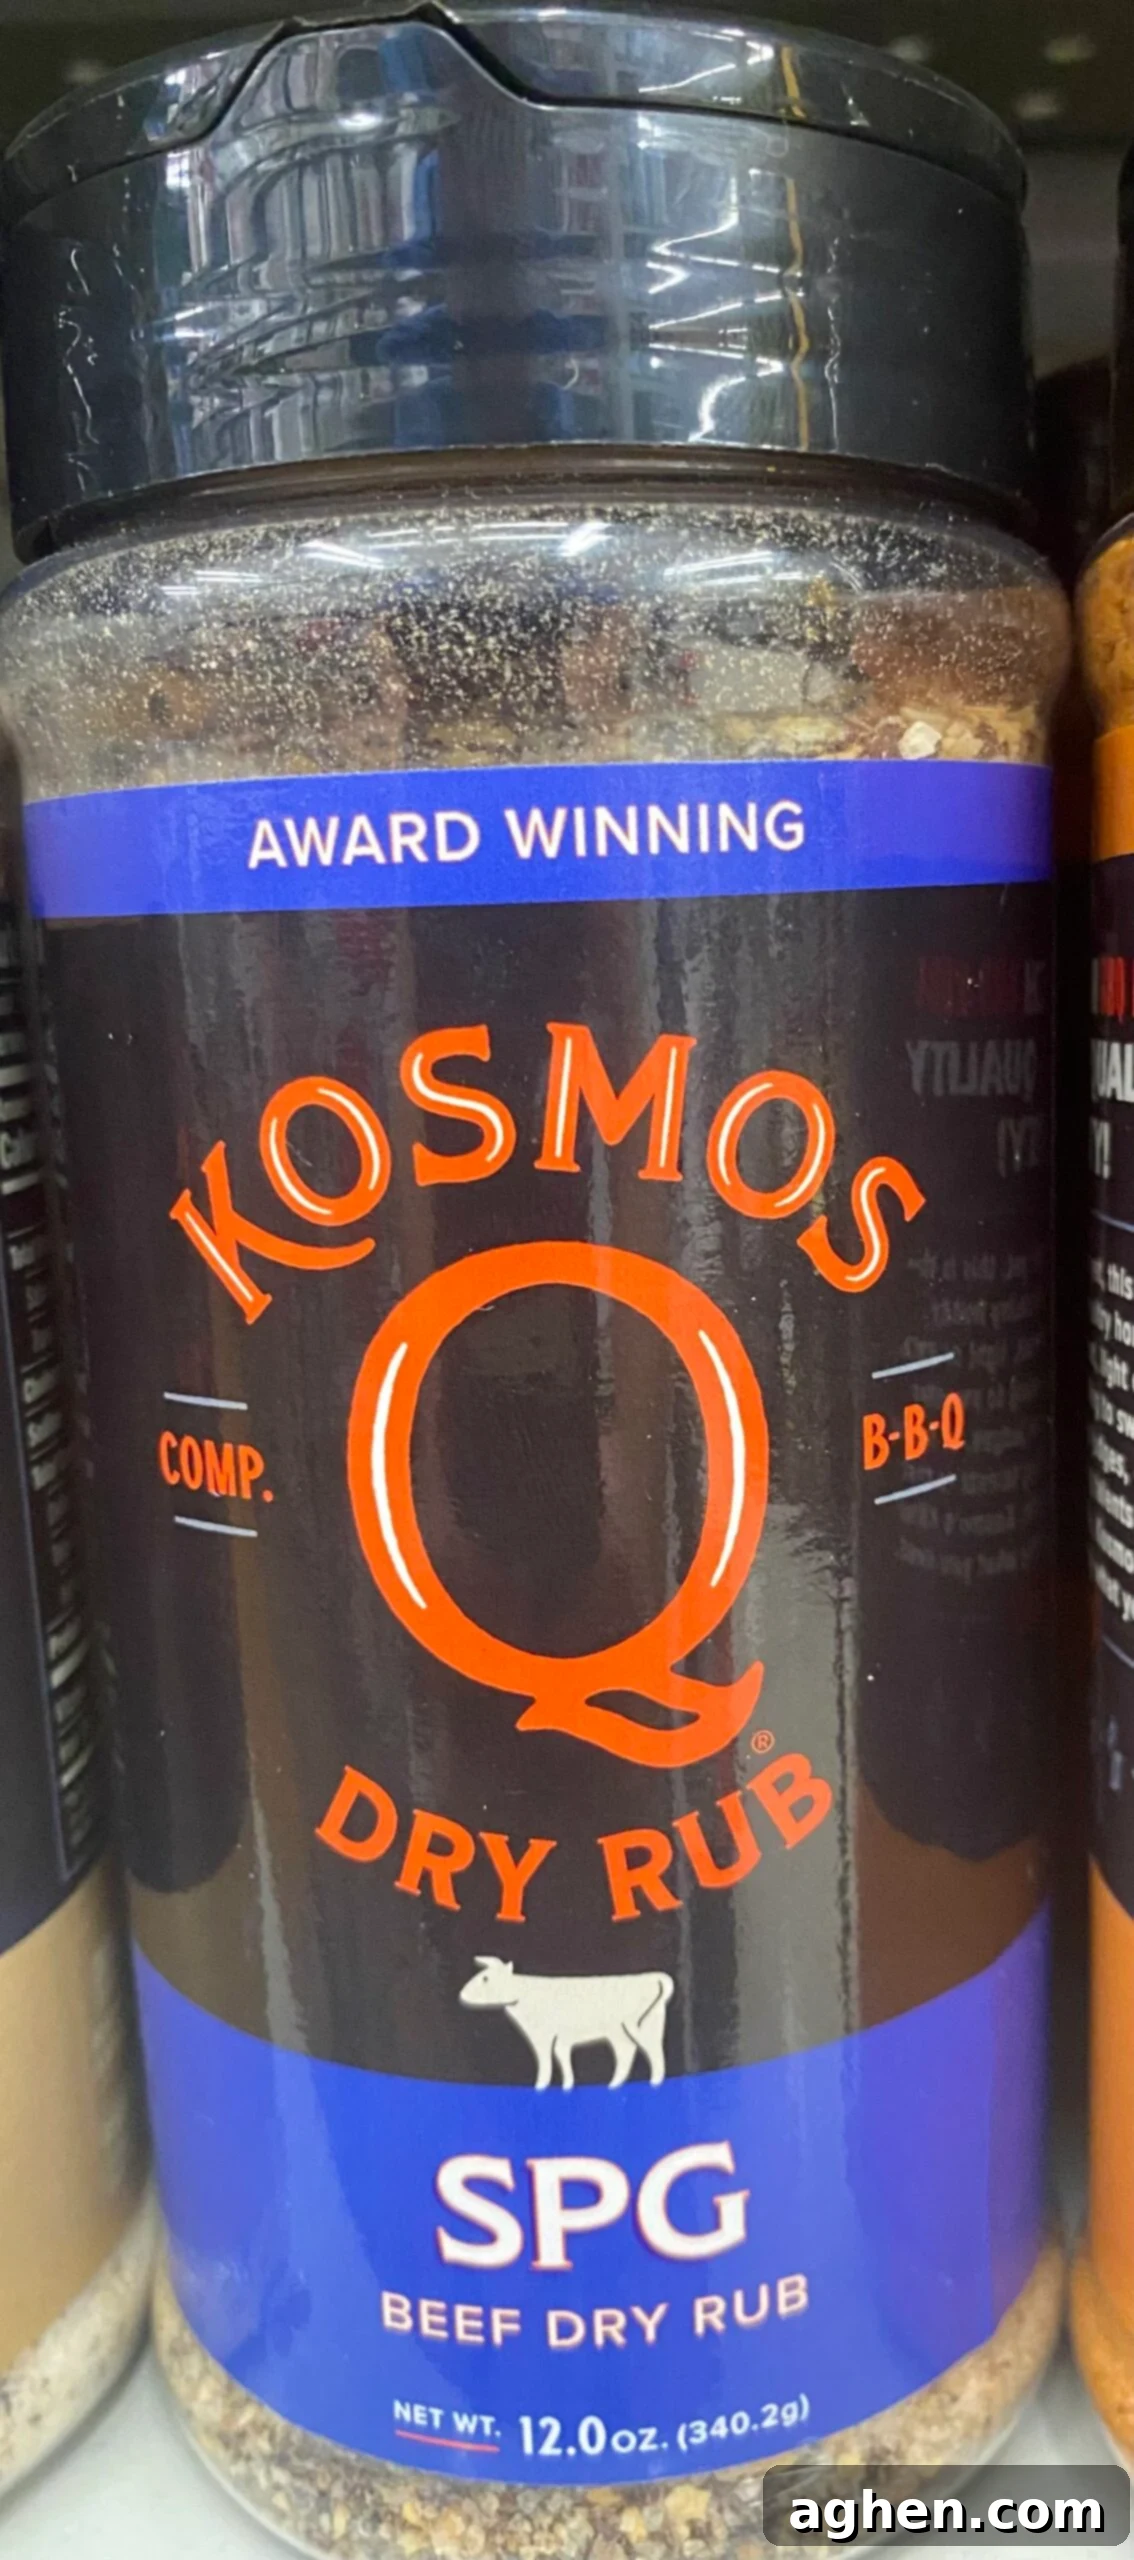
The salt denatures proteins, allowing the meat to retain more moisture during cooking, resulting in significantly juicier and more flavorful meat. For added complexity, incorporate black pepper, garlic powder, onion powder, or finely chopped fresh herbs like rosemary and thyme into your salt rub. Apply the dry brine 12-24 hours before grilling for best results, ensuring the meat is patted dry before application.
Injecting Flavors for Deep Infusion
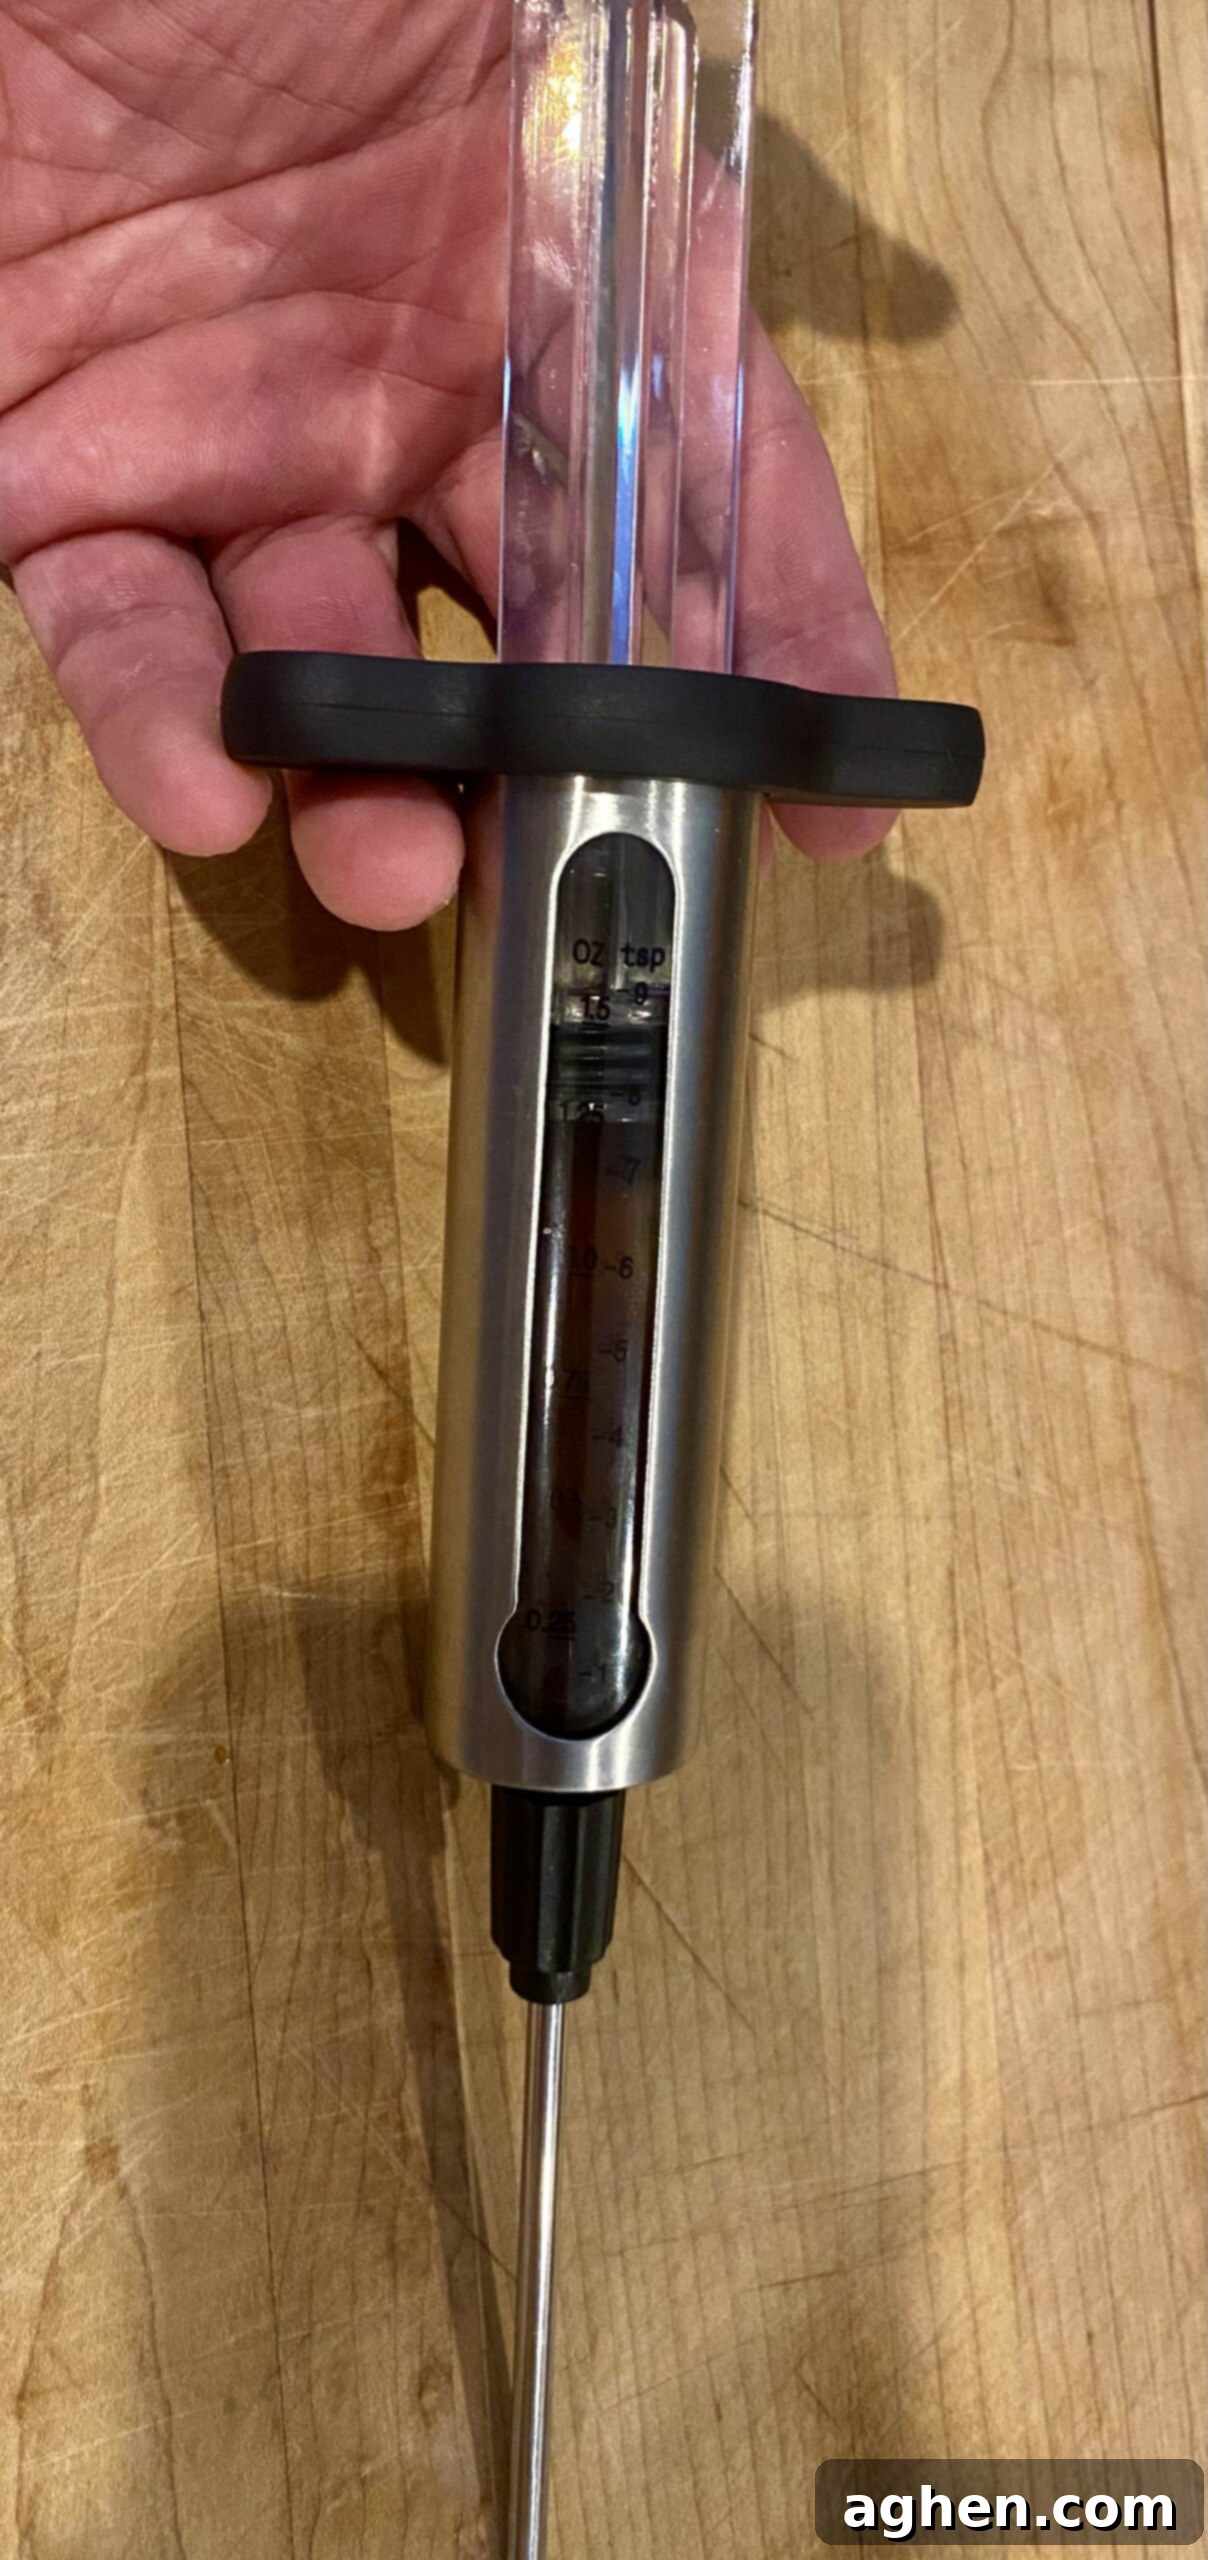
For larger, thicker cuts of meat like briskets, pork shoulders, or even large roasts, surface rubs alone may not penetrate deeply enough to flavor the entire cut. This is where a meat injector becomes an indispensable tool. Injecting a flavorful liquid directly into the flesh ensures that every bite is bursting with taste and moisture from the inside out.
Common injection mixtures include:
- Savory Broth: Chicken, beef, or vegetable broth mixed with melted butter, Worcestershire sauce, and a blend of spices (garlic powder, onion powder, paprika, cayenne).
- Tangy Marinade: A vinegar-based mixture with herbs, spices, and a touch of sugar or honey.
- Rich Garlic Butter: Melted butter infused with minced garlic and herbs, perfect for poultry or prime rib.
When injecting, make multiple injections throughout the meat, spacing them a few inches apart. Push the needle in at various angles to distribute the liquid evenly. This technique not only adds flavor but also helps to keep the meat incredibly moist during long, slow cooks, which is especially beneficial on a Weber grill designed for consistency.
Advanced Grilling Techniques for Perfect Results
Beyond basic searing, these sophisticated methods leverage the capabilities of your Weber grill to achieve specific textures and flavor profiles, elevating your outdoor cooking prowess.
The Two-Stage Cook: Reverse Searing and Beyond
The two-stage cook is a versatile technique that applies to many cuts, especially those that benefit from a tender interior and a crispy, flavorful exterior. While often associated with reverse searing, its principles can be applied to a wider range of meats. The core idea is an initial slow cook at a lower temperature, followed by a high-heat finish.
Reverse Searing: This method is particularly excellent for thicker steaks (1.5 inches or more), roasts, or even large chicken breasts. First, cook the meat over indirect, low to medium heat (using your two-zone or three-zone fire setup) until it reaches about 10-15 degrees Fahrenheit below your desired final internal temperature. This slow process cooks the meat evenly edge-to-edge, minimizing the gray band often seen in direct-seared steaks. Once the internal temperature is reached, transfer the meat to the high-heat zone for a quick, intense sear on all sides. This creates a beautiful, caramelized crust (Maillard reaction) without overcooking the interior, resulting in a perfect medium-rare steak that’s tender and juicy throughout.
For Ribs or Roasts: Apply the two-stage concept by cooking ribs or roasts low and slow for several hours until they are nearly fall-off-the-bone tender. Then, crank up the heat briefly or move them over a medium-high zone to develop a flavorful, slightly crispy bark or glaze, especially if you’re applying a finishing sauce.
Spatchcocking Poultry for Even Cooking
Spatchcocking, also known as butterflying, is a revolutionary technique for grilling whole chickens or other small birds. It involves removing the backbone and flattening the bird, which offers several distinct advantages over cooking a whole, intact bird:
- Even Cooking: By flattening the bird, all parts are exposed to more uniform heat, preventing the breast from drying out while the thighs finish cooking.
- Quicker Grilling Times: The increased surface area and thinner profile significantly reduce overall cooking time.
- Crispier Skin: More skin is exposed to direct heat, resulting in an incredibly crispy, golden-brown skin that is highly sought after.
How to Spatchcock: Place the bird breast-side down. Using sturdy kitchen shears, cut along both sides of the backbone from the tail to the neck. Remove the backbone (save it for stock!). Flip the bird over, press down firmly on the breastbone until it cracks and flattens. Season thoroughly, ideally with a dry brine or rub, and cook over indirect heat on your Weber grill until nearly done. Finish with a brief stint over direct heat to crisp up that glorious skin.
Flavor Enhancements for Unforgettable Barbecue
Beyond the smoke and the sear, specific techniques and ingredients can infuse your grilled meats with layers of complex and unforgettable flavors.
Creating Concentrated Smoke with Smoke Bombs
When you want an intense, sustained burst of smoke, especially on a gas grill where direct wood placement can be tricky, “smoke bombs” are an excellent solution. This method involves wrapping soaked wood chips (or even dry chips if you prefer) in heavy-duty aluminum foil, poking several holes in the packet to allow smoke to escape, and then placing this packet directly on the coals (for charcoal grills) or over a lit burner (for gas grills). The foil prevents the chips from igniting too quickly, forcing them to smolder and produce a concentrated, flavorful smoke that adds significant depth to your meats.
The Art of Flavorful Basting
Basting meat during grilling is a time-honored tradition that serves multiple purposes: it keeps the meat moist, prevents it from drying out, and most importantly, adds successive layers of flavor with each application. The key is to choose a basting liquid that complements your meat and apply it at the right time.
- Rich & Aromatic: A mixture of melted unsalted butter, minced garlic, fresh rosemary, and thyme is perfect for poultry, pork, or lamb.
- Tangy & Zesty: A vinegar-based “mop sauce” with apple cider vinegar, oil, spices, and a touch of heat can cut through rich meats like beef or pork shoulder, adding a bright, tangy kick.
- Sweet & Spicy: For a slightly sweeter profile, consider a glaze made with fruit juice (apple, orange), honey or maple syrup, and a dash of chili flakes.
Apply your basting liquid every 15-20 minutes, especially during the latter half of the cooking process. Be cautious with basting liquids containing high sugar content, as they can burn easily if applied too early over direct, high heat. Save sugary glazes for the last 15-30 minutes of cooking.

Elevating with Finishing Sauces and Glazes
The right finishing sauce can truly be the crowning glory of your grilled meats, adding a final flourish of flavor, texture, and visual appeal. The timing of application is crucial:
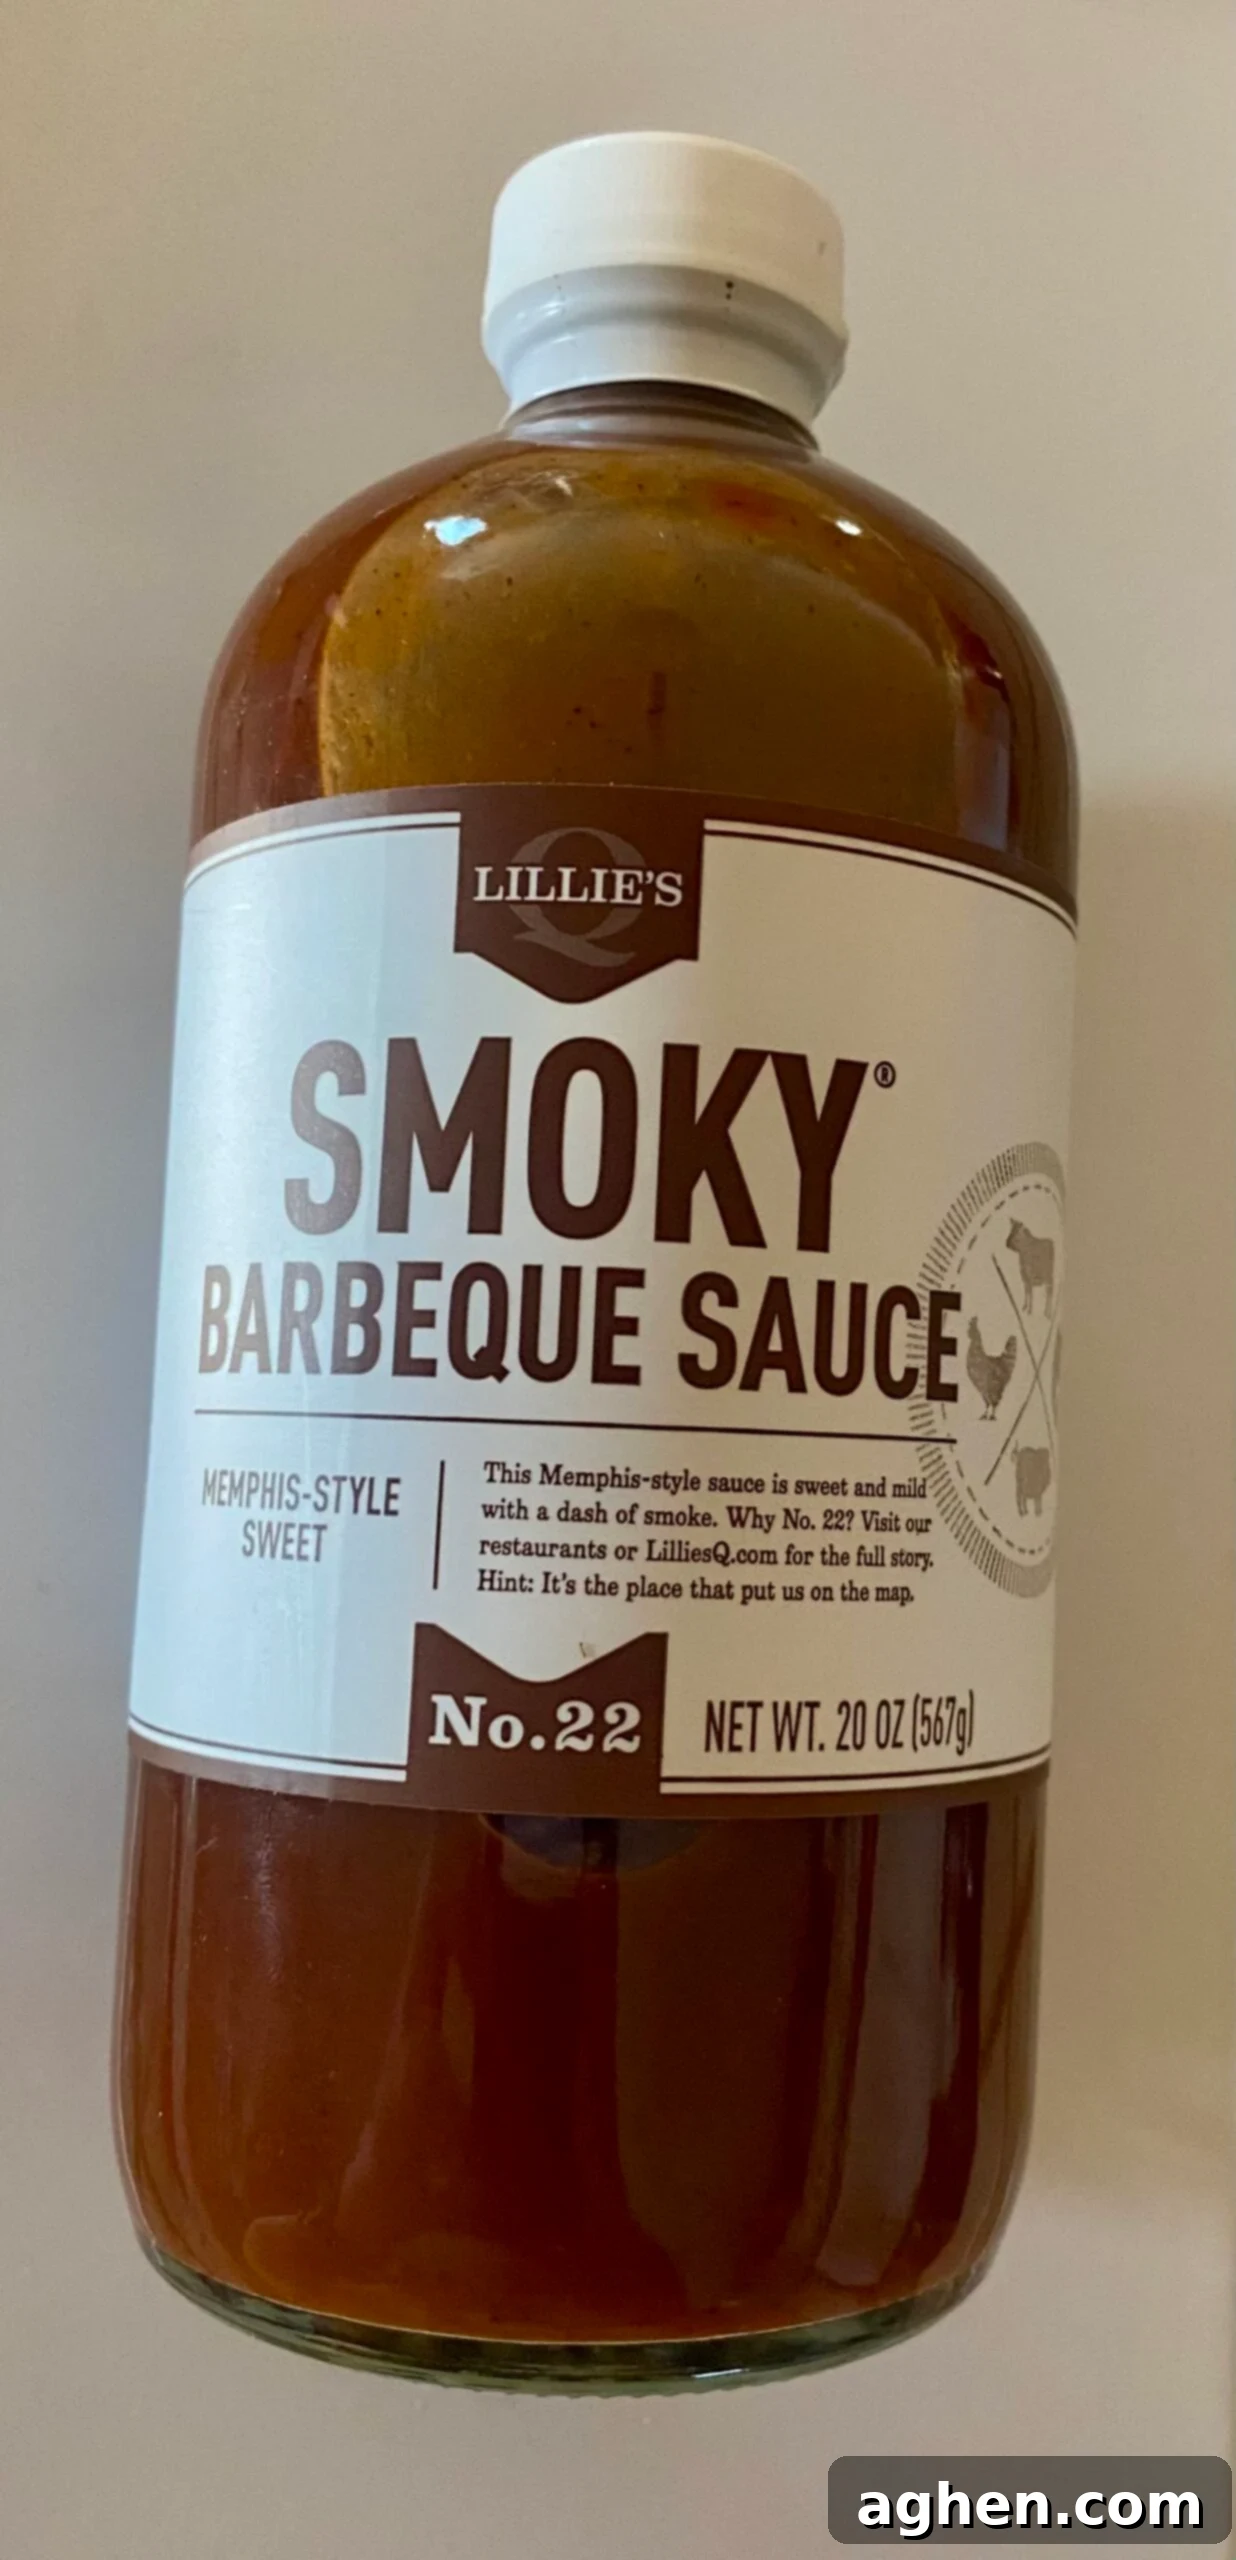
- Classic BBQ Glaze: For a traditional sticky, caramelized crust, brush your favorite barbecue sauce onto meats during the last 10-15 minutes of cooking. The sugars in the sauce will caramelize beautifully without burning, forming a delicious outer layer.
- Sophisticated Reductions: Drizzle finished meats with a reduction of balsamic vinegar, honey, and herbs like thyme for an elegant, sweet-tangy counterpoint.
- Fresh & Vibrant: Consider fresh, uncooked sauces or relishes like chimichurri (parsley, garlic, oregano, vinegar, oil) for beef or a fresh mango salsa for fish or chicken. These are typically added just before serving to maintain their bright, fresh flavors.
- Herb Oils: A simple drizzle of good olive oil infused with fresh herbs and garlic can add a final layer of herbaceous aroma and richness.
Bonus Pro Tip! The Overlooked Factors: Location and Weather
Two often-overlooked yet critical aspects of successful grilling are the strategic placement of your grill and how local weather conditions, particularly wind, can impact its performance. These factors can significantly influence heat distribution, fuel efficiency, and ultimately, the quality of your cook.
Grill Placement: Always aim to place your Weber grill in a sheltered area, away from strong, direct winds. Wind can wreak havoc on grill temperatures, causing uneven heating, dramatically increasing fuel consumption (especially charcoal), and potentially blowing embers or flames. A sturdy wall, fence, or even a strategically placed outdoor screen can provide effective protection. However, it is paramount to ensure proper ventilation around the grill. Never place your grill too close to flammable structures or in an enclosed space without adequate airflow, as this can lead to dangerous smoke buildup and carbon monoxide hazards. A good rule of thumb is at least 10 feet from any structure and under an open sky or well-ventilated cover.
Weather Impact: Beyond wind, other weather conditions play a role. During cold weather, your grill will take longer to preheat and will burn through fuel faster to maintain temperature. Consider using heavier-duty charcoal or increasing gas flow slightly. Humidity can affect how smoke adheres to meat, sometimes requiring longer smoke times. Rain, while manageable with a grill cover, can also cool the grill surface, so monitoring internal temperatures is key.
Conclusion: The Continuous Journey to Grilling Perfection
Mastering advanced grilling techniques on your trusted Weber grill is a rewarding journey that demands time, consistent practice, and a profound understanding of the intricate interplay between heat, smoke, and flavor. By diligently implementing the strategies outlined in this guide – from the precision of the three-zone fire to the nuanced art of smoke management, and from meticulous meat preparation to inventive flavor enhancements – you will dramatically improve your grilling skills. You’ll consistently produce superior meats that are not only perfectly cooked but also bursting with complex, delectable flavors, capable of impressing even the most discerning barbecue aficionados.
Remember, the path to grilling perfection is a continuous learning process. Embrace experimentation, meticulously hone your techniques, and above all, savor the delicious results of your culinary endeavors. Happy grilling!