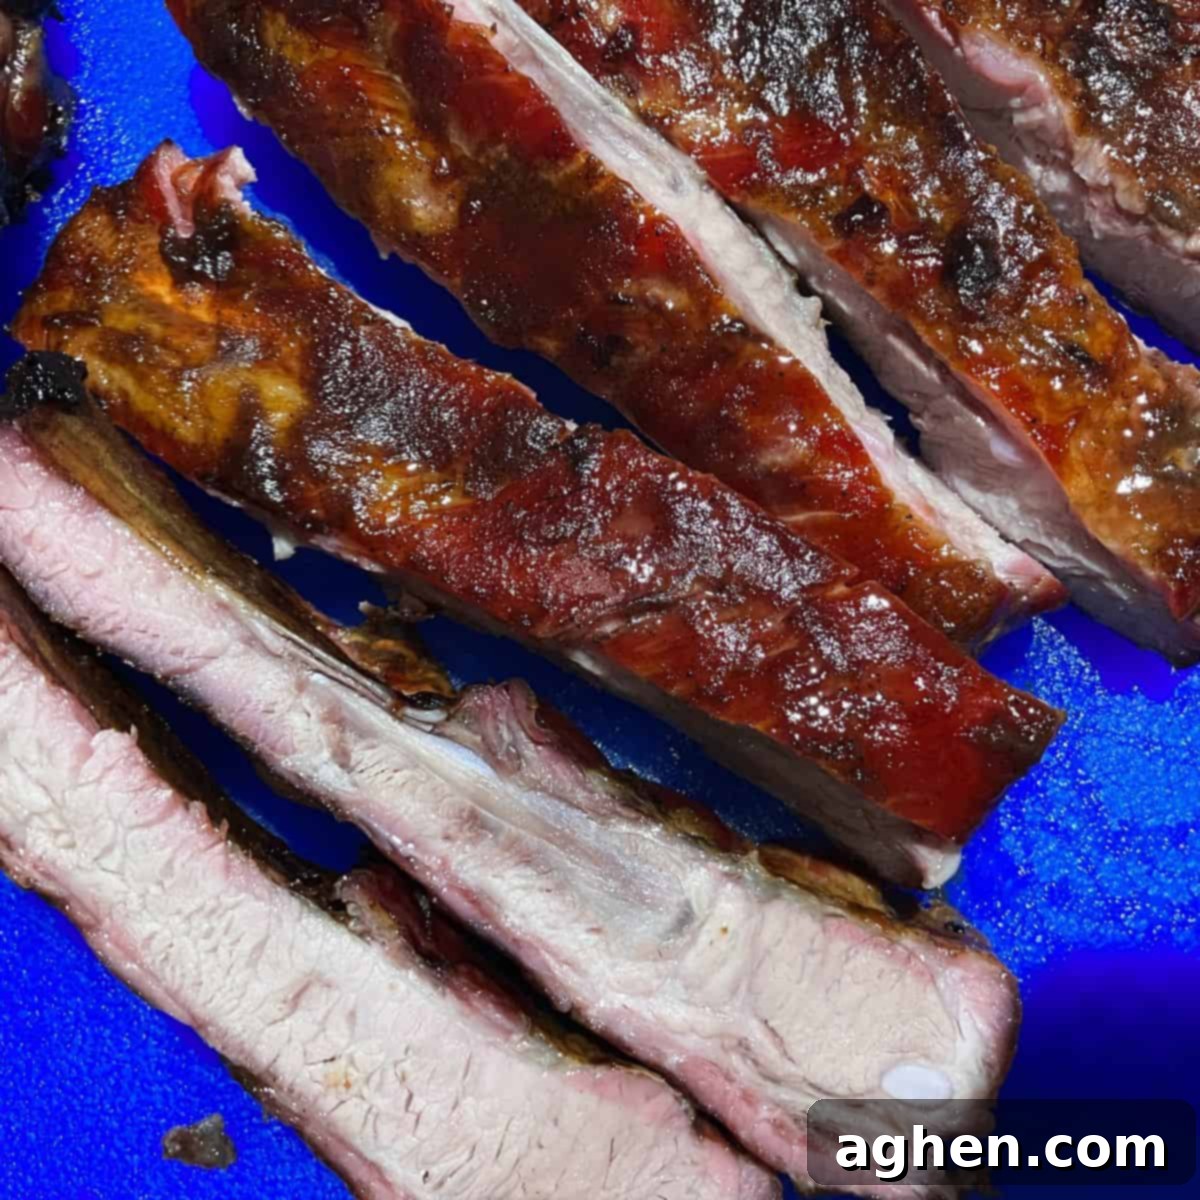
Mastering Smoked Pork Ribs: The Ultimate Guide to Tender, Fall-Off-The-Bone Perfection with Jerk Brine
There’s an undeniable magic to perfectly smoked pork ribs. That moment when the meat effortlessly pulls away from the bone, infused with rich, smoky flavor and incredible tenderness, is a true testament to a pitmaster’s skill. While many swear by dry rubs, we’re taking a flavorful detour in this comprehensive guide to achieve those coveted fall-off-the-bone results: introducing the transformative power of a jerk brine. This method not only deepens the flavor profile but also ensures exceptionally tender ribs in significantly less time than traditional rub-curing techniques. Whether you’re a seasoned grill enthusiast or new to the world of smoking, this recipe will elevate your pork rib game on any smoker, including your trusty Masterbuilt.
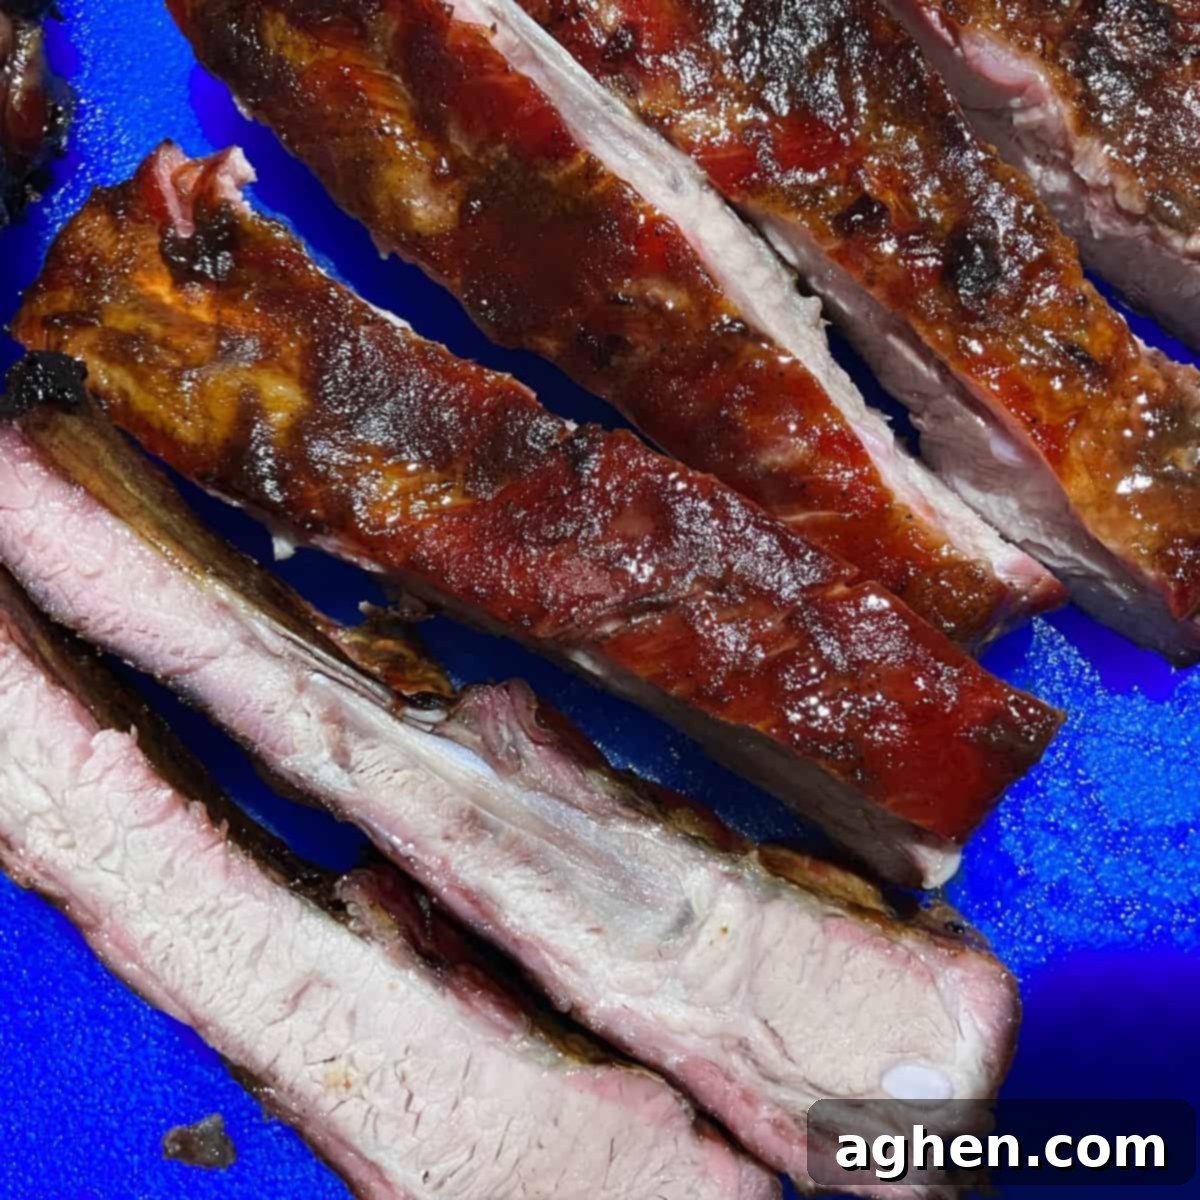
Using a Brine vs. Rub for Smoked Ribs: Unlocking Superior Tenderness and Flavor
When it comes to preparing delicious smoked ribs, the debate between using a dry rub and a wet brine is ongoing. Dry rubs, composed of a blend of spices and sometimes sugar, are a fantastic way to create a flavorful crust or “bark” on the surface of the meat. They work by drawing out moisture and then forming a concentrated flavor layer as the ribs smoke. However, brining offers a different set of advantages that can lead to an even more succulent and tender result, especially for pork ribs.
A brine, essentially a saltwater solution, penetrates the meat, infusing it with flavor and, critically, moisture. The salt in the brine denatures the proteins in the meat, causing them to unravel and then re-clump in a way that traps moisture more effectively. This process results in ribs that are incredibly juicy and tender from within, resisting drying out during the long smoking process. While traditional dry rubs often require an overnight cure for maximum flavor penetration, our jerk brine achieves impressive results in just a couple of hours. This speed, combined with the profound impact on texture and taste, makes brining an appealing alternative for those seeking truly tender, flavorful smoked pork ribs.
Smoked Ribs Recipe Overview
- Portion Size: Approximately 8 ounces per person, or 2-3 ribs each.
- Yield: Serves 4 people generously.
- Total Time: Plan for 6+ hours, including 2 hours of brining, 4 hours of smoking, and an essential 15-30 minute resting period.
Ingredients in Jerk Brined Pork Ribs: Crafting a Flavorful Foundation
Jerk seasoning is renowned for its vibrant flavor and often, its fiery heat. For this jerk brine recipe, we’ve intentionally dialed back the spice level, focusing on the aromatic and savory notes of traditional jerk to make it palatable for all taste sensitivities. This allows the robust flavors to shine without overwhelming the delicate smokiness of the ribs. If you prefer a bolder kick, feel free to incorporate your favorite source of heat, such as Scotch Bonnet peppers or a dash of hot sauce, adjusting to your personal preference.
It’s important to note that flavors from a brine, while deeply penetrating, will be less intense on the surface compared to a dry rub. To ensure the distinctive jerk notes truly come through in your finished smoked ribs, we recommend being generous with the spices in your brine mixture. This ensures a rich, aromatic foundation that complements the pork beautifully.
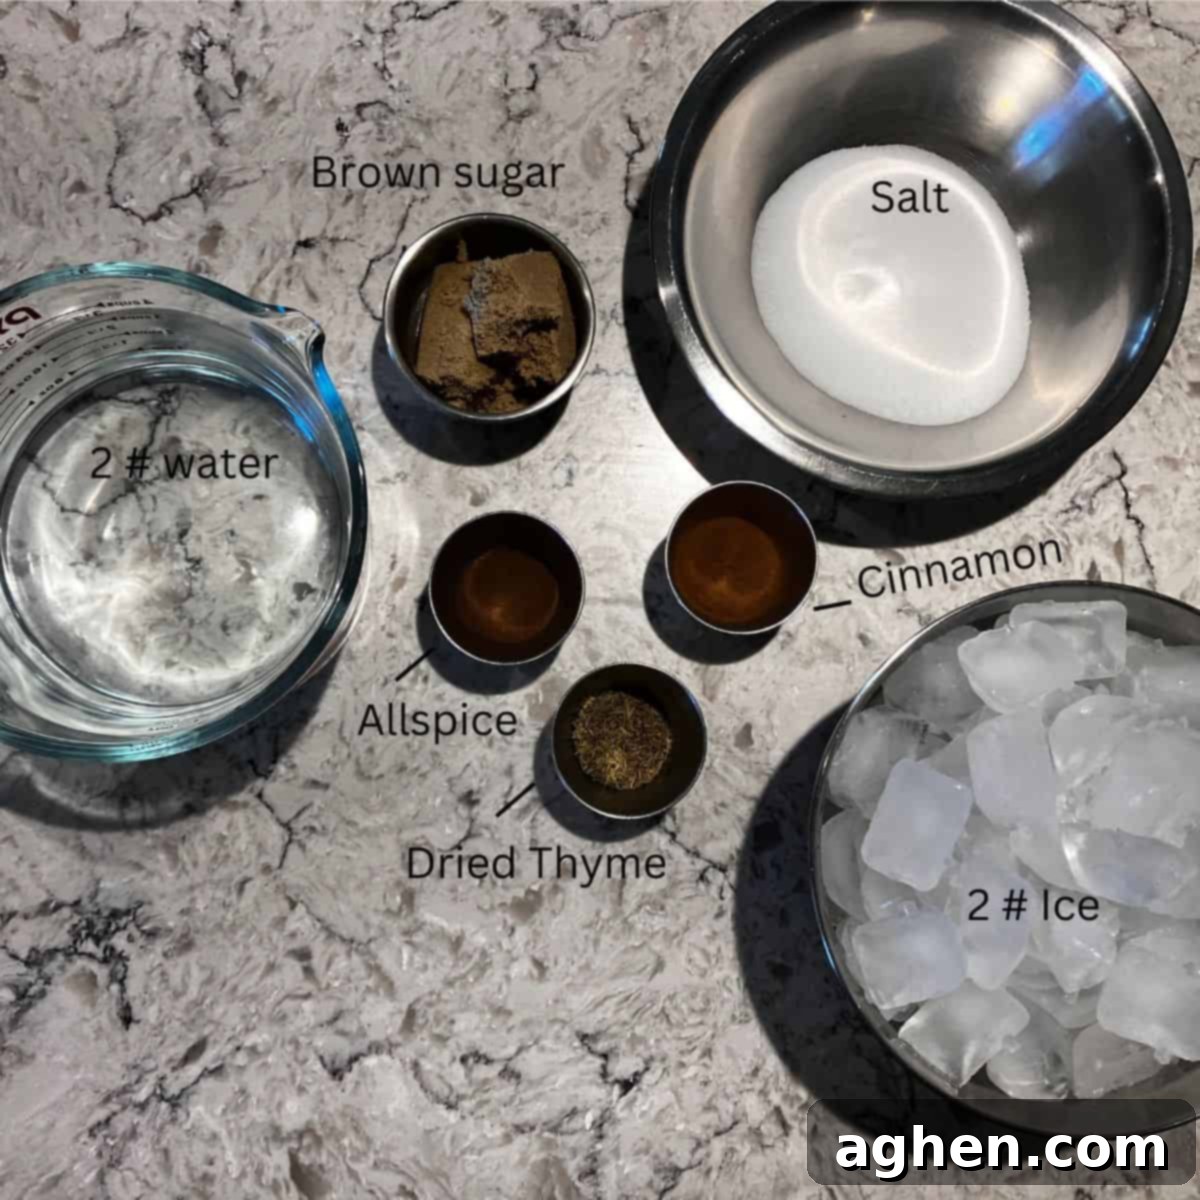
Brine Ingredients for Tender Pork Ribs
- 133 grams of Salt (Kosher or sea salt recommended for best results)
- 63 grams of Brown sugar (adds sweetness and aids in browning)
- 1 teaspoon of Ground Allspice (a key flavor in jerk seasoning)
- 1.5 teaspoons of Ground Cinnamon (adds warmth and depth)
- 1 teaspoon of dried Thyme leaves (earthy and aromatic)
- 2 pounds of tap Water (the liquid base for your brine)
- 2 pounds of Ice (for rapidly cooling the brine)
Important Notes for Your Jerk Brine:
- Prepping in Advance: While plain salt brines can be stored for an extended period without losing their efficacy, flavored brines, especially those with delicate aromatics, tend to lose potency relatively quickly. For optimal flavor, it’s best to prepare your spiced jerk brine on the same day you intend to use it. To expedite the cooling process from hot to cold, we incorporate ice as half of the total water quantity. However, if you need to prepare it slightly ahead, a spiced brine can be made the day before for use tomorrow and still yield excellent flavor results.
- Scaling the Brine Recipe: This jerk brine recipe is designed to be easily scalable. The quantities provided are sufficient to thoroughly brine one side of pork ribs (typically a rack of St. Louis or spare ribs). If your plans include smoking two or three racks of ribs, simply adjust the ingredient quantities proportionally to ensure all your ribs are fully submerged and evenly brined. Adequate brine-to-meat ratio is crucial for effective flavor infusion and tenderization.
- Understanding Brine Absorption: The sight of 133 grams of salt might seem alarming, raising concerns about overly salty meat. However, it’s important to understand the science behind brining. Meat generally absorbs about 10% of its weight in brine. For a 2-pound rack of ribs, this translates to roughly 3.2 ounces of absorbed brine. If this rack of ribs feeds three people, each serving would only contain about an ounce of added brine, making the salt content perfectly manageable and beneficial for flavor and moisture, not excessive. The sugar also helps balance the saltiness, creating a harmonious taste.
Making the Brine: A Simple Process for Maximum Flavor
Creating your jerk brine is a straightforward process that sets the stage for incredibly flavorful and tender smoked pork ribs. Follow these steps carefully to ensure your brine is perfectly prepared.
- Combine and Boil: Begin by combining all your dry brine ingredients—the ground allspice, ground cinnamon, dried thyme leaves, salt, and brown sugar—in a large saucepan. Ensure the pan is large enough to comfortably hold twice the volume of your water to prevent boiling over. Add the specified amount of tap water to the pan. Bring this mixture to a rolling boil over medium-high heat, stirring occasionally. This stirring is crucial to ensure that the salt and sugar fully dissolve, distributing evenly throughout the solution and maximizing their effectiveness in the brining process.
- Cool the Brine: Once the brine has reached a boil and all solids are dissolved, immediately remove the pan from the heat. Carefully add all the ice to the hot brine. Stir continuously to help the ice melt quickly and cool the solution down. Rapid cooling is important to stop the cooking process of the spices and to bring the brine to a safe temperature for brining the meat. The brine is ready to use when the ice is completely (or mostly) melted, and its temperature has dropped to at least 70°F (21°C) or below. Ideally, you want it as cold as possible without freezing, usually around 40°F (4°C). Using a food thermometer to check the temperature is highly recommended to ensure food safety and optimal brining conditions.
Instructions for Brining and Smoking the Ribs: Your Path to Pitmaster Perfection
Achieving perfect fall-off-the-bone smoked pork ribs with a delectable jerk brine requires attention to detail at each stage. Follow these step-by-step instructions for an unforgettable culinary experience.
- Remove the Silverskin: This is a critical preparatory step. The silverskin is a tough, thin membrane found on the bone side of the ribs. If left on, it becomes chewy and prevents seasonings and smoke from penetrating the meat effectively. To remove it, slide a butter knife or the handle of a spoon under the membrane at one end of the rack, then grip it firmly with a paper towel and peel it off. Here’s a helpful video demonstrating this technique.
- Prep the Ribs: For more uniform brining and smoking, it’s beneficial to cut the full rack of ribs into smaller portions. A typical rack has around 14 bones. Cutting between the 6th and 7th, or 7th and 8th bones will yield two relatively even halves or thirds, allowing for better fit in your brining container and more consistent cooking.
- Ready the Brine: Pour your cooled jerk brine into a container large enough to fully submerge your cut rib sections. A restaurant-style 4-inch deep half hotel pan works perfectly, but any food-grade container or even heavy-duty zip-top bags will suffice.
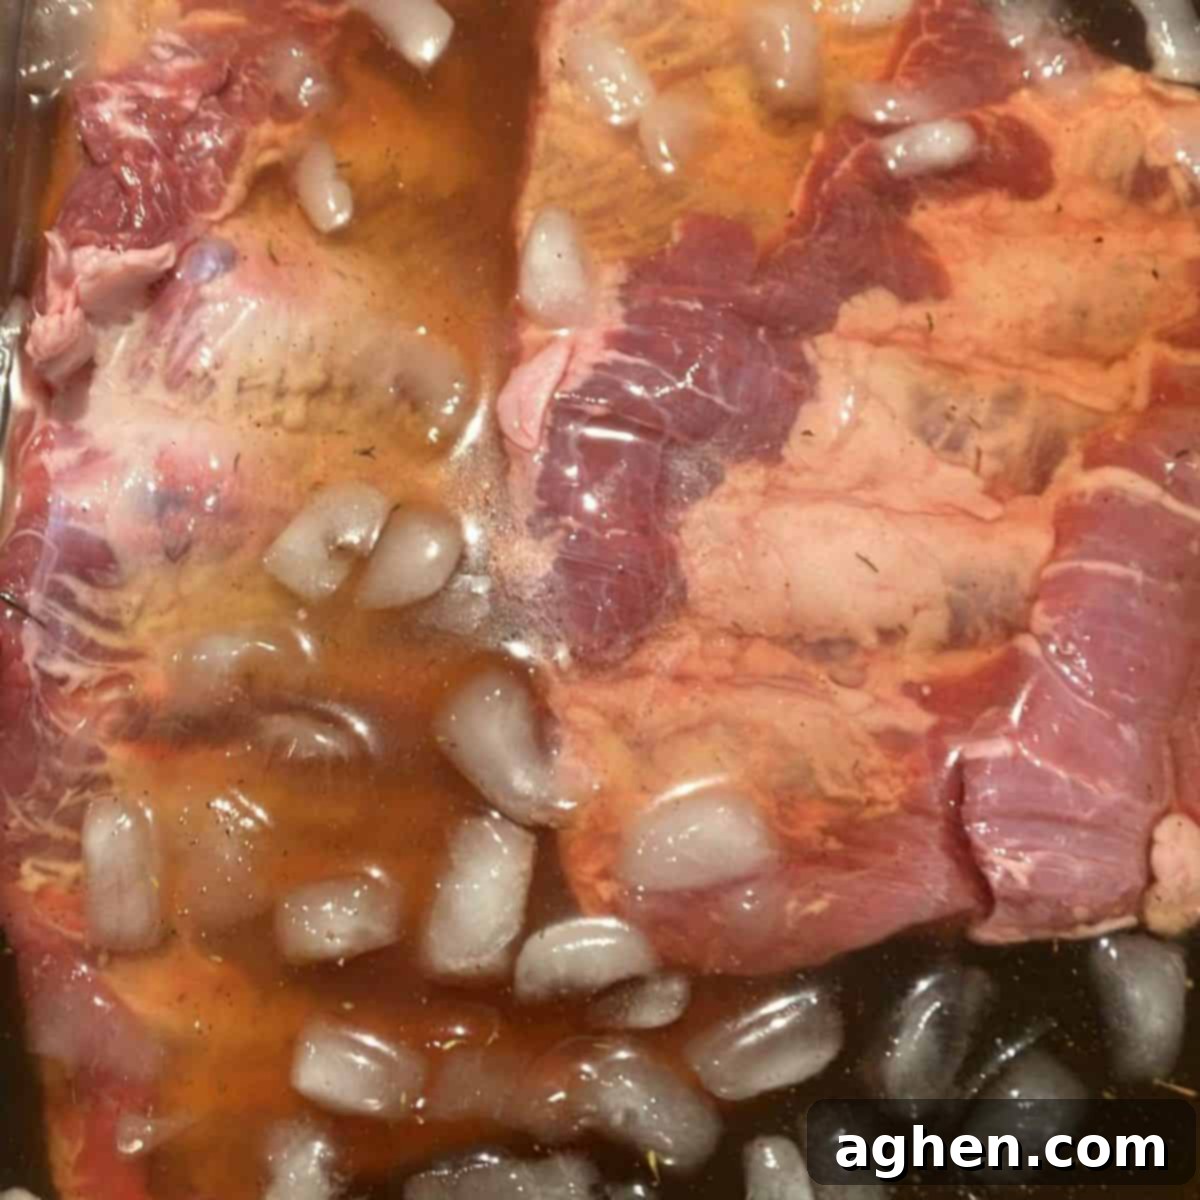
- Brine the Ribs: Carefully place the prepped rib sections into the brine, ensuring they are completely submerged. If any parts float, you can weigh them down with a plate or a water-filled zip-top bag to keep them immersed. Cover the container and refrigerate for exactly 2 hours. This duration is optimal for maximum flavor infusion and tenderization without over-salting. Approximately 30 minutes before the brining time is up, start preheating your smoker to 225°F (107°C) to allow it to reach a stable temperature.
- Pat Them Dry: Once brining is complete, remove the ribs from the brine. Pat them thoroughly dry with paper towels. This step is crucial for developing a beautiful, smoky bark on the ribs during the smoking process. Arrange the ribs meat-side up on your smoking rack, leaving a little space between each piece for even airflow.
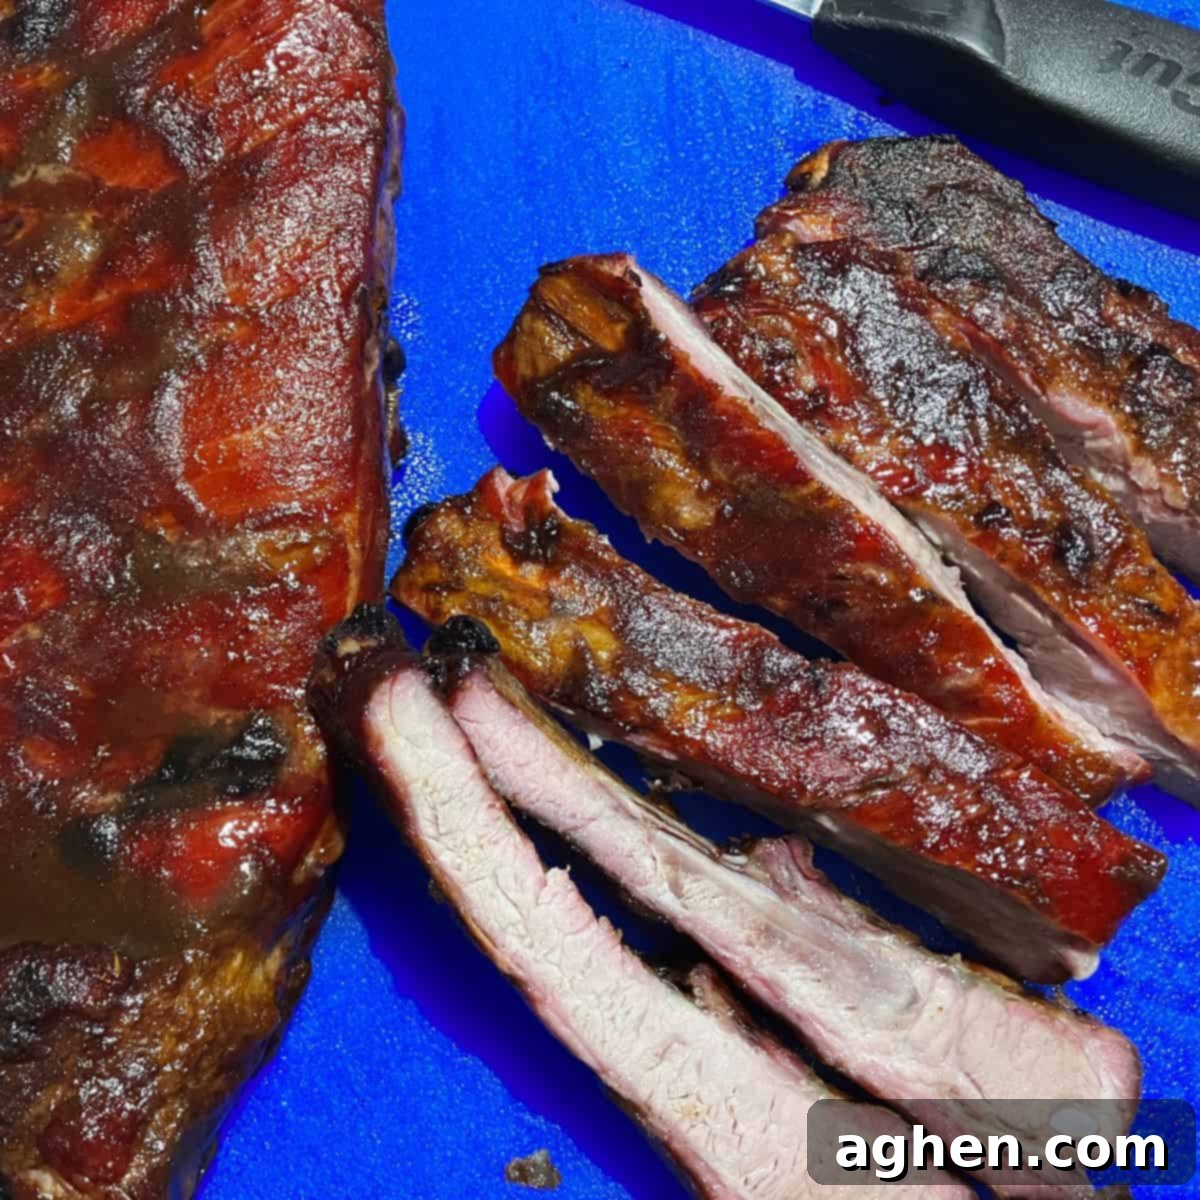
- Smoke the Ribs: Place the ribs in your preheated smoker and maintain a consistent temperature of 225°F (107°C) for approximately 4 hours, or until they reach your desired level of tenderness. The exact time can vary depending on the thickness of your ribs and your smoker. Look for visual cues: the meat will start to pull back from the ends of the bones, and the ribs should be flexible when lifted with tongs. For internal temperature, 198°F (92°C) is generally a good target for tender, fall-off-the-bone ribs. Remember that the temperature will continue to rise slightly during glazing and resting.
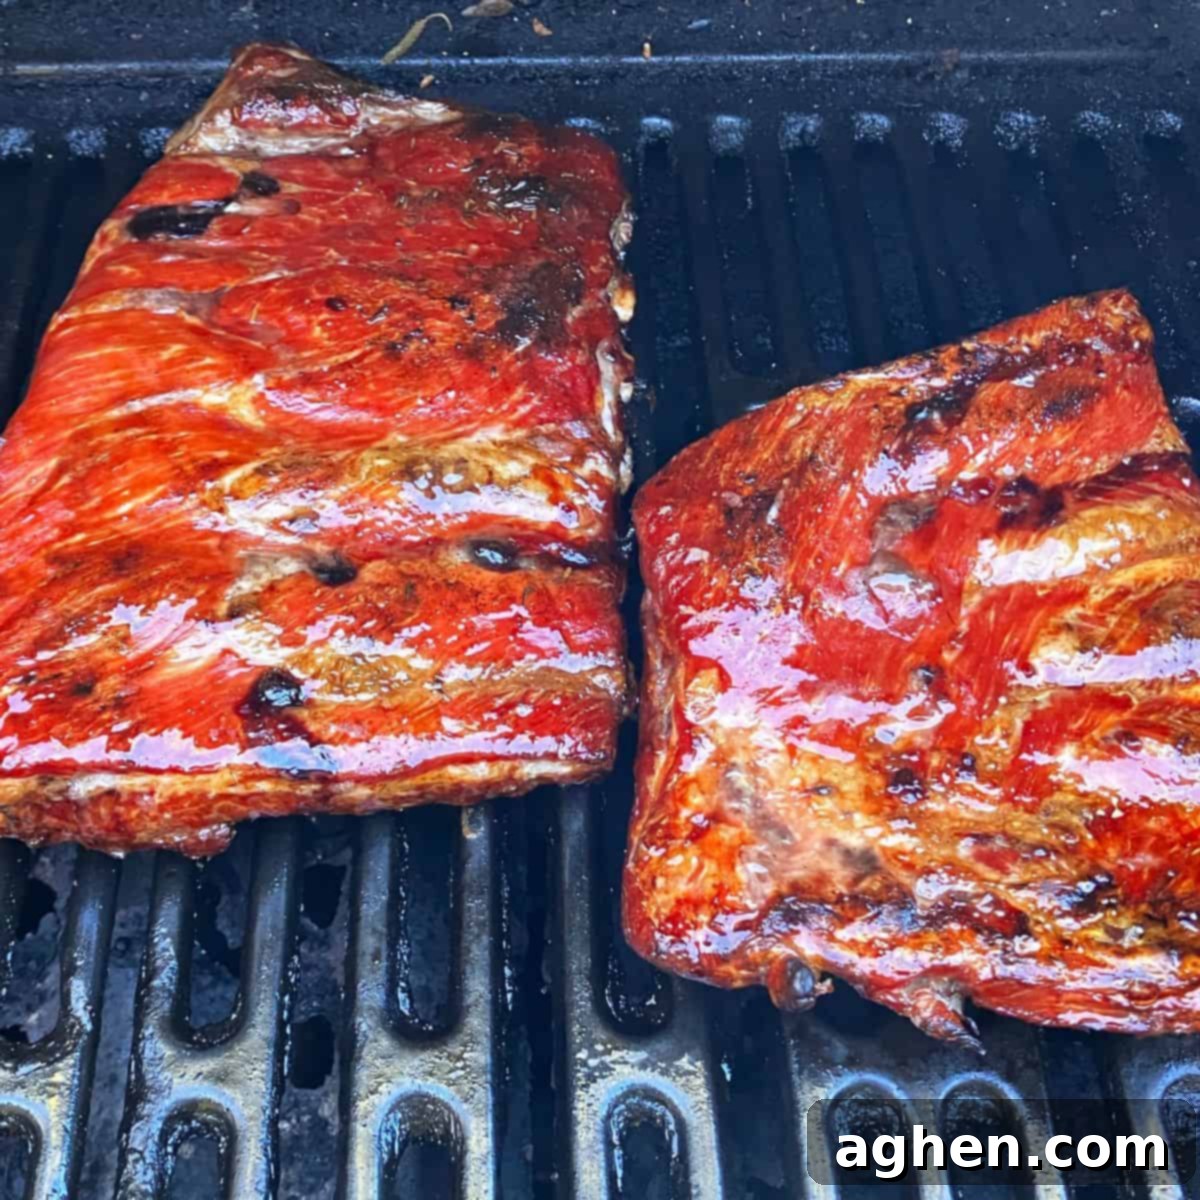
- Glaze the Ribs (Optional but Recommended): For an extra layer of flavor and a beautiful finish, glaze your ribs. You can do this on a hot grill (for grill marks and char) or under the broiler in your oven. If using the broiler, this is the perfect opportunity to brush on your favorite BBQ sauce, honey glaze, or a simple brown sugar glaze. Watch them closely as glazes can burn quickly under high heat.
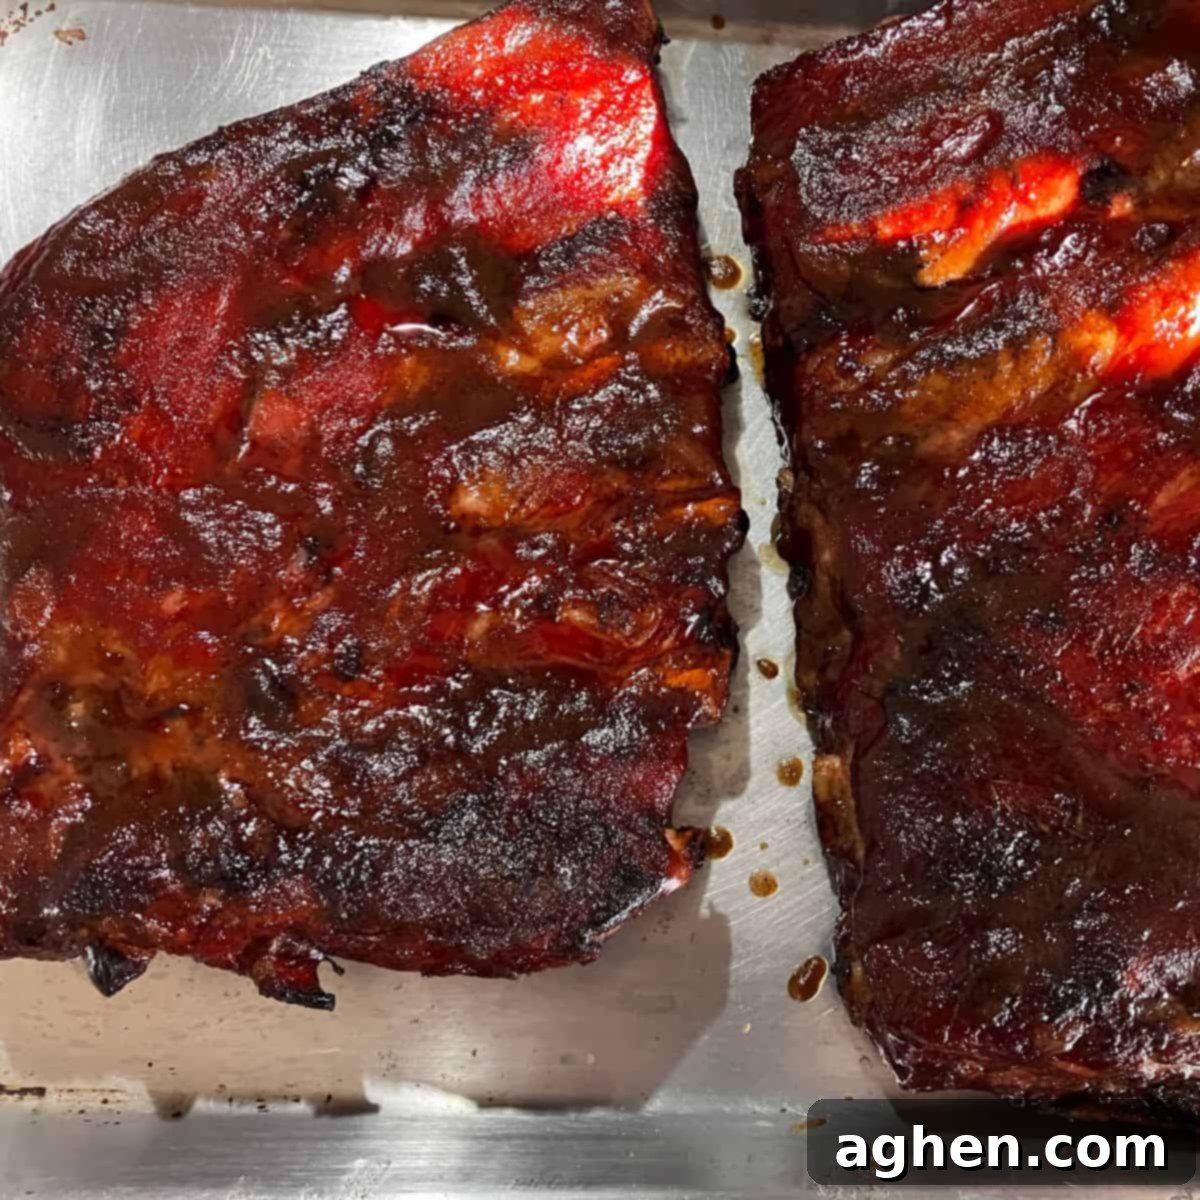
- Cover and Rest: This final step is paramount for juicy ribs. Once glazed and sauced (if applicable), remove the ribs from the heat. Create a “foil tent” by loosely covering them with aluminum foil, allowing some air circulation while trapping heat. This prevents the foil from sticking to any caramelized sauce or bark. Rest for about 15-30 minutes. If you opted not to sauce them, wrap the ribs tightly in foil, then place the foil package inside a zip-top bag, and wrap that entire package in one or two kitchen towels. This thermal cocoon will hold the heat effectively, allowing the juices to redistribute back into the meat, ensuring every bite is incredibly succulent.
Variations and Substitutions for Your Smoked Ribs
This jerk brine recipe for smoked ribs offers a fantastic foundation, but don’t hesitate to experiment and make it your own. Here are some ideas for variations and substitutions:
- Spice Things Up: If you’re a fan of authentic Jamaican heat, incorporating Scotch Bonnet peppers is the way to go. You can finely mince a fresh Scotch Bonnet (use gloves!) and add it to the brine mixture during the boiling stage. Alternatively, a few dashes of a good quality Scotch Bonnet sauce can be added to the brine or even brushed on as a glaze during the final smoking stage for an extra kick. Start with a small amount and taste, as these peppers are notoriously hot!
- Exploring Other Meats: While this recipe is optimized for pork ribs, the brining technique can be adapted for other meats. If you can source goat ribs, they would make an exceptional and unique choice for this jerk-brined dish, offering a rich, gamey flavor that pairs wonderfully with the spices. For poultry, such as chicken quarters or a whole chicken, this brine could also work effectively. However, chicken might require a shorter brining time (as it’s leaner) and different finishing techniques. After smoking, chicken might benefit from longer grilling or baking in the oven (not just under the broiler) to ensure the skin becomes delightfully crispy. As with any smoked meat, resting will be absolutely crucial for both goat and chicken to ensure maximum juiciness. Adjust cooking times and temperatures to achieve the proper internal temperature for these meats.
- Different Wood Smoker Flavors: Experiment with various wood chips or chunks in your smoker. Hickory and oak provide a strong, classic BBQ flavor, while fruit woods like apple or cherry offer a milder, sweeter smoke that complements the jerk spices beautifully.
- Sweet & Spicy Glaze: Instead of a traditional BBQ sauce, consider a homemade glaze using mango chutney, a splash of rum, and a touch of brown sugar, simmered until thickened. This would enhance the Caribbean profile.
Expert Tips and Tricks for Making Jerk Brined Pork Ribs
To ensure your jerk-brined pork ribs are nothing short of spectacular, keep these valuable tips and tricks in mind:
- The Importance of Removing the Silverskin: Reiterate the crucial nature of this step. The silverskin, a tough, inelastic membrane on the bone side of the ribs, acts as a barrier. Removing it not only allows the flavorful jerk brine to penetrate the meat more deeply and evenly from both sides, but it also prevents a chewy, unappetizing texture in the finished product. This small effort makes a significant difference in the final tenderness and flavor of your smoked ribs. If you happen to be making a stock or broth imminently, you can add the removed silverskin for extra flavor, otherwise, it serves no further culinary purpose.
- Brining Time Guidelines: A good general rule for brining most meats is approximately 1 hour per pound. For pork ribs, which are relatively thin, our 2-hour brining time is precisely calibrated for optimal results with a 2-pound rack. Exceeding this by a few minutes poses no significant risk. However, extending the brining time by an hour or more, especially for thinner cuts of meat, can lead to adverse effects, ironically, the opposite of what we aim for. Over-brined meat can begin to “cure” too much, drawing out excessive moisture, resulting in a tough, dry, and sometimes overly salty texture. Moderation is indeed the watchword when brining; it is almost always better to err on the side of less brining time rather than more. For a deeper understanding of the science and potential pitfalls of over-brining, this article offers further explanation.
- Choosing the Right Brining Container: Selecting an appropriate container is essential for successful brining. A deep metal pan (such as a stainless steel hotel pan) is ideal, as it is non-reactive and can handle temperature changes well. Food-grade plastic containers can also work effectively, but it’s crucial to avoid glass, as it can be brittle and prone to thermal shock. Ensure the container is deep enough to fully submerge the ribs in the brine. Alternatively, for convenience and minimal cleanup, a couple of gallon-sized zip-top baggies, one placed inside the other for extra security, can serve as an excellent brining vessel. Always place bagged brining meat in a bowl or a larger container in the refrigerator to catch any potential leaks. For food safety, always store brining meat on the bottom shelf of your refrigerator to prevent any drips from contaminating other foods.
- Ensuring Full Submersion: For the brine to work evenly on all surfaces, the ribs must be completely submerged. If your ribs tend to float, a simple and effective trick is to place a water-filled, gallon-sized zip-top baggie directly on top of the ribs. The weight of the water will gently press the ribs down, ensuring they remain fully immersed in the brine solution throughout the entire process. Just be mindful of the brine level with this method; the added water bag will displace the brine, potentially raising its level in the container.
Smoked Pork Ribs with Jerk Brine
Ingredients
- Pork Ribs, minimum 4 per person (e.g., 1 full rack of St. Louis style or spare ribs)
- 133 grams of Kosher or Sea Salt
- 63 grams of Brown sugar
- 1 teaspoon of Ground Allspice
- 1.5 teaspoons of Ground Cinnamon
- 1 teaspoon of dried Thyme leaves
- 2 pounds of tap Water
- 2 pounds of Ice
Instructions
Making the Brine
-
Combine and boil: Combine the spices, herb, salt, and sugar in a pan large enough to hold twice the water. Bring the water and ingredients to a boil, stirring occasionally to ensure the salt and sugar dissolve.
-
Cool the brine: When the brine has boiled, remove it from the heat. Add all the ice and stir to cool and melt the ice. When the ice is melted, or mostly melted, and the brine is at least 70° F (21°C), it is ready to use. Ideally, cool to 40°F (4°C).
Smoking the Ribs:
-
Remove the silverskin: Carefully remove the tough silverskin membrane from the bone side of the ribs. This ensures better brine penetration and a more tender final product. Here’s a helpful video showing how to do that.
-
Prep the ribs: Cut the full rack of ribs in at least half for easier handling and more uniform brining/smoking. A good cut is between bones 6 and 7, or 7 and 8.
-
Ready the brine: Pour the cooled jerk brine into a non-reactive pan or container large enough to fully submerge the rib sections. A restaurant-style 4” half hotel pan works well.
-
Brine the ribs: Place the ribs meat side down in the brine, ensuring they are completely covered. Cover the container and chill in the refrigerator for exactly 2 hours. Approximately 30 minutes before the brining period ends, begin preheating your smoker to 225° F (107°C).
-
Pat them dry: Remove the brined ribs from the solution. Pat them thoroughly dry with paper towels; this is crucial for developing a good bark during smoking. Place the ribs meat side up on your smoking rack, allowing some space for airflow.
-
Smoke the ribs: Smoke at a consistent temperature of 225° F (107°C) for 4 hours, or until the ribs are incredibly tender. Signs of doneness include the meat pulling away from the bones and the ribs bending easily when lifted. Aim for an internal temperature of around 198° F (92°C) for fall-off-the-bone tenderness. The temperature will slightly increase during the glazing and resting phases.
-
Glaze the ribs: For an added touch of flavor and a beautiful finish, glaze your ribs. You can do this on a hot grill for char marks, or under the broiler in your oven. If using the broiler, this is an excellent time to brush on your preferred BBQ sauce or a sweet glaze to achieve a sticky, caramelized coating. Monitor closely to prevent burning.
-
Cover and rest: Once glazed and removed from heat, allow your ribs to rest for about 15-30 minutes. Create a “foil tent” by loosely covering them with aluminum foil. This helps retain heat while allowing air to circulate, preventing the crust from sticking to the foil. If you did not sauce or glaze them, wrap the ribs tightly in foil, then place the foil package in a zip-top bag, and wrap the entire package in one or two clean kitchen towels to maintain heat and redistribute juices for maximum tenderness.
