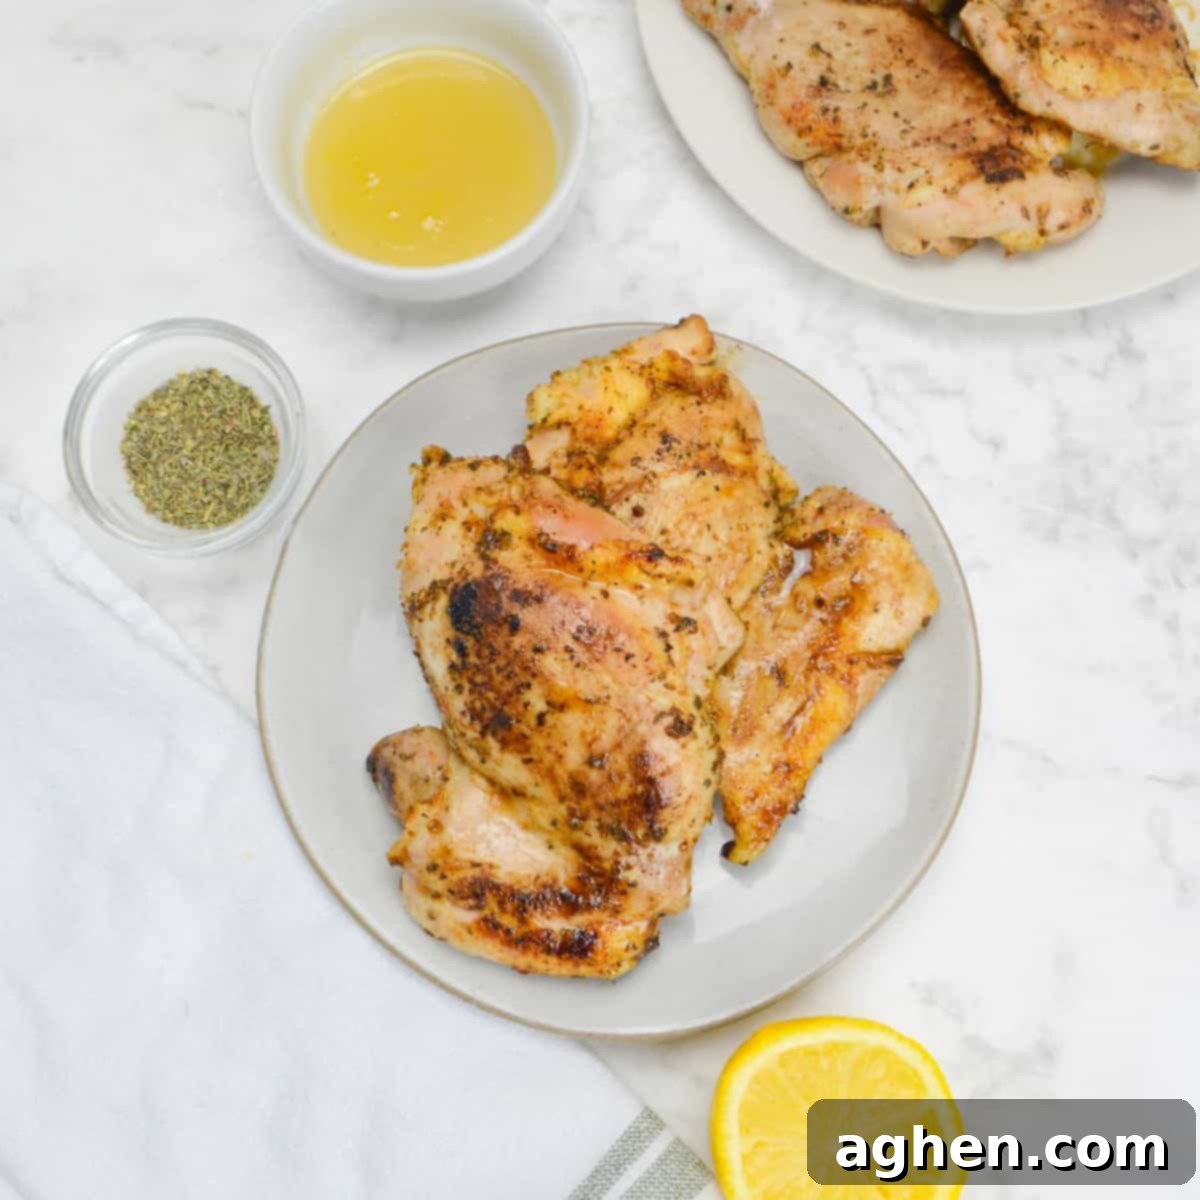
Mastering Blackstone Chicken Thighs: Your Guide to Juicy, Flavorful Griddle Chicken
If you’re searching for an extraordinary culinary experience that promises maximum flavor and a beautifully juicy cut of meat, look no further than Blackstone chicken thighs. The incredible cooking surface of a Blackstone griddle provides a perfect, professional-grade sear, effectively locking in moisture and delivering an irresistible caramelized crust. This transforms an already budget-friendly cut of chicken into an all-around crowd-pleaser that’s both economical and gourmet. The simplicity of preparation combined with the depth of flavor makes this recipe a must-try for any home cook looking to elevate their outdoor grilling game.
Our recipe for Blackstone chicken thighs features a light yet impactful glaze, crafted from the harmonious blend of sweet honey, bright fresh lemon juice, and savory herbs. This vibrant combination infuses the chicken with a tangy-sweet profile that is incredibly versatile. These chicken thighs serve as an excellent main dish, pairing seamlessly with a vast array of side dishes. Imagine them alongside a crisp, fresh salad, or perhaps the comforting richness of creamy mac and cheese. They even shine when placed amongst the bold flavors of a classic BBQ spread, complementing baked beans and cornbread beautifully. You’ll truly appreciate how simple the ingredients are and how effortlessly you can whip up this recipe for a nutritious, flavorful, and memorable meal.
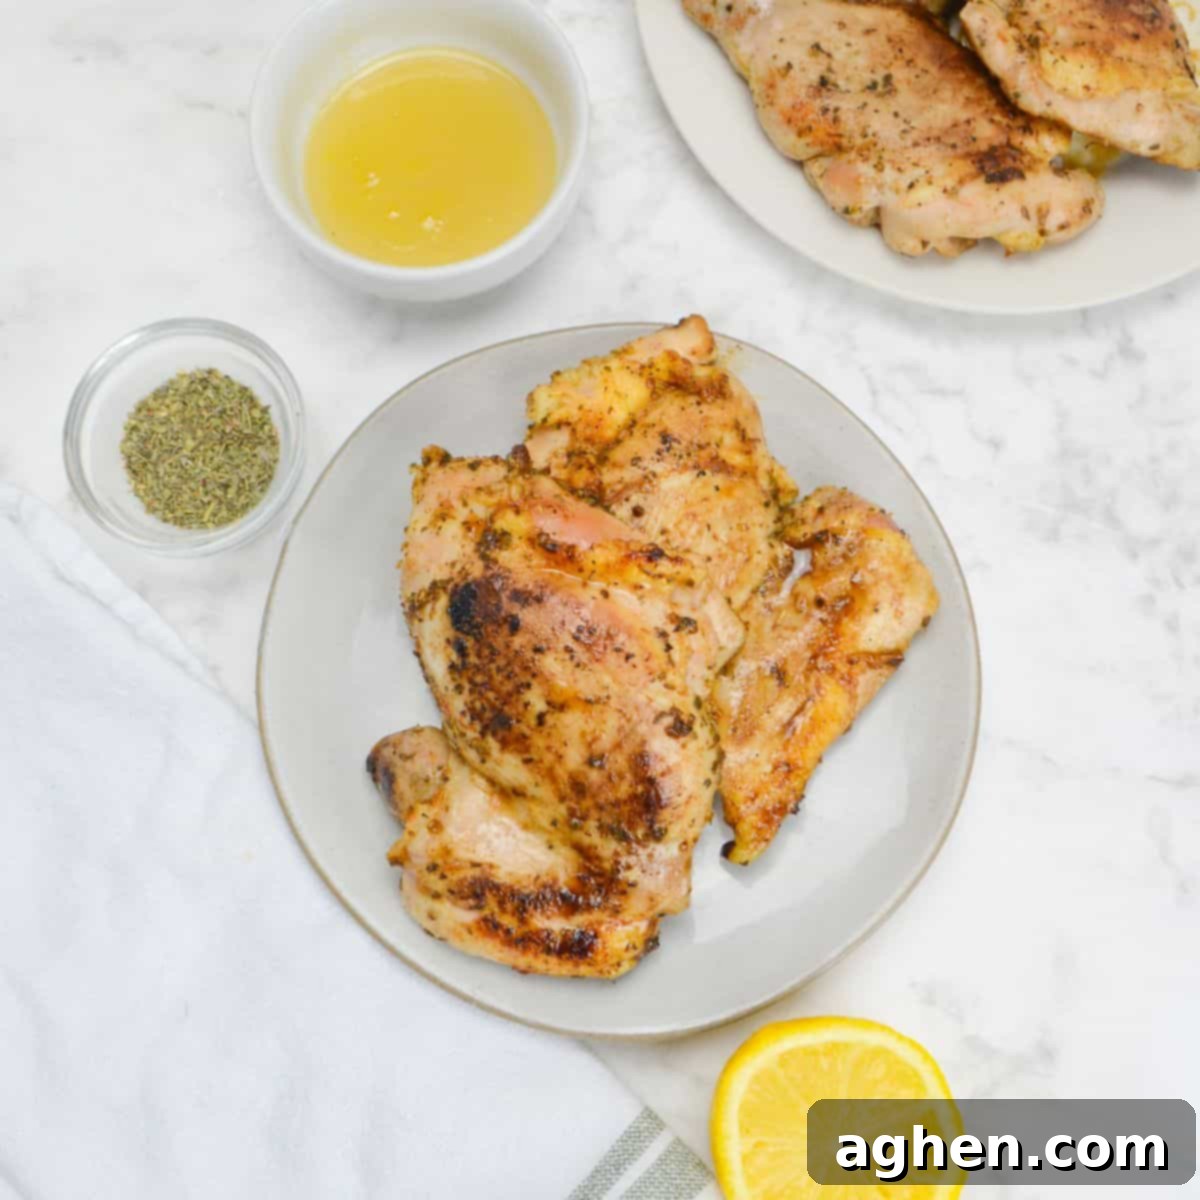
Why These Blackstone Chicken Thighs Will Become Your New Favorite
Cooking chicken on a Blackstone griddle offers a unique advantage, allowing you to achieve a perfectly even cook and a mouthwatering sear that’s hard to replicate with traditional methods. Beyond the cooking technique, chicken thighs themselves boast several benefits that make this recipe an outstanding choice for any meal.
- Budget-friendly: Chicken thighs are consistently one of the most affordable protein options available, making them a smart choice for feeding families without breaking the bank. They are often significantly cheaper per pound than chicken breasts and can yield even greater savings when purchased in larger family packs from warehouses like Sam’s Club or Costco. For those who don’t mind a little extra prep work, buying bone-in chicken thighs offers the most cost-effective solution. Removing the skin and bone is a straightforward process that takes only about 15 minutes for a few pounds of thighs and can significantly stretch your food budget, providing delicious meat at a fraction of the cost.
- Incredibly Versatile: The rich, savory flavor of chicken thighs makes them incredibly adaptable to a wide range of dishes and cuisines. Once cooked, these Blackstone chicken thighs can be easily chopped or sliced and incorporated into pasta dishes, vibrant burrito bowls, fresh salads, or hearty casseroles. The carefully balanced seasoning in this recipe ensures it doesn’t overpower other flavors, allowing you to enjoy the chicken with your favorite dipping sauces or even get creative by using it as a unique and flavorful pizza topping. Its versatility means leftovers are never boring and can be reimagined into entirely new meals.
- Perfect for Meal Prep: One of the greatest advantages of cooking on a Blackstone griddle is its generous cooking space. This allows you to effortlessly prepare a larger batch of chicken thighs, providing you with delicious, ready-to-eat protein for your meals throughout the entire week. This dish is also highly freezer-friendly, making it ideal for long-term meal planning. To freeze, simply place the whole or chopped chicken thighs on a large baking sheet and par-freeze them for approximately 2 hours until they are firm. Afterward, transfer the semi-frozen pieces to a large, sealable freezer bag. They serve as an excellent meal starter, ready to be defrosted and added to quick dinners, and will maintain their quality for up to three months in the freezer.
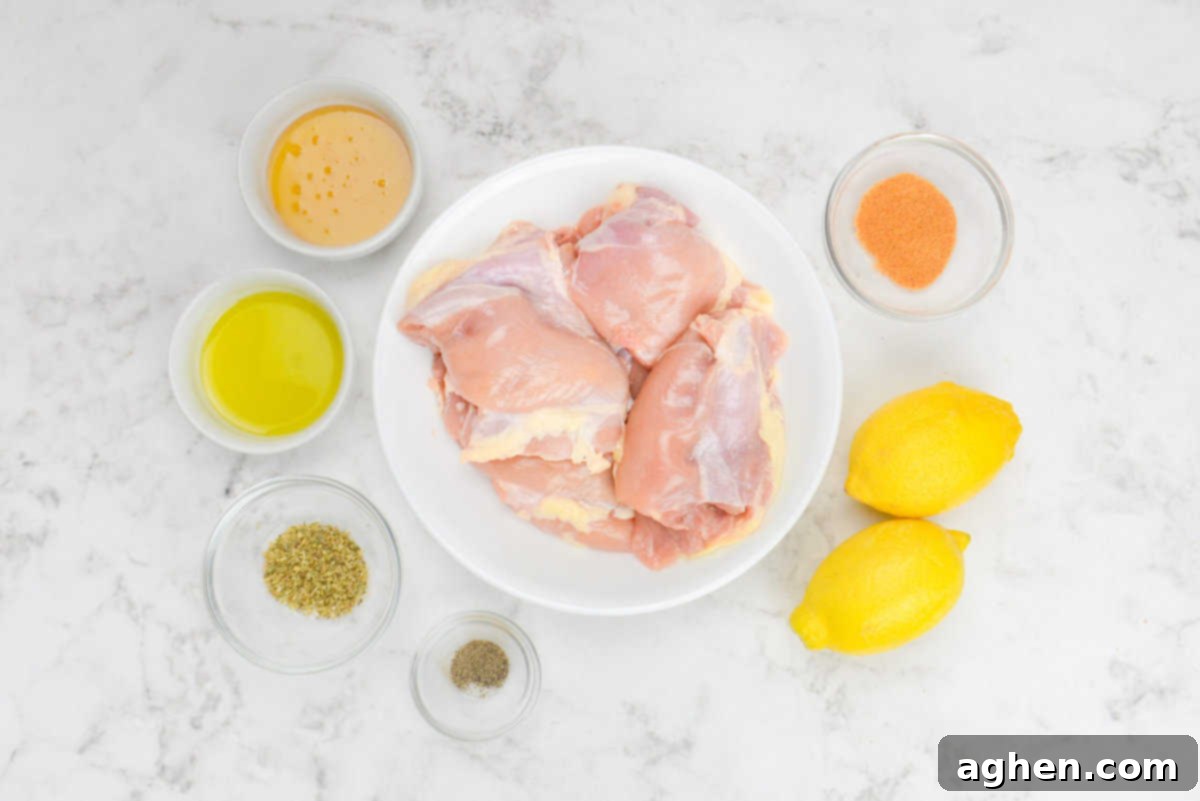
Essential Ingredients for Perfect Blackstone Chicken Thighs
Achieving perfectly tender and flavorful chicken thighs on your Blackstone griddle starts with a few simple, high-quality ingredients. Each component plays a crucial role in creating the irresistible honey-lemon glaze and the savory depth of this dish.
- 1 pound boneless skinless chicken thighs: Boneless, skinless chicken thighs are highly recommended for this recipe. Their consistent thickness and even cut ensure they cook more uniformly and quickly on the griddle, leading to a perfectly tender result. If you opt for bone-in pieces, be prepared to add a few minutes to the cooking time. It’s also crucial to meticulously check the internal temperature in multiple areas of the thickest part of the chicken to guarantee it’s fully cooked and safe to eat.
- 1 teaspoon seasoned salt: Seasoned salt is a fantastic shortcut that injects a complex layer of bold flavor with just one ingredient. It’s typically a thoughtfully crafted blend of salt, various herbs, and spices such as paprika and garlic powder, providing an instant flavor boost to the chicken. This ensures every bite is seasoned to perfection without needing multiple shaker bottles.
- 2 medium lemons: Freshly squeezed lemon juice is indispensable for this recipe. It imparts a bright, zesty, and tangy flavor that cuts through the richness of the chicken and balances the sweetness of the honey. You’ll need about 1/4 cup of lemon juice for this recipe, which can usually be extracted from two medium-sized lemons. Always opt for fresh over bottled lemon juice for the best, most vibrant taste.
- 3 tablespoons honey: Honey is the key to the natural sweetness and the beautiful glaze of these chicken thighs. It perfectly balances the acidic lemon juice, contributing to the irresistible caramelized crust that forms on the griddle. Beyond its flavor, honey also helps the chicken retain moisture during cooking, ensuring a juicy outcome.
- 2 tablespoons olive oil: Olive oil is essential for helping the chicken thighs achieve that coveted golden-brown sear on the Blackstone. It also plays a vital role in preventing the chicken from sticking to the griddle and helps to lock in moisture, contributing to the overall tender texture of the meat. Use a good quality extra virgin olive oil for the best results.
- 1 teaspoon dried oregano: Dried oregano adds a distinct, bold, and earthy herbal flavor that complements the lemon and honey beautifully. It’s a classic Mediterranean herb that enhances the savory notes of the chicken without being overpowering. Ensure your dried oregano is fresh for the most potent aroma and taste.
- 1/4 teaspoon ground black pepper: A touch of freshly ground black pepper provides a subtle warmth and a gentle bite, effectively balancing the inherent sweetness of the honey in the dish. It enhances the overall flavor profile, rounding out the savory and sweet elements.
Step-by-Step Instructions for Making Blackstone Chicken Thighs
Creating these delicious honey-lemon Blackstone chicken thighs is straightforward and rewarding. Follow these easy steps to achieve perfectly cooked, flavorful chicken every time.
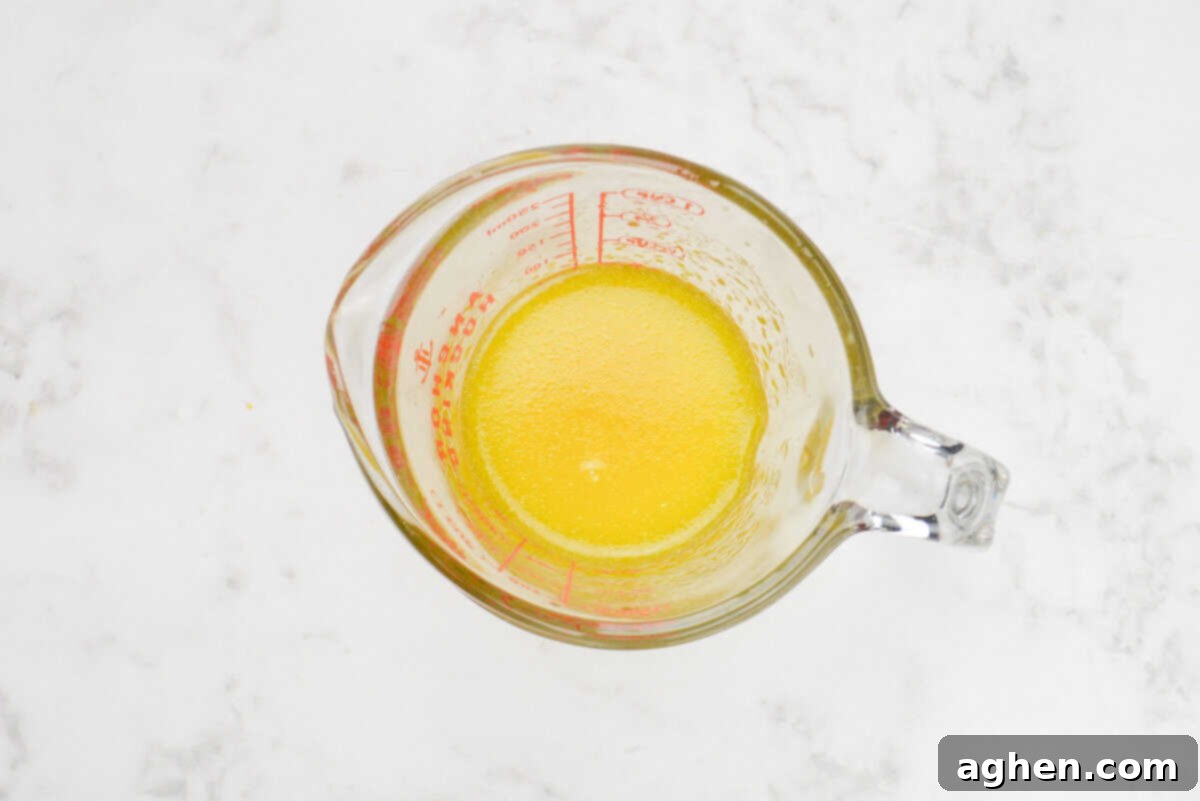
1. Whisk the wet ingredients: In a small bowl or a liquid measuring cup, combine the fresh lemon juice, honey, and olive oil. Whisk these ingredients vigorously until they are thoroughly combined and emulsified. This forms the base of your flavorful marinade and glaze, ensuring an even distribution of sweetness and tanginess.
2. Coat the chicken: Place your boneless, skinless chicken thighs in a shallow dish or a large bowl. Carefully pour the whisked lemon, honey, and olive oil mixture over the chicken, ensuring each piece is well-drenched. This initial coating begins the flavor infusion process.
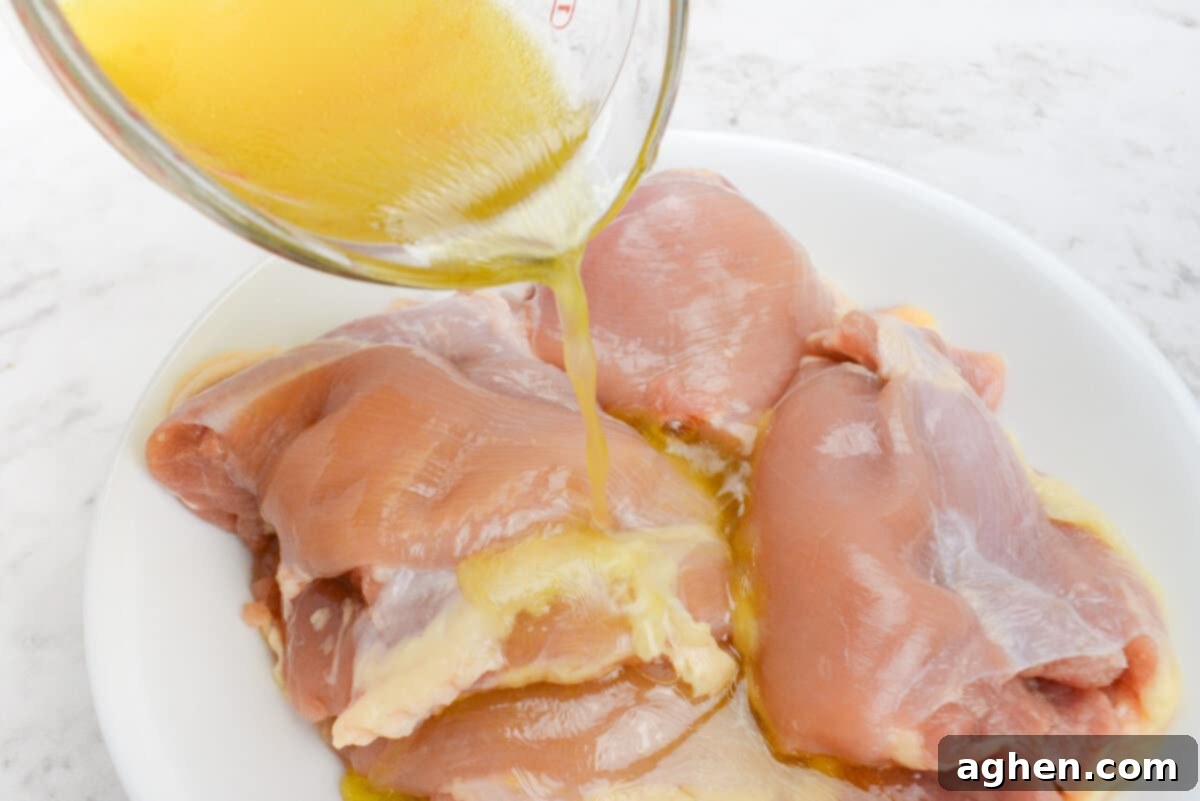
3. Add dry seasoning: Now, evenly sprinkle the seasoned salt, dried oregano, and ground black pepper over the chicken thighs. Once the dry seasonings are added, use your hands to gently massage the liquid mixture and dry seasonings into every piece of chicken, ensuring all sides are thoroughly coated. This step is crucial for an even distribution of flavor and a consistent crust.
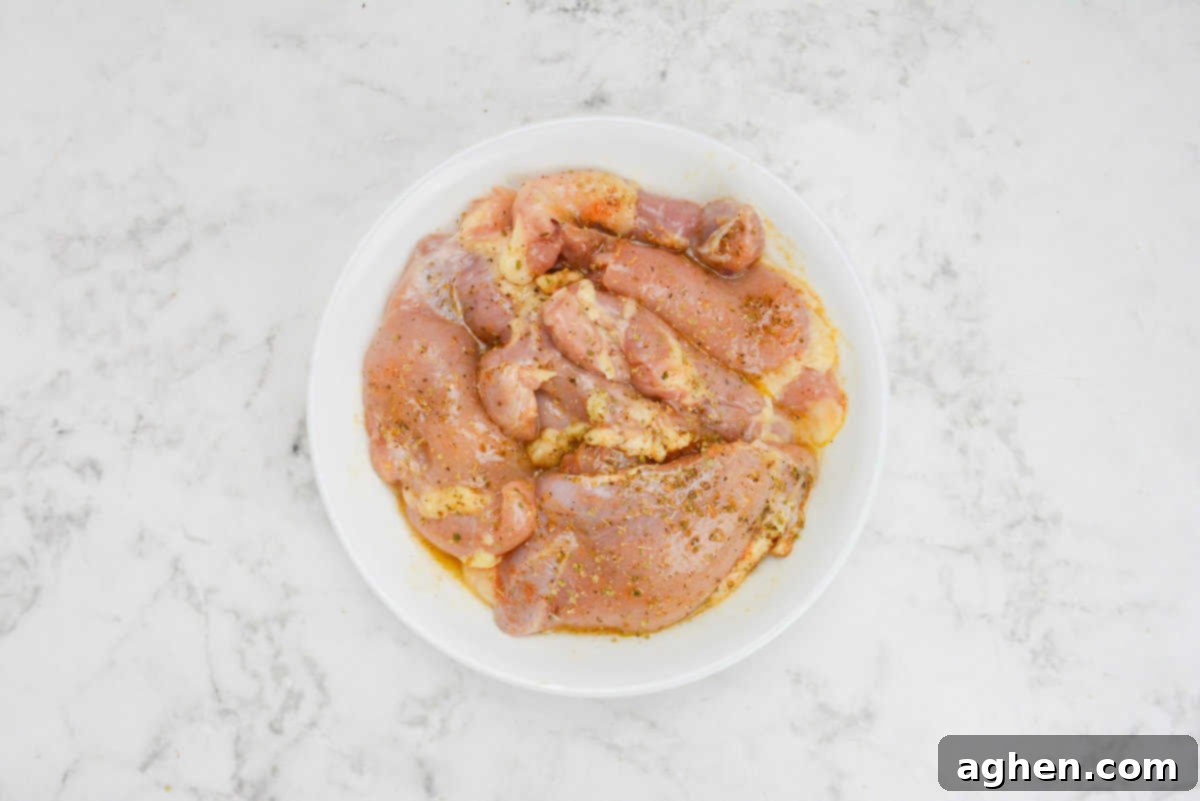
4. Preheat and begin cooking: Turn on your Blackstone griddle and preheat it to a consistent low-medium heat. It’s important to allow the griddle to heat evenly across its entire surface. Once properly preheated and you can feel a good warmth radiating, carefully place the seasoned chicken thighs onto the Blackstone. Be sure to leave at least one inch of space between each thigh to allow for proper air circulation and even cooking. Overcrowding the griddle can lower the surface temperature and prevent a good sear.
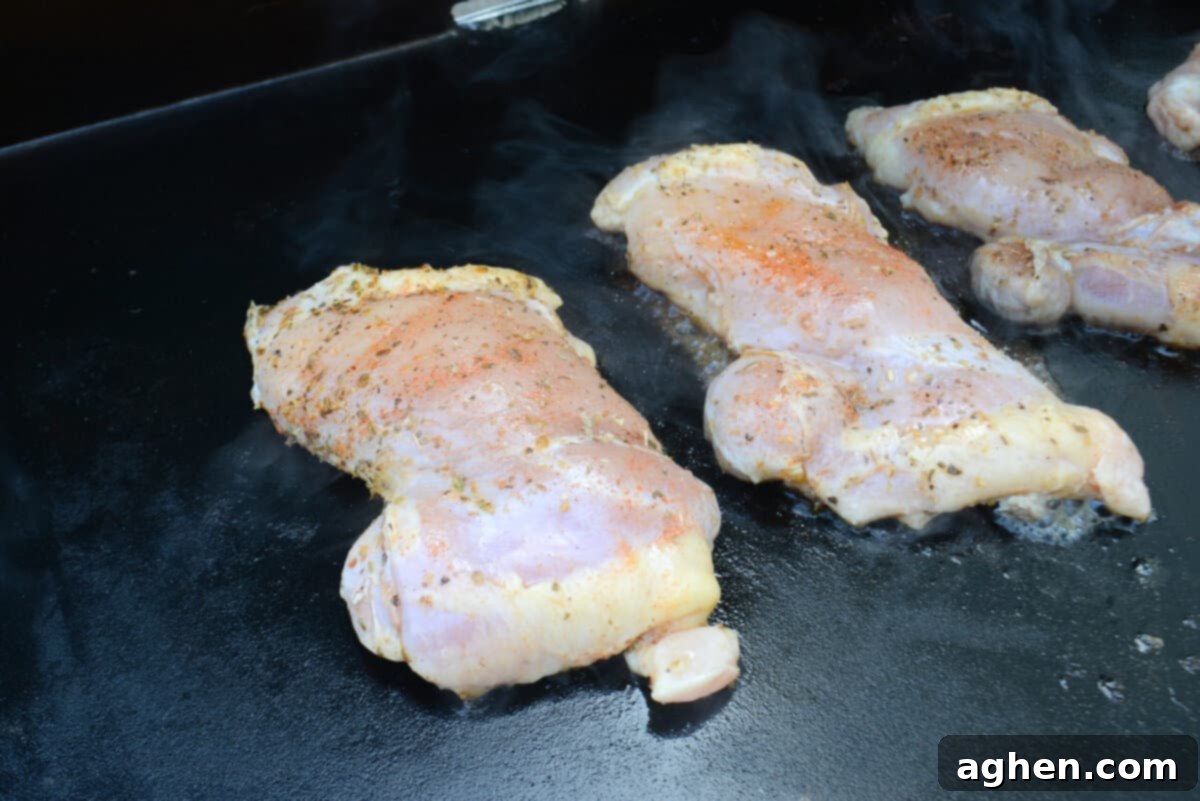
5. Cook: Allow the chicken thighs to cook undisturbed for the first 5-7 minutes. During this time, they will begin to develop a beautiful golden-brown sear and caramelization from the honey. After this initial cooking period, carefully flip the thighs using a sturdy spatula. Monitor the heat closely; feel free to adjust it slightly higher or lower as needed to maintain a consistent sizzle without burning the glaze. The goal is a steady cook for even browning.
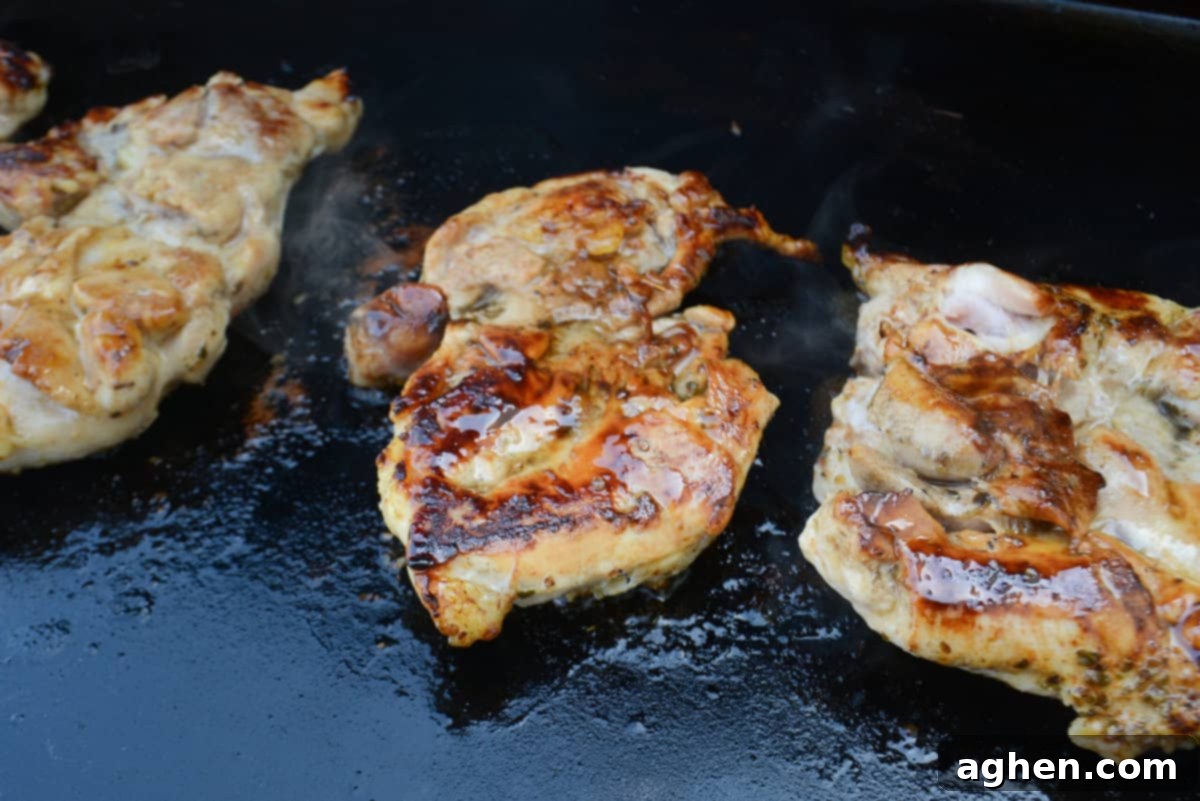
6. Check for doneness: Continue cooking the thighs for another 5-7 minutes on the second side, or until they are golden brown and beautifully caramelized on both sides. The most crucial step is to ensure proper doneness for food safety and optimal taste. When fully cooked, the internal temperature in the thickest part of the chicken thighs should register at least 165°F (74°C) using a reliable meat thermometer. If you desire an even darker, crispier sear, you can slightly increase the heat for the last minute or two of cooking, being careful not to overcook the interior.
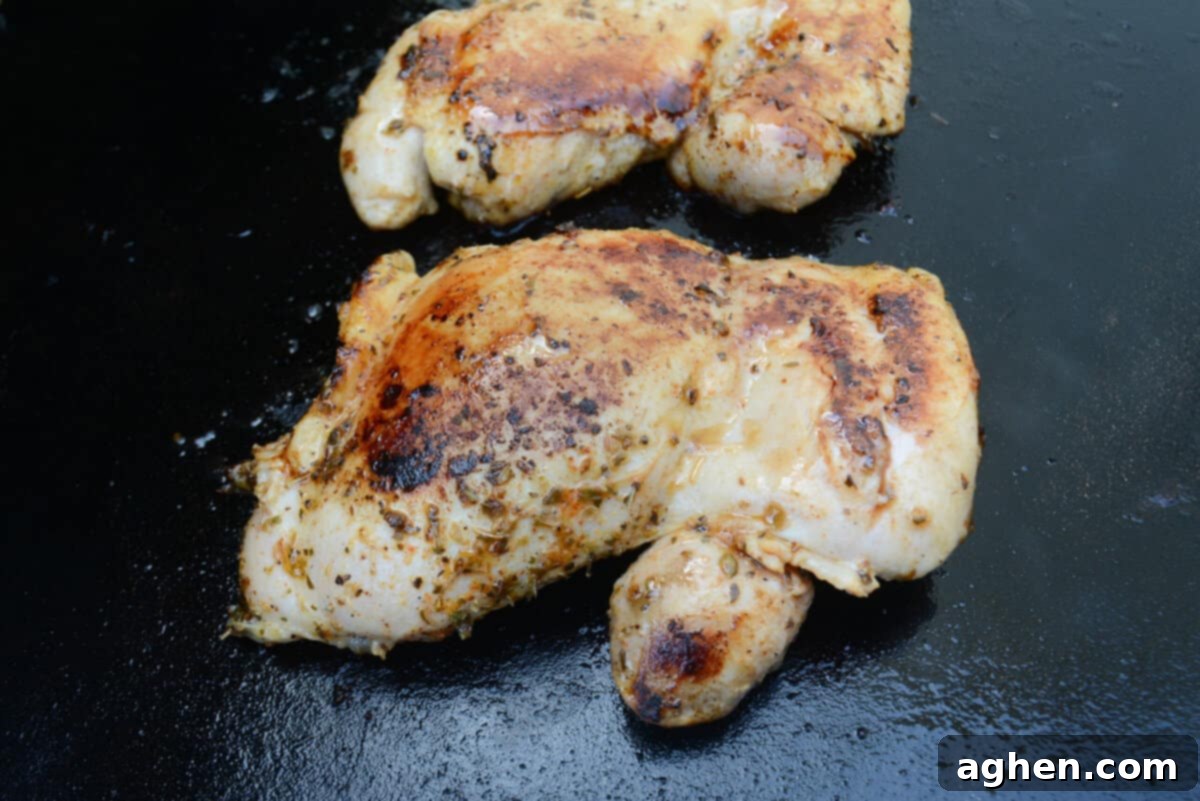
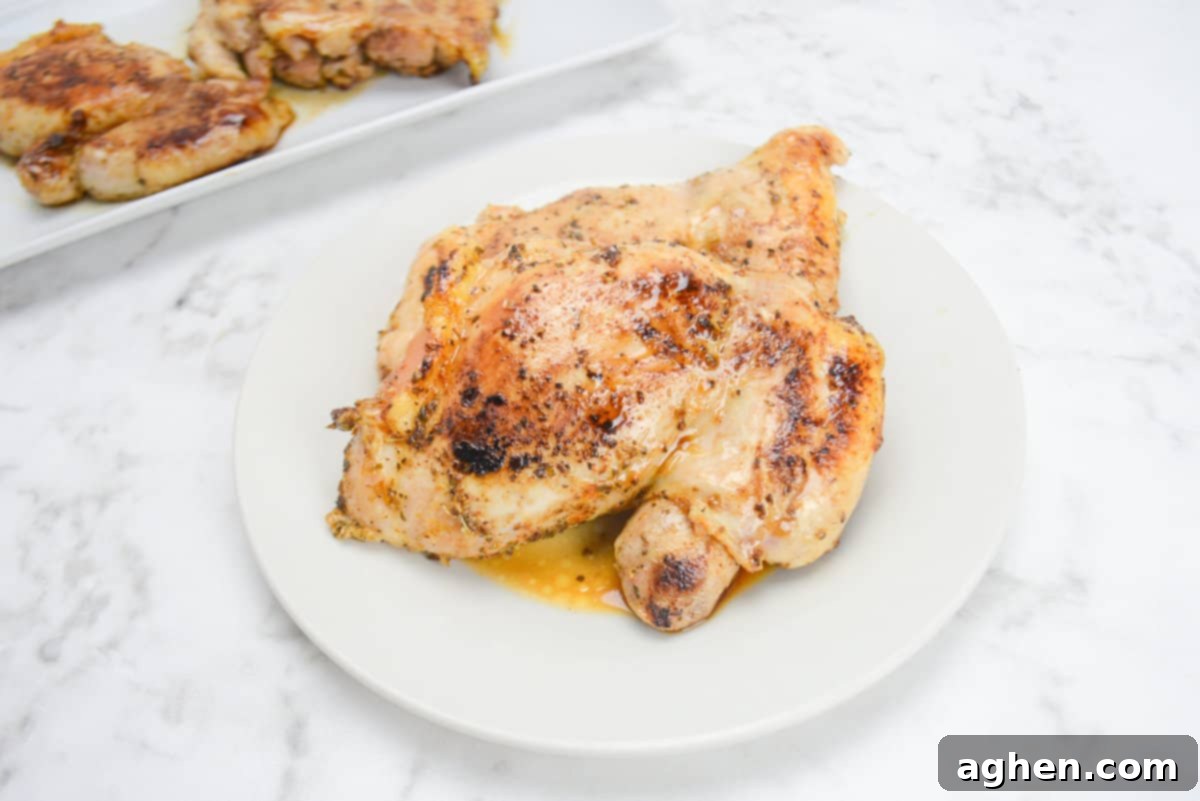
7. Serve: Once the chicken thighs have reached the safe internal temperature and boast a beautiful golden crust, remove them from the heat and transfer them to a clean plate or cutting board. It is vital to allow the chicken to rest for at least 5 minutes before slicing or serving. This resting period allows the juices to redistribute throughout the meat, ensuring a supremely juicy and tender result. Serve your perfectly cooked Blackstone chicken thighs warm and enjoy!
Creative Variations and Smart Substitutions
While this honey-lemon Blackstone chicken thigh recipe is fantastic as written, it’s also incredibly forgiving and adaptable. Feel free to experiment with these variations and substitutions to best suit your preferences or what you have on hand.
- Use a different cut of chicken: If chicken thighs aren’t available, thinly sliced chicken breast will make the best alternative, as its thinner profile will not drastically alter the cooking time. However, chicken breast is leaner and tends to dry out more quickly, so be sure to watch the meat closely and adjust both the heat and cooking time as needed to prevent overcooking. Consider butterflying thicker breasts to ensure even cooking.
- Only have bone-in chicken thighs? No problem! While boneless skinless thighs cook more evenly, deboning bone-in thighs is a simple process. Lay the thigh flat on a cutting board, skin-side down. Use a sharp paring knife to carefully cut along each side of the bone to release the meat. Then, run the knife along the underside of the bone to fully separate it from the thigh meat. This will give you a boneless piece that cooks similarly to store-bought boneless thighs.
- Skip the honey: If you’re not a fan of honey or are looking for a less sweet profile, feel free to omit it entirely. The lemon and herbs will still provide a delicious, savory chicken. Alternatively, to retain some sweetness, you can swap the honey for 2 tablespoons of brown sugar or even maple syrup for a slightly different flavor. Adjust the sugar content to your taste.
- Use sea salt or a different spice blend: The seasoned salt can be easily substituted for 1 teaspoon of sea salt or kosher salt. Since plain salt lacks the additional herbs and spices found in seasoned salt, take this opportunity to add your own flair. Feel free to mix in a blend of your favorite herbs and spices, such as garlic powder, onion powder, a pinch of cayenne for heat, or even a pre-made poultry seasoning blend to customize the flavor profile.
- Let it marinate for deeper flavor: While this recipe doesn’t strictly require marinating time due to the effective griddle sear, the chicken certainly becomes more flavorful and tender if allowed to sit in the marinade. To marinate, simply prepare the recipe two to three hours in advance and store the chicken in a bowl covered with plastic wrap in the refrigerator. However, you’ll want to avoid marinating for more than four hours total, as the acidity from the lemon juice can begin to “cook” the chicken and negatively affect its texture, making it mushy if left too long.
Expert Tips and Tricks for Making Blackstone Chicken Thighs
Achieving restaurant-quality Blackstone chicken thighs is easy with a few insider tips. These simple tricks will ensure your chicken is perfectly cooked, incredibly flavorful, and beautifully presented every time.
- Ensure the thighs are flat: When you purchase chicken thighs, they are often packaged with the edges tucked underneath, making them appear neat and compact. Before placing them on the griddle, take a moment to untuck these edges and flatten each piece. If you forget this step, the tucked portions may cook unevenly, as the griddle won’t have direct, consistent contact with the underside of the thigh. Flattening them ensures maximum surface area contact with the griddle, promoting efficient and even cooking and a superior sear.
- Start the temperature low: For perfectly cooked chicken thighs with a gorgeous crust, it’s crucial to start with a low-medium temperature on your Blackstone. This initial lower heat allows the chicken to cook through gently without immediately burning the exterior. Due to the sugar in the honey and the oil in this recipe, the chicken thighs will brown and caramelize relatively quickly. Beginning with a lower temperature provides you with better control over the final presentation, allowing the meat to cook thoroughly before the crust gets too dark. You can then slightly increase the temperature towards the end of the cooking process to achieve those coveted crispy, caramelized edges that everyone loves, without compromising the internal juiciness.
- Add a finishing touch: The seasoning in this recipe is purposefully balanced and not overpowering, providing a fantastic base that welcomes additional flavor. This means you have the creative freedom to add your own unique flair after cooking. Consider brushing the cooked chicken with your favorite barbecue sauce, a spicy buffalo sauce, a sweet and savory teriyaki sauce, or even a vibrant pesto for an entirely different flavor profile. For a fresh and aromatic garnish, sprinkle chopped fresh herbs like parsley, cilantro, or chives just before serving. A squeeze of extra lemon juice or a drizzle of hot honey can also elevate the flavors beautifully.
Explore More Blackstone Griddle Favorites
If you’ve enjoyed making these delicious Blackstone chicken thighs, you’ll love discovering other exciting recipes that make the most of your griddle. The Blackstone is incredibly versatile, perfect for everything from breakfast to dinner and beyond. Expand your culinary horizons with these popular griddle creations:
- Blackstone Cuban Sandwich – A flavorful, pressed sandwich that cooks to perfection on the griddle.
- Blackstone French Toast – Achieve perfectly golden and fluffy French toast for your next breakfast or brunch.
- 10 things I learned after 3 years of cooking everything I could think of on the Blackstone Griddle – Dive into expert tips and insights from extended Blackstone cooking experience.
Blackstone Chicken Thighs
Equipment
-
1 Blackstone Griddle
Ingredients
- 1 pound boneless skinless chicken thighs
- 2 lemons, juiced, about 1/4 cup lemon juice
- 3 tbsp honey
- 2 tbsp olive oil
- 1 tsp seasoned salt
- 2 tsp dried oregano
- 1/4 tsp ground black pepper
Instructions
-
Whisk the wet ingredients: In a small bowl or measuring cup, whisk the lemon juice, honey, and olive oil until well combined.
-
Coat the chicken: Pour the mixture over the chicken.
-
Add dry seasoning: Sprinkle the seasoned salt, oregano, and pepper on top of the chicken. Use your hands to ensure the liquid mixture and dry seasonings coat each piece of chicken on all sides.
-
Preheat and begin cooking: Preheat the Blackstone to low-medium heat. Once preheated, Place the chicken thighs onto the Blackstone, leaving at least one inch of space in between each thigh.
-
Cook: Let the thighs cook for 5-7 minutes. Then, flip the thighs. Feel free to adjust the heat as needed.
-
Check for doneness: Continue cooking the thighs for 5-7 minutes until they’re golden brown on both sides When done, the internal temperature in the thickest part of the thighs should be at least 165°F. If desired, slightly increase the heat to give the thighs a darker sear.
-
Serve: Remove the chicken thighs from the heat and allow to rest for at least 5 minutes before slicing. Serve warm.
Nutrition
Nutrition information is automatically calculated, so should only be used as an approximation.
