Mastering the Art of Charcoal Grilling: Advanced Techniques for Your Weber Grill
Charcoal grilling transcends a mere cooking method; it’s a revered culinary art form that consistently delivers rich, smoky flavors and remarkably tender textures. For those who own a Weber charcoal grill, elevating your grilling prowess means mastering precision techniques. This comprehensive guide is designed for experienced Weber grill enthusiasts eager to refine their skills, offering advanced insights and practical tips to perfect their craft and impress every guest with unforgettable meals.
Understanding Your Weber Charcoal Grill’s Potential
Before delving into sophisticated grilling techniques, a thorough understanding of your Weber charcoal grill’s inherent capabilities is paramount. Weber grills are globally celebrated for their exceptional durability, superior heat retention, and remarkable versatility, making them ideal companions for any grilling adventure. Let’s revisit the core features that contribute to their outstanding performance:
Iconic Kettle Design: The signature Weber kettle shape is not just aesthetically pleasing; it’s engineered for optimal performance. This design facilitates incredibly efficient air circulation and uniform heat distribution. This dual benefit makes it perfectly suited for both high-heat direct searing and low-and-slow indirect cooking, ensuring consistent results across all your dishes.
Precision Adjustable Vents: Your Weber grill features precisely engineered top and bottom vents. These are your primary tools for temperature management. The top vent controls exhaust, dictating the overall heat level within the cooking chamber, while the bottom vent regulates oxygen supply to the coals, directly influencing their intensity and temperature. Mastering their interplay is crucial for consistent grilling.
Efficient Ash Catcher System: Many Weber charcoal grills are equipped with the convenient One-Touch cleaning system. This innovative feature simplifies ash management, which is vital for maintaining consistent airflow and preventing ash buildup from choking your coals. A clean grill environment ensures optimal performance and makes cleanup a breeze.
Mastering Temperature Control: The Heart of Precision Grilling
Achieving truly professional grilling results hinges on your ability to precisely control and maintain the ideal cooking temperature. This section will guide you through the nuanced process of managing heat on your Weber charcoal grill, ensuring your food cooks exactly as intended every time.
Building the Perfect Fire for Any Cook
The foundation of great charcoal grilling begins with building the right fire. Different cooking styles demand different coal arrangements and heat levels.
- Utilizing a Chimney Starter for Even Ignition: A chimney starter is an indispensable tool for lighting charcoal efficiently and evenly. Simply fill the chimney with your desired amount of charcoal, place a natural fire starter or a few sheets of crumpled newspaper underneath, and ignite. Wait patiently until the top coals are thoroughly ash-covered and glowing red, indicating they are ready for placement. Avoid using lighter fluid unless absolutely necessary, as it can impart an undesirable chemical flavor to your food that can linger on the charcoal and affect the taste of your meats.
- Strategic Coal Arrangement for Versatile Heat Zones:
- High Heat (Searing): For intense, searing heat, spread a single, even layer of glowing coals across the entire charcoal grate. This setup is perfect for quickly browning steaks, chops, and thin vegetables, creating a delicious crust.
- Medium Heat (General Grilling): To achieve medium heat for most grilling tasks like chicken pieces, sausages, or thicker vegetables, create a two-zone fire. Pile the majority of your coals on one side of the charcoal grate, leaving the other side empty. This provides both a direct heat zone for cooking and an indirect zone for finishing or keeping food warm.
- Low and Slow Cooking (Barbecue & Smoking): For extended cooks, such as smoking briskets, pork shoulders, or ribs, the “snake method” is highly effective. Arrange unlit briquettes in a semi-circle around the edge of the grill, typically two briquettes wide and two high. Place a few lit briquettes at one end of the snake to initiate a slow, controlled burn that will gradually ignite the rest over many hours. This method provides consistent low temperatures for long periods.
Fine-Tuning Heat with Adjustable Vents
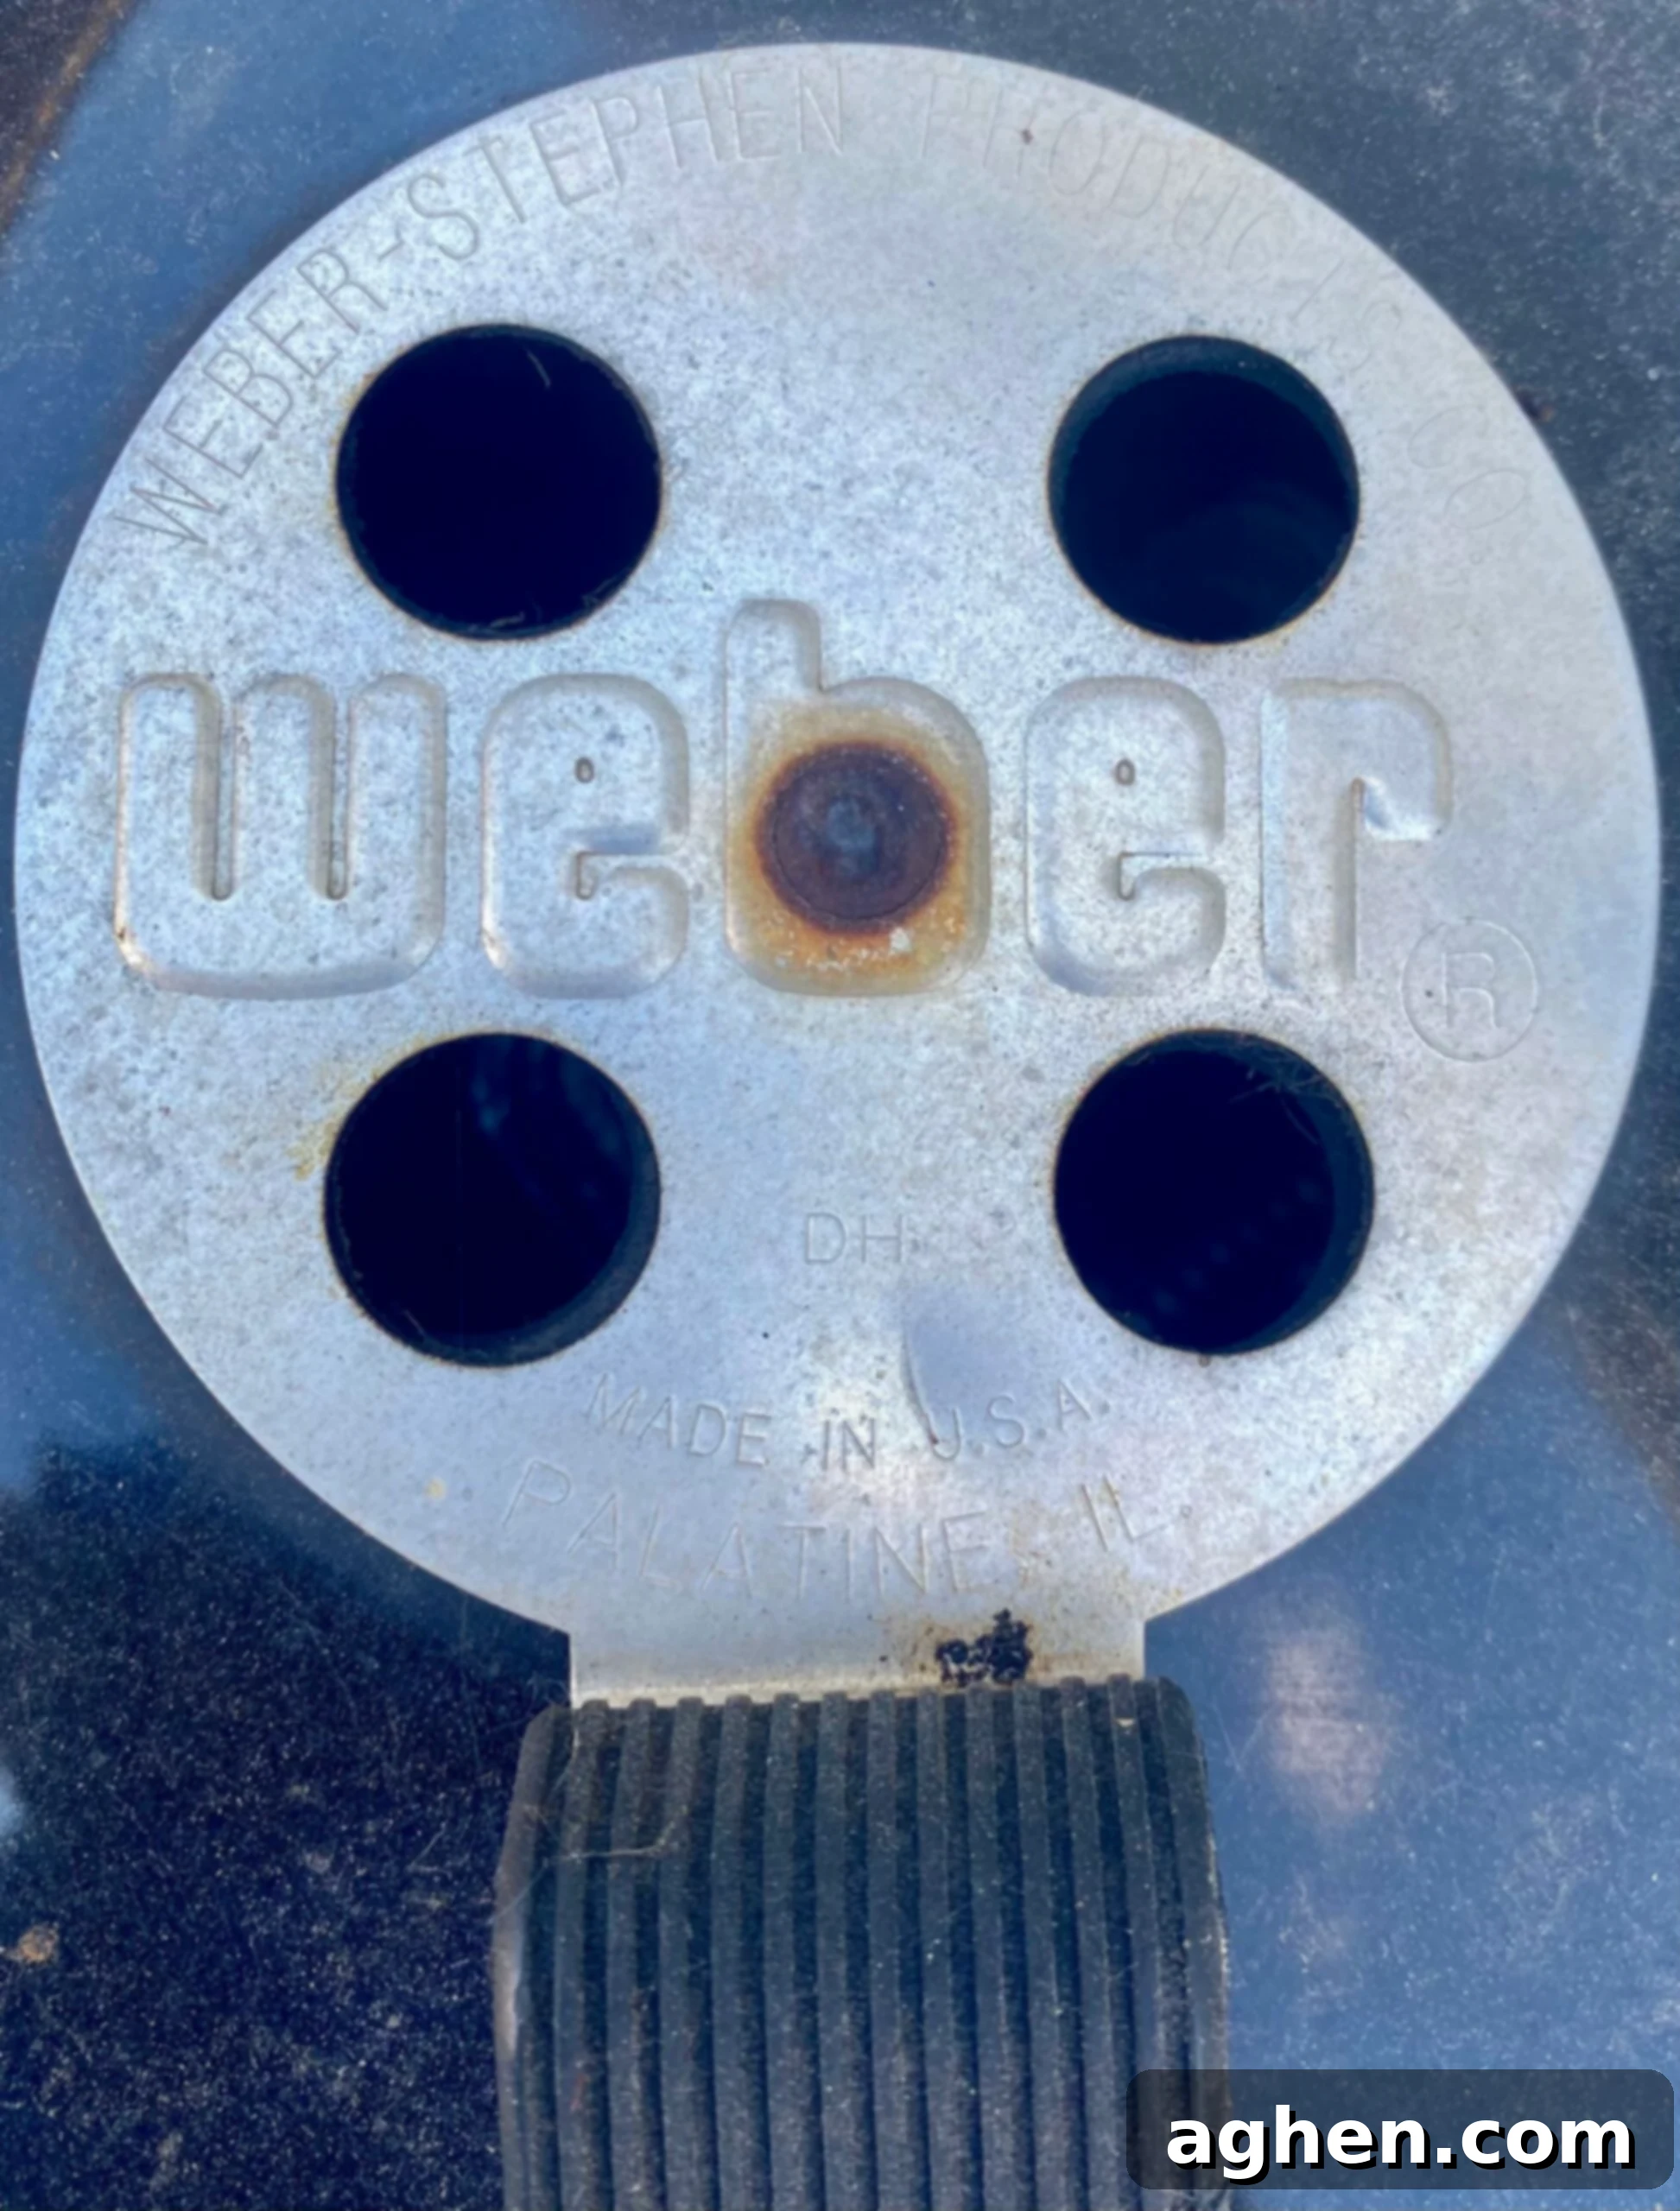
The vents on your Weber grill are your primary controls for temperature regulation:
Top Vent (Exhaust Vent): This vent manages the flow of hot air and smoke out of the grill. A wider-open top vent allows more hot air to escape and increases airflow through the grill, leading to higher temperatures. Conversely, closing the top vent restricts exhaust, which can slightly lower the internal temperature and concentrate smoke flavor. For most cooks, it’s best to keep the top vent at least partially open to prevent creosote buildup and ensure clean smoke.
Bottom Vent (Intake Vent): This vent is the main regulator of oxygen supply to your coals. More oxygen fuels hotter coals, directly increasing the grill’s temperature. Therefore, opening the bottom vent increases heat, while closing it reduces the oxygen supply, causing the coals to burn slower and cooler. Precise adjustments to the bottom vent are crucial for maintaining your desired cooking temperature over time.
The Indispensable Role of a Reliable Thermometer
While some Weber grills come with built-in lid thermometers, these are often inaccurate and primarily measure the ambient temperature near the lid, not at grate level where your food is cooking. Investing in a high-quality, separate digital probe thermometer is absolutely essential for precision grilling. This tool will provide accurate, real-time readings of your grill’s internal temperature and, crucially, your food’s internal temperature. This precision is vital for achieving the perfect level of doneness for various meats, ensuring food safety, and guaranteeing delicious, consistently cooked results every time.
Advanced Charcoal Grilling Techniques for the Weber Aficionado
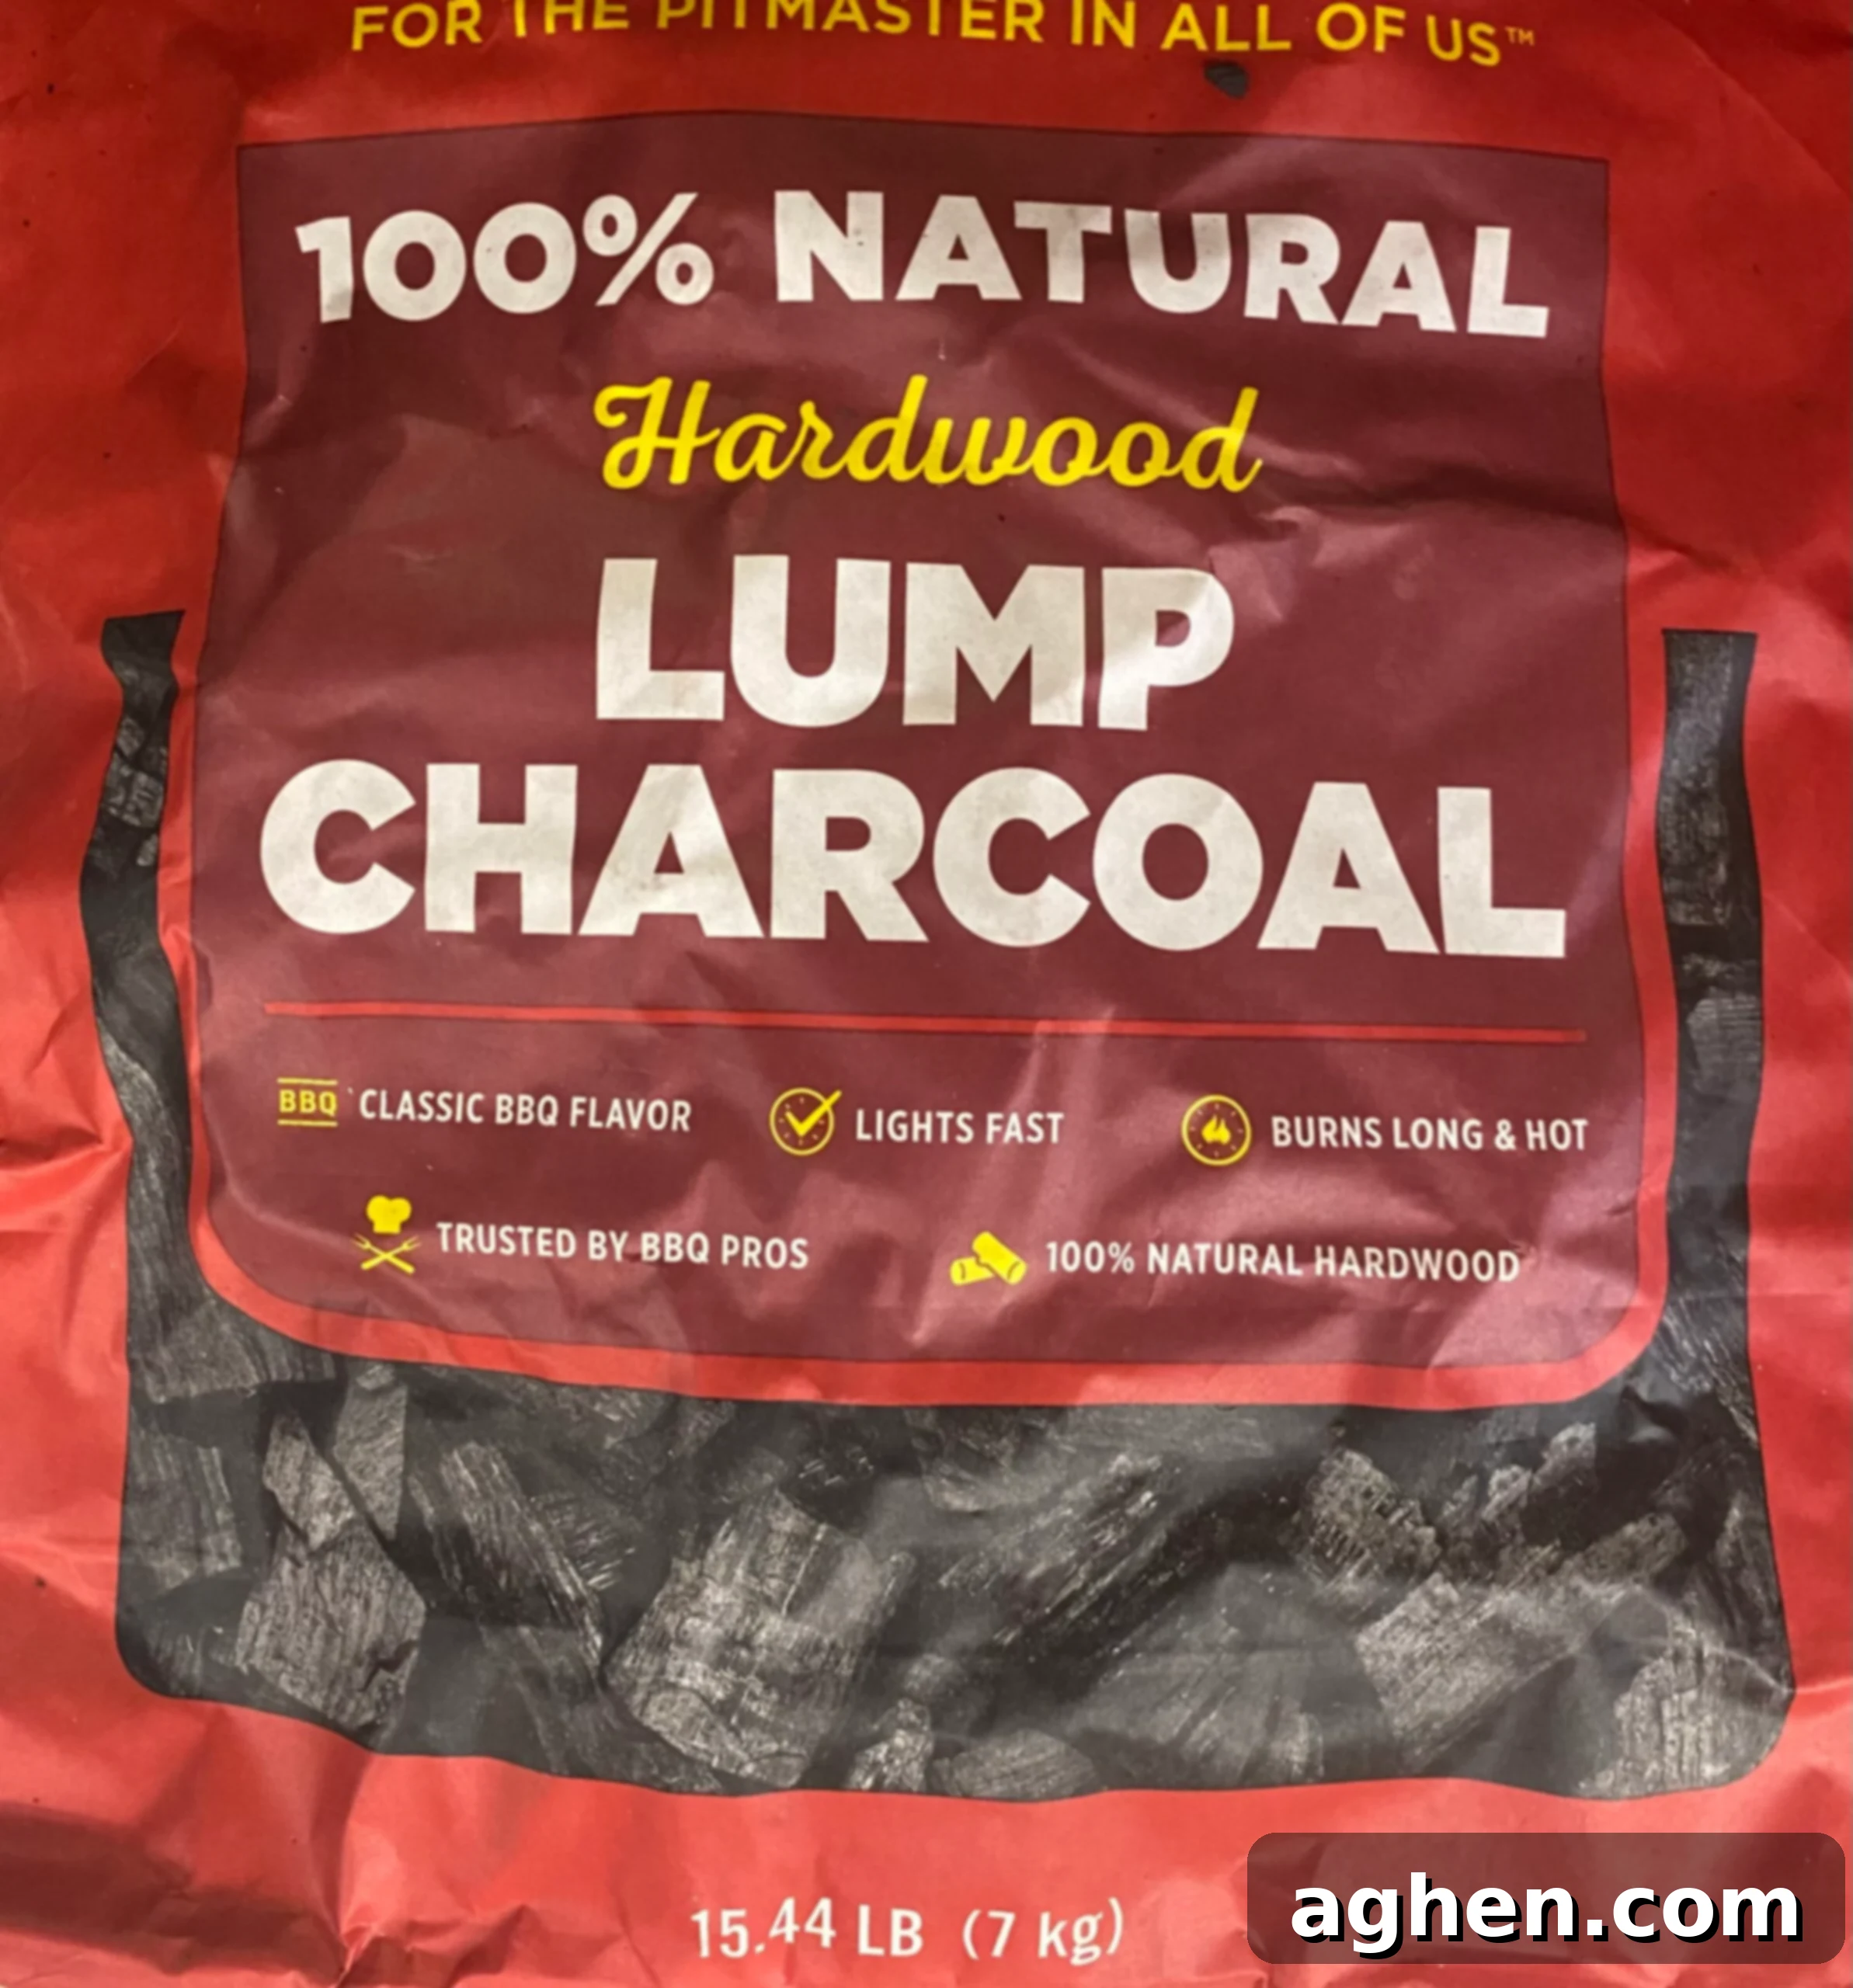
Once you’ve mastered temperature control, it’s time to explore advanced techniques that unlock new dimensions of flavor and texture, transforming your backyard into a gourmet kitchen.
Infusing Flavor with Smoking Wood Chips or Chunks
Adding wood chips or larger wood chunks to your hot coals is a simple yet powerful technique to infuse your food with exquisite layers of smoky flavor. This elevates your grilling game, allowing for endless experimentation with different wood types to achieve the perfect aroma and taste profile for meats, seafood, and even vegetables. Each type of wood offers a unique essence:
- Hickory: A robust, bacon-like flavor, excellent for pork (ribs, pulled pork), beef, and poultry.
- Applewood: A sweet, fruity, and mild smoke, perfect for pork, poultry, and fish.
- Cherry: A subtle, sweet flavor with a beautiful reddish hue on meats, ideal for poultry, pork, beef, and vegetables.
- Oak: A medium, balanced smoke that complements most meats, particularly beef, lamb, and game.
- Pecan: A rich, nutty, and slightly sweet flavor, milder than hickory, great for pork, chicken, and fish.
- Mesquite: A strong, earthy, and bold flavor, best suited for darker meats like beef brisket or venison, used sparingly due to its intensity.
Here’s how to effectively incorporate smoking wood into your grill:
- Prepare the Wood: Soak wood chips in water for at least 30 minutes (or even up to an hour) before adding them to the coals. Soaking helps prevent them from burning too quickly, allowing them to smolder and produce smoke for a longer duration. For wood chunks, soaking is optional as they are denser and burn slower naturally.
- Add to Coals Strategically:
- For Chips: Place the pre-soaked wood chips directly onto your hot, glowing coals. For a more sustained smoke, you can wrap a handful of chips loosely in aluminum foil, poke several holes in the packet, and then place it on the coals. This method helps the chips smolder rather than ignite.
- For Chunks: Place one or two wood chunks directly onto the lit coals. They will smolder slowly, providing a consistent smoke over several hours, which is ideal for longer cooks.
Enhancing Moisture and Regulating Temperature with a Water Pan
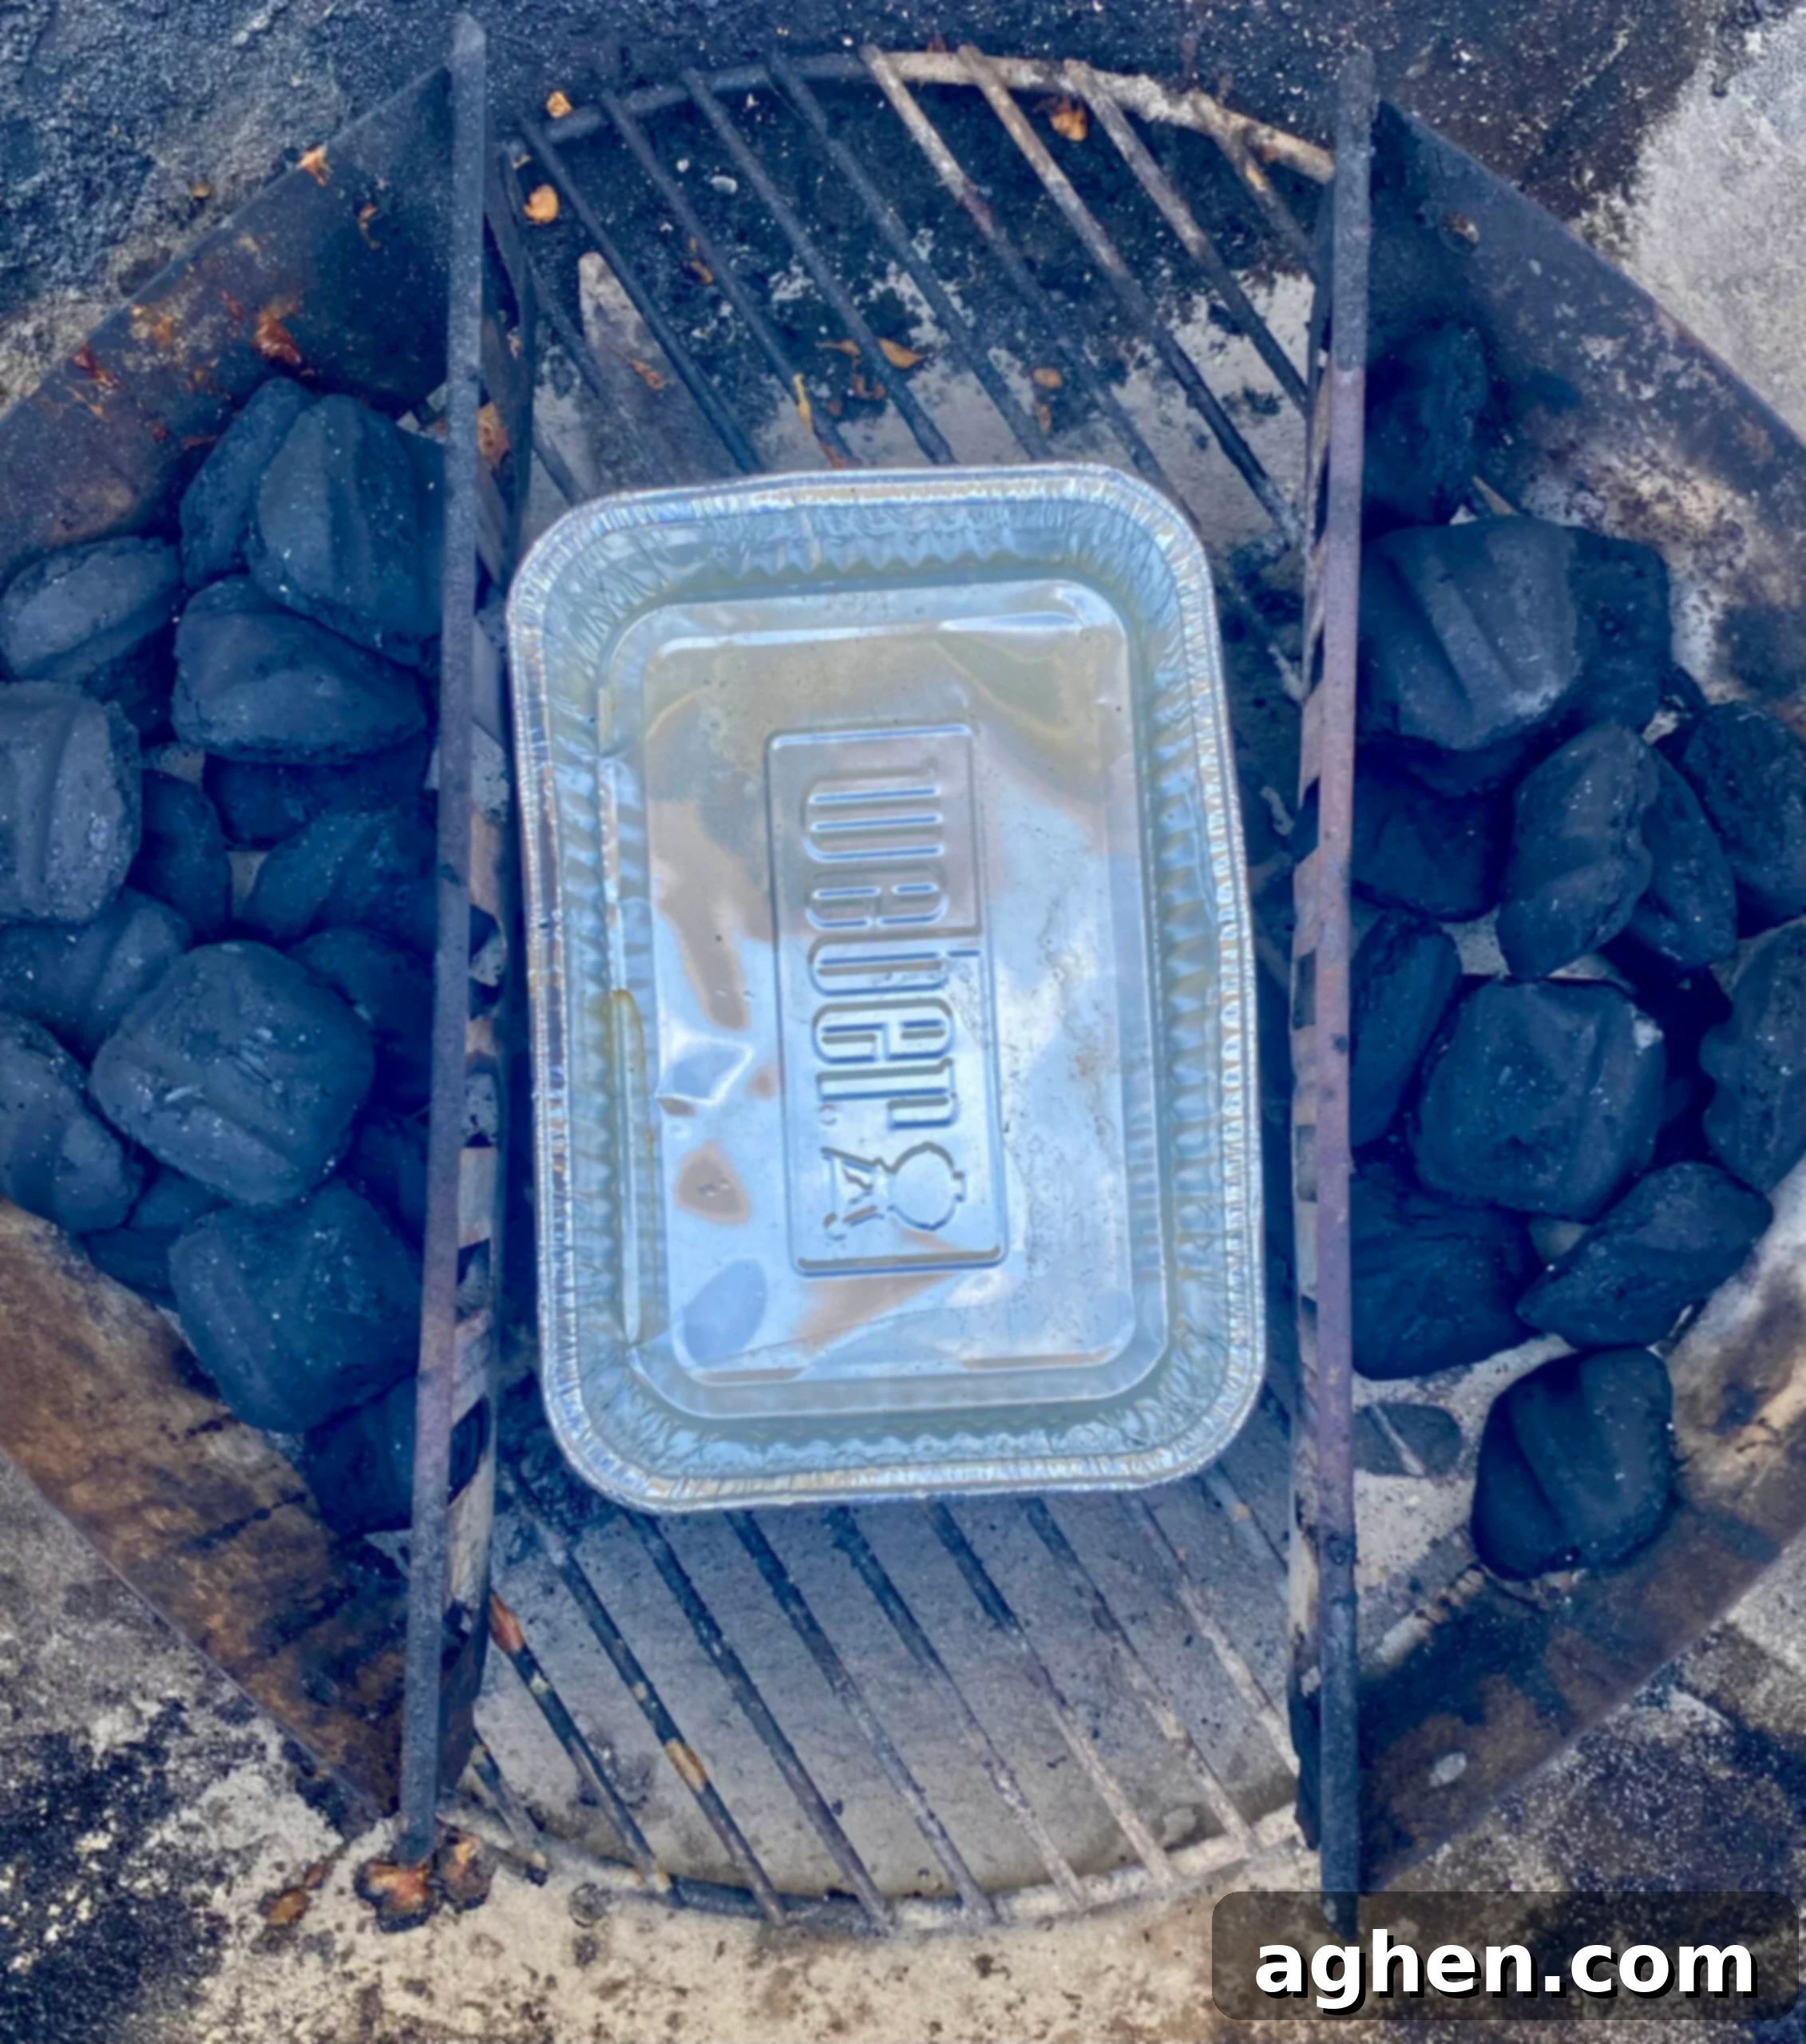
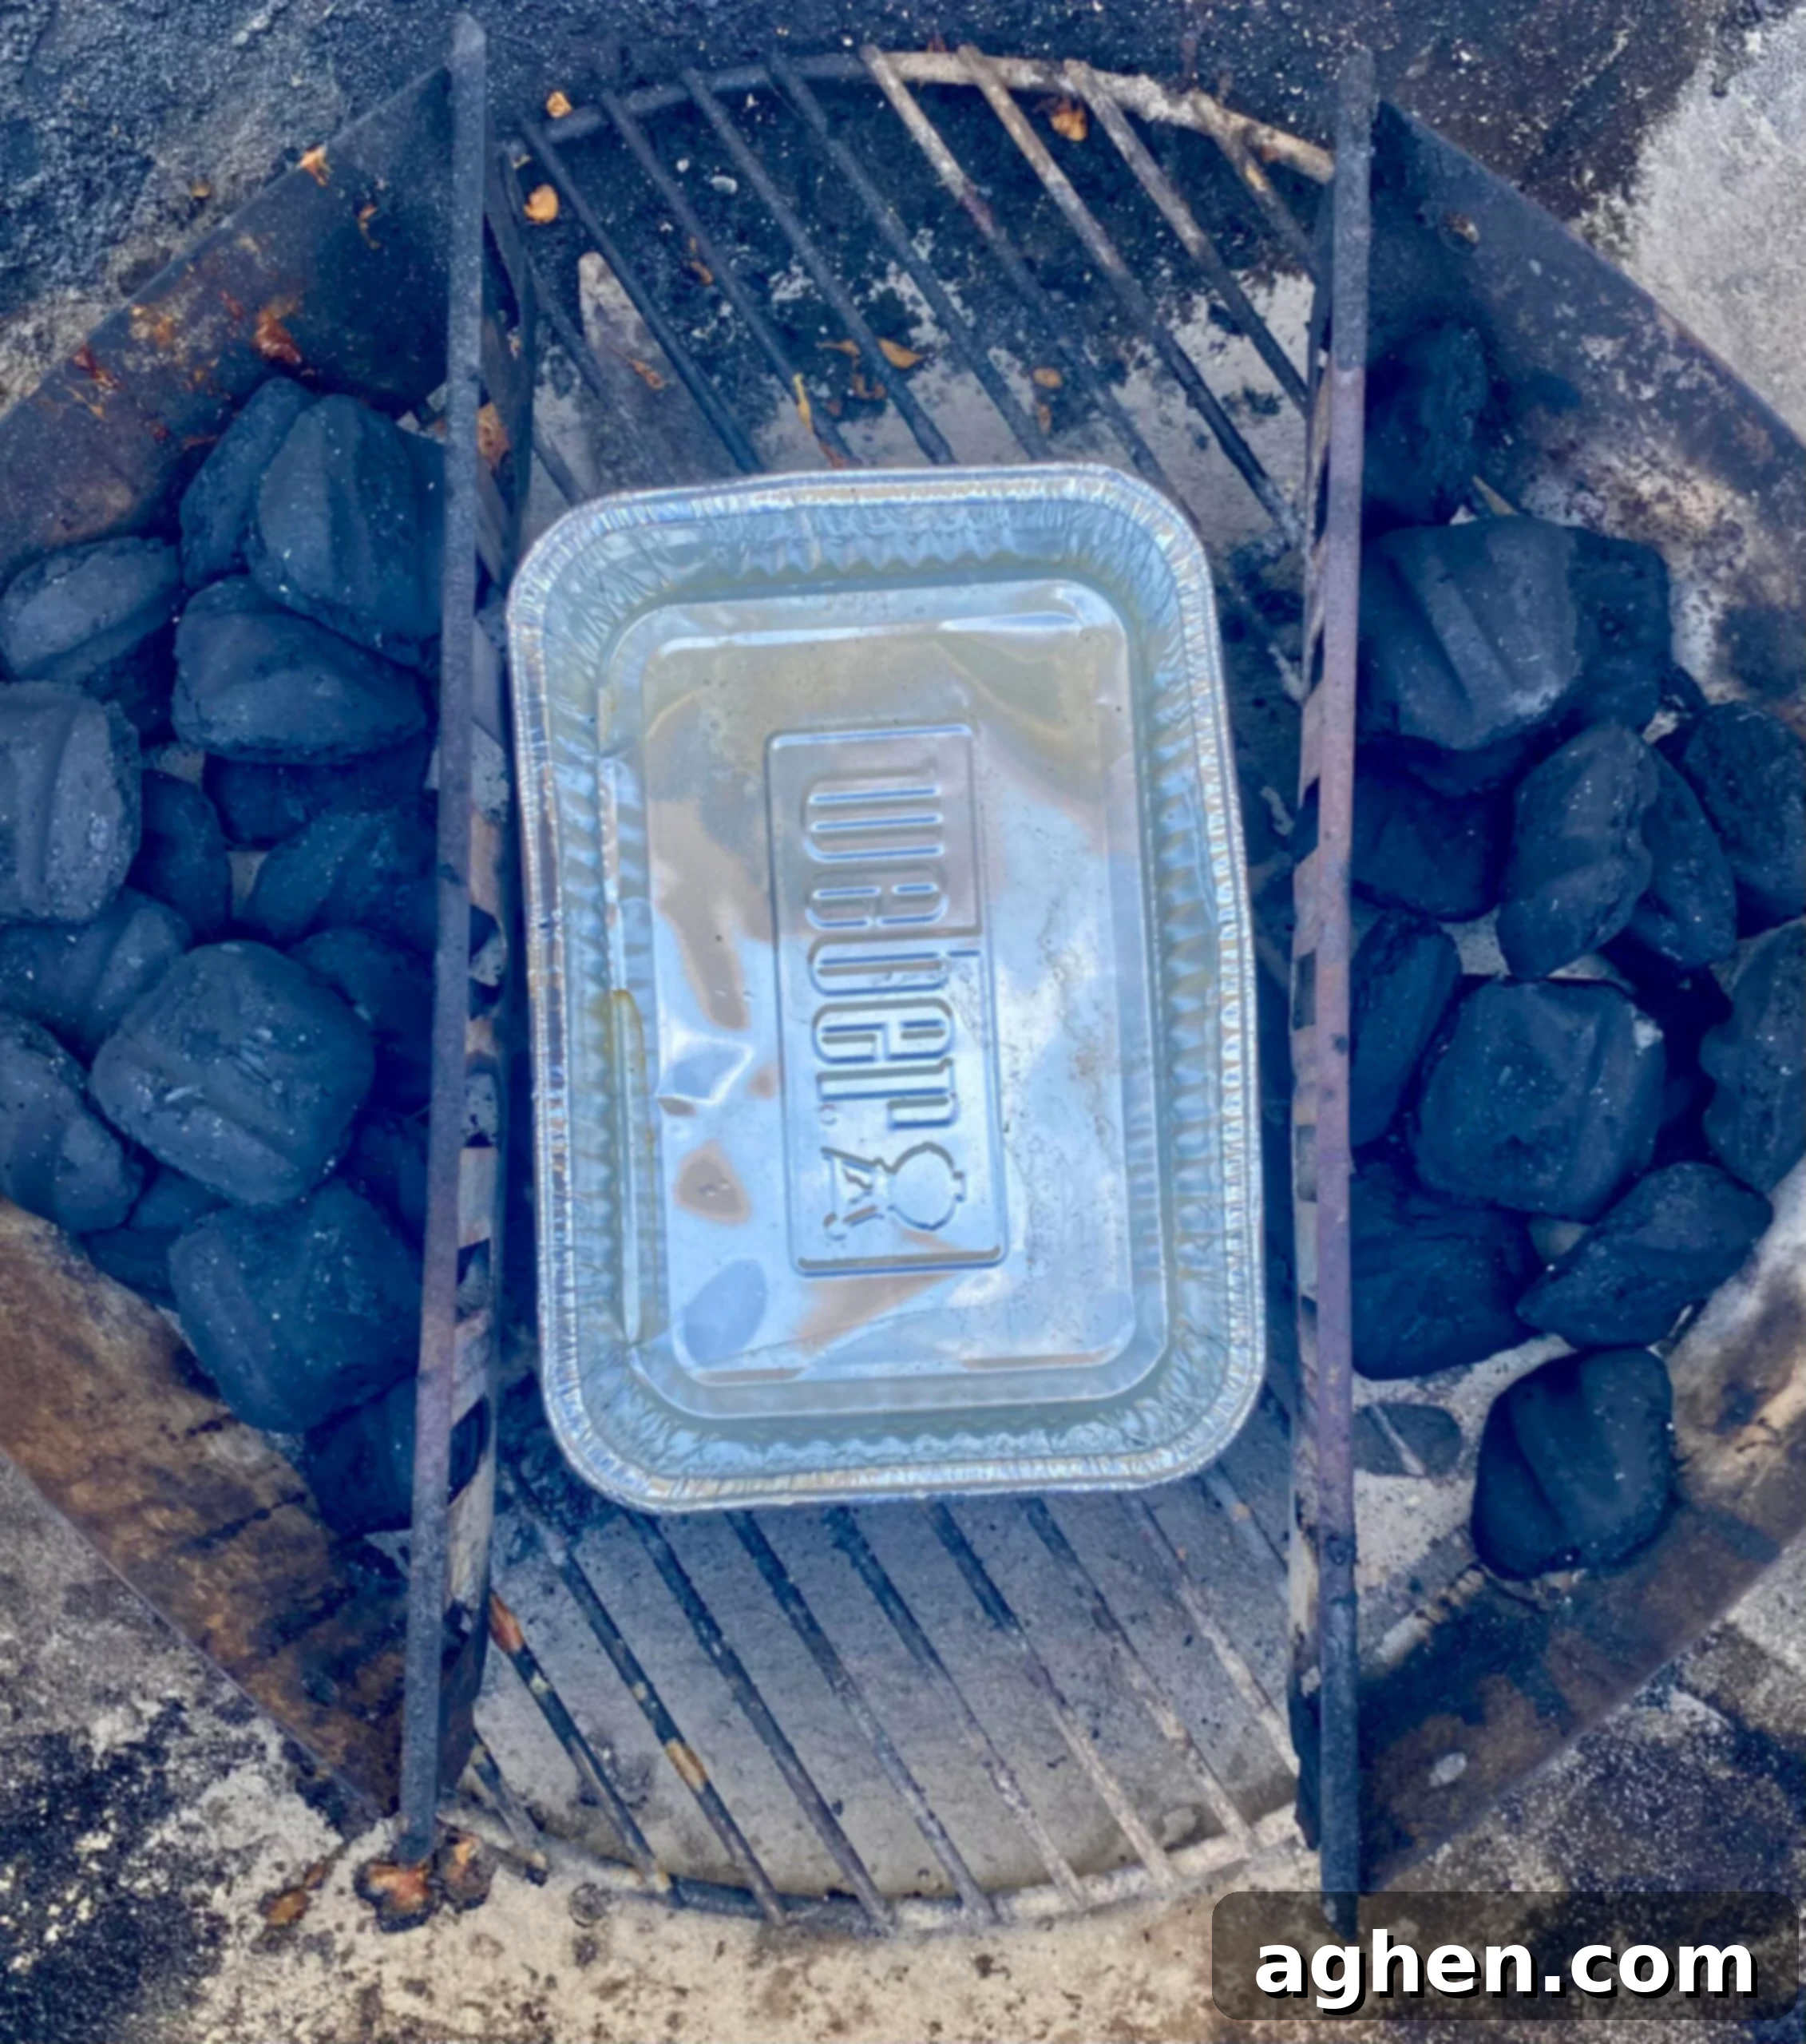
Incorporating a water pan into your Weber charcoal grill setup is a simple yet highly effective technique to regulate temperature, stabilize heat fluctuations, and introduce crucial moisture into the cooking environment. This prevents food from drying out, particularly during longer cooks, resulting in significantly juicier and more tender dishes. The water pan works by absorbing and radiating heat, creating a more stable internal temperature, and the evaporating water adds humidity, which is vital for smoking and slow roasting.
Here’s how to properly integrate a water pan:
- Positioning the Pan: Place a disposable aluminum foil pan or a reusable metal pan directly on the charcoal grate. Position it beneath the food grate, ensuring it is situated directly above the indirect heat zone (i.e., where there are no coals). Fill the pan with hot water to help bring the grill up to temperature faster and to prevent it from drawing too much heat from the cooking chamber. You can also add aromatics like sliced onions, herbs, or even beer/wine to the water for added subtle flavor.
- Utilizing for Indirect Cooking: Once the water pan is in place and filled, position your food directly above it on the cooking grate. The water acts as a thermal buffer, absorbing excess heat and radiating a stable, moist heat upwards. This setup is perfect for indirect cooking of larger cuts of meat, poultry, or any dish that benefits from a consistent, humid, and lower-temperature environment to cook through without charring.
The Power of Direct and Indirect Heat Combination (Two-Zone Grilling)
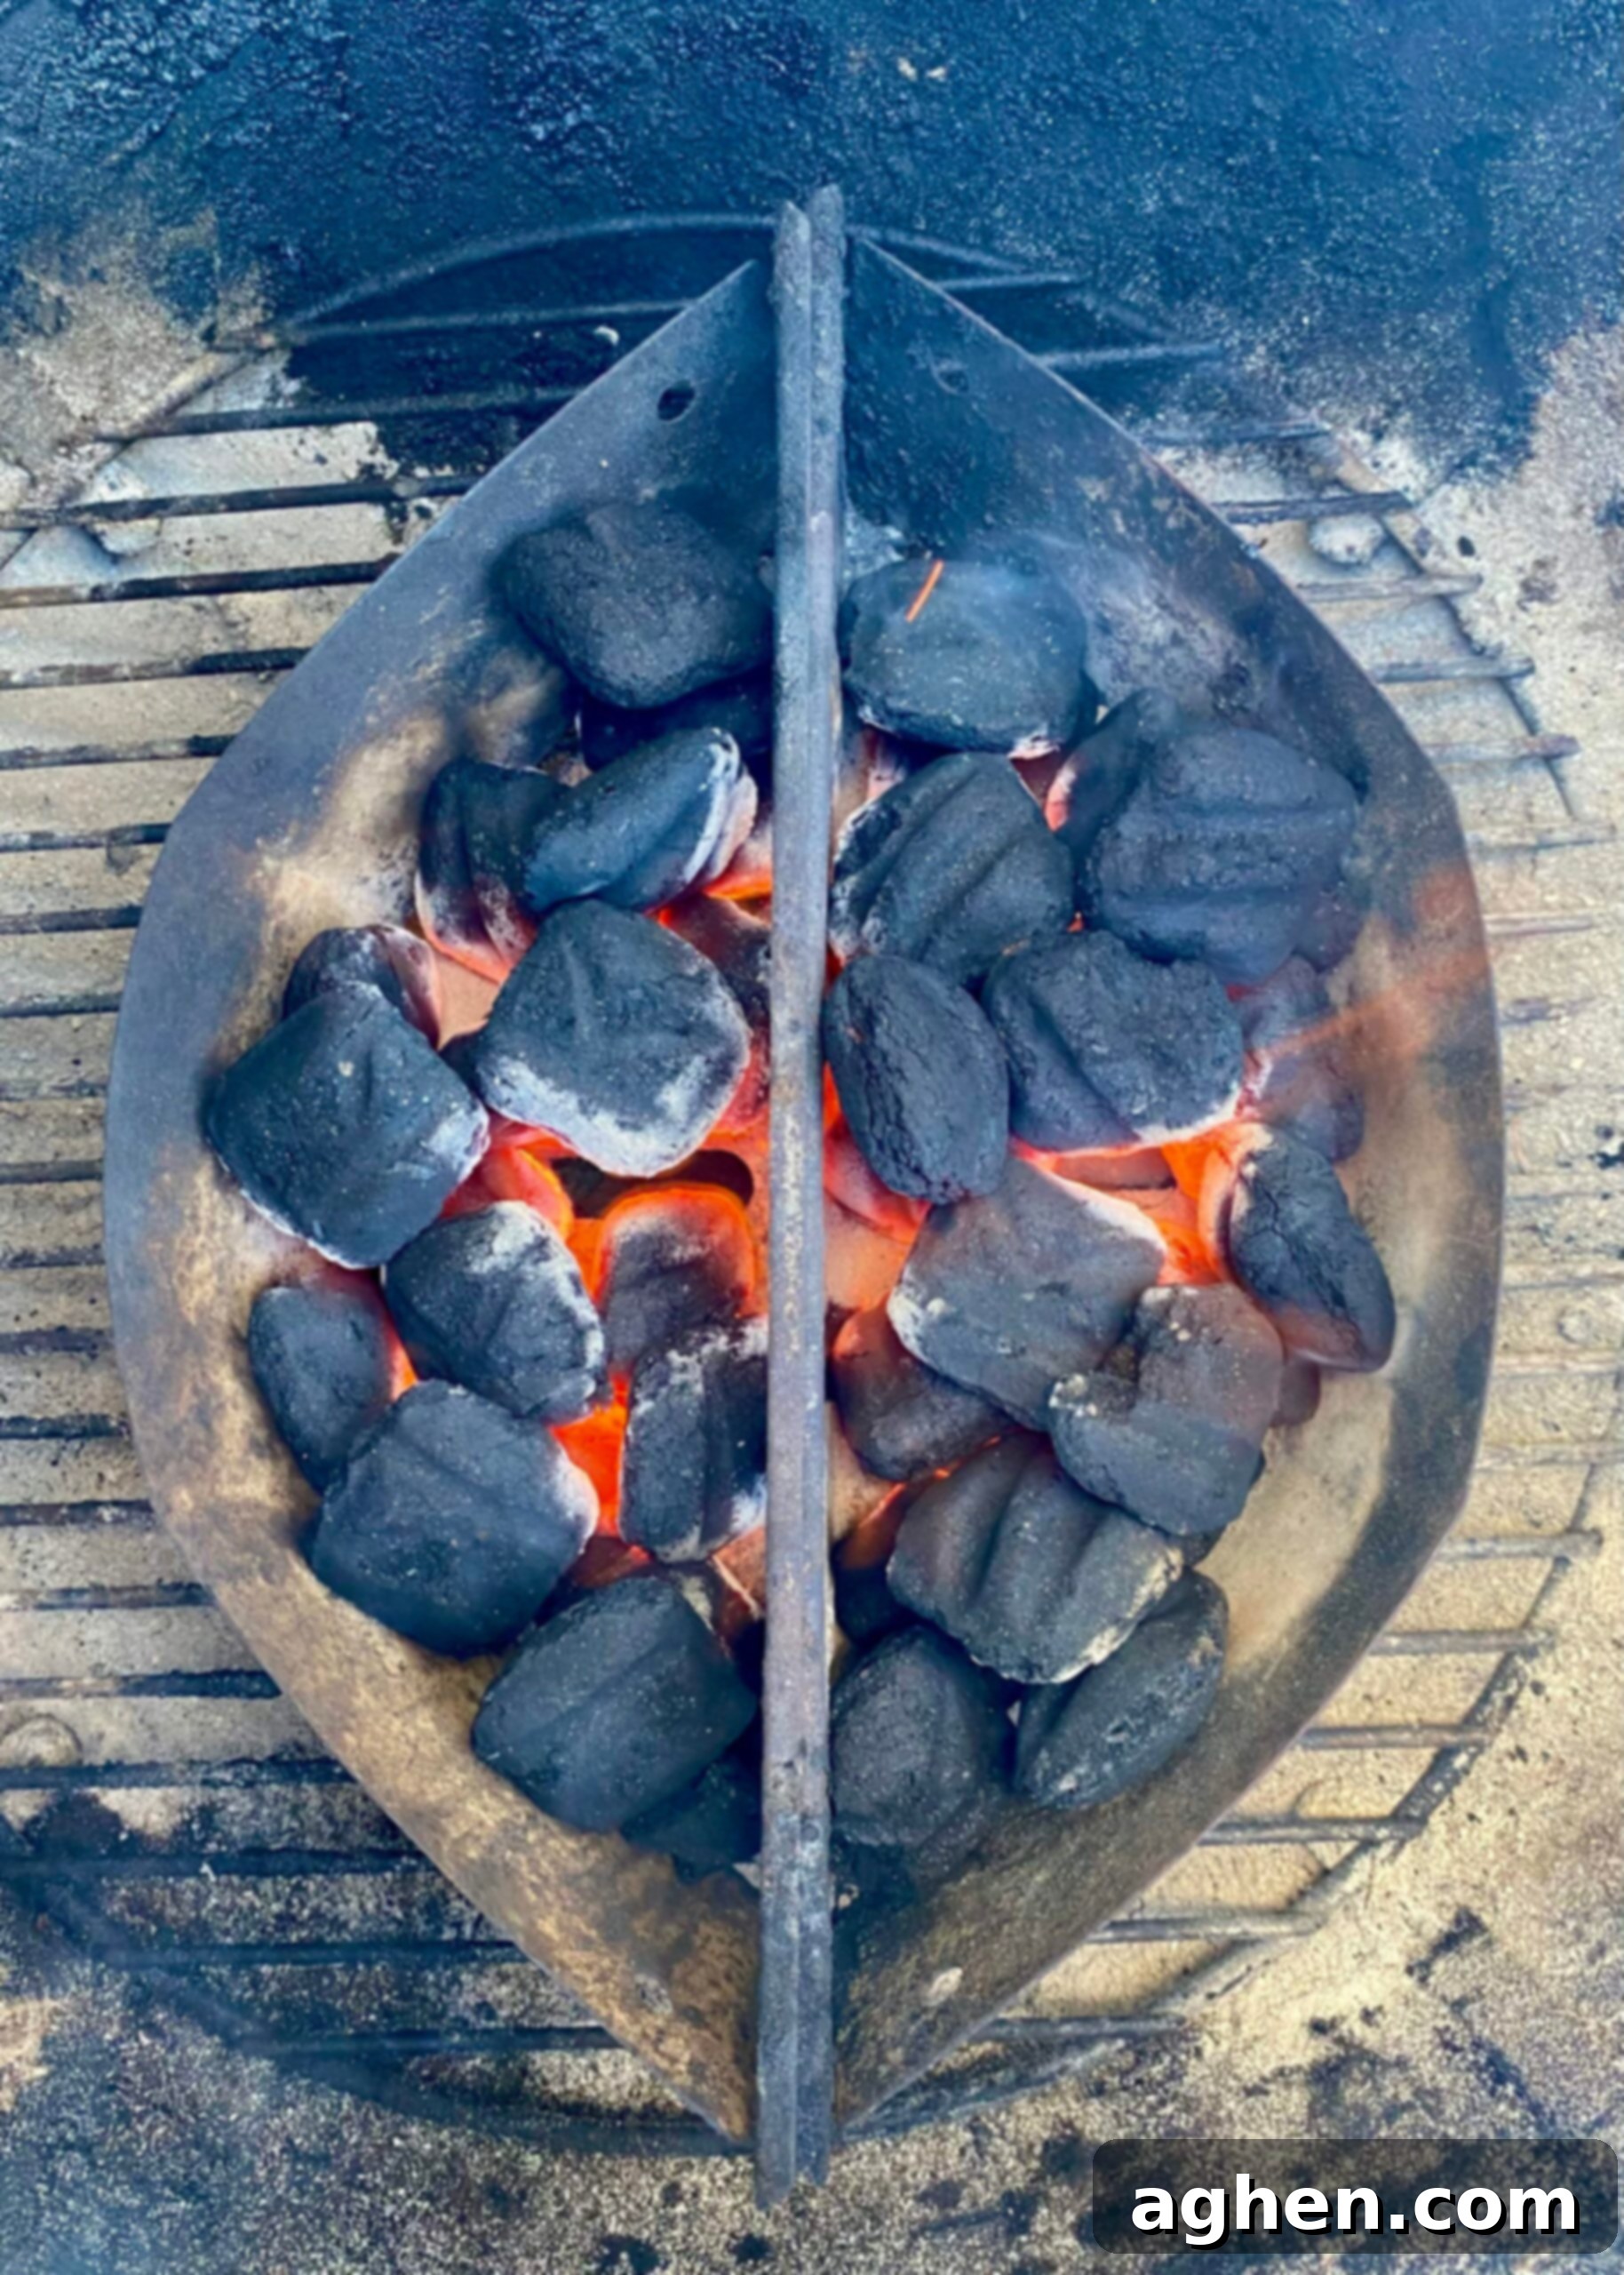
Mastering a two-zone grilling setup, combining both direct and indirect heat, grants you unparalleled control over your culinary creations. This method is incredibly versatile, especially when cooking various types of food simultaneously or when dealing with thicker cuts of meat. It allows you to achieve a perfect sear, develop a beautiful crust, or crisp exteriors, all while ensuring the interior of your food cooks evenly and thoroughly without burning. Whether you’re grilling, roasting, or barbecuing, balancing these two heat zones is a fundamental skill for any aspiring grill master.
Follow this straightforward method to establish your two-zone heating setup:
- Creating the Two-Zone Configuration: After lighting your charcoal in a chimney starter, carefully arrange the glowing coals on one side of your charcoal grate. This creates a powerful hot zone for direct searing. The other side of the grill, devoid of coals, becomes your cooler indirect cooking zone. For a truly versatile setup, you can aim for a roughly 60/40 or 70/30 split between direct and indirect heat.
- Executing the Sear and Finish (Reverse Sear Method): This technique is particularly effective for thicker cuts of meat like steaks, roasts, or even whole chickens.
- Initial Sear: Begin by placing your meat directly over the hot coals in the direct heat zone. Sear each side for a few minutes until a desirable, flavorful crust (the Maillard reaction) has formed. This locks in juices and creates incredible texture and color.
- Indirect Finish: Once seared, move the meat to the indirect heat zone. Close the lid and allow the food to continue cooking gently until it reaches your desired internal temperature. This indirect heat ensures the interior cooks evenly without drying out or overcooking the exterior. This method is often referred to as the “reverse sear” when you cook indirectly first and then finish with a high-heat sear, which is excellent for very thick steaks.
Elevating Flavor and Tenderness with Marinades and Brines
Marinades and brines are powerful tools in your grilling arsenal, designed to significantly enhance both the flavor and tenderness of your grilled foods. These preparations go beyond mere seasoning, actively working to transform the texture and taste of meats, poultry, seafood, and vegetables.
- Marinades: A marinade typically consists of an acidic component (like vinegar, lemon juice, or yogurt), an oil, and a blend of herbs, spices, and aromatics. The acids in a marinade help to break down tough muscle fibers, tenderizing the meat, while the other ingredients infuse it with a multitude of flavors.
- Application: Submerge your protein or vegetables completely in the marinade. For optimal flavor penetration and tenderization, marinate for at least a few hours for smaller cuts and up to overnight for larger pieces. Ensure proper refrigeration during marinating.
- Flavor Profiles: Experiment with Asian-inspired marinades (soy sauce, ginger, garlic), Mediterranean (olive oil, oregano, lemon), or smoky BBQ (Worcestershire, paprika, brown sugar).
- Brines: A brine is a saltwater solution, often enhanced with sugar, herbs, and spices. Its primary function is to introduce moisture and flavor into proteins, particularly lean meats like chicken, turkey, and pork. Through osmosis, the salt solution penetrates the meat, helping it retain moisture during cooking, resulting in incredibly juicy and flavorful results.
- Basic Ratio: A common ratio is 1 cup of kosher salt to 1 gallon of water. You can add a half cup of sugar for sweetness and browning, along with peppercorns, bay leaves, or garlic cloves.
- Application: Ensure your protein is fully submerged in the brine. Brining times vary by size: a whole chicken might brine for 4-8 hours, while pork chops may need 2-4 hours. Always keep brining food refrigerated.
- Benefits: Brining is a game-changer for preventing dryness, especially when grilling poultry breasts or pork loin, yielding noticeably moister and more seasoned outcomes.
Troubleshooting Common Charcoal Grilling Issues
Even experienced grill masters encounter challenges. Knowing how to troubleshoot common issues will save your meal and boost your confidence.
Addressing Uneven Cooking
Uneven cooking is often a result of inconsistent heat distribution. To ensure your food cooks uniformly:
- Even Charcoal Layer: Always ensure your charcoal is spread in an even layer (for direct heat) or thoughtfully arranged in your two-zone setup. Pockets of dense coals will create hotter spots, leading to inconsistent cooking.
- Regular Rotation: Regularly rotate your food, moving pieces from hotter to cooler spots on the grate, and flipping them frequently. This helps to distribute the heat exposure and ensures all sides cook evenly.
- Lid Management: Keep the lid closed as much as possible to maintain a stable internal temperature and allow heat to circulate evenly.
Managing Pesky Flare-Ups
Flare-ups occur when dripping fat hits hot coals, creating sudden bursts of flame that can char your food. Prevention and quick action are key:
- Trim Excess Fat: Before grilling, trim any significant excess fat from meats. While some fat adds flavor, too much can lead to flare-ups.
- Utilize a Two-Zone Setup: This is your best defense. If a flare-up occurs over the direct heat zone, immediately move the affected food to the cooler, indirect side of the grill until the flames subside.
- Use a Drip Pan: For fattier cuts cooked indirectly, place a drip pan beneath the food in the indirect zone to catch rendered fat, preventing it from reaching the coals.
- Avoid Puncturing Meat: Don’t pierce sausages or other fatty meats while cooking, as this releases juices and fat onto the coals.
- Lid Closure: Briefly closing the lid can starve the flames of oxygen, helping to extinguish minor flare-ups.
Sustaining Consistent Heat
Maintaining a stable temperature is critical for successful grilling, especially during longer cooks. The most common mistake is impatience:
- Resist the Urge to Peek: Constantly lifting the grill lid causes a significant loss of heat and disrupts airflow, prolonging cooking times and making temperature regulation difficult. “If you’re looking, it’s not cooking!”
- Master Vent Control: Your top and bottom vents are your primary temperature dials. Small, incremental adjustments are far more effective than large, sudden changes. Learn how slight changes in vent positions impact your grill’s temperature.
- Add More Coals (if needed): For very long cooks, you may need to add fresh, unlit briquettes to your existing coals. Place them alongside or on top of the burning coals; they will gradually ignite and keep the heat going.
Final Thoughts: Embrace the Art of Weber Charcoal Grilling
Grilling with a Weber charcoal grill is an incredibly rewarding experience, offering endless possibilities for culinary creativity and flavor exploration. By mastering these advanced techniques—from the precision of temperature control and strategic coal arrangements to the aromatic infusion of smoking wood chips and the moisture-enhancing power of a water pan—you can vastly improve your grilling game. Whether you’re aiming for a perfectly seared prime rib, a delicately smoked salmon, or even a crispy grilled pizza, these methods will help you achieve professional-level results right in your backyard.
Embrace the nuances and artistry of charcoal grilling. With practice and patience, you’ll consistently create delicious, memorable meals infused with those unparalleled rich, smoky flavors that only a Weber charcoal grill can truly provide. Ignite your passion, experiment with confidence, and savor every bite of your expertly grilled masterpieces.
