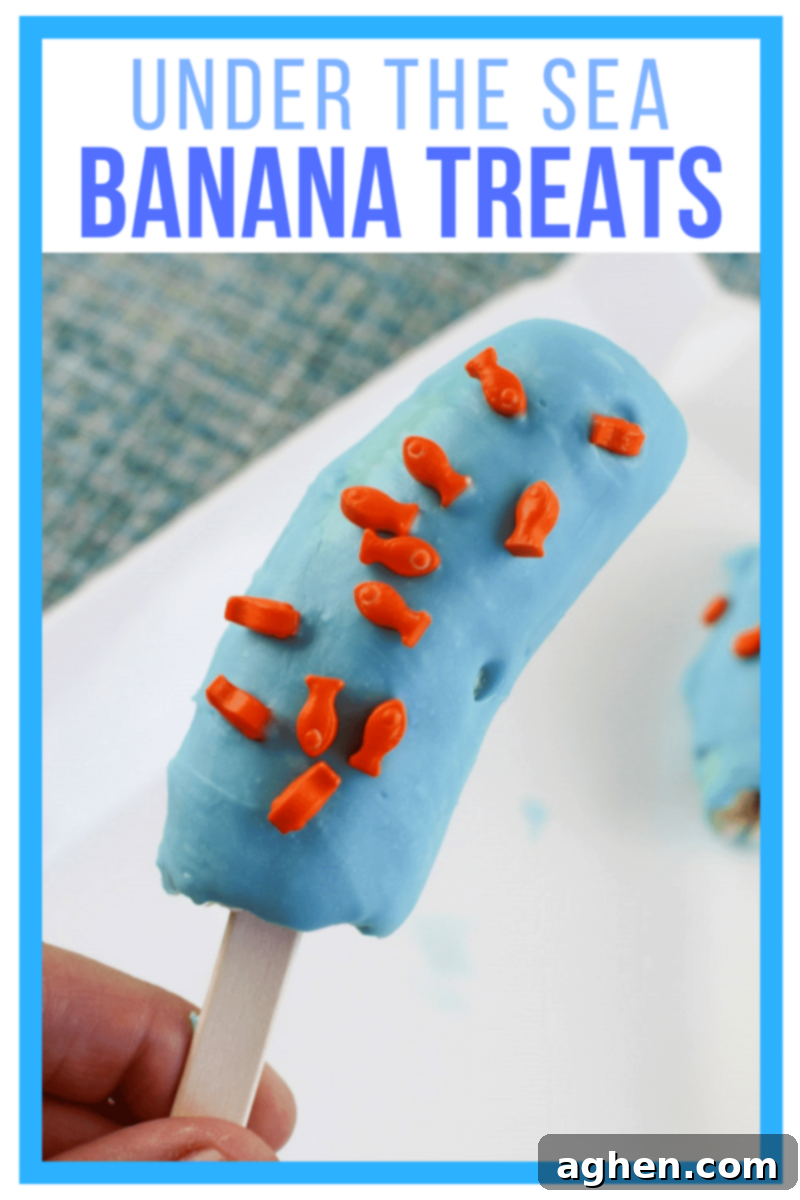
Dive into Fun: Easy Under the Sea Banana Treats for Kids’ Parties
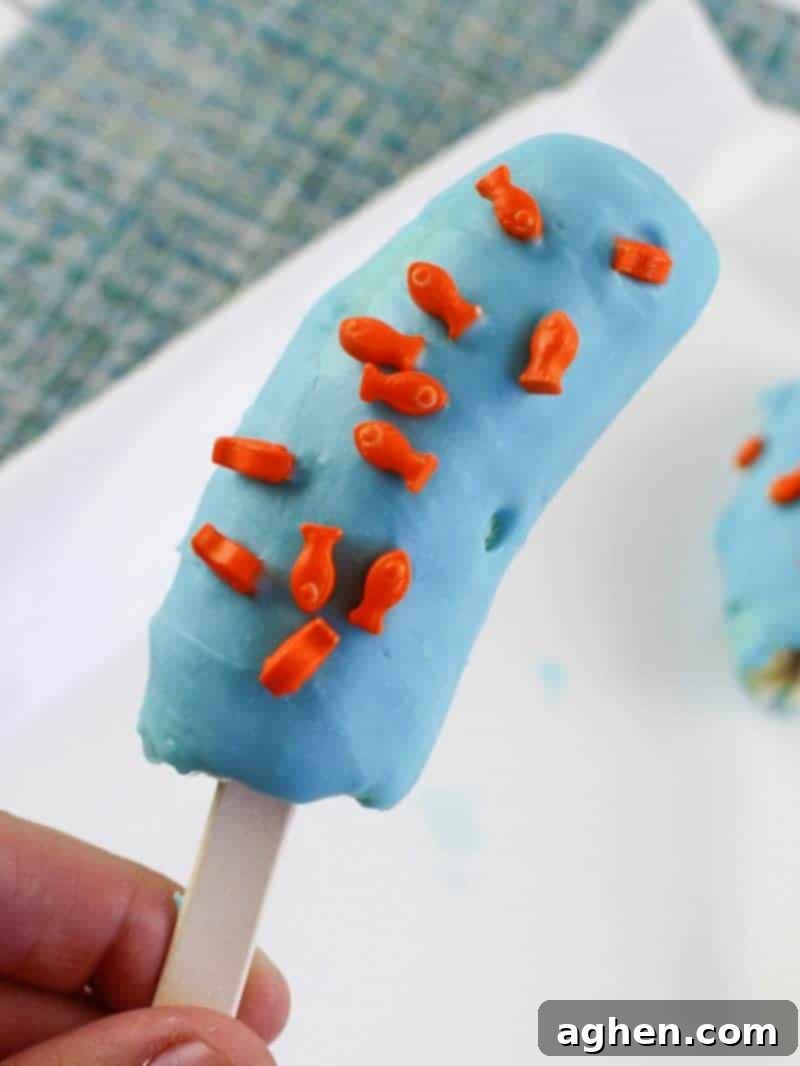
Transform a simple fruit into an enchanting ocean adventure with these delightful Under the Sea Banana Treats! These whimsical banana pops, coated in vibrant blue candy melts and adorned with colorful fish sprinkles, are not just incredibly fun to make, but they’re also a surprisingly simple and relatively healthy snack that kids absolutely adore. Perfect for adding a splash of magic to any ocean-themed celebration, mermaid party, or just a sunny summer afternoon.
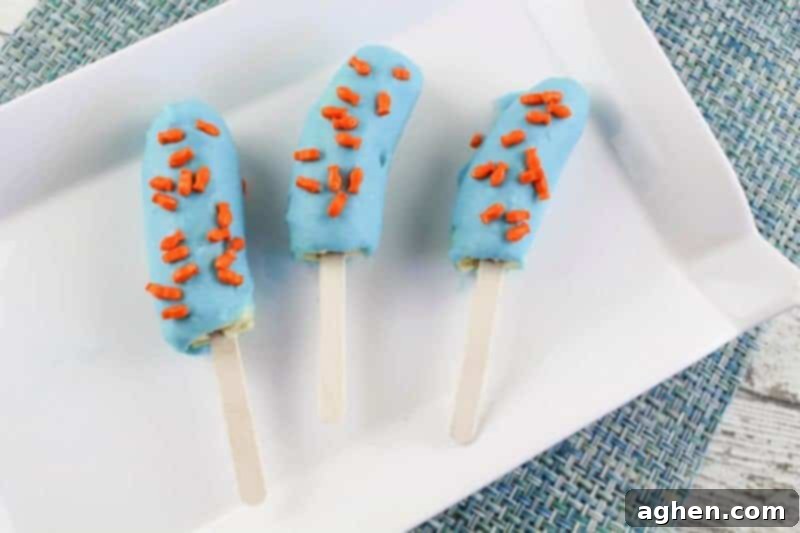
Is there anything better than summer birthdays? I certainly don’t think so! The long, warm days provide the perfect opportunity for outdoor festivities, allowing for creative themes that truly come to life. My little one’s July birthday always gets me thinking about imaginative party ideas, and an “Under the Sea” theme is consistently at the top of my list. Why? Because the possibilities for decor, games, and especially ocean-themed party food are endless and utterly adorable! That’s exactly how these enchanting Under the Sea Banana Treats came to be – a delicious and eye-catching addition to any aquatic-inspired celebration.
Imagine your guests’ faces lighting up as they encounter a platter of these whimsical banana pops, each one a mini edible ocean scene. They’re not just a treat; they’re an experience! And the best part? They’re so incredibly easy to whip up, making them an ideal recipe to get the kids involved in the kitchen. There’s something truly special about serving a snack that your children helped create, especially when it’s as cute and delicious as these.
Looking for more ocean party treats? Make a batch of these no-bake clam shell cookies to complement your under-the-sea party spread!
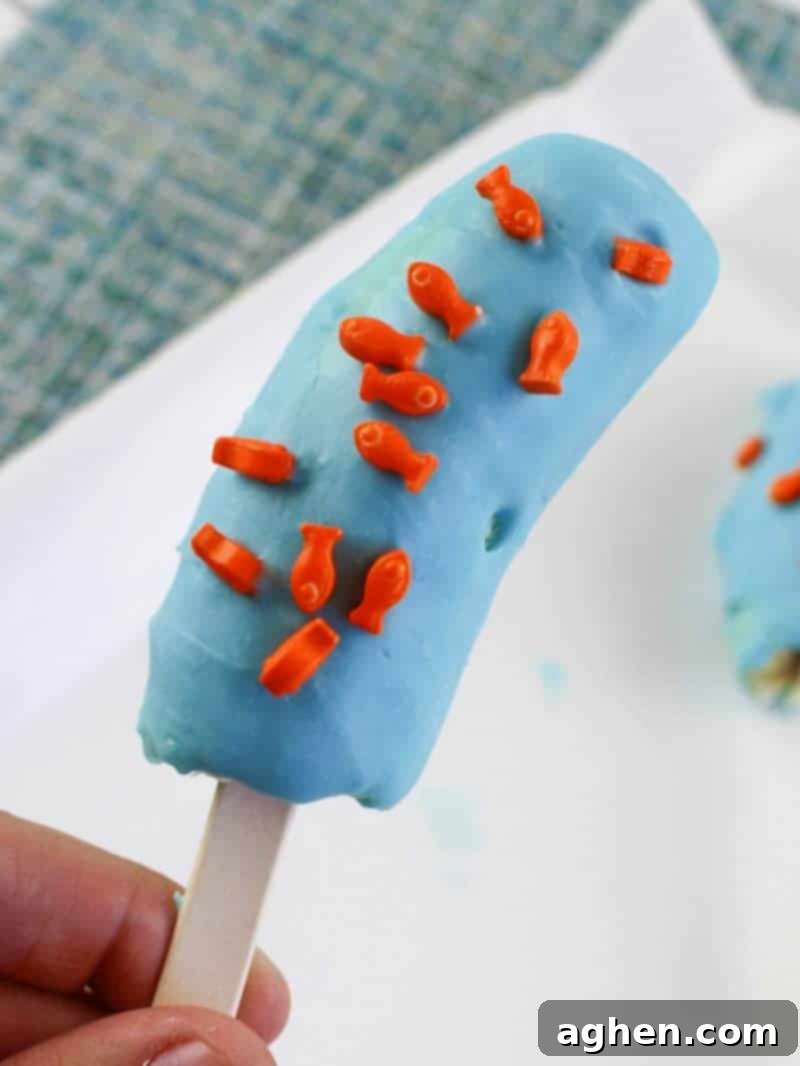
These Under the Sea Banana Treats are a fantastic way to combine healthy eating with fun and festivity. They offer the natural goodness of bananas, dressed up in a way that makes them irresistible to even the pickiest eaters. The vibrant blue coating and playful fish sprinkles instantly transport you to a magical underwater world, making them perfect for under-the-sea themed birthday parties, mermaid princess celebrations, or any gathering where you want to infuse a bit of aquatic charm. Not only are they super easy to make, but they also provide a wonderful opportunity for kids to get creative and help out in the kitchen, fostering a love for cooking and healthy snacks from an early age.
Extend the fishy fun beyond the kitchen! Pair these delightful fishie banana treats with this engaging paper plate fish craft for a complete themed activity.
Gather Your Supplies: Ingredients for Your Ocean Adventure
This section includes ingredient notes, substitution options, and tips for choosing the best items. For exact measurements, a full list of ingredients, and step-by-step instructions, please refer to the printable recipe card located at the end of this post.
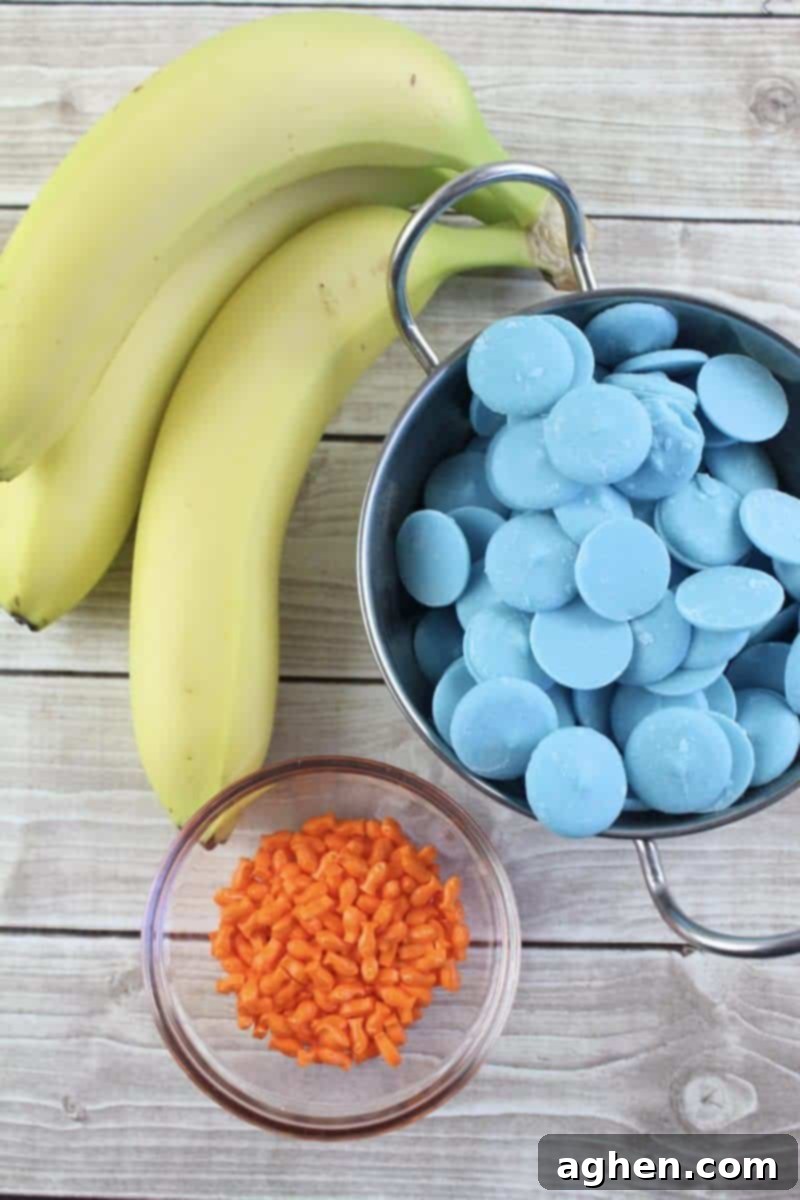
Creating these magical Under the Sea Banana Treats requires just a few simple ingredients and basic kitchen tools. Most of these items are readily available at your local grocery store or craft supply shop, ensuring that you can easily embark on this delicious journey.
Key Ingredients:
- Bananas: The star of our show! Opt for bananas that are ripe but still firm. Overripe bananas can be too soft and difficult to handle on a stick, while unripe ones might lack the sweetness that perfectly complements the candy coating. Three medium-sized bananas will yield six delightful pops.
- Popsicle Sticks: Essential for holding your banana pops! Standard wooden popsicle sticks work perfectly. You can find these at most craft stores, grocery stores in the baking aisle, or online.
- Blue Wilton Candy Melts: These are crucial for creating that vibrant “ocean water” effect. Wilton Candy Melts are designed to melt smoothly and set quickly, providing a crisp, colorful coating. While blue is ideal for an under-the-sea theme, you could experiment with other colors like teal, green, or even white with blue food coloring (ensure it’s oil-based food coloring if mixing with chocolate to prevent seizing).
- Sprinkles: The fun part! We used charming fish sprinkles, which can sometimes be a bit tricky to find. If you can’t locate the exact ones, these Fish Sprinkles are a fantastic alternative. Don’t limit yourself though! Consider other ocean-themed sprinkles like tiny seashells, edible pearls, blue and green nonpareils for “bubbles,” or even a mix of blue, white, and green jimmies to mimic seafoam.
- Parchment Paper – or wax paper. This is essential for preventing your coated bananas from sticking to your work surface as they set. A baking sheet lined with parchment or wax paper will make cleanup a breeze and ensure your treats come off cleanly.
Helpful Tools:
While not strictly mandatory, certain tools can make the process even smoother:
- A Wilton Melting Pot: This dedicated tool makes melting candy melts incredibly easy, maintaining a consistent temperature and ensuring a smooth, dippable consistency.
- Alternatively, a double boiler or simply your microwave can also be used. If using a microwave, melt the candy melts in short bursts (30 seconds at a time), stirring well after each interval to prevent burning.
- Baking Sheet: For chilling the banana treats in the fridge.
How to Make Under the Sea Banana Treats: Step-by-Step Guide
This section provides detailed step-by-step photos and instructions to guide you through the recipe. For the complete printable recipe card with all measurements and instructions, please scroll down to the end of this post.
Making these Under the Sea Banana Treats is a delightful and straightforward process that kids will love to assist with. Follow these simple steps to bring your edible ocean to life:
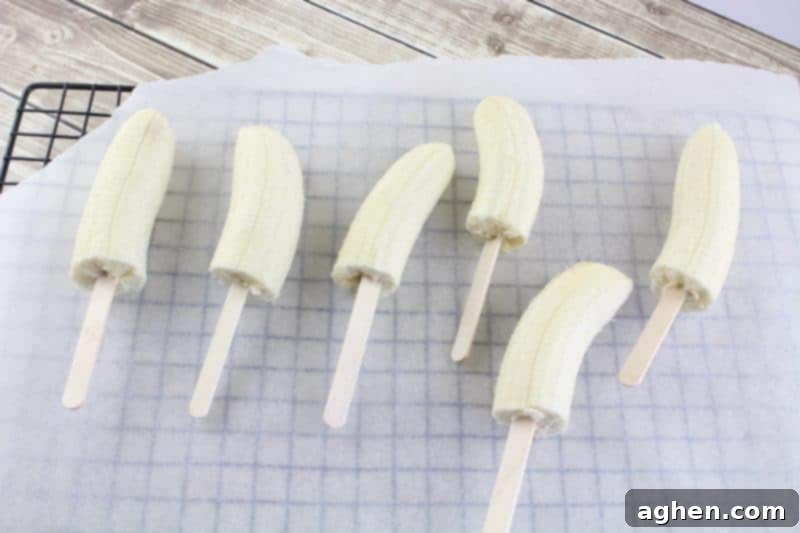
Step 1: Prepare the Bananas
Begin by having an adult carefully cut each banana in half. Once halved, gently press a popsicle stick into the cut end of each banana piece. Ensure the stick is inserted firmly enough to hold the banana without it wobbling, but not so deep that it splits the banana. This creates your “banana pop” base, making them easy to dip and eat.
Step 2: Melt the Ocean Water
Next, it’s time to prepare your “ocean water” (aka the blue candy melts!). Melt the blue candy melts according to the package directions. If using a microwave, heat in a microwave-safe bowl in 30-second intervals, stirring thoroughly after each to ensure even melting and prevent burning. If using a double boiler or a Wilton Melting Pot, follow the manufacturer’s instructions. You want a smooth, liquid consistency that’s easy to dip the bananas into.
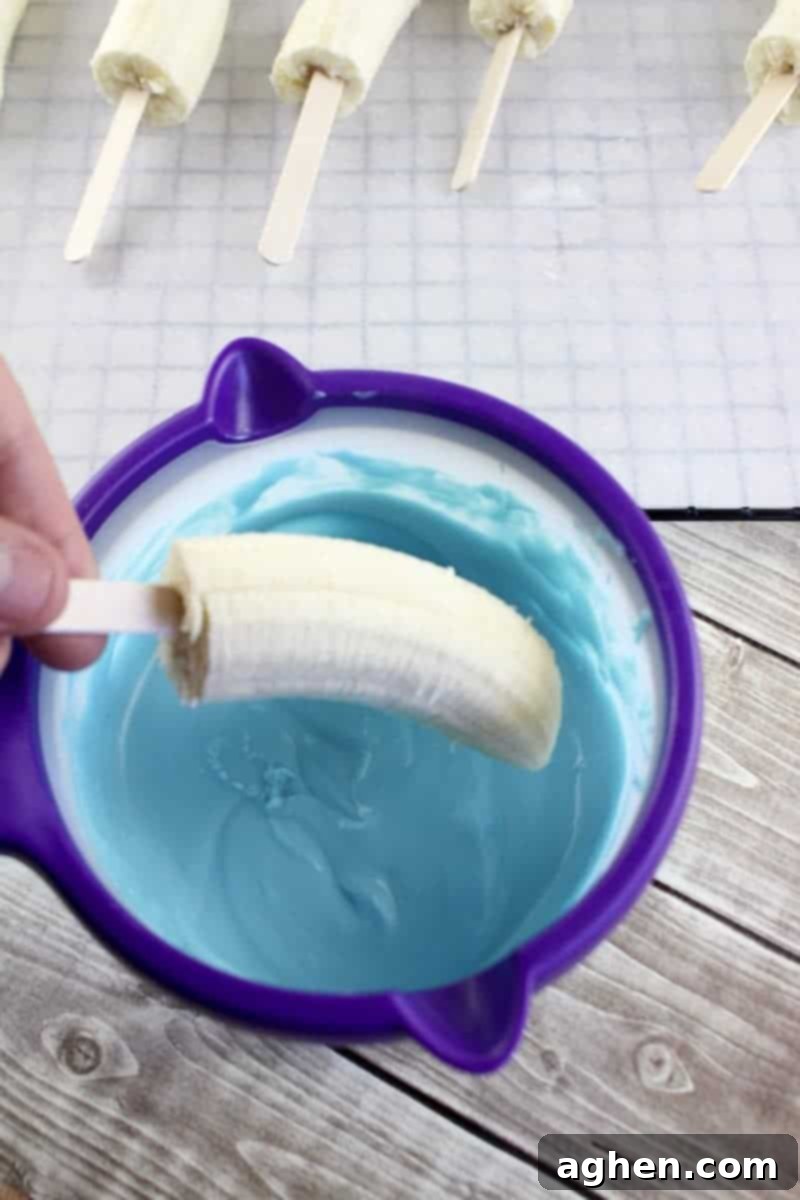
Step 3: Dip and Coat
This is where the kids can really shine! Let them help dip the banana halves into the melted blue candy melts. Encourage them to fully coat each banana, swirling it gently to ensure even coverage. Once coated, carefully lift the banana, allowing any excess candy to drip back into the bowl. This ensures a clean, smooth finish.
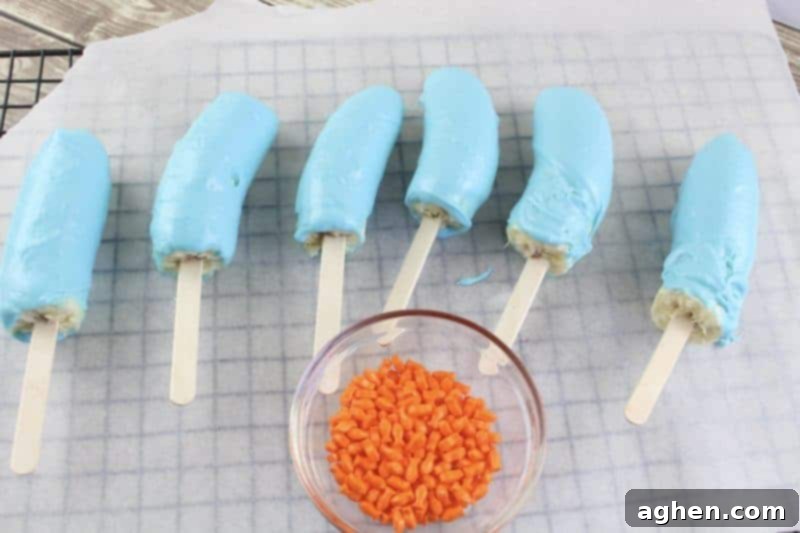
Step 4: Sprinkle the Fish
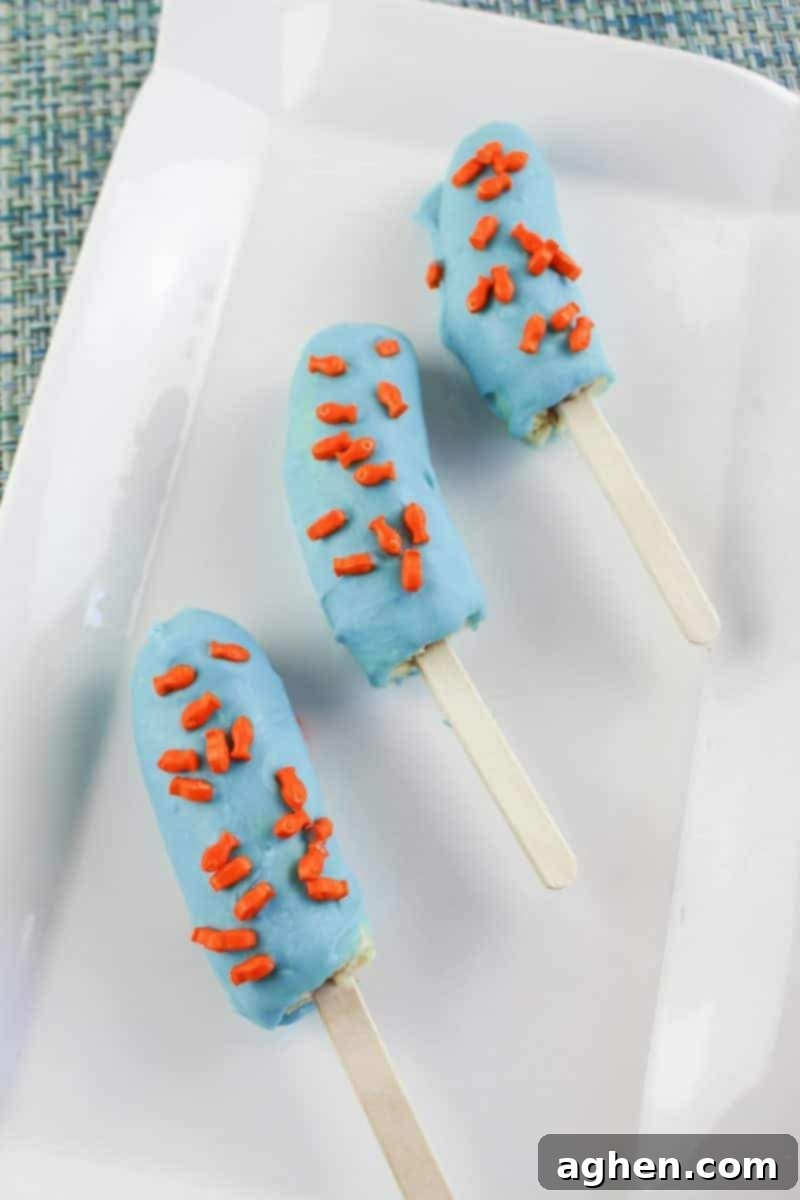
Immediately after dipping each banana, have the kids place it down onto your prepared parchment or wax paper-lined baking sheet. This is the critical moment for the sprinkles! Generously cover the wet candy coating with your fish sprinkles (or other ocean-themed sprinkles). Work quickly, as candy melts harden relatively fast. The stickiness of the freshly melted candy will ensure the sprinkles adhere beautifully, creating that charming underwater look.
Step 5: Chill and Serve
Once all the banana treats are coated and sprinkled, place the baking sheet into the refrigerator. Allow them to chill for at least 15-20 minutes, or until the candy melts are completely hardened. This step is essential for the coating to set properly and for the treats to be firm and refreshing when served. Yum!
These Under the Sea Banana Treats are seriously such a fun and easy summer snack idea for children of all ages. They combine the natural sweetness of bananas with the playful crunch of candy and sprinkles, making them an instant hit. Plus, any recipe that gets the kids excited about eating fruit is a winner in my book – and yours too, I’m sure!
I hope you and your kiddos enjoy making and devouring these fantastic Under the Sea Banana Treats as much as we do. They’re a simple pleasure that creates lasting memories!
Before diving into their delicious snack, make a batch of Under the Sea Ocean Slime for the kids to enjoy some sensory play!
Tips for Perfect Under the Sea Banana Treats
- Choose the Right Bananas: As mentioned, firm but ripe bananas work best. They are sweet enough but hold their shape.
- Don’t Overheat Candy Melts: Melt slowly and stir often. Overheated candy melts can become thick, clumpy, and difficult to work with.
- Work Quickly with Sprinkles: Have your sprinkles ready before you start dipping. As soon as a banana is coated, sprinkle generously.
- Freeze for Extra Firmness: If you want a firmer, more ice-cream-like treat, you can place the bananas in the freezer for about 30 minutes after the candy has set in the fridge.
- Storage: Store any leftover treats in an airtight container in the refrigerator for up to 2-3 days. Note that bananas might start to brown slightly over time, but they will still be delicious.
- Presentation Matters: Arrange them on a platter for a stunning display. You can even add some blue cellophane or real seashells around the platter to enhance the under-the-sea theme.
Frequently Asked Questions About Under the Sea Banana Treats
Can I use regular chocolate instead of candy melts?
Yes, you can! If using regular chocolate chips or bars, you might want to add a teaspoon of coconut oil or shortening per cup of chocolate when melting. This will help thin the chocolate slightly, making it smoother for dipping and easier to achieve an even coat. You can then add blue food coloring, but ensure it’s an oil-based or gel food coloring, as water-based colors can cause chocolate to seize and become unusable.
How far in advance can I make these?
These treats are best enjoyed the same day they are made. While they can be stored in an airtight container in the refrigerator for up to 2-3 days, the bananas may start to soften and brown slightly over time. For the freshest look and taste, prepare them a few hours before your event.
What if I can’t find fish sprinkles?
No worries! The key is to keep the “under the sea” theme vibrant. You can use any combination of blue, green, white, or even silver sprinkles. Nonpareils, jimmies, edible glitter, or small round sprinkles can all mimic bubbles or shimmering water. Get creative with what’s available!
Can I use other fruits with this recipe?
Absolutely! The concept works well with other fruits. Strawberries, apple slices (dipped quickly to prevent browning), or even melon chunks could be used. Keep in mind that fruits with higher water content might soften the candy coating more quickly, so they are best served immediately after setting.
Are these treats suitable for younger children?
They are perfect for young children! The fun shapes and bright colors are very appealing. Just be sure to supervise little ones, especially when handling popsicle sticks and melting candy. The soft banana inside is easy for them to eat.
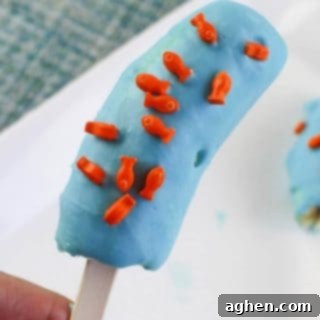
Under the Sea Banana Treats
Author: Jaclyn
15 minutes
15 minutes
6
Saved!
Ingredients
- 3 Bananas
- 6 Popsicle sticks
- Blue Candy Melts
- Fish Sprinkles
Instructions
-
Place a sheet of parchment paper or wax paper on a baking sheet and set aside.
-
Cut each banana in half.
-
Place a popsicle stick in the bottom of each banana.
-
Melt candy melts according to directions on the package, either in the microwave, on the stove top, or in a Wilton Candy Melting Pot.
-
Coat each banana with the melted blue candy melts.
-
Sprinkle each banana with fish sprinkles. The candy melts harden fast, so be sure to work quickly.
-
Once all banana treats are prepared, place baking sheet in fridge to allow the candy melts to harden completely before serving.
Nutrition
Carbohydrates: 30g |
Protein: 1g |
Fat: 5g |
Saturated Fat: 5g |
Polyunsaturated Fat: 0.04g |
Monounsaturated Fat: 0.02g |
Sodium: 18mg |
Potassium: 211mg |
Fiber: 2g |
Sugar: 23g |
Vitamin A: 38IU |
Vitamin C: 5mg |
Calcium: 3mg |
Iron: 0.2mg
Did You Make This Recipe?
Share it with me on Instagram @crayonsandcravings and follow on Pinterest @crayonsandcravings for even more!
Pin Recipe
Leave A Review
