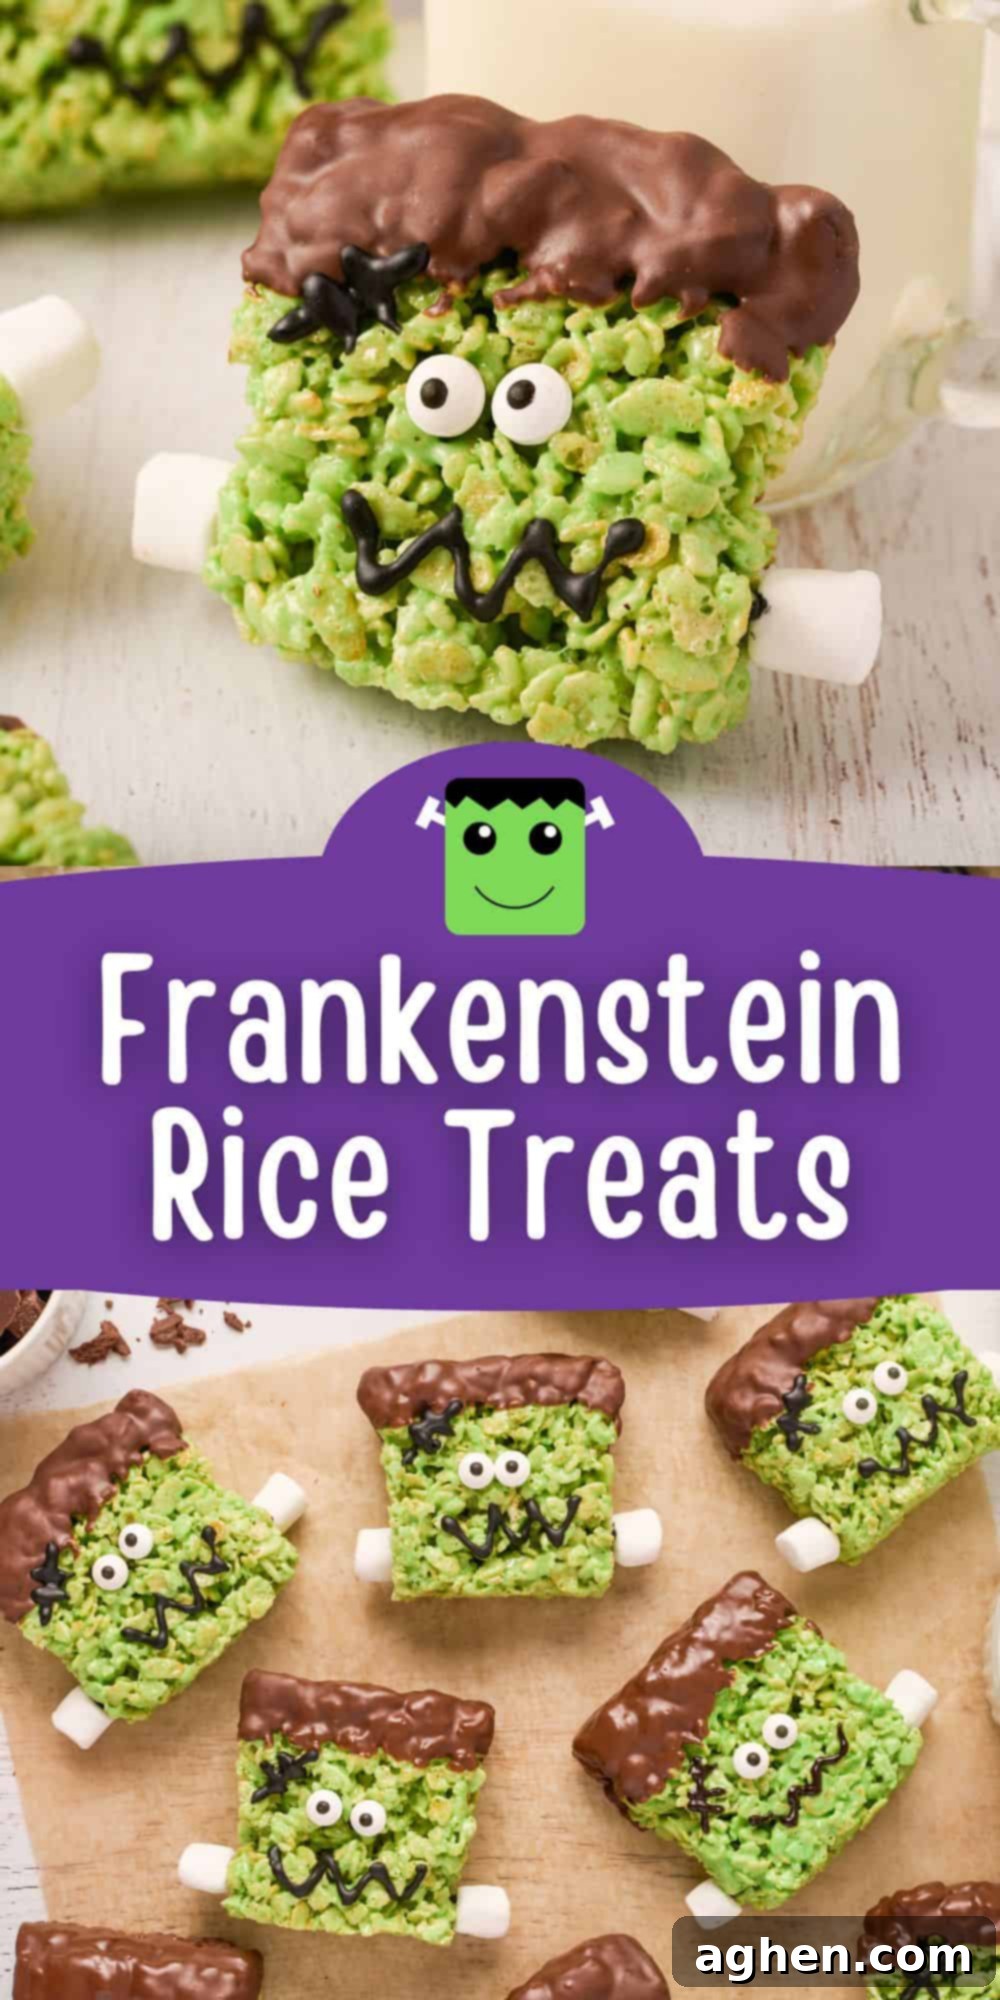
Spooktacular Frankenstein Rice Krispie Treats: Your Ultimate Halloween Party Recipe!
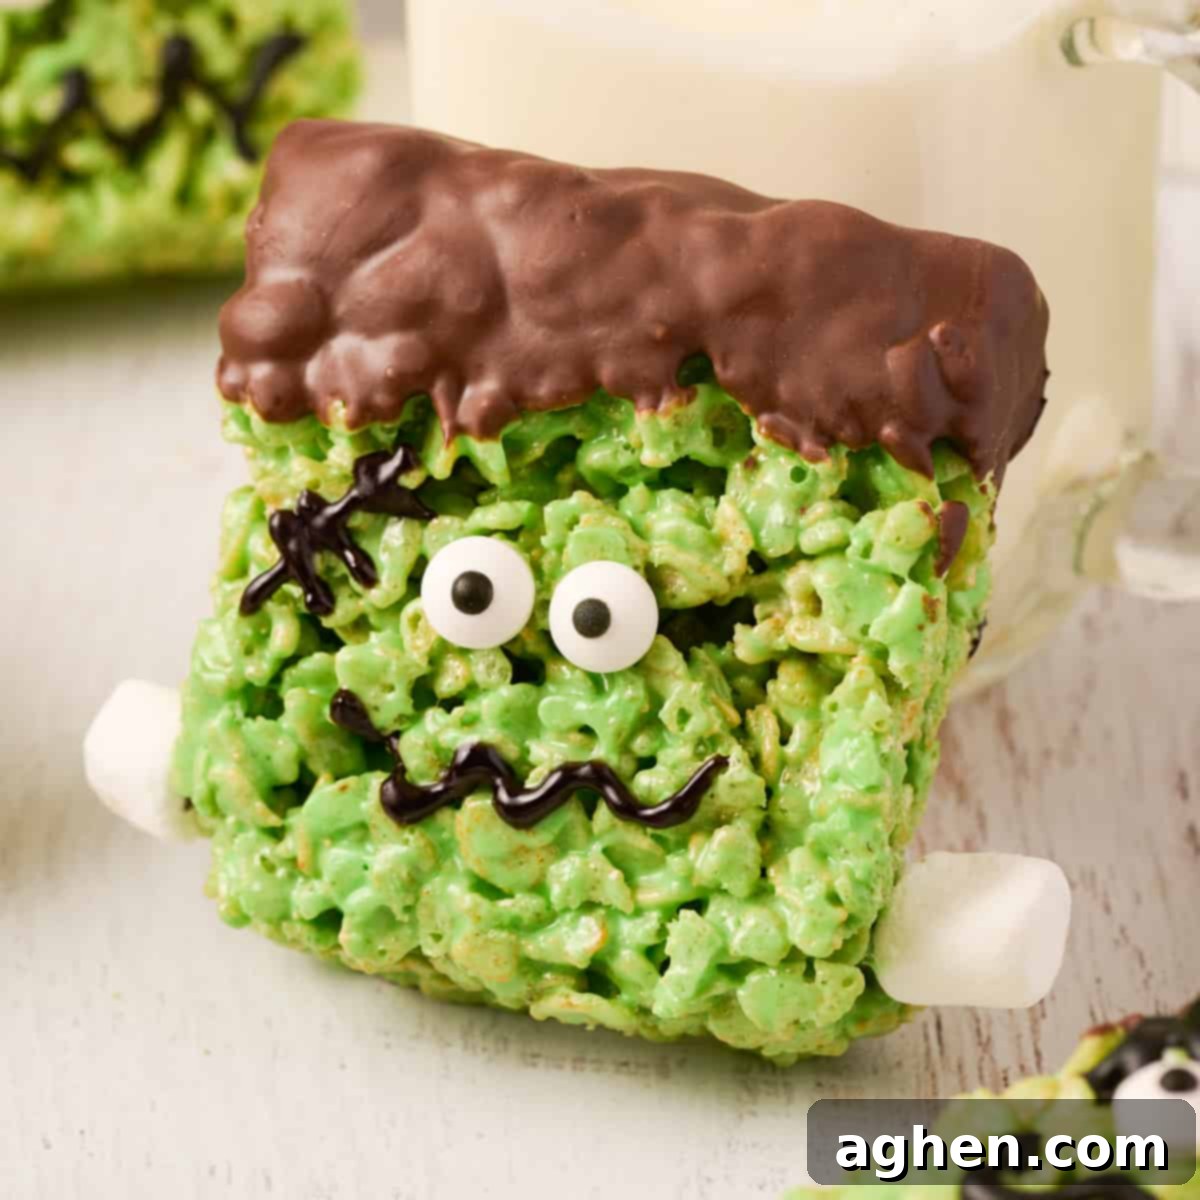
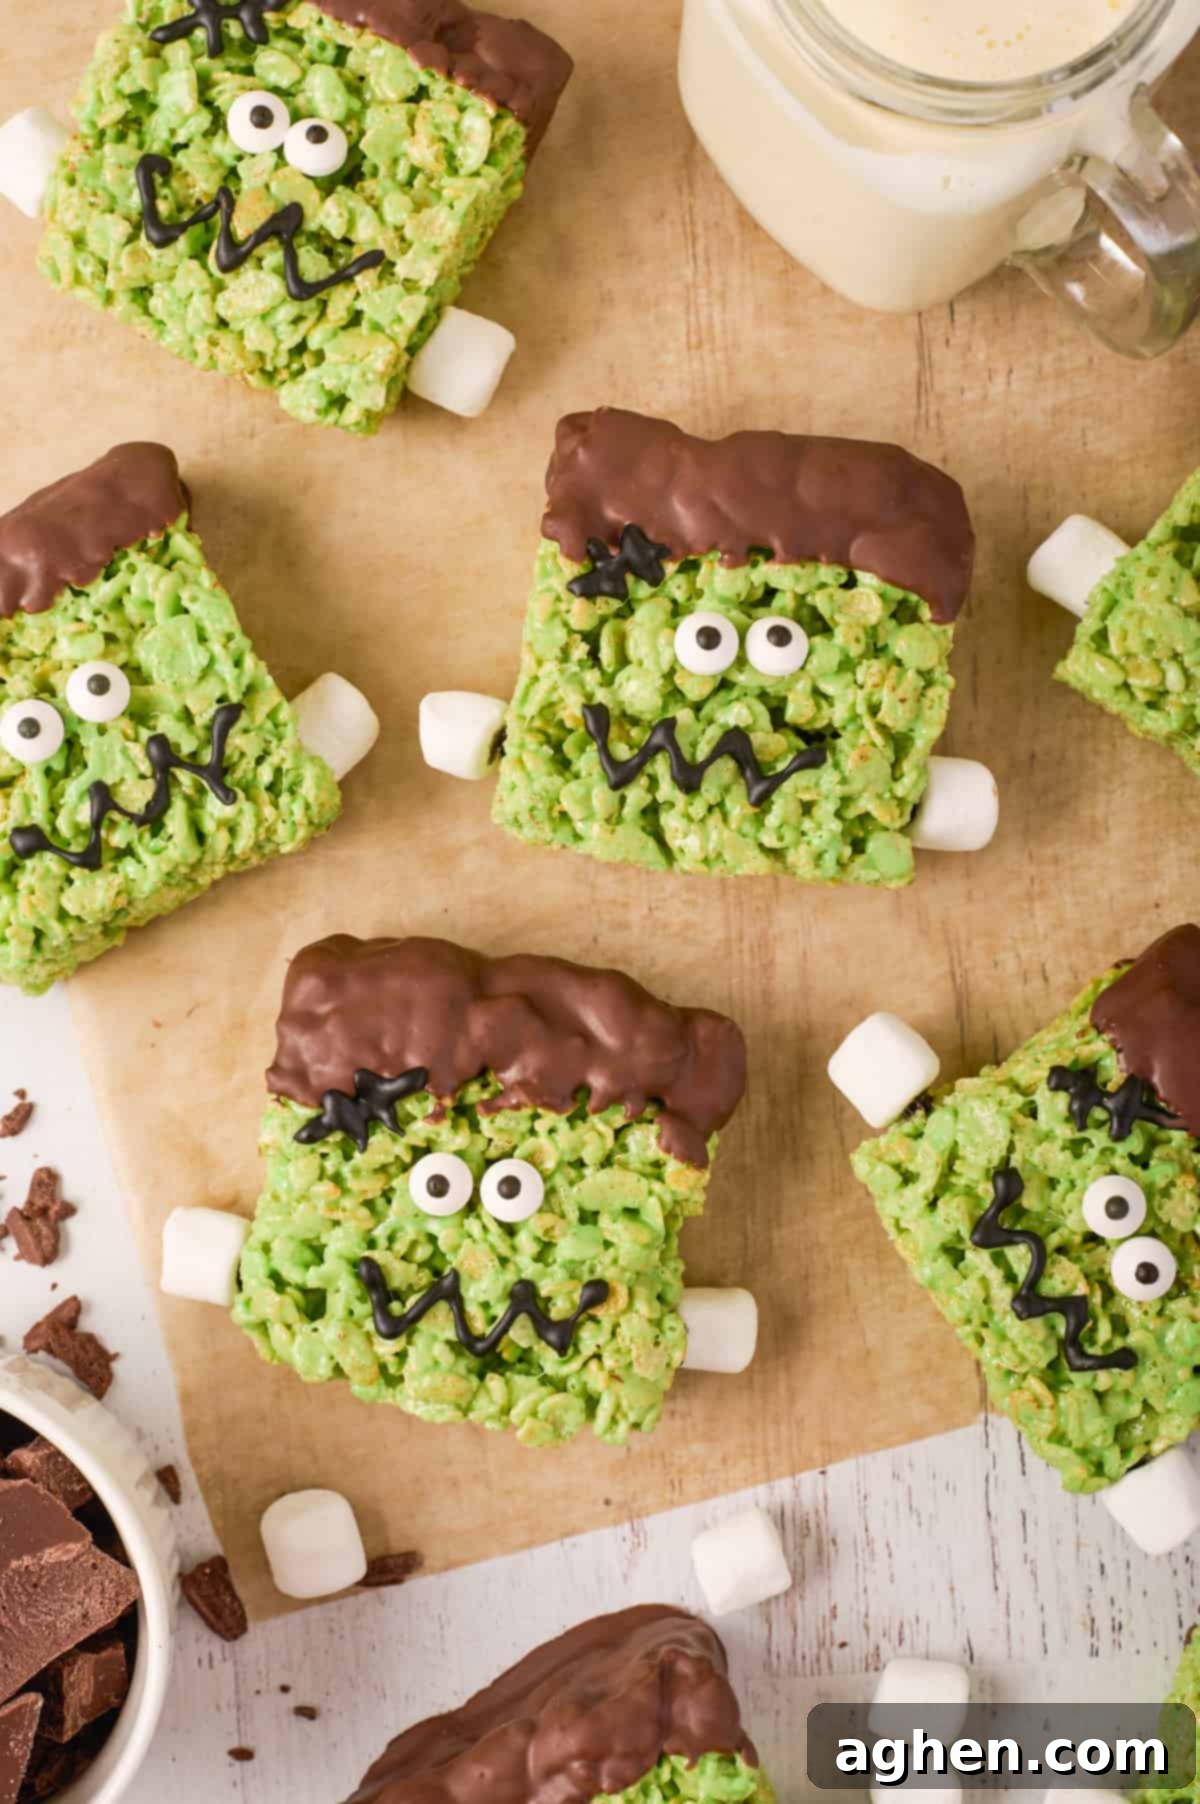
Transform classic, crowd-pleasing rice krispie treats into an unforgettable Halloween delight with this easy-to-follow Frankenstein Rice Krispie Treat recipe. Imagine chewy, gooey, homemade marshmallow treats, dyed a vibrant green, and artfully decorated with playful candy eyes, spooky melted chocolate hair, and tiny marshmallow bolts. These monstrously adorable treats are the perfect addition to any Halloween party, guaranteed to bring smiles and a touch of spooky fun to both kids and adults!
Have you ever noticed how quickly rice krispie treats disappear at parties? They’re consistently one of the first desserts to vanish, and it’s easy to see why! The irresistible combination of chewy, gooey marshmallows and crispy cereal makes them a universal favorite, beloved by children and grown-ups alike. Their simple charm and delightful texture make them a guaranteed hit, no matter the occasion.
This widespread appeal is precisely why holiday-themed rice krispie treats are such a fantastic idea for seasonal celebrations. For Christmas, we love crafting festive Grinch rice krispie treats and adorable Santa hat rice krispie treats. When Thanksgiving rolls around, our turkey rice krispie treats become a sweet centerpiece. And for Halloween, there’s nothing better than whipping up a batch of spooky mummy rice krispies treats or these incredibly cute and delightfully eerie Frankenstein rice krispie treats. They’re a fun, creative way to bring the spirit of the holiday to your dessert table!
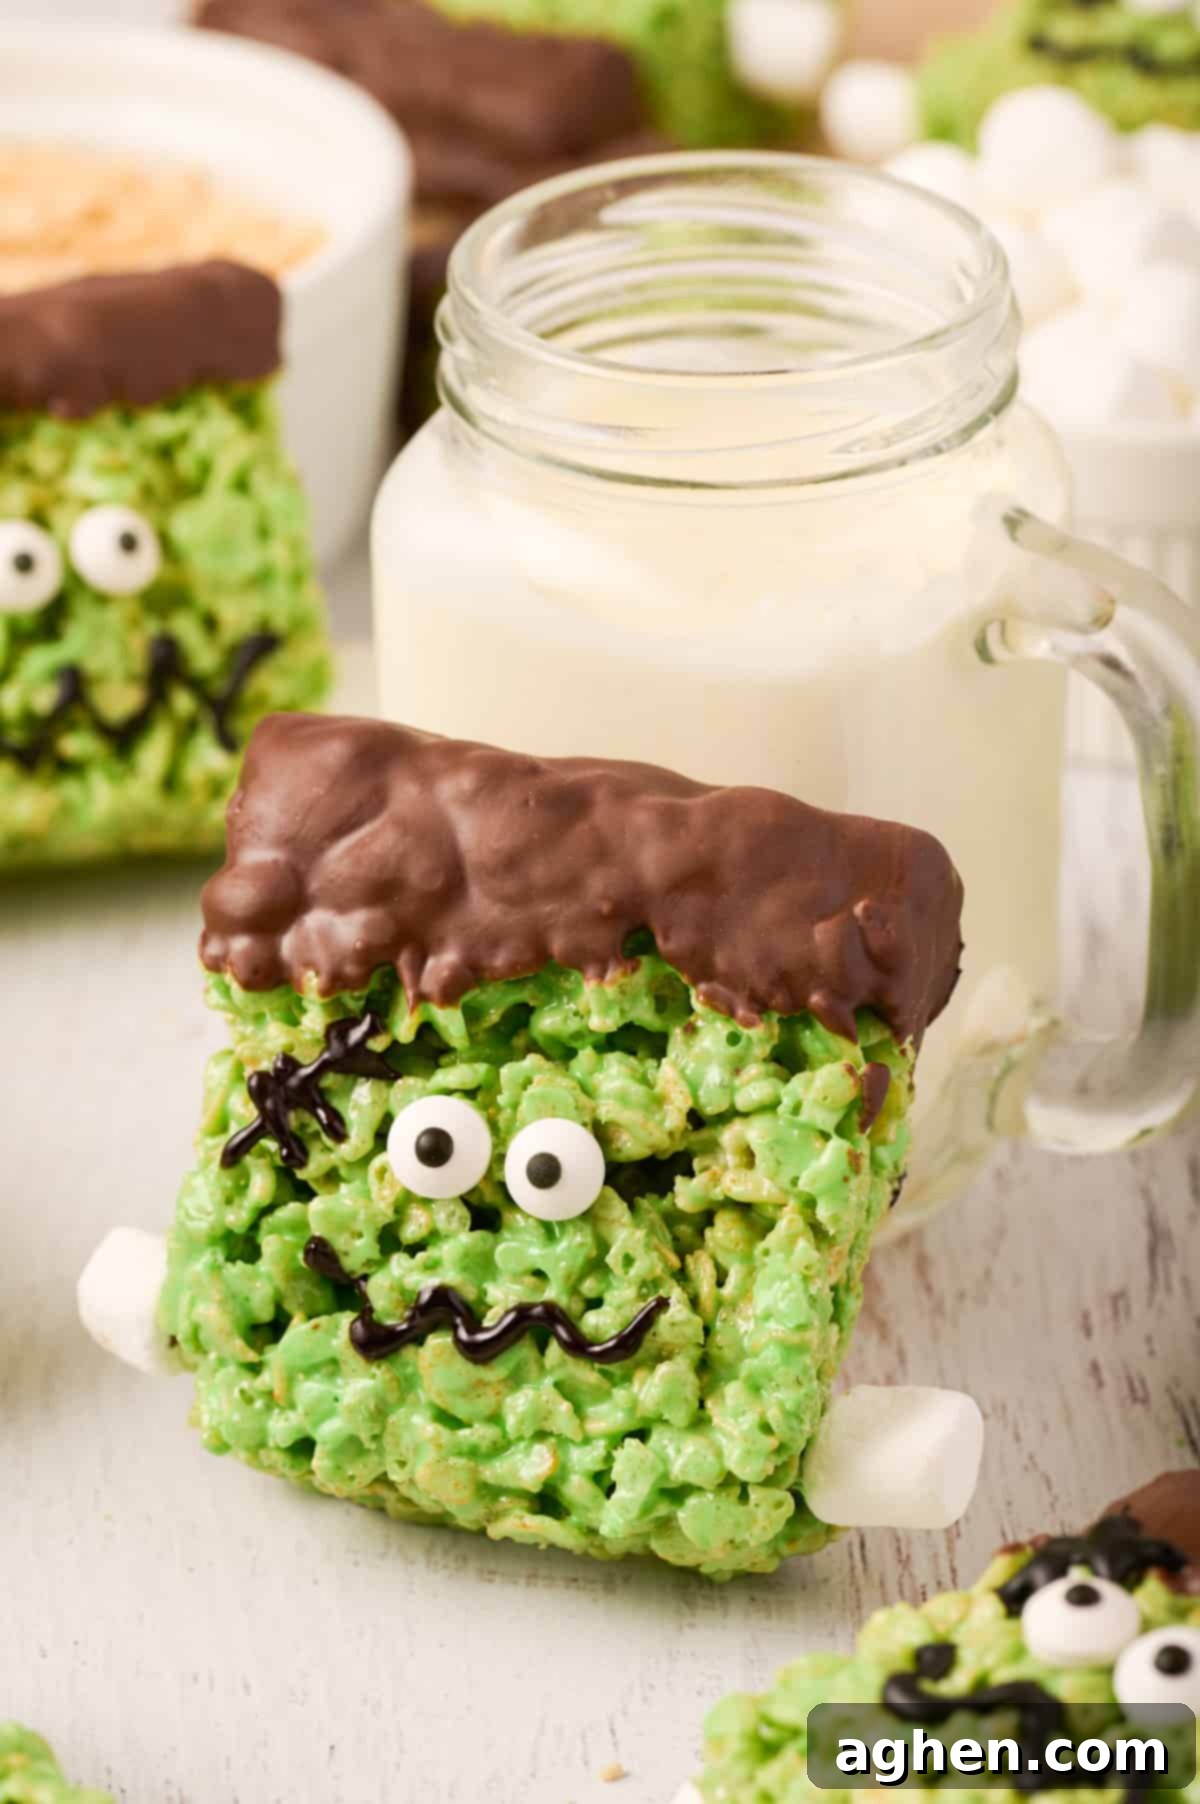
If you’re looking to create a truly monster-themed spread, these Frankenstein Rice Krispie Treats pair perfectly with other eerie delights. Consider adding green apple monster bites for a fruity touch, charming yet spooky mummy cookies, or these fun Frankenstein lollipops. Arranged together on a Halloween dessert table, these treats will create an impressive and deliciously spooky display that guests of all ages will adore.
Ingredients for Easy Frankenstein Rice Krispie Treats
This section provides detailed ingredient notes, useful tips, and substitution options to help you perfect your Frankenstein treats. For a complete list of measurements and step-by-step instructions, please refer to the printable recipe card at the end of this post.
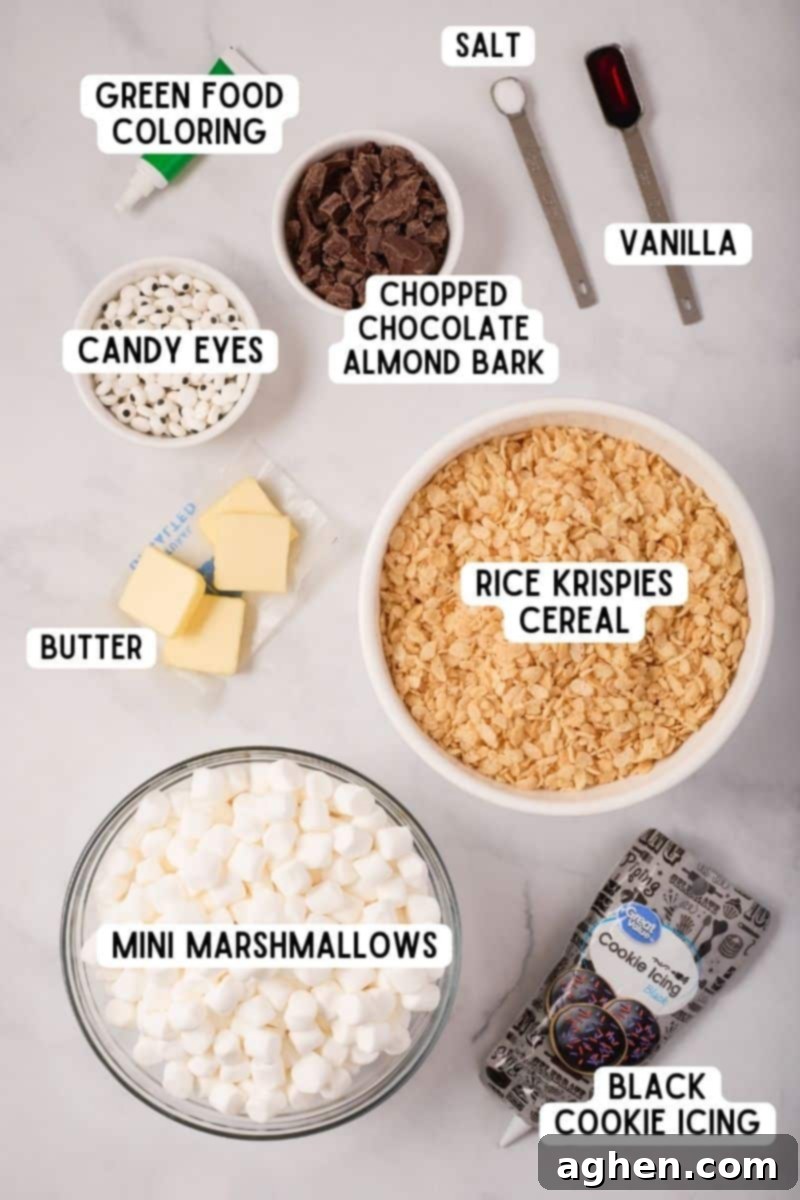
- Mini Marshmallows: These are the star of any rice krispie treat! You’ll need them for two key purposes in this recipe. Firstly, a large quantity forms the chewy, gooey base of your treats. Secondly, a handful of extra mini marshmallows will be used to create Frankenstein’s iconic neck bolts. While you *could* use large marshmallows for the base, mini marshmallows melt more quickly and evenly, ensuring a smoother mixture.
- Unsalted Butter: Using unsalted butter gives you precise control over the overall saltiness of your treats. However, if you only have salted butter on hand, it works just as well – simply omit the additional salt listed in the recipe. The butter helps create that rich, buttery flavor and ensures the marshmallows melt smoothly without sticking.
- Green Gel Food Coloring: To achieve Frankenstein’s signature vibrant green hue, gel food coloring is highly recommended. Unlike liquid food coloring, gel colors are highly concentrated, meaning you need less to get a bright, deep shade, and they won’t thin out your marshmallow mixture. Start with the suggested amount (about 1 teaspoon for the photographed treats) and add more in small increments until you reach your desired level of monster green.
- Vanilla Extract and Salt: These seemingly small additions play a big role in enhancing the flavor of your rice krispie treats. Vanilla extract adds a warm, comforting depth that complements the sweetness of the marshmallows, while a pinch of salt balances the sweetness and brings out all the other flavors. Don’t skip them!
- Rice Krispies Cereal: The classic crispy cereal is, of course, essential! While name-brand Rice Krispies are often preferred for their consistent texture, most puffed rice cereals will work. Ensure your cereal is fresh for maximum crispiness.
- Frankenstein Decorations: This is where the magic happens, transforming simple green squares into iconic monsters!
- Melted Chocolate (or Chocolate Almond Bark) for Hair: Chocolate almond bark is fantastic here because it melts smoothly, sets quickly, and provides a nice firm “hairdo” for Frankenstein. Dark chocolate or semi-sweet chocolate chips can also be used, but you might need to add a teaspoon of coconut oil to thin it slightly for easier dipping.
- Black Icing for Mouth and Scar: Black cookie icing or a black gel decorator icing in a tube is ideal for drawing Frankenstein’s mouth and forehead scar. The precision tip allows for neat, detailed lines, making the decoration process much easier and cleaner.
- Candy Eyes: These adorable edible googly eyes instantly bring your Frankenstein treats to life! They’re widely available in baking aisles or online.
- Mini Marshmallows for Bolts: We’ll use extra mini marshmallows to create the classic bolts on Frankenstein’s neck. Their soft texture and small size are perfect for this detail.
Variations and Substitutions to Customize Your Monster Treats
Get creative with your Frankenstein Rice Krispie Treats! Here are some fun variations and simple substitutions to make this recipe your own:
- Butter Options: As mentioned, unsalted butter is great for controlling salt, but feel free to use salted butter if that’s what you have. Just remember to omit the additional ¼ teaspoon of salt from the recipe to avoid overly salty treats.
- Icing Alternatives: While specialized black cookie icing or gel decorator icing is recommended for its ease of use and precision, you have other options. You can pipe melted chocolate onto the treats using a piping bag with a small round tip, or even a zip-top bag with a tiny corner snipped off. For a simpler, thicker line, black frosting from a can can also work, applied with a toothpick for smaller details.
- Creative Bolts for Frankenstein: The mini marshmallow bolts are cute, but don’t limit yourself! You can substitute them with a variety of small candies or snacks for different textures and looks:
- Rolo’s or Mini Reese’s Peanut Butter Cups: These add a delicious chocolatey-caramel or peanut butter element and a more substantial bolt shape.
- Pretzel Sticks: For a salty-sweet crunch, break pretzel sticks into small pieces and use them as bolts.
- Chocolate-Covered Raisins or Small Berries: Offer a softer, fruity twist.
- Chopped Nuts: For those who enjoy nuts, a larger piece of walnut or pecan could also work.
- Chocolate Covered Pretzels: Small pretzel pieces dipped in chocolate then attached can add a bit of polish.
- Flavor Boosts: Consider adding a tiny pinch of cinnamon or a different extract, like almond or peppermint, to the marshmallow mixture for an extra layer of flavor, especially if you’re feeling adventurous!
- Dietary Adjustments: For those with dietary restrictions, look for gluten-free puffed rice cereal and vegan marshmallows and butter alternatives. Ensure all decorative elements are also suitable for your dietary needs.
Essential Equipment & Supplies
Gathering your tools before you start will make the process of creating these spooky treats smooth and enjoyable. Here’s what you’ll need:
- Large Microwave-Safe Bowl: Essential for melting marshmallows and butter, and then combining with the cereal. Choose one large enough to comfortably mix all ingredients without spills.
- Rubber Spatula: This is your best friend for sticky marshmallow mixtures! A sturdy rubber spatula will allow you to scrape the bowl clean and gently press the treats into the pan without them sticking to your hands too much.
- 9×9 Baking Pan: The ideal size for creating thick, perfectly portioned Frankenstein squares. An 8×8 pan can also be used for extra thick treats, but adjust cooking time slightly if baking for a longer period (though these are no-bake).
- Wax Paper or Parchment Paper: Crucial for lining your baking pan to prevent sticking and for setting your chocolate-dipped treats. It makes cleanup a breeze!
- Small Microwave-Safe Bowl: For melting the chocolate almond bark for Frankenstein’s hair.
- Sharp Knife: For cleanly slicing the cooled treats into even squares.
How to Make Monster Rice Krispie Treats: A Spooky Step-by-Step Guide
This section walks you through the entire process of making these delightful Frankenstein Rice Krispie Treats, complete with helpful tips and step-by-step photos to guide you. For precise measurements and a full printable recipe, scroll down to the recipe card below.
Step 1: Prepare Your Pan. Begin by lightly spraying a 9×9 inch baking pan with non-stick cooking spray. For even easier removal and cleanup, you can also line the pan with parchment paper, leaving an overhang on the sides to use as “handles” later. Set this prepared pan aside.
Step 2: Melt the Marshmallow Base. Slice the 4 tablespoons of unsalted butter into four equal squares. Add these butter pieces and the large package of mini marshmallows (reserving 18 mini marshmallows for decoration later) to a large, microwave-safe bowl. Microwave on high for approximately one and a half minutes. Immediately after, stir the mixture thoroughly with your rubber spatula until it’s completely smooth and creamy. Be careful not to over-microwave, as this can make your treats hard.
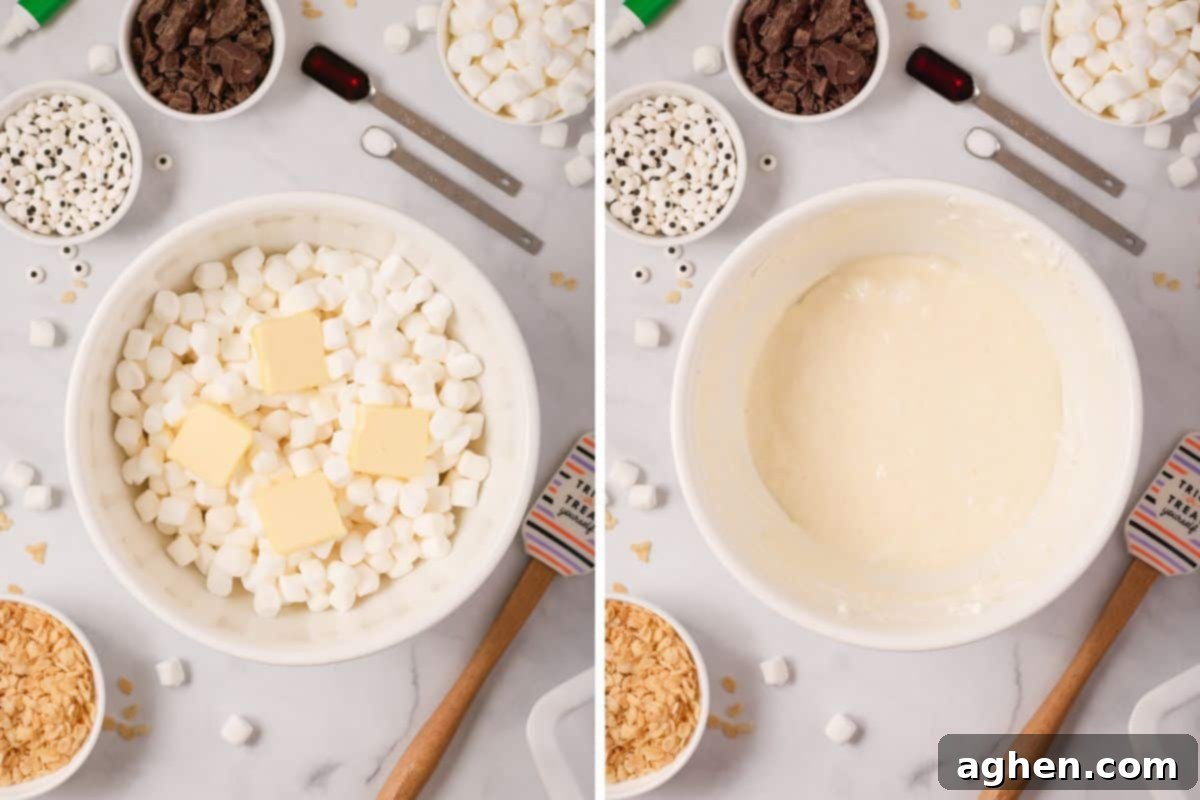
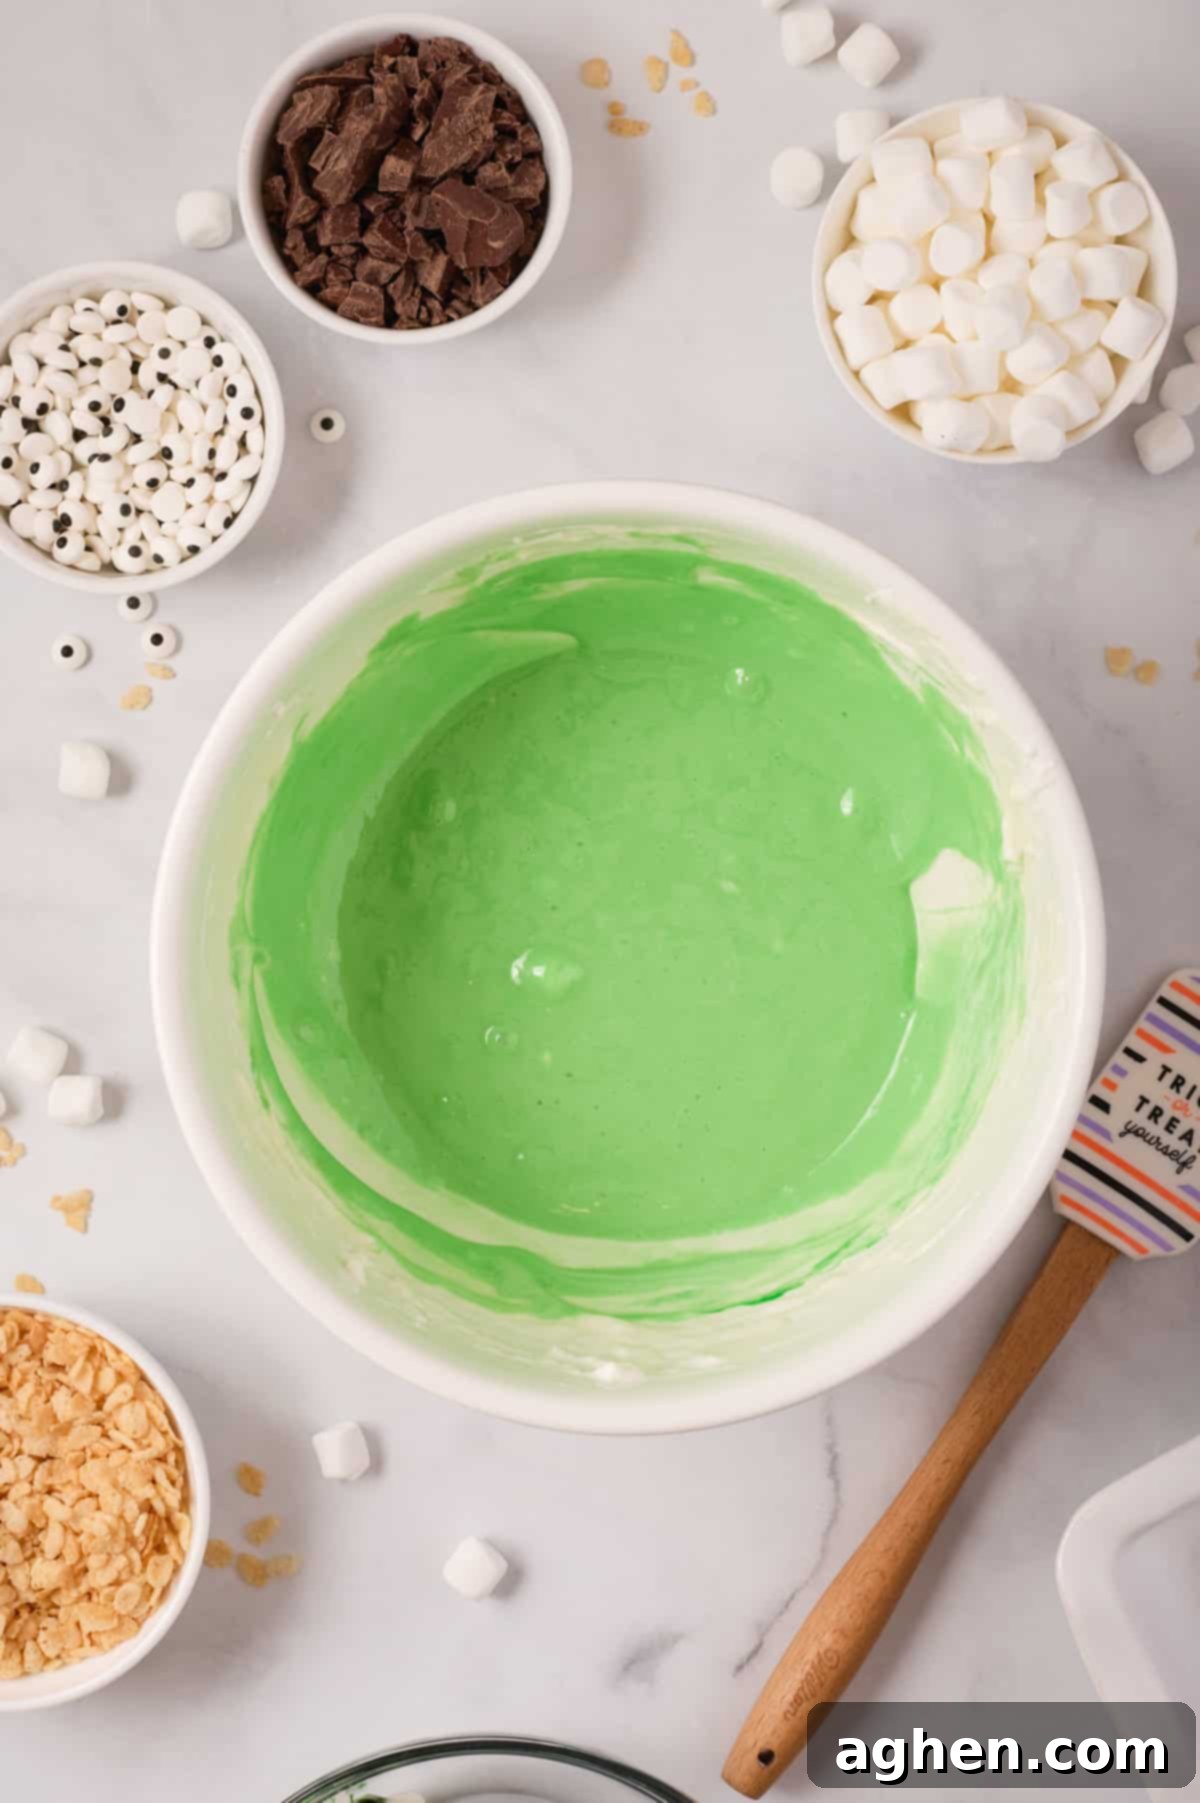
Step 3: Add Flavor and Color. Once you have a perfectly smooth, buttery marshmallow mixture, stir in the vanilla extract, salt, and green gel food coloring. Start with 1 teaspoon of green gel coloring and add more gradually, stirring well after each addition, until you achieve your desired shade of vibrant Frankenstein green. Remember to scrape against the sides and bottom of the mixing bowl to ensure the food coloring is fully incorporated and no streaks remain.
Pro Tip: For the brightest green, consider using Americolor’s Electric Green gel food coloring, known for its intense pigmentation. Gel colors are best as they don’t add excess liquid.
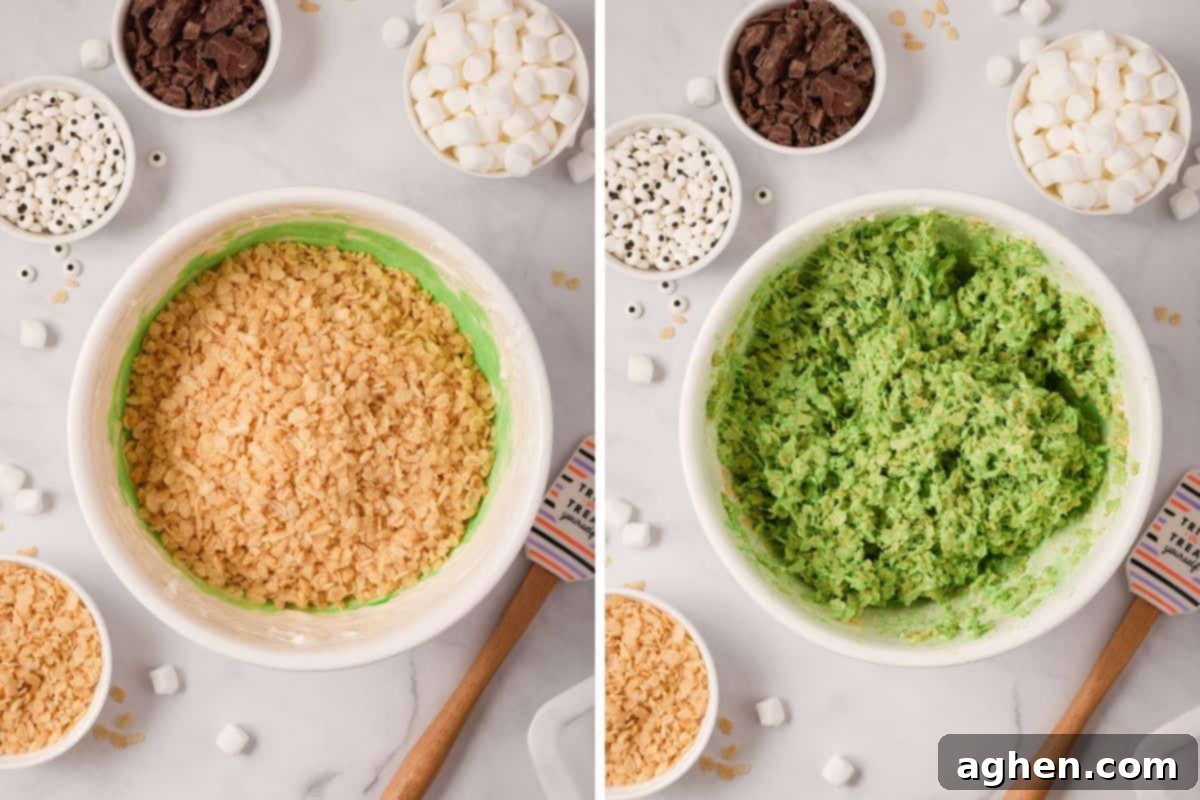
Step 4: Combine Cereal and Marshmallows. Gently fold the rice krispies cereal into the green marshmallow mixture. Continue stirring until every piece of cereal is thoroughly coated. Be gentle to avoid crushing the cereal, which helps maintain that classic crispy texture.
Step 5: Press into Pan. Transfer the sticky green cereal mixture to your prepared 9×9 inch pan. Using your rubber spatula (or hands lightly coated with non-stick spray), gently press the mixture into an even layer. Remember not to pack it down too tightly; a light touch will ensure your treats remain airy and chewy, rather than dense and hard.
Pro Tip: If the mixture is too sticky to handle, lightly grease your hands with butter or non-stick cooking spray, or place a piece of wax paper over the mixture and press down. This prevents sticking and makes spreading easier.
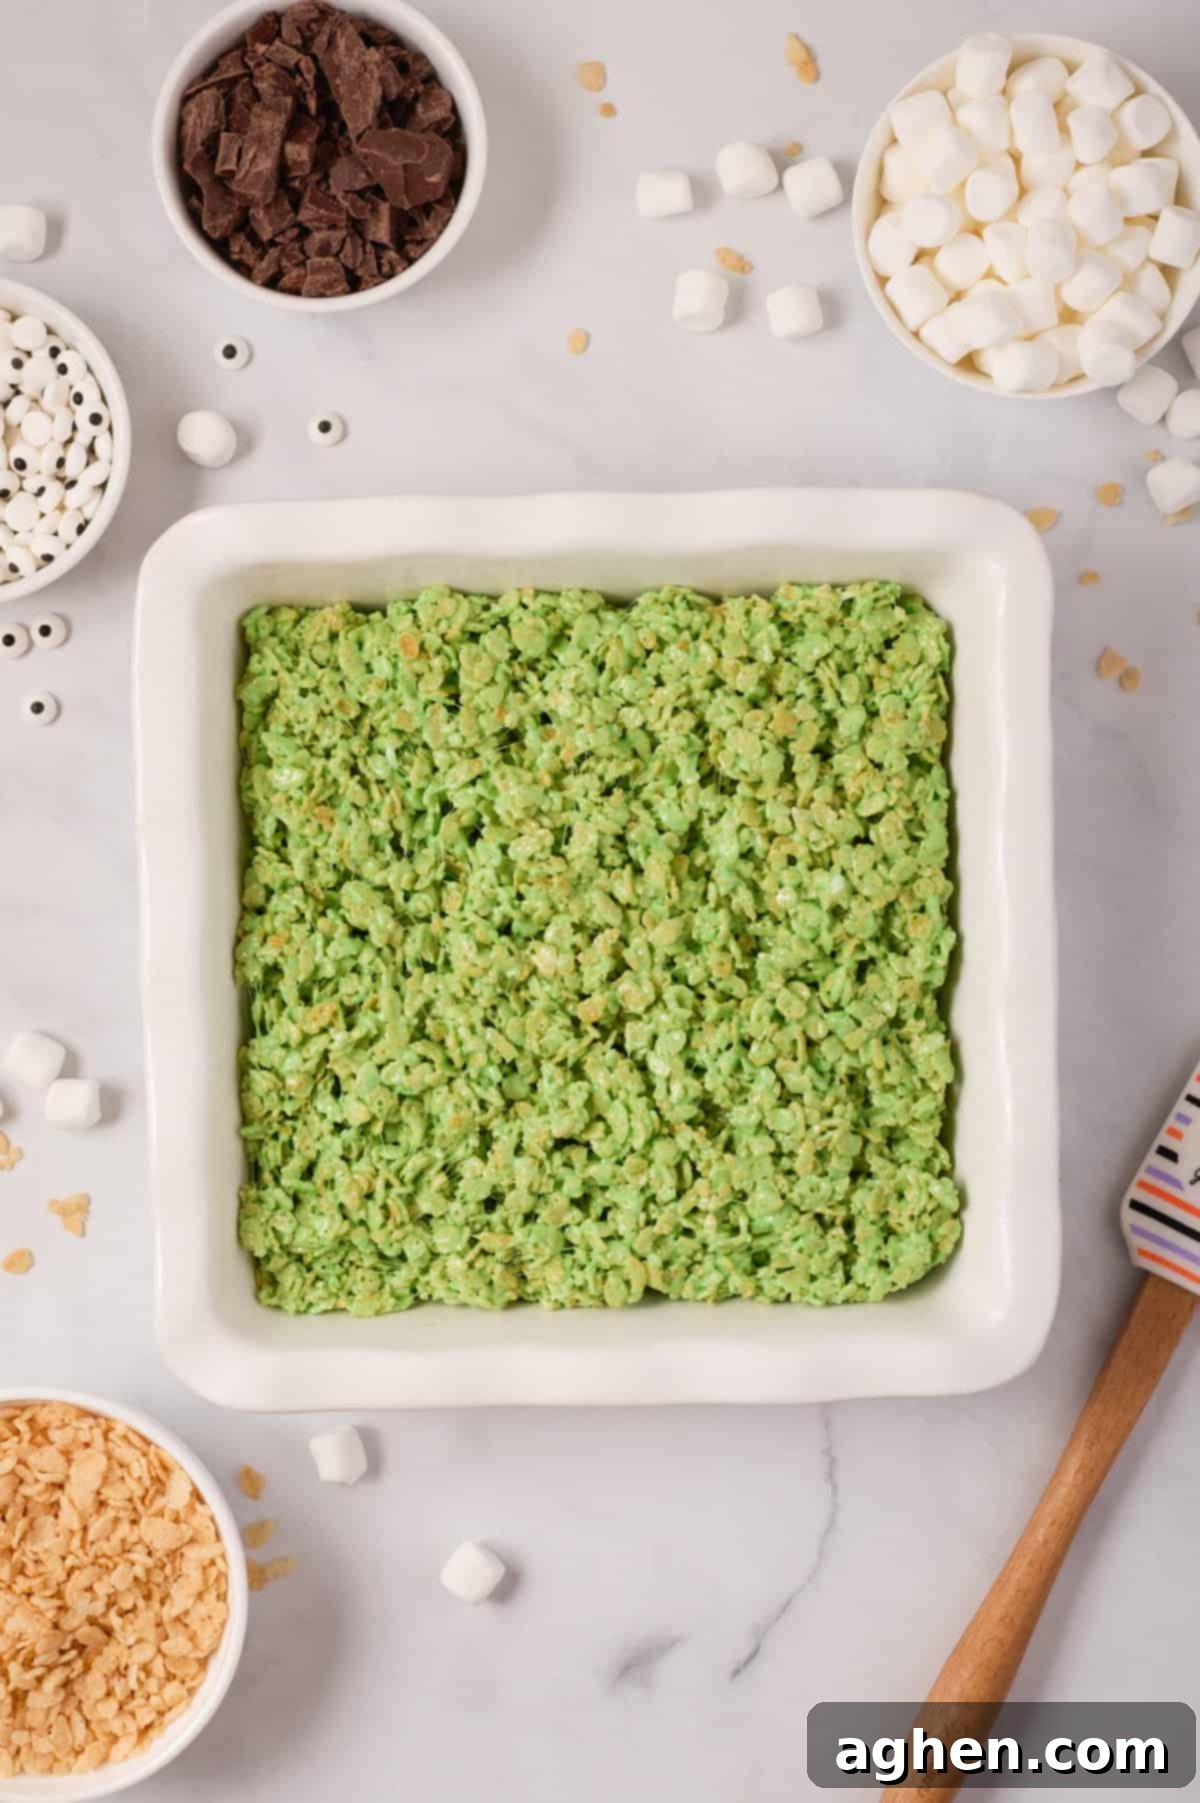
Step 6: Cool and Cut. Allow the rice krispie treats to set at room temperature in the pan for 1 to 3 hours. This cooling period is crucial for them to firm up properly. Once completely cooled and firm, you can either lift the entire block out using the parchment paper overhang or cut them directly in the pan. Use a sharp, lightly greased knife to slice the treats into 9 equal squares. This creates the perfect head shape for your Frankenstein monsters.
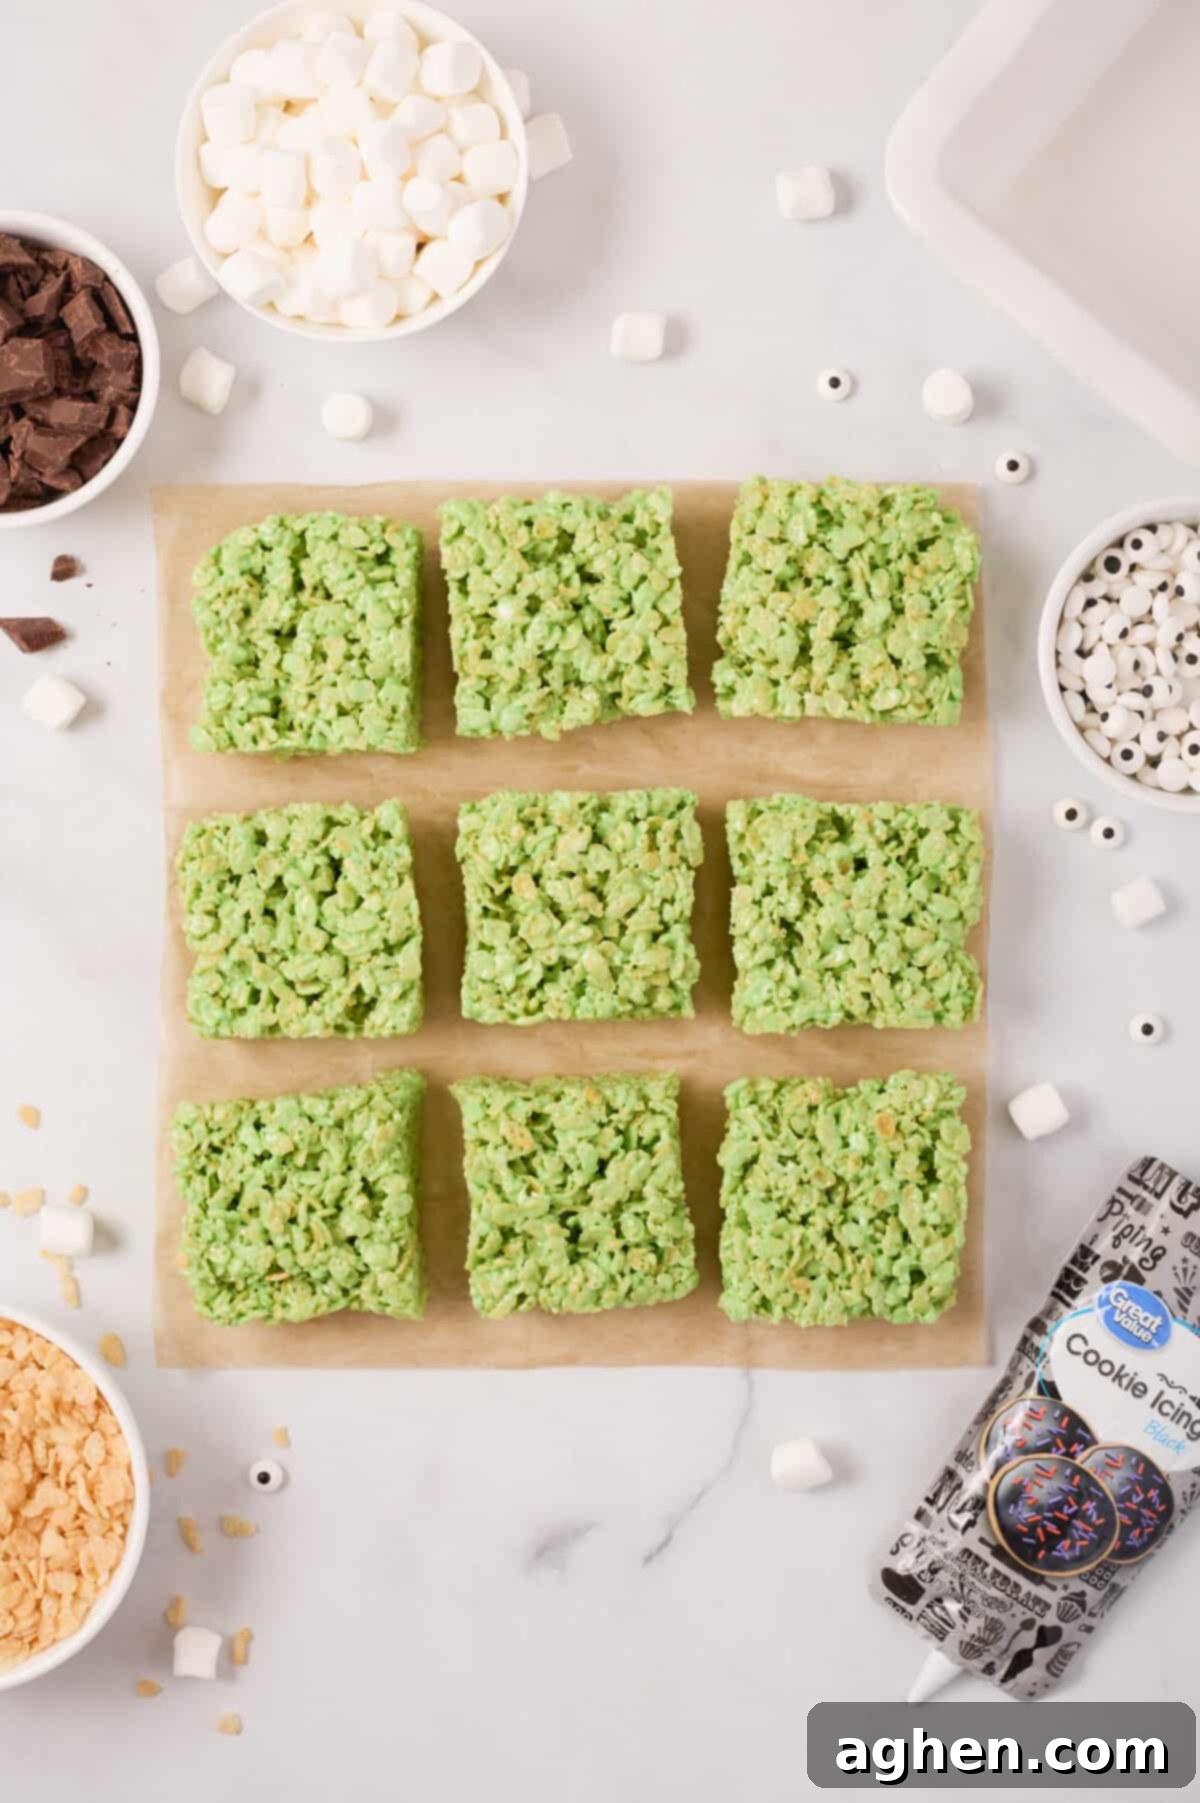
Step 7: Prepare for Decoration – Melt Chocolate. Lay a fresh piece of parchment or wax paper on your counter; this will be where your chocolate-dipped treats will set. Add the chopped chocolate almond bark to a small, microwave-safe bowl. Microwave for one minute, then stir well. Continue to microwave in 30-second intervals, stirring vigorously after each, until the chocolate is completely smooth and melted. Be careful not to overheat it.
Pro Tip: Choosing the right size bowl for melting chocolate is key! It should be deep enough to allow for dipping about ½ to ¾ inch of your treats, but not so wide that the melted chocolate spreads too thin, making it difficult to get a good coat.
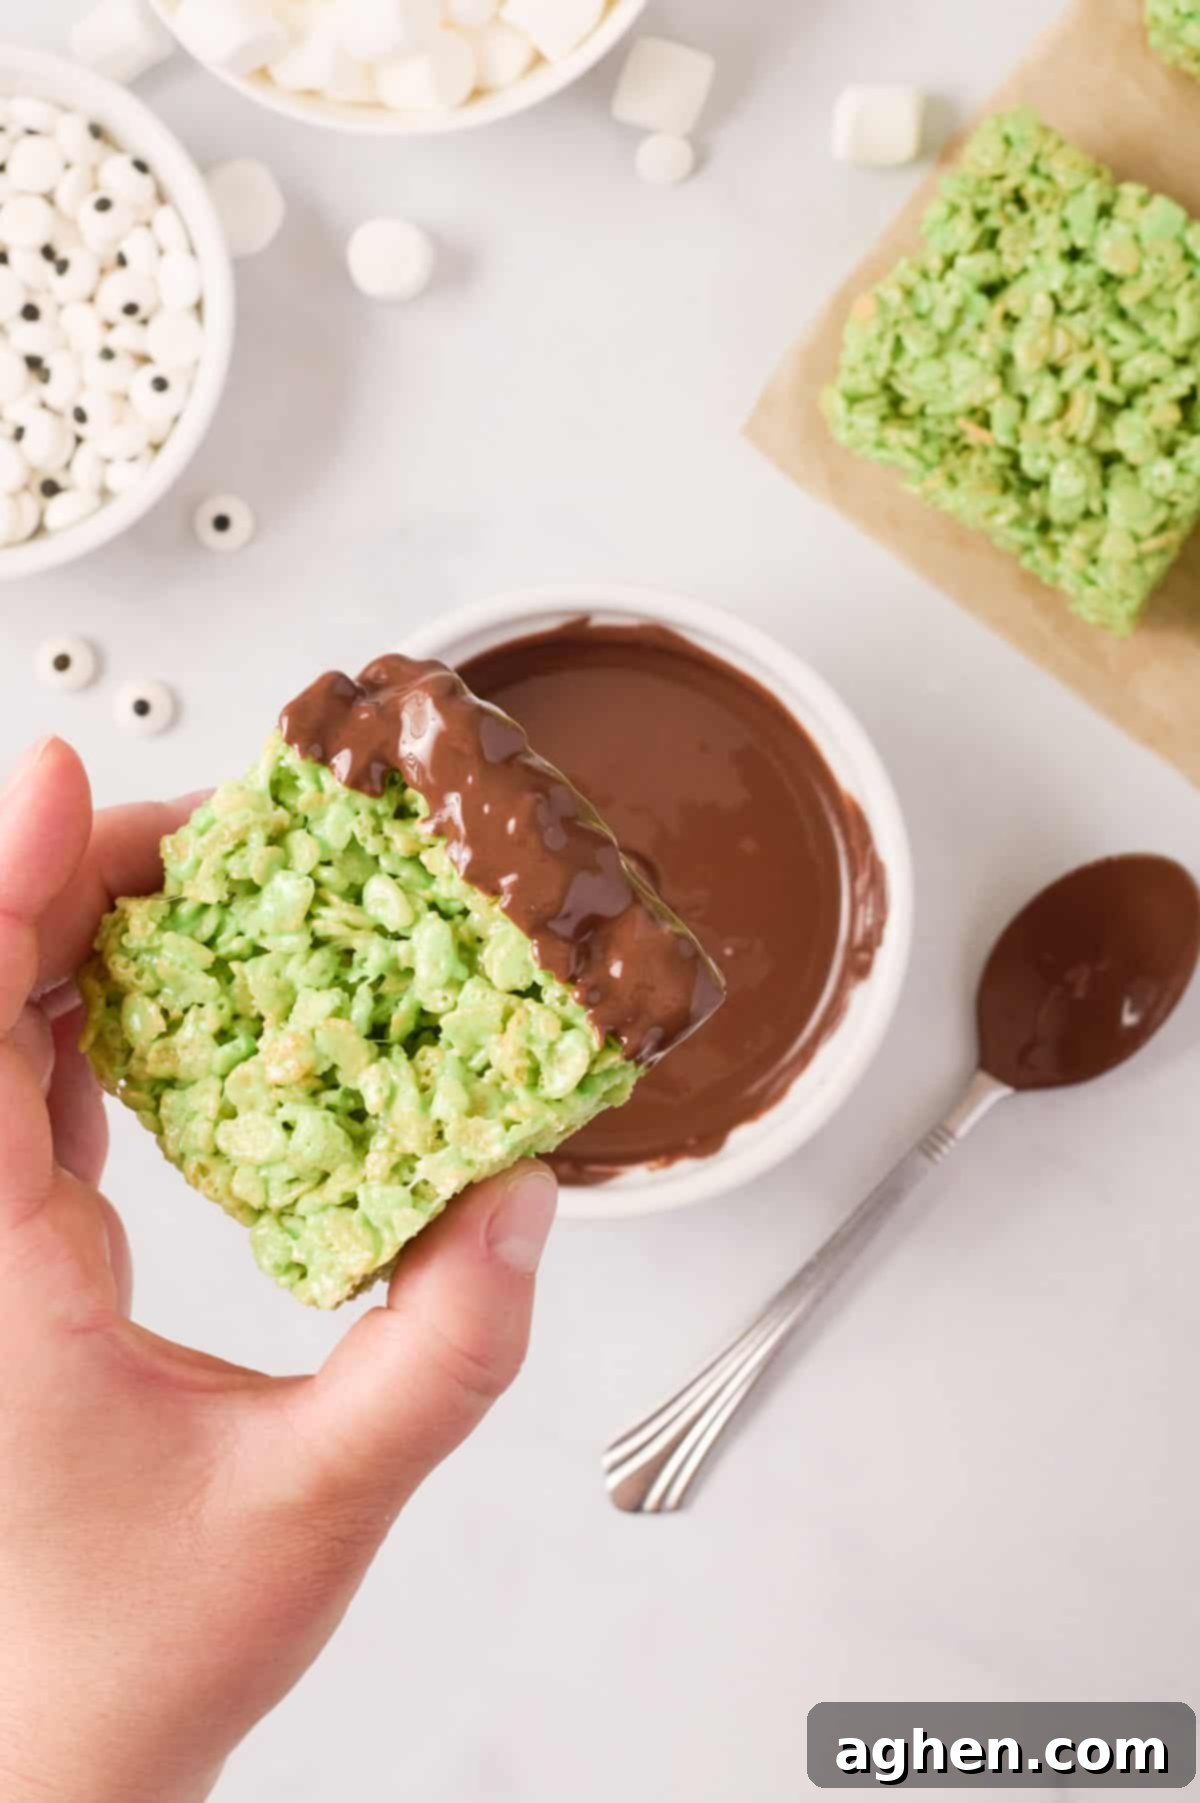
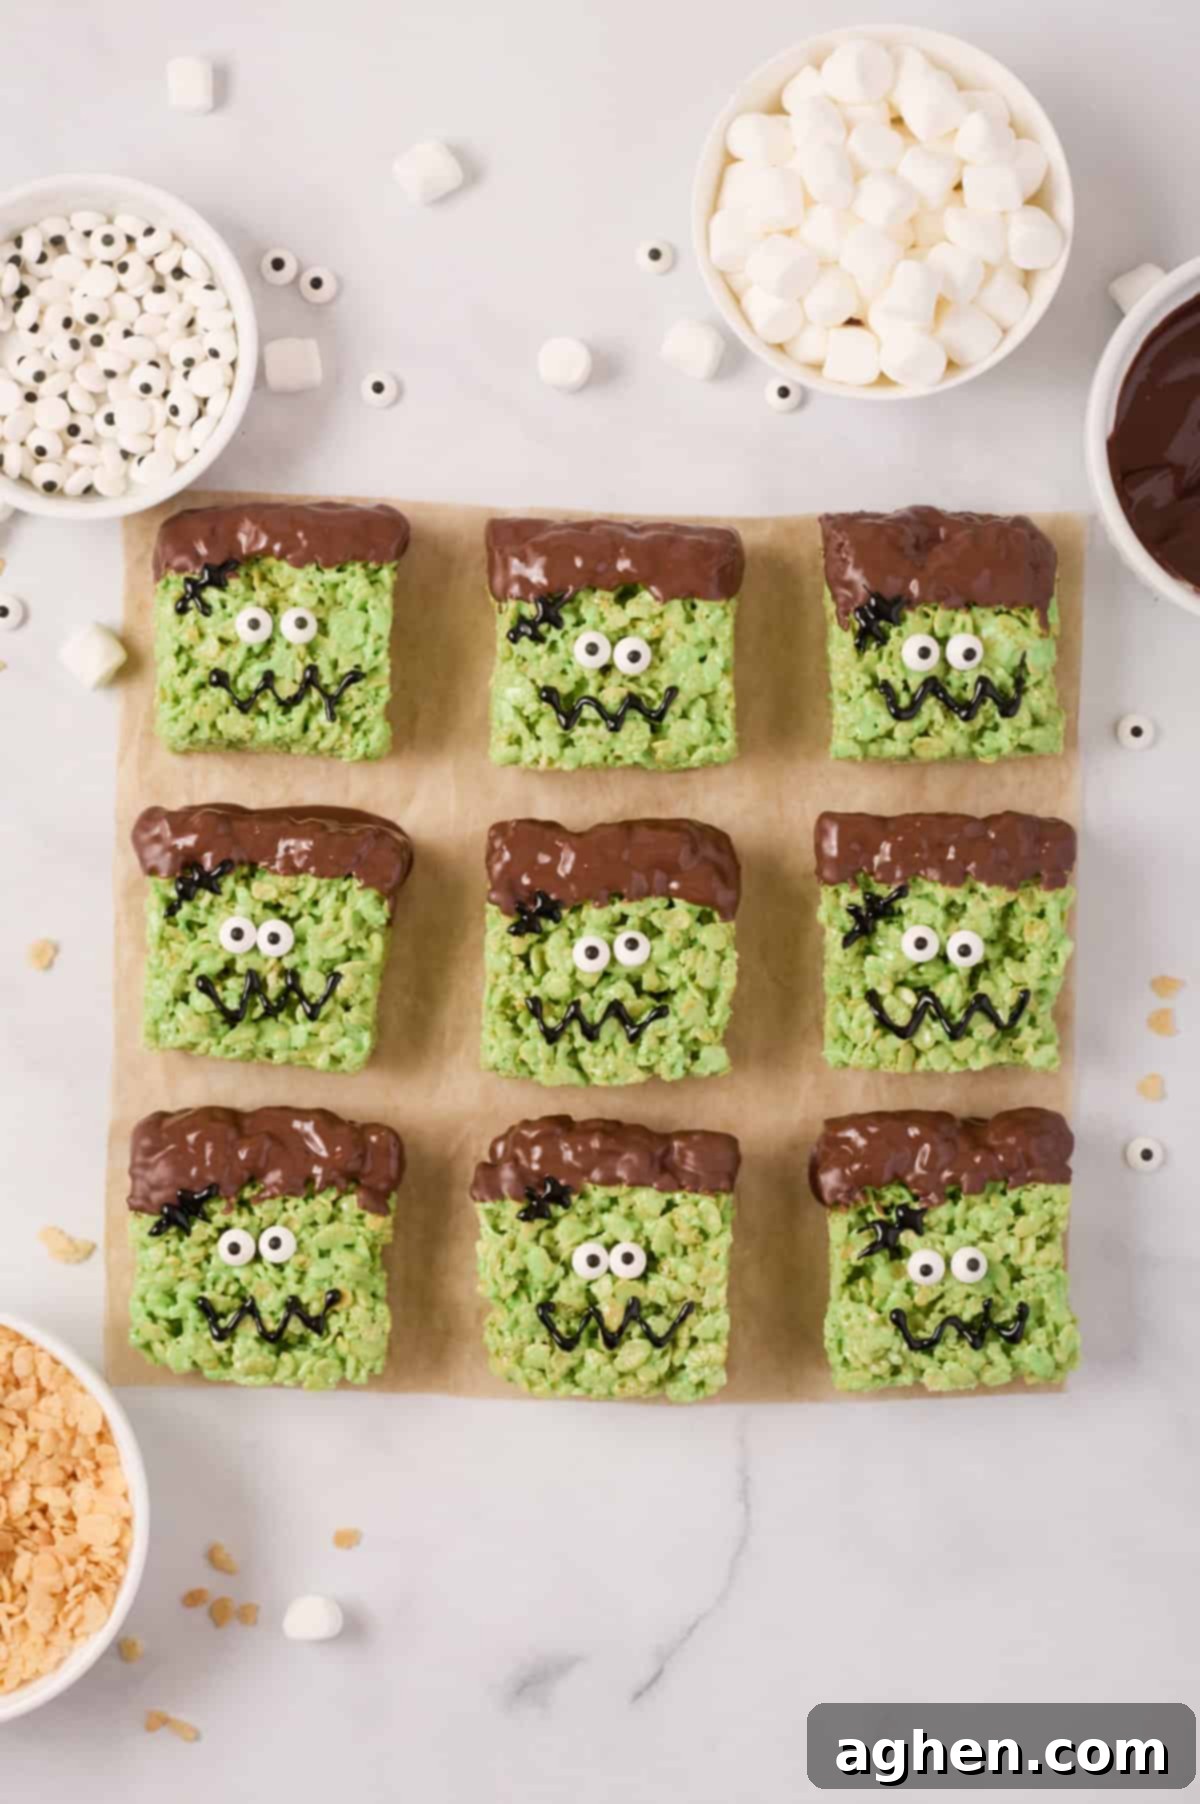
Step 8: Dip for Frankenstein’s Hair. Take each green rice krispie square and carefully dip the top ½ to ¾ inch into the melted chocolate, creating Frankenstein’s iconic messy hair. As you pull the treat out of the chocolate, allow any excess to drip off before placing it gently onto the wax paper to harden. Repeat for all squares and let the chocolate set completely.
Step 9: Add the Eyes. Once the chocolate hair has hardened, it’s time to give Frankenstein his gaze! Apply a tiny dot of black icing to the back of each candy eye. Carefully place two candy eyeballs in the center of each treat’s face, just below the chocolate hairline. The icing will act as “glue” to hold them in place.
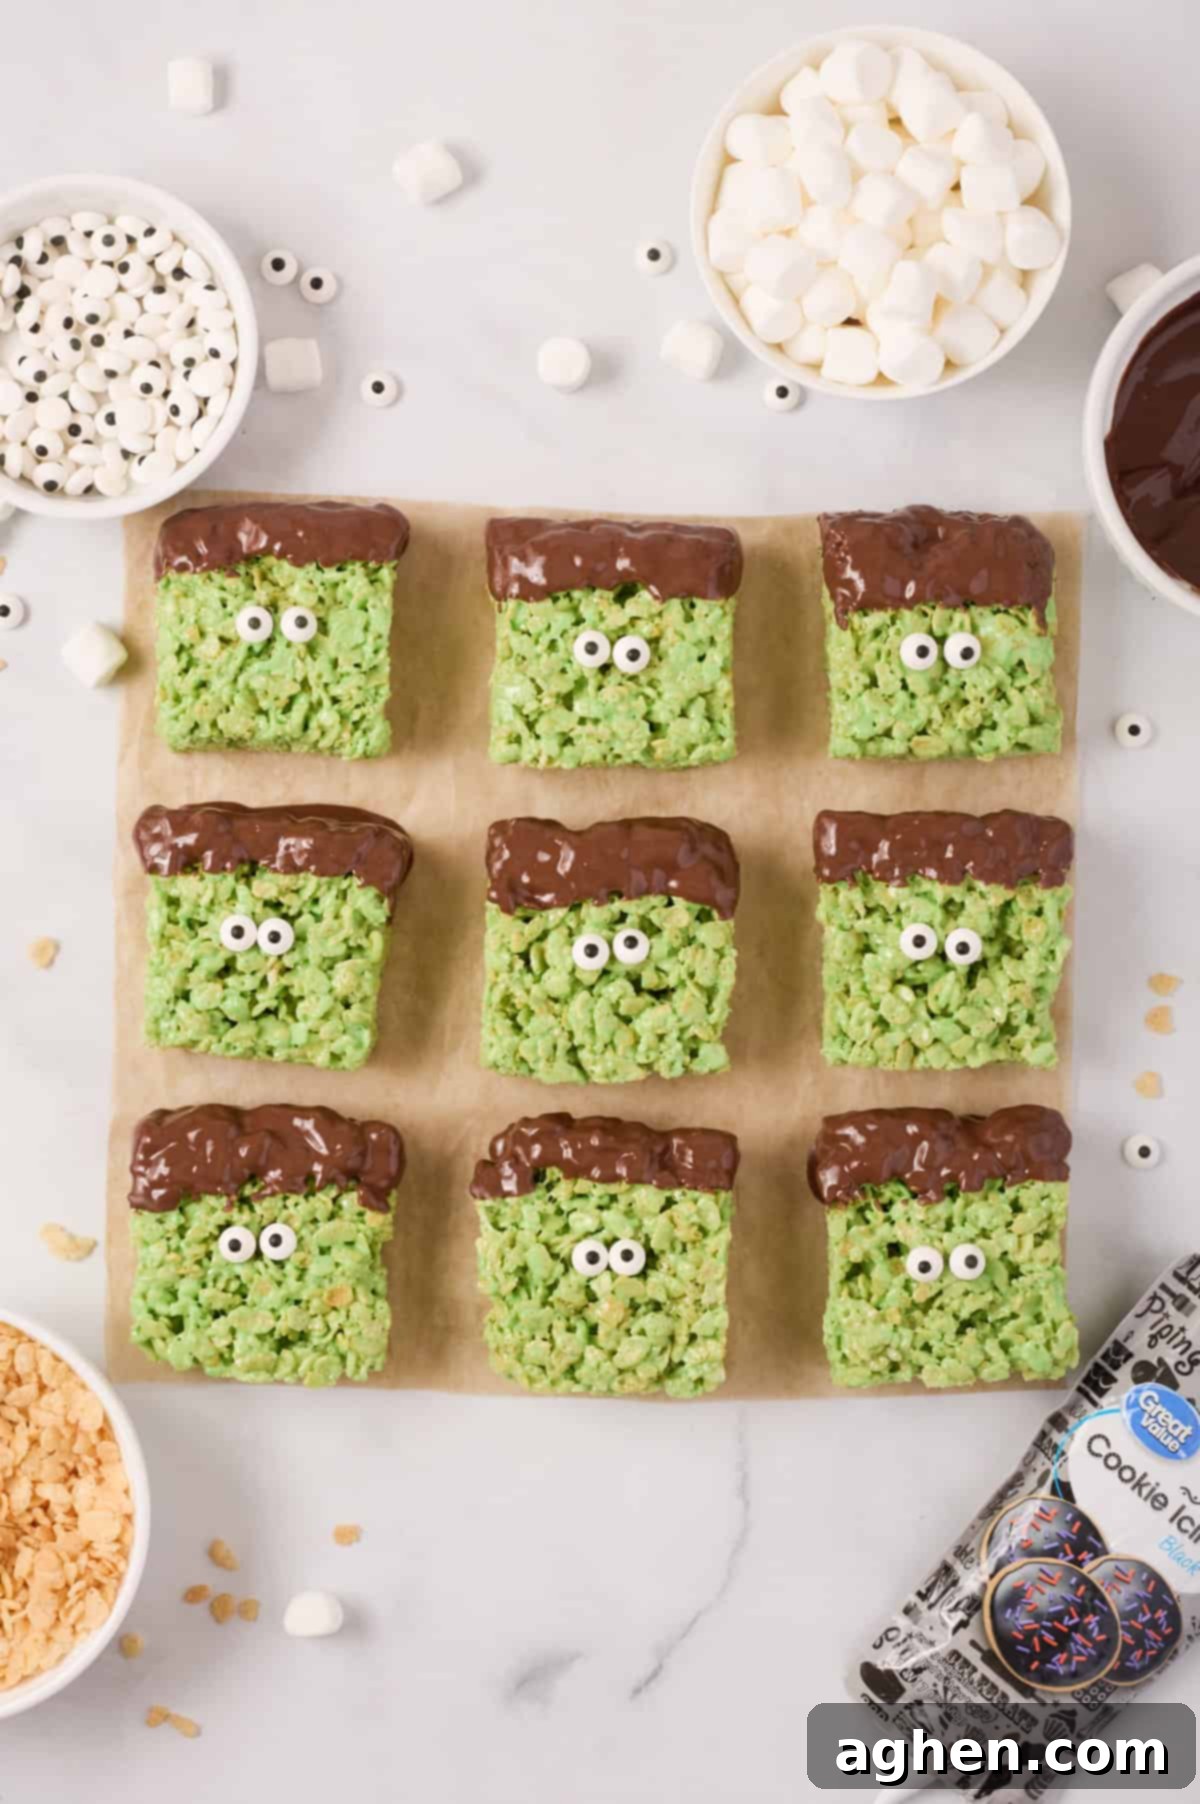
Step 10: Create a Spooky Expression. Using the black icing, draw a simple mouth below the eyes. For an extra touch of spooky charm, draw a line of stitches on Frankenstein’s forehead, just below his hairline. Get creative with different expressions for each monster!
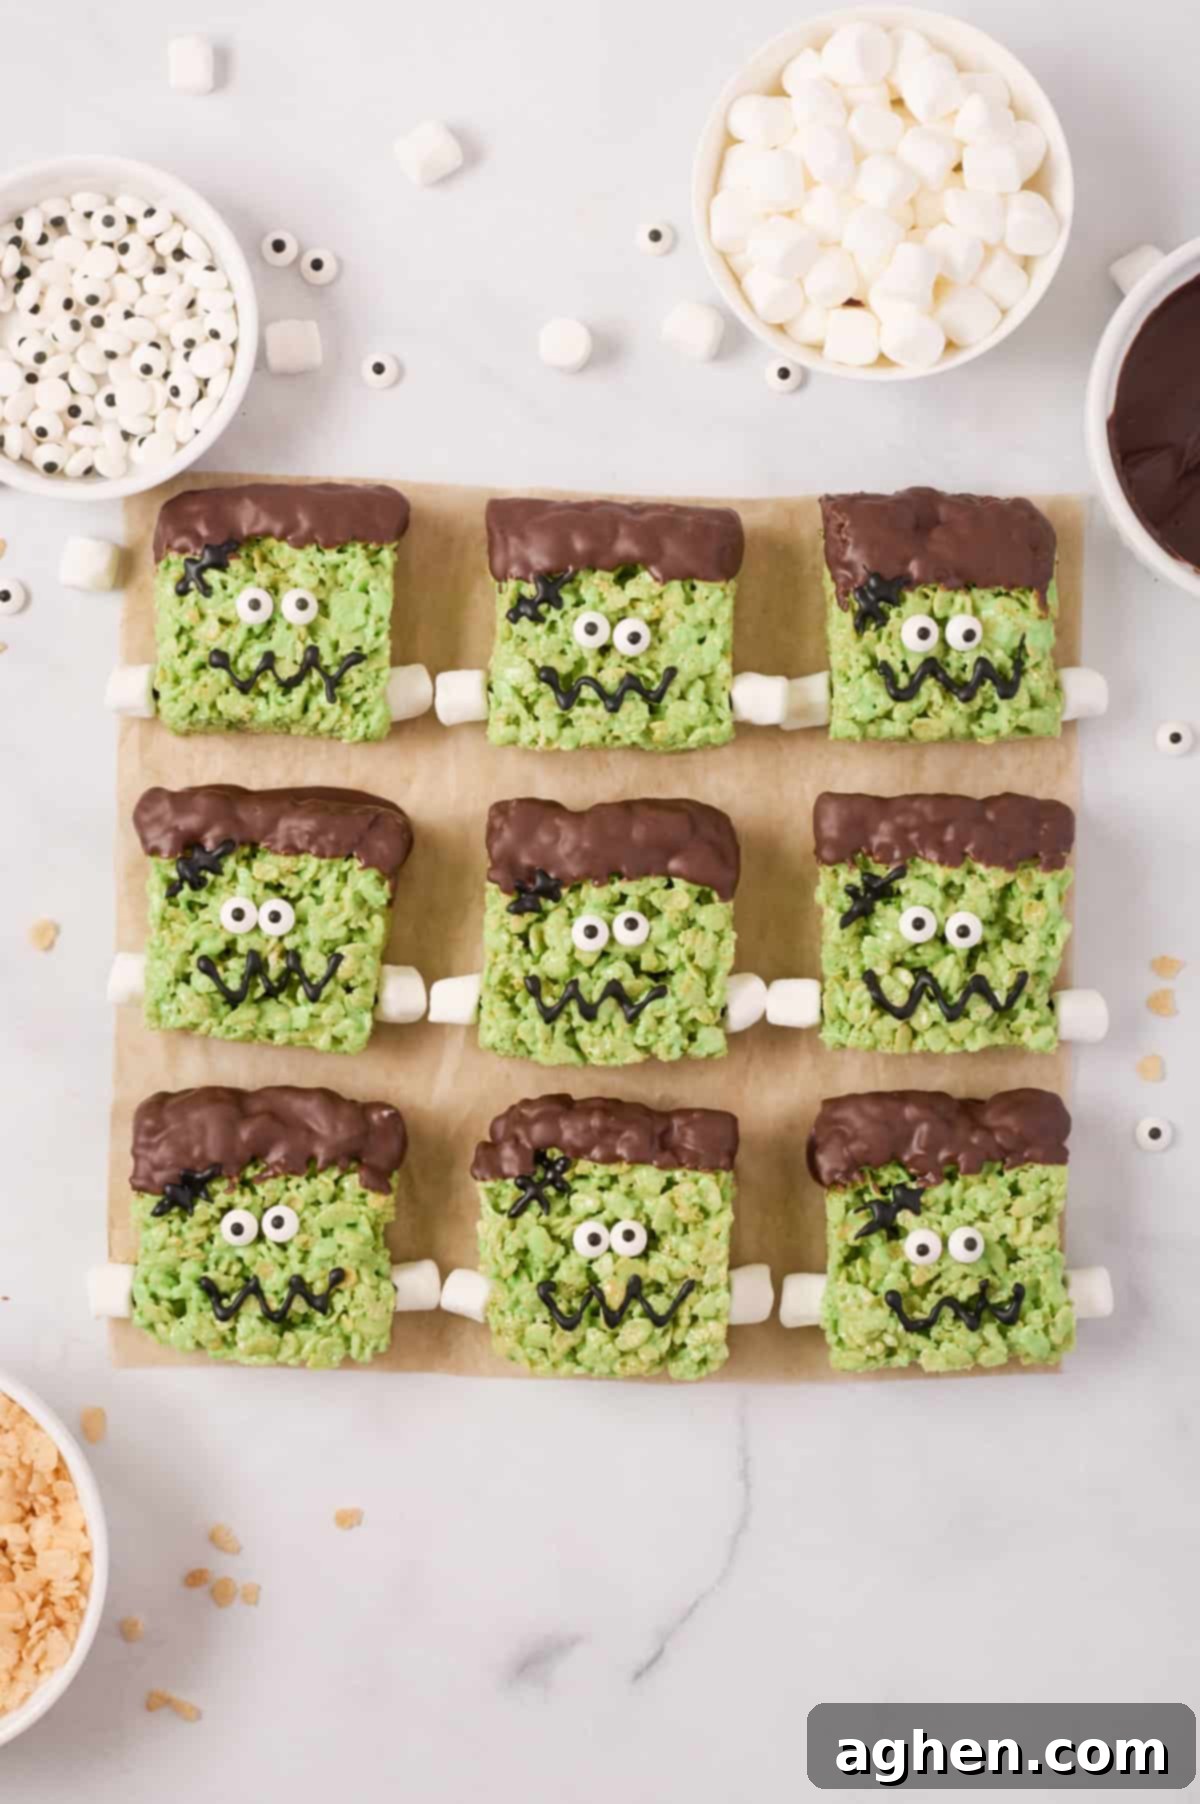
Step 11: Attach the Bolts. Take one of your reserved mini marshmallows. Place a small dot of black icing on one of its flat sides. Gently press this marshmallow onto the side of the treat, near the bottom third, to create Frankenstein’s neck bolt. Repeat this process on the other side with a second mini marshmallow. The stickiness of the rice krispie treat, combined with the icing, will help secure these in place as the icing dries.
Pro Tip: To help the mini marshmallow bolts adhere securely, apply a bit of pressure when attaching them to the treats. The natural stickiness of the marshmallow treats will work in your favor to help the bolts stay put while the icing sets.
No Microwave? No Problem! Stovetop Instructions
Don’t have a microwave, or simply prefer using the stovetop? You can absolutely make these spooky treats using a traditional method. The process is just as straightforward:
- Melt Ingredients: In a large Dutch oven or a heavy-bottomed pot, melt the butter over medium-low heat. Once the butter is melted, add the mini marshmallows. Stir continuously until the marshmallows are completely melted and smooth. This constant stirring prevents burning and ensures an even consistency.
- Add Flavor and Color: Once the marshmallow mixture is smooth, remove the pot from the heat. Stir in the vanilla extract, salt, and green gel food coloring until fully incorporated and the mixture is a cohesive green color.
- Combine and Press: Add the rice krispie cereal to the pot and mix quickly until all the cereal is well-coated with the green marshmallow mixture. Immediately transfer the mixture to your prepared 9×9 inch baking pan and gently press into an even layer, following the instructions from Step 5 above.
Storage Tips for Optimal Freshness
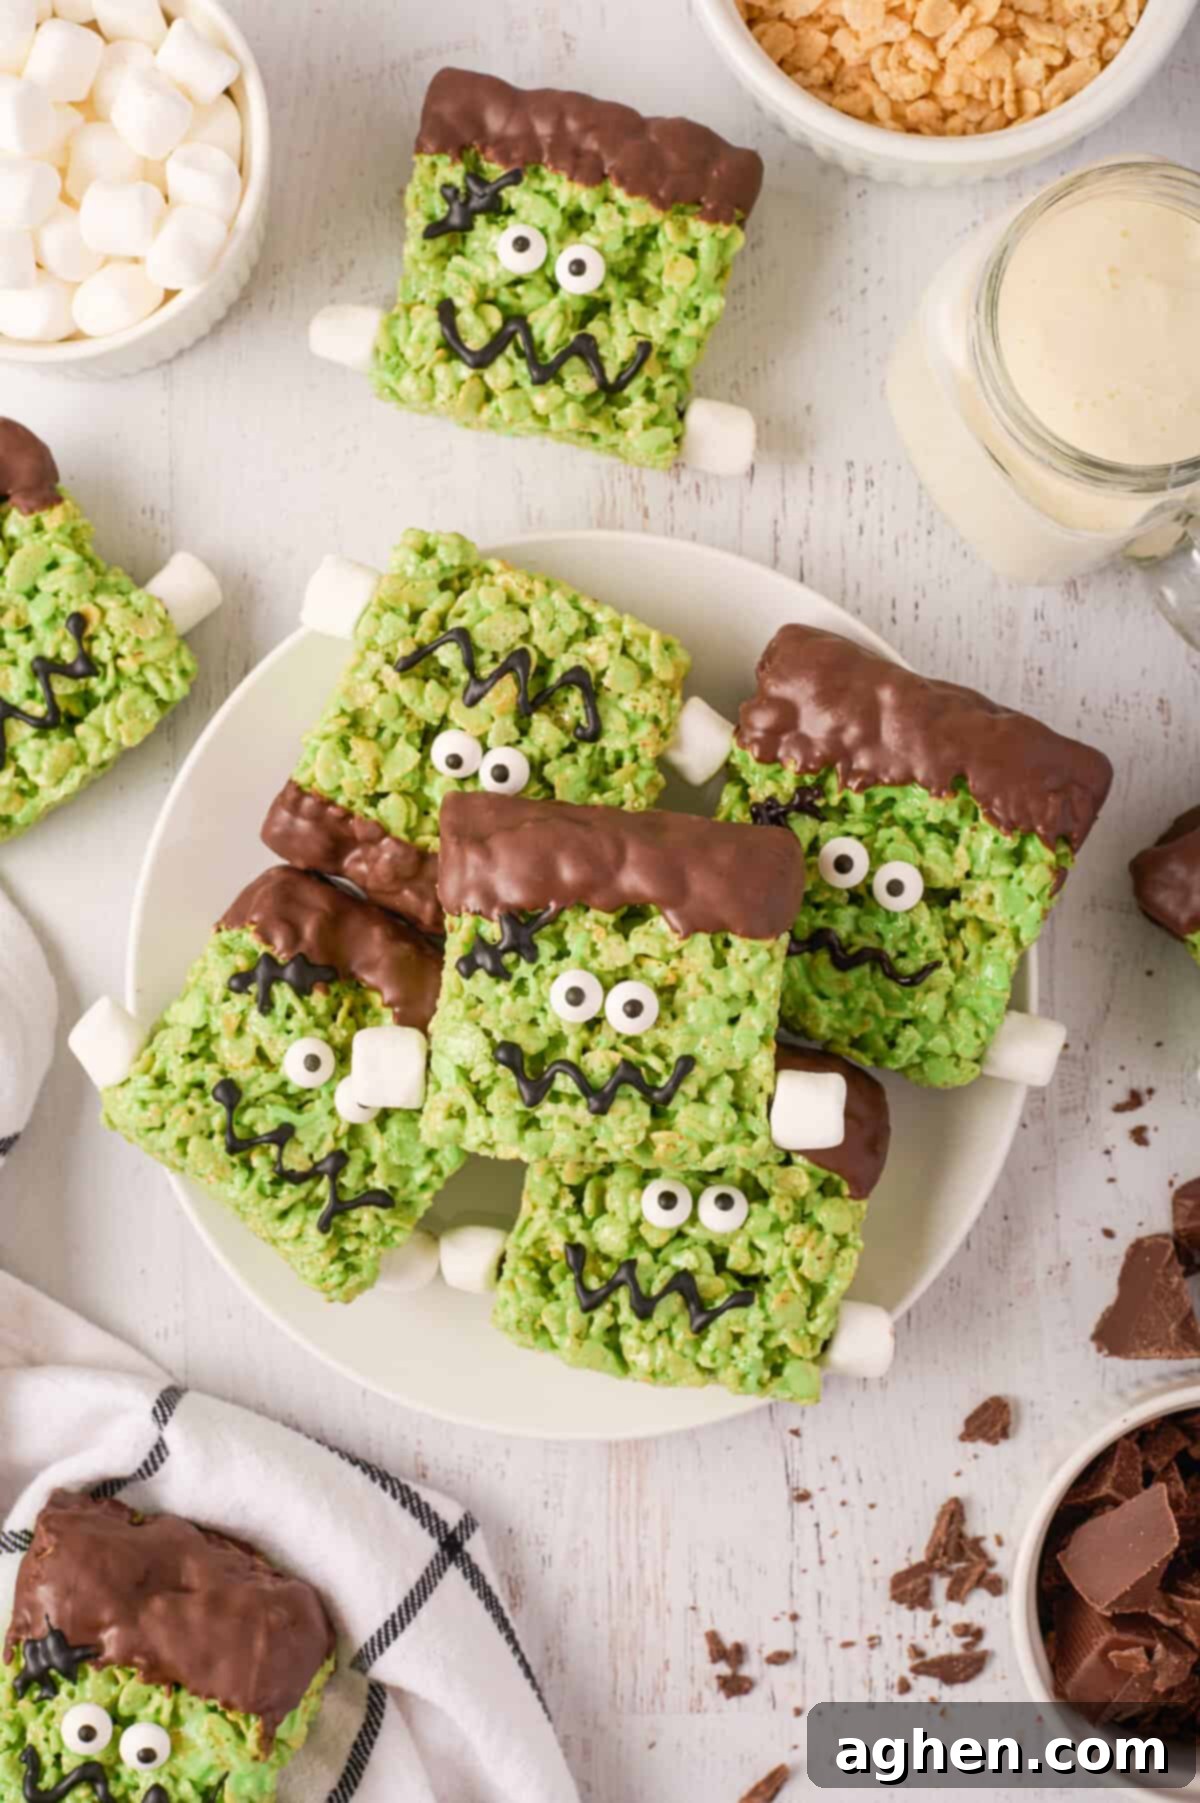
While these fun Frankenstein treats are absolutely best enjoyed on the day they are made, you can easily store them to savor for a few days. To maintain their chewy, gooey texture and prevent them from drying out, place the decorated treats in an airtight container at room temperature. They will stay fresh and delicious for up to 3 days. Avoid refrigerating them, as this can make the rice krispie treats hard and less enjoyable. For best results, keep them away from direct sunlight and heat.
Expert Tips & Tricks for Perfect Frankenstein Treats
Achieve rice krispie treat perfection every time with these valuable insights and pro tips:
- Mind Your Microwave Time: Not all microwaves are created equal! They operate at varying power levels, so melting times can differ. If your marshmallows or chocolate aren’t fully melted after the suggested time, microwave them in additional 10-second increments, stirring well after each burst. Overheating marshmallows can lead to hard treats, so watch them closely.
- Grease Your Hands for Less Stickiness: The marshmallow mixture is notoriously sticky! To prevent it from clinging to your hands while pressing into the pan, lightly coat your hands with non-stick cooking spray or a thin layer of butter. Alternatively, you can place a piece of parchment or wax paper directly over the mixture and use your hands to press down, separating your hands from the sticky cereal.
- Don’t Pack Them Too Tightly: This is a crucial step for achieving that signature chewy, airy rice krispie treat texture. When pressing the mixture into the baking pan, use a gentle hand. If you press too hard, the treats will become overly compact, dense, and lose their delightful fluffy quality. Light pressure is all you need to form an even layer.
- Achieving the Perfect Green Hue: For the most vibrant and consistent green color, always use gel food coloring. Start with a smaller amount and gradually add more until you reach your desired shade. Remember to scrape the sides and bottom of the bowl thoroughly when stirring to ensure the color is evenly distributed throughout the marshmallow mixture.
- Clean Cuts Every Time: To get neat, sharp edges when slicing your cooled treats, use a sharp knife that has been lightly coated with non-stick spray or butter. Wipe the knife clean between cuts if the mixture starts to stick.
- Make Ahead Magic: These Frankenstein treats are wonderful to prepare a day in advance of your party. Their flavor and texture hold up well, and it frees up your time on the day of the event. Just remember to store them in an airtight container at room temperature.
Recipe FAQ
Yes, absolutely! You can use an 8×8 inch baking pan instead of a 9×9 inch pan if you prefer extra thick and substantial treats. Just be aware that the treats will be taller, but the overall flavor and texture will remain the same.
For the best results, allow your rice krispie treats to cool and set in the pan for at least 1 hour before cutting. This is often the sweet spot for many, as the treats will still be wonderfully soft and gooey but firm enough to hold their shape when sliced. If you prefer a firmer rice krispie treat, let them cool for an additional hour or two. Patience is key for perfect texture!
For the brightest, most vivid green color possible, we highly recommend Americolor’s Electric Green gel food coloring. Their “electric” line of colors is exceptionally potent and delivers stunning, vibrant shades with just a small amount, making them perfect for achieving that iconic Frankenstein green.
There are a few common reasons why rice krispie treats might turn out hard. The most frequent culprit is overcooking the marshmallows; too much heat can make them brittle once cooled. Another reason is packing the mixture too tightly into the pan. Remember to melt marshmallows just until smooth and gently press the mixture. Also, ensuring your marshmallows are fresh helps maintain a soft texture.
More Spooktacular Halloween Food Ideas
If you’re planning a full Halloween feast or just looking for more creepy-cute treats, check out these other fantastic recipes that will perfectly complement your Frankenstein Rice Krispie Treats:
- Ghosts in the Graveyard Dessert: A deliciously eerie cake perfect for a crowd.
- Witch Hat Cookies: Simple and adorable cookies that are a breeze to make.
- Hocus Pocus Punch: A magical and refreshing drink for your Halloween party.
- See all my favorite Halloween treat ideas here! You’ll find over 60 recipes to inspire your frightful festivities!
Frankenstein Rice Krispie Treats
Author: Jaclyn
Ingredients
- 12 ounce package of mini marshmallows + 18 mini marshmallows divided
- 4 Tablespoons unsalted butter
- 1 teaspoon green gel food coloring
- 1 teaspoon vanilla extract
- ¼ teaspoon salt
- 5 cups rice krispies cereal
- 1 cup chopped chocolate almond bark
- 9 pairs of candy eyes
- Black cookie icing
Instructions
Make Rice Krispie Treats:
-
Lightly spray a 9 x 9 pan with non-stick cooking spray and set aside.
-
Slice the butter into four equal squares. Add the butter and mini marshmallows to a large microwave-safe bowl and microwave for one and a half minutes. Then, stir until smooth.
-
Once you have a smooth buttery marshmallow mixture, add the vanilla, salt, and green food coloring. Stir until the gooey mixture is a cohesive green color.
-
Stir the rice cereal into the marshmallow mixture until well-combined.
-
Transfer the ceral mixture to the baking pan and gently press into an even layer.
-
Allow the rice krispies treats to set in the pan for 1-3 hours.
-
Once they’ve cooled and firmed up, slice the treats into 9 equal squares.
Decorate:
-
Place a piece of parchment or wax paper aside to set the rice kripsies on after dipping them in chocolate.
-
Add the chopped chocolate almond bark to a small microwave-safe bowl and melt for one minute. Stir then microwave for another 30 seconds. Stir again until smooth.
-
Dip the top ½ – ¾ inch of each rice krispie square into the melted chocolate to create Frankenstein’s hair. When pulling the rice kripsie out of the chocolate, let the chocolate drip off before placing it on the wax paper set aside. Let the chocolate-dipped rice krispies harden on the wax paper.
-
Dot the back of each candy eye with black icing and place the eyes in the center of the face.
-
Use the icing to draw a mouth and a line of stitches on Frankenstein’s forehead.
-
Place a dot of icing on one of the flat sides of a mini marshmallow and press on the side of the treat to create the bolt going through his neck. Repeat on the other side with another marshmallow.
-
Repeat until all the treats are fully decorated.
Notes
Microwaves operate at different strengths of power and some need more time than others. If you need more time to melt the marshmallows or chocolate, microwave them at additional 10-second increments, stirring between intervals.
To make rice krispies treats on the stovetop: Melt the butter and marshmallows in a dutch oven or large pot over medium-low heat, stirring occasionally. Once the marshmallows have melted mix in the salt, vanilla, and food coloring, Remove from heat and mix in the rice cereal until well-coated.
Coat your hands with non-stick cooking spray or butter before pressing your rice krispies into the pan. This will help to keep the sticky rice cereal mixture from sticking to you. Separating your hands from the sticky rice cereal mixture with a sheet of parchment or wax paper will work too.
When pressing the cereal into the pan press gently. If you press too hard, the rice krispies will be compact and lose their airy, fluffy texture. Press gently!
Store in an airtight container for up to 3 days.
Nutrition

Did You Make This Recipe?
Share it with me on Instagram @crayonsandcravings and follow on Pinterest @crayonsandcravings for even more!
Pin Recipe
Leave A Review
