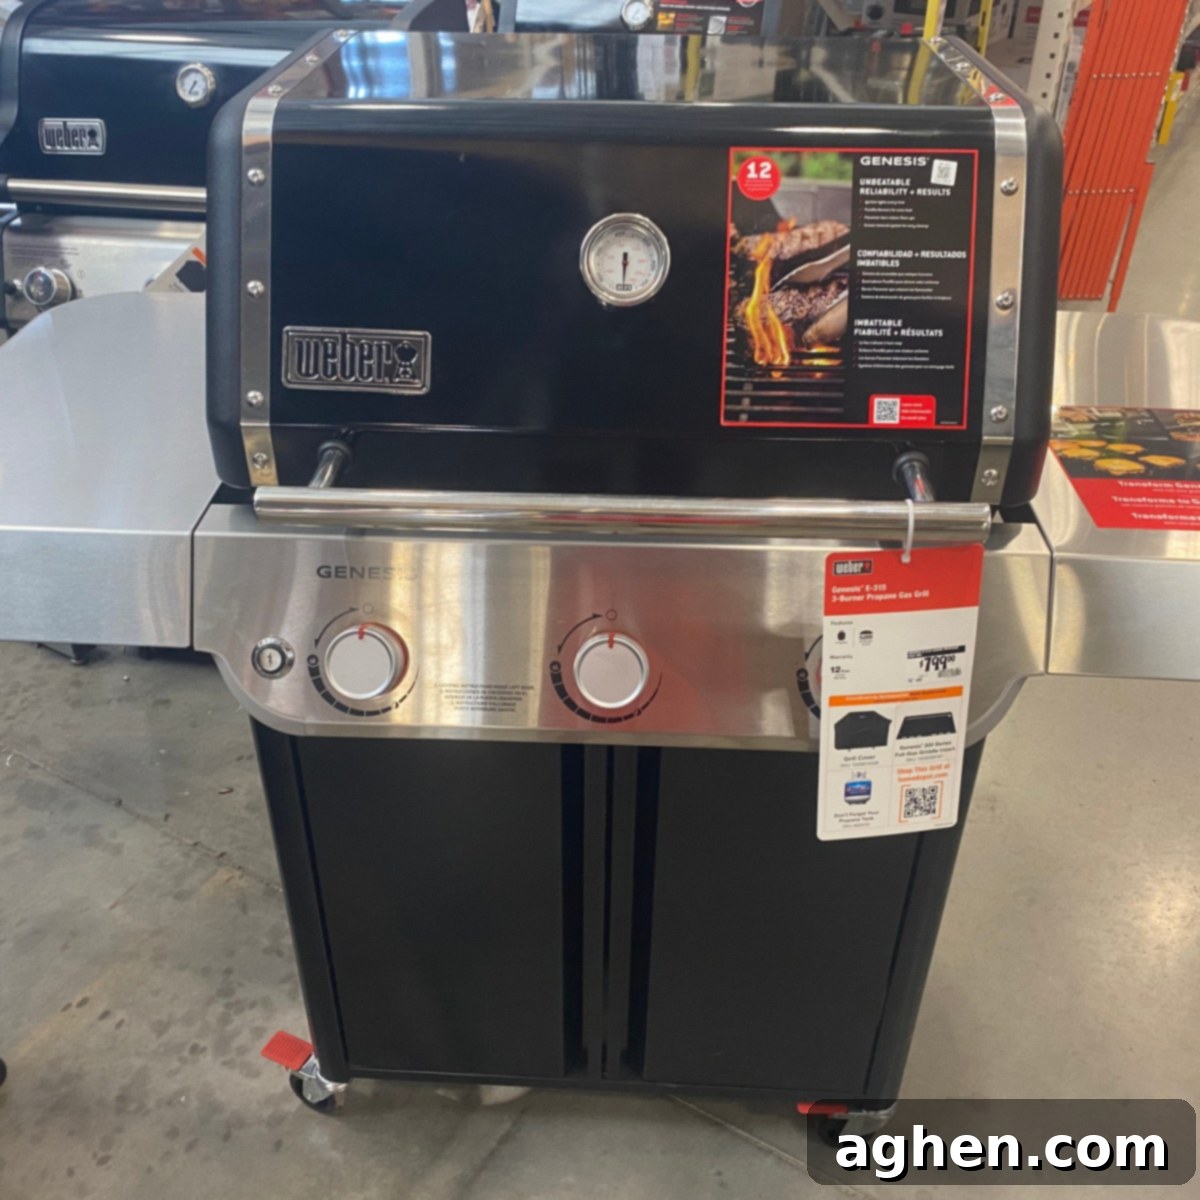
Master Your Weber Grill: Professional Grilling Techniques for Gourmet Backyard Feasts
There’s an undeniable magic to grilling outdoors. The tantalizing aroma of sizzling meats, the beautifully charred lines on perfectly cooked vegetables, and the sheer satisfaction of creating a memorable meal under the open sky transform grilling into an cherished culinary art form. For many, it’s more than just cooking; it’s an experience, a ritual, and a way to connect with food and loved ones. But what if you could transcend basic backyard barbecues and elevate your grilling game to a truly professional level? With the right techniques, a dash of creativity, and the reliable performance of your trusty Weber grill, you can transform ordinary gatherings into gourmet culinary experiences that will impress even the most discerning palates. This comprehensive guide will equip you with professional insights and practical tips to help you grill like a seasoned chef, making every meal an extraordinary event.
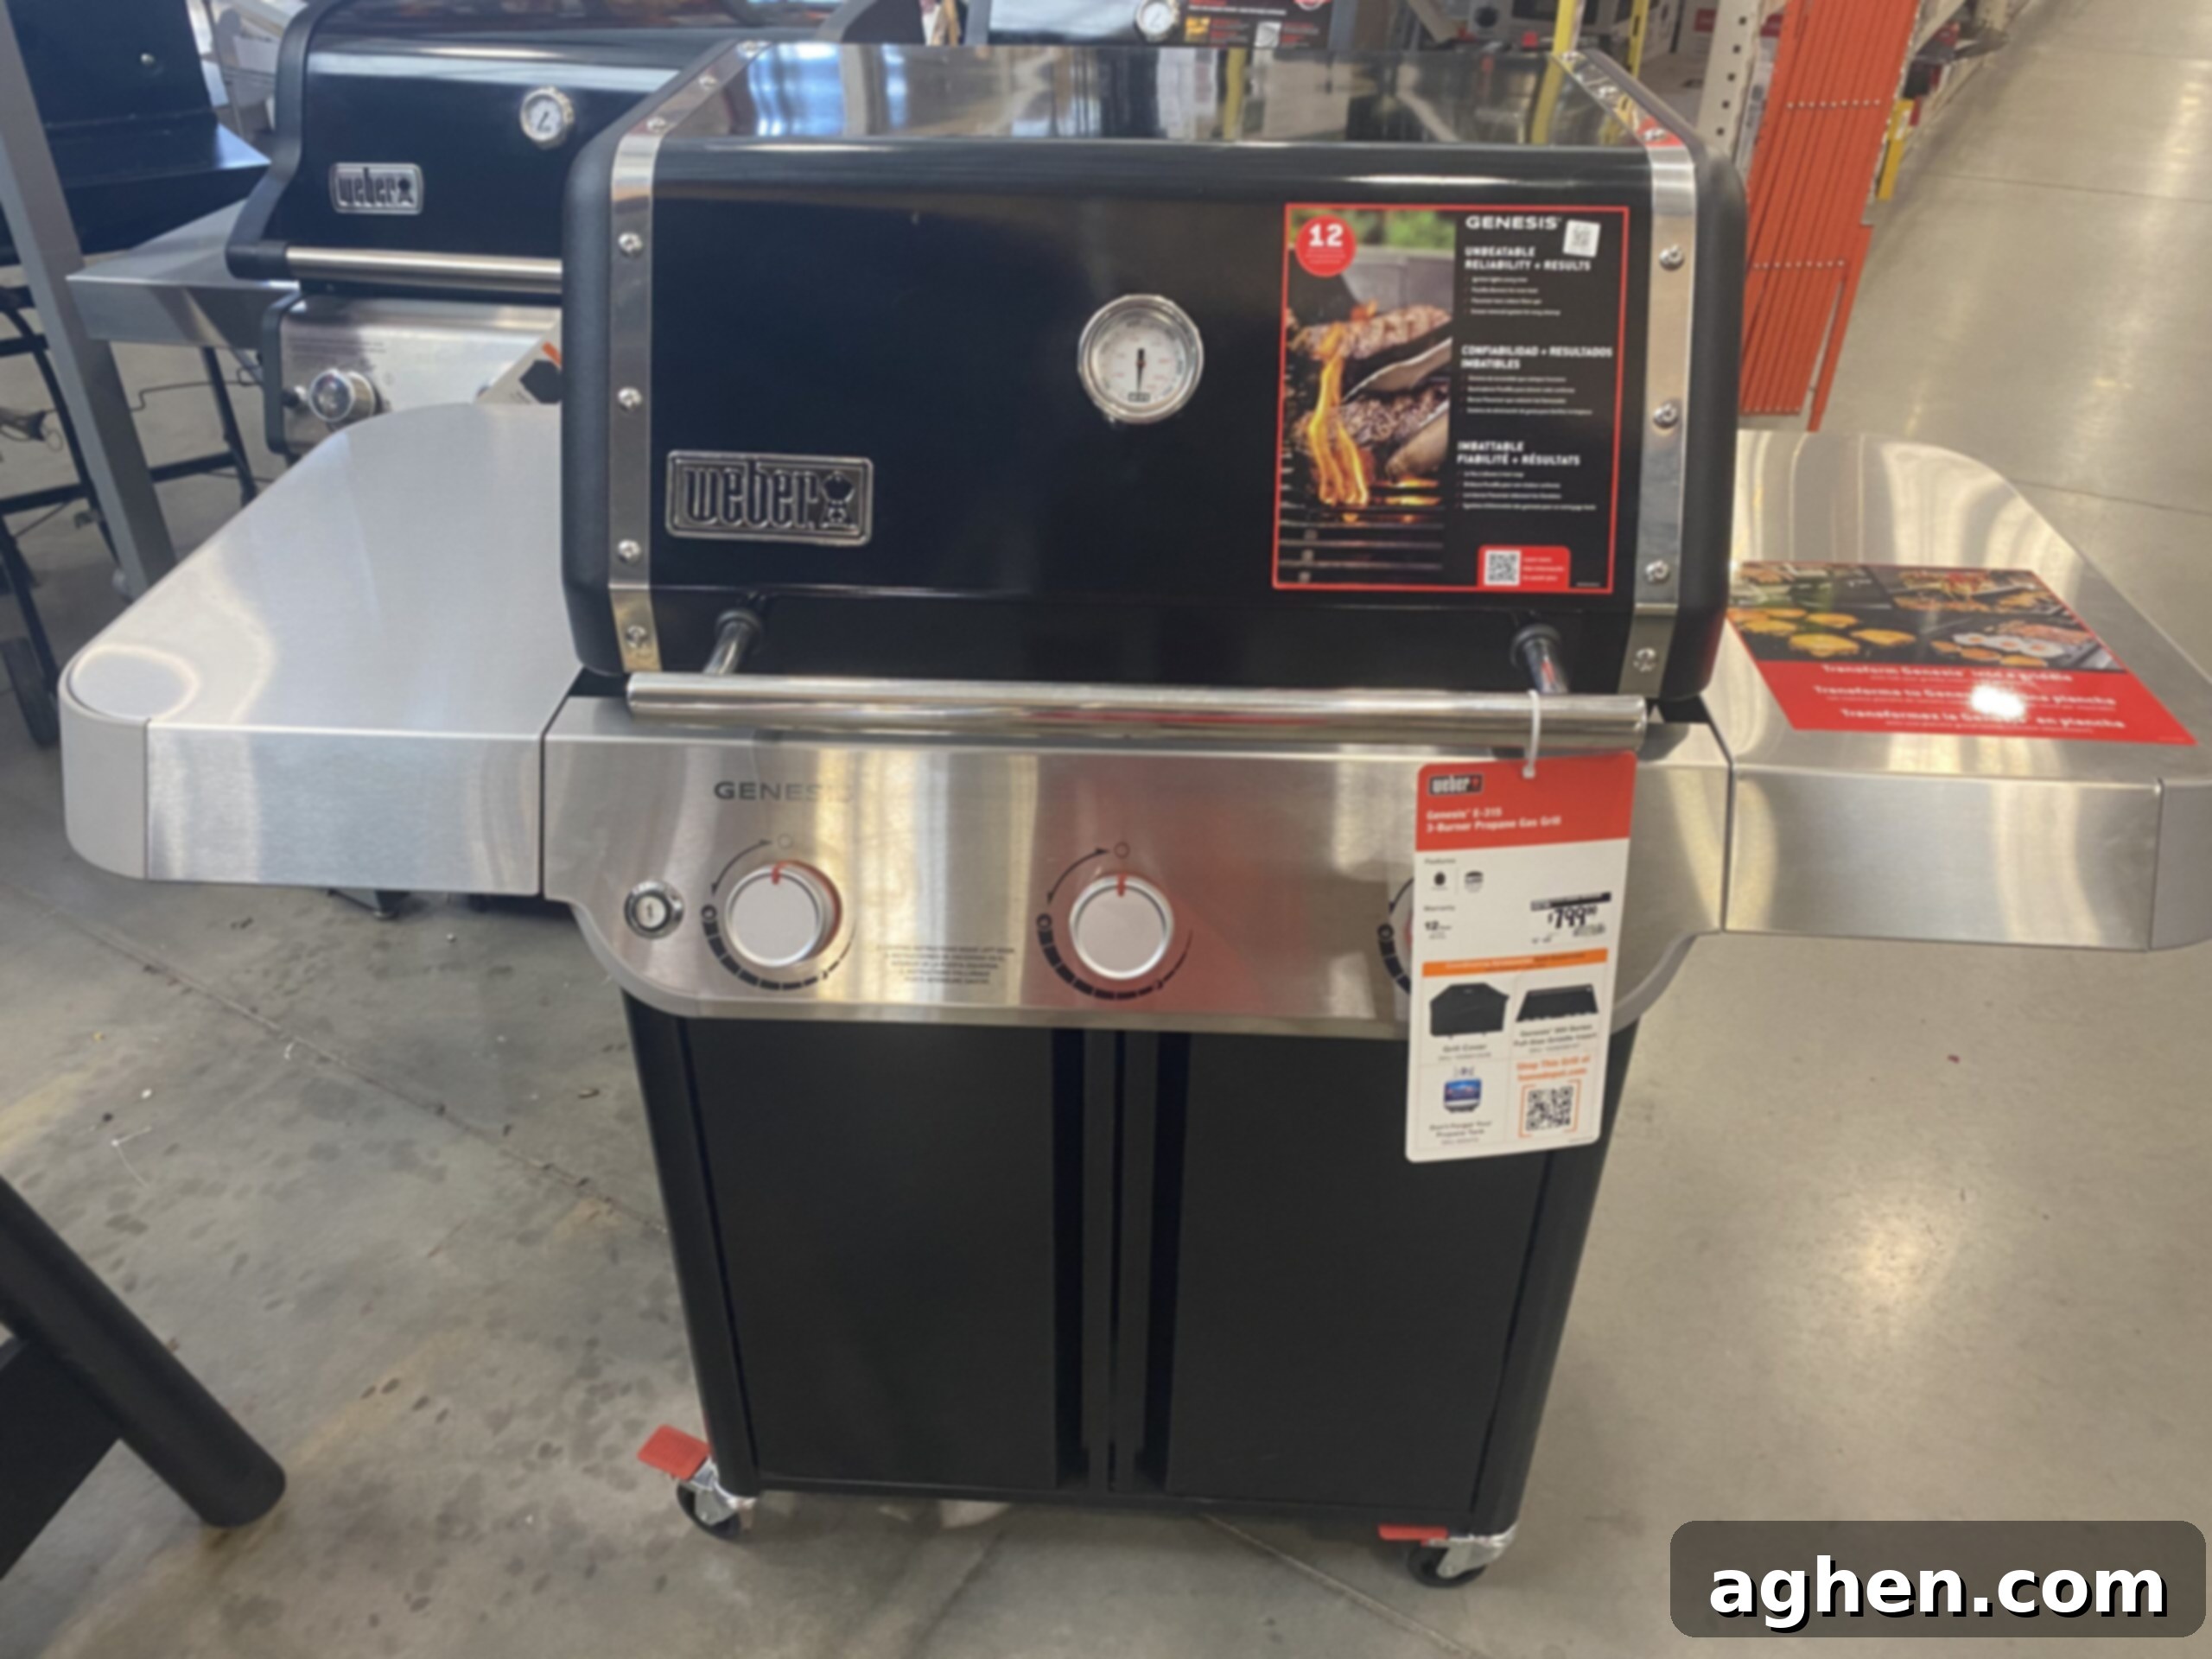
1. Mastering the Basics of Professional Grilling
Before you can embark on intricate gourmet recipes or experiment with advanced techniques, a solid understanding of grilling fundamentals is absolutely essential. Mastering the basics lays the groundwork for all your outdoor culinary adventures. This involves not only understanding your specific Weber grill model and its unique features but also becoming proficient in core grilling principles such as temperature control, direct versus indirect heat application, and proper grill maintenance. By dedicating time to hone these fundamental skills, you’ll significantly enhance your overall grilling experience, ensuring consistently delicious results for yourself, your family, and your guests. A strong foundation ensures success and unlocks your full potential as a grill master.
Know Your Weber Grill Inside Out
Weber offers a diverse range of grills, from classic charcoal kettles to sophisticated gas grills and innovative pellet smokers, each designed with distinct features and functionalities. To truly grill like a pro, you must first become intimately familiar with your chosen model. Understand how to precisely control the temperature using the burners on a gas grill or by adjusting the vents on a charcoal unit. Learn the nuances of its ignition system, how to access and clean its components, and what accessories are compatible. This deep understanding empowers you to utilize your grill’s full potential, ensuring optimal performance and consistent results every time you fire it up.
Preheat Your Grill for Optimal Results
Proper preheating is a non-negotiable step for professional-level grilling. It ensures that your food cooks evenly, develops those coveted sear marks, and prevents sticking. For gas grills, this means turning all burners to high, closing the lid, and allowing the grill to reach its target temperature (typically 450-550°F for searing) for 10-15 minutes. For charcoal grills, utilize a chimney starter to ignite your briquettes or lump charcoal, waiting until they are fully covered with a consistent layer of white ash, indicating they are ready for cooking. Preheating creates a uniform cooking surface, crucial for predictable and delicious outcomes.
Maintain a Spotless Grill Before Every Use
A clean grill isn’t just about aesthetics; it’s fundamental to achieving superior flavor and preventing food from sticking. Before you even think about placing food on the grates, give them a thorough cleaning. Use a sturdy grill brush or scraper to remove any lingering food debris from previous cooks. This simple step ensures that your food comes into direct contact with the clean, hot metal, promoting better searing and preventing unpleasant off-flavors from old, burnt residue. For a more comprehensive clean, periodically remove the grates and clean the interior components of your grill, including flavorizer bars, heat deflectors, and the drip pan, to maintain efficiency and longevity.
2. Perfecting the Sear: A Mark of Professional Grilling
Achieving a perfect sear is a hallmark of professional grilling, transforming a piece of meat from good to extraordinary. A well-executed sear creates a rich, flavorful crust, locking in precious juices and adding a depth of texture that excites the palate. This coveted browning, known as the Maillard reaction, requires intense heat and precise timing. Mastering the art of the sear on your Weber grill involves preparing your protein correctly, ensuring your grill reaches exceptionally high temperatures, and exercising patience during the cooking process. The result is a visually stunning and incredibly delicious exterior that complements a perfectly cooked interior.
High Heat is Non-Negotiable for a Superior Sear
The secret to a truly great sear lies in applying extremely high heat to the surface of your food. To achieve this on your Weber, preheat your grill to its maximum temperature. If you’re using a gas grill, turn all burners to their highest setting and allow ample time for the grates to become scorching hot. For charcoal grills, arrange a full chimney of lit charcoal directly under where your food will be placed, creating an intense direct heat zone. This initial burst of extreme heat is what rapidly caramelizes the natural sugars and proteins on the food’s surface, creating that signature crust and rich flavor profile.
Pat Your Meat Dry for Maximum Browning
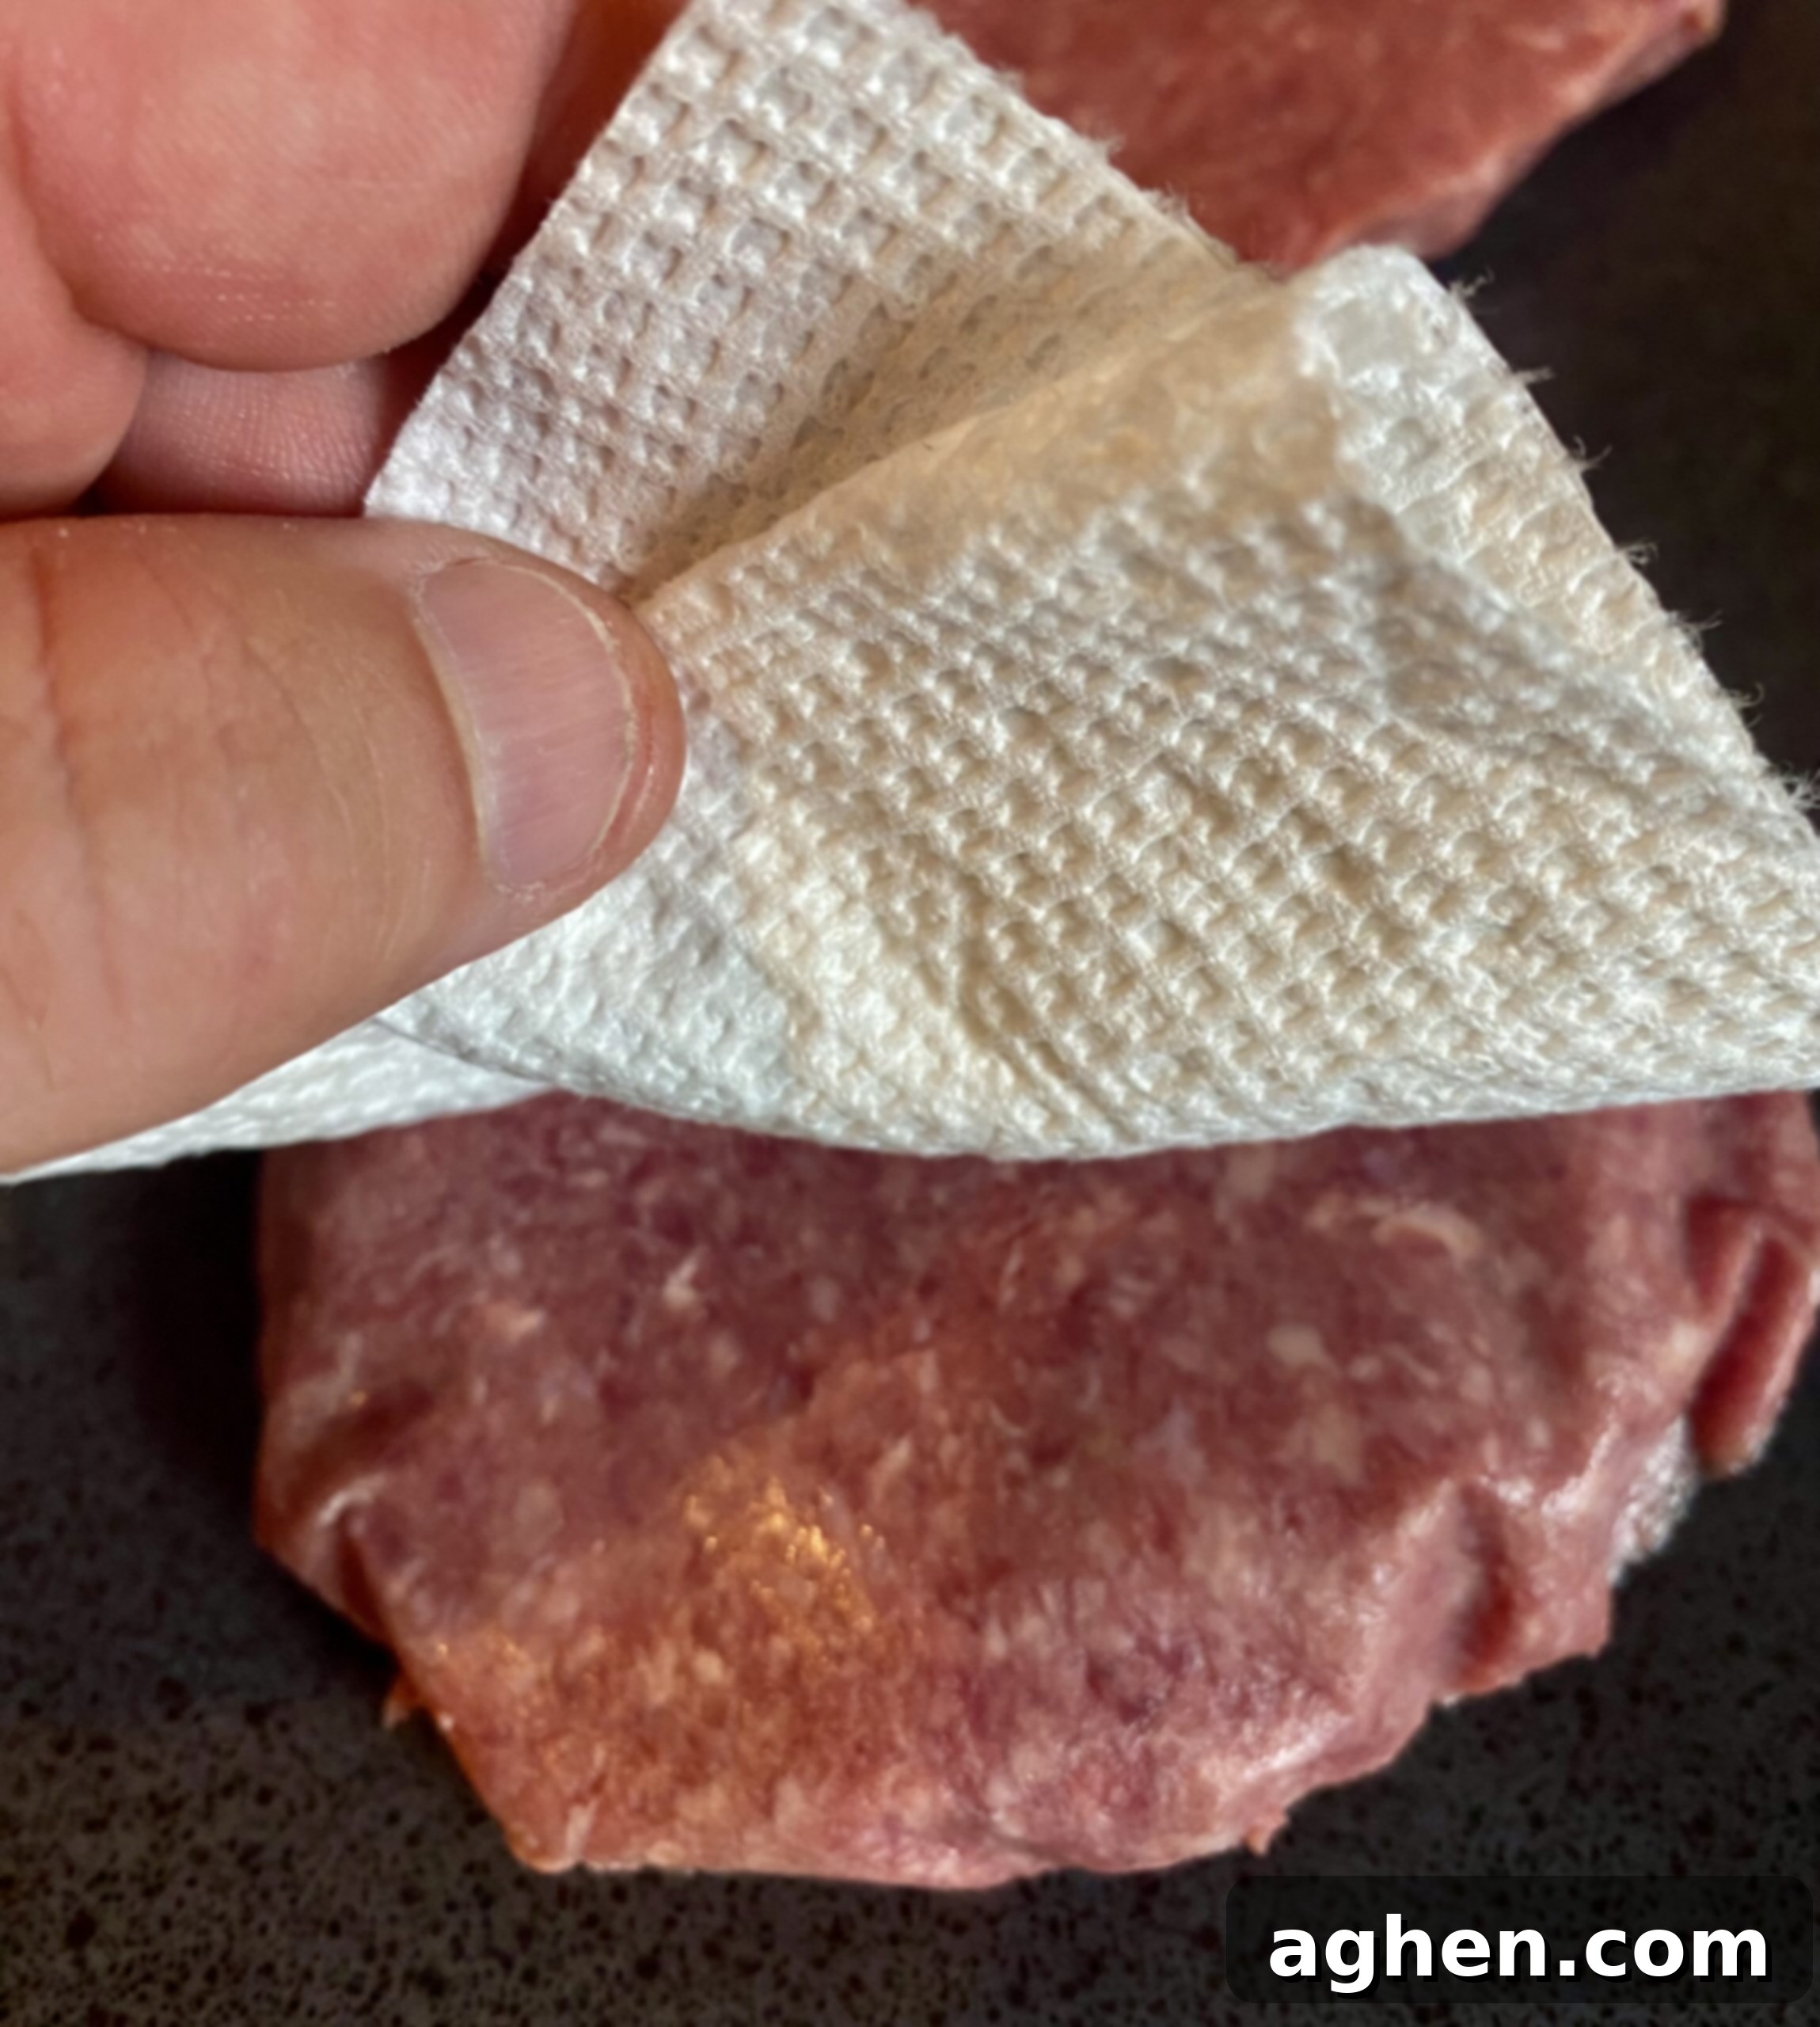
Before your seasoned cuts of meat ever touch the hot grates, ensure their surface is thoroughly dry. Moisture on the exterior of meat creates steam when exposed to high heat, which actively inhibits the browning process. Instead of searing, the meat will essentially steam, preventing the formation of that desirable crust. To avoid this, use paper towels to vigorously pat down your meat on all sides immediately before applying any seasoning or placing it on the grill. This simple yet crucial step dramatically improves the quality of your sear, allowing for maximum flavor development and a truly crispy exterior.
Resist the Urge to Move the Meat Too Soon
Once you’ve carefully placed your prepared meat onto the scorching hot grill grates, the most challenging part for many aspiring grill masters is patience. Resist the temptation to lift, poke, or move the meat around. Allow it to sit undisturbed for several minutes – typically 2-4 minutes per side, depending on thickness and desired doneness – to allow a proper crust to form. Moving the meat prematurely will break the developing sear, cool the grates, and result in less impressive browning. Trust the process; your patience will be handsomely rewarded with a delicious, deeply caramelized crust that locks in the meat’s natural juices, yielding a perfectly grilled masterpiece.
3. Mastering Indirect Heat: The Secret to Even Cooking
While direct heat is perfect for searing and quick-cooking items, mastering indirect heat is absolutely essential for cooking larger cuts of meat, delicate proteins, or anything that requires a slower, more gentle cooking process. This technique allows foods to cook thoroughly from the inside out without charring or burning on the exterior. By positioning the food away from the direct flames or primary heat source, you gain precise control over the cooking environment, resulting in tender, succulent, and evenly cooked results. Indirect heat is a cornerstone of professional grilling, particularly for dishes like whole chickens, roasts, ribs, or thick pieces of fish that benefit from a low-and-slow approach, preventing dry or unevenly cooked food.
Implement Two-Zone Cooking for Versatility
The cornerstone of indirect grilling is setting up your Weber grill for two-zone cooking. On a charcoal grill, this involves banking all your lit coals to one side, leaving the other side empty. On a gas grill, you would turn on burners on one side to your desired temperature while leaving the burners on the opposite side off. This creates a “hot” zone for direct searing and a “cooler” zone for indirect cooking. This versatile setup allows you to sear your meat over direct heat to develop a beautiful crust and then effortlessly move it to the cooler, indirect side to finish cooking gently and evenly to the desired internal temperature.
Utilize a Drip Pan for Moisture and Flare-Up Prevention
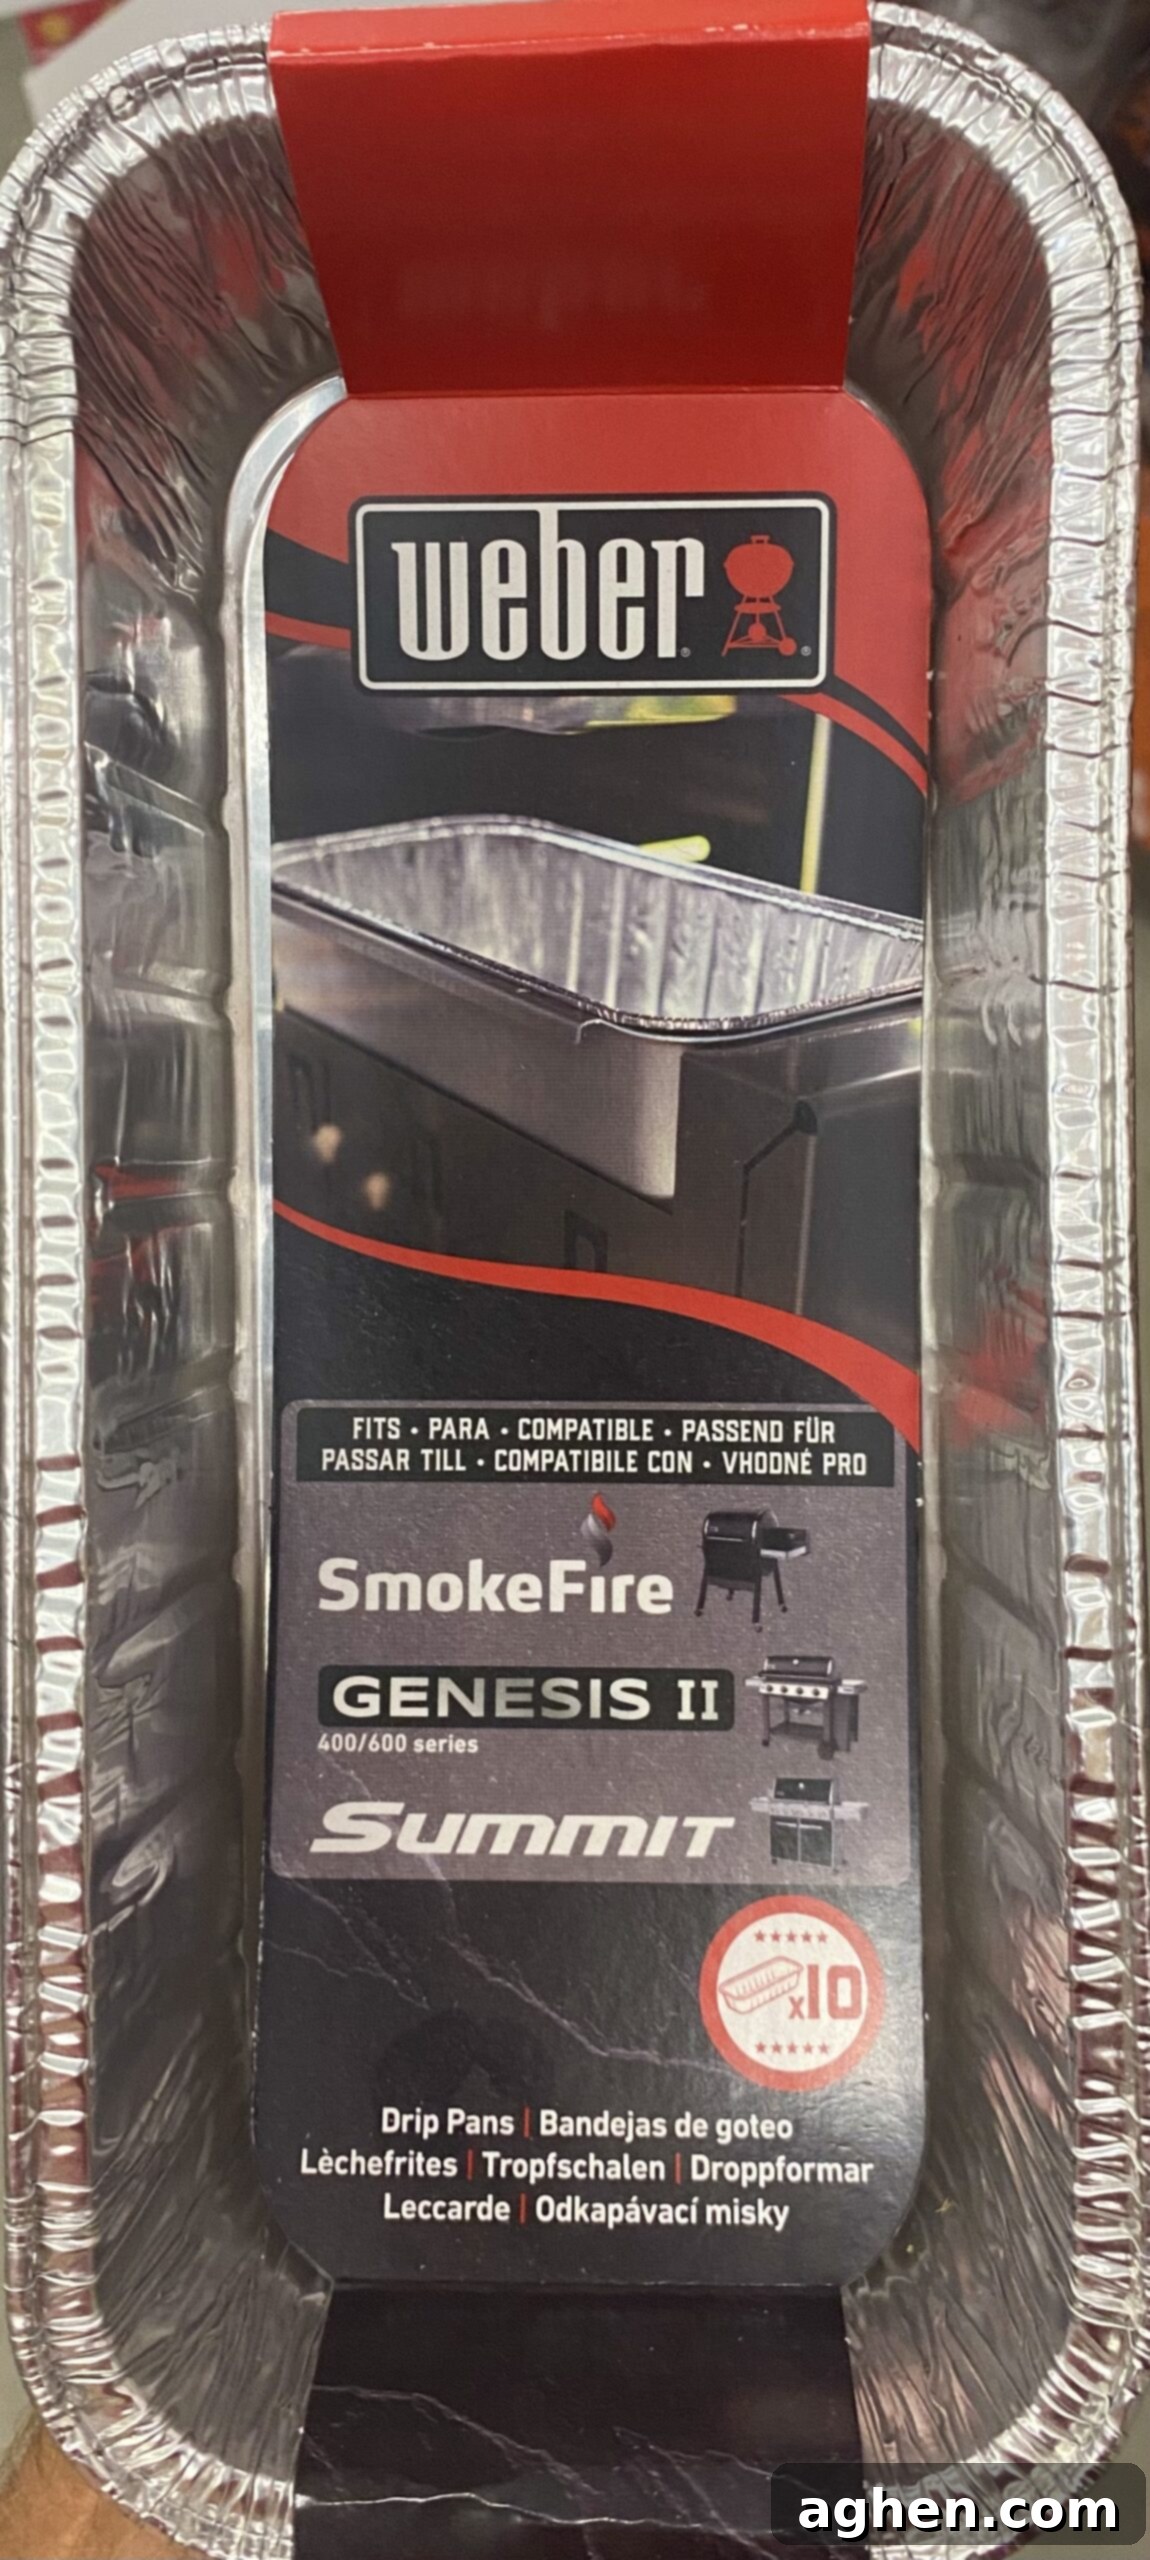
When employing indirect heat, especially for fattier cuts of meat or longer cooks, placing a drip pan under the cooler side of your grill is a clever professional trick. Fill this pan with a little water, broth, or even beer. This serves multiple purposes: it catches any drippings, preventing them from falling directly onto the hot coals or burners and causing flare-ups that can burn your food. More importantly, the liquid in the pan evaporates, adding moisture to the grill environment. This added humidity helps keep the meat tender and juicy, preventing it from drying out during extended cooking times, and can even contribute to flavor if using a seasoned liquid.
Monitor Internal Temperature with Precision
For truly professional results, guessing internal temperature is simply not an option. Investing in a high-quality, instant-read meat thermometer is paramount. Regularly monitor the internal temperature of your food as it cooks on the indirect side. This precision ensures that your meat reaches its ideal doneness, guaranteeing it’s perfectly cooked, juicy, and, most importantly, safe to eat every single time. Knowing the target internal temperatures for different proteins (e.g., 145°F for medium-rare beef, 165°F for poultry) will empower you to consistently achieve flawless results and avoid over or undercooking your culinary creations.
4. Enhancing Flavor with Smoke: The Ultimate Flavor Boost
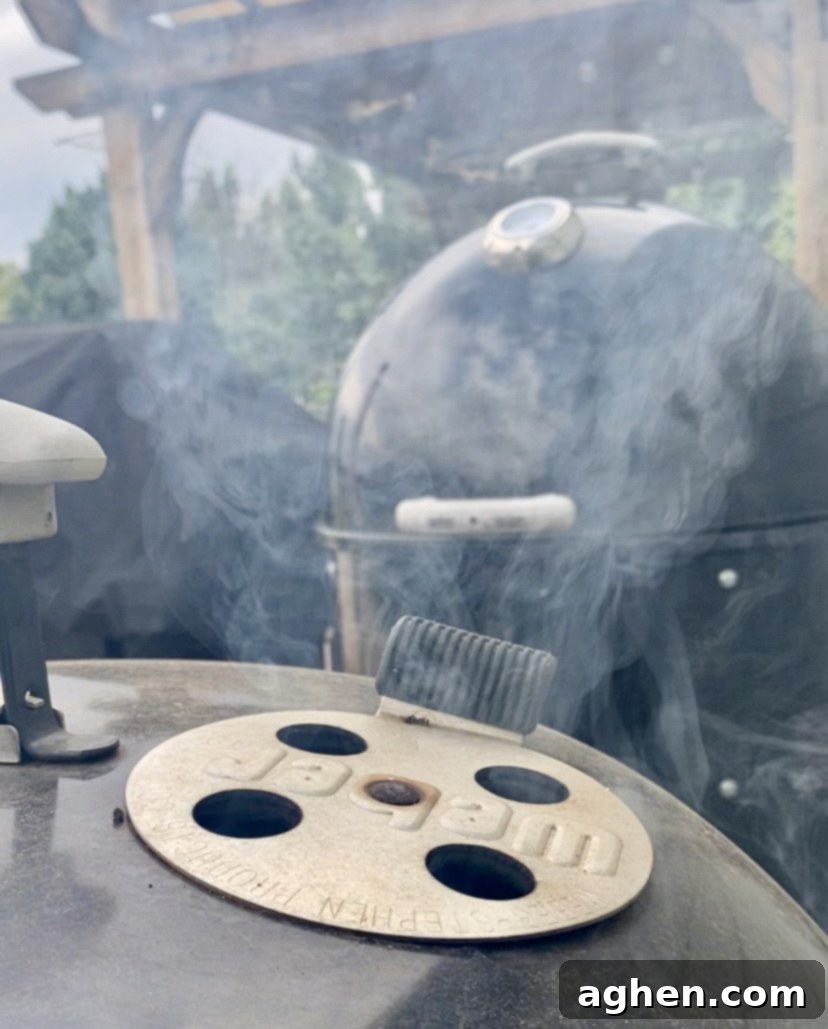
Introducing smoke into your grilling repertoire is one of the most effective ways to elevate the flavor profile of your dishes, adding an incredible depth and complexity that cannot be achieved by direct heat alone. Smoke infuses food with a distinct, aromatic essence that transforms ordinary grilled items into gourmet delights. Mastering the art of smoking on your Weber grill, whether subtly or intensely, involves selecting the right wood, controlling its application, and understanding how different wood types complement various foods. This technique is a game-changer for any aspiring grill chef looking to create truly memorable meals.
Strategic Control of Smoke for Balanced Flavor
While smoke is fantastic, too much of a good thing can overpower your food, leaving it with an acrid or overly intense flavor. The key is strategic control. For a subtle, delicate smoky essence, start with a small handful of wood chips. Always soak wood chips in water for at least 30 minutes before use; this slows down their burning rate, creating more smoke rather than quick flame-ups. For charcoal grills, add soaked chips directly onto the hot coals. For gas grills, use a dedicated smoker box or create a foil packet with holes poked in it, placing it over a burner set to medium-high heat. Experiment with different types of wood – hickory for robust flavors, apple or cherry for sweeter, milder notes, mesquite for intense smoky flavor, and oak for a medium-strong, versatile smoke. Match the wood type to your protein for the best results.
Keep the Lid Closed to Retain Heat and Smoke
A common mistake among new grillers is frequently lifting the lid to check on their food. While understandable, this habit is detrimental when you’re trying to infuse smoke flavor and maintain a consistent cooking temperature. Every time you lift the lid, you allow precious heat and, more importantly, the beneficial smoke to escape. This not only significantly extends cooking times but also reduces the amount of smoky flavor that permeates your food. For optimal smoke infusion and temperature stability, keep the lid closed as much as possible, only opening it when absolutely necessary to flip, baste, or check the internal temperature. Patience and trust in your grill are paramount for truly smoky results.
5. Crafting Custom Marinades and Rubs: Your Flavor Signature
One of the most exciting aspects of professional grilling is the freedom to create your own unique flavor profiles through custom marinades and dry rubs. Don’t be afraid to experiment! Moving beyond pre-made blends allows you to truly put your personal stamp on every dish. A well-crafted marinade or rub can tenderize meat, add incredible depth of flavor, and create a fantastic crust that elevates your grilled items from simple fare to gourmet culinary delights. The interplay of fresh herbs, exotic spices, aromatic vegetables, and acidic components provides an endless playground for your palate.
The Art of Marinades: Tenderizing and Infusing Flavor
Marinades serve a dual purpose: they tenderize tougher cuts of meat and infuse them with deep, complex flavors. A balanced marinade typically includes an acidic component (like vinegar, citrus juice, or yogurt) to break down muscle fibers, an oil (olive or vegetable) to help carry flavors and keep the meat moist, and a variety of herbs, spices, and aromatics (garlic, ginger, onion, rosemary, thyme, chili flakes) to build flavor. For best results, marinate for at least 30 minutes, but for more intense flavor and tenderization, overnight refrigeration is often ideal. Always remember to discard any leftover marinade that has come into contact with raw meat.
Crafting Custom Dry Rubs: Flavorful Crusts and Aromas
Dry rubs, on the other hand, are blends of dried spices and herbs applied directly to the surface of the meat. They don’t tenderize in the same way marinades do but create an incredible, flavorful crust when grilled, thanks to the sugar and spices caramelizing and charring. Common components for rubs include salt, black pepper, paprika (smoked, sweet, or hot), garlic powder, onion powder, brown sugar (for caramelization), cayenne pepper, cumin, and dried oregano. The beauty of rubs is in their versatility; you can tailor them to complement any protein or cuisine style. Apply the rub generously, pressing it gently into the meat, and let it rest for a short period before grilling to allow the flavors to penetrate.
6. Grilling Vegetables and Fruits: Unexpected Delights
While meat often takes center stage, grilled vegetables and fruits can be just as delightful, if not more so, offering vibrant flavors, appealing textures, and a beautiful smoky char. Grilling naturally accentuates the inherent sweetness of many produce items while imparting a delicious, smoky depth that complements any meal. Incorporating these grilled elements not only adds color and nutritional value to your plate but also expands your grilling repertoire, proving that your Weber grill is capable of far more than just steaks and burgers. These unexpected sides and desserts can truly round out a professional backyard feast.
Selecting the Ideal Produce for Grilling
Not all vegetables and fruits are created equal when it comes to grilling. Opt for firm, fresh produce that can withstand the heat and develop good char marks without becoming mushy. Excellent choices for vegetables include asparagus, bell peppers (any color), zucchini, eggplant, red onion, corn on the cob, and mushrooms. For fruits, consider pineapple slices, peaches, plums, figs, and even watermelon, as the heat caramelizes their natural sugars, intensifying their sweetness. You can enhance their natural flavors further with a sprinkle of sea salt, a crack of black pepper, and a light drizzle of quality olive oil before grilling. Don’t forget herbs like rosemary and thyme, or spices like smoked paprika and a touch of cayenne for an extra kick.
Proper Preparation for Even Grilling
Preparation is key to ensuring your vegetables and fruits grill evenly and beautifully. Cut vegetables into uniform pieces or slices to ensure they cook at the same rate. For example, slice bell peppers into thick strips, zucchini into planks, and red onions into thick rings. Smaller items like cherry tomatoes or mushrooms can be skewered. After cutting, lightly toss the produce with olive oil – just enough to coat, not drench – which helps prevent sticking, promotes browning, and allows seasonings to adhere. Finish with a generous sprinkle of salt and freshly ground black pepper. For fruits, a light brush of honey or maple syrup can enhance caramelization, while a pinch of cinnamon or nutmeg can add warmth.
Utilize a Grill Basket for Small and Delicate Items
When grilling smaller or more delicate vegetables and fruits, a grill basket is an indispensable tool for any professional griller. This perforated pan prevents small pieces, such as cherry tomatoes, chopped onions, mushrooms, or thin asparagus spears, from falling through the grates into the coals or burners below. A grill basket also makes it incredibly easy to toss and turn the vegetables during cooking, ensuring even exposure to heat and consistent charring without the hassle of individually flipping each piece. This simple accessory not only saves food but also makes the grilling process much more convenient and enjoyable, ensuring your delicate produce comes off the grill perfectly.
7. Plating Like a Pro: The Visual Feast
In the culinary world, presentation is just as important as taste. Plating your grilled dishes like a professional chef elevates the entire dining experience, transforming a delicious meal into a visual masterpiece. Thoughtful plating demonstrates care, creativity, and attention to detail, making the food even more appealing and memorable. It’s about creating an artful arrangement that engages the eyes before the first bite, enhancing the perceived quality and enjoyment of your gourmet backyard feast.
Incorporate Colorful Ingredients for Visual Appeal
Think of your plate as a canvas and your food as the paint. A professional plate features a vibrant array of colors. Beyond the main protein, incorporate a variety of colorful grilled vegetables, fresh herbs, or a brightly colored sauce to add visual interest and contrast. Consider the natural hues of your ingredients – a bright red bell pepper, deep green asparagus, golden-brown chicken, or a vivid purée. A diverse palette not only makes the dish more enticing but also signals a wider range of flavors and nutrients, enriching the overall dining experience for your guests.
Create Height and Dimension on the Plate
Flat food can look uninspired. Professional plating often involves creating height and dimension, which adds elegance and makes the dish more dynamic. Instead of spreading everything out, think about layering ingredients. For example, place a bed of grilled greens or a small mound of a side dish (like grilled corn salsa or couscous) as a base, then artfully arrange your sliced protein on top. You might stack grilled vegetable planks or lean them against the main component. This technique draws the eye upward, making the portion appear more substantial and sophisticated, demonstrating a keen eye for culinary aesthetics.
Garnish Thoughtfully for a Finishing Touch
Garnishes are the final flourish, but they should always be thoughtful and purposeful, not just decorative. A professional garnish complements the dish both visually and flavor-wise. Fresh herbs like finely chopped parsley, cilantro, chives, or a sprig of rosemary can add freshness, color, and an aromatic lift. A wedge of lemon or lime provides a burst of acidity, brightening flavors. A drizzle of a complementary sauce (like a balsamic glaze, chimichurri, or a simple olive oil reduction) can add both visual appeal and an extra layer of flavor. Choose garnishes that enhance the dish without overwhelming it, making every component count.
Grilling like a chef on your Weber grill is a journey of continuous learning, combining the mastery of fundamental techniques with adventurous experimentation in flavors, and an unwavering attention to every detail, right down to the presentation. With these professional tips and tricks, you are now equipped to elevate your outdoor cooking from casual barbecues to sophisticated gourmet levels. Impress your guests, delight your family, and truly enjoy the art of creating delicious, beautifully presented dishes with confidence and flair. Happy grilling!
