The Ultimate Homemade New York Style Hot Dog Chili Recipe (Easy & Beanless!)
Prepare to elevate your hot dog experience to an entirely new level with this incredible homemade New York style hot dog chili. Forget about those bland, uninspired cans of chili from the grocery store – this recipe is a game-changer! It’s rich, meaty, bursting with savory flavor, and remarkably easy to prepare. Whether you’re topping classic hot dogs, creating epic chili cheese fries, or even enjoying it as a stand-alone comfort meal with your favorite toppings, this beanless chili sauce promises an unforgettable taste that will have everyone asking for your secret recipe.
Hot dogs are a quintessential American classic, cherished from coast to coast. Across the United States, hot dog preparation varies widely, from backyard grilled to perfectly boiled, and even deep-fried corn dogs. But perhaps one of the most debated aspects of hot dog enjoyment is the chili itself. Do you prefer it with beans or without? Spicy or mild? Or maybe no chili at all? For true hot dog aficionados, especially those who appreciate the perfect balance of flavors and textures, New York-style chili—a robust, flavorful, and distinctly beanless variety—is the undeniable champion for topping a classic frank.

The next time you’re hosting a barbecue, attending a potluck, or simply craving an extraordinary hot dog experience, take a few minutes to whip up this simple yet incredibly flavorful hot dog chili sauce. It truly is one of the best hot dog chili recipes you’ll find, and its rich, savory aroma and taste are guaranteed to be a hit. Get ready for compliments and recipe requests, because once people taste this homemade hot dog chili, they’ll never look back at store-bought versions again!

For fellow hot dog lovers seeking even more culinary adventures, don’t miss our Pretzel Dogs, where savory hot dogs are wrapped in a golden, chewy pretzel bread—perfect with a side of honey mustard. And if you’re looking for a hearty, comforting meal that captures all the flavors of a chili dog in a different format, our Chili Cheese Dog Casserole is a fantastic choice, made quickly and easily with canned chili for those busy weeknights.
Key Ingredients for the Best Hot Dog Chili Sauce
This section provides detailed notes on the ingredients, including potential substitutions to help you perfect your homemade hot dog chili. For precise measurements and step-by-step instructions, please refer to the complete printable recipe card located at the end of this article.

- Ground beef: The foundation of our meaty chili. You can use any type of ground beef you prefer. Opting for a leaner ground beef (like 90/10 or 93/7) can help reduce excess fat and calories, often eliminating the need to drain liquid later. If using ground beef with a higher fat content, remember to thoroughly drain the rendered fat after browning and before adding any spices to prevent a greasy chili.
- Onion: A finely chopped onion adds a crucial aromatic base and natural sweetness to the chili. It cooks down with the ground beef, softening and infusing the meat with a wonderful foundational flavor. Sweet onions work particularly well for their mild, balanced taste.
- Spices: This chili sauce relies on a carefully selected blend of spices to achieve its signature rich, complex flavor. While the list may seem extensive, each spice plays a vital role in creating the perfect balance, and it’s absolutely worth it! We use a combination of chili powder for classic chili warmth, pungent ground mustard powder, savory onion powder and garlic powder, aromatic allspice and nutmeg for a unique depth, a touch of salty garlic salt, earthy ground cumin, bright celery salt, and a hint of warm ground cinnamon (often considered the secret ingredient in many great chili recipes!).
- Ketchup: Ketchup provides a sweet and tangy tomato base that is essential for a classic hot dog chili flavor. If you’re looking to make this recipe a low-carb chili, consider using a no-sugar-added ketchup option.
- Tomato sauce: This adds another layer of rich, concentrated tomato flavor and contributes to the chili’s body and color, ensuring a robust and well-rounded taste.
- Water: Initially, water helps to thin out the mixture, allowing the spices and flavors to meld and coat every piece of ground beef evenly. Don’t worry, most of the water will cook off during the simmering process, leaving you with a perfectly thick sauce.
- Soy sauce: A surprising but impactful ingredient! Soy sauce adds a profound umami depth to the chili, helping to quickly develop a rich, savory flavor that might otherwise take hours. For a less salty alternative, you can substitute Braggs Liquid Aminos.
- Worcestershire sauce: Another powerful umami enhancer, Worcestershire sauce brings a complex, tangy, and savory note that truly takes this hot dog chili to the next level, adding a sophisticated layer of flavor.
Essential Equipment You’ll Need
Making the best hot dog chili doesn’t require any fancy or complicated kitchen gadgets. With just a few basic tools, you’ll be well on your way to creating this delicious sauce:
- A Dutch oven: Ideal for browning meat evenly and simmering the chili for extended periods, thanks to its heavy bottom and excellent heat retention. A large, heavy-bottomed pot will also work.
- Wooden spoon: Perfect for breaking up the ground beef as it browns and stirring the chili without scratching your pot.
- A strainer: Essential if you’re using higher-fat ground beef and need to drain off excess grease after browning.
- Measuring spoons: For accurately measuring all those delicious spices.
- Measuring cups: For precise liquid and larger ingredient measurements.
How to Make Homemade Hot Dog Chili: Step-by-Step Guide
Follow these simple steps to create a rich, flavorful homemade hot dog chili that will become a new family favorite. For the full printable recipe card with all details, scroll down to the end of this post.
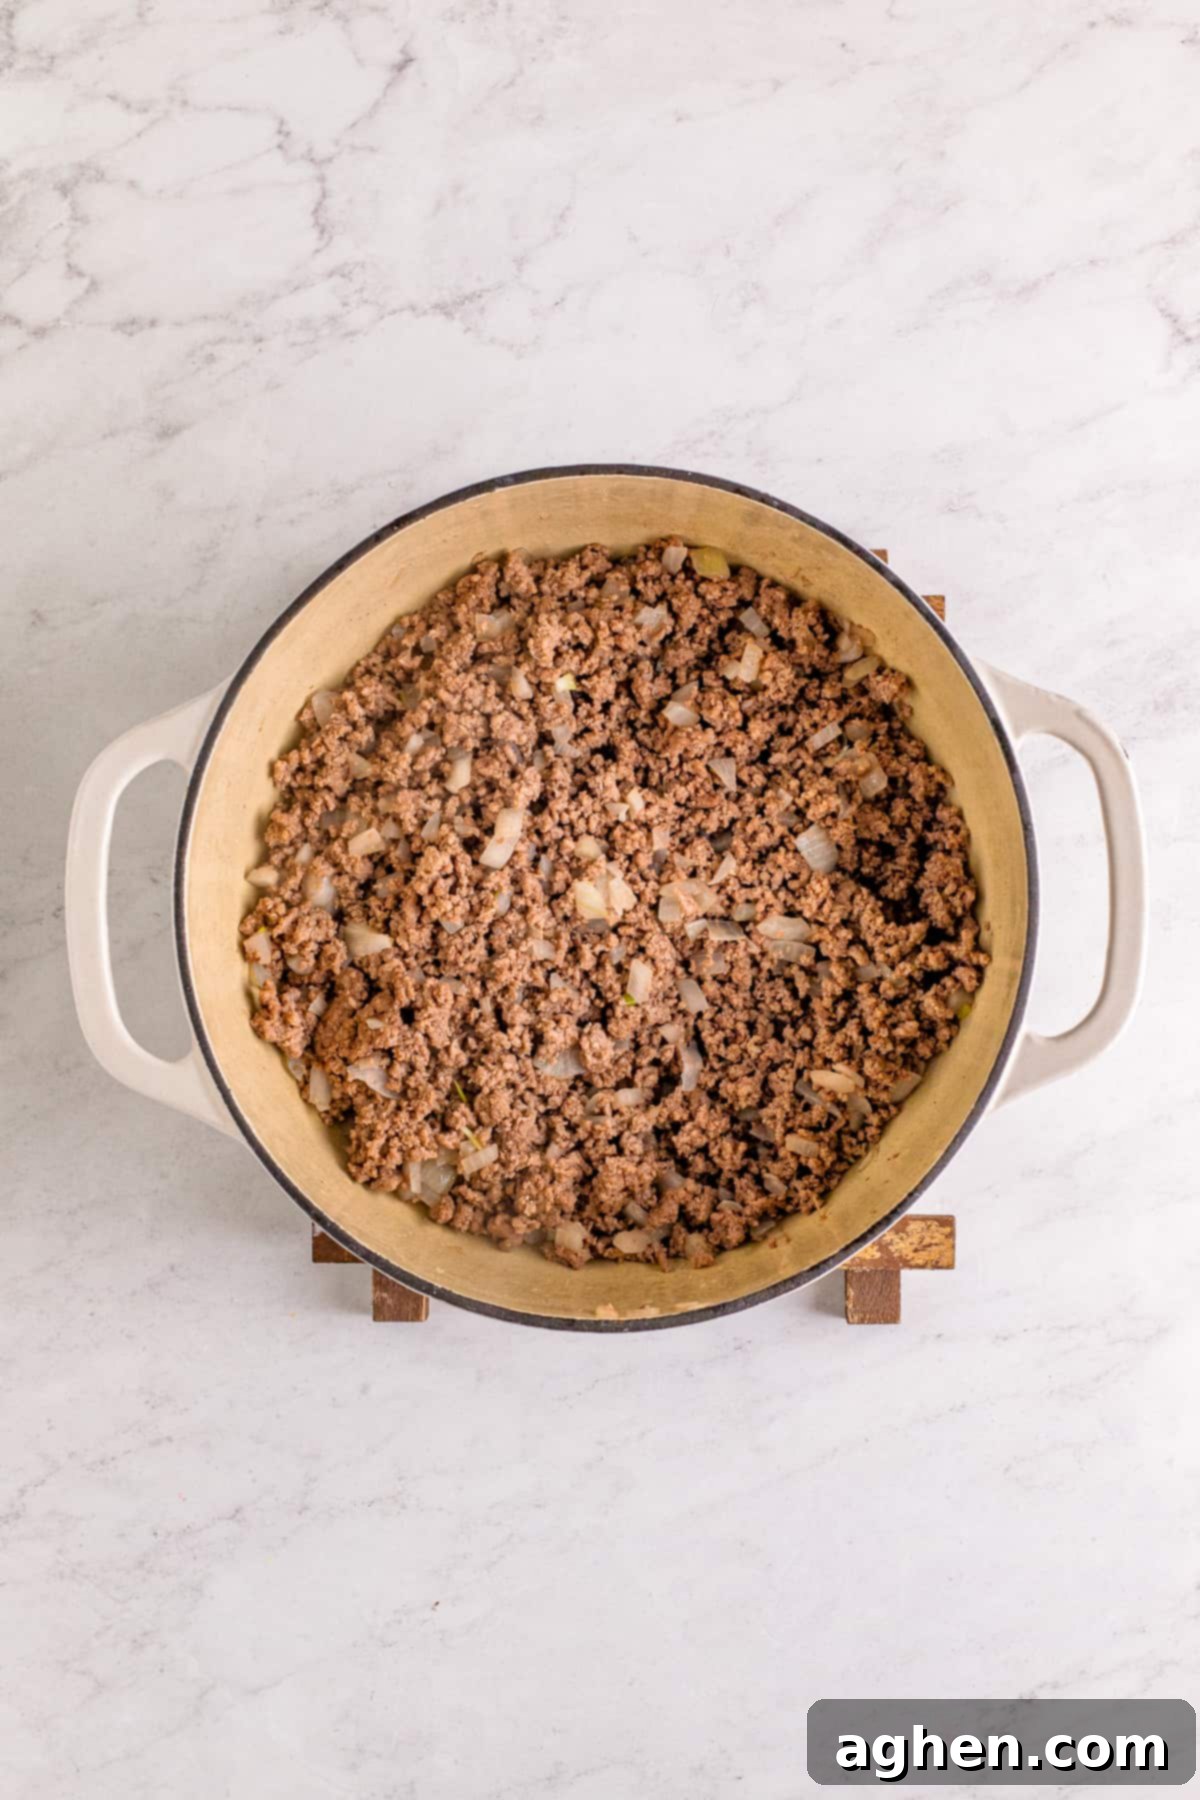
Step 1: Brown the Beef and Onions. Place your Dutch oven or large pot over medium-high heat. Add the ground beef and finely chopped onions. Using your wooden spoon or a meat chopper, break up the ground beef into small, fine crumbles. Cook, stirring occasionally, for about 10 minutes, or until the meat is thoroughly browned and no longer pink. If you’ve used a fattier ground beef, carefully drain off any excess grease or liquid at this stage.
Step 2: Toast the Spices. Reduce the heat slightly if necessary. Add all the dry spices: chili powder, mustard powder, onion powder, garlic powder, allspice, nutmeg, garlic salt, cumin, celery salt, and cinnamon. Stir constantly for about 2 minutes. This crucial step allows the spices to “bloom” in the residual fat and heat, enhancing their flavor and aroma significantly. You’ll notice a wonderful fragrance filling your kitchen.

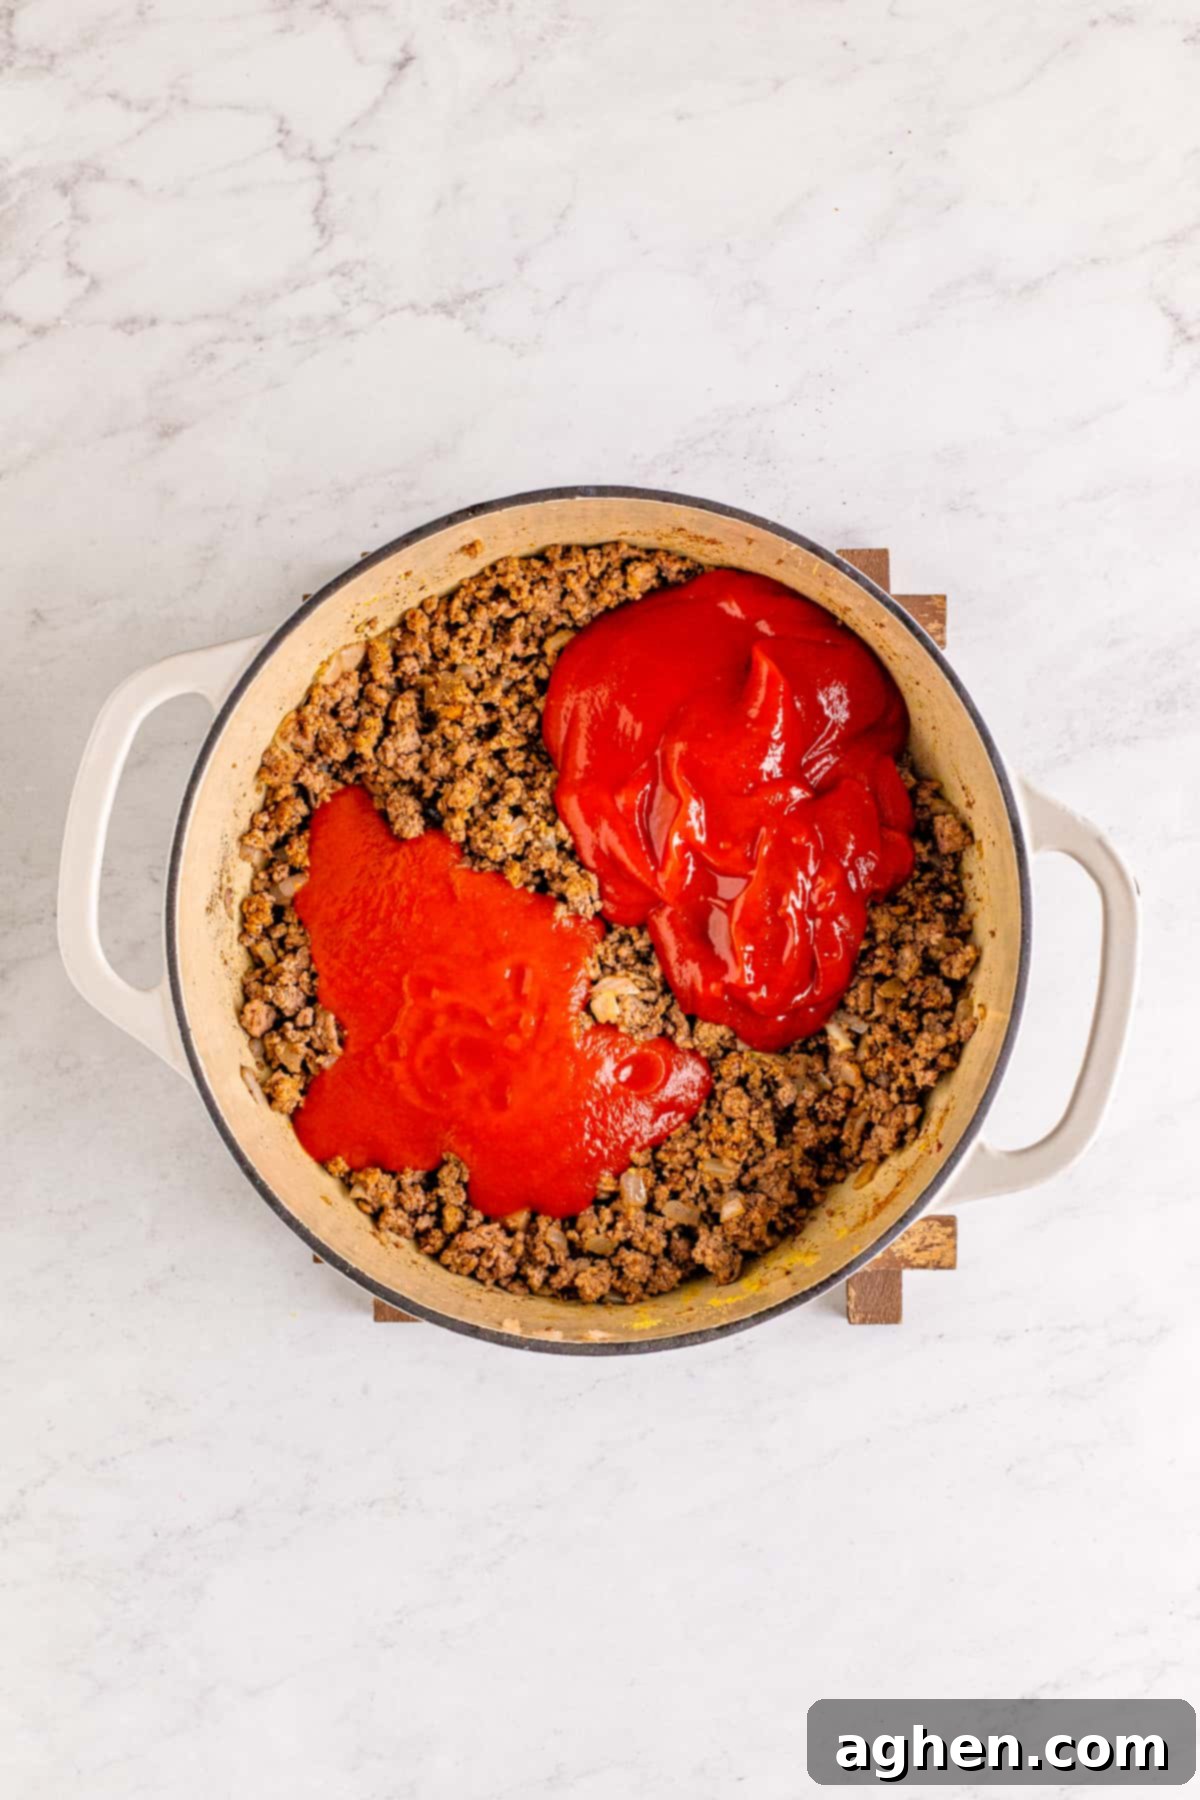
Step 3: Add Liquid Ingredients. Pour in the ketchup, tomato sauce, water, soy sauce, and Worcestershire sauce. Stir everything together well, ensuring all the meat and spices are thoroughly combined with the liquids.
Step 4: Simmer (Covered). Bring the chili mixture to a gentle simmer. Once simmering, reduce the heat to low, cover the Dutch oven, and let it cook for 20 minutes, stirring occasionally to prevent sticking and ensure even cooking.
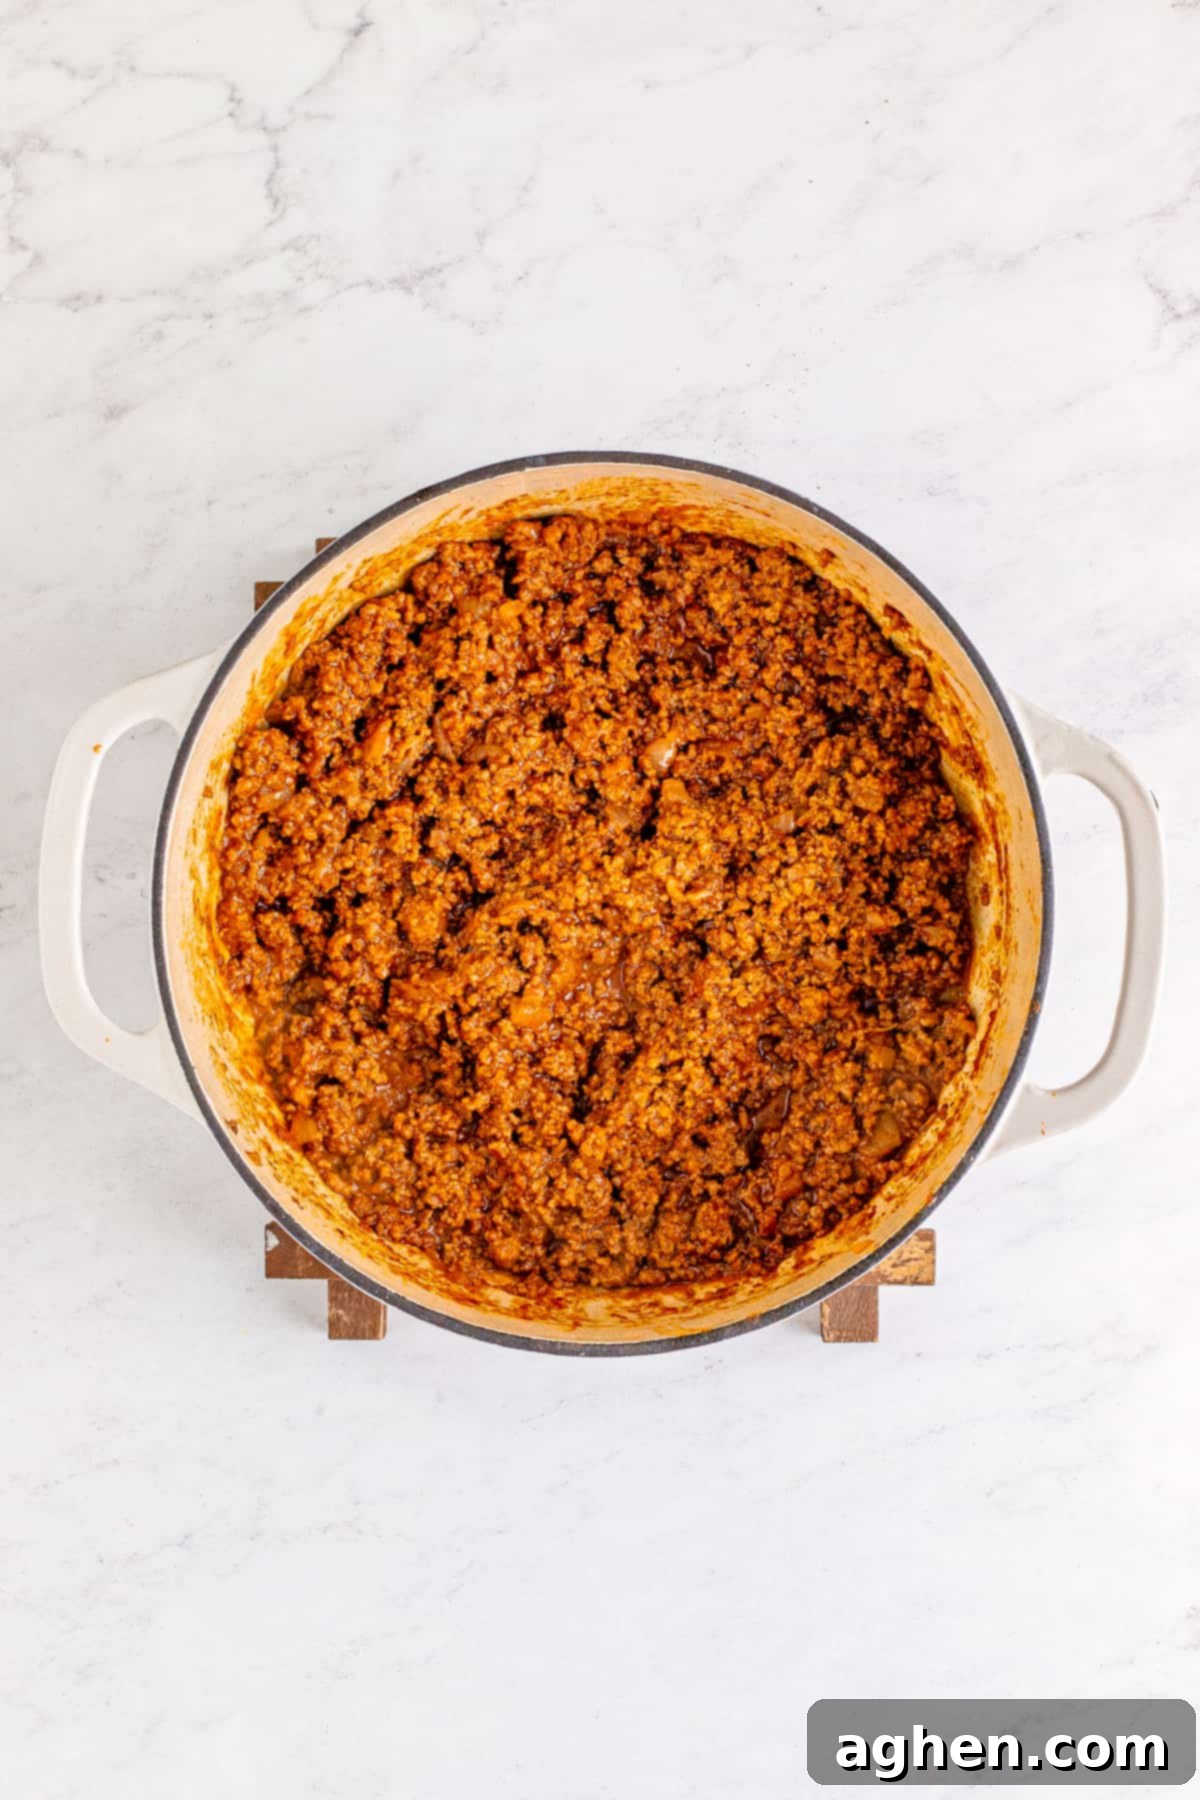
Step 5: Simmer (Uncovered). After 20 minutes, remove the cover from the pot. Continue to simmer the chili, uncovered, for approximately 40 more minutes. During this time, the liquid will gradually reduce and evaporate, allowing the chili to thicken to the perfect consistency for hot dogs – rich, meaty, and less “soupy” than traditional chili. Stir occasionally to prevent scorching.
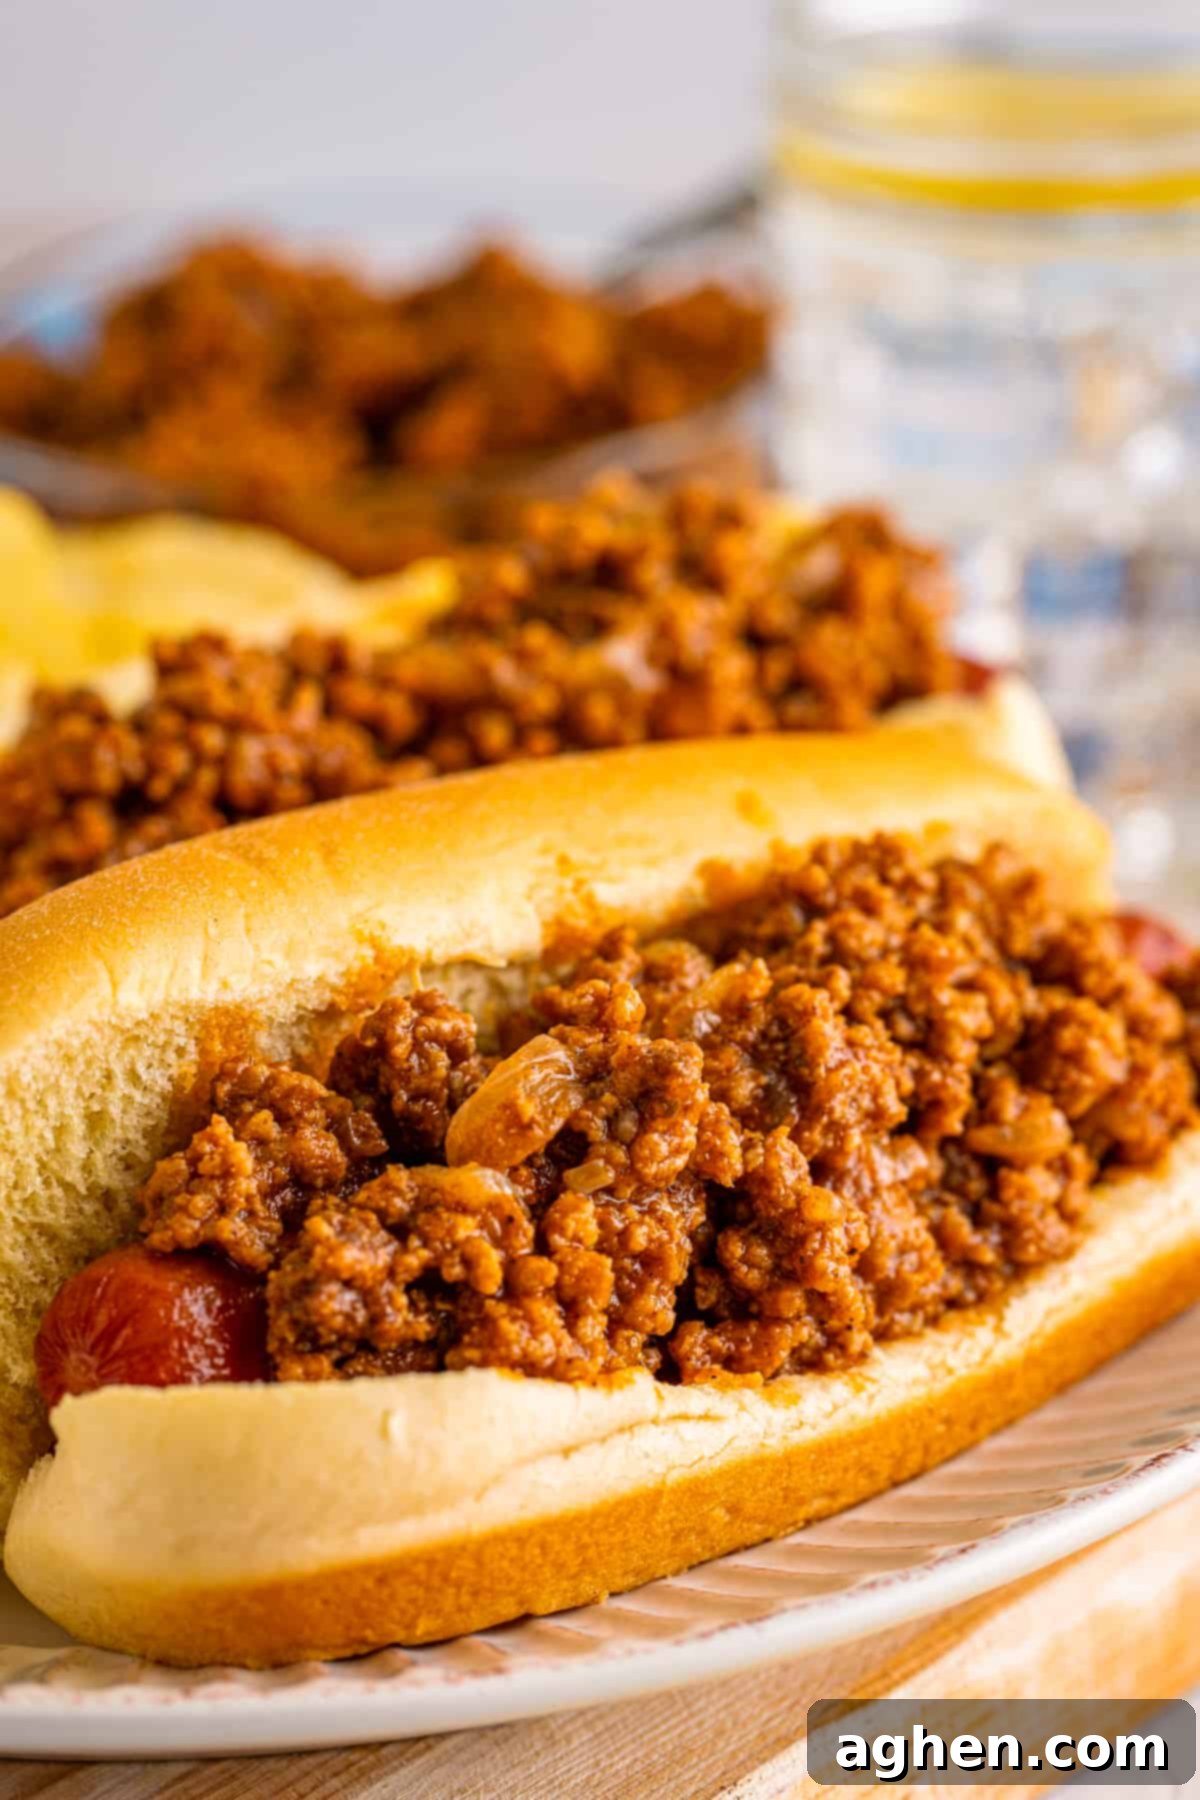
Step 6: Serve and Enjoy! Once your hot dog chili has reached its desired thickness, it’s ready to be served. Spoon generous amounts over your favorite grilled or boiled hot dogs, nestled in soft buns. Get ready for a delicious hot dog experience!

Serving Suggestions for Your Homemade Hot Dog Chili
This fantastic hot dog chili recipe yields a generous amount, typically enough to beautifully top 24-30 hot dogs. If you’re a bit more conservative with your chili portions, you could even stretch it to cover twice that number! But the versatility of this beanless chili extends far beyond just hot dogs.
If you find yourself with leftovers and aren’t planning another hot dog feast, don’t worry! This flavorful chili makes a delicious and hearty meal on its own. Serve it in a bowl, just like a traditional chili, and load it up with your favorite toppings. Think shredded cheddar cheese, a dollop of sour cream, finely diced fresh onions, sliced jalapeños for a kick, or any other chili toppings you adore. It’s truly satisfying!
Looking for some fantastic hot dog side dish ideas that go beyond the usual French fries and potato chips? Here are some delicious pairings that complement chili dogs perfectly:
- Boston Baked Beans: Sweet and savory, these classic baked beans are a perfect match for a hearty chili dog.
- Baked Mac and Cheese: Creamy, cheesy macaroni and cheese offers a comforting contrast to the robust flavor of the chili.
- Tortellini Pesto Pasta Salad: A fresh and flavorful pasta salad provides a lighter, yet equally satisfying, side.
- Crock Pot Cowboy Beans: Hearty and full of flavor, cowboy beans are another excellent bean-based side dish option.
- Old Fashioned Potato Salad: A creamy, classic potato salad is always a hit at any cookout or gathering.
- No Mayo Coleslaw: A crisp, refreshing coleslaw provides a great textural and flavor contrast without the heaviness of mayonnaise.
- Classic Pasta Salad with Homemade Dressing: A vibrant and tangy pasta salad is a versatile side that pairs well with almost anything.
Storage and Freezing Instructions
This easy hot dog chili recipe is excellent for meal prepping or enjoying leftovers throughout the week. Properly stored, it maintains its delicious flavor and texture.
Refrigeration: Any leftover chili should be transferred to an airtight container and stored in the refrigerator. It will keep well for up to 3 days, making it perfect for quick lunches or another hot dog night.
Reheating: To reheat, simply place the chili in a saucepan over medium-low heat on the stovetop, stirring occasionally, until it’s heated through. The chili may have thickened considerably in the fridge; if it seems too thick, you might need to add a tablespoon or two of water to loosen it up. Allow it to simmer for a few minutes after adding water to let any excess moisture cook off and for flavors to re-mel.d
Freezing: This hot dog chili freezes beautifully! To freeze, ensure the chili has cooled completely. Transfer it to an airtight freezer-safe container or sturdy freezer bags. It can be stored in the freezer for up to 3 months. When you’re ready to enjoy it again, thaw the frozen chili overnight in the refrigerator, then reheat using the stovetop instructions mentioned above.

Tips for Crafting the Best Hot Dog Chili Sauce
Achieving that perfect, restaurant-quality hot dog chili is easier than you think with these expert tips:
- Achieve Fine Crumbles: For the ideal hot dog chili texture, you want very fine ground beef. A meat chopper or a sturdy potato masher is an invaluable tool for breaking up the ground beef into tiny pieces as it browns. This ensures every spoonful of chili is packed with meat and coats your hot dog perfectly.
- Bloom Your Spices: Don’t rush adding the liquids! Cooking the spices with the browned ground beef for a couple of minutes before adding the tomato products and water allows them to “bloom” in the beef fat. This process intensifies their flavor and aroma, adding incredible depth and complexity to your chili.
- Keep it Warm for Gatherings: If you’re taking this chili to a party, cookout, or buffet, keep it warm and easily accessible by transferring it to a slow cooker. Set it on the “warm” setting near your hot dog bar. This allows guests to serve themselves hot, delicious chili throughout the event.
- Adjust Consistency for Main Dish: This recipe aims for a thicker, hot dog-topping consistency. However, if you plan to enjoy this chili as a standalone main dish (perhaps over rice or with cornbread) and prefer a slightly soupier texture, simply reduce the uncovered simmering time. Cook it until it reaches your preferred consistency, rather than waiting for 3/4 of the liquid to cook out.
Exciting Additions and Variations
This homemade hot dog chili is incredibly versatile and can be adapted to create a variety of delicious dishes. Don’t limit yourself to just hot dog buns!
- Serve this homemade chili over nachos: That’s right! This hearty, beanless chili isn’t just for hot dogs. Spoon a generous amount over a bed of crispy tortilla chips, then top with shredded Monterey Jack or cheddar cheese. Broil briefly until the cheese is bubbly, then add your favorite nacho toppings like a dollop of sour cream, sliced jalapeños, diced tomatoes, or a sprinkle of fresh cilantro.
- Add red pepper flakes for heat: If you enjoy a bit of spice, especially when serving this homemade hot dog chili over nachos or as a standalone bowl, add a pinch or two (or more!) of red pepper flakes along with the other dry spices in Step 2. This will infuse a lovely, subtle heat throughout the chili.
- Introduce brown sugar for sweetness: For those who prefer their chili on the sweeter side, reminiscent of some regional hot dog chili styles, add a tablespoon or so of brown sugar to the meat sauce along with the ketchup and tomato sauce. This will balance the savory and tangy notes beautifully.
- Craft a classic Chili Coney: Recreate the iconic Coney dog experience! Top your chili dog with a drizzle of yellow mustard, a sprinkle of finely diced white onions, and a generous heap of shredded cheddar cheese for an authentic and incredibly satisfying chili cheese dog.
- Create delicious chili cheese fries: Take your snack game to the next level by making chili cheese fries. Ladle some of this rich, hearty chili over a plate of hot, crispy crinkle-cut fries. Finish with a layer of shredded cheddar cheese or a creamy nacho cheese sauce, and melt under the broiler or in the microwave until gooey and warm.
- Whip up a quick Frito pie: While we have a fantastic Crockpot Frito Pie recipe, you can easily substitute this homemade hot dog chili for the meat mixture in that recipe. Layer Frito corn chips, chili, and your favorite toppings (like cheese, onions, and sour cream) for a speedy and satisfying Frito pie.
- Transform it into Sloppy Joes: For a delightful twist on a classic, serve this easy hot dog chili recipe on toasted burger buns. The sweet and savory profile with a hint of spice makes for an incredibly flavorful and satisfying homemade Sloppy Joe, far superior to anything from a can.
Recipe Frequently Asked Questions (FAQ)
Hot dog chili sauce typically features a base of seasoned ground beef and finely chopped onions. Key liquid ingredients include ketchup, tomato sauce, water, and often umami boosters like soy sauce and Worcestershire sauce. A unique blend of spices, such as chili powder, garlic powder, onion powder, cumin, and sometimes a hint of allspice or cinnamon, gives it its distinctive, rich flavor profile.
The primary difference lies in consistency, ingredients, and intended use. Hot dog chili, especially the New York style, is generally beanless and much thicker, designed to cling to a hot dog without making the bun soggy. It tends to be sweeter and less soupy, focusing on a meaty, savory flavor. Traditional chili, on the other hand, is often spicier, thinner (more “soupy”), and typically includes beans and diced tomatoes, making it suitable for eating with a spoon in a bowl.
While many recipes have their unique twists, a widely acclaimed “secret ingredient” in both hot dog chili and traditional chili is cinnamon. Even a small amount adds a warm, subtle sweetness and depth that elevates the overall flavor profile, complementing the savory notes of the meat and spices beautifully without making the chili taste overtly like cinnamon. Umami enhancers like soy sauce and Worcestershire sauce are also powerful secret weapons for quick flavor development.
The simplest and best way to thicken hot dog chili is to allow it to simmer longer, uncovered. This gradually evaporates excess liquid, resulting in a rich, concentrated, and perfectly thick sauce that adheres well to hot dogs. If you’re in a hurry, you can create a slurry by whisking together one tablespoon of cornstarch with one tablespoon of cold water, then stirring it into the simmering chili. It will thicken in just a few minutes, but ensure it simmers for a bit to cook out any starchy taste.
More Chili Recipes to Explore
If you love this homemade hot dog chili, be sure to check out these other comforting and flavorful chili recipes:
- 3-Ingredient Chili: An incredibly easy and hearty option, perfect for a quick weeknight meal when time is short but you crave flavor.
- Crockpot Chili Mac: A brilliant combination of two ultimate comfort foods – chili and macaroni. It’s a comforting and satisfying dish that requires minimal effort.
- Easy Crockpot Chili Recipe with Ground Beef: A classic, soul-warming chili perfect for a cold day, made effortlessly in your slow cooker.
- Homemade Chili Seasoning Mix: Learn how to create your own perfect blend of spices for a flavor-packed chili every time, giving you full control over the taste.

Homemade Hot Dog Chili
Author: Jaclyn
Prep: 5 mins | Cook: 1 hr 15 mins | Total: 1 hr 20 mins
This homemade hot dog chili sauce is meaty, flavorful, and will take your hot dogs to a whole new level.
Servings: 24 servings
Ingredients
- 3 pounds lean ground beef
- 1 sweet onion, finely chopped
- 1 Tablespoon chili powder
- 2 teaspoons ground mustard powder
- 1 teaspoon onion powder
- 1 teaspoon garlic powder
- ½ teaspoon celery salt
- ½ teaspoon garlic salt
- ½ teaspoon ground allspice
- ½ teaspoon ground nutmeg
- ½ teaspoon ground cumin
- ¼ teaspoon ground cinnamon
- 1 ¼ cup ketchup
- 8 ounce tomato sauce
- ¼ cup water
- 1 teaspoon soy sauce
- ½ teaspoon Worcestershire sauce
Instructions
- Place a Dutch oven over medium-high heat. Add the ground beef and onions, breaking up the beef into fine crumbles. Cook, stirring occasionally until the meat is no longer pink, about 10 minutes. Drain off any excess liquid.
- Add the chili powder, mustard powder, onion powder, garlic powder, allspice, nutmeg, garlic salt, cumin, celery salt, and cinnamon. Stir to combine. Cook for about 2 minutes, until fragrant, stirring constantly.
- Add the ketchup, tomato sauce, water, soy sauce, and Worcestershire sauce, stir to combine.
- Bring to a simmer, reduce heat to low, cover and simmer for 20 minutes, stirring occasionally.
- Take off the cover and continue to simmer for 40 more minutes, or until about ¾ of the liquid cooks out, stirring occasionally.
- Serve over hot dogs.
Notes
- Refrigerate leftovers in an airtight container for up to 3 days.
- Reheat on the stovetop until heated through. You may need to add a little water to loosen it up and then let it cook out again before serving.
- You can also freeze leftover chili for up to 3 months. Store it in an airtight freezer-safe container or in freezer bags. Thaw overnight in the refrigerator and reheat as instructed above.
- Enjoy leftover chili sauce over hot dogs or in a bowl topped with cheese, sour cream, onions, jalapenos, or your favorite chili toppings.
Nutrition
Calories: 100kcal | Carbohydrates: 5g | Protein: 13g | Fat: 3g | Saturated Fat: 1g | Polyunsaturated Fat: 0.2g | Monounsaturated Fat: 1g | Trans Fat: 0.2g | Cholesterol: 35mg | Sodium: 315mg | Potassium: 289mg | Fiber: 0.5g | Sugar: 4g | Vitamin A: 205IU | Vitamin C: 2mg | Calcium: 14mg | Iron: 2mg
