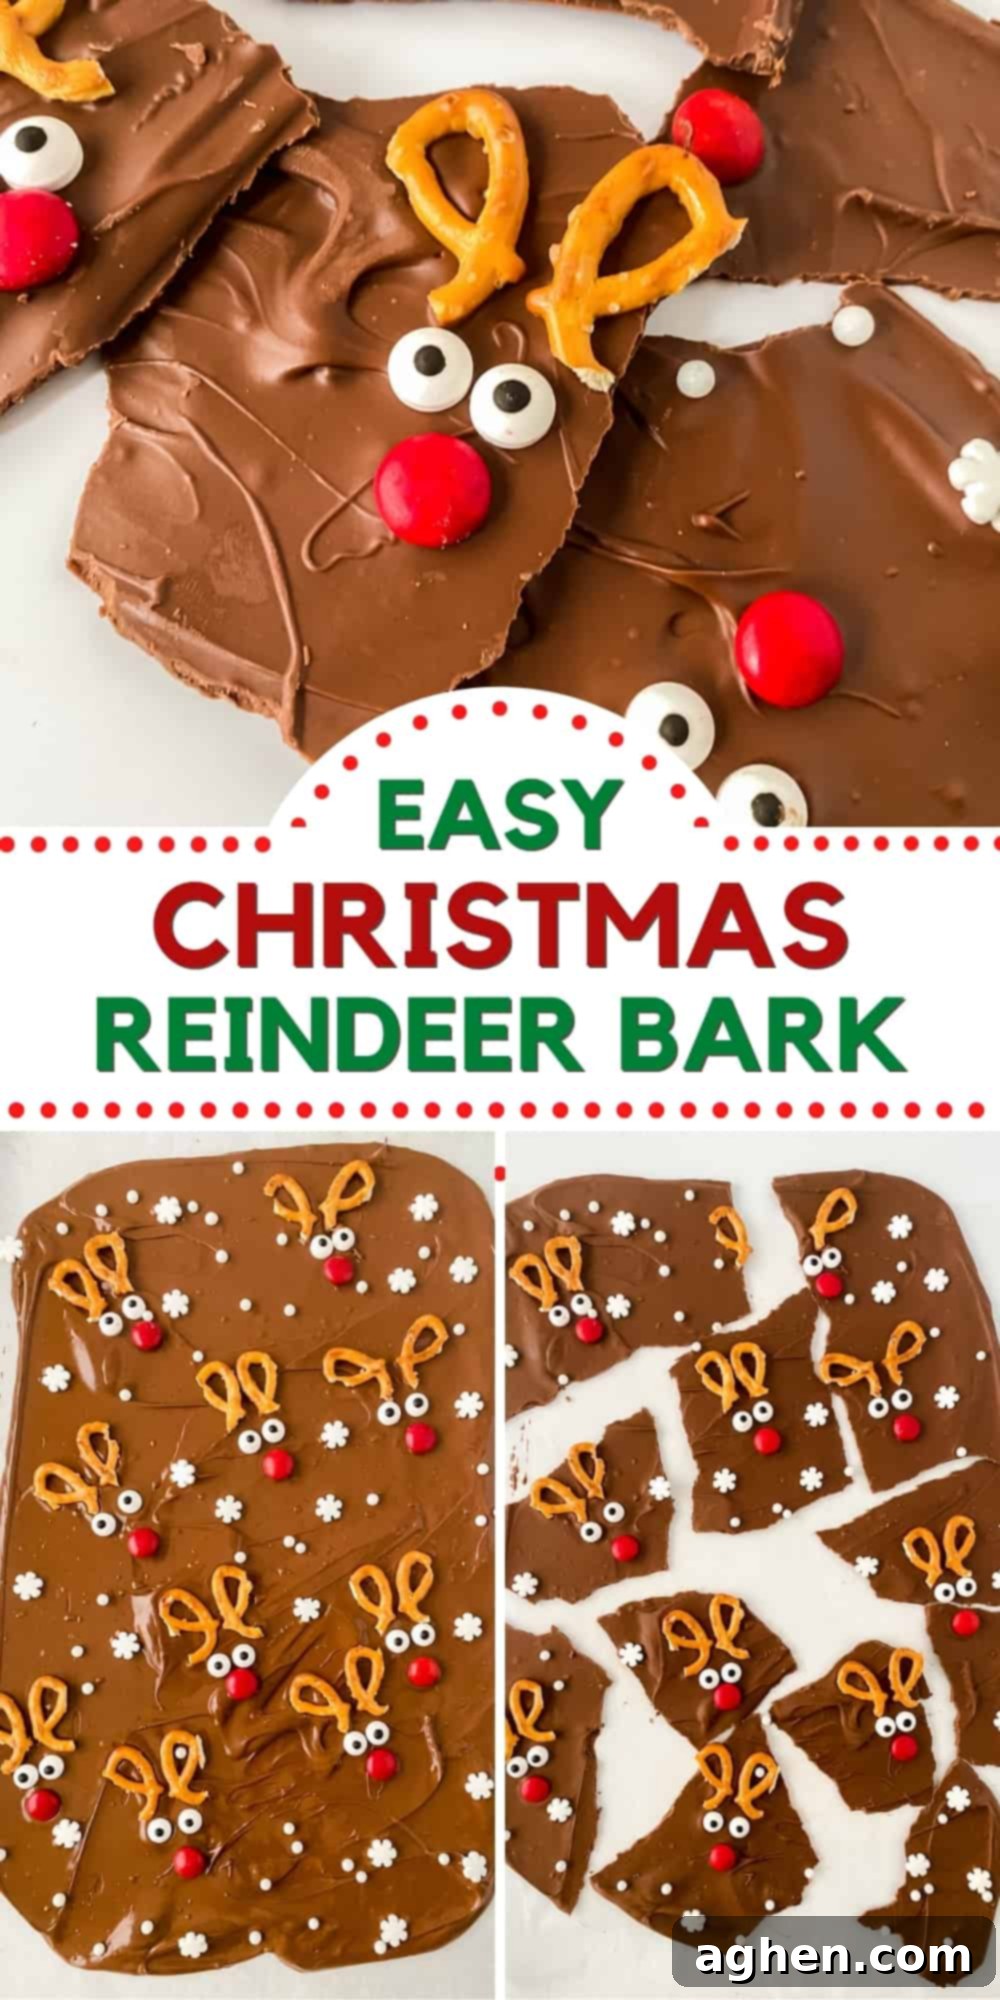
Easy No-Bake Reindeer Bark: The Ultimate Festive Christmas Treat for Kids & Families
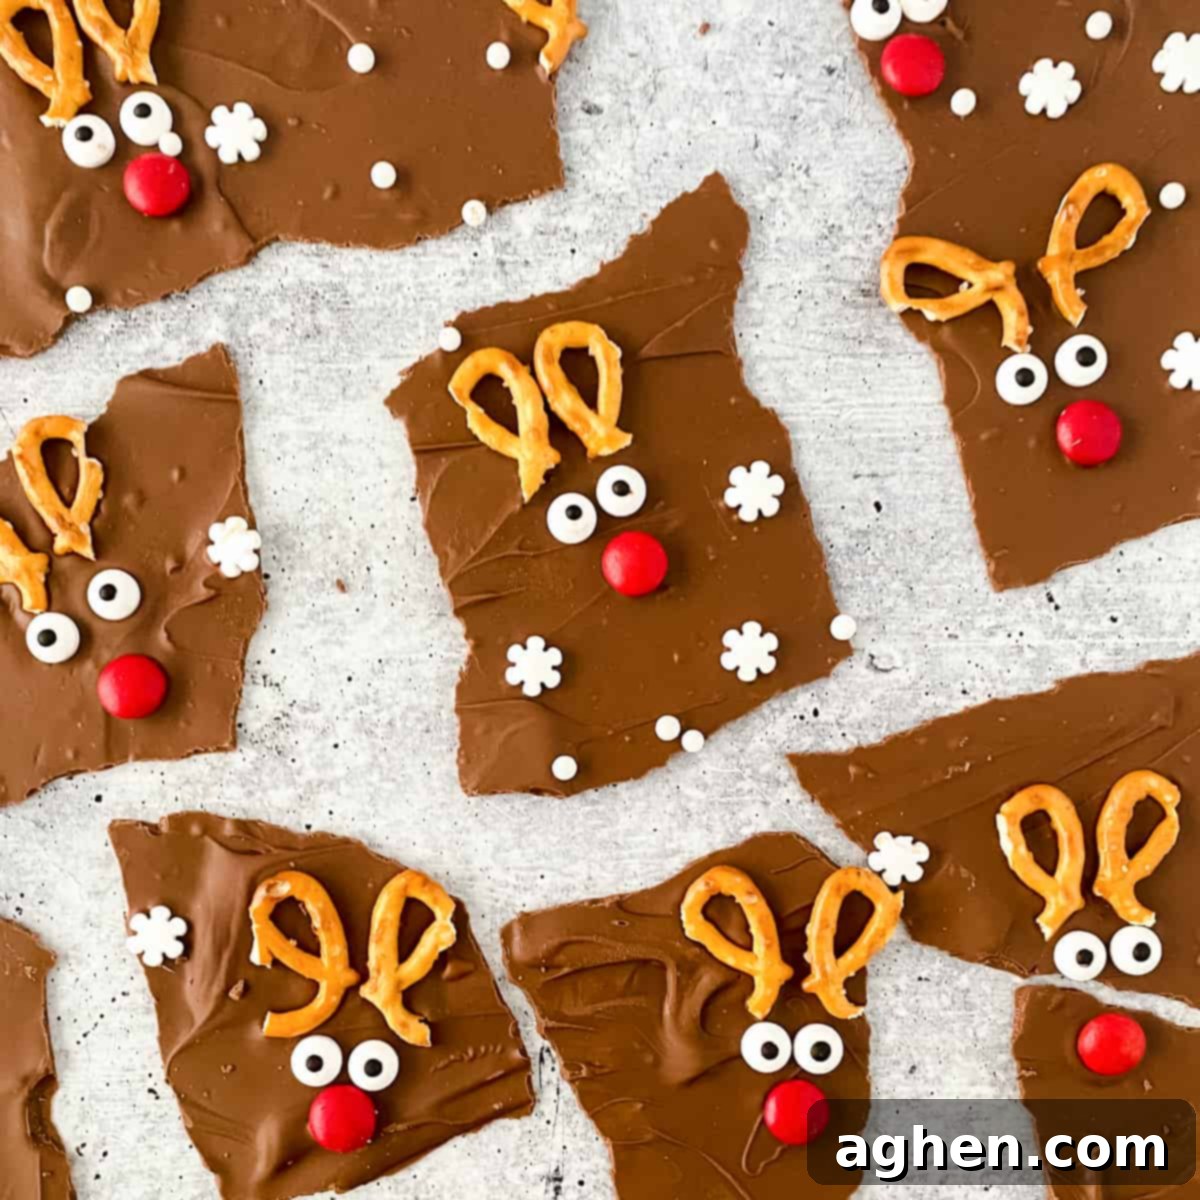
Get ready to add a dash of holiday magic to your kitchen with this incredibly easy and utterly adorable Reindeer Bark recipe! As the festive season approaches, finding simple yet charming treats that delight everyone, especially the little ones, becomes a top priority. Our Reindeer Bark is a perfect solution: a delightful no-bake Christmas treat made by decorating luscious melted chocolate with crunchy pretzels, colorful M&Ms, playful candy eyes, and a sprinkle of festive cheer.
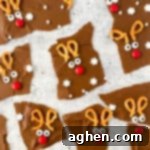
Honestly, just look at those little reindeer faces on the chocolate bark! They are simply irresistible and bring a smile to my face every time I make them. Much like our beloved reindeer cupcakes, reindeer brownies, and even healthy reindeer celery sticks, this bark captures the whimsical spirit of the holidays in a delicious bite-sized form.
And if you’re looking to create an entire holiday treat wonderland, our Melted Snowman Bark is another absolute favorite during this time of year. Imagine the two together in a charming Christmas treat box – a perfect combination of festive fun!
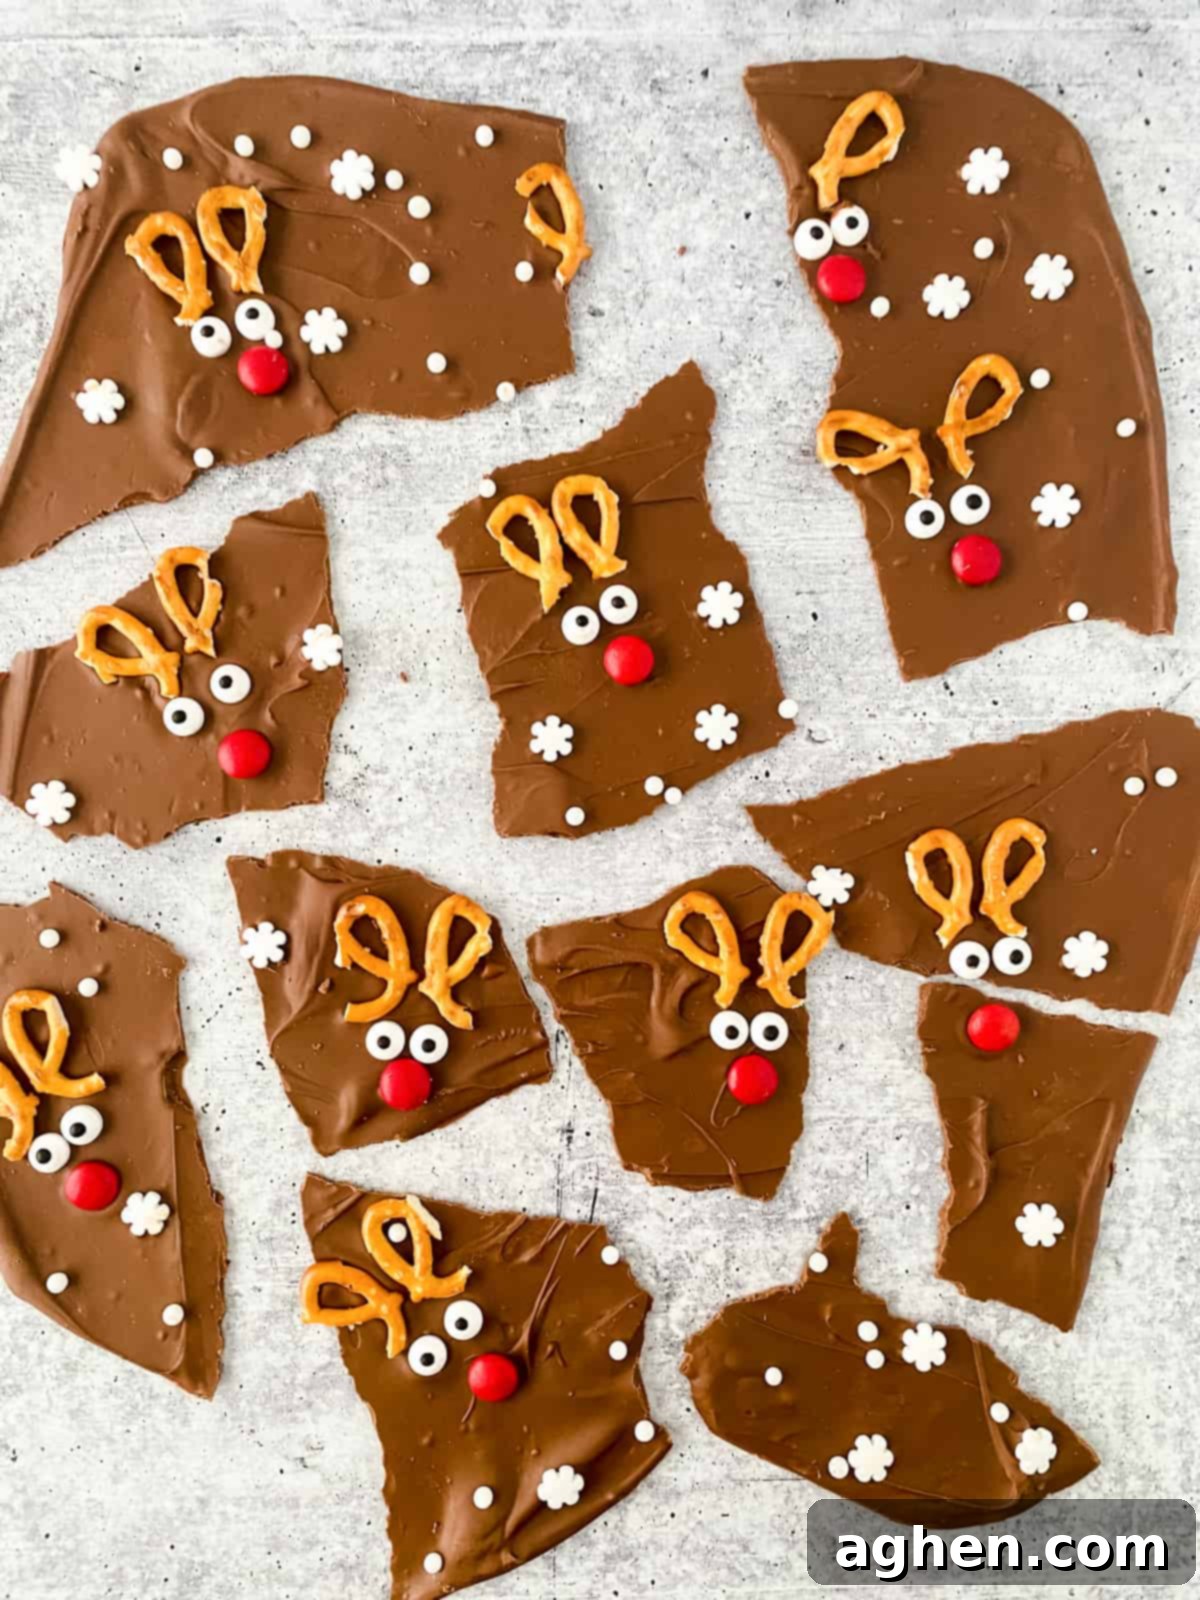
This reindeer Christmas bark recipe isn’t just simple; it’s a fantastic hands-on activity that the whole family can enjoy. Gather your children in the kitchen and let them help you create and decorate these delightful holiday treats. It’s a wonderful way to make lasting memories while whipping up something delicious for parties, gifting, or simply enjoying together.
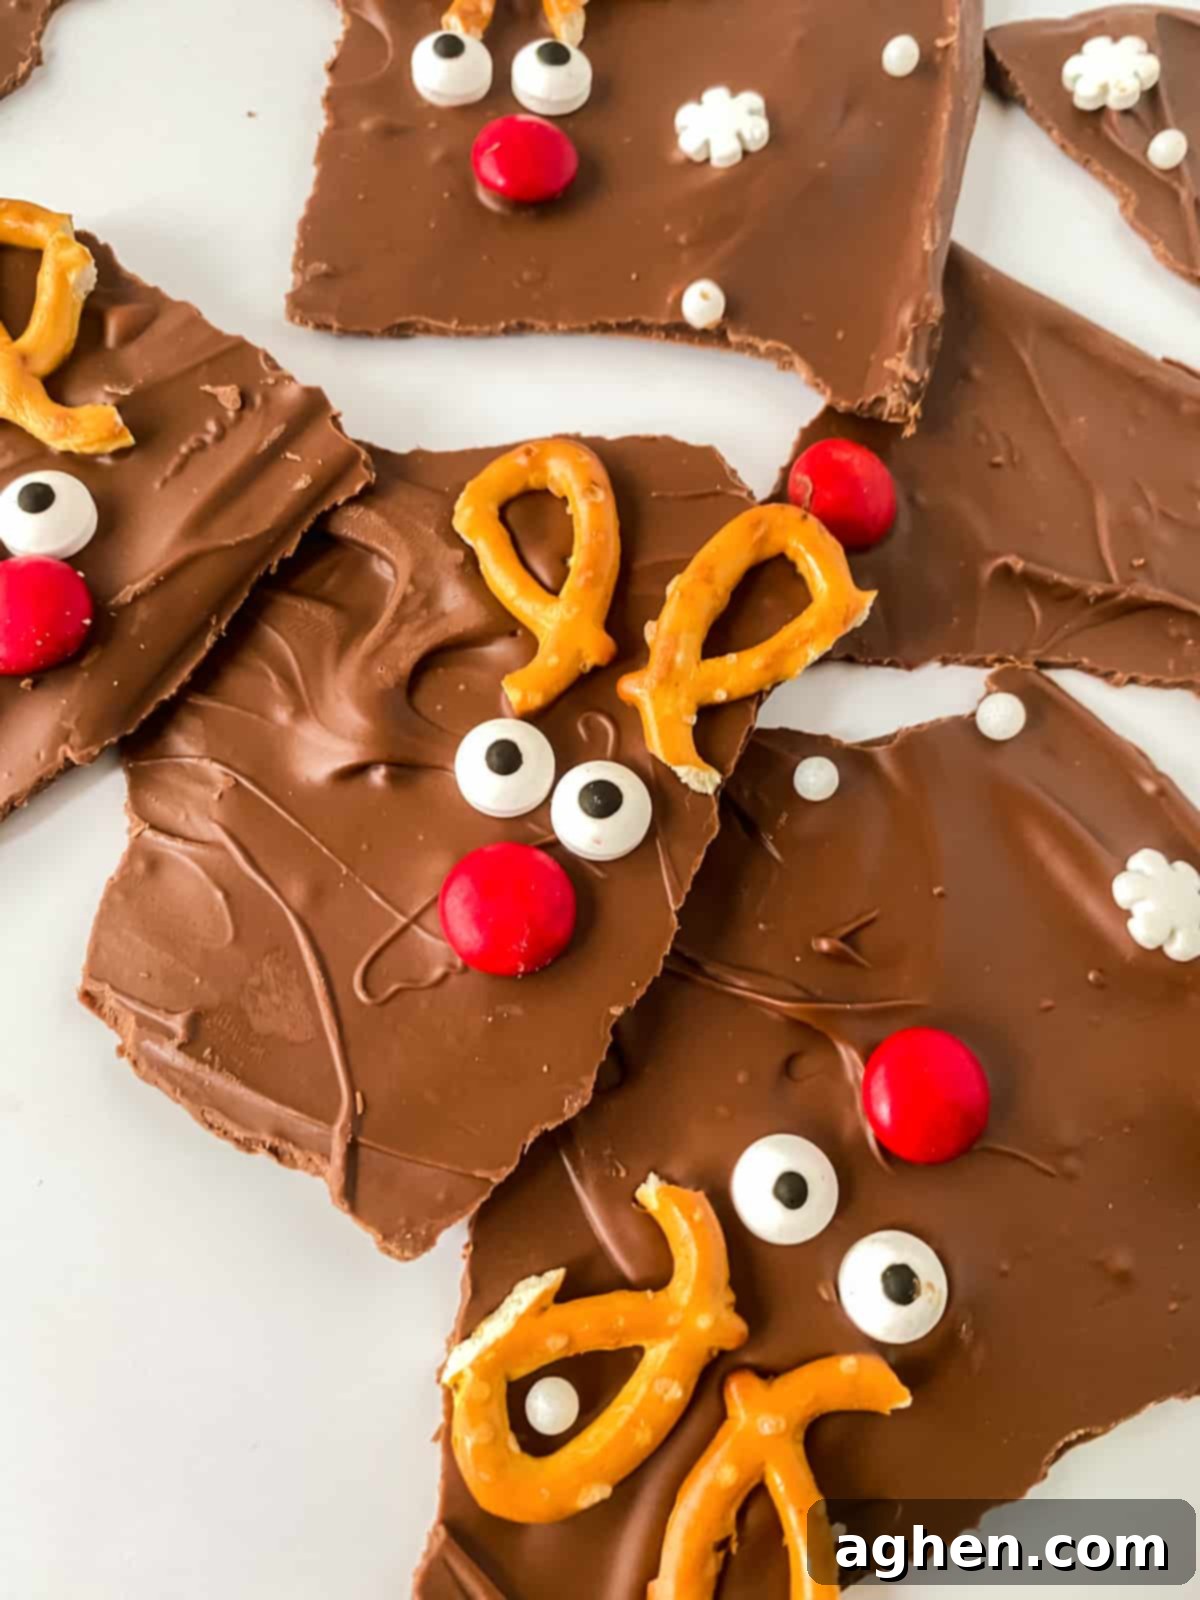
If you’re seeking more irresistible homemade Christmas candy recipes, be sure to try our incredibly popular Crockpot Christmas Candy, the classic Peanut Butter Rice Krispies Balls, and our wonderfully simple 3-Ingredient Pretzel Hugs. Each one is designed for ease and maximum holiday enjoyment!
Why You’ll Love Making This Reindeer Bark
There are countless reasons why this easy Reindeer Bark will quickly become a cherished part of your holiday traditions:
- Effortlessly Easy: No baking required! This is a simple melt-and-decorate recipe, perfect for even the most novice home cooks.
- Kid-Friendly Fun: Little hands will love breaking pretzels, arranging candy eyes, and placing Rudolph’s red nose. It’s a fantastic way to engage children in holiday preparations.
- Quick to Prepare: From start to finish, you’re looking at minimal active time, making it ideal for busy schedules.
- Customizable: Easily adapt the chocolate type, sprinkles, or even the “reindeer” details to match your preferences or party theme.
- Perfect for Gifting: Package up these charming pieces of bark for thoughtful homemade gifts, holiday party favors, or additions to a festive cookie exchange.
- Festive & Adorable: The whimsical reindeer faces instantly evoke the spirit of Christmas, making them a centerpiece on any dessert table.
Essential Ingredients for Your Reindeer Bark
This section provides detailed ingredient notes and handy substitution options to ensure your Reindeer Bark turns out perfectly. For all exact measurements and step-by-step instructions, please refer to the complete printable recipe card located further down this post.
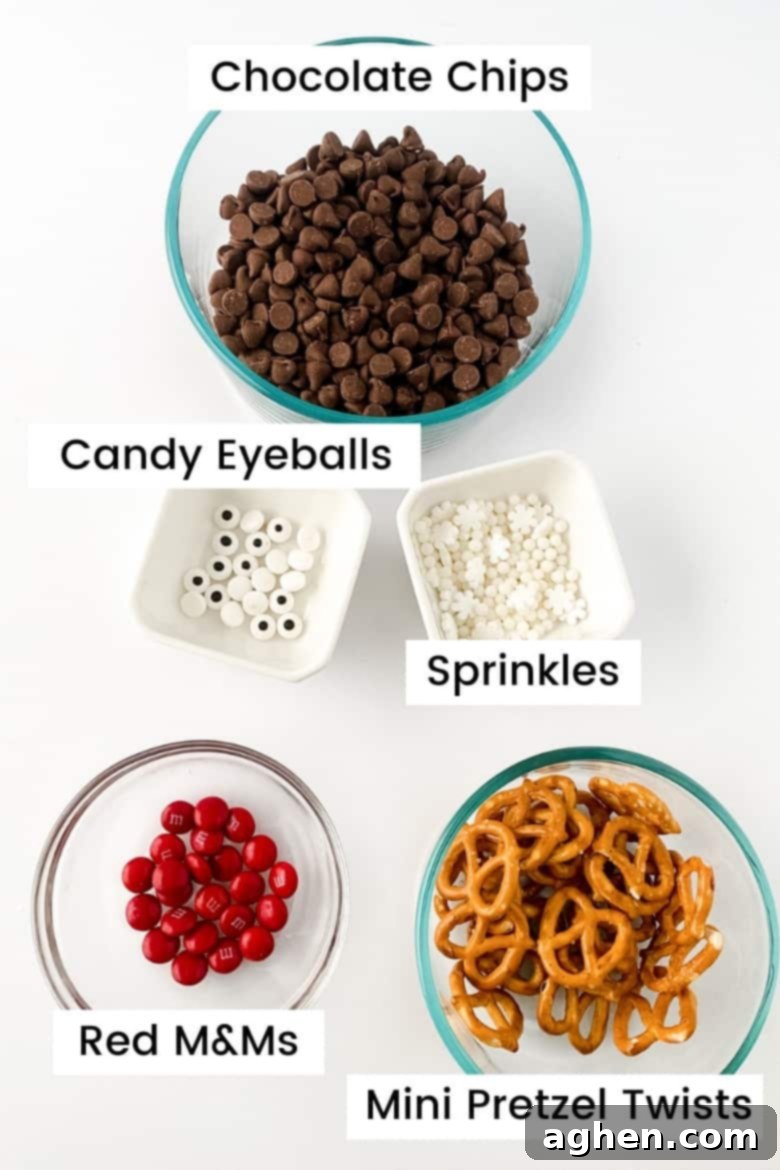
- Chocolate: The foundation of your bark! You have several excellent options here.
- Melting Wafers or Candy Melts: These are specifically designed for melting and hardening smoothly, making them the easiest choice for bark. They come in various colors, so you could even use white chocolate for a “snow” base!
- Chocolate Almond Bark: Another great option that melts smoothly and sets quickly, providing a nice firm texture.
- Chocolate Chips: While convenient, standard chocolate chips can sometimes melt into a thicker, less spreadable consistency and may not set as firmly. If using chocolate chips, refer to our important tip below about adding a small amount of fat to ensure a smoother, more workable chocolate base. You can use milk chocolate, semi-sweet, or even dark chocolate chips for different flavor profiles.
- Mini Pretzel Twists: These are absolutely crucial for creating those iconic reindeer antlers. Their natural twist makes them perfect for breaking into antler-like shapes. Be sure to grab a few extra bags than you think you’ll need, as they can sometimes break unevenly or into smaller pieces when snapped.
- Candy Eyes: These tiny edible eyeballs bring your reindeer to life and are an essential part of their undeniable cuteness! Look for them in the baking aisle or specialty candy stores.
- Red M&Ms: The quintessential bright red nose for Rudolph! The vibrant color truly pops against the chocolate. If you can’t find red M&Ms, you can use other small red candies or even a small dot of red candy melt.
- Sprinkles (Optional): While not essential for the reindeer faces themselves, holiday-themed sprinkles (like snowflakes, stars, or a mix of red, green, and white) are fantastic for filling in any empty spaces on the bark, adding extra sparkle, and making it even more festive. These festive blends or these classic Christmas sprinkles would be perfect.
Equipment You’ll Need
Making Reindeer Bark requires minimal special equipment, which adds to its appeal as an easy, accessible holiday treat. Here’s what you’ll need:
- Baking Sheet: A standard large baking sheet (approximately 13×18 inches) will work perfectly to spread your chocolate.
- Parchment Paper: Absolutely essential! Lining your baking sheet with parchment paper ensures the chocolate bark doesn’t stick and makes for easy removal and cleanup.
- Microwave-Safe Bowl: For melting your chocolate quickly and efficiently.
- Rubber Spatula or Spreading Knife: To smoothly spread the melted chocolate into an even layer on the parchment paper.
- Measuring Cups/Spoons: For precise ingredient measurements.
How to Make Easy Reindeer Bark: Step-by-Step Guide
Follow these simple steps to create your own adorable and delicious Rudolph-inspired chocolate bark!
Step 1: Prepare Your Work Surface and Antlers
Start by lining a large baking sheet with a sheet of parchment paper. This non-stick surface is crucial for easily removing your finished bark. Once your baking sheet is ready, set it aside. Next, carefully break your mini pretzel twists in half to form the “antlers.” Aim for about 20 individual antler pieces if you plan to make 10 reindeer. Remember, pretzels can be a bit fragile, so it’s okay if a few break imperfectly. Set all your pretzel antlers aside for quick assembly later.
Step 2: Perfectly Melt the Chocolate
Place your chosen chocolate (melting chocolate, almond bark, or chocolate chips) into a microwave-safe bowl. Heat the chocolate in 30-second intervals, stirring thoroughly after each interval. Stirring is key to distributing the heat evenly and preventing the chocolate from burning or seizing. Continue this process until the chocolate is completely smooth and beautifully melted. Be patient and avoid overheating to achieve the best consistency.
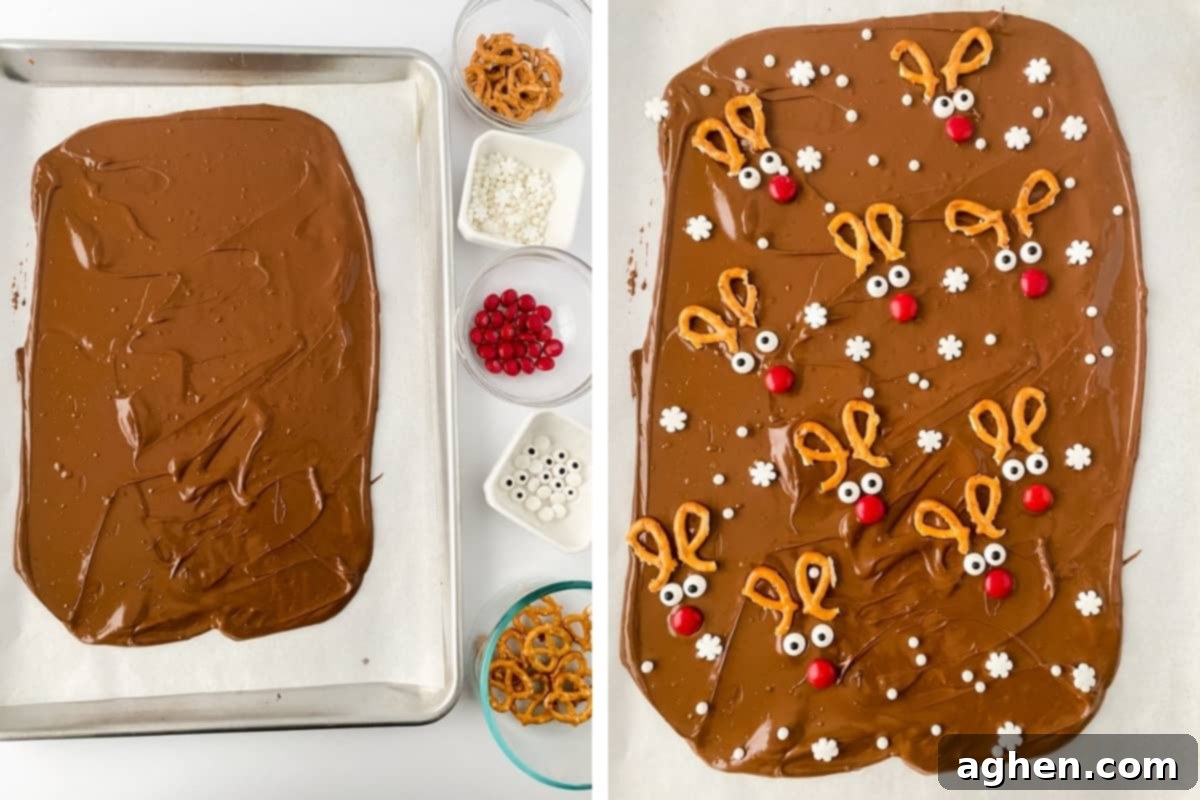
Step 3: Spread the Melted Chocolate
Once your chocolate is perfectly melted, pour it directly onto the parchment-lined baking sheet. Using a spatula or the back of a spoon, spread the chocolate into an even layer, aiming for about 1/8 inch thickness. Don’t worry if it doesn’t cover the entire baking sheet; the goal is an even, relatively thin layer that will break nicely.
Step 4: Decorate Your Reindeer Faces
This is where the magic happens! While the chocolate is still wet and warm, quickly begin placing your decorations. Arrange the pretzel halves at the top for antlers, then add two candy eyeballs below them. Finally, place a red M&M in the center for Rudolph’s bright red nose. Gently press each piece into the chocolate to ensure it sticks firmly. If desired, scatter holiday sprinkles over the remaining open areas of the bark for an extra festive touch.
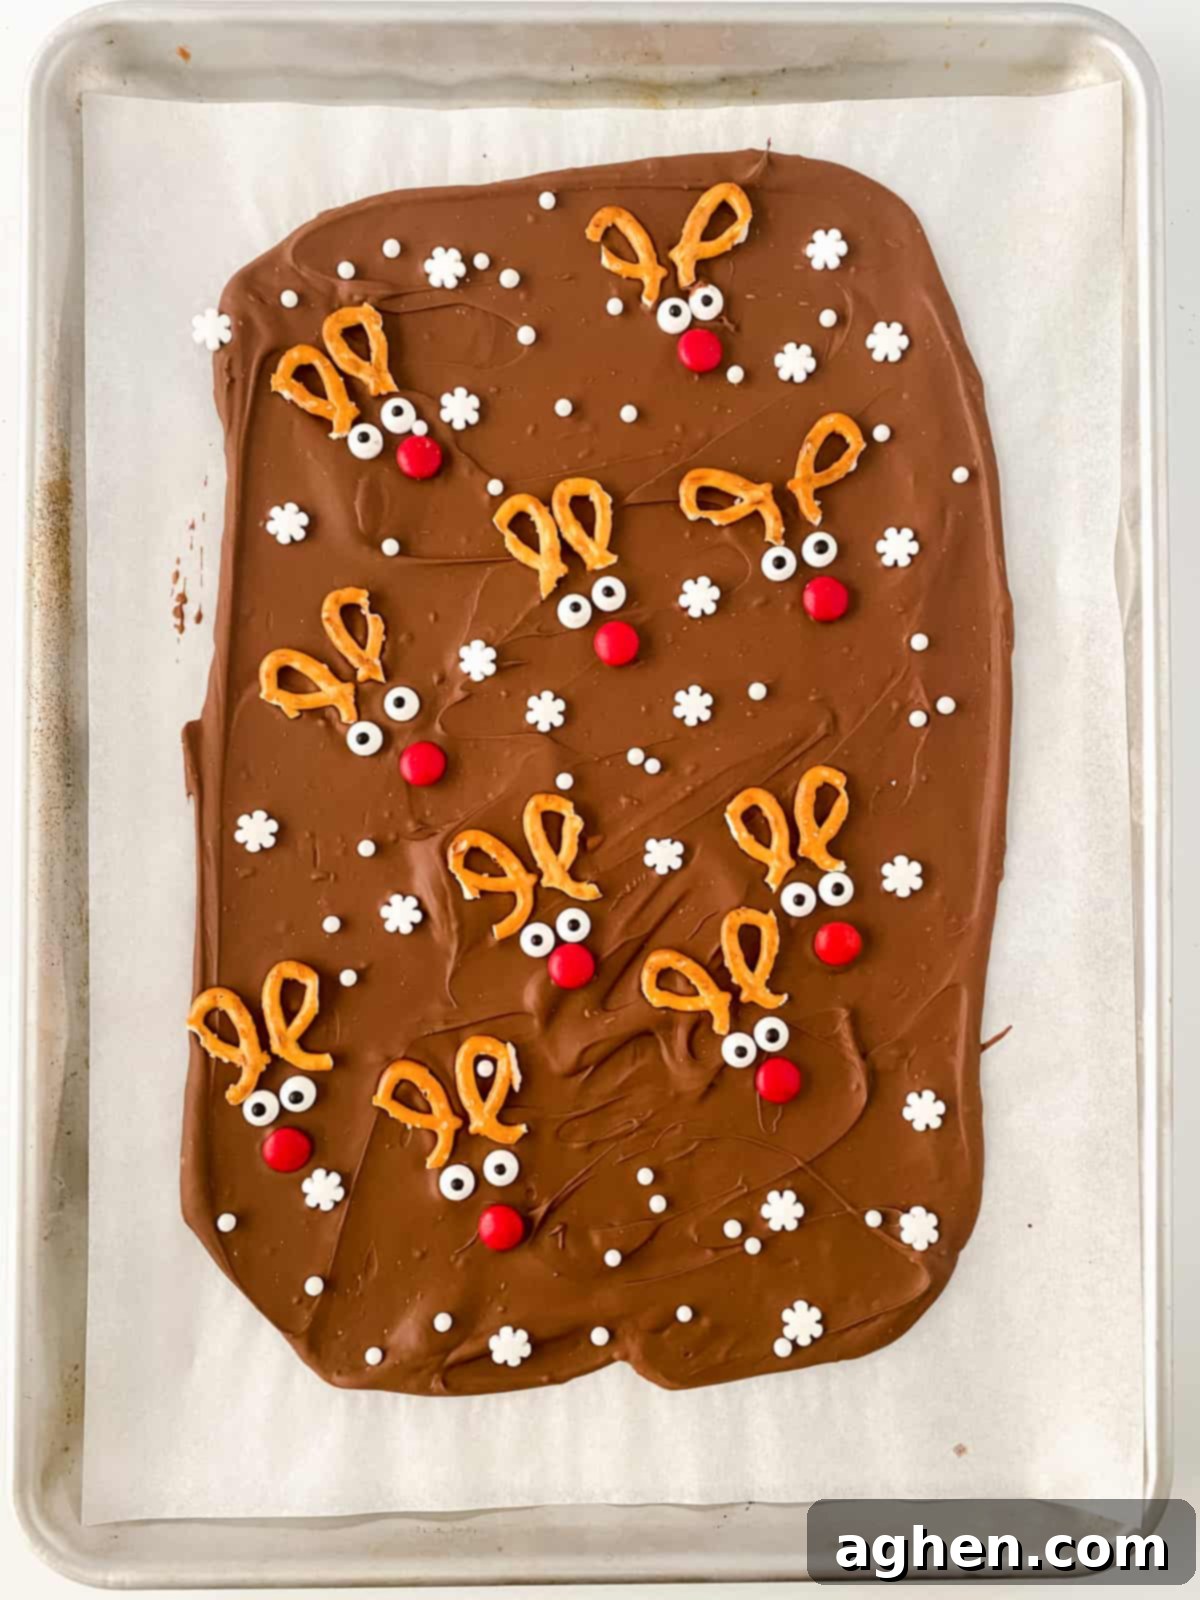
Step 5: Chill to Set
Carefully transfer the baking sheet to the refrigerator. Allow the chocolate bark to chill for 30-45 minutes, or until it is completely firm and set. The bark is ready when it easily peels off the parchment paper without sticking or bending.
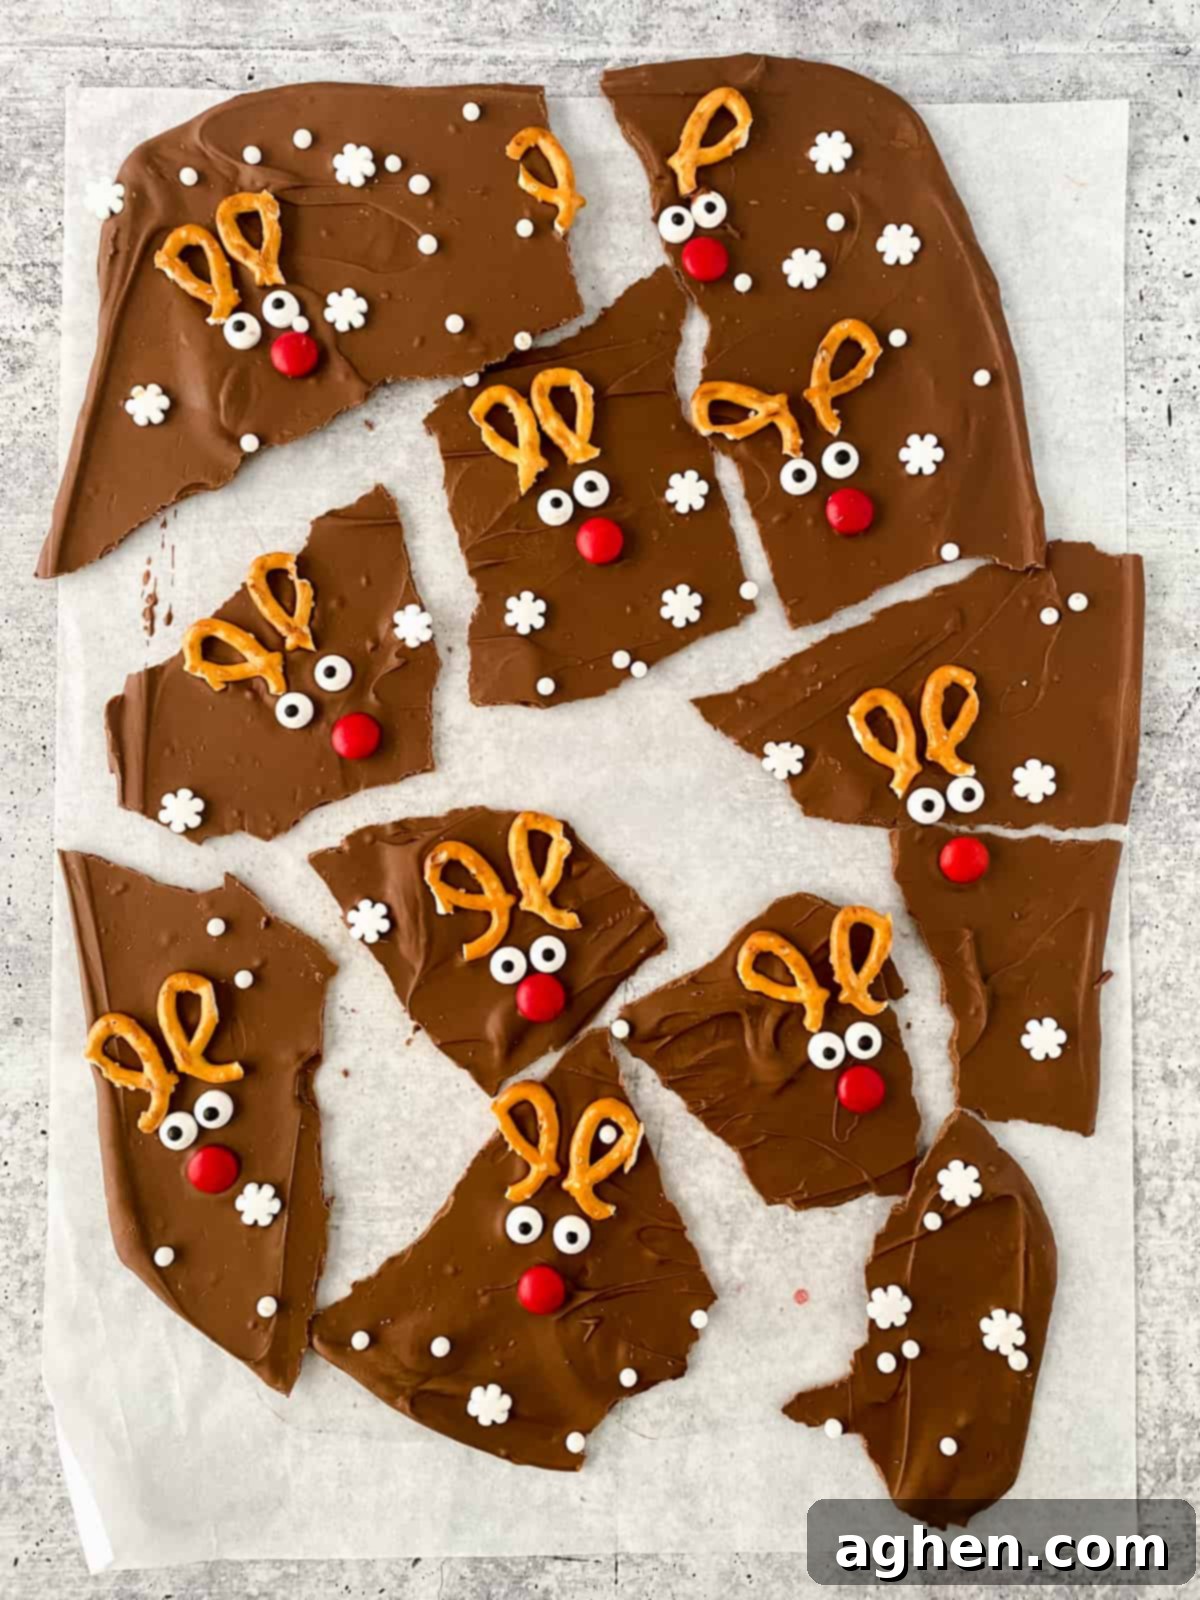
Step 6: Break into Pieces
Once the chocolate is fully set, remove it from the parchment paper. You can either carefully cut the bark into individual reindeer pieces using a sharp knife or gently break it by hand into irregular, festive shapes. Don’t stress if a reindeer doesn’t break off perfectly; it will still taste absolutely yummy, and that’s what truly matters, right? The rustic, broken look adds to its homemade charm!
Expert Tips for Melting Chocolate Chips
While melting wafers or almond bark are generally recommended for their smooth consistency and easy setting, chocolate chips can certainly be used! However, for best results and a truly smooth, spreadable chocolate base when using standard chocolate chips, I highly recommend incorporating a small amount of extra fat. Add about 2 teaspoons of coconut oil or vegetable shortening to your chocolate chips as you melt them. This addition helps to thin out the melted chocolate, making it much easier to spread evenly and giving it a glossy finish once set. It also helps prevent the chocolate from seizing or becoming too thick.
Alternatively, for a professional-grade finish, you could use paramount crystals. These are often used by chocolatiers and candy makers to achieve a perfect, smooth melting consistency and prevent blooming.
Storage Guidelines for Reindeer Bark
To keep your delightful Christmas reindeer bark fresh and delicious, store it in an airtight container. You can store it either in the refrigerator or at room temperature in a cool, dry place. When stored correctly, your Reindeer Bark will stay fresh and enjoyable for up to one week. If storing in the refrigerator, allow it to come to room temperature for a few minutes before serving for optimal texture and flavor.
Creative Variations & Customizations
One of the joys of making chocolate bark is how incredibly versatile it is! Feel free to get creative with these variations:
- Different Chocolate Bases: Experiment with white chocolate for a “snowy” effect, or rich dark chocolate for a more sophisticated flavor. You could even swirl different types of chocolate together for a marbled look.
- Alternative Noses: If M&Ms aren’t your preference, try mini red gumdrops, red candy melts piped into small circles, or even a tiny dab of red icing for the reindeer’s nose.
- Sparkling Antlers: Dip the pretzel antlers into melted white chocolate and then immediately into edible glitter or crushed candy canes before placing them on the bark for an extra festive touch.
- Nutty Additions: For those who enjoy a bit of crunch, sprinkle some chopped pecans, almonds, or walnuts onto the melted chocolate before it sets.
- Holiday Mix-Ins: Consider adding crushed candy canes, mini marshmallows, or even dried cranberries for extra flavor and texture.
- Other Holiday Characters: With a few simple swaps, you can easily transform this recipe into other holiday-themed barks, such as snowmen (using white chocolate, mini chocolate chips for eyes, and an orange candy for a carrot nose) or gingerbread men!
Gifting and Serving Ideas
Reindeer Bark is not only a fantastic treat for your own family but also makes for truly thoughtful and charming holiday gifts:
- Holiday Treat Boxes: Arrange various pieces of bark alongside other homemade cookies or candies in a festive box.
- Cellophane Bags: Place a few pieces in a clear cellophane bag, tie with a beautiful ribbon, and add a handmade tag. Perfect for teachers, neighbors, or colleagues.
- Cookie Platters: Add a colorful assortment of Reindeer Bark to your holiday cookie platter for a delightful visual and taste contrast.
- Pair with Hot Cocoa: Serve a piece of Reindeer Bark alongside a warm mug of hot chocolate for the ultimate cozy winter treat.
- Kids’ Party Favors: Send guests home from a holiday party with a small bag of this charming bark.
Frequently Asked Questions (FAQs)
Here are some common questions about making Reindeer Bark:
Can I use any type of chocolate?
While melting wafers or almond bark are ideal for their smooth melt and quick setting, you can use chocolate chips. If you do, we highly recommend adding a small amount of coconut oil or vegetable shortening (about 2 teaspoons per 2 cups of chips) to help it melt smoothly and spread easily.
Can I make Reindeer Bark ahead of time?
Absolutely! This bark is perfect for making in advance. Store it in an airtight container at room temperature (if cool) or in the refrigerator for up to a week. This makes it a great option for holiday meal prep.
What if my chocolate seizes?
Chocolate seizes when it comes into contact with even a tiny amount of water while melting, or if it’s overheated. If your chocolate becomes thick and clumpy, it’s likely seized. Unfortunately, it’s difficult to reverse. To prevent this, ensure your bowl and utensils are completely dry, and melt in short intervals, stirring frequently.
Can I use a double boiler instead of a microwave?
Yes, a double boiler is an excellent method for melting chocolate smoothly and gently. Place your chocolate in a heatproof bowl set over a saucepan of simmering water (ensure the bowl doesn’t touch the water). Stir until melted and smooth.
How thick should the chocolate layer be?
Aim for about 1/8 inch thick. If it’s too thin, it might break too easily. If it’s too thick, it can be difficult to bite and might feel too rich.
More Christmas Favorites
- Christmas Crack
- Christmas Tree Cone Cupcakes
- Santa Hat Treats
- Grandma’s Nut Brittle
- Sugar Cookie Cake
- Grinch Bark
- Gumdrop Fudge
Reindeer Bark Recipe
Author: Jaclyn
Prep Time: 15 mins
Set Time: 30 mins
Total Time: 45 mins
Reindeer Bark is an easy no-bake Christmas treat made with melted milk chocolate topped with pretzels, M&Ms, candy eyes, and sprinkles.
Servings: 10 servings
Ingredients
- 2 cups melting chocolate (almond bark or chocolate chips)
- 20 candy eyeballs
- 10 red M&Ms
- 20 mini pretzel twists*
- Holiday sprinkles (optional)
Instructions
- Line a baking sheet with parchment paper. Set aside.
- Break pretzels in half to form about 20 “antlers.” Set aside.
- Add chocolate to a microwave-safe bowl. Heat in 30-second increments, stirring between each increment, until completely melted and smooth.
- Pour the chocolate onto a parchment-lined baking sheet. Use a spatula to spread it into an even layer about 1/8 inch thick.
- Place pretzel pieces, candy eyeballs, and red M&Ms on the chocolate to make reindeer faces. Press them down gently to help them stick. Add sprinkles, if desired, to decorate the other areas.
- Refrigerate for 30-45 mins to set. The bark is ready when it easily peels off the parchment paper.
- Remove the chocolate from the parchment paper and carefully cut or break it into pieces to separate each reindeer’s face.
Notes
- *Although you will only need about 10 whole pretzels for the antlers, I included extra in the ingredient list to account for the fact that they tend to break apart unevenly when you are trying to snap them into antler shapes.
- If using chocolate chips, I recommend adding 2 teaspoons of coconut oil or vegetable shortening (or 1 Tablespoon of paramount crystals) to the melted chocolate. This helps to smooth out the melted chocolate and make it easier to work with, ensuring a better texture and appearance.
- Store in an airtight container in a cool place at room temperature or in the refrigerator for up to one week for optimal freshness.
Nutrition
Calories: 286kcal | Carbohydrates: 37g | Protein: 0.3g | Fat: 14g | Saturated Fat: 14g | Polyunsaturated Fat: 0.02g | Monounsaturated Fat: 0.02g | Trans Fat: 0.002g | Cholesterol: 0.1mg | Sodium: 18mg | Potassium: 9mg | Fiber: 0.2g | Sugar: 35g | Vitamin A: 2IU | Vitamin C: 0.03mg | Calcium: 2mg | Iron: 0.1mg
Did You Make This Recipe?
We’d love to see your creations! Share your beautiful Reindeer Bark with us on Instagram @crayonsandcravings and follow us on Pinterest @crayonsandcravings for even more delightful recipes and holiday inspiration!
Email Recipe |
Pin Recipe |
Leave A Review
