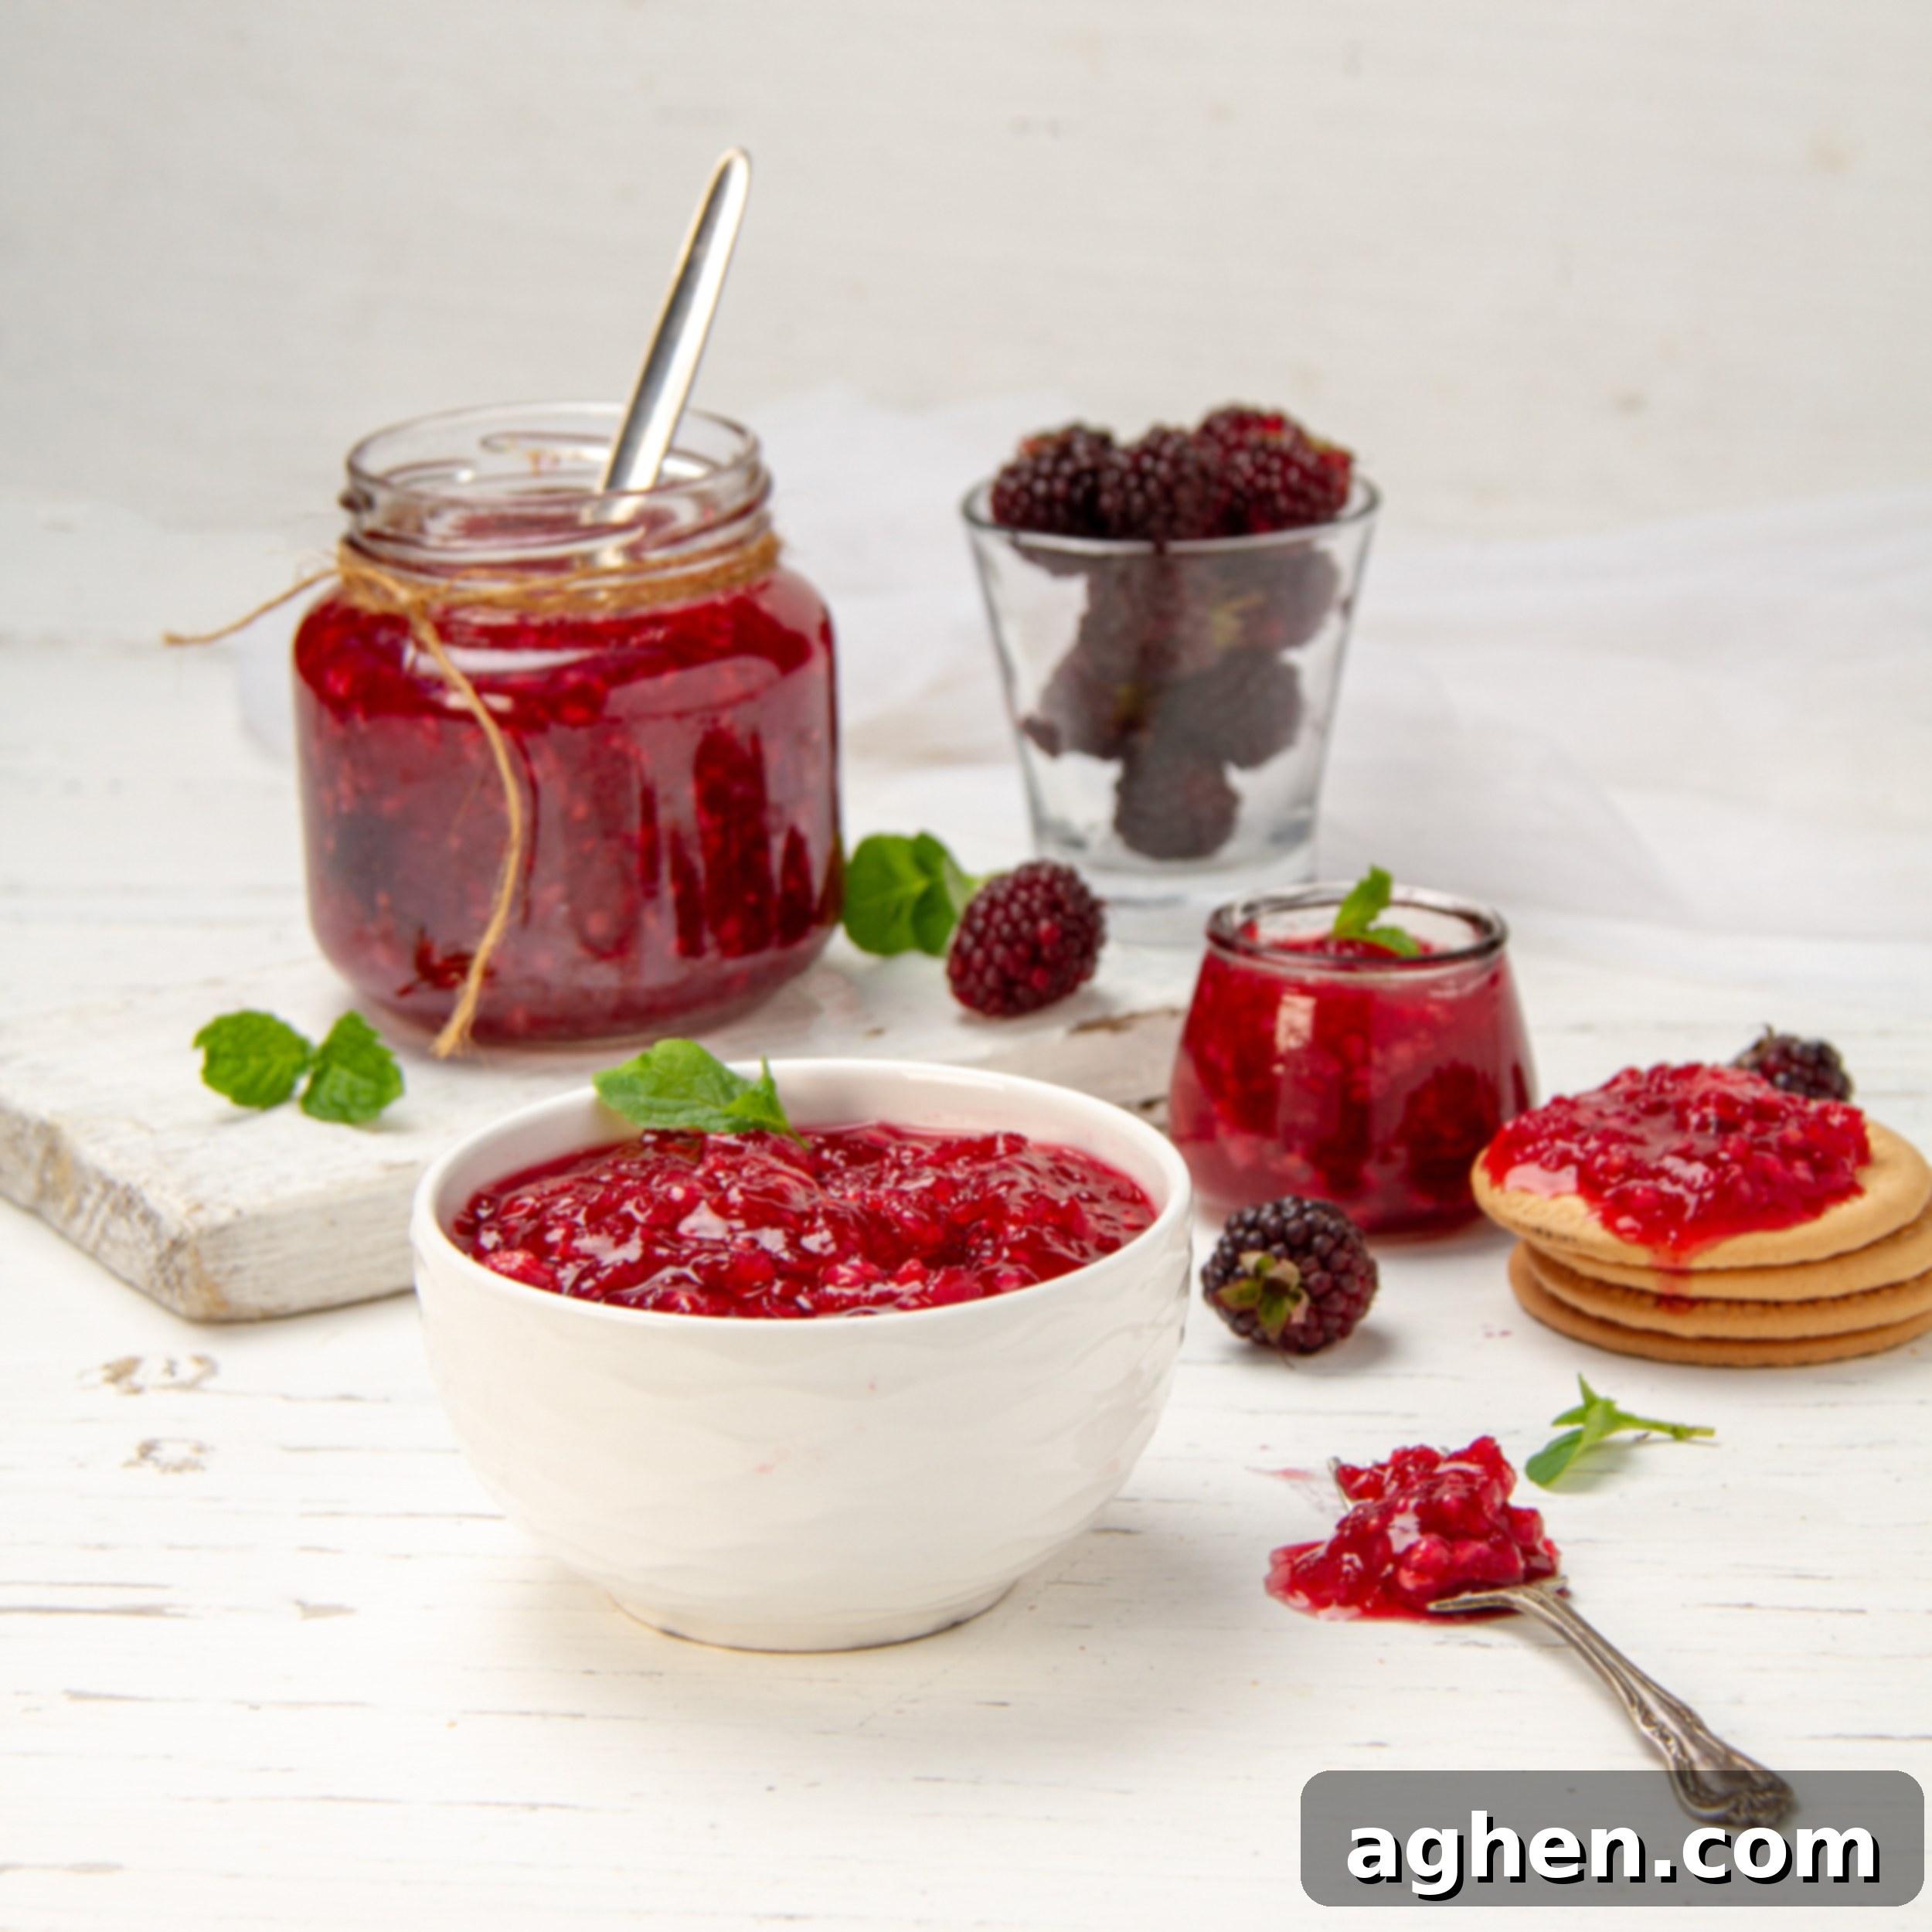
Homemade Sugar-Free Apple Blackberry Jam: Your ZeroPoint Weight Watchers Delight
Discover the joy of creating your own delicious and healthy ZeroPoint Apple Blackberry Jam right in your kitchen! This recipe is incredibly easy to follow and yields a jam that tastes absolutely divine, without any added sugar. Making your own jam at home is not only a fantastic way to save money but also gives you complete control over the ingredients, ensuring a wholesome, Weight Watchers-friendly spread that fits perfectly into your healthy lifestyle.
This particular jam marries two wonderful fruits for a perfect balance of flavor and texture. Apples contribute a natural sweetness and a smooth base, which is essential for a good jam consistency. Blackberries, on the other hand, burst with a vibrant color, introduce a delightful touch of acidity, and offer a pleasant texture thanks to their small, natural seeds. Together, they create a harmonious blend that’s naturally sweetened and utterly irresistible. Say goodbye to overly sweet store-bought jams and embrace the fresh, homemade difference!
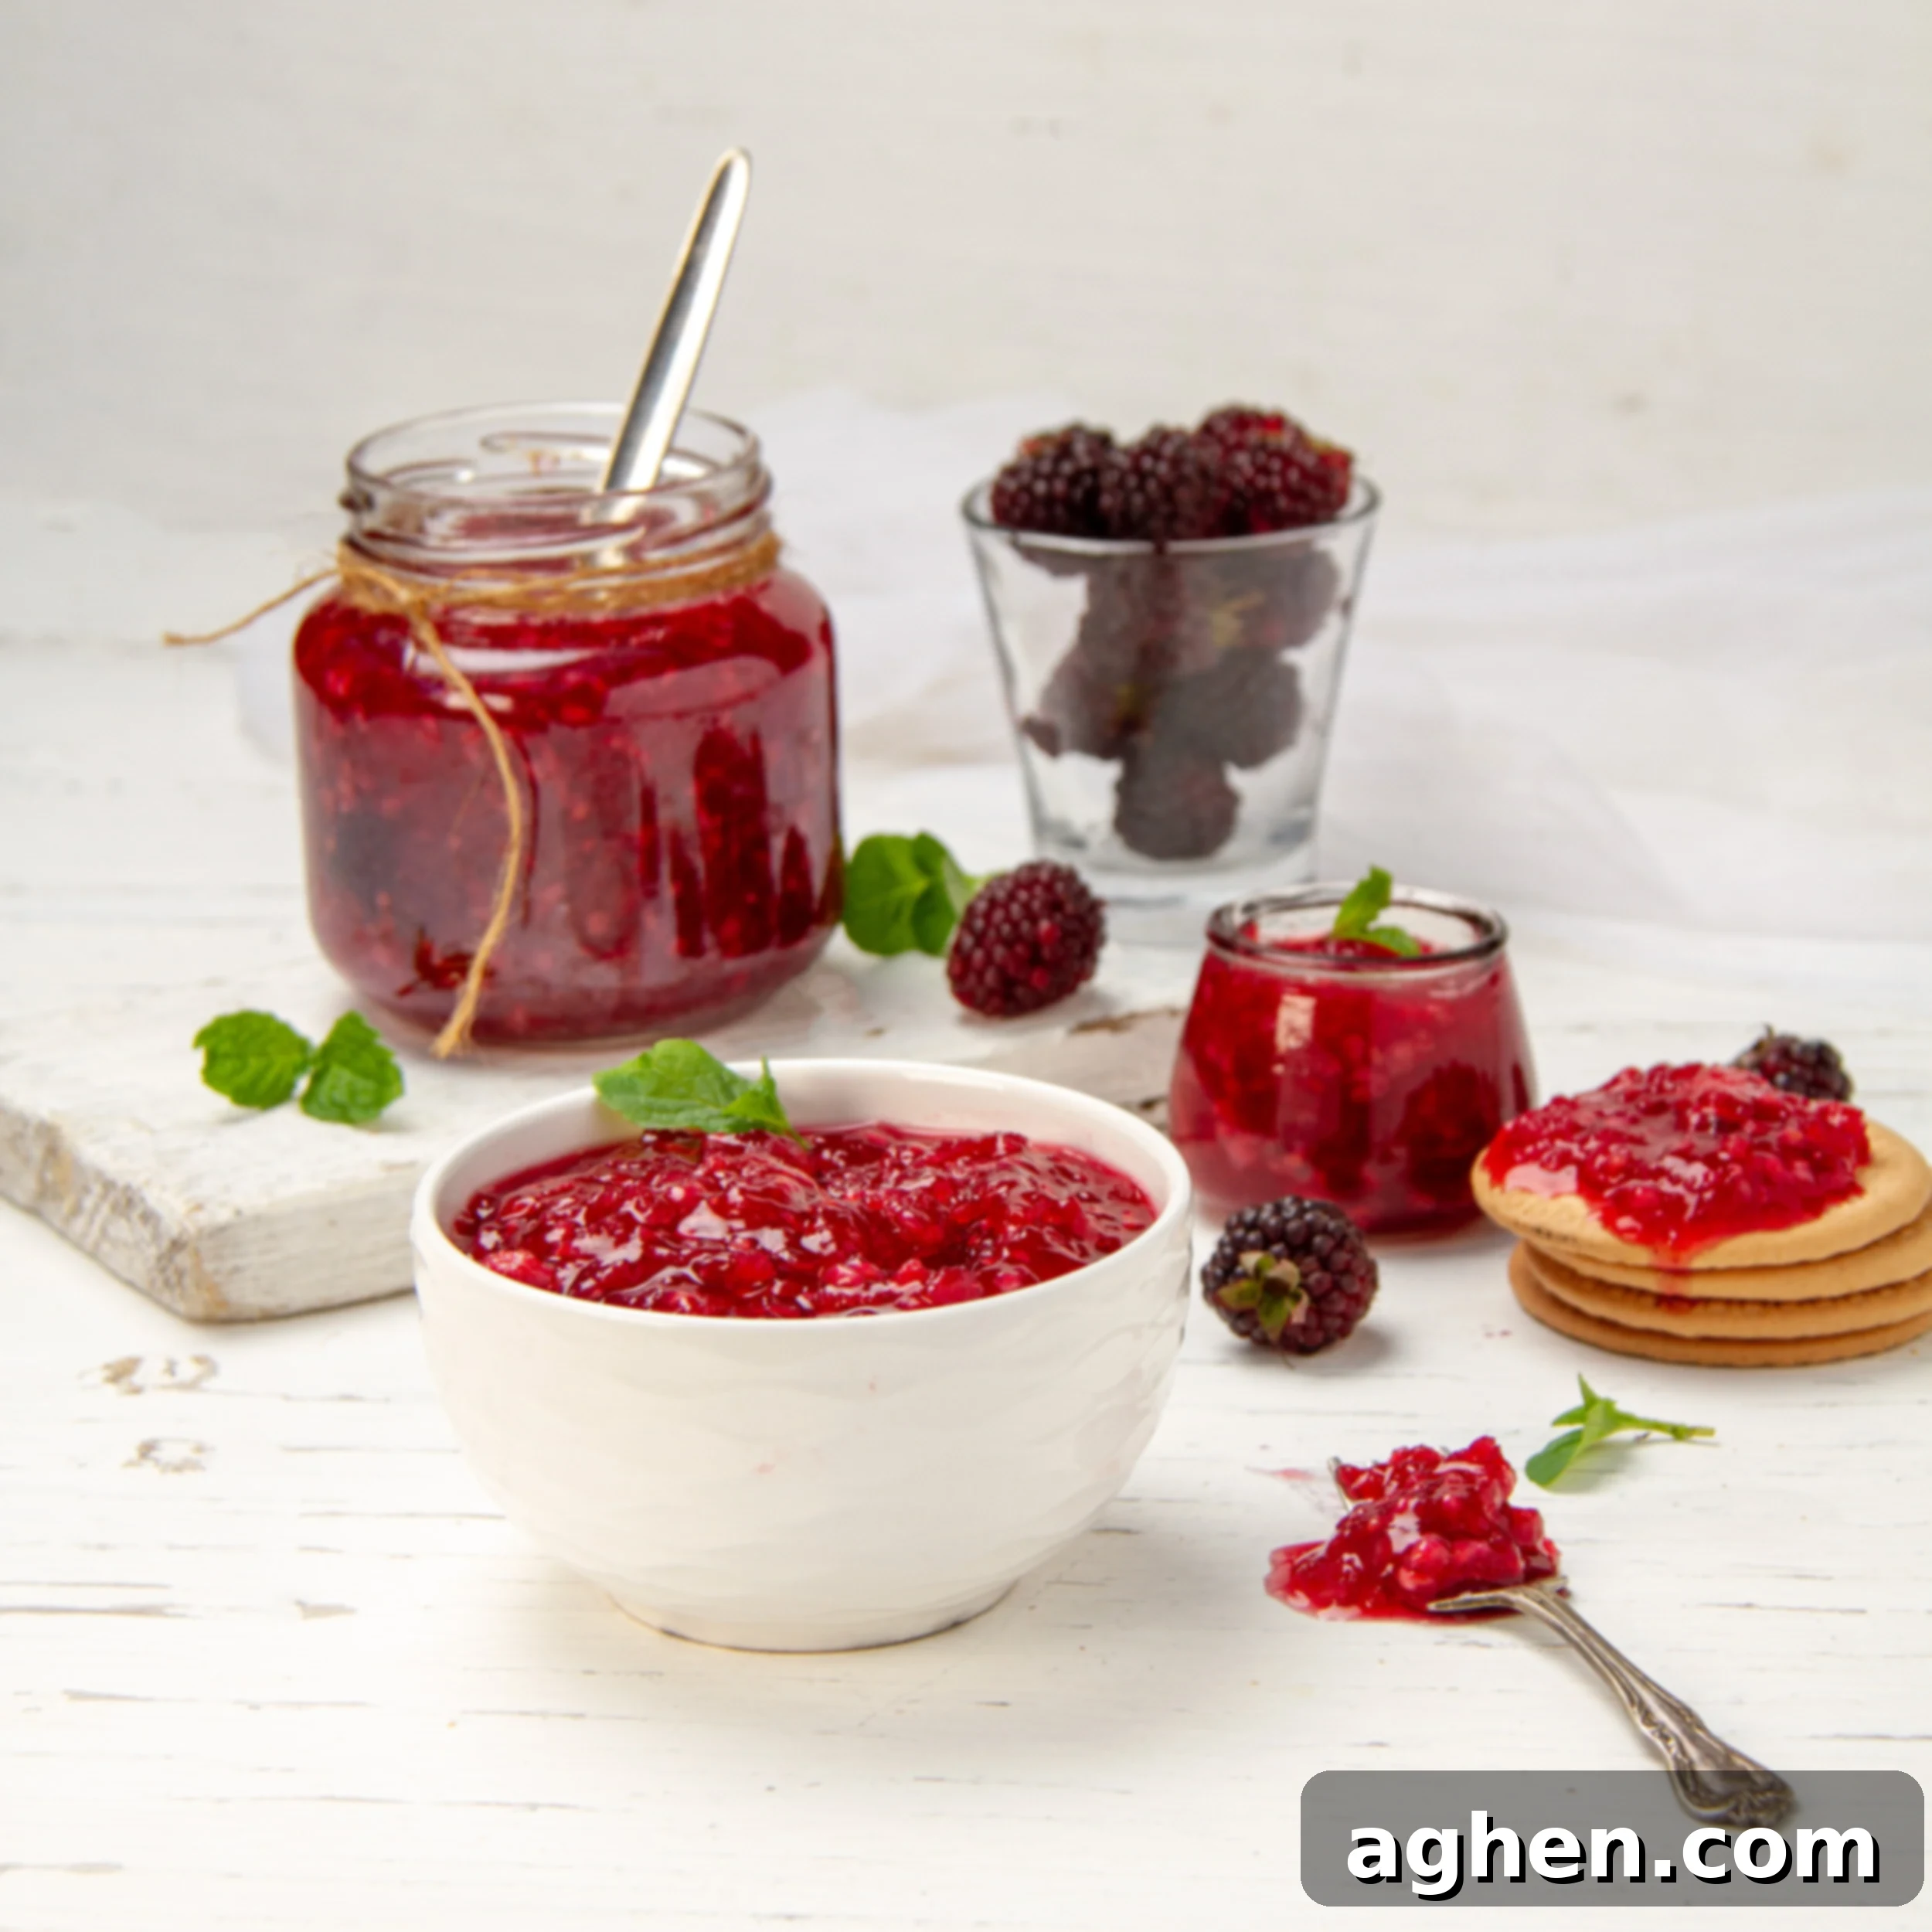
Why Make Your Own Healthy Apple Blackberry Jam?
Making jam from scratch might seem daunting at first, but the benefits are numerous and truly make the effort worthwhile. Here’s why this Apple Blackberry Jam recipe should be your next kitchen adventure:
- Significant Cost Savings: Are you a jam enthusiast who finds store-bought jars disappearing all too quickly? Then homemade jam is your answer! Specialty and healthier jam options, especially those with no added sugar, can be surprisingly expensive. By sourcing fresh seasonal fruits and making large batches, you can drastically reduce your grocery bill while enjoying a superior product. It’s an economical solution that doesn’t compromise on quality or taste.
- Complete Ingredient Control: One of the biggest advantages of homemade cooking is knowing exactly what goes into your food. With this recipe, you dictate the sweetness, the acidity, and the precise fruit combination. This is particularly beneficial if you have dietary restrictions, want to avoid artificial preservatives, or simply prefer a specific flavor profile. You can customize it to suit your palate and health needs, ensuring a clean and pure fruit spread.
- Unmatched Homemade Taste: While convenience is appealing, there’s no denying that homemade often tastes better. The fresh aroma of simmering fruit, the ability to adjust flavors to perfection, and the satisfying texture you can achieve at home are simply unparalleled by mass-produced options. The small amount of extra effort invested pays off tenfold in the rich, authentic flavor of your very own fruit spread. Plus, it’s incredibly satisfying to share something you’ve crafted yourself!
Preparation Time: 20 minutes
Cooking Time: 45 minutes
Yields: Approximately 2 jars (about 2 cups each) or 40 tablespoons
Portion Size: 1 tablespoon (15 g)
0 WW Points Per Serving. This recipe is a fantastic way to enjoy a sweet treat without compromising your Weight Watchers goals. You can view the recipe details on the WW Apphere (WW login required).
Essential Ingredients for Your Healthy Jam
Crafting this delightful Apple Blackberry Jam requires only a handful of simple, wholesome ingredients. Each component plays a crucial role in achieving the perfect flavor and consistency for your homemade spread. Here’s what you’ll need:
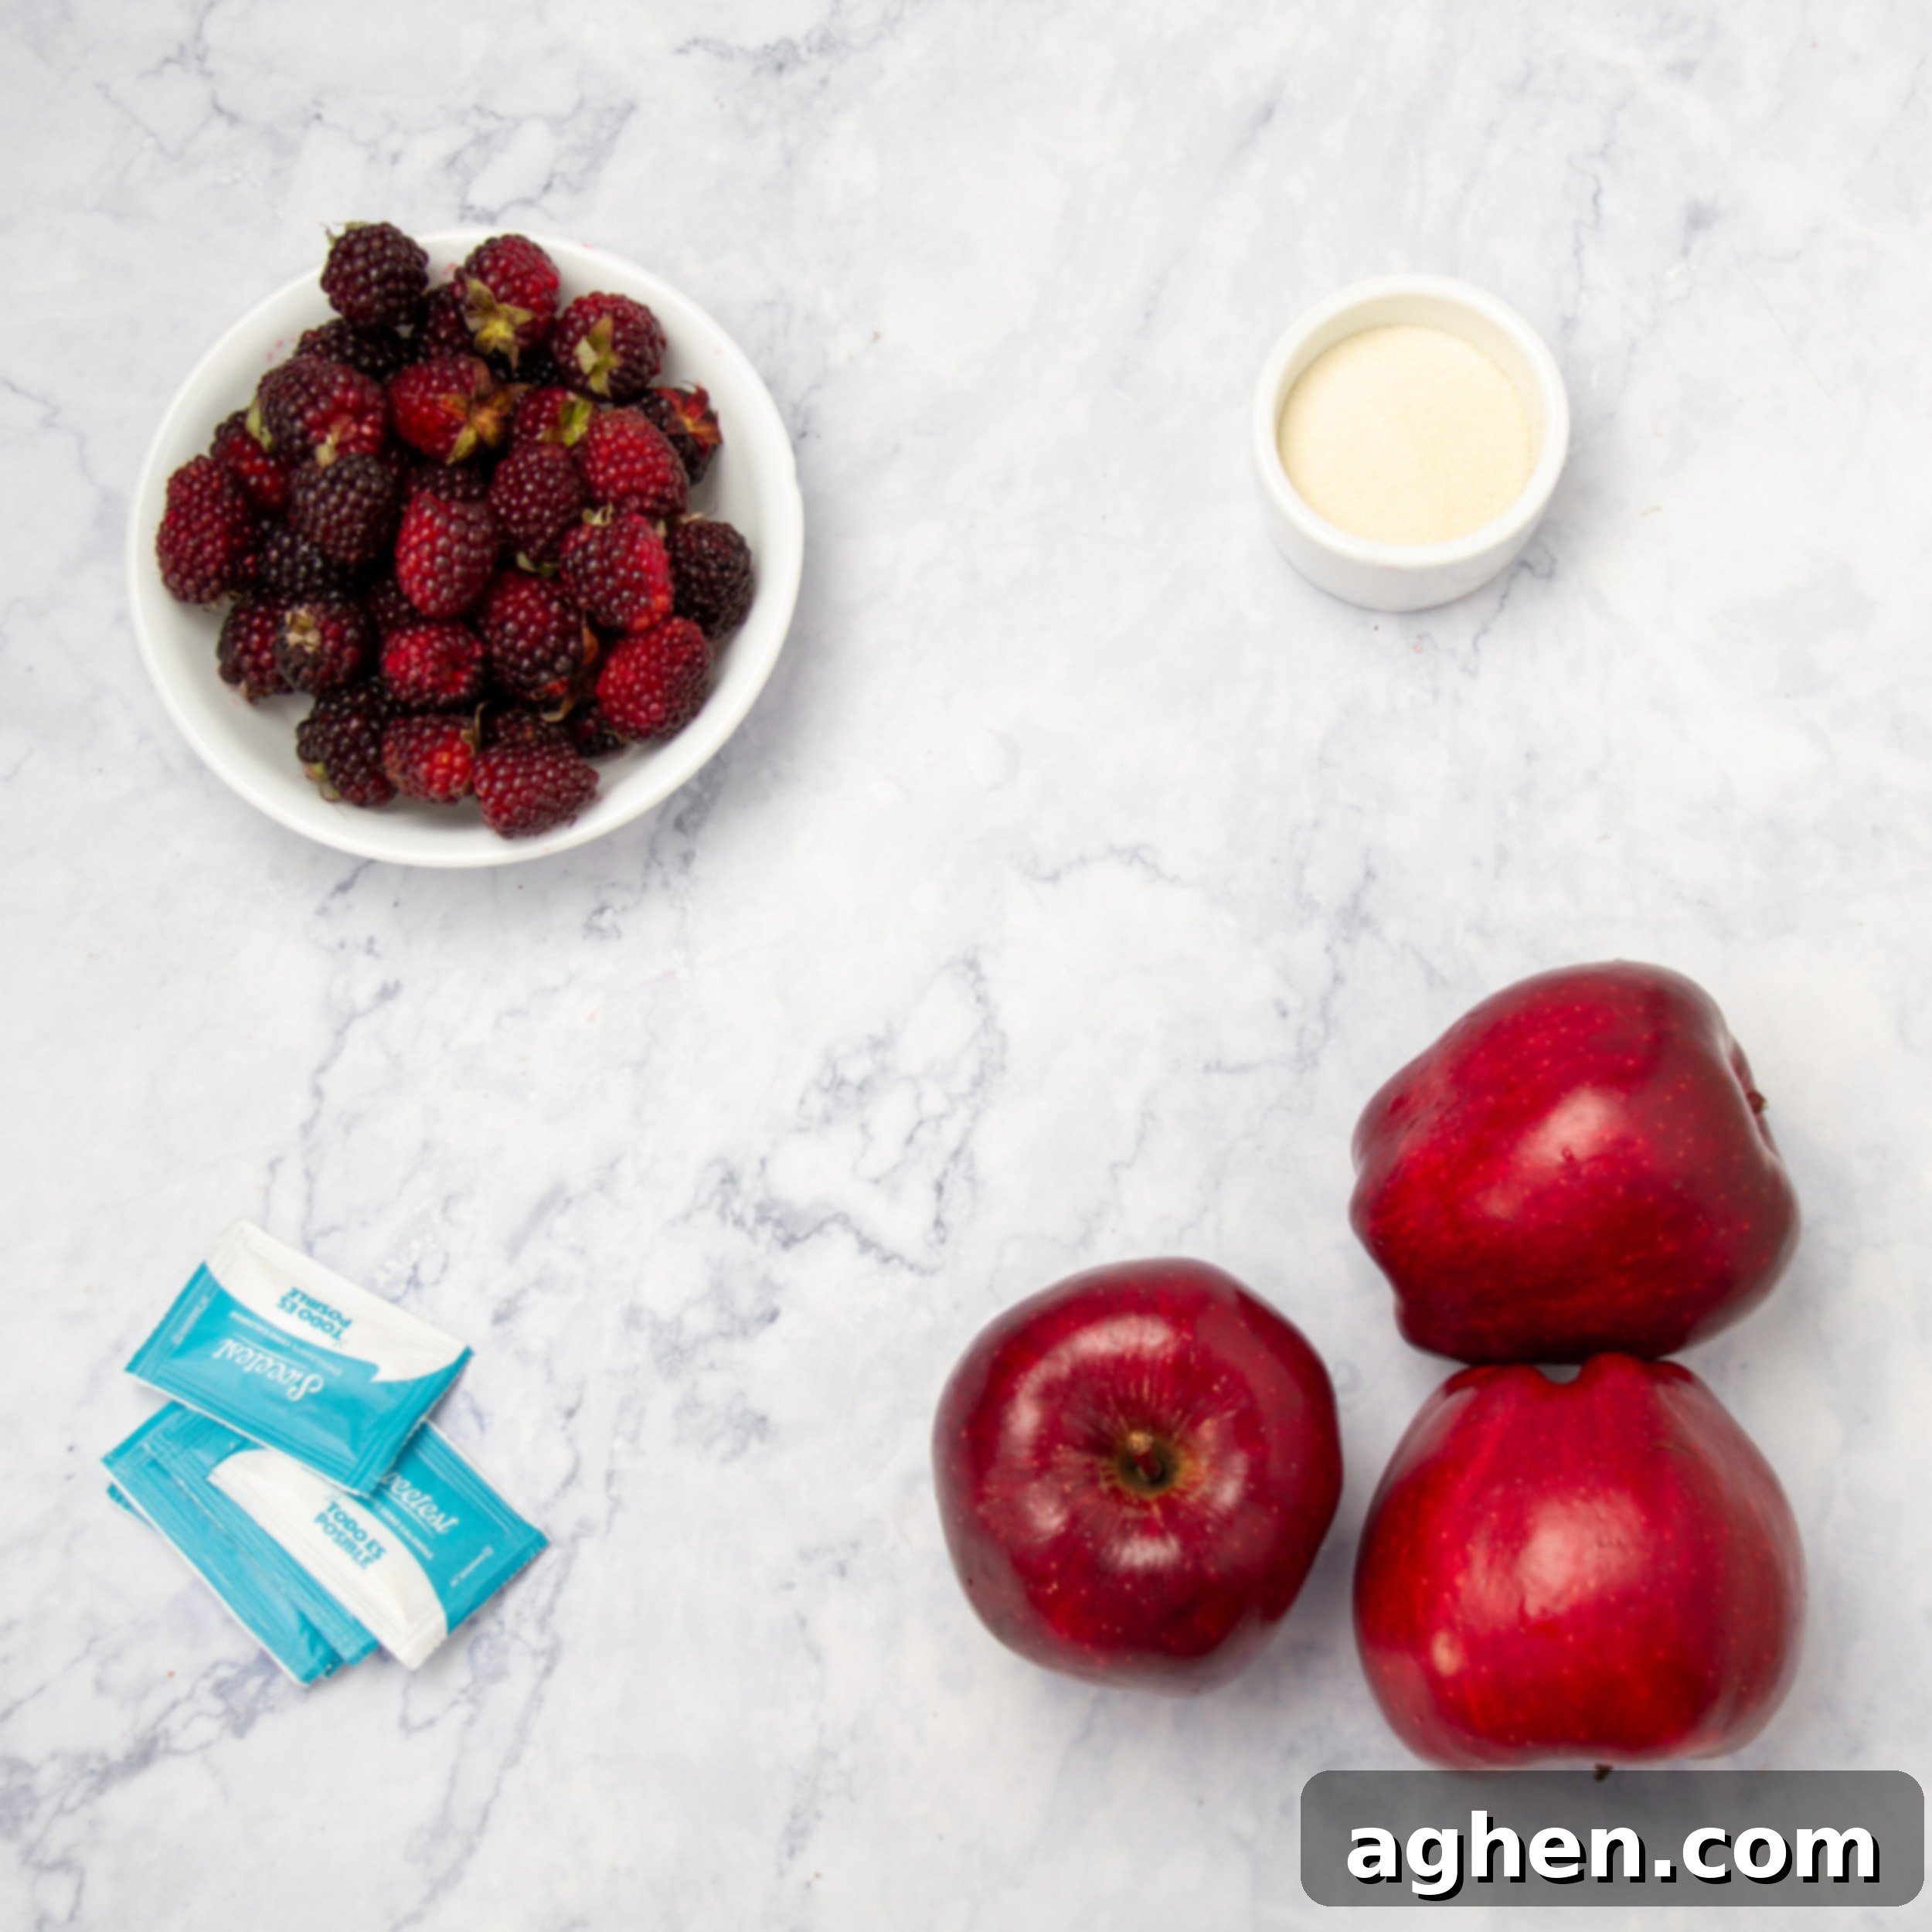
- 3 large apples, peeled, cored, and grated (this yields approximately 4 cups or 500 g of apple pulp, providing the bulk and natural pectin for thickening)
- 2 cups fresh or frozen blackberries (about 300 g), adding tartness, color, and a burst of berry flavor
- ½ cup water (120 ml), to help the fruits break down gently during cooking
- 1 teaspoon powdered gelatin (5 g), acts as a sugar-free thickener, giving the jam its desired spreadable consistency
- 5 packets of stevia (or adjust to your personal taste), providing calorie-free sweetness without the need for added sugar
Step-by-Step Instructions for Perfect Apple Blackberry Jam
Follow these detailed steps to create your own luscious Apple Blackberry Jam. Precision and attention to detail will ensure a beautifully textured and flavored spread.
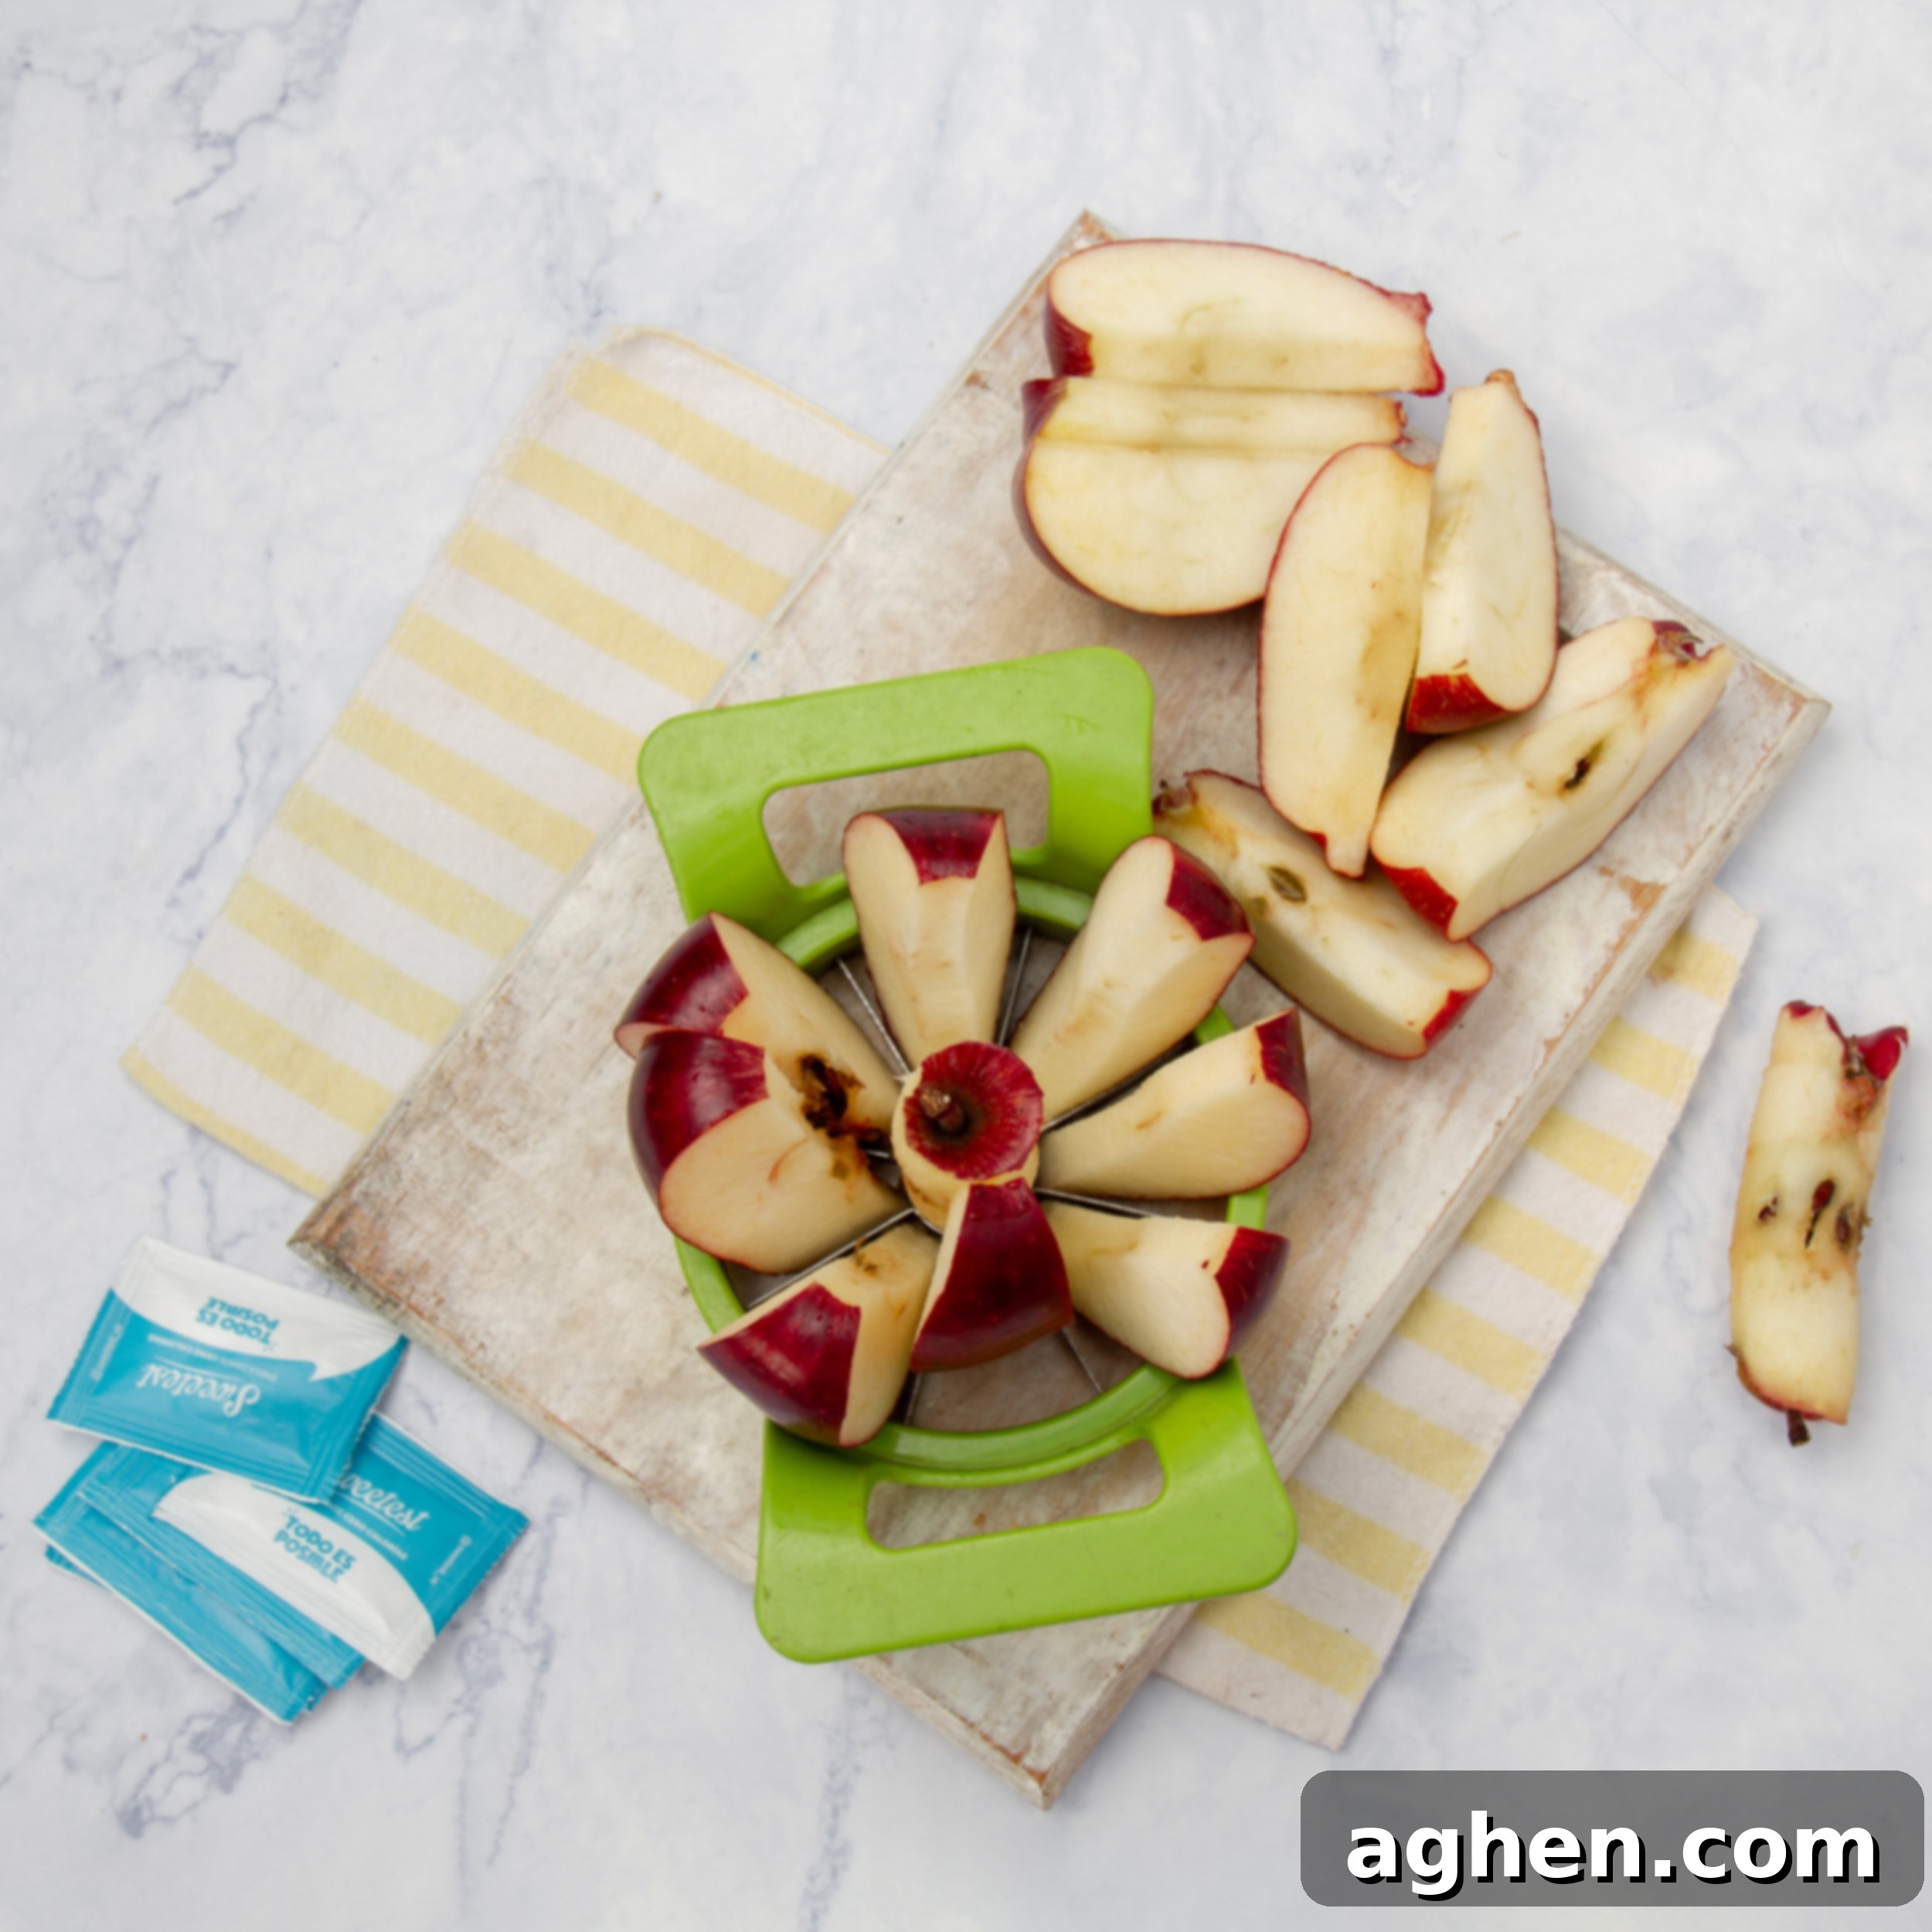
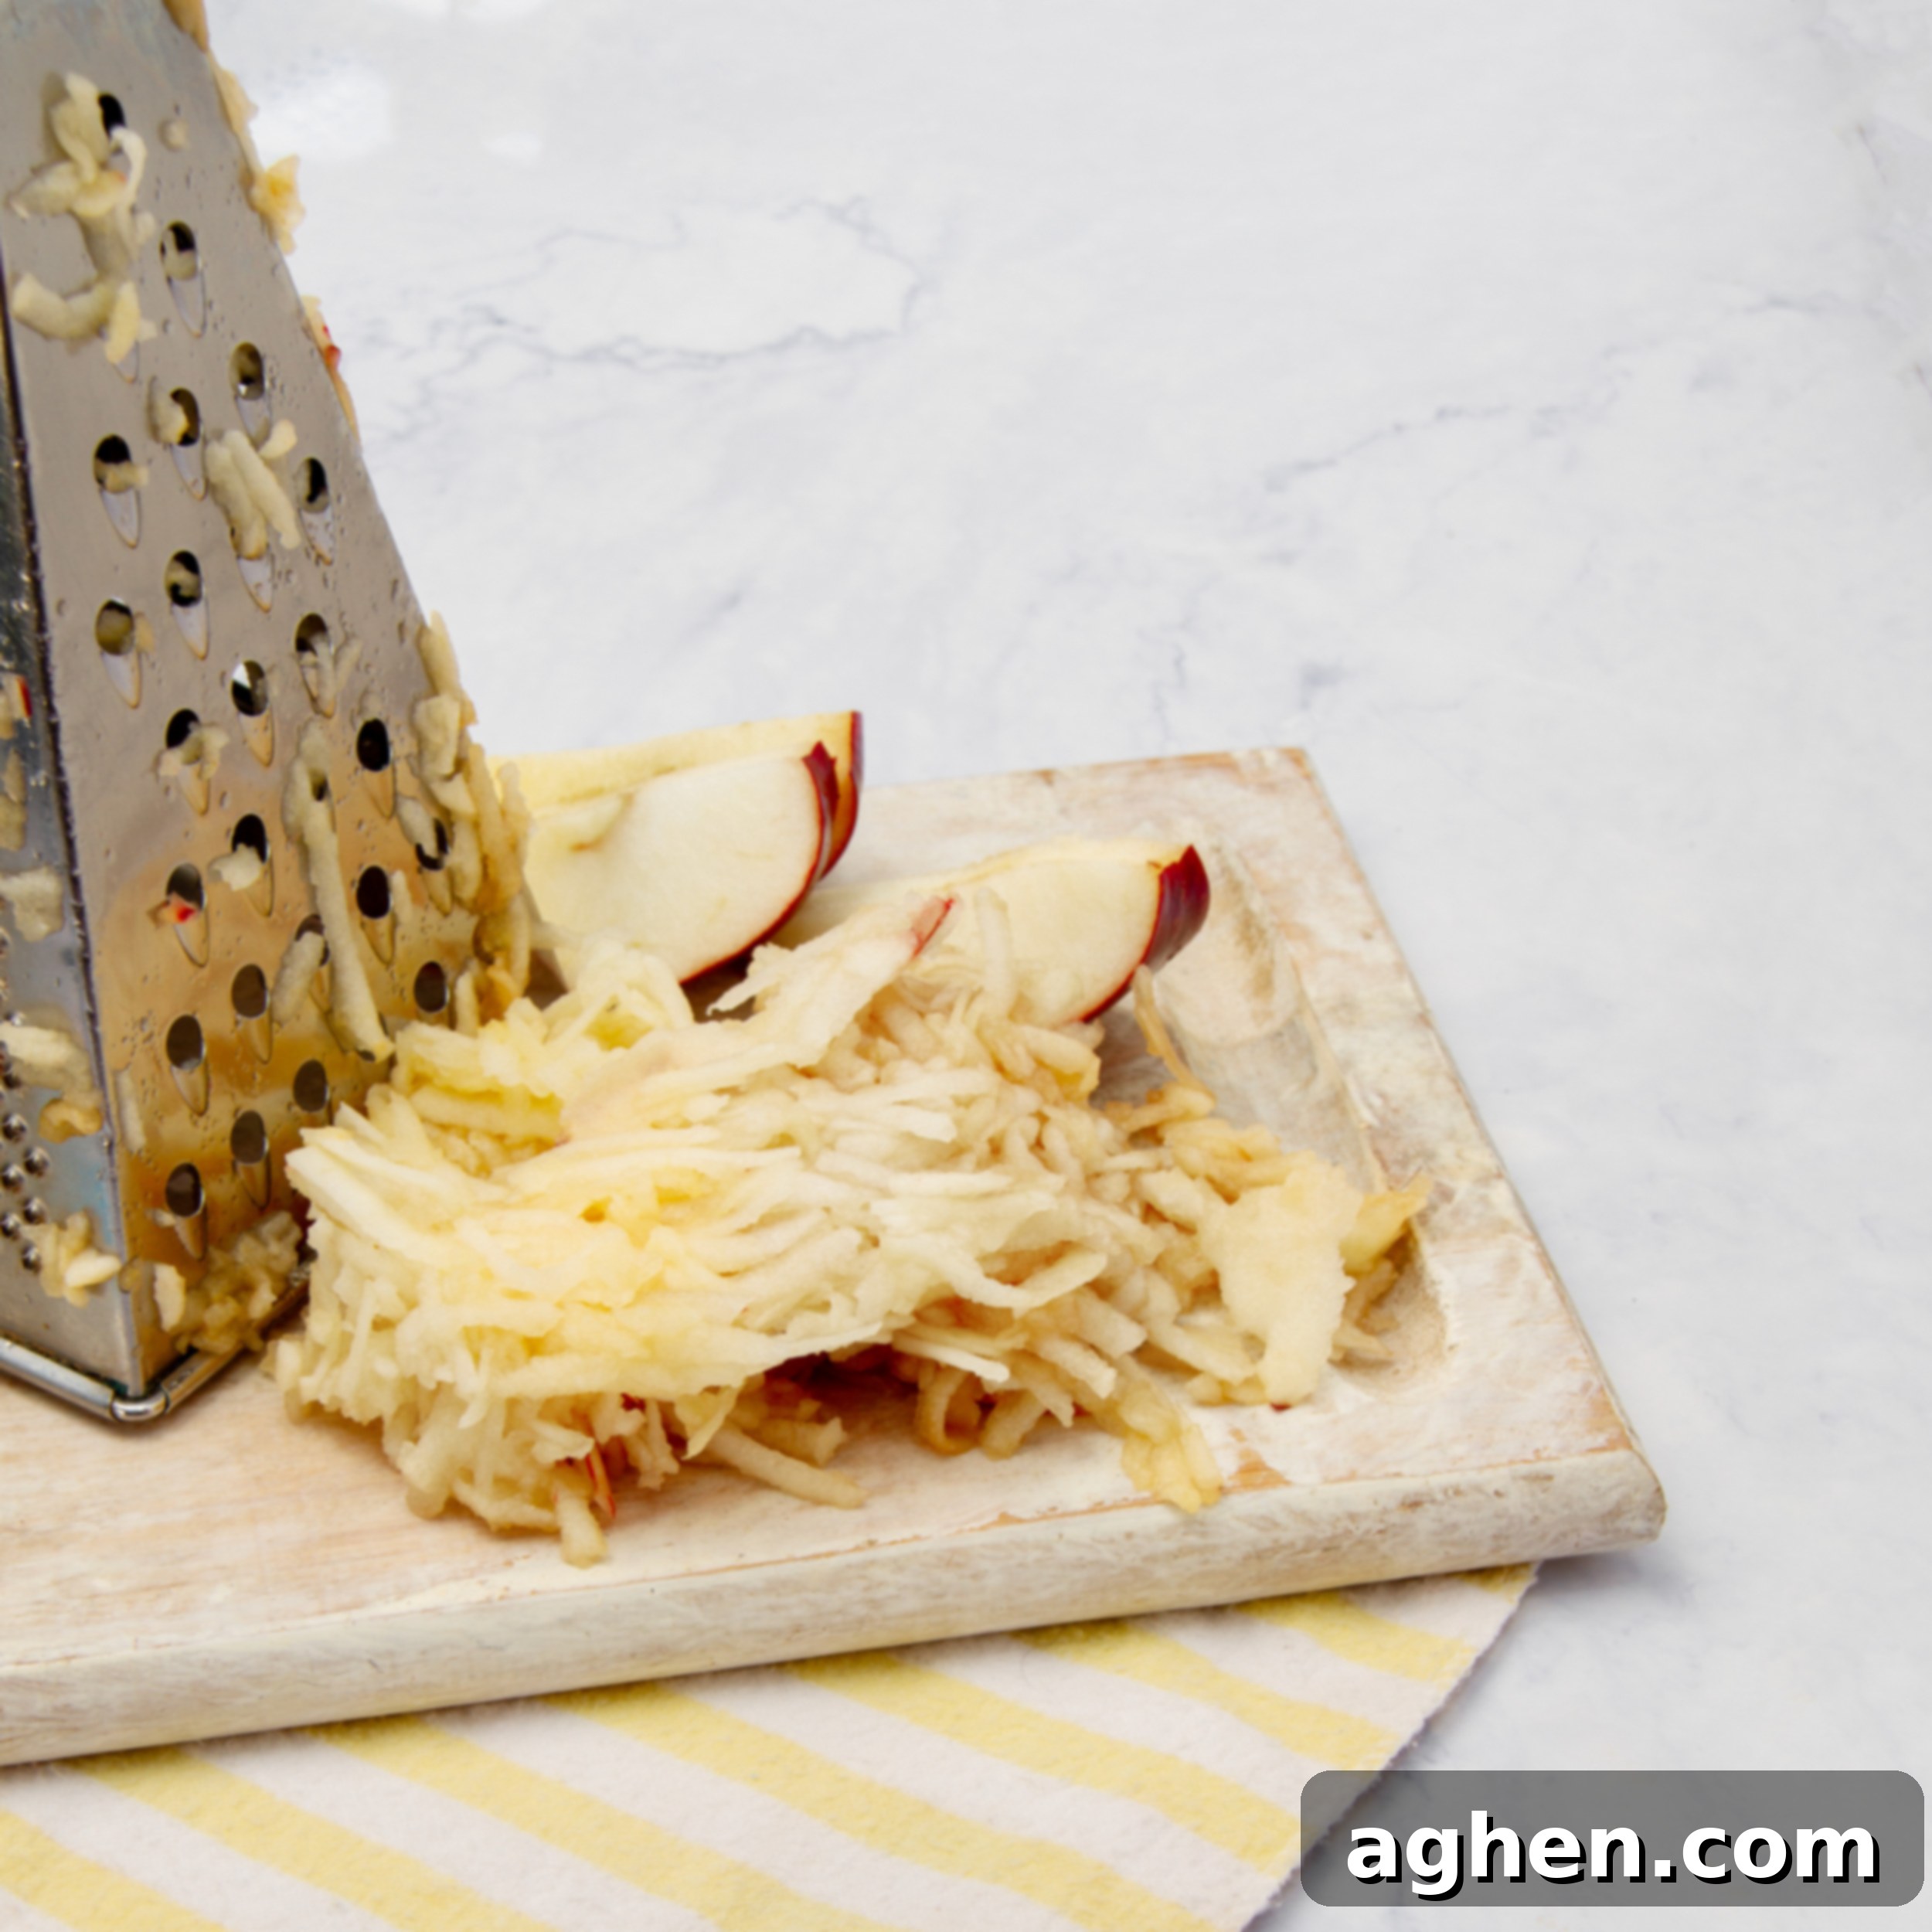
- Prepare the Ingredients Thoroughly: Begin by preparing your apples. Peel them carefully, then remove the core, and grate them using a box grater or food processor. Grating helps the apples break down quickly and evenly during cooking, contributing to a smooth jam base. To prevent the grated apples from browning due to oxidation, you can sprinkle a few drops of lemon juice over them and toss gently. This simple trick maintains their fresh appearance.
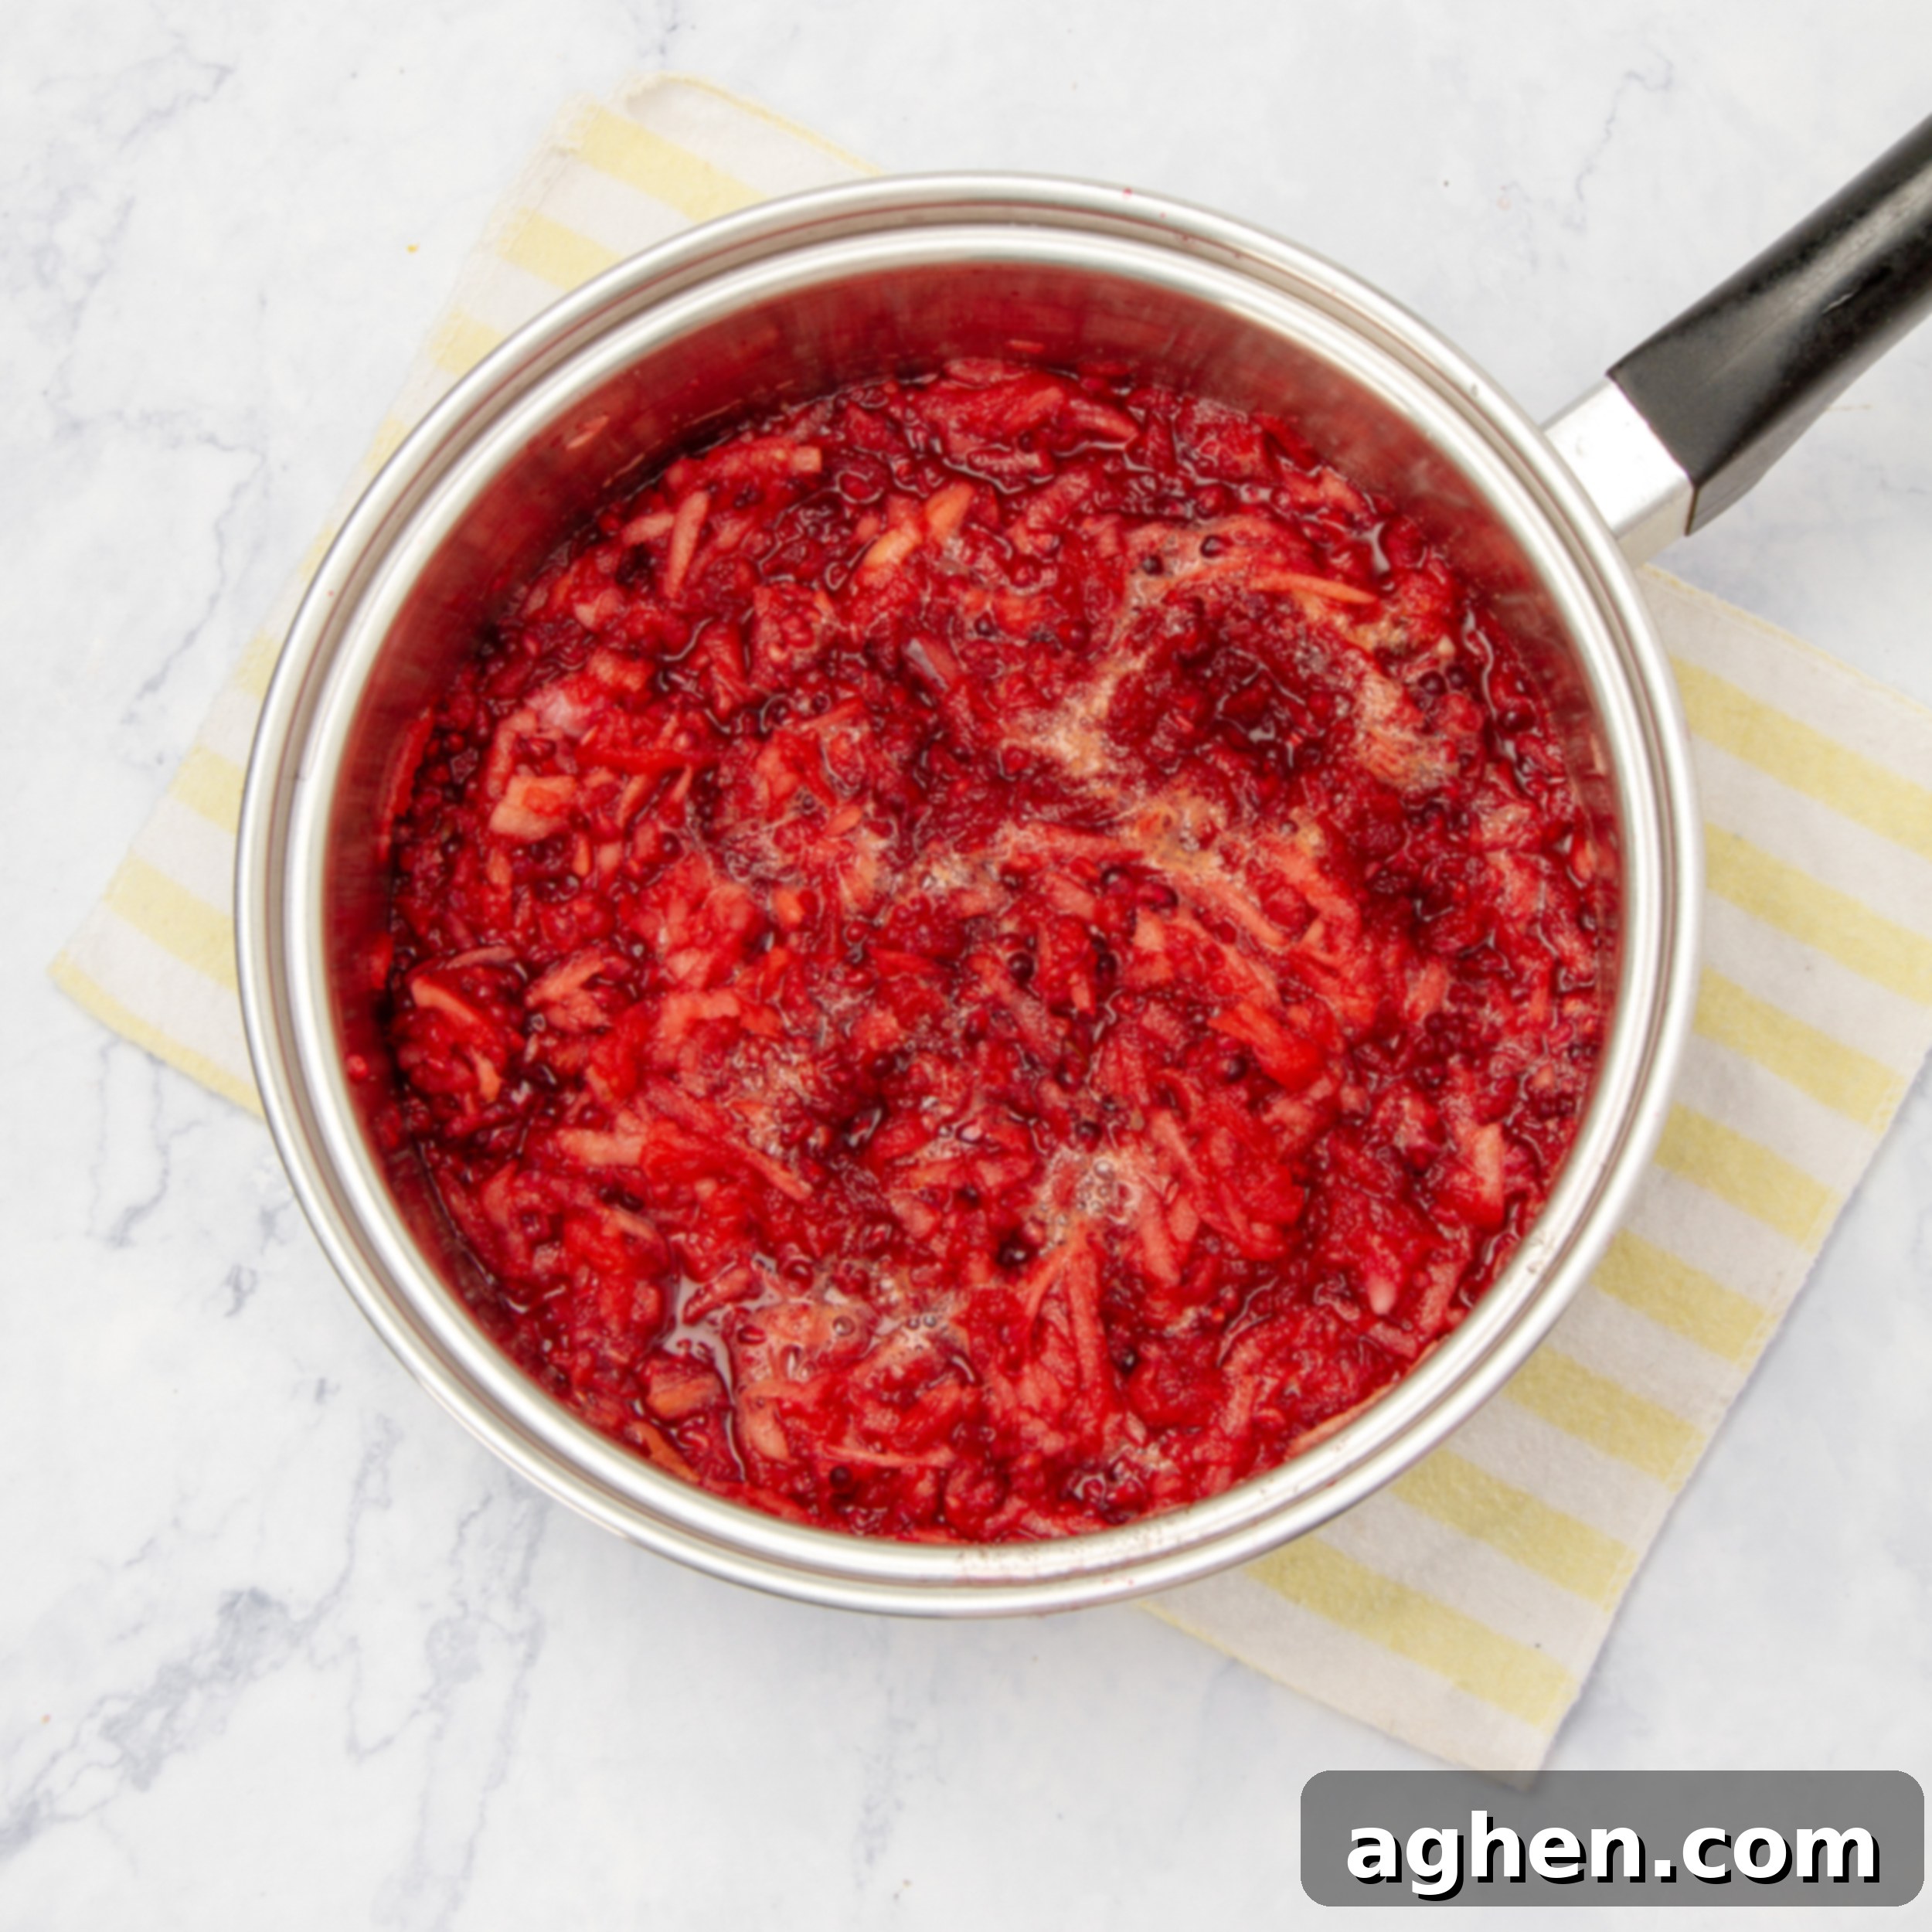
- Begin Cooking the Fruit Mixture: In a large, heavy-bottomed saucepan, combine the grated apples and the blackberries. Pour in the ½ cup of water. Stir everything together well to ensure the fruits are evenly distributed and the water begins to coat them. Place the saucepan over medium heat. Allow the mixture to slowly come to a gentle simmer. Continue to cook for approximately 25-30 minutes, stirring occasionally to prevent sticking and ensure even cooking. During this time, the fruits will soften significantly and begin to break down, releasing their natural juices and flavors.
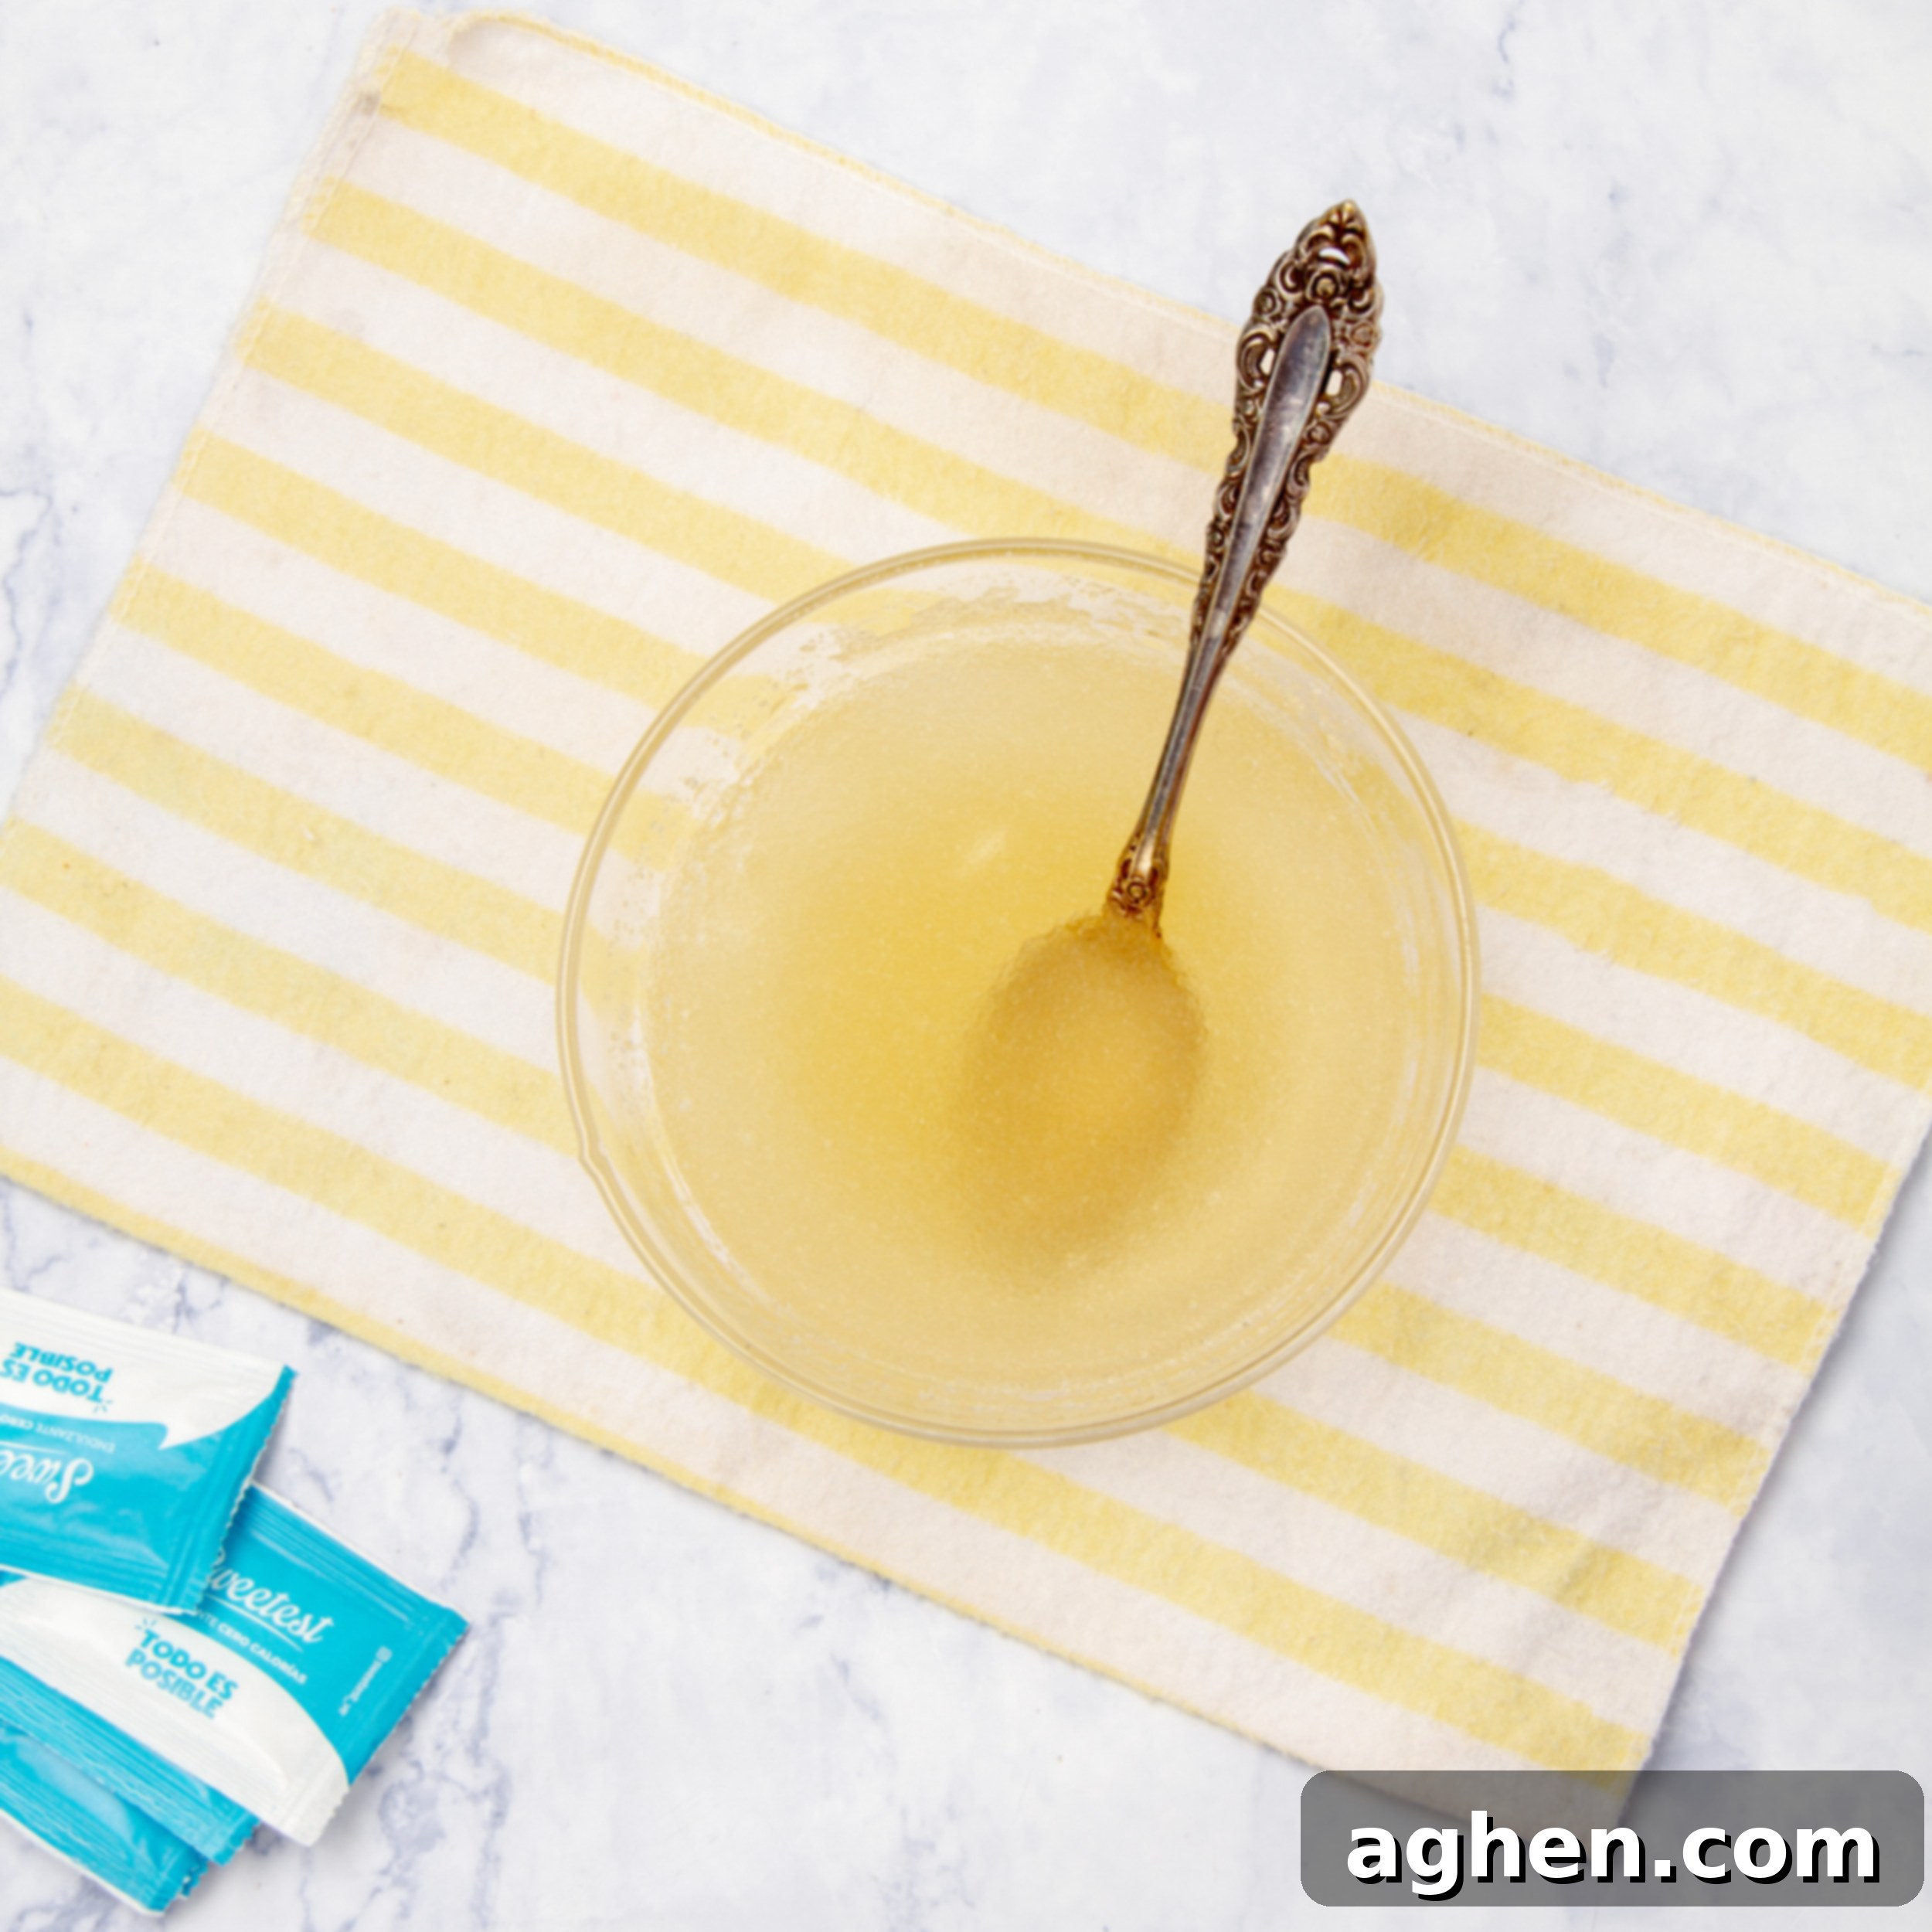
- Prepare and Stir in the Gelatin: While your fruit mixture is simmering, it’s time to prepare your thickening agent. In a small separate bowl, dissolve the 1 teaspoon of powdered gelatin in 6 tablespoons of cold water. Stir it thoroughly and then let it sit undisturbed for a few minutes. You’ll notice the gelatin will absorb the water and “bloom,” becoming thick and somewhat jelly-like. This step is crucial for its proper dissolving and thickening power later.
- Thicken the Fruit Base: Once the fruit mixture in your saucepan has cooked down, is soft, and well-broken, remove the saucepan from the heat. Immediately stir in the bloomed gelatin mixture. Stir continuously and vigorously until the gelatin fully dissolves into the hot fruit. The residual heat from the fruit mixture is enough to melt the gelatin, ensuring it integrates smoothly without clumping.
- Sweeten the Jam to Perfection: Now comes the crucial step of sweetening. Add the stevia to the fruit mixture, starting with 5 packets. Stir it in thoroughly and then taste a small spoonful (carefully, as it will be hot!). Apples and blackberries vary in natural sweetness and tartness, so it’s important to adjust. If you prefer a sweeter jam, add more stevia one packet at a time until it reaches your desired level of sweetness.
- Final Simmer for Consistency: Return the saucepan to the stove, setting the heat to low. Allow the jam to simmer for another 5-10 minutes. This final simmer helps the jam thicken slightly further and allows the flavors to meld beautifully. Continue to stir occasionally during this stage to prevent the jam from sticking to the bottom of the pan and ensure even consistency. You can test the consistency by spooning a small amount onto a cold plate and letting it cool; if it sets, it’s ready.
- Allow the Jam to Cool: Once your jam has reached the perfect desired consistency, remove it completely from the heat. Let it cool for a few minutes in the saucepan before transferring to jars. This helps it set slightly and prevents thermal shock to your glass jars.
- Store Properly for Freshness: Carefully pour the warm jam into sterilized glass jars. Leave a small amount of headspace at the top, typically about a quarter-inch. Seal the jars tightly with their lids. Allow the jars to cool completely at room temperature before transferring them to the refrigerator. Proper sterilization and cooling are key for preservation.
- Serving Suggestions and Storage: Your homemade Apple Blackberry Jam is now ready to be savored! Store the sealed jars in the refrigerator, where they will keep fresh for up to 3 weeks. This versatile jam pairs exquisitely with warm toast, swirled into creamy yogurt, dolloped over fluffy pancakes, or even as a flavorful topping for oatmeal. Enjoy the wholesome taste of homemade goodness!
Creative Variations & Smart Substitutions for Your Jam
The true charm of homemade jam lies in its incredible versatility. Don’t hesitate to experiment with different fruits and flavorings to create unique spreads tailored to your preferences. Here are some ideas to inspire your next batch:
- Experiment with Different Berries: While this recipe perfectly highlights apples and blackberries, feel free to swap the blackberries for other delicious berries. Strawberries can add a sweeter, brighter note; raspberries bring a delightful tartness and vibrant color; and blueberries offer a milder, slightly earthy sweetness. By incorporating various fruits, you can introduce different flavor profiles and beautiful shades, allowing you to create a range of jams that cater to every taste and season. Consider combinations like apple-raspberry or apple-blueberry for equally delightful results.
- Explore Alternative Sweeteners: This recipe uses stevia to keep it sugar-free and Weight Watchers-friendly. However, if you prefer, you can easily substitute it with other natural or artificial sweeteners. Monk fruit extract, erythritol, or even a sugar substitute blend like Splenda can work wonderfully. Remember that the potency of sweeteners can vary, so always start with a smaller amount, stir well, and taste as you go, adjusting until you achieve your preferred level of sweetness.
- Try Pears for a Different Base: Apples serve as an excellent base in this jam due to their natural pectin content and sweet-tart flavor. However, pears can make an equally fantastic substitute. When using pears, they will contribute a slightly different, perhaps softer, texture to the jam. Their subtle sweetness and delicate aroma complement the tartness of blackberries (or other berries) beautifully, offering a sophisticated twist on the classic flavor pairing. Ensure they are ripe but firm for best results.
- Add Spices or Citrus Zest: Elevate your jam’s flavor with aromatic additions. A pinch of cinnamon, nutmeg, or a dash of allspice can introduce a warm, comforting note, especially perfect for the autumn months. For a brighter, more zesty flavor, consider grating in some lemon or orange zest during the final simmering stage. These additions can transform your jam into something truly special and unique.
Expert Tips for Perfect Homemade Apple Blackberry Jam
To ensure your homemade Apple Blackberry Jam turns out perfect every time, keep these valuable tips and tricks in mind. They’ll help you achieve the ideal consistency, flavor, and shelf life for your delicious spread.
- Prevent Apple Browning Effectively: As mentioned in the instructions, apples tend to brown quickly once peeled and grated due to oxidation. To maintain their fresh, light color until you’re ready to cook, liberally sprinkle a few drops of lemon juice over them immediately after grating. Toss them gently to ensure an even coating. This small step makes a big difference in the final appearance of your jam.
- Adjust the Consistency to Your Liking: The beauty of homemade jam is that you control the final texture. If you prefer a slightly softer, more spreadable jam, you can cook it for a shorter duration or use slightly less gelatin than recommended. Conversely, if you desire a firmer set, cook it for a few extra minutes or add a tiny bit more gelatin next time. You can test the consistency by placing a small spoonful on a chilled plate, letting it cool, and then pushing it with your finger; if it wrinkles, it’s set.
- Properly Sterilize Your Glass Jars: For safe storage and to prevent spoilage, it is crucial to properly sterilize your glass jars and lids before filling them with jam. You can do this by boiling them in water for at least 10 minutes, running them through a hot cycle in a dishwasher, or heating them in an oven. Ensure they are completely dry before pouring in the jam. This step extends the jam’s shelf life and ensures food safety.
- Taste and Adjust Sweetness Continuously: The natural sweetness of apples and the tartness of blackberries can vary significantly based on their ripeness and variety. Therefore, always taste your jam mixture before adding the gelatin. This allows you to fine-tune the amount of sweetener (stevia in this case) to perfectly suit your palate. It’s easier to add more sweetness than to try and reduce it!
- Ensure Proper Storage for Longevity: Once your jam is cooked and has reached your desired consistency, allow it to cool completely at room temperature within the sealed jars. Proper cooling and sealing create a slight vacuum that aids in preservation. Store your homemade Apple Blackberry Jam in the refrigerator. For the best flavor and texture, aim to consume it within 3 weeks. If you make a larger batch, consider freezing portions in airtight containers for up to 3-6 months.
- Troubleshooting Common Jam Issues: If your jam turns out too runny, you can gently simmer it for a bit longer to reduce the liquid, or add a very small amount of additional bloomed gelatin. If it’s too thick, you can carefully thin it out with a tablespoon or two of hot water, reheating gently until incorporated. Don’t be afraid to adjust; practice makes perfect!
Making your own Apple Blackberry Jam at home is a truly rewarding experience. Not only do you get to enjoy a healthier, all-natural product free from unwanted additives and sugars, but you also have the immense satisfaction of knowing exactly what went into it. It’s a delightful and fun way to experiment with flavors, perfect your culinary skills, and create a truly personalized spread that you and your entire family will cherish.
Apple Blackberry Jam
Ingredients
- 3 large apples, peeled, cored, and grated (about 4 cups or 500 g)
- 2 cups blackberries, 300 g
- ½ cup water, 120 ml
- 1 teaspoon powdered gelatin, 5 g
- 5 packets stevia, or to taste
Instructions
-
Prepare the Ingredients: Peel, core, and grate the apples. To prevent browning, you can sprinkle a few drops of lemon juice over them.
-
Cook the Fruit: In a large saucepan, combine the grated apples and blackberries. Add the 1/2 cup of water and stir to mix the fruits. Place the saucepan over medium heat and bring the mixture to a simmer. Let it cook for about 25-30 minutes, stirring occasionally, until the fruits break down and become soft.
-
Stir Gelatin: While the fruit is cooking, dissolve the teaspoon of powdered gelatin in 6 tablespoons of cold water. Let it sit for a few minutes until it blooms (thickens).
-
Thicken: Once the fruit mixture is soft and well-cooked, remove it from the heat. Stir in the bloomed gelatin until it fully dissolves into the hot fruit.
-
Sweeten: Add the stevia to the fruit mixture, starting with 5 packets. Stir well and taste. Adjust the sweetness to your liking by adding more stevia if needed.
-
Simmer the Jam: Return the saucepan to the stove over low heat. Simmer the jam for another 5-10 minutes, allowing it to thicken slightly. Stir occasionally to prevent it from sticking to the bottom of the pan.
-
Let it cool: Once the jam has reached your desired consistency, remove it from the heat and let it cool for a few minutes.
-
Store the Jam: Pour the jam into sterilized glass jars, leaving a little space at the top. Seal the jars tightly with lids and let them cool completely at room temperature. Store the jars in the refrigerator for up to 3 weeks.
-
Serving: Your Apple Blackberry Jam is now ready to enjoy! This jam pairs beautifully with toast, yogurt, or as a topping for pancakes.
Notes
Nutrition
Nutrition information is automatically calculated, so should only be used as an approximation.
