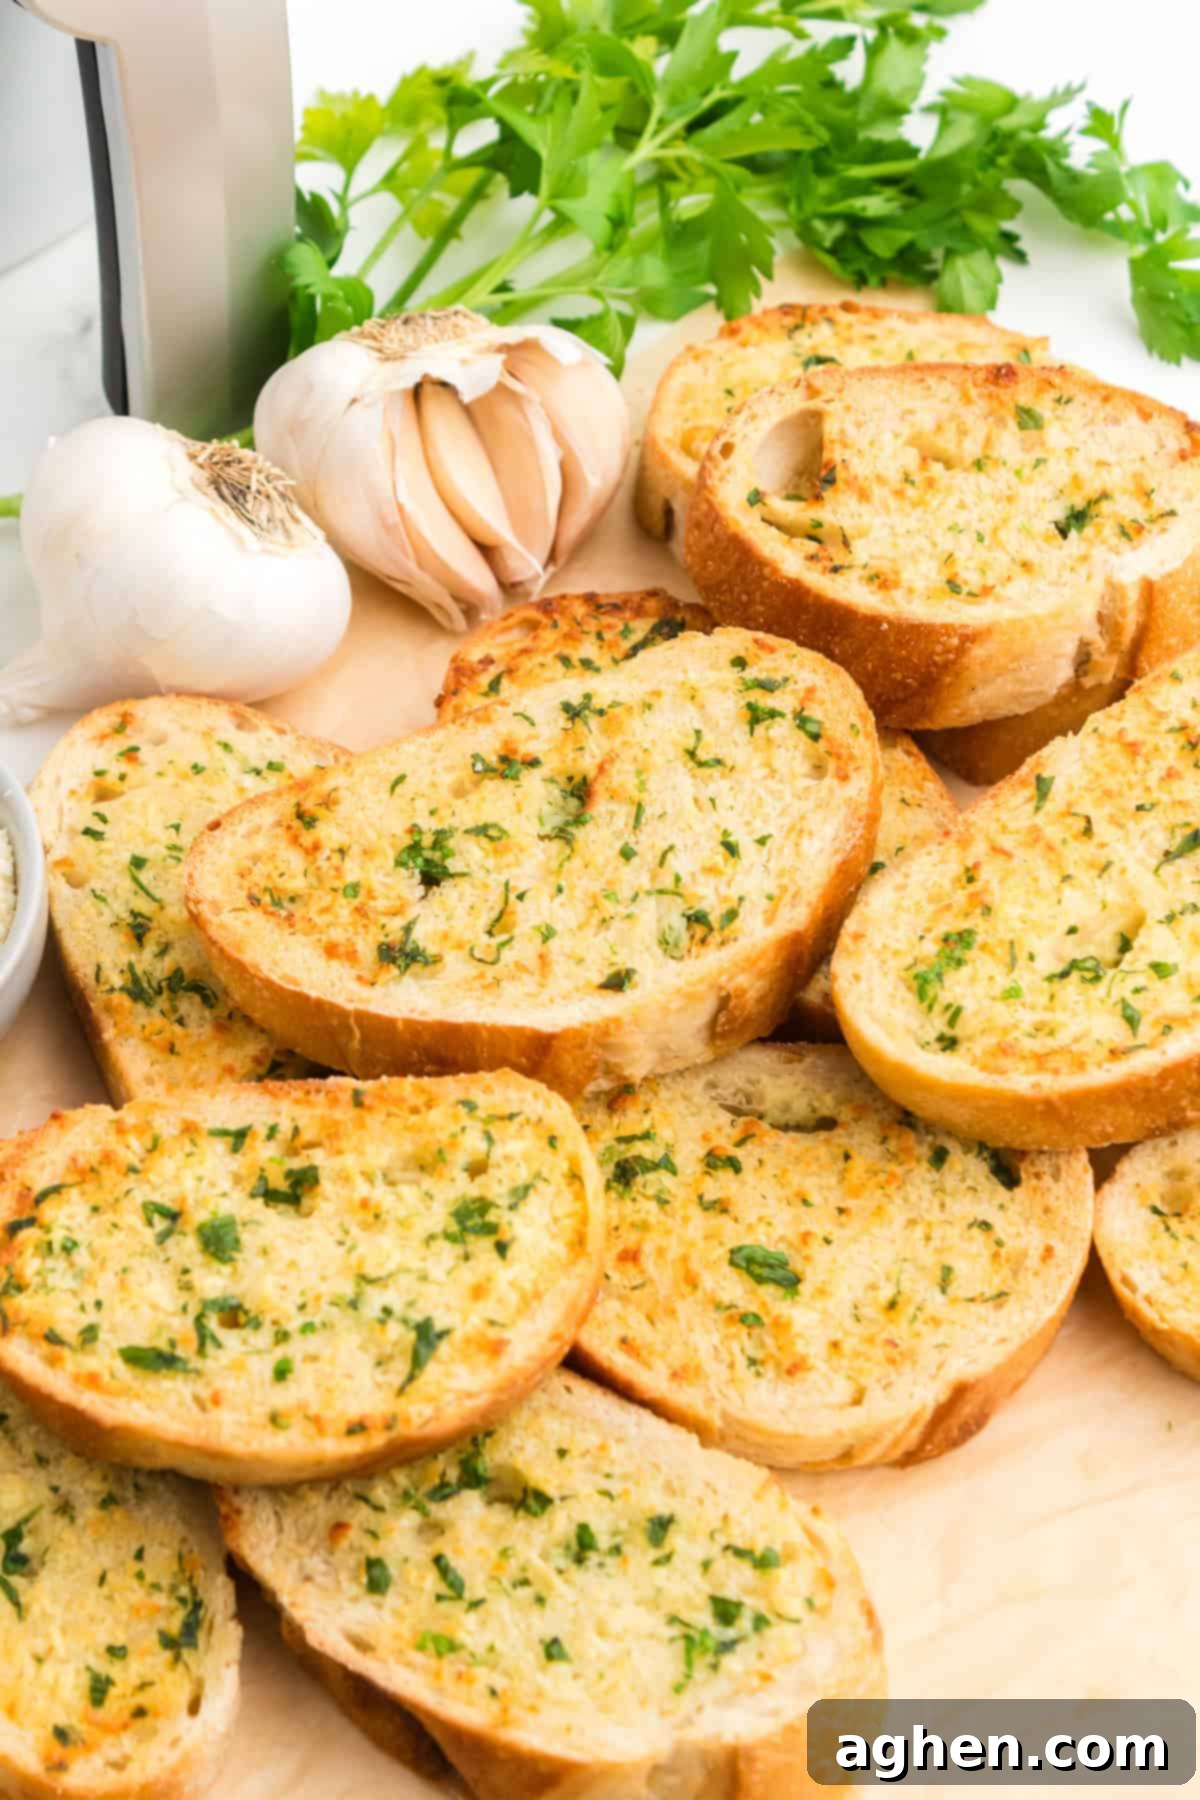
The Best Crispy Air Fryer Garlic Bread: Your New Go-To Recipe for Homemade Perfection
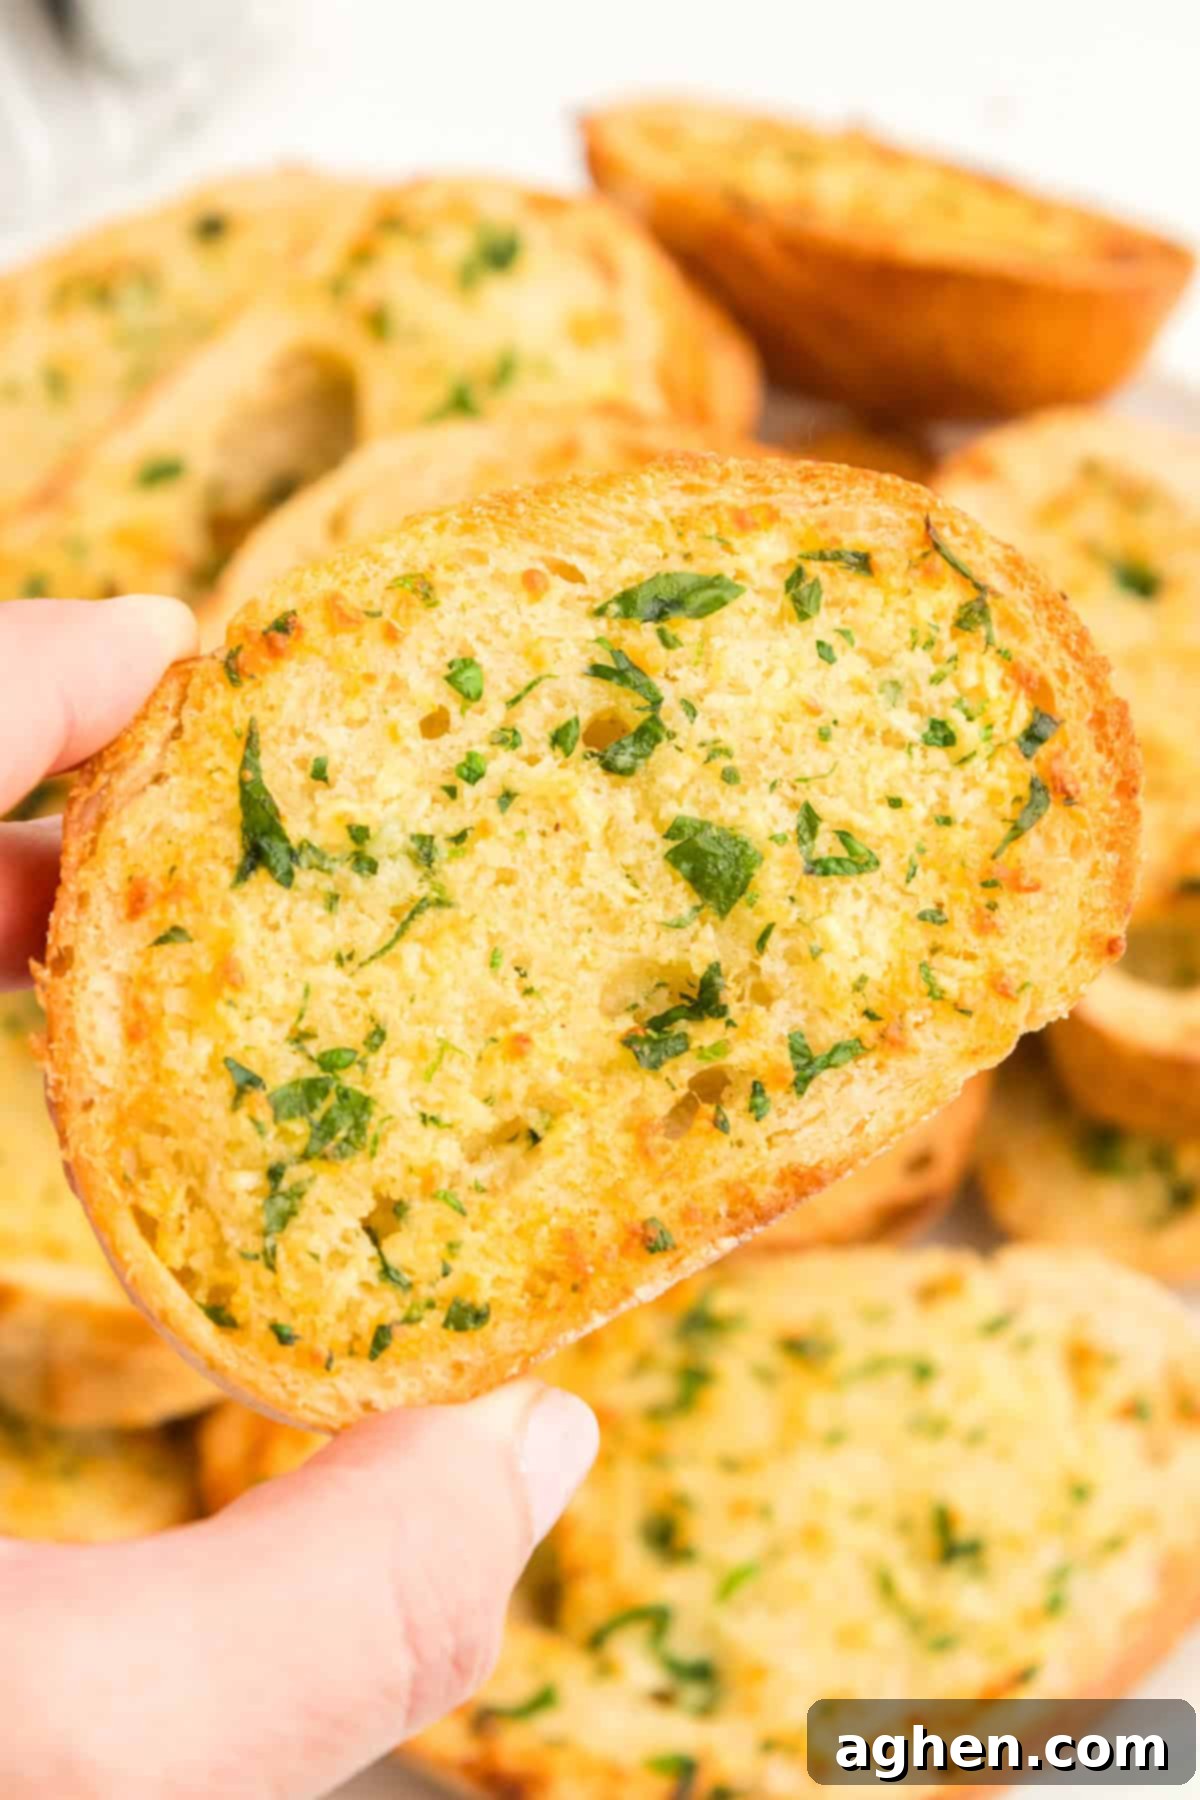
Prepare to elevate your side dish game with this incredible air fryer garlic bread recipe! Forget soggy, store-bought versions; this method delivers perfectly crispy, outrageously buttery, and intensely flavorful garlic bread in mere minutes. Crafted with simple, fresh ingredients like quality Italian bread, rich melted butter, aromatic garlic, savory Parmesan cheese, and vibrant fresh herbs, it boasts an irresistible texture that makes it the ultimate companion for all your favorite meals. Whether you’re serving up hearty soups, comforting casseroles, slow-cooked stews, or classic pasta dinners, this homemade garlic bread is guaranteed to be a crowd-pleaser and a staple in your kitchen.
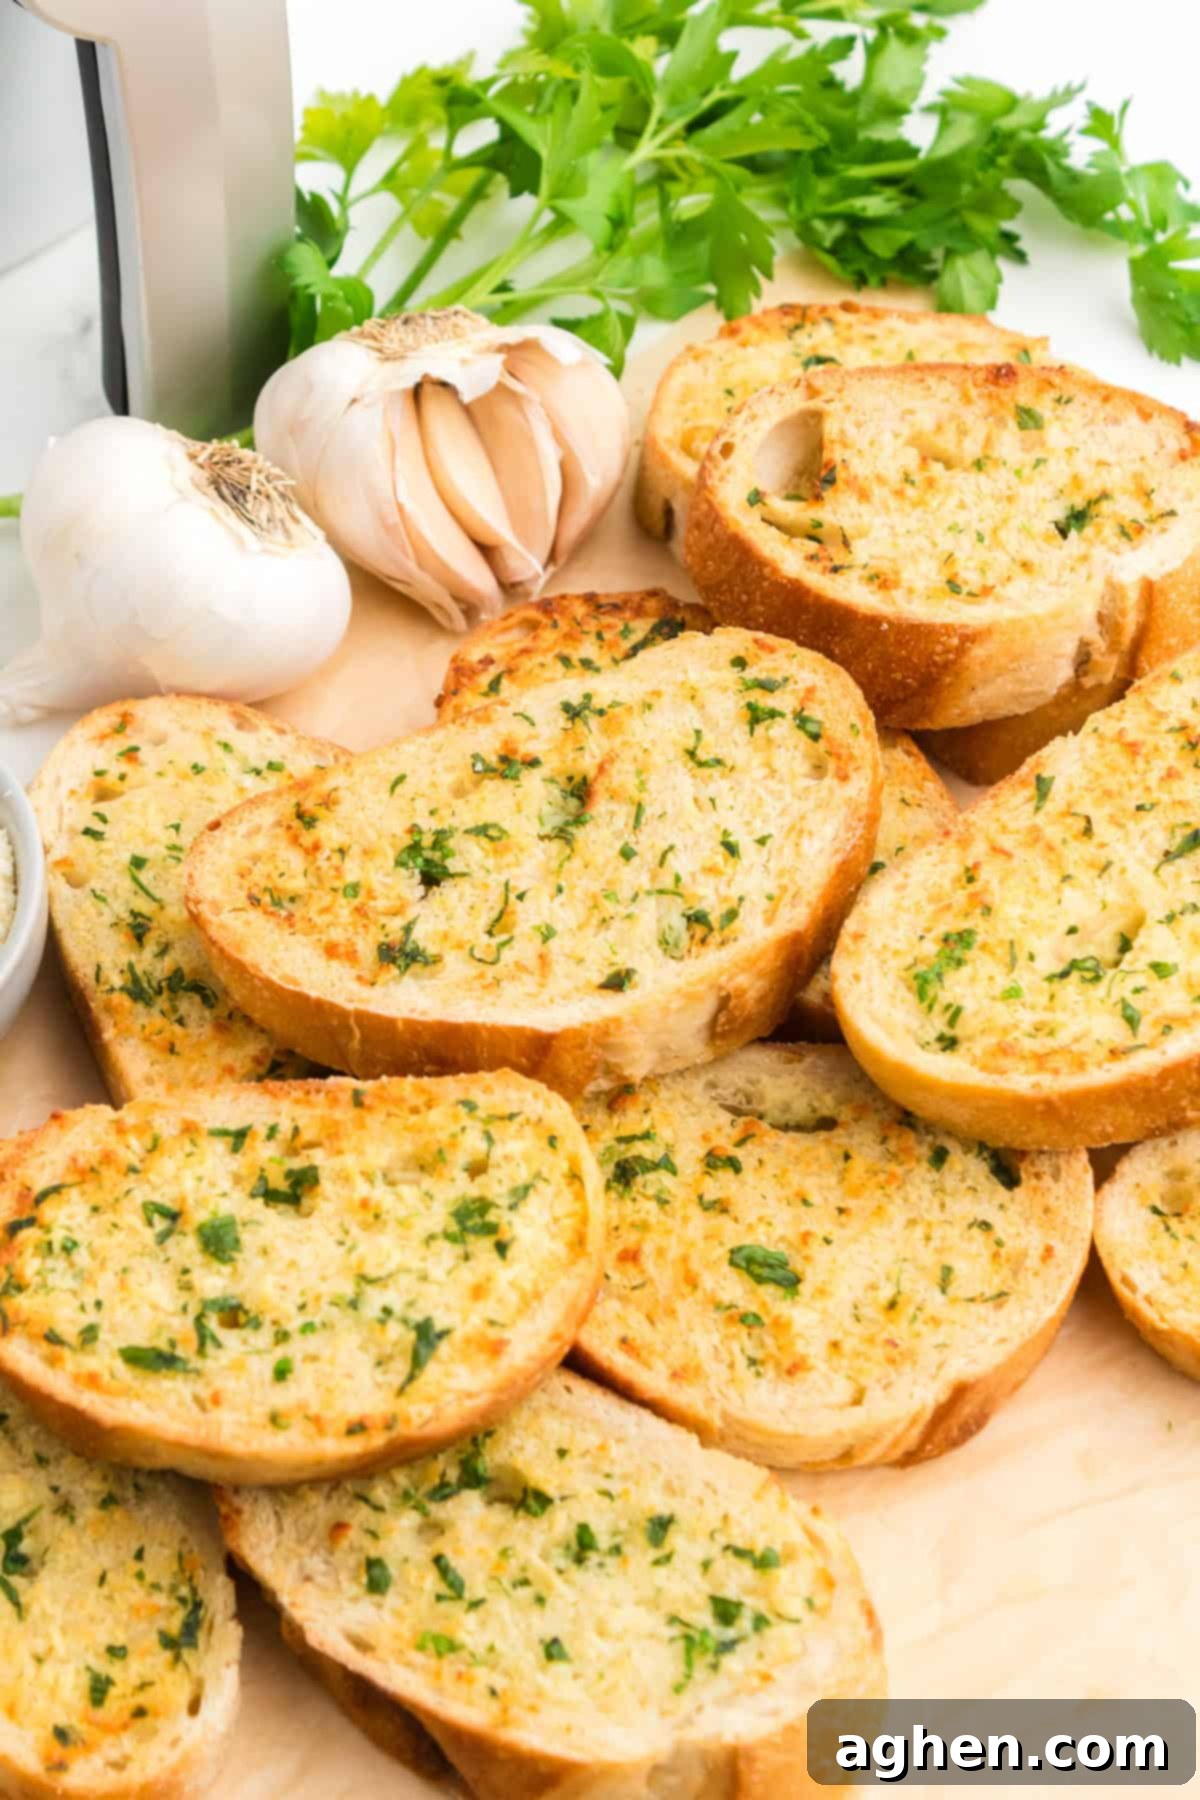
When friends and family ask me if investing in an air fryer is truly worth the hype, my usual response is that the hype barely scratches the surface of its genius! This versatile kitchen appliance has completely transformed the way I approach cooking, making everything from delectable chocolate chip cookies to savory ham and juicy hamburgers. The ability to cook quickly, effortlessly, and often in smaller batches without the need to fire up a conventional oven is nothing short of revolutionary. It’s perfect for busy weeknights or when you simply want to avoid heating up your entire kitchen.
Given the air fryer’s unparalleled convenience and efficiency, it’s only natural that crafting homemade garlic bread in it would be an absolute must-try! For my family, a basket of warm, aromatic bread on the table is non-negotiable, especially on spaghetti and soup nights. We relish having something perfectly crisp and sturdy enough to soak up every last drop of delicious sauce or broth. While any bread is a welcome side, garlic bread elevates the experience to a whole new level. So, why not harness the power of the air fryer to achieve that perfect golden crunch and buttery interior?
Why You’ll Fall in Love with This Air Fryer Garlic Bread
This recipe isn’t just good; it’s a game-changer for anyone who loves garlic bread but also values speed and simplicity. Here’s why you’ll be making it again and again:
- Made with a Handful of Simple, Wholesome Ingredients: You won’t find any complicated steps or obscure items on this list. Just fresh bread, real butter, garlic, a touch of Parmesan, and a sprinkle of herbs come together to create magic. These everyday staples ensure a pure, authentic flavor that truly shines.
- Homemade Garlic Bread Tastes Infinitely Better: Ditch those sad, frozen loaves from the supermarket freezer aisle. This homemade version boasts a freshness and depth of flavor that pre-packaged options simply cannot replicate. The vibrant garlic, rich butter, and fresh herbs create a superior taste and aroma that will have everyone reaching for more.
- Achieves that Irresistible “Texas Toast” Quality: If you’re a fan of thick, perfectly crispy, and generously buttery Texas toast, then this recipe is for you. The air fryer works wonders, creating a golden-brown crust and a tender, flavorful interior that truly mimics that beloved restaurant-style texture.
- Ready in Just 15 Minutes (or Less!): From prep to plate, this entire recipe takes a mere 15 minutes. This makes it an ideal last-minute side dish for any meal, eliminating the dreaded “oven hog” scenario. No more squabbles over the last slice – it’s so quick to make, you can easily whip up another batch!
- No More Soggy Centers: The circulating hot air of the air fryer ensures even cooking, resulting in consistent crispness from edge to edge, without leaving the center greasy or soft.
Essential Ingredients for Your Garlic Bread
This section delves into the key ingredients, offering detailed notes and flexible substitution options. You can find all precise measurements, a comprehensive ingredient list, and step-by-step instructions in the printable recipe card conveniently located at the end of this post.
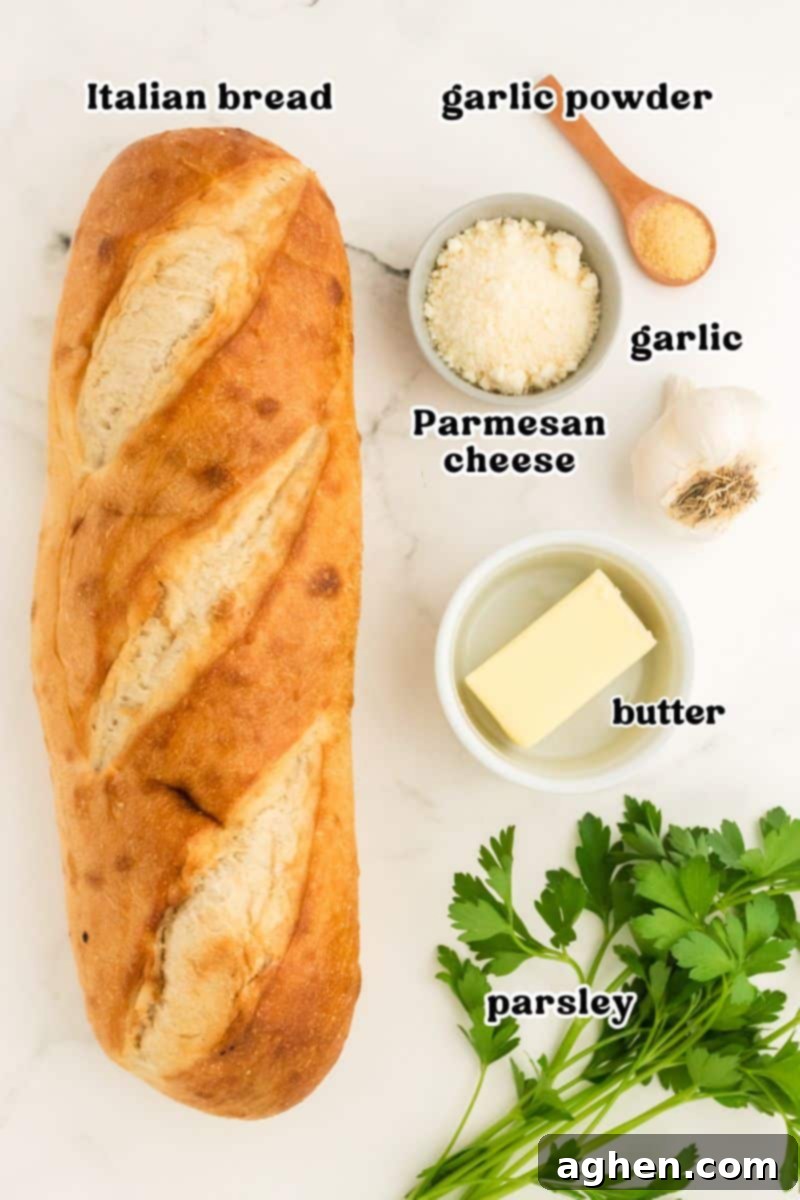
- Bread: For the most authentic and satisfying garlic bread, a good quality loaf of Italian bread or French bread is highly recommended. These types of bread provide a substantial canvas, yielding a delightfully crispy crust and a soft, airy crumb that’s perfect for absorbing the buttery garlic goodness. They’re also ideal for cutting into thicker, chunkier slices, reminiscent of classic Texas Toast.
- Substitution Tip: While Italian or French bread is preferred, you can also use a baguette for smaller, crispier pieces, ciabatta for a chewier texture, or even thick-sliced sandwich bread or Texas toast for convenience. Just remember to adjust cooking times accordingly as thinner breads will cook faster.
- Butter: I typically reach for unsalted butter. While you could use salted butter, I find that the natural saltiness from the Parmesan cheese usually provides ample seasoning. Using unsalted butter also gives you more control over the overall salt content of your garlic bread, allowing you to season it perfectly to your taste.
- Garlic: To achieve that undeniably robust and irresistible garlic flavor, I employ a winning combination: both fresh garlic (finely minced or grated) and a touch of garlic powder. The fresh garlic provides a pungent, aromatic kick, while the garlic powder adds a deeper, more rounded garlicky essence that permeates every bite. Don’t underestimate the power of this duo!
- Parmesan Cheese: This ingredient is entirely optional but highly encouraged if you adore cheesy garlic bread! Grated Parmesan cheese not only adds a wonderful savory, umami note but also contributes to that gorgeous golden-brown crispness as it melts and lightly toasts. It truly elevates the flavor profile.
- Fresh Parsley: Never underestimate the power of fresh herbs! Fresh parsley is a fantastic flavor pairing with garlic, Parmesan, and butter. Its bright, slightly peppery, and herbaceous notes cut through the richness, adding a refreshing contrast and a beautiful pop of color. For the absolute best taste and presentation, do not skip the fresh herbs.
How to Prepare the Best Garlic Bread in Your Air Fryer
This section provides a clear, step-by-step guide with accompanying photos to ensure your garlic bread turns out perfectly every time. For the comprehensive printable recipe with all exact measurements, please refer to the recipe card found further down this page.
Before you begin, gather all your ingredients and ensure your air fryer is ready to go. The beauty of this recipe lies in its simplicity and speed, making it an ideal choice for busy cooks!
Step 1: Prepare the bread. Using a sharp serrated knife, carefully slice your loaf of Italian or French bread into uniform 1/2-inch thick pieces. Aim for consistency in thickness to ensure even cooking and browning. Depending on the length of your chosen loaf, you should yield approximately 12-14 slices. Lay these bread pieces out flat on a clean surface, ready for the next step.
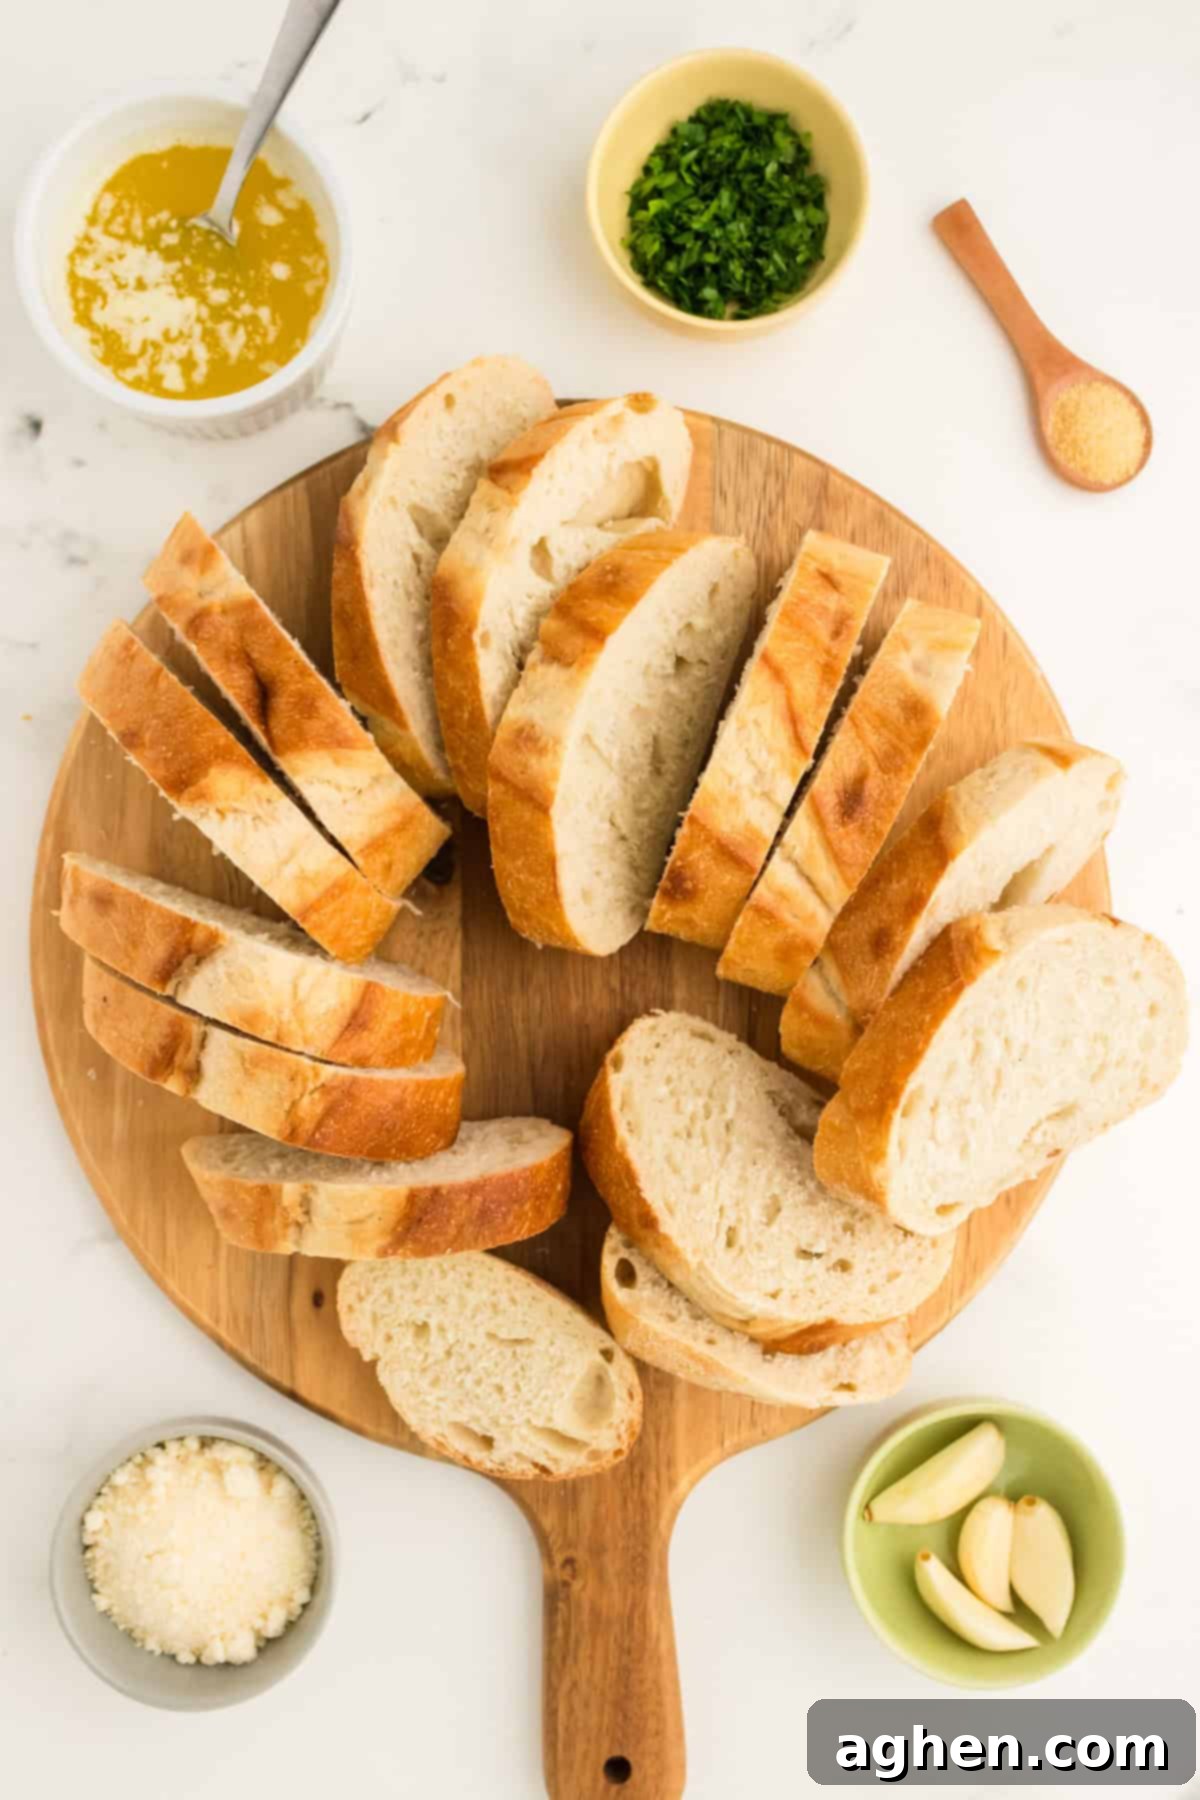
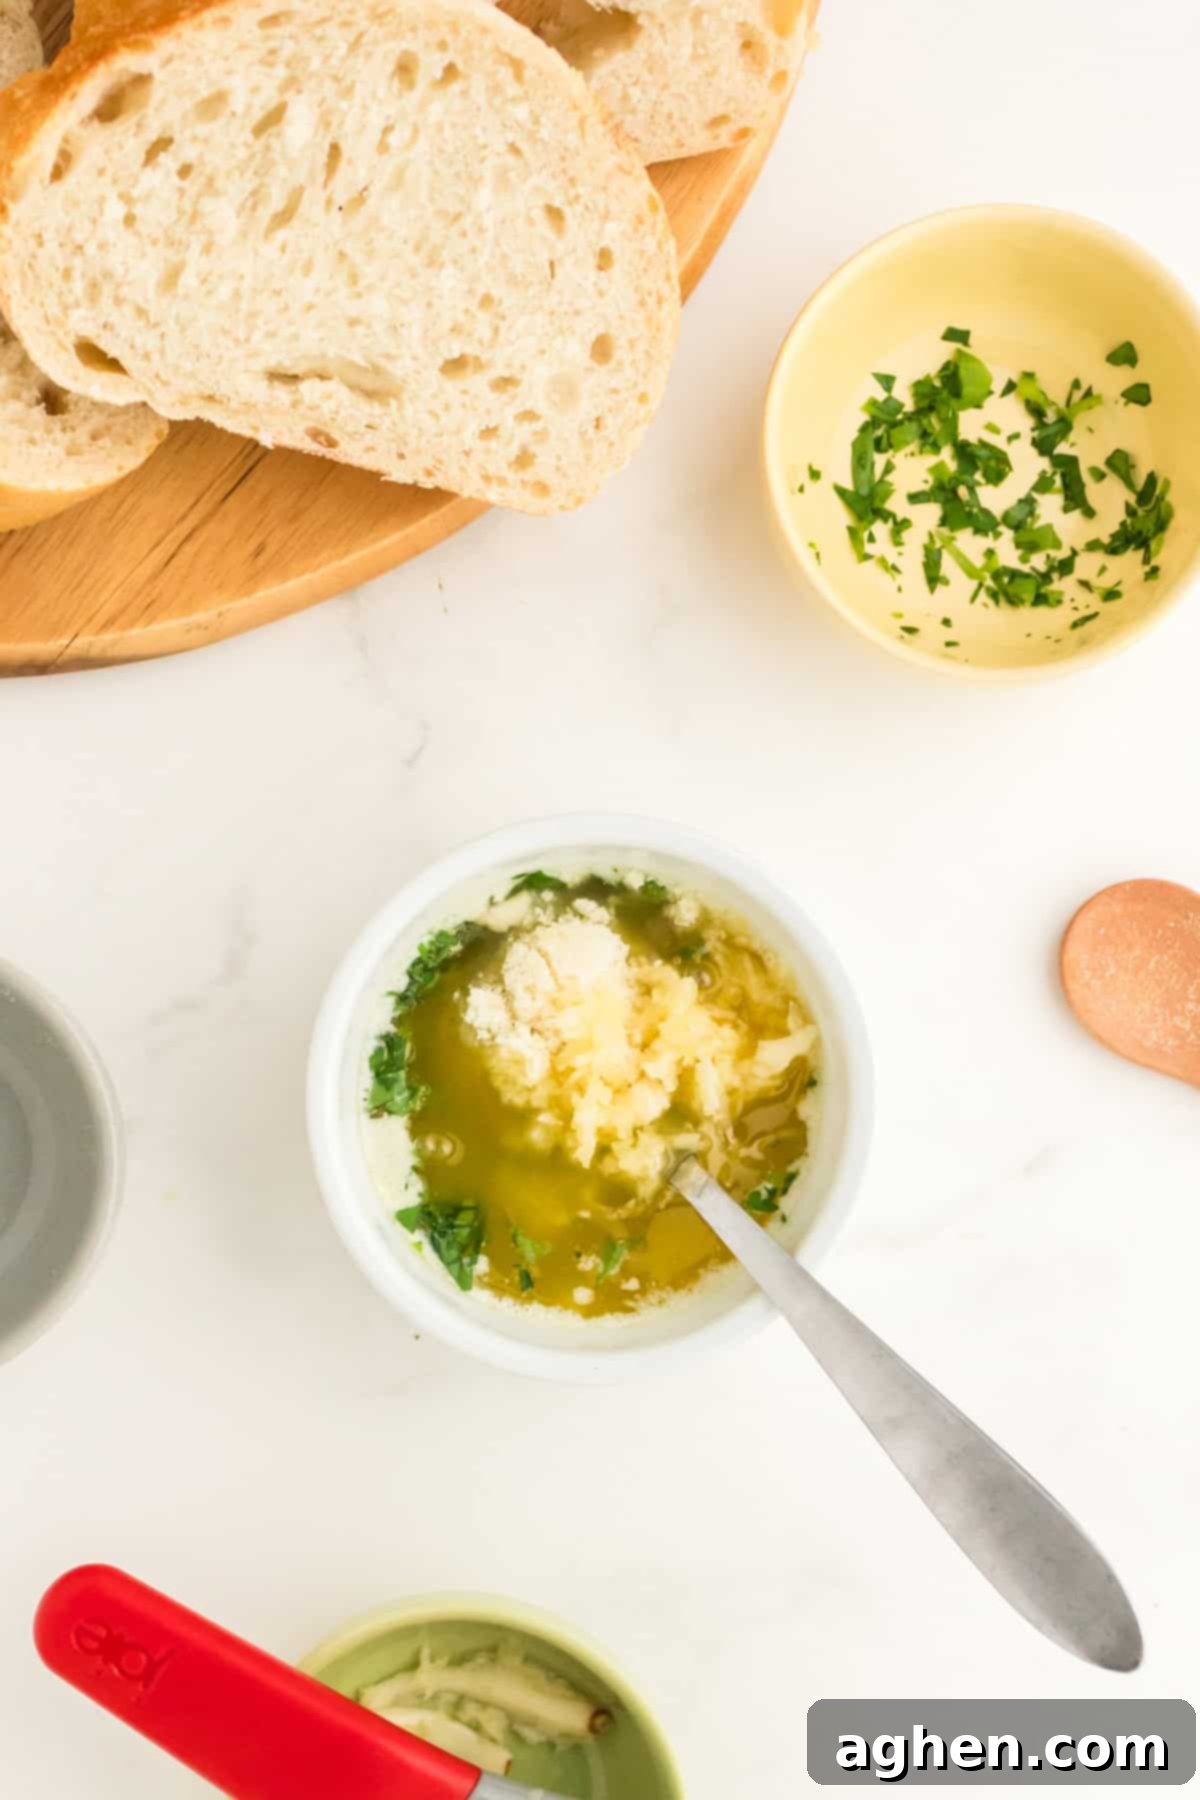
Step 2: Create the flavorful garlic butter mixture. In a small, microwave-safe bowl, gently melt the unsalted butter. This typically takes about 30 seconds in most microwaves, but keep an eye on it to prevent it from sputtering. Once melted, stir in your freshly minced or grated garlic, a dash of garlic powder for extra depth, the grated Parmesan cheese (if using), and your vibrant fresh parsley. Mix these ingredients thoroughly until they are well combined, creating a rich, aromatic paste.
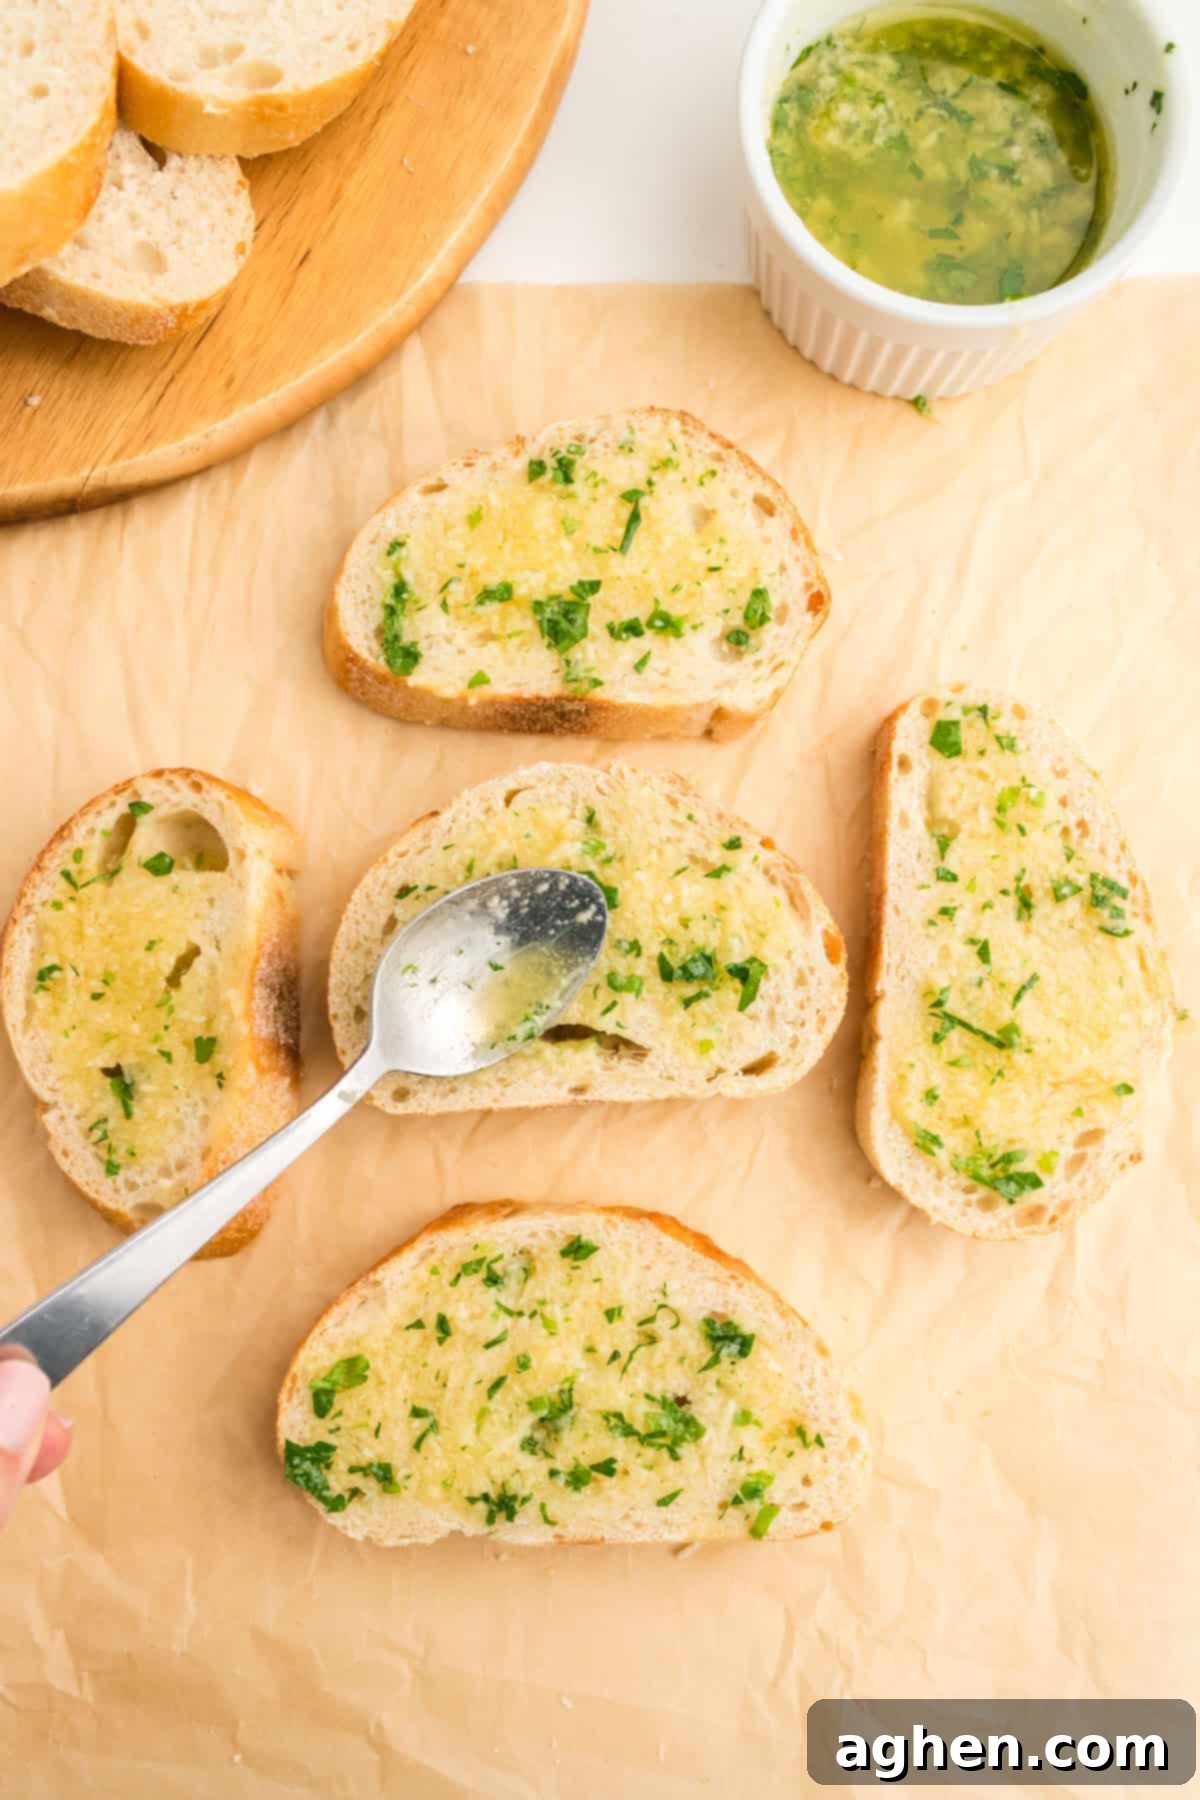
Step 3: Evenly spread the mixture onto the bread. Take approximately 2 teaspoons of your fragrant buttery garlic mixture and spoon it onto each slice of bread. Using the back of the spoon, or a small spatula, carefully spread the mixture evenly across the entire surface of each slice. Ensure good coverage, as this is where all that incredible flavor will come from!
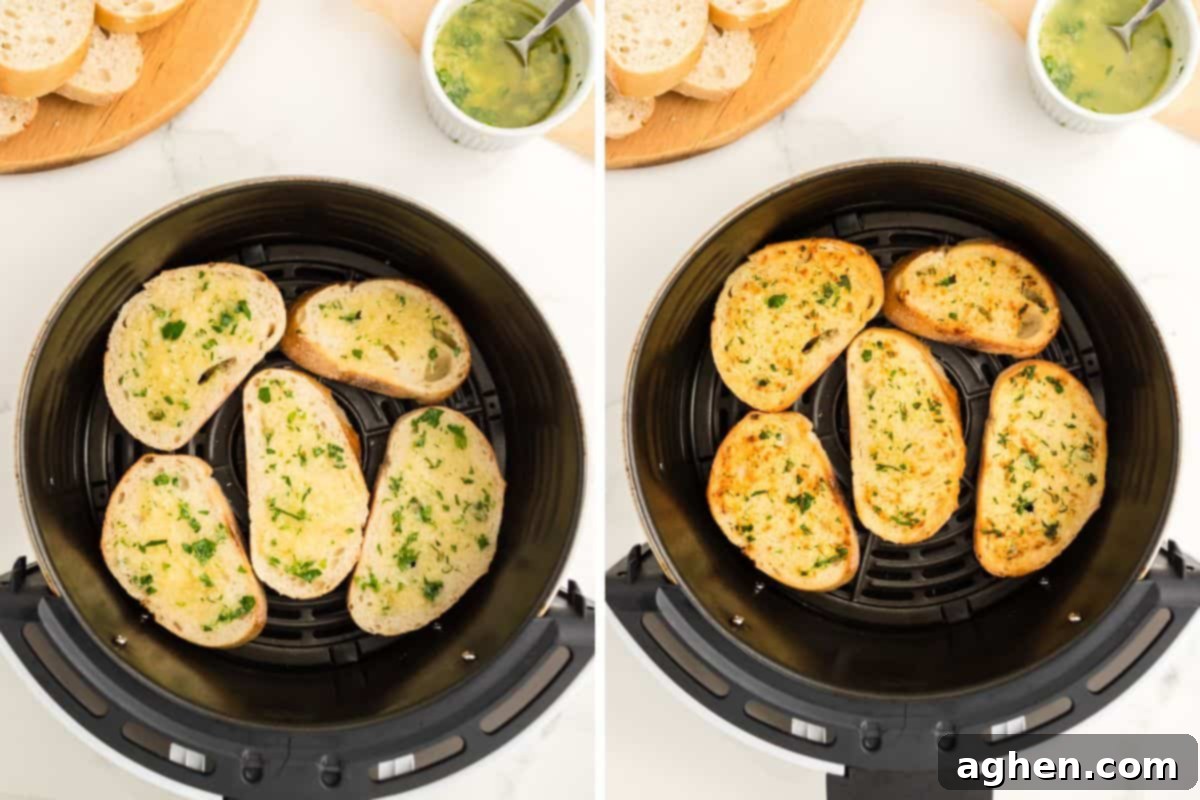
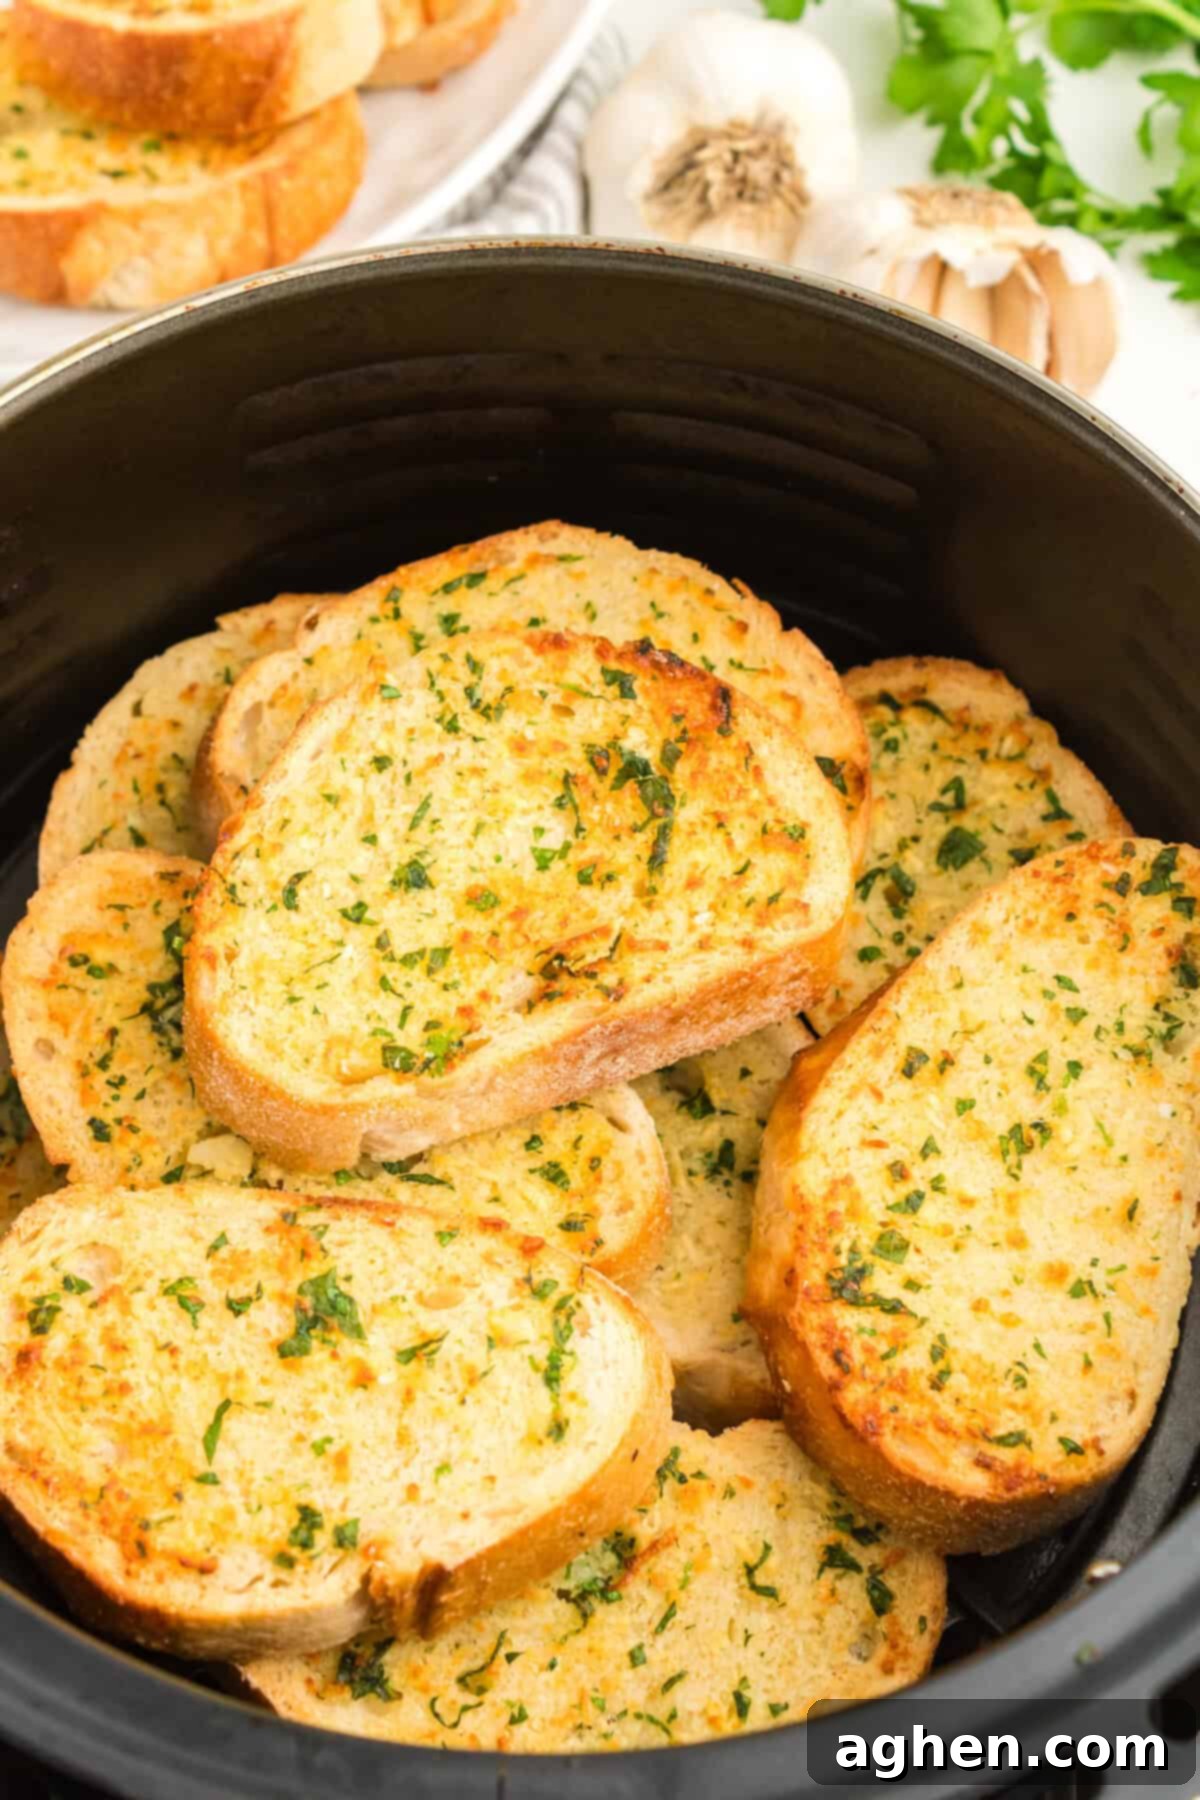
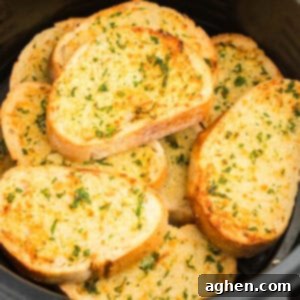
Step 4: Air fry until golden perfection. Arrange the prepared garlic bread slices in your air fryer basket in a single layer. It’s crucial not to overcrowd the basket, as this can hinder air circulation and prevent even crisping (see pro tip below). You will likely need to work in batches, depending on the size of your air fryer. Set your air fryer to 350°F (175°C) and cook for 4-5 minutes, or until the bread is beautifully golden brown and irresistibly crispy.
Pro Tip: Mastering the Air Fryer Basket
One of the golden rules for successful air frying, especially with items like garlic bread, is to **never overcrowd the basket**. For optimal results, place your seasoned bread slices in a single layer, ensuring that no pieces are touching or overlapping. This crucial step allows the hot air to circulate freely around each slice, guaranteeing that coveted uniform crispness and even browning on all sides. The number of batches you’ll need to run will naturally depend on both the total number of garlic bread slices you have and the specific size and model of your air fryer. For instance, my 4.1-liter air fryer perfectly handled 12 slices, cooking them beautifully across 3 separate batches. Patience with batches pays off in superior texture and taste!
Storage, Reheating, and Freezing Instructions
This garlic bread is best enjoyed fresh, but if you have leftovers, they can be easily stored and reheated to maintain their deliciousness.
- Storing Leftovers: Any leftover garlic bread can be stored at room temperature for up to 2 days. To prevent the garlic toast from drying out and losing its texture, it’s essential to wrap the slices tightly. First, wrap them in aluminum foil, and then follow with a layer of plastic wrap, or simply place them in an airtight container.
- Reheating for Best Results: To bring your garlic bread back to life, reheat it in the air fryer or a toaster oven. Simply cook until the slices are warmed through and regain their crisp texture. The air fryer is particularly effective at achieving that “just made” quality.
- Freezing for Future Enjoyment: You can easily freeze prepared garlic bread for longer storage. Arrange the slices in a single layer on a baking sheet and freeze until solid, then transfer them to a freezer bag. They will keep well for up to 3 months. When you’re ready to enjoy them, you can reheat frozen garlic bread directly from the freezer; air fry at 350°F (175°C) for 5-7 minutes. If you choose to thaw them first, you’ll only need about 2-3 minutes in the air fryer to make them perfectly crispy again.
Expert Tips for the Most Flavorful Air Fryer Garlic Bread
- Mind the Spacing in Your Air Fryer: As emphasized in the pro tip, ensuring your garlic bread slices do not overlap in the air fryer basket is paramount. Adequate space between each piece allows the hot air to circulate effectively, guaranteeing those sought-after crispy edges and uniform golden-brown perfection.
- No Preheating Required: One of the many advantages of using an air fryer for this recipe is that preheating is not necessary. You can simply place your prepared slices directly into a cold air fryer basket and start cooking, saving you valuable time.
- Grated vs. Minced Garlic: While minced garlic certainly works, I find that finely grated garlic (using a microplane or a garlic press) creates more of a paste-like consistency. This allows the garlic to meld more seamlessly with the butter and spread more evenly, infusing every part of the bread with intense garlic flavor, and it’s often quicker too!
- Embrace the Hardening Garlic Butter: Don’t be alarmed if your homemade garlic butter mixture starts to firm up a bit as it sits. This is completely normal, especially if your kitchen is cool. In fact, a slightly firmer consistency can sometimes make it even easier to spread neatly onto each slice of bread, ensuring uniform coverage without too much dripping.
- Brush, Don’t Drizzle: For the best coverage and absorption, use a pastry brush or the back of a spoon to spread the garlic butter, rather than just drizzling it. This ensures every nook and cranny of the bread gets coated.
Optimal Cooking Time for Air Fryer Garlic Bread
The ideal cooking time for garlic bread in the air fryer can vary slightly based on a few factors: your personal preference for crispiness, the thickness of your bread slices, and the specific temperature you set. For slices that are approximately 1/2-inch thick, cooked at 350°F (175°C), I’ve found that 5 minutes is the sweet spot for achieving a beautifully golden-brown and satisfyingly crispy result. If your taste buds crave an even crispier texture or a darker crust, simply allow the garlic bread to cook for an additional minute or so. Always keep a close eye on it, especially during the last minute, as air fryers can cook very quickly!

Delicious Serving Suggestions
Honestly, you simply can’t go wrong with a generous basket of fresh, crispy garlic bread on the table, no matter what delectable meal you’re serving! Its versatility makes it the perfect accompaniment to an incredibly wide range of dishes. We particularly adore pairing it with comforting classics such as hearty crockpot beef chili, bubbly pizza pasta casserole, elegant shrimp scampi, and the ever-popular Crock Pot Marry Me Chicken. Its crisp texture and savory flavor cut through rich sauces beautifully.
Beyond these specific meals, air fryer garlic bread truly shines as one of the best side dishes for soaking up every last bit of savory sauce from our favorite pasta creations or capturing that last, comforting drop of tomato soup. It’s also fantastic alongside a fresh green salad for a lighter meal, or simply enjoyed on its own as a delightful snack.
Exciting Additions and Creative Variations
While this classic air fryer garlic bread recipe is perfect as is, it also serves as a fantastic base for culinary creativity! Feel free to experiment with these additions and variations to customize it to your liking:
- Bread Choices Beyond Italian: While Italian and French bread are top choices, don’t hesitate to branch out. A crusty French baguette will yield smaller, very crispy slices perfect for appetizers. Ciabatta offers a chewier texture with a wonderfully irregular crumb, ideal for soaking up butter. For ultimate convenience, thick-cut sandwich bread or pre-sliced Texas toast can be used; just be mindful that these thinner options will require a shorter cooking time in the air fryer.
- Extra Cheesy Delight: Elevate your garlic bread with even more cheese! Beyond Parmesan, consider adding shredded mozzarella cheese or cheddar cheese. Both melt beautifully and offer that satisfying, gooey cheese pull. You can mix them into the butter mixture or sprinkle them on top during the last minute or two of air frying for a golden, bubbly finish.
- Enhanced Seasoning Blends: Infuse your garlic bread with additional layers of flavor by incorporating more herbs and spices. A sprinkle of a good quality Italian seasoning blend (which often includes oregano, basil, thyme, and rosemary) can add wonderful Mediterranean notes. For those who appreciate a bit of heat, a pinch of red pepper flakes mixed into the butter will provide a subtle, welcome kick.
- Herb Garden Freshness: Beyond parsley, experiment with other fresh herbs. Chopped fresh chives or a hint of finely minced rosemary or thyme can add unique aromatic dimensions to your garlic bread.
- A Touch of Citrus: For a bright twist, add a tiny squeeze of fresh lemon juice or a pinch of lemon zest to your butter mixture. It helps to brighten the overall flavor and adds a gourmet touch.
Frequently Asked Questions (FAQs) About Air Fryer Garlic Bread
Here are answers to some common questions you might have about making garlic bread in your air fryer:
- Do I need to preheat my air fryer for garlic bread? No, you typically do not need to preheat your air fryer for this recipe. You can place the prepared slices directly into a cold air fryer basket.
- Can I use frozen garlic bread in the air fryer? Absolutely! The air fryer is fantastic for cooking frozen garlic bread. Generally, you’ll want to air fry at 350°F (175°C) for 5-8 minutes, or until heated through and crispy. Check your package directions for specific timing, but the air fryer often cooks it faster and crisper than a traditional oven.
- Should I flip the garlic bread in the air fryer? While not strictly necessary due to the air fryer’s circulating heat, giving the slices a flip halfway through the cooking time can help ensure maximum crispiness and even browning on both sides, especially if your air fryer has a stronger heating element on top.
- What kind of bread is best for air fryer garlic bread? A good quality Italian or French bread is ideal because it provides a sturdy base and a nice contrast between the crispy crust and soft interior. However, baguettes, ciabatta, or even thick-sliced sandwich bread can work with adjusted cooking times.
- How do I prevent my garlic bread from getting soggy? The key is to avoid overcrowding the air fryer basket, allowing air to circulate properly. Also, ensure your butter isn’t excessively runny, and eat it fresh! If storing, follow the recommendations to keep it sealed.
More Irresistible Air Fryer Recipes to Try
If you’ve loved how simple and delicious this air fryer garlic bread is, then you’re in for a treat! The air fryer is a versatile tool for so many incredible dishes. Here are a few more of our favorite air fryer recipes that we think you’ll adore:
- Quick & Easy Air Fryer Pizza Bagels
- Decadent Vanilla Bean Air Fryer Doughnuts
- Sweet & Salty Air Fryer Cinnamon Pretzel Bites
- Giant Air Fryer Cinnamon Rolls (Cinnabon Copycat!)
This air fryer garlic bread recipe truly showcases the magic of this appliance, transforming simple ingredients into a gourmet side dish with minimal effort. Its crispy texture, rich buttery flavor, and aromatic garlic notes make it an instant favorite. Give it a try tonight and prepare to be amazed at how quickly and easily you can create perfect homemade garlic bread that will impress everyone at your table!
Air Fryer Garlic Bread
Author: Jaclyn
Ingredients
- 1 loaf Italian bread or French bread
- 5 Tablespoons unsalted butter
- 4 cloves garlic minced or grated
- 1 Tablespoon grated Parmesan cheese optional
- 1 Tablespoon chopped fresh parsley
- ½ teaspoon garlic powder
Instructions
-
Slice bread into ½ inch slices. Lay flat.
-
Melt butter in microwave-safe dish, about 30 seconds. Add fresh garlic, parmesan cheese, garlic powder, and parsley. Stir well to combine.
-
Working in batches, spoon about 2 teaspoons of butter/garlic mixture onto each slice of bread and spread evenly. Place prepared slices in air fryer. Cook on 350℉ for 4-5 minutes or until slightly browned.
Notes
Nutrition

Did You Make This Recipe?
Share it with me on Instagram @crayonsandcravings and follow on Pinterest @crayonsandcravings for even more!
Pin Recipe
Leave A Review
