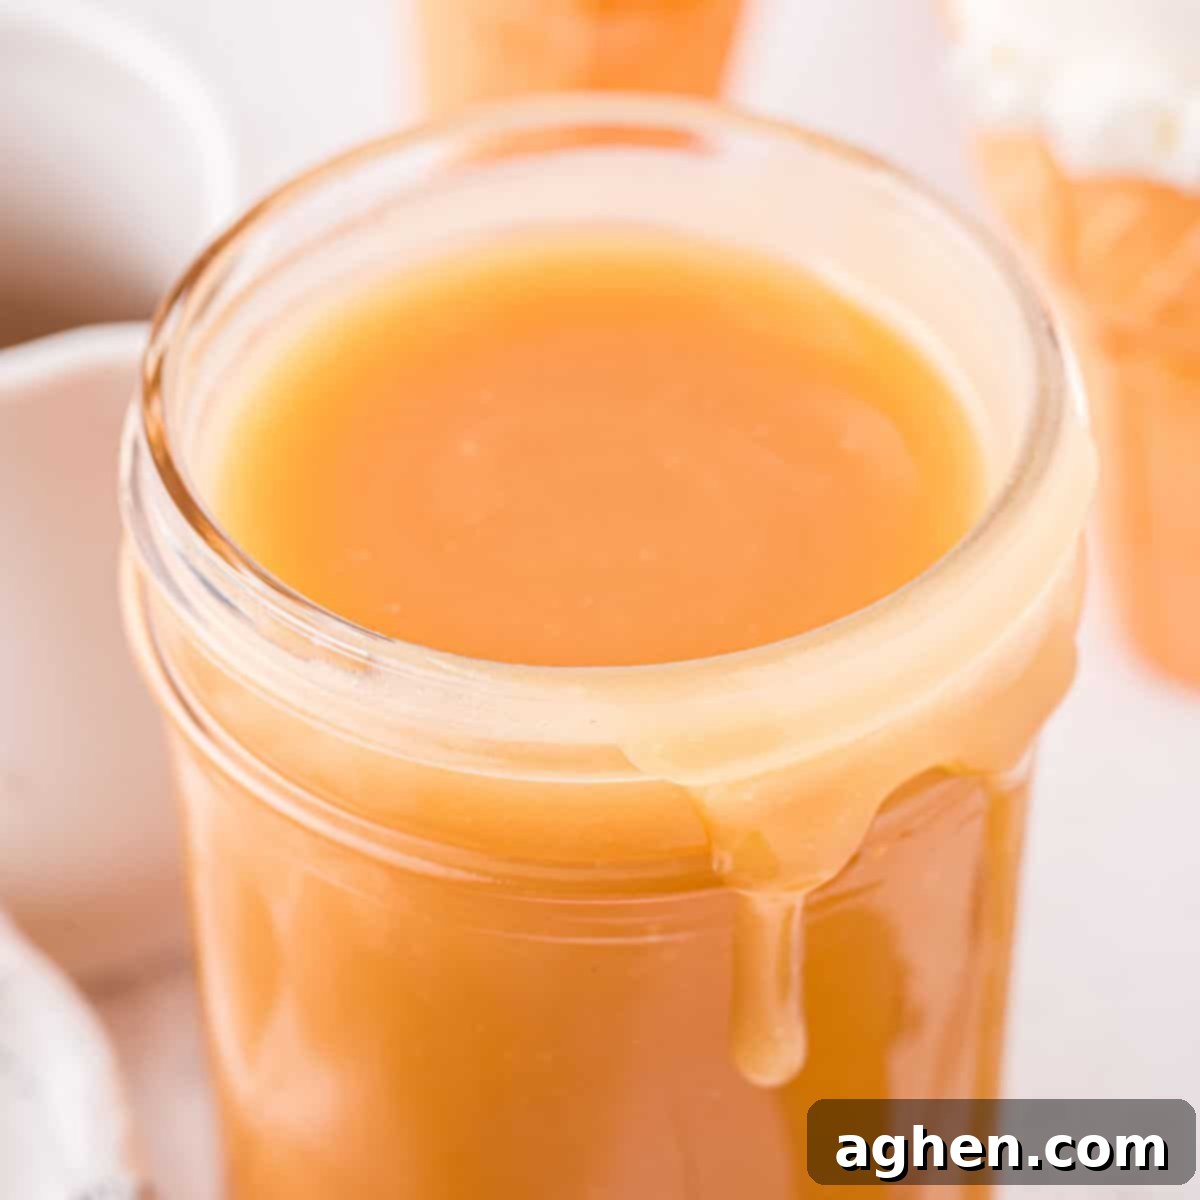
The Ultimate Easy Homemade Caramel Sauce: Rich, Creamy, & Ready in 10 Minutes!
Imagine a rich, creamy, and utterly decadent caramel sauce, made from scratch in your own kitchen, with minimal effort and in under 10 minutes. Sounds too good to be true? Not at all! This incredible homemade caramel sauce recipe is a true game-changer, crafted with just 5 simple ingredients and requiring absolutely no fancy equipment like a candy thermometer. If you’ve ever been intimidated by the thought of making caramel, prepare to be pleasantly surprised. You’ve got this!
Forget the days of settling for store-bought caramel in a squeeze bottle. Once you experience the unparalleled flavor and velvety texture of fresh, homemade caramel, there’s truly no going back. This recipe makes it incredibly simple to achieve that perfect golden-brown lusciousness that will elevate any dessert to extraordinary heights. It’s an essential skill for any home baker or dessert enthusiast.
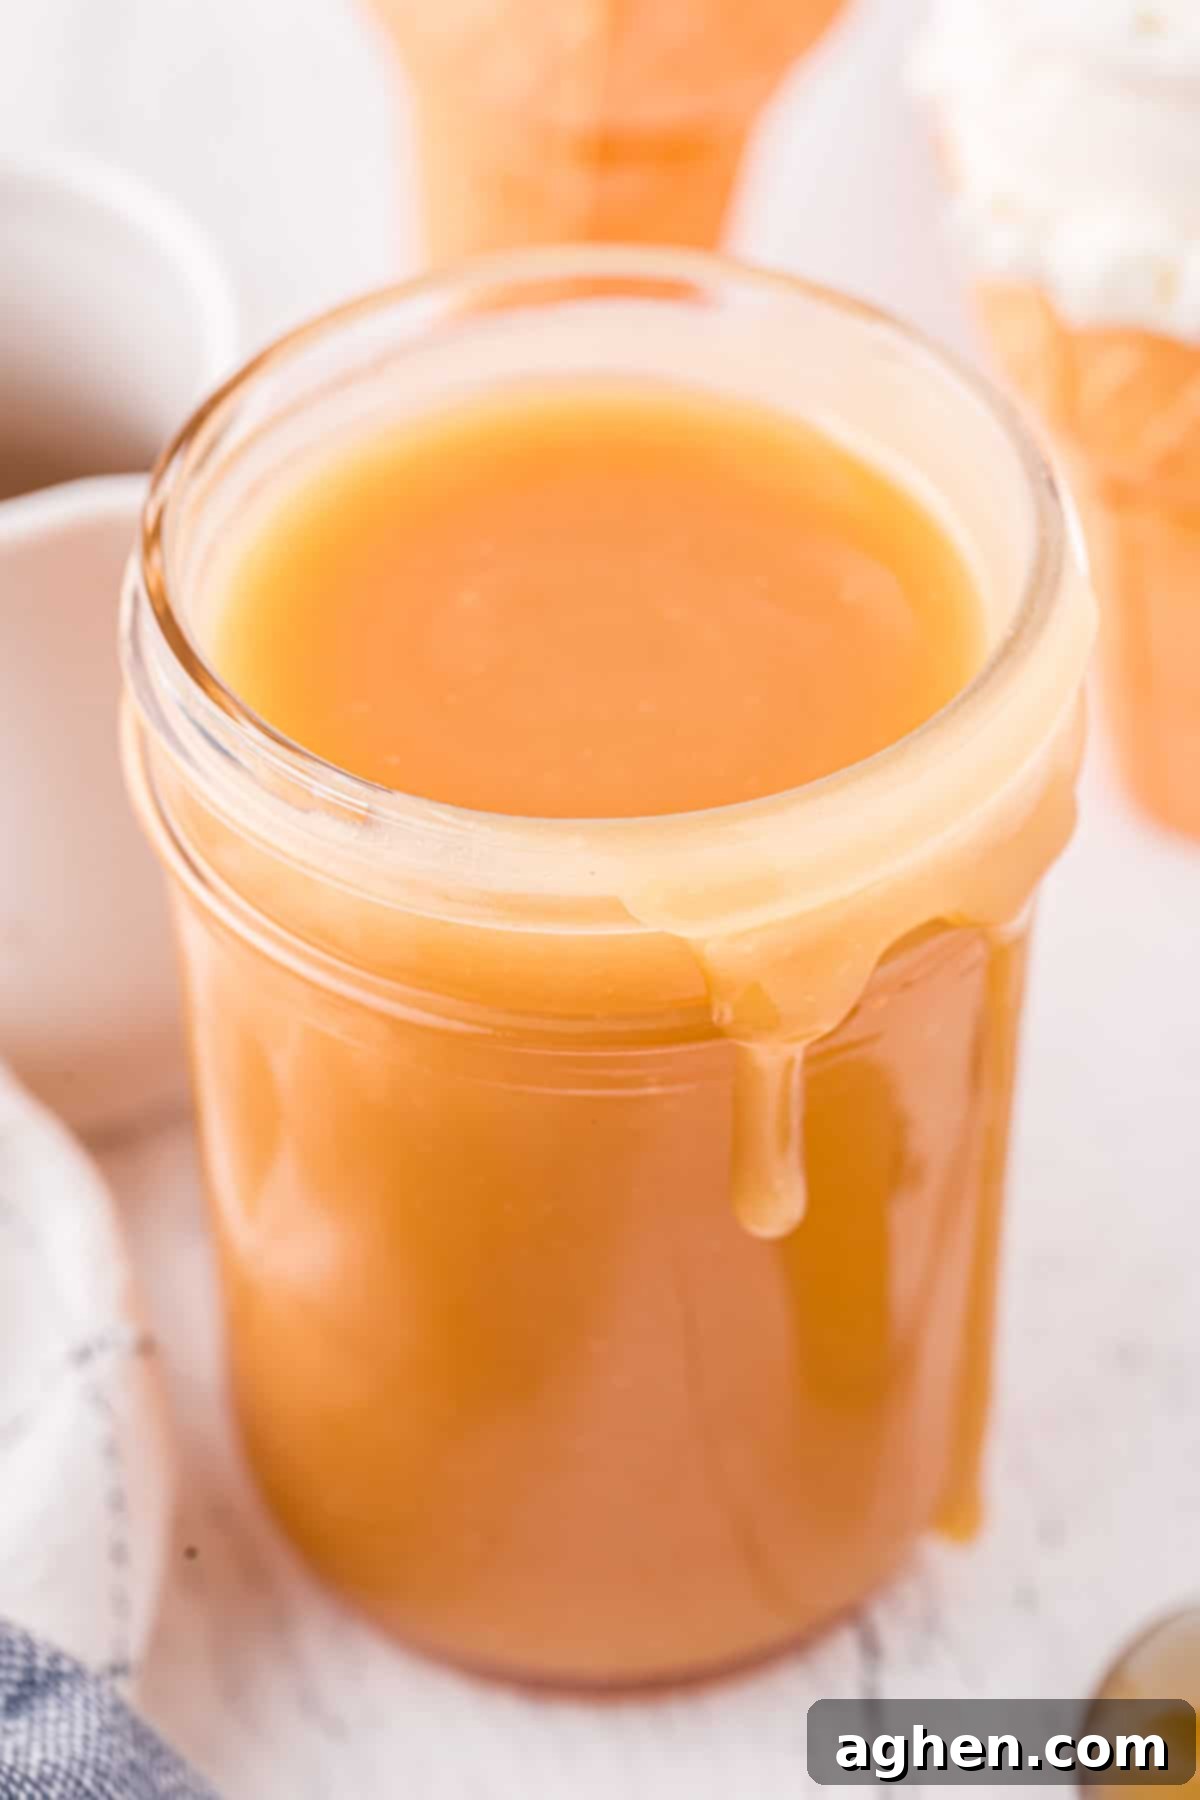
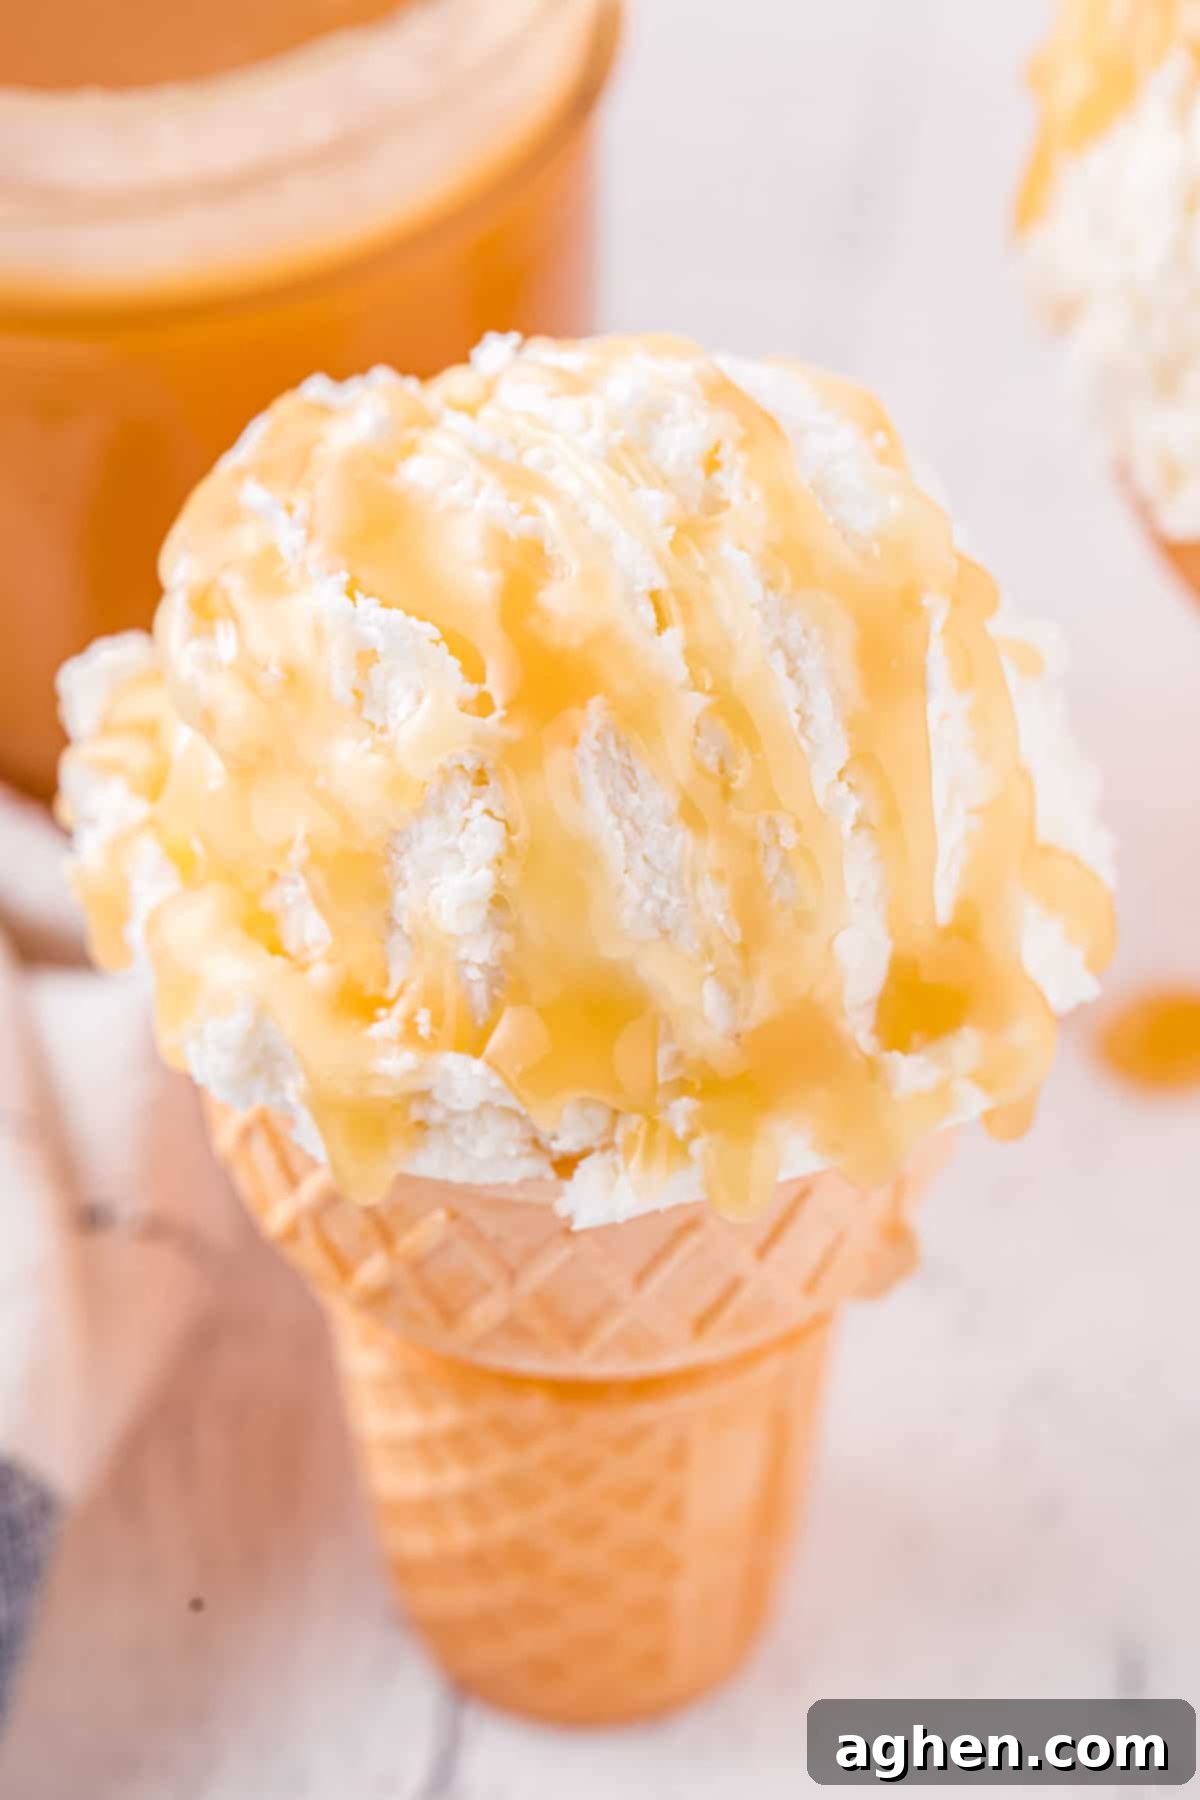
From the moment this heavenly sauce begins to cool, my first thought is always to drizzle it generously over a scoop of homemade ice cream. The warm, gooey caramel melting into cold, sweet ice cream is a pure delight that’s hard to beat. But its versatility doesn’t stop there.
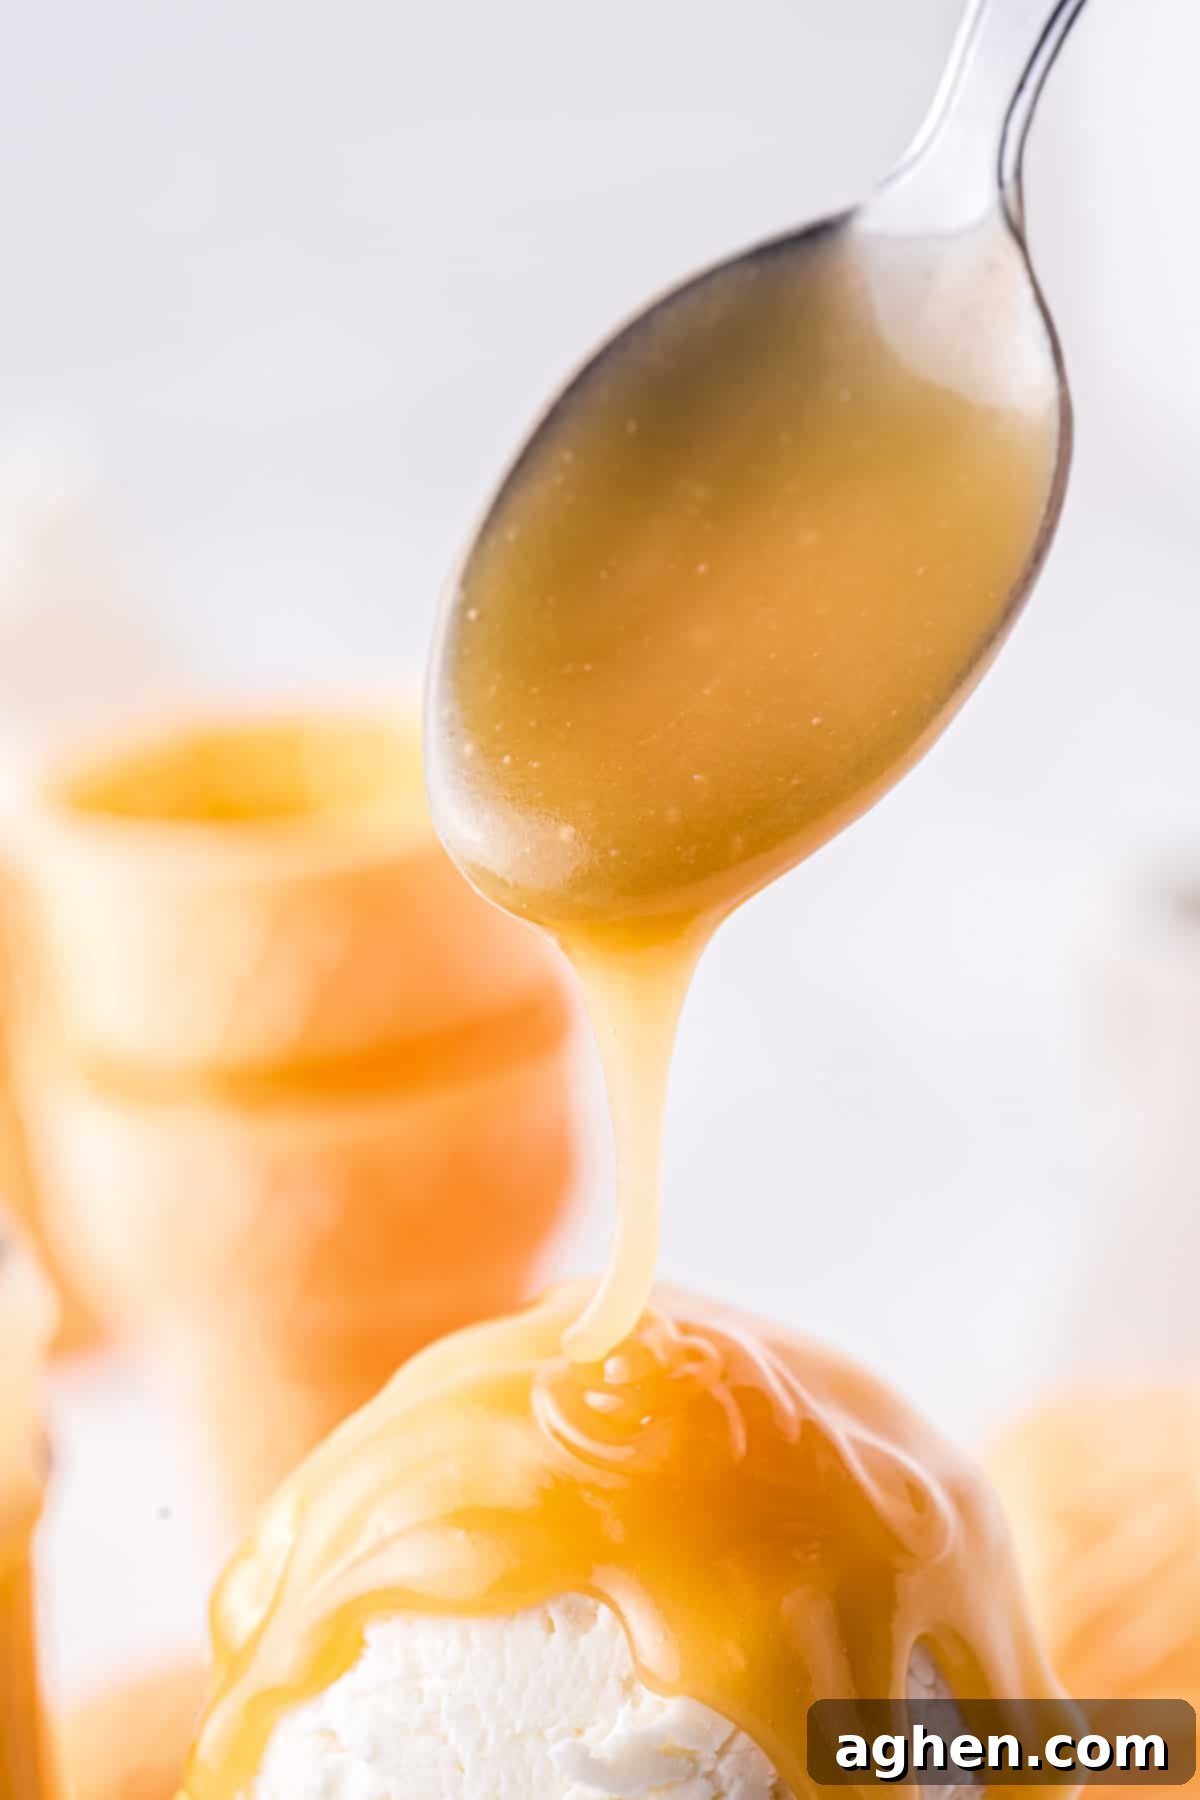
While this easy caramel sauce is an absolute star on ice cream sundaes, it pairs perfectly with an endless array of other desserts and snacks. Imagine it coating crisp apple slices, soaking into fluffy buttermilk pancakes, adding a gourmet touch to cupcakes, enhancing slices of apple dump cake, or balancing the saltiness of pretzels. It’s also divine over classic pies, cheesecakes, and a myriad of other sweet treats, as we’ll explore in more detail at the end of this post.
So, take a leap of faith and give this incredibly easy homemade caramel sauce recipe a try. I can almost guarantee that once you’ve tasted your own scratch-made creation, you’ll wave goodbye to the often-inferior store-bought variety forever. It’s a simple luxury that you deserve to enjoy! Let’s dive in and make some magic!
Why Make Your Own Caramel Sauce? The Unmatched Homemade Difference
You might be wondering, “Why bother making caramel from scratch when I can just pick up a bottle at the grocery store?” The answer lies in the profound difference in taste, texture, and quality. Store-bought caramel often contains a long list of ingredients, including preservatives, artificial flavors, and high-fructose corn syrup. This can result in a product that is overly sweet, one-dimensional in flavor, and sometimes has an unpleasant gummy texture. Homemade caramel, on the other hand, boasts a rich, complex flavor profile with authentic notes of toasted sugar and real vanilla. It has a silky-smooth, pourable texture that coats every bite beautifully, and a freshness that is simply unmatched by anything pre-packaged.
Beyond the superior taste, making your own caramel gives you complete control over the ingredients, ensuring a wholesome and delicious treat. It’s also surprisingly cost-effective and provides an immense sense of satisfaction that comes from creating something so delicious from scratch with just a few basic, high-quality ingredients.
Key Ingredients for Your Perfect Homemade Caramel Sauce
This section provides a closer look at the essential ingredients for our caramel sauce, along with helpful notes and potential substitution options. For precise measurements and step-by-step instructions, please refer to the printable recipe card at the end of this article.
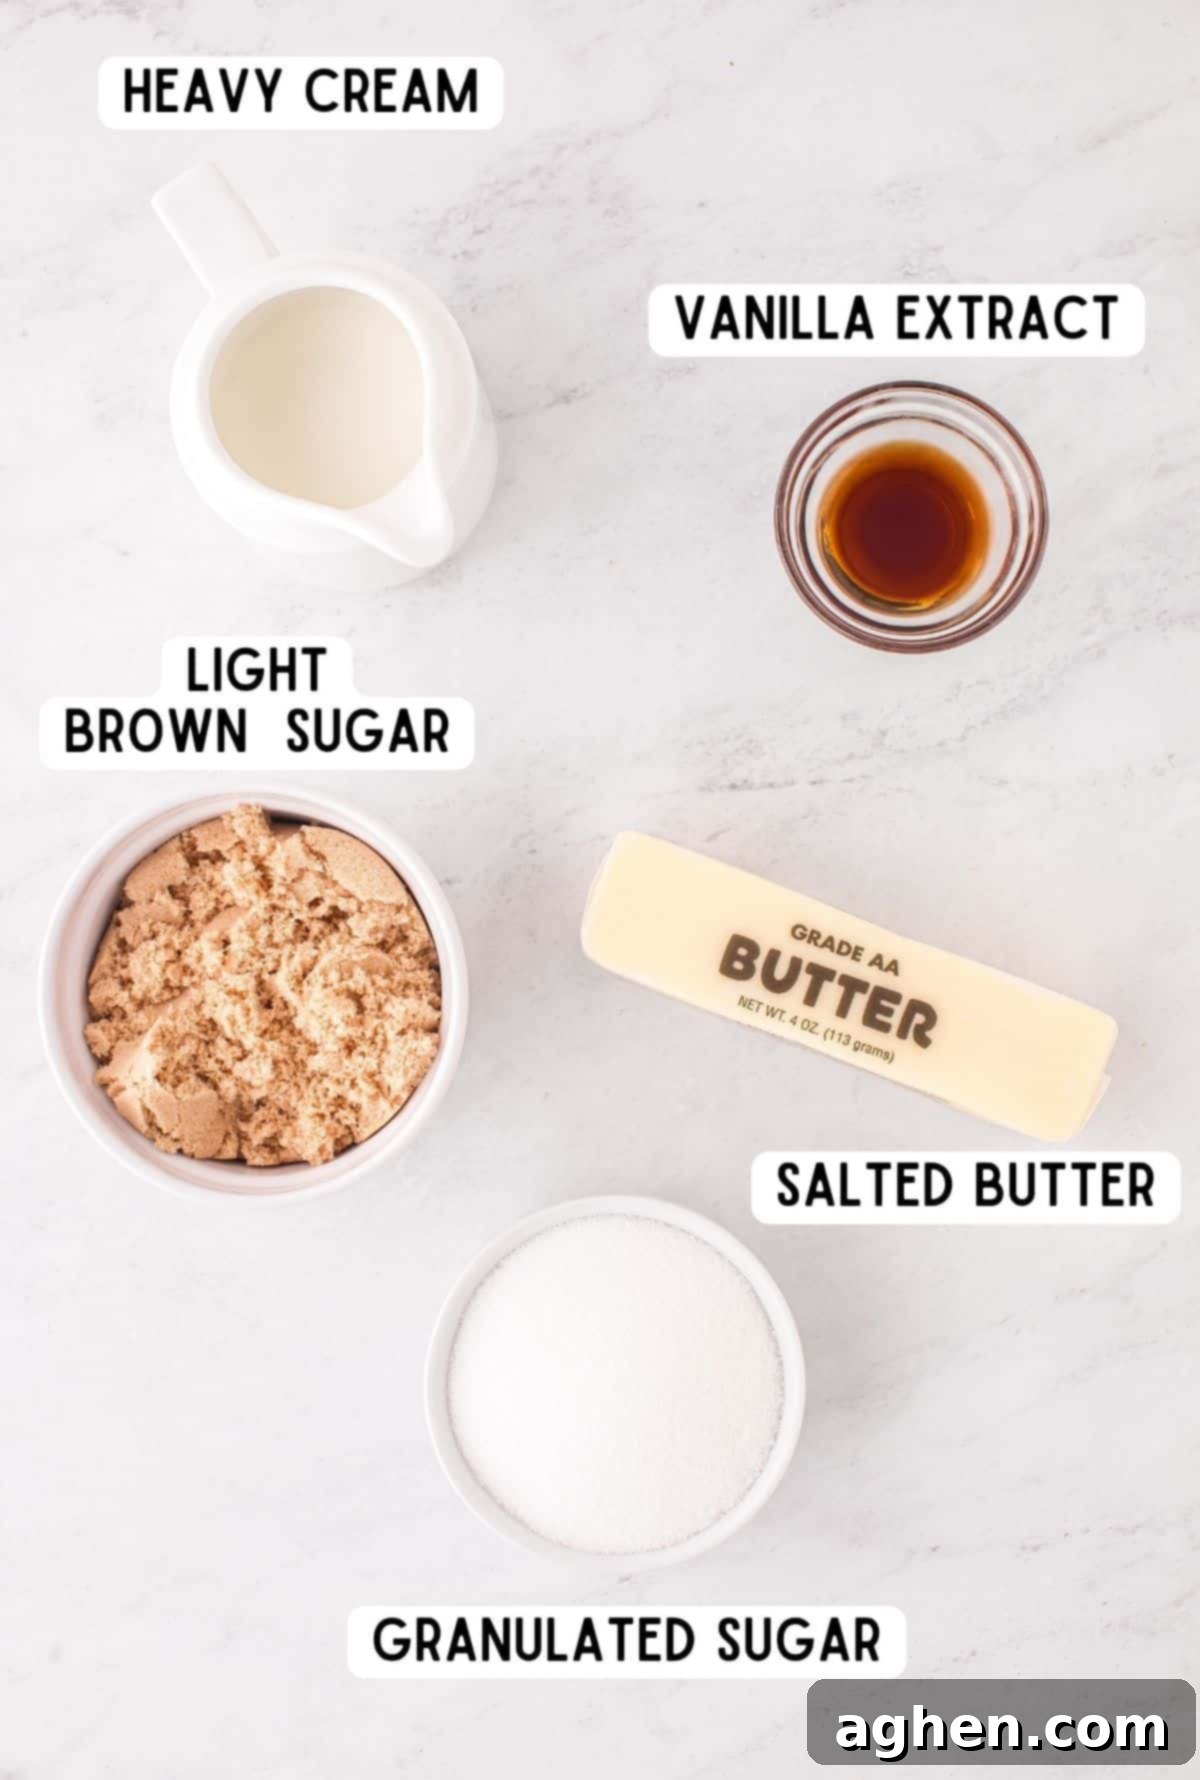
- Heavy Cream: This is arguably the most crucial ingredient for a truly rich and creamy caramel sauce. Its high fat content (typically 36% or more) provides that luxurious, velvety texture we all crave. It also helps to prevent the sugar from crystallizing, contributing to a smooth finish. Do not substitute with half-and-half, milk, or low-fat cream, as the lower fat content will result in a thinner, less satisfying sauce that may not emulsify correctly.
- Granulated Sugar & Light Brown Sugar: Our recipe utilizes a combination of both white granulated sugar and light brown sugar. The granulated sugar provides the clean, classic caramel base, melting down to create that signature golden color. The light brown sugar, with its molasses content, adds a deeper, more complex flavor profile and a slightly richer hue to the caramel. If you don’t have brown sugar on hand, you can absolutely use all granulated sugar instead, but the brown sugar truly enhances the caramel’s depth and warmth. When measuring brown sugar, ensure it’s packed firmly into your measuring cup.
- Salted Butter: Butter is essential for both flavor and an even more luscious, creamy texture. Using salted butter in this recipe simplifies things, as it provides a balanced flavor without needing to add extra salt during the main cooking process. However, if you prefer to use unsalted butter, that’s perfectly fine! Just remember to add an extra pinch (about ¼ to ½ teaspoon, depending on your preference) of fine sea salt to the mixture along with the other ingredients to ensure your caramel isn’t bland and to help enhance its sweetness.
- Vanilla Extract: Pure vanilla extract is non-negotiable for the best possible taste. It adds a warm, aromatic, and comforting note that beautifully complements the rich sweetness of the caramel. Avoid artificial vanilla flavoring if possible, as it won’t yield the same depth and complexity of flavor. You’ll incorporate this at the beginning with the other ingredients, allowing its essence to infuse into the sauce as it cooks.
- Optional: Extra Sea Salt for Salted Caramel: For an irresistible salted caramel sauce, consider stirring in an additional generous pinch (or more, to taste) of flaky sea salt or coarse kosher salt *after* the caramel has finished cooking and has been removed from the heat. This provides a delightful contrast of sweet and salty, and the larger salt crystals offer a subtle textural crunch.
Essential Supplies for Homemade Caramel Success
Having the right tools ready before you begin is a key step to a smooth and stress-free caramel-making experience. Here’s what you’ll need:
- Medium-size Heavy-Bottomed Pot or Saucepan: This is an absolute must-have. A heavy-bottomed pot is crucial because it distributes heat evenly across its surface. This prevents the sugar from burning in specific spots and sticking to the bottom, which can lead to a bitter taste and grainy texture. A thin, lightweight pot is more prone to hot spots and uneven cooking, making caramel much harder to control.
- Measuring Cups and Spoons: Accuracy is important in baking and candy making, so ensure you have precise measuring tools for your ingredients.
- Whisk: An indispensable tool for gently combining ingredients and ensuring they are uniformly mixed and heated. A good whisk will help prevent lumps and promote even cooking.
- Wooden Spoon or Heat-Proof Spatula: Useful for stirring, especially as the sauce begins to thicken and you want to ensure no caramel sticks to the bottom or sides of the pot.
- Mason Jar with Lid: This is the perfect vessel for storing your glorious homemade caramel sauce in the refrigerator. Its airtight seal helps maintain freshness.
- Optional: Pastry Brush: A small pastry brush dipped in water can be very helpful for wiping down the sides of the pot during cooking, preventing sugar crystallization.
How to Make Homemade Caramel Sauce: A Simple Step-by-Step Guide
Follow these easy steps to create your own luscious homemade caramel sauce in under 10 minutes. Detailed measurements and the full printable recipe can be found in the recipe card below.
Making caramel might sound like a daunting culinary feat, but with this straightforward recipe, it’s incredibly achievable. The key to success is to pay attention to your sauce and follow the stirring instructions carefully.
Step 1: Combine and Gently Heat the Ingredients
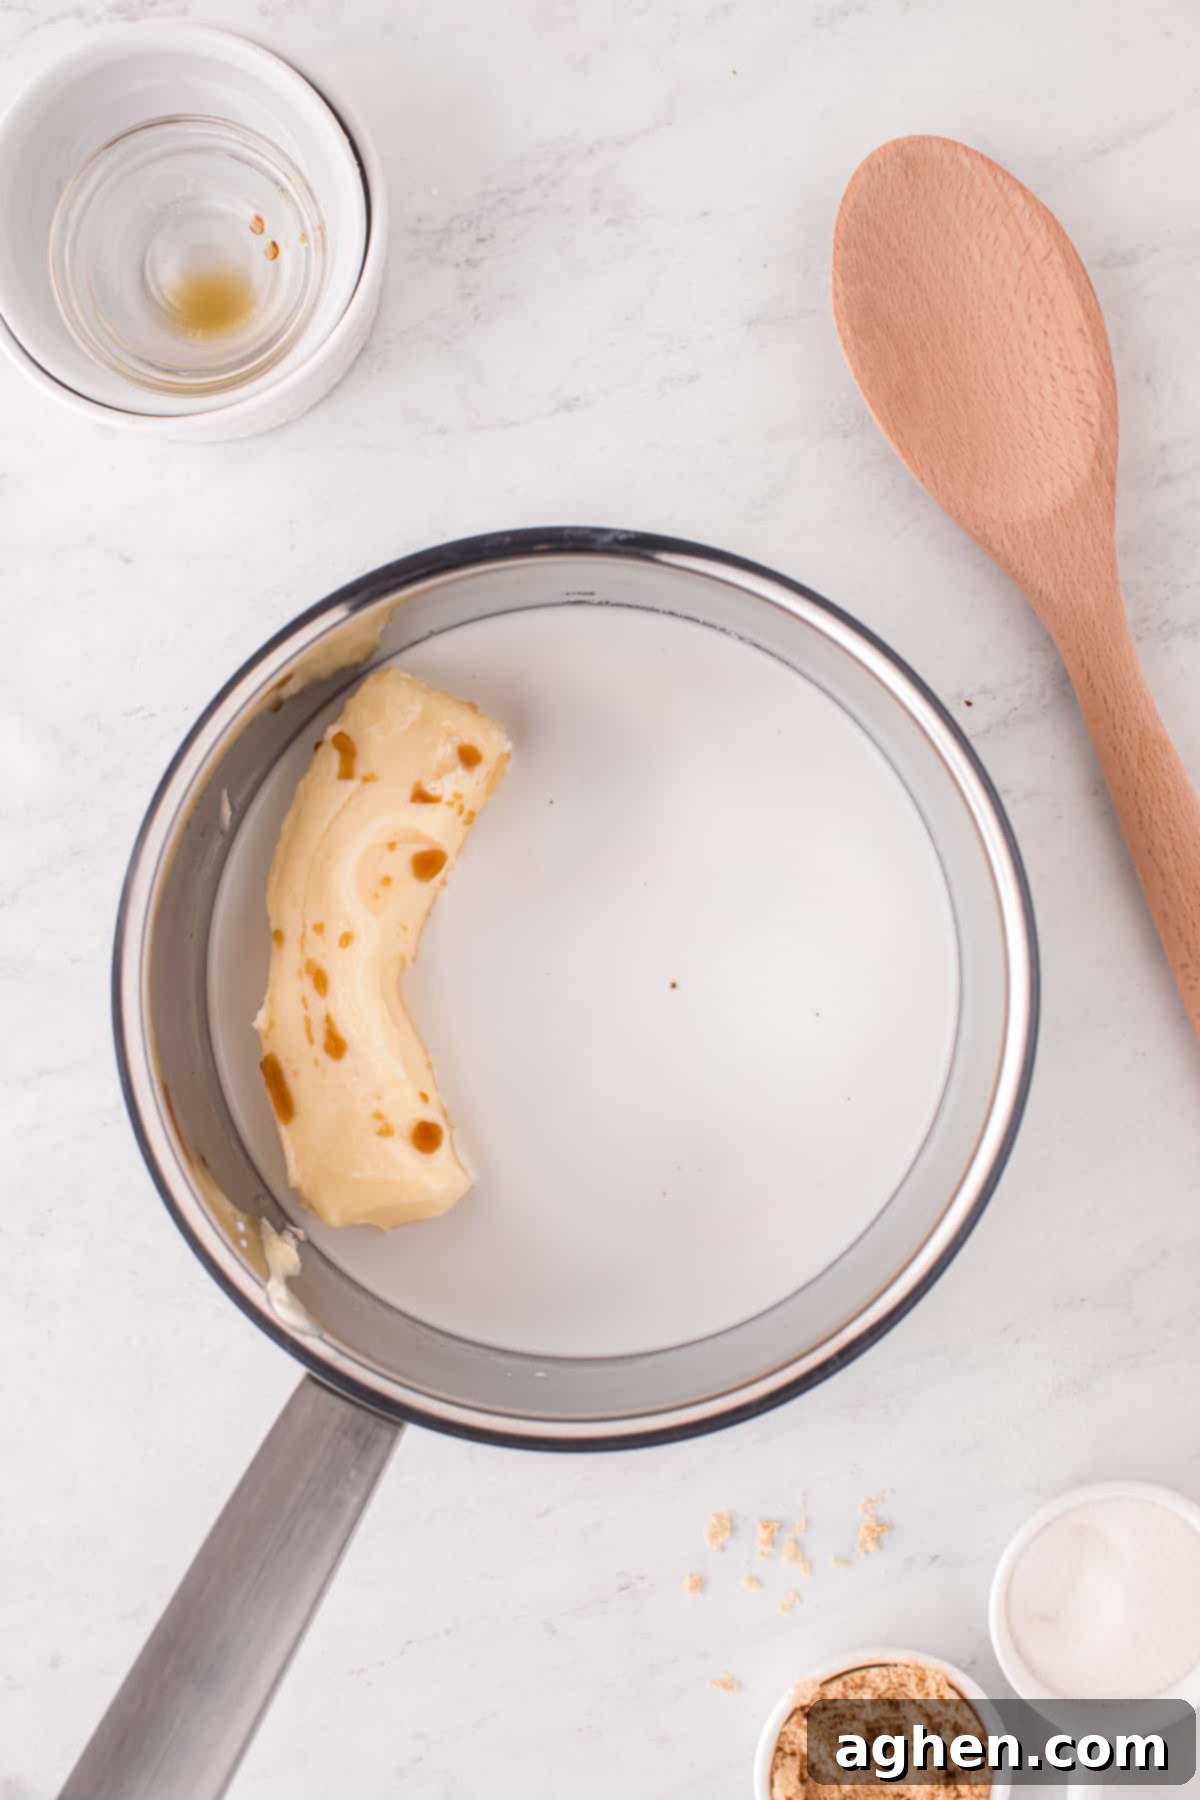
In your chosen medium-sized, heavy-bottomed saucepan, combine the heavy cream, granulated white sugar, light brown sugar, salted butter, and vanilla extract. Place the saucepan over medium heat. As the butter slowly begins to melt, gently whisk all the ingredients together. Continue to whisk until they are well combined, the butter is fully incorporated, and the mixture is smooth. This initial gentle whisking ensures everything starts heating evenly and prevents any sugar from clumping.
Step 2: Bring to a Gentle Boil and Simmer to Perfection
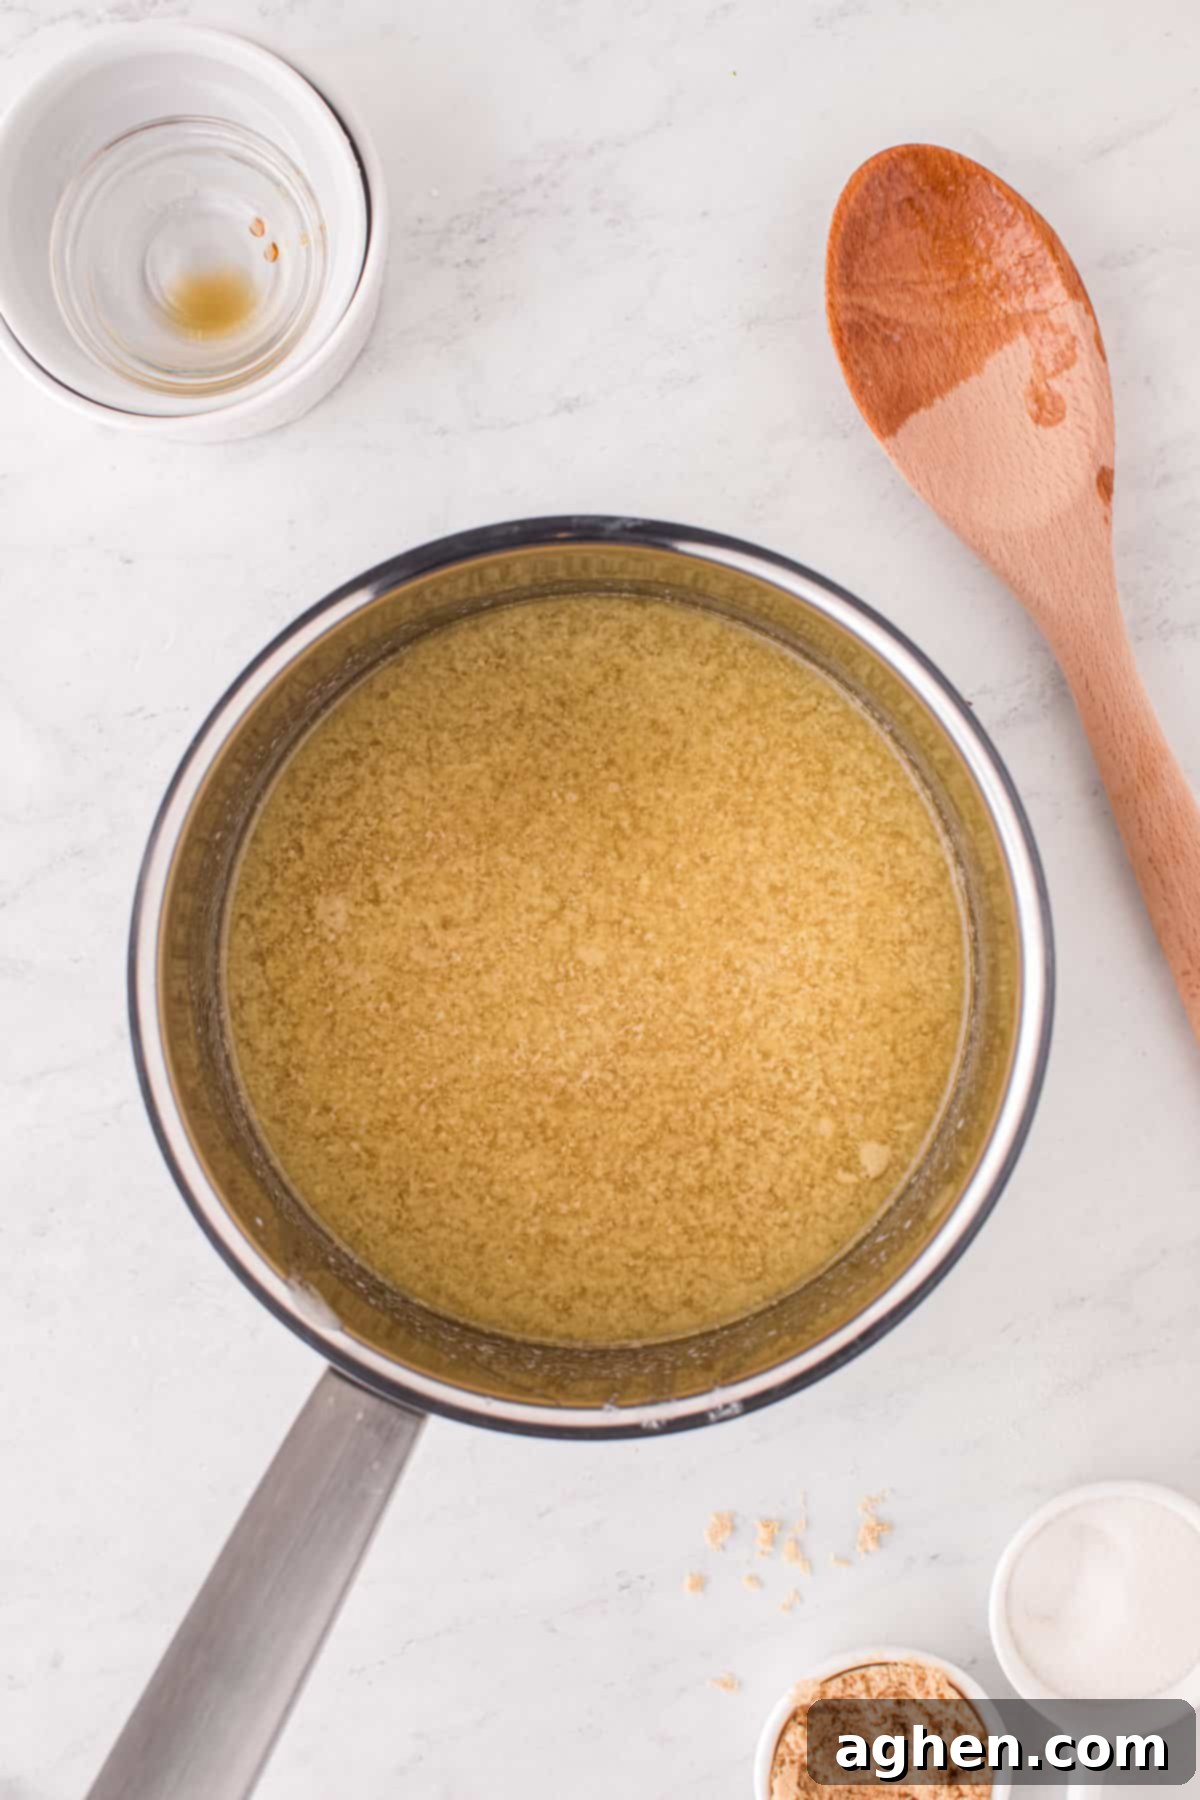
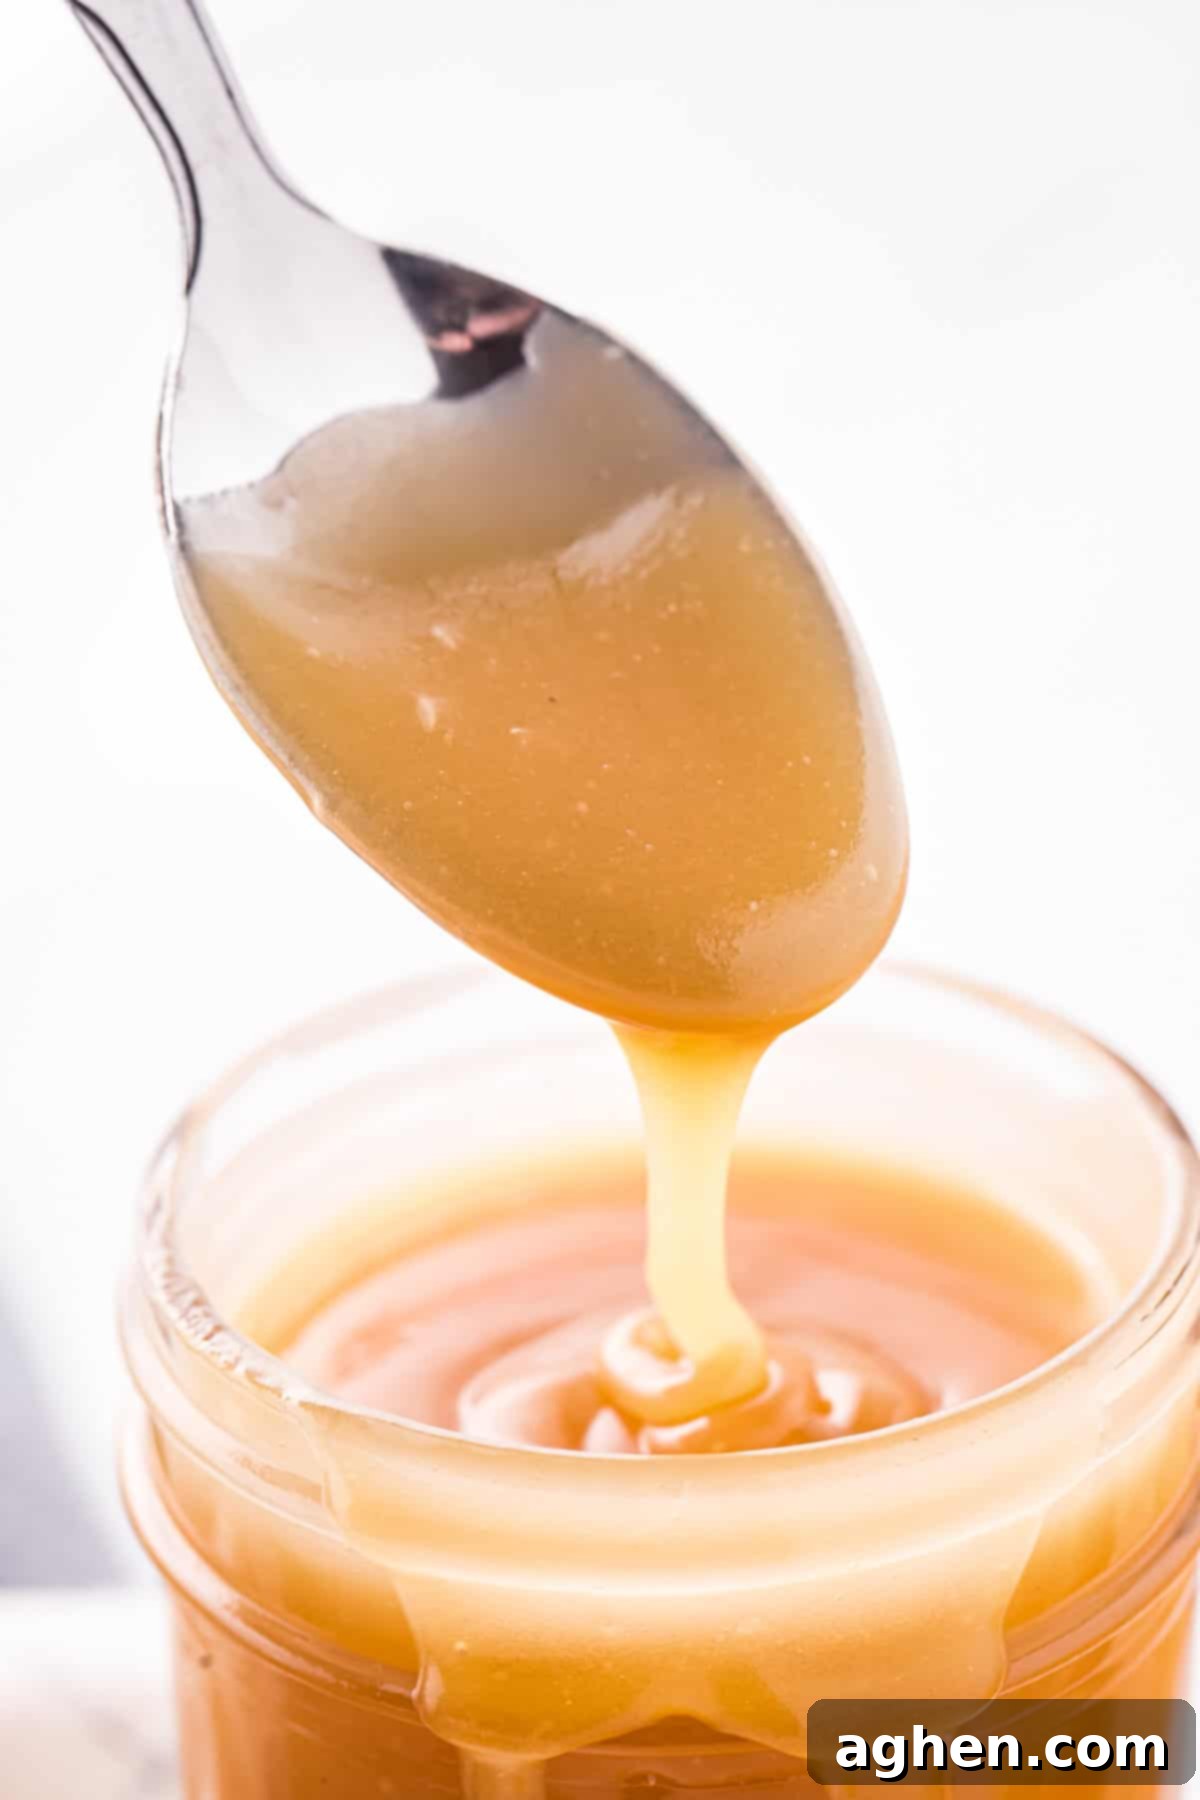
Continue heating the mixture, allowing it to come to a gentle, steady boil. You’ll know it’s truly boiling when you see consistent bubbles breaking the surface, even when you stir the mixture. Once it reaches this gentle boil, continue to stir constantly and consistently. This constant stirring is crucial for two main reasons: it prevents the sugar from crystallizing on the sides of the pot (which can lead to a grainy caramel) and it helps prevent the sugar from burning, ensuring a smooth, rich flavor. Let the sauce simmer for 2-3 minutes, or until it visibly thickens slightly. A good visual cue for the desired thickness at this stage is when it resembles the consistency of light corn syrup – it should lightly coat the back of a spoon. Remember, it will thicken significantly more as it cools, so resist the urge to overcook it here!
Step 3: Remove from Heat and Allow to Cool for Optimal Thickness
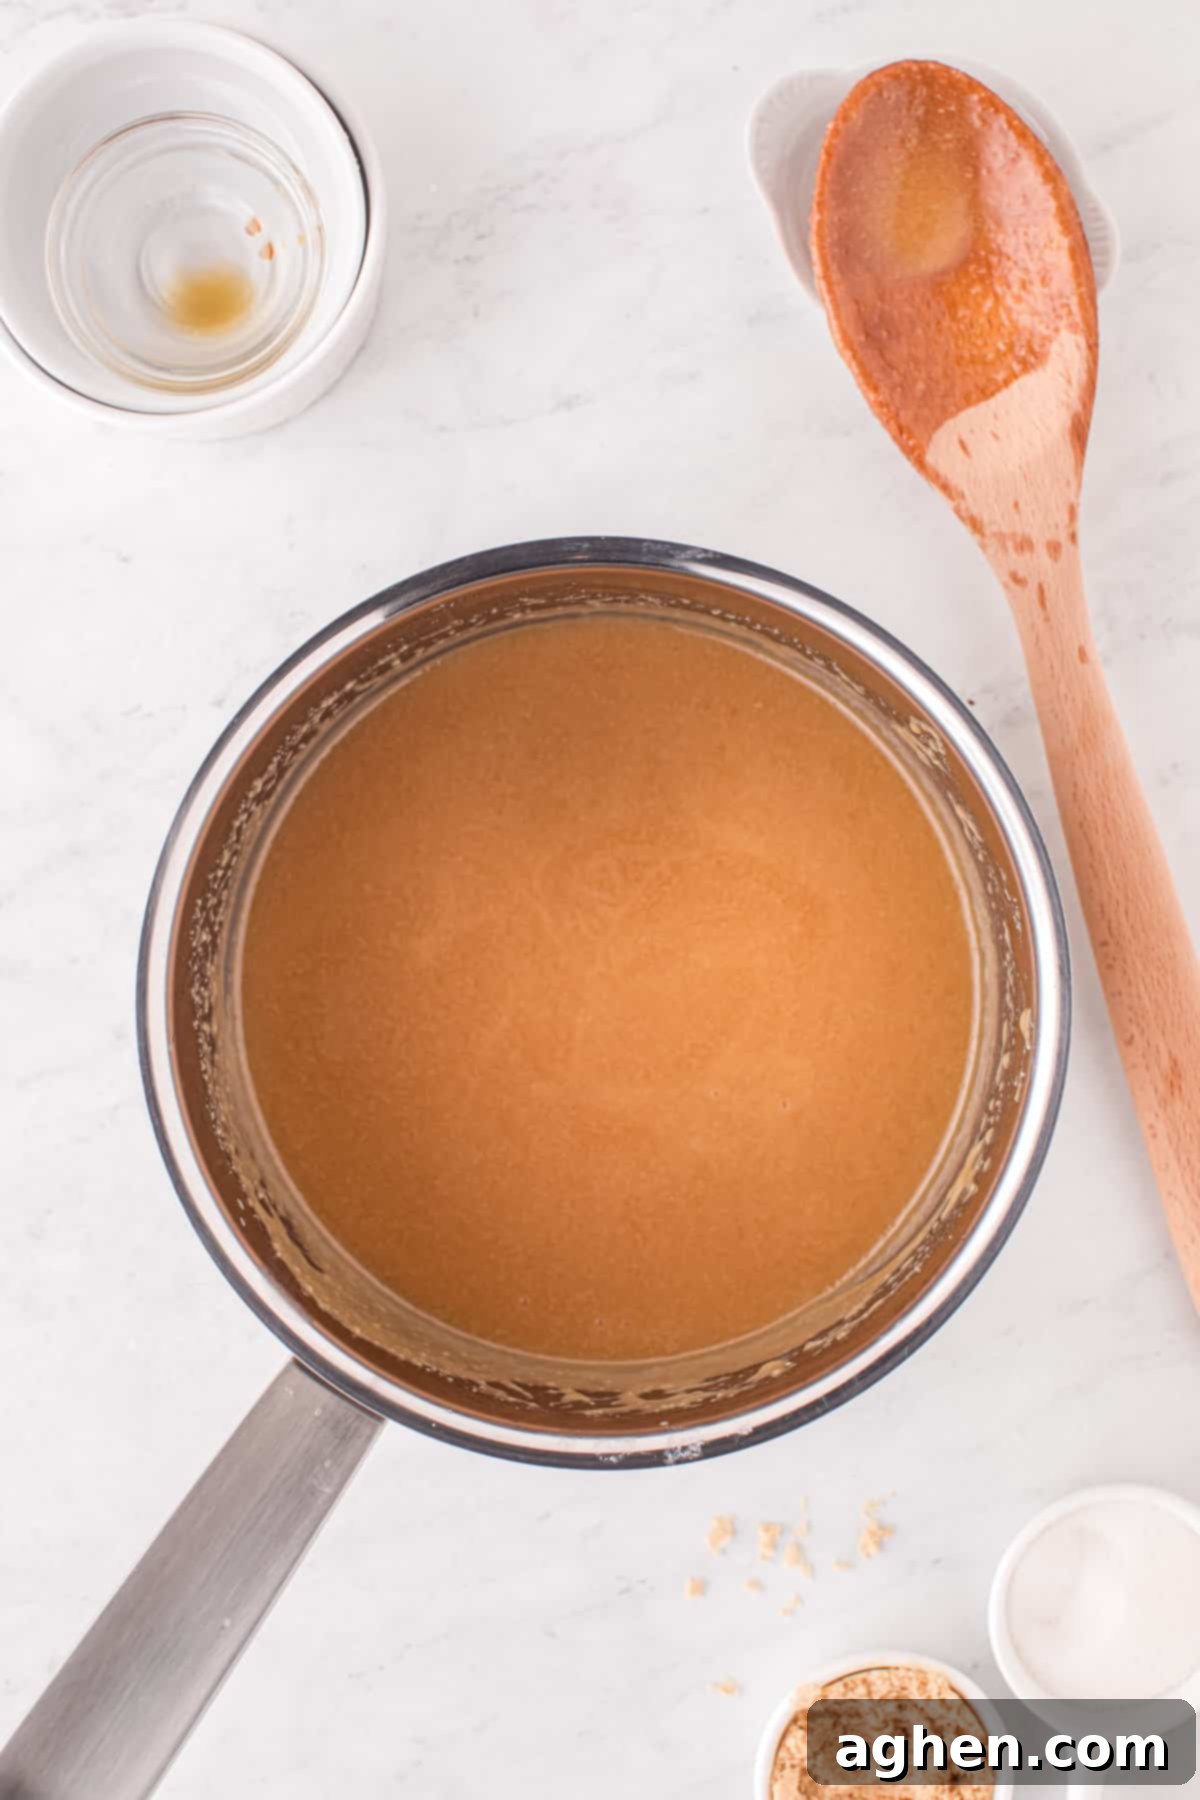
As soon as your sauce reaches the desired light corn syrup consistency, promptly remove the pan from the heat. It’s critical at this point to let the caramel cool down. During the cooling process, the caramel will continue to thicken considerably, transforming from a thin liquid to a perfectly pourable, rich sauce. Resist any temptation to keep cooking it past the recommended time, as overcooking is the most common reason for caramel becoming too stiff, hard, or having a burnt taste. Allow it to sit at room temperature for at least 15-30 minutes, or longer, to reach its beautiful, pourable consistency.
Step 4: Transfer to Storage and Refrigerate
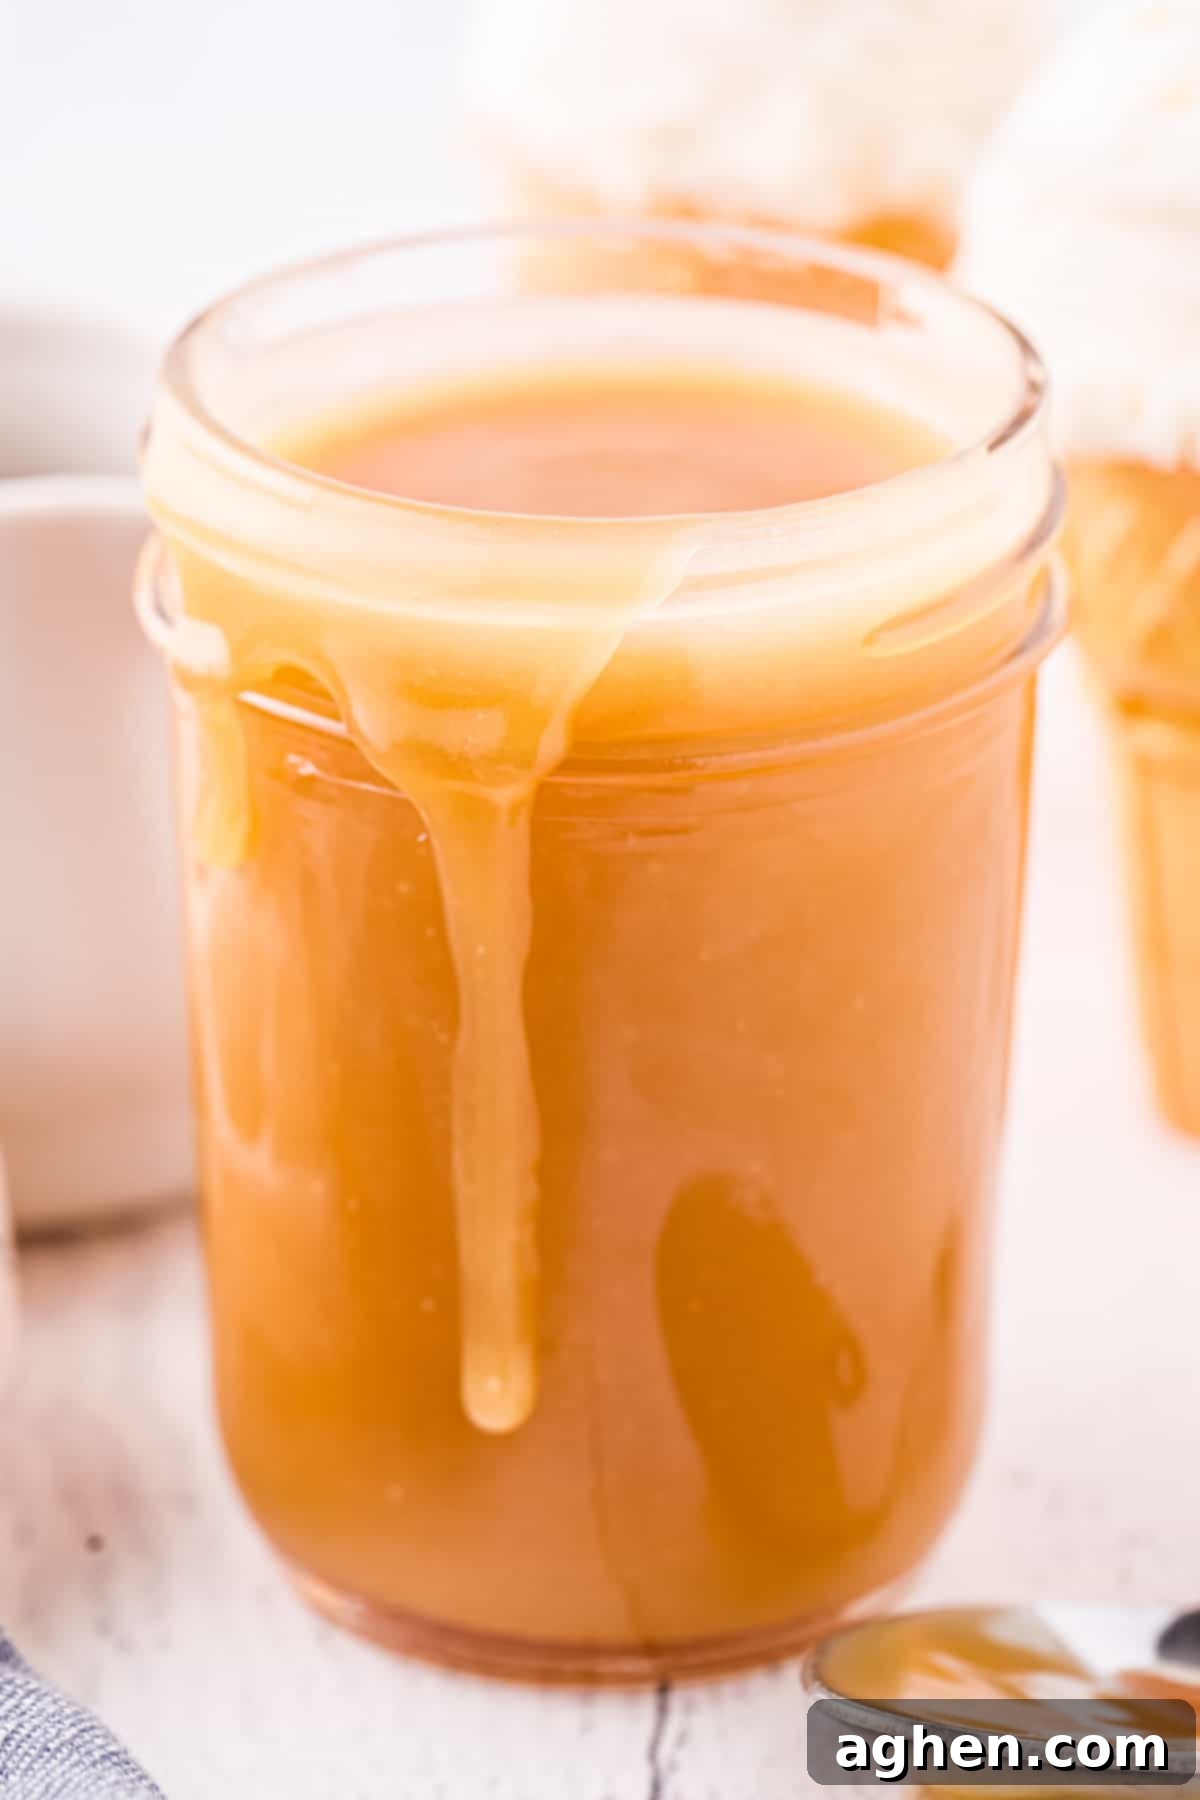
Once the sauce has cooled sufficiently and achieved your preferred thick, yet pourable, consistency, carefully pour it into a clean, lidded glass jar. A classic mason jar works wonderfully for both storage and presentation. Seal the jar tightly and refrigerate the homemade caramel sauce until you’re ready to serve it. Chilling will further set the caramel and preserve its freshness, making it ready for whenever a craving strikes!
Storage Solutions for Your Delicious Caramel Sauce
Proper storage is essential to maintain the freshness, safety, and pourable texture of your homemade caramel sauce. Here’s how to keep it at its best:
- Refrigerator: Because this caramel sauce contains dairy products, it is perishable and must be refrigerated. Store your homemade caramel in an airtight container or a lidded glass jar (like a mason jar) in the refrigerator. When properly stored, it will stay fresh and absolutely delicious for up to 2-3 weeks. The cold temperature will cause the caramel to firm up and become quite thick, but it will easily become pourable again once reheated.
- Freezer: For extended storage, homemade caramel sauce freezes beautifully! Transfer it to an airtight, freezer-safe container, ensuring you leave a little headspace at the top as the sauce may expand slightly when frozen. It can be stored in the freezer for up to 3 months. To thaw, simply move the container to the refrigerator overnight. Alternatively, you can gently reheat it directly from frozen on the stovetop over very low heat, or in the microwave on a low setting, stirring frequently until it’s smooth and warm.
How to Reheat Homemade Caramel Sauce
When you’re ready to enjoy your chilled homemade caramel sauce, reheating it is a simple process. Just be mindful not to overheat it, as this can negatively affect its delicate consistency:
- Microwave Method: Transfer the desired amount of caramel to a microwave-safe bowl. Heat it in short bursts – typically 15-30 seconds at a time – stirring thoroughly after each interval. Continue this process until the caramel reaches your desired pourable consistency. Be patient and stir well to ensure even heating.
- Stovetop Method: Place the desired amount of caramel in a small, heavy-bottomed saucepan over very low heat. Stir constantly with a whisk or wooden spoon until the caramel is smooth, warm, and pourable again. This method offers more control and can be gentler than the microwave.
Important Note: It’s crucial not to cook the caramel for any longer than it takes to simply warm it up to your desired temperature. Overheating or re-cooking the caramel will cause the sugar to further concentrate and the sauce to thicken excessively. In the worst case, it could even harden, rendering it unusable for drizzling. Aim for just warm enough to be perfectly smooth and luscious.
Expert Tips & Tricks for Flawless Caramel Every Time
Achieving perfect homemade caramel is easier than you think, especially when you keep these expert tips and tricks in mind. They’ll help you avoid common pitfalls and ensure a smooth, delicious result:
- Always Use a Heavy-Bottomed Saucepan: This cannot be emphasized enough. A sturdy, heavy-bottomed pot is your best friend when making caramel. It distributes heat much more evenly than a thin pan, significantly reducing the risk of hot spots that can scorch the sugar and lead to a bitter, burnt taste or uneven cooking. Investing in a good quality pot will make a world of difference for your caramel (and other culinary endeavors!).
- Do Not Overcook: This is arguably the most common pitfall in caramel making. If you heat this sauce for too long, the sugar will become too concentrated, and it will thicken past the point of being pourable once it cools. It can quickly turn into a chewy candy or even harden completely. The moment it reaches the consistency of light corn syrup on the stovetop – where it lightly coats the back of your spoon – immediately remove it from the heat. If you suspect you’ve overcooked it slightly and it’s too thick after cooling, you might be able to rescue it by gently whisking in a tablespoon or two of warm heavy cream (off the heat) until it smooths out.
- Prevent Sugar Crystallization: Grainy caramel sauce is a result of sugar crystals forming on the sides of the pot and then falling back into the liquid mixture, acting as seeds for further crystallization. To help avoid this, stir gently and continuously while simmering. If you notice any sugar crystals forming on the edges of your pan, take a clean pastry brush, dip it in a little warm water, and gently brush down the sides of the pot to dissolve them back into the sauce. This simple trick can be a caramel-saver!
- Add Salt for a Delicious Salted Caramel: For an irresistible salted caramel sauce, stir in a generous pinch (or more, to taste – start with ¼ to ½ teaspoon) of flaky sea salt or coarse kosher salt *after* you remove the caramel from the burner. The salt provides a delightful contrast to the sweetness and enhances the rich caramel flavor. Adding it at the end also allows the salt crystals to remain more distinct, offering a pleasant textural element.
- Patience is Key During Cooling: Don’t be alarmed if your caramel sauce seems a bit thin when you first take it off the heat. It needs time to cool and set. As it cools, the caramel will continue to thicken significantly and achieve its perfect pourable, yet rich, consistency. Allowing it to cool undisturbed is part of the magic!
Homemade Caramel Sauce FAQ
Caramel sauce thickens considerably as it cools. The most common reason for it appearing too thin is simply not allowing it enough time to cool down fully. Give it at least 20-30 minutes at room temperature, or transfer it to the refrigerator for faster chilling and thickening. If it has cooled completely and is still too runny, you can gently place it back on the stovetop over medium-low heat and simmer for an additional minute or two, stirring constantly, until it reaches a slightly thicker consistency before cooling again. Remember, a little goes a long way with re-cooking.
If your caramel sauce has become too thick or even hardened, don’t despair! It can often be rescued. Return the thick caramel to a clean, heavy-bottomed pot on the stovetop. Add a tablespoon or two of water or, even better, heavy cream. Gently reheat over very low heat, stirring continuously, until it thins out and becomes smooth and pourable again. Add more liquid (water or cream) a teaspoon at a time as needed until you achieve your desired consistency, being careful not to add too much at once.
Grainy caramel sauce is almost always caused by sugar crystallization. This occurs when sugar crystals splash onto the sides of the pot, dry, and then fall back into the liquid caramel, acting as “seeds” that cause the entire batch to crystallize. To prevent this, stir gently to minimize splashing. Additionally, keep a clean pastry brush dipped in water nearby and gently brush down any sugar crystals that accumulate on the pot’s edges during cooking. A heavy-bottomed pot also helps by preventing hot spots that can initiate crystallization.
Yes, it is absolutely essential to refrigerate homemade caramel sauce. Because this recipe contains dairy products such as heavy cream and butter, it is perishable and can spoil if left at room temperature. Storing it in an airtight container in the refrigerator will prevent bacterial growth and maintain its freshness and quality for up to two to three weeks.
Unleash the Versatility: Delicious Serving Suggestions for Your Caramel Sauce
This creamy, dreamy homemade caramel sauce is incredibly versatile, making it the perfect accompaniment to countless desserts, beverages, and snacks. Once you have a batch on hand, you’ll find endless creative ways to enjoy this golden elixir:
- Drizzle Extravaganza: Lavish it generously over scoops of your favorite ice cream (vanilla, chocolate, pecan, or even coffee!). It’s also sublime over warm apple pie, decadent cheesecake, fluffy cinnamon rolls, or warm bread pudding. Don’t forget to try it on brownies, blondies, cupcakes, or even a simple piece of toast or croissant.
- Stir-In Sensations: Elevate your morning routine or afternoon pick-me-up by stirring a spoonful into your hot or iced coffee, a comforting mug of hot chocolate, a rich chai latte, or even a spiced cider for a cafe-quality treat at home.
- Delicious Dips: Serve it as a luscious dip for fresh fruit like crisp apple slices, sweet pear wedges, or banana pieces. It’s also fantastic with salty snacks such as pretzels, or sweet treats like shortbread cookies, graham crackers, or warm churros.
- Breakfast Boost: Spoon it over plain yogurt, oatmeal, crepes, or waffles for an instant upgrade to your breakfast or brunch spread.
- Milkshake Magic: Blend it into milkshakes, smoothies, or even adult cocktails for an extra-rich, caramel-flavored delight.
Beyond drizzling and dipping, your delicious homemade caramel sauce can also be a star ingredient in more elaborate desserts. Here are some fantastic recipes where this versatile sauce truly shines:
My Favorite Caramel-Inspired Recipes & Ideas
If you’re looking for more ways to incorporate your amazing homemade caramel sauce, these recipes are perfect. They showcase how this simple sauce can transform ordinary dishes into extraordinary delights:
- Apple Nachos: A fun, shareable, and healthier-ish dessert or snack, made absolutely irresistible with a generous drizzle of homemade caramel.
- Caramel Macchiato: Recreate your favorite coffee shop drink in the comfort of your home with this rich, authentic caramel flavor.
- Apple Pie Crescent Rolls: Drizzle this luscious caramel over these easy, flaky, apple-filled treats for an added layer of indulgence.
- Caramel Apple Crumb Cake: A cozy and comforting cake bursting with the classic combination of sweet apples and rich caramel, topped with a delightful crumb.
- Caramel Frappuccino: Enjoy a refreshing, blended coffee treat that’s made even better with your homemade caramel swirled throughout.
- Slow Cooker Salted Caramel Hot Chocolate: The ultimate comforting beverage, made intensely flavorful and satisfying with the addition of your own homemade salted caramel.
- Apple Crisp with Cake Mix: A simple and quick apple crisp recipe that becomes truly magnificent with a generous caramel topping.

Homemade Caramel Sauce
Author: Jaclyn
Ingredients
- ⅔ cup heavy cream
- ½ cup granulated sugar
- ½ cup light brown sugar packed
- ½ cup salted butter
- 1 ½ teaspoons vanilla extract
Instructions
-
In a medium saucepan over medium heat, heat together the heavy cream, granulated white sugar, light brown sugar, salted butter, and vanilla extract. Once the butter melts, gently whisk everything together.
-
Bring the sauce to a gentle boil. It should still have bubbles even when stirred. Once it comes to a boil, stir constantly while simmering for 2-3 minutes or until the sauce thickens slightly (I like to aim for the consistency of light corn syrup).
-
Remove the pan from the heat and allow it to cool. As it cools, it will thicken more.
-
Pour the sauce into a lidded glass jar and refrigerate until serving.
Notes
- Refrigerate for up to 3 weeks.
- Freeze for up to 3 months.
- Reheat in the microwave or on the stovetop.
- Nutrition information calculated for a 2 Tbsp size serving.
Nutrition

Did You Make This Recipe?
We’d love to see your creations! Share it with me on Instagram @crayonsandcravings and be sure to follow us on Pinterest @crayonsandcravings for even more delicious inspiration and sweet ideas!
Pin Recipe
Leave A Review
Conclusion: Your Journey to Perfect Homemade Caramel Starts Now!
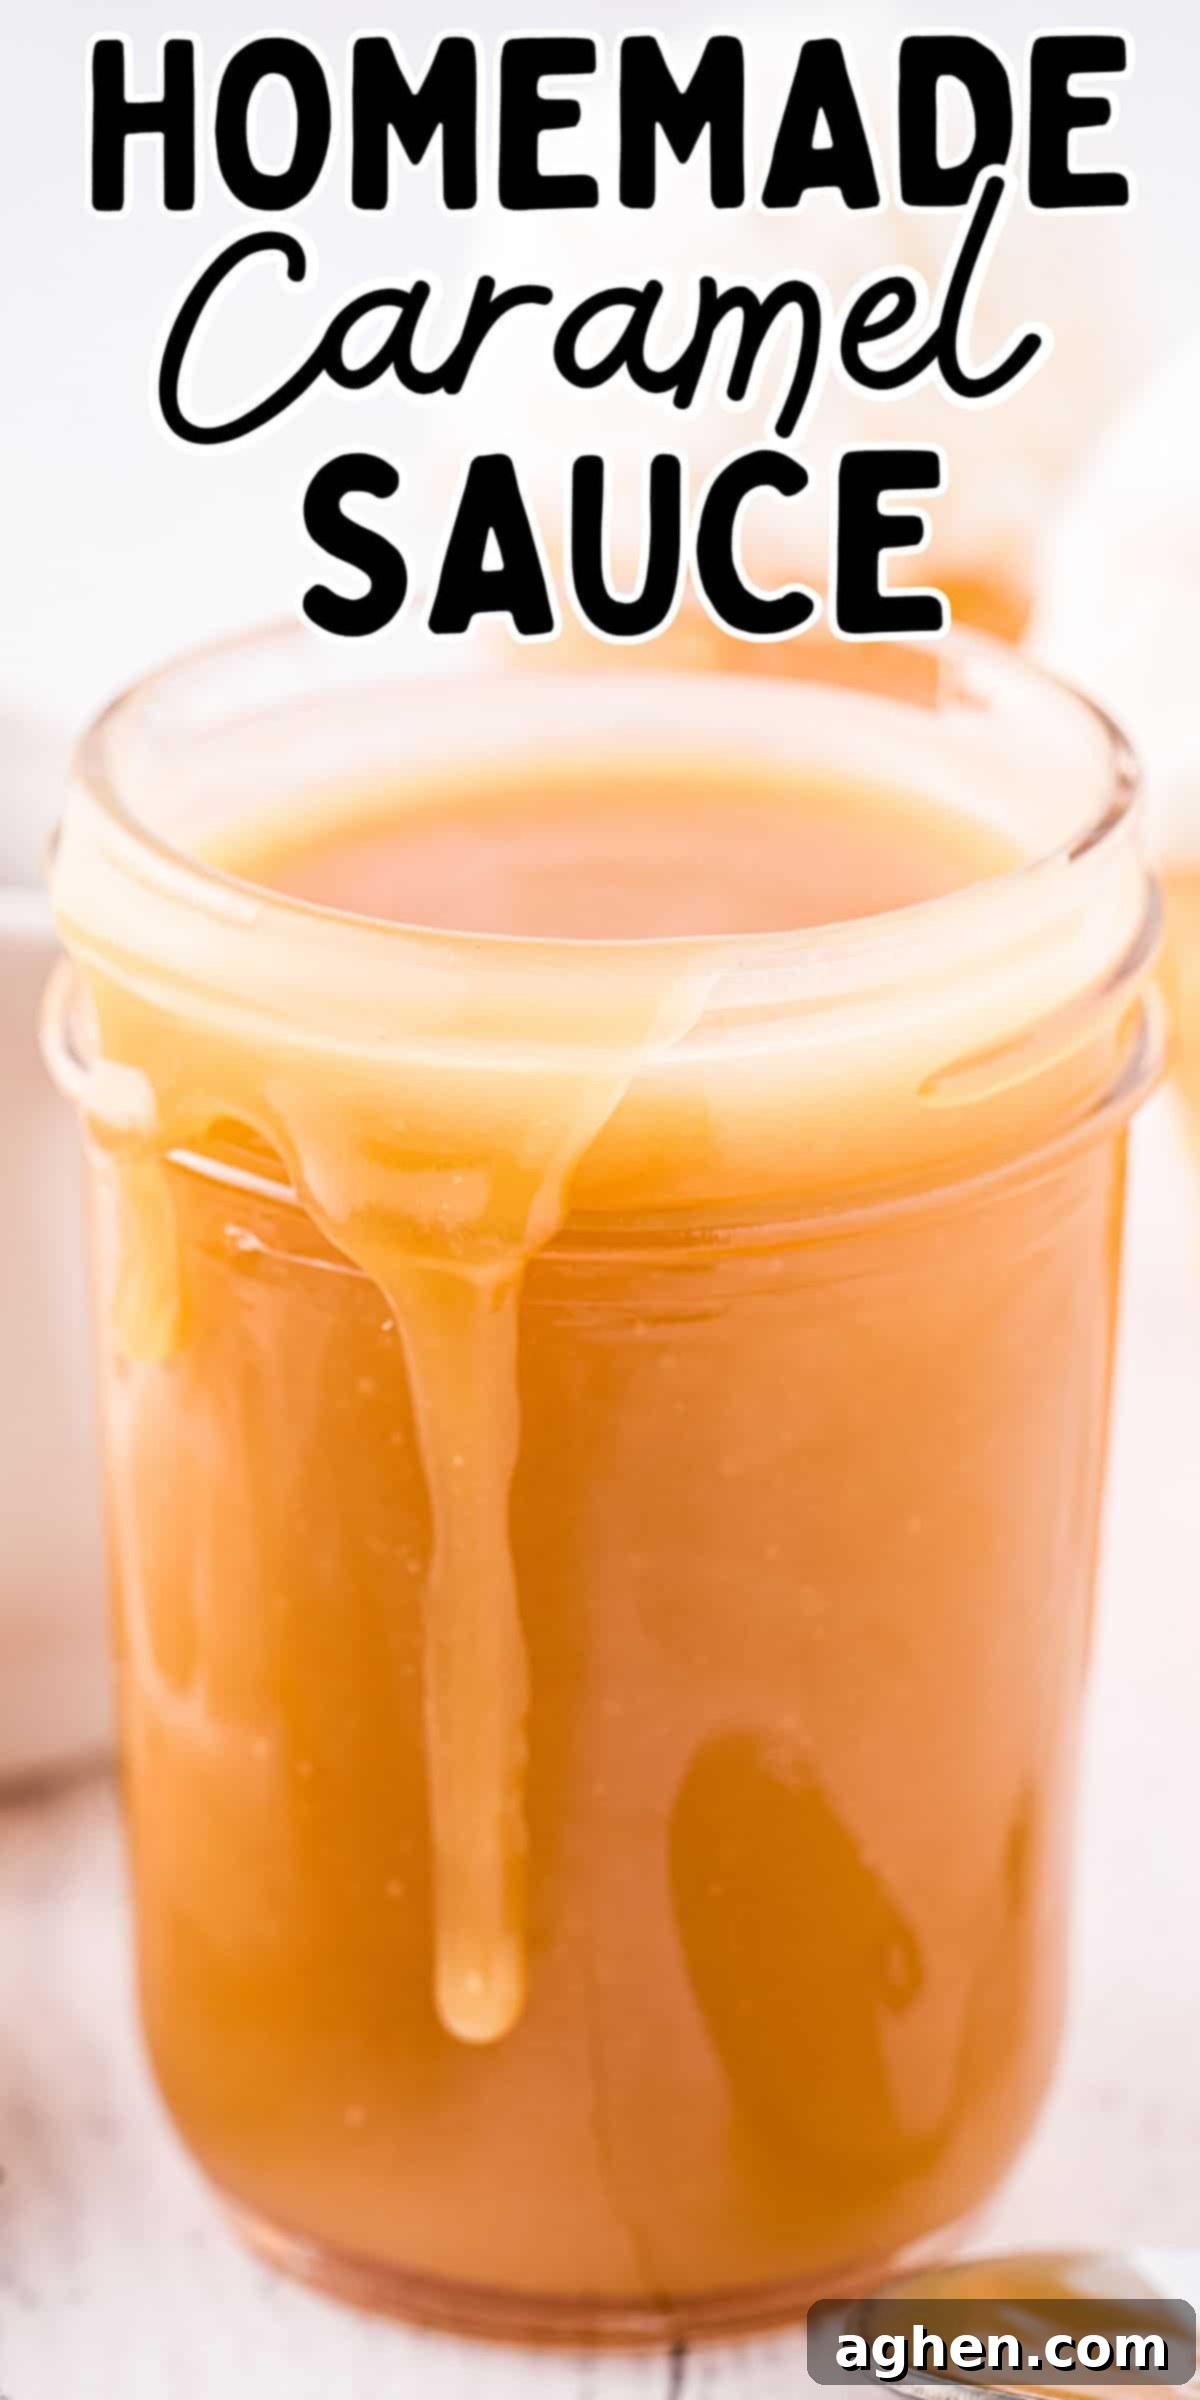
There you have it – a foolproof, quick, and incredibly easy recipe for homemade caramel sauce that will undoubtedly become a beloved staple in your kitchen. Say goodbye to artificial flavors, questionable ingredients, and bland textures. Instead, embrace the rich, authentic, and utterly delicious taste of caramel crafted by your own hands. This recipe is specifically designed to take the intimidation out of caramel making, proving that gourmet flavors and homemade goodness are well within reach for any home cook, regardless of experience level.
Whether you’re drizzling it generously over a simple scoop of vanilla ice cream, stirring it into your morning coffee for an extra treat, or incorporating it as a key ingredient into a more elaborate dessert, this versatile sauce is sure to impress everyone who tastes it. Don’t hesitate to experiment with an extra pinch of flaky sea salt for a delightful salted caramel sauce twist – it truly enhances the flavor profile!
We’d absolutely love to hear about your experience and see your delicious creations! If you make this recipe, be sure to share it with us on Instagram @crayonsandcravings and follow us on Pinterest @crayonsandcravings for even more delectable inspiration and sweet ideas. Happy caramel making – get ready to indulge!
