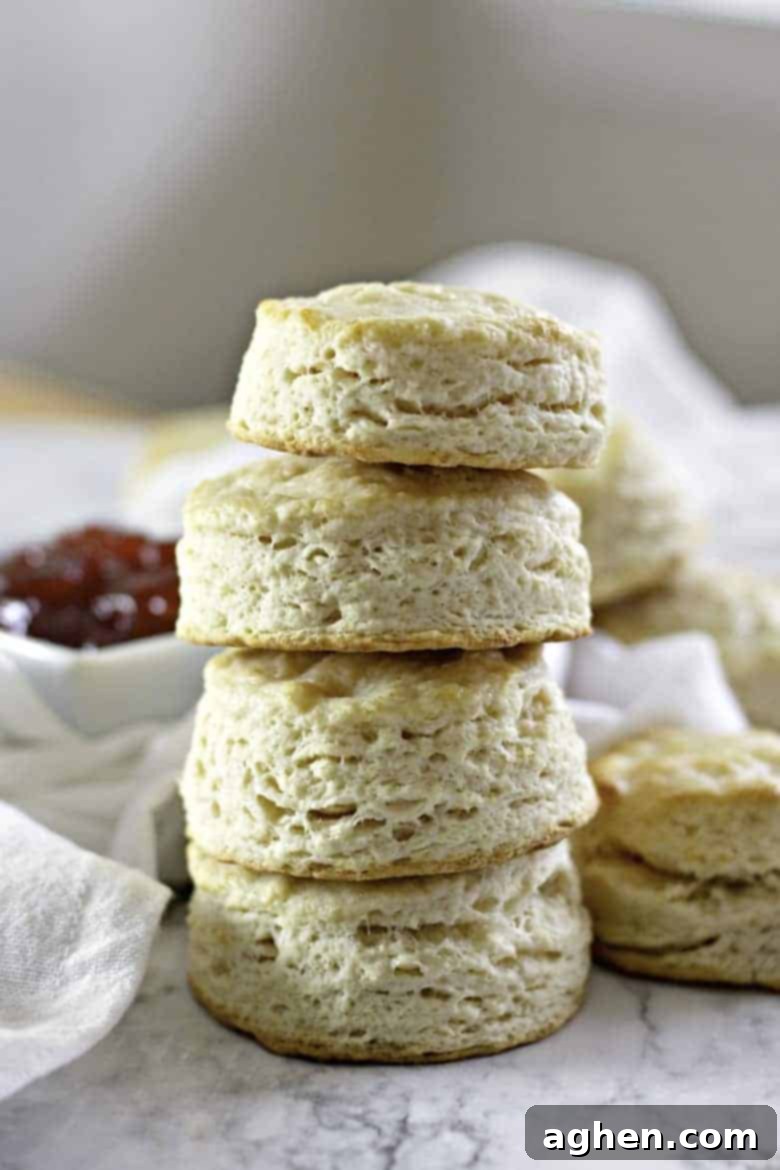
The Best Fluffy Buttermilk Biscuits: Flaky, Tender, and Perfectly Homemade
Are you on the hunt for a biscuit recipe that consistently delivers light, fluffy, and incredibly flaky results? Look no further! This isn’t just *another* recipe; these are, hands down, the BEST buttermilk biscuits you will ever try. Each biscuit boasts a perfect rise with distinct, beautiful layers, promising a melt-in-your-mouth experience from the very first bite. Get ready to transform your breakfast table or elevate any meal with these homemade wonders.
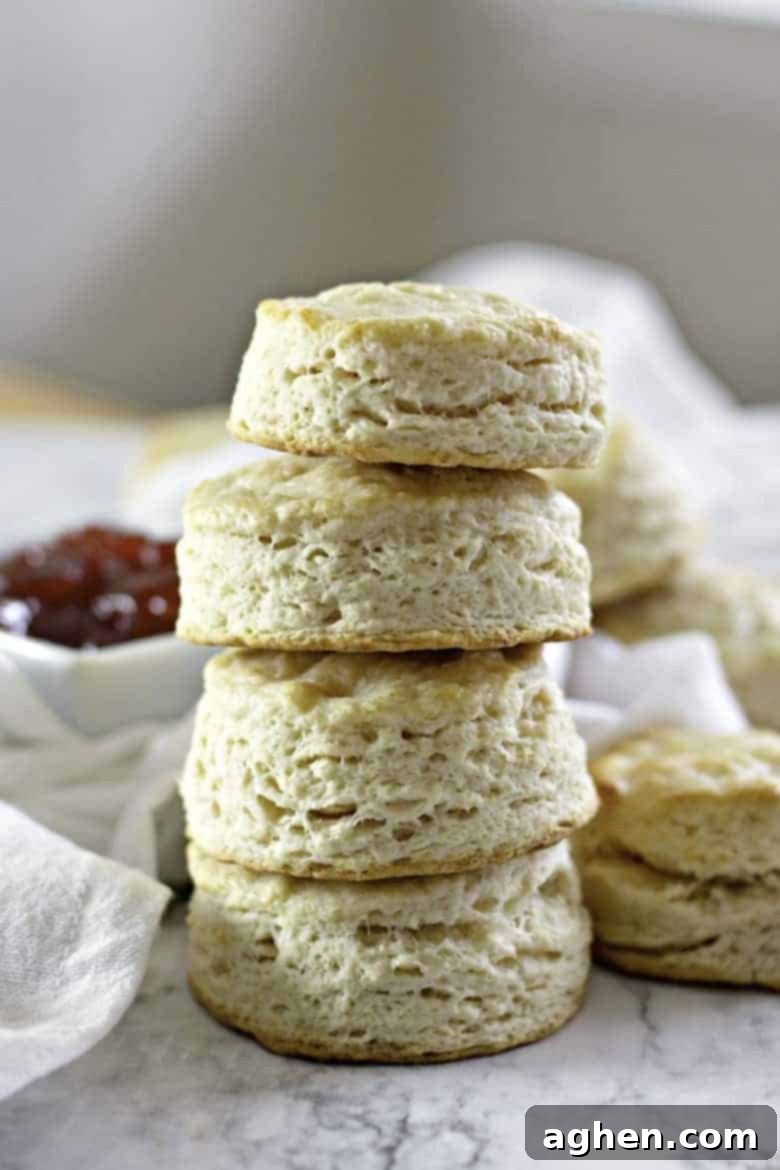
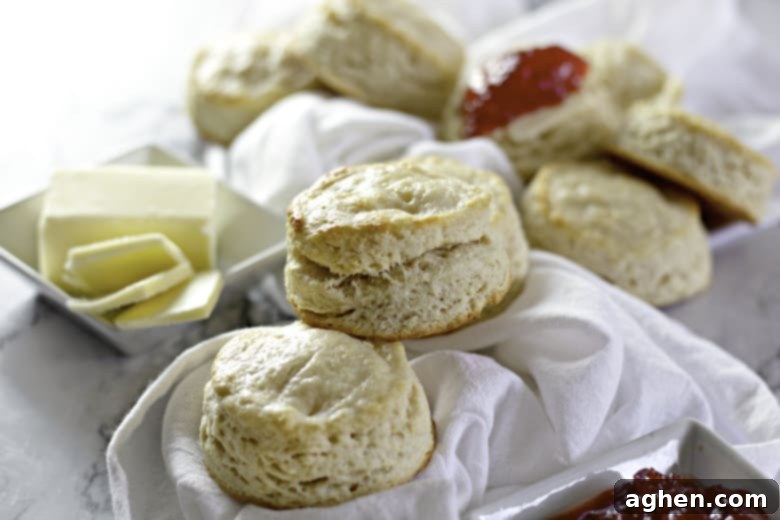
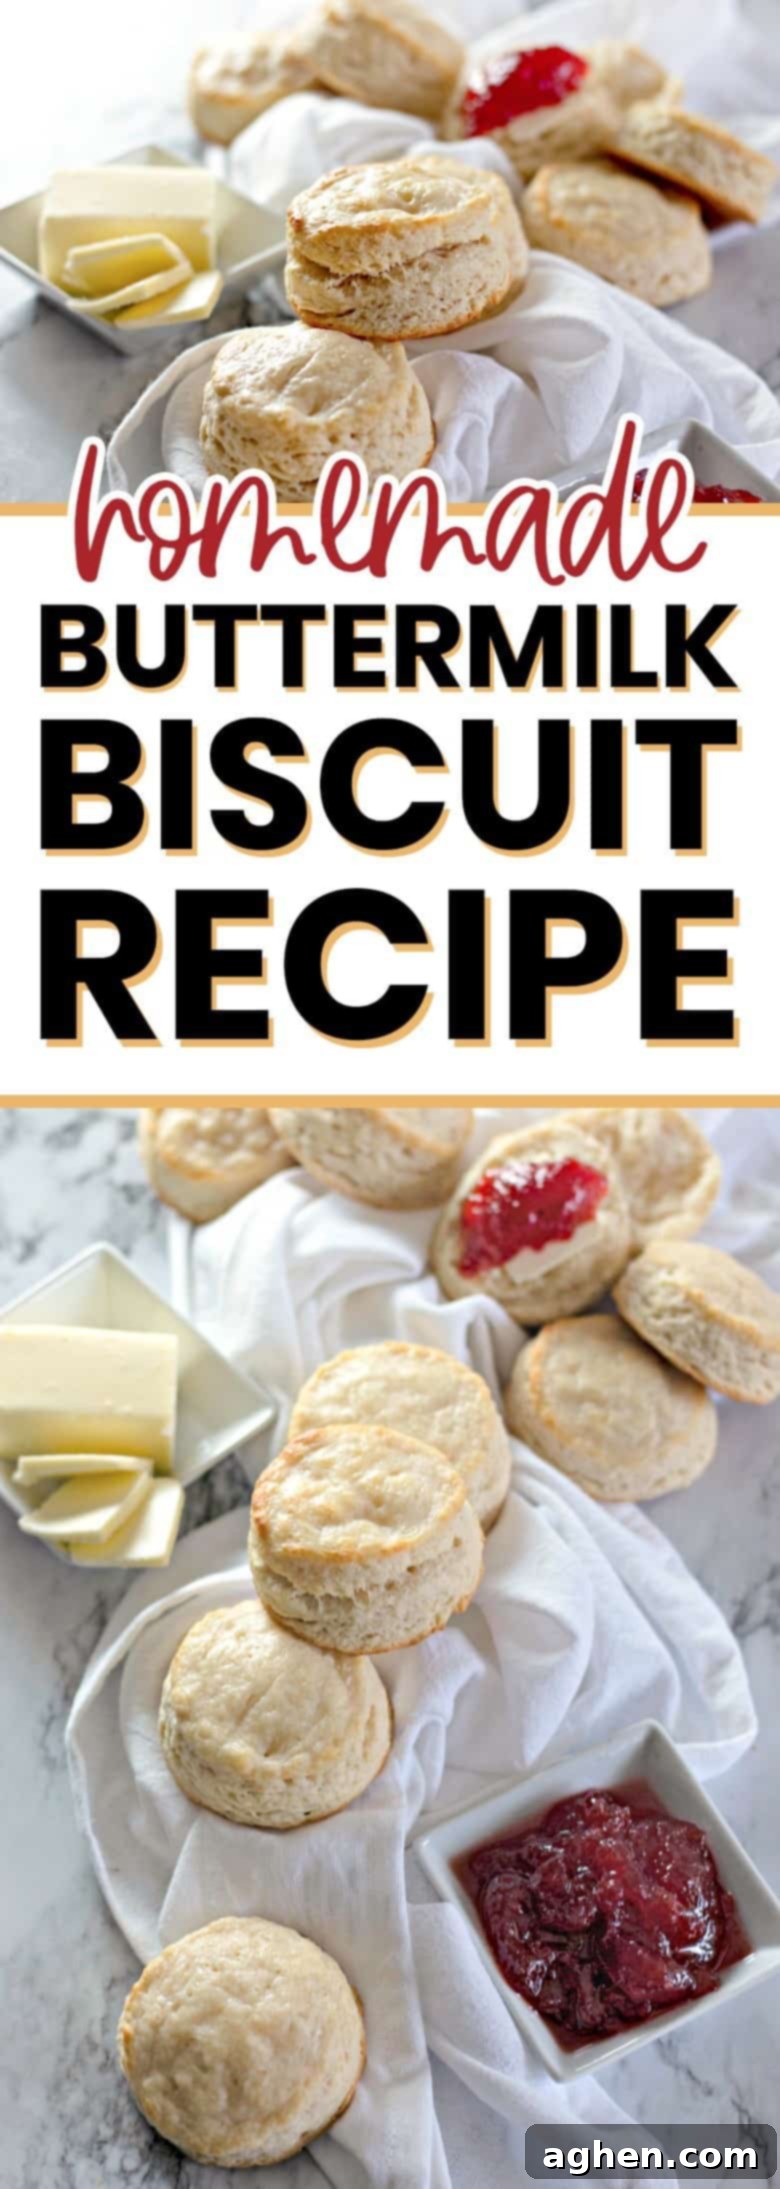
The quest for the perfect buttermilk biscuit can be a tricky one. Many recipes promise great taste, but how often do they truly deliver on that elusive texture? You want a biscuit that’s not just delicious, but also wonderfully soft on the inside with those irresistible flaky layers that separate effortlessly. Imagine sinking your teeth into a warm, buttery biscuit first thing in the morning, topped with homemade butter and a dollop of sweet homemade peach jam or vibrant homemade blueberry jam, melting perfectly into its tender crevices. Pure heaven!
Why These Buttermilk Biscuits Are Unbeatable
Just like our cherished old-fashioned buttermilk doughnuts and fluffy buttermilk pancakes, this biscuit recipe is designed to exceed expectations. We confidently promise that this will be the last homemade buttermilk biscuit recipe you’ll ever need. The secret lies in a meticulous yet simple technique that ensures every single biscuit achieves optimal rise and those coveted, distinct layers.
Our unique folding method is the key to creating those beautiful, flaky layers you crave. By carefully laminating the dough, we trap cold butter within thin sheets, which then create steam during baking, pushing the layers apart for a truly magnificent rise. This is how a true homemade buttermilk biscuit should be – light, airy, and utterly satisfying. Are you feeling that urge to preheat your oven already? We certainly are! These aren’t just biscuits; they’re a must-have for early mornings, lazy weekends, or whenever a craving for homemade comfort strikes.
Perfectly Versatile: Enjoying Your Best Buttermilk Biscuits
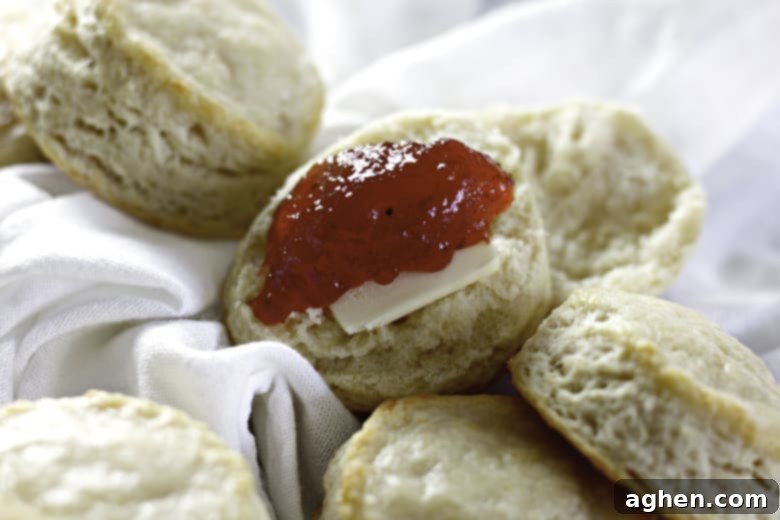
Once you try these homemade buttermilk biscuits, they’re sure to become a regular fixture in your kitchen. Their rich, buttery flavor and tender texture make them incredibly versatile. They pair wonderfully with a wide array of breakfast dishes, from scrambled eggs and bacon to a hearty sausage gravy. But don’t stop there! These biscuits are also a fantastic accompaniment to dinner, soaking up gravies and sauces beautifully. Or, for a simple yet delicious treat, serve them warm with just butter and your favorite jam or honey. They’re also delightful alongside our best ever potato rolls recipe for a truly exceptional bread basket.
The Science Behind the Fluff: Why Cold Butter and Buttermilk Matter
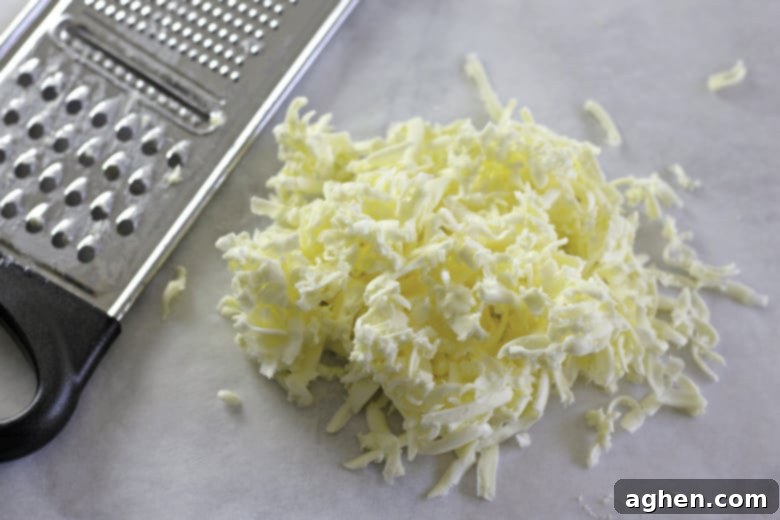
Achieving those coveted flaky layers and a tender crumb isn’t magic; it’s a bit of culinary science. The key ingredient here is cold butter. When small pieces of cold butter are incorporated into the flour and then baked, they create pockets of steam as the butter melts. This steam pushes the layers of dough apart, resulting in that incredible flakiness. Grating the butter ensures uniform, tiny pieces that disperse evenly, maximizing this effect.
Buttermilk also plays a crucial role. Its acidity reacts with the baking powder, producing carbon dioxide gas that helps the biscuits rise even higher and creates a wonderfully tender texture by gently breaking down gluten strands. The tang of buttermilk also adds a subtle depth of flavor that can’t be replicated with regular milk.
Buttermilk Biscuit Ingredients
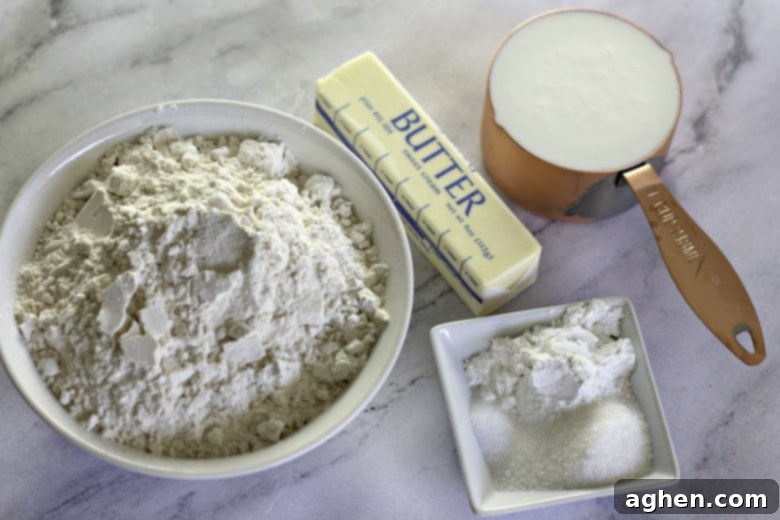
Gathering the right ingredients is the first step to biscuit perfection. Here’s what you’ll need for these flaky, fluffy homemade buttermilk biscuits:
- Cold Unsalted Butter: Essential for flakiness. Keep it very cold until just before use.
- All-Purpose Flour: The foundation of our biscuits. Measure it correctly for the best texture.
- Baking Powder: Our primary leavening agent, responsible for that impressive rise. Ensure it’s fresh!
- Granulated Sugar: A touch of sweetness that also aids in browning the crust.
- Salt: Balances the flavors and enhances the butteriness.
- Cold Buttermilk: Provides tenderness and a slight tang. Keep it chilled.
- Melted Unsalted Butter: For brushing on top after baking, adding extra flavor and shine.
How to Make Buttermilk Biscuits: A Step-by-Step Guide
Follow these detailed steps to create the most incredible buttermilk biscuits you’ve ever tasted. Precision and gentle handling are key!
PREHEAT THE OVEN & PREPARE BAKING SHEET: Begin by preheating your oven to a precise 425°F (218°C). Line a sturdy baking sheet with parchment paper or a silicone baking mat. This prevents sticking and ensures even baking.
GRATE AND CHILL BUTTER: Using a cheese grater, grate the very cold unsalted butter into a small bowl. The smaller, more uniform pieces of butter are crucial for creating those distinct flaky layers. Immediately place the bowl of grated butter back into the refrigerator to keep it thoroughly chilled while you prepare the dry ingredients.
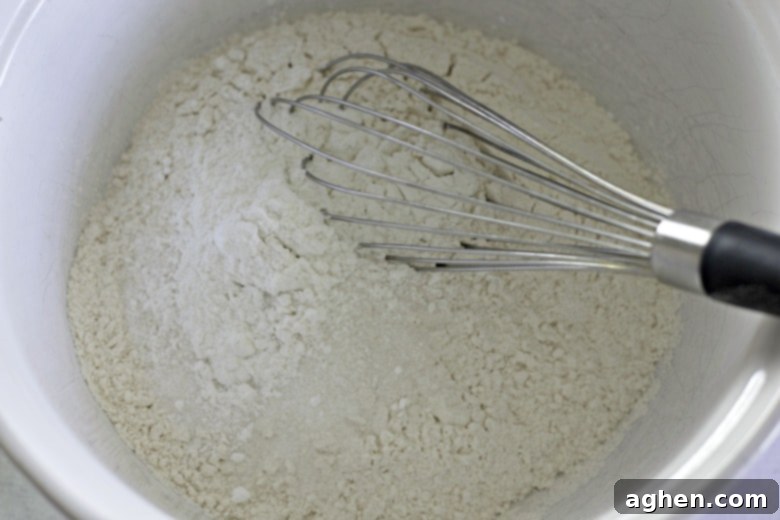
MIX DRY INGREDIENTS: In a large mixing bowl, whisk together the all-purpose flour, baking powder, granulated sugar, and salt. Whisking ensures that the leavening agent and other dry ingredients are evenly distributed, leading to a consistent rise.
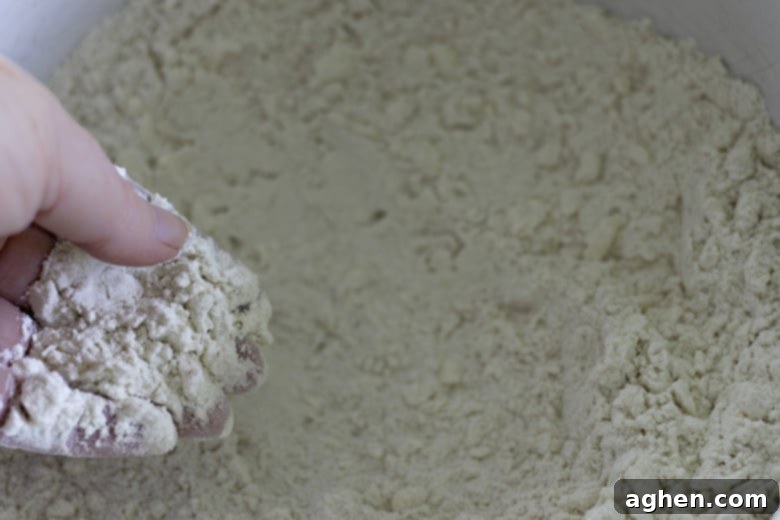
INCORPORATE THE BUTTER: Retrieve the chilled grated butter from the refrigerator. Add it to the dry mixture. Using a pastry blender or two forks, quickly cut the butter into the flour mixture until it resembles coarse cornmeal with some pea-sized butter pieces still visible. The key here is to work quickly to prevent the butter from warming up. Don’t overmix!
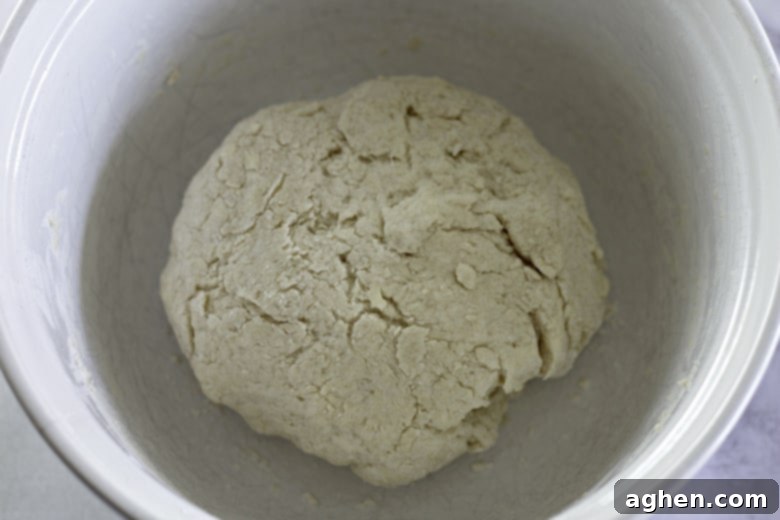
ADD BUTTERMILK: Pour in the cold buttermilk. With a spatula or your hands, gently stir until the dough just comes together and forms a soft ball. Be extremely careful not to overmix the dough, as this will develop the gluten too much and result in tough, rather than tender, biscuits.
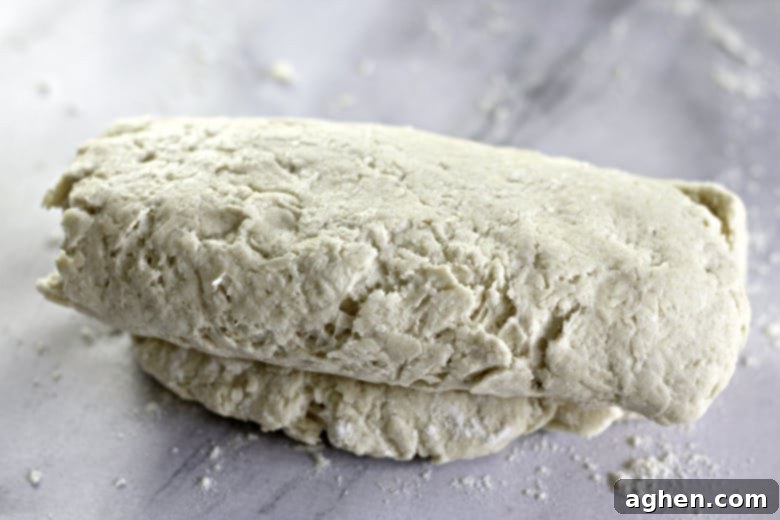
ROLL AND FOLD THE DOUGH (THE FLAKY SECRET!): Turn the shaggy dough out onto a lightly floured surface. Gently press and roll the dough into a roughly 1-inch thick triangle. Now, perform the “letter fold”: fold one third of the dough over the middle, then fold the remaining third over that, just like folding a letter. Lightly press down and roll the dough out again to about 1-inch thick. Repeat this letter-folding process a second time. This technique creates dozens of thin layers of butter and dough, which expand into those beautiful flakes when baked. After the second fold, roll the dough out into a uniform 9×9 inch square, approximately 1 inch thick.
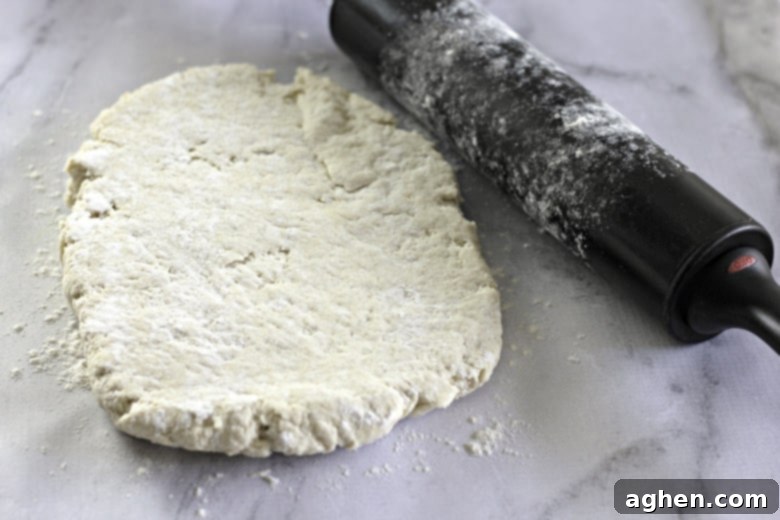
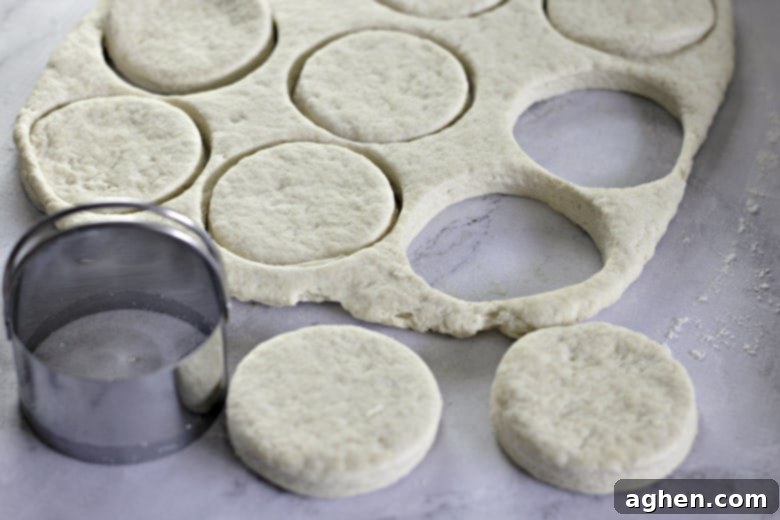
CUT THE BISCUITS: Using a sharp 3-inch round biscuit cutter, cut out 9 biscuits. Dip the cutter in flour before each cut to prevent sticking. Press straight down firmly without twisting, as twisting seals the edges and can hinder the rise. If you prefer, you can also use a knife to cut the dough into square-shaped biscuits, which yields no scraps. Place the cut biscuits onto your prepared baking sheet.
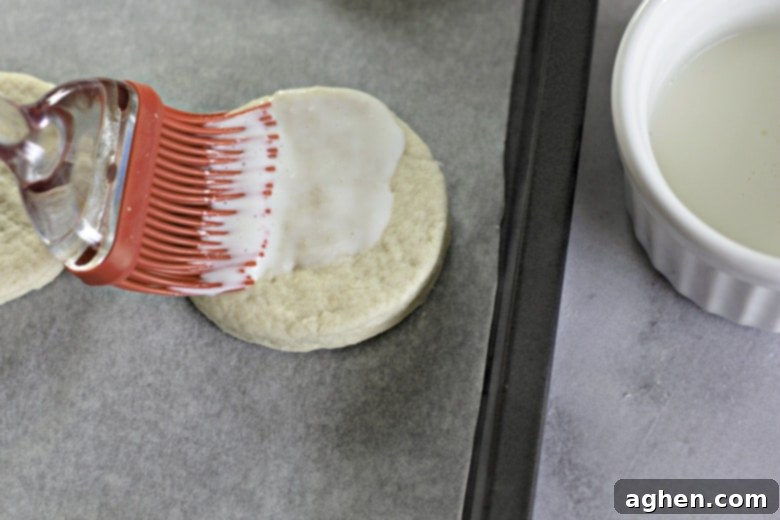
OPTIONAL BUTTERMILK BRUSH: For an extra golden-brown top and a subtle shine, you can optionally brush the tops of the biscuits with a little additional buttermilk. This step is entirely for aesthetics and can be skipped if you prefer.
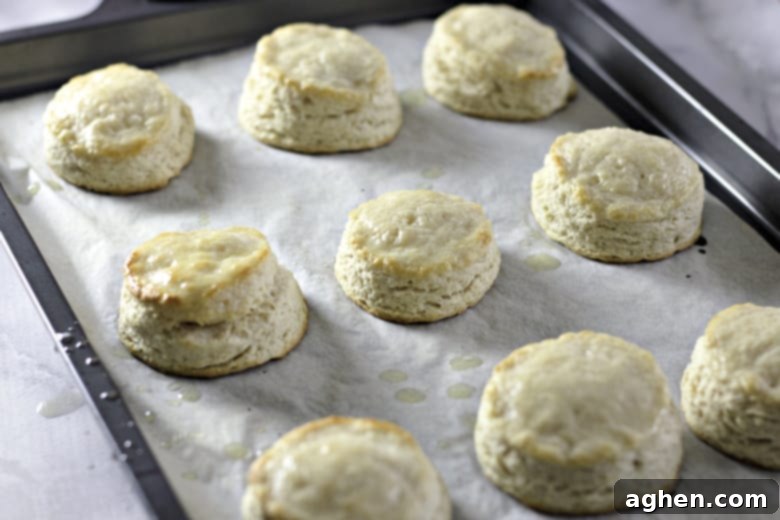
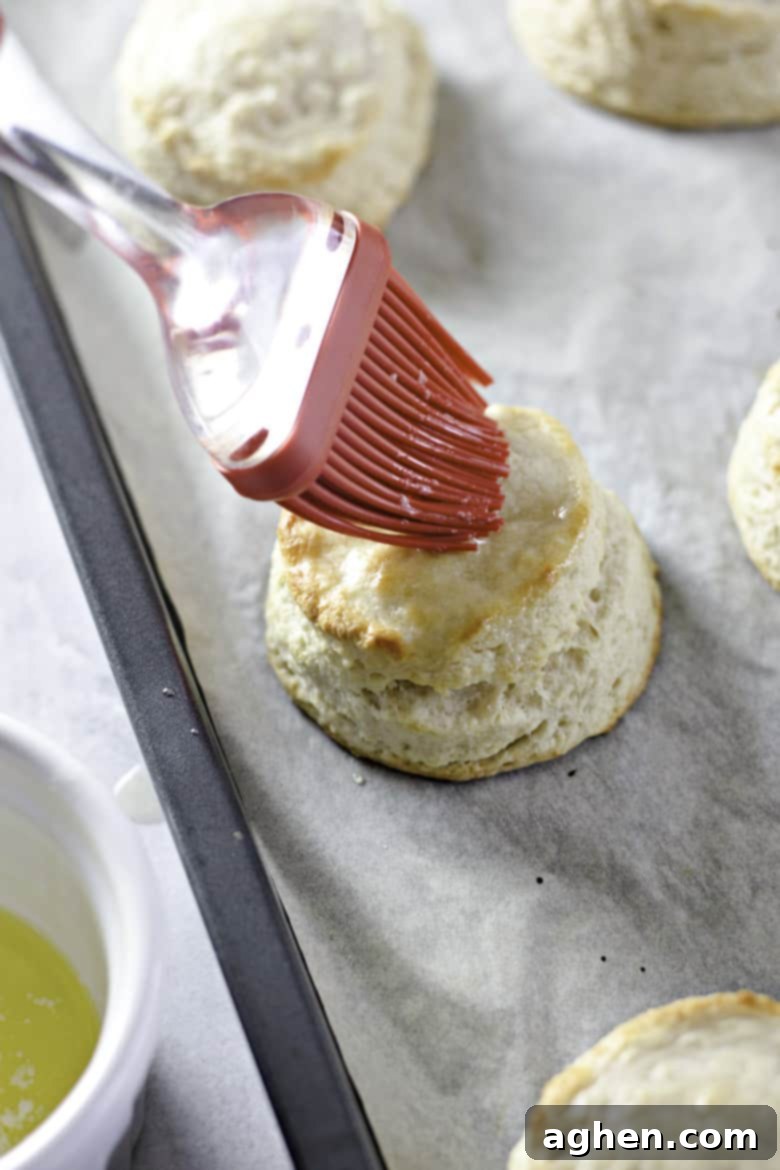
BAKE AND SERVE: Bake the biscuits in the preheated oven for 10-15 minutes, or until the tops are beautifully golden brown and the edges are crisp. Keep an eye on them towards the end of baking to prevent overbrowning. Once removed from the oven, immediately brush the hot biscuits with 2 tablespoons of melted butter. This adds another layer of rich flavor and a lovely sheen. Serve them warm and enjoy!
Frequently Asked Questions About Buttermilk Biscuits
How do you make your own buttermilk substitute?
No buttermilk on hand? No problem! You can easily make a homemade substitute. Simply add 1 tablespoon of white vinegar or lemon juice to a liquid measuring cup. Then, fill the rest of the cup with whole milk until it reaches the 1-cup line. Stir gently and let it sit for 5-10 minutes. The milk will curdle slightly and thicken, mimicking the consistency and acidity of true buttermilk, making it ready for your recipe.
Do I have to brush buttermilk over the top before baking?
Brushing the tops of the biscuits with buttermilk before baking is completely optional! This step is primarily for aesthetic reasons, helping to create a beautifully shiny, golden-brown crust. If you prefer to skip it, your biscuits will still be delicious and rise perfectly; they just might have a slightly less uniform color on top.
Why didn’t my homemade buttermilk biscuits rise?
There are a few common culprits if your biscuits come out flat instead of tall and flaky:
- Overmixing the Dough: This is perhaps the most common mistake. Overworking the dough develops the gluten too much, leading to tough, dense biscuits that struggle to rise. Mix only until just combined.
- Warm Butter: If your butter wasn’t cold enough or if you handled the dough too much, the butter could have melted into the flour. Cold butter creates steam pockets for rise; melted butter won’t.
- Old Baking Powder: Baking powder loses its potency over time, typically after 9-12 months. If it’s old, it won’t produce enough gas to lift your biscuits. To test its freshness, stir half a teaspoon into a cup of hot water. If it fizzes vigorously, it’s still good. If not, it’s time for a new can.
- Twisting the Biscuit Cutter: When cutting the biscuits, always press straight down and lift straight up. Twisting the cutter can seal the edges of the dough, preventing those wonderful layers from separating and rising properly.
- Rolling Dough Too Thin: If you roll the dough too thin, there isn’t enough material for the layers to properly develop and rise to their full potential. Aim for approximately 1 inch thick.
What can I serve with buttermilk biscuits?
The possibilities are endless! Beyond butter and jam, consider:
- Sweet options: Apple butter, honey, maple syrup, chocolate hazelnut spread, or even fresh berries and whipped cream for a dessert-like treat.
- Savory options: Classic sausage gravy, creamy white gravy, chili, fried chicken, pulled pork, or as a side with almost any hearty soup or stew. They also make fantastic breakfast sandwiches with egg and cheese or a slice of ham!
How long will buttermilk biscuits last, and how should I store them?
The longevity of your homemade biscuits depends on how you store them:
- Countertop: Stored in an airtight container at room temperature, they will stay fresh for 1-2 days.
- Refrigerator: For extended freshness, keep them in an airtight container in the refrigerator for up to 1 week.
- Freezer: For longer storage, biscuits freeze beautifully. Place baked, cooled biscuits in a freezer-safe bag or container and freeze for 2-3 months. Reheat in a warm oven for a fresh-from-the-oven experience. You can also freeze unbaked biscuit dough: cut the biscuits, place them on a parchment-lined tray, freeze until solid, then transfer to a freezer bag. Bake from frozen, adding a few extra minutes to the cooking time.
More Delicious Breakfast Recipes to Explore:
- Blueberry Croissant Bake
- Breakfast Cookies
- Maple Walnut Coffee Cake
- Strawberry Muffins
- Caramel Apple Crumb Cake
Buttermilk Biscuits
Author: Jaclyn
Ingredients
- 1/2 cup cold unsalted butter
- 2 1/2 cups all-purpose flour
- 2 teaspoons baking powder
- 2 teaspoons granulated sugar
- 1/2 teaspoon salt
- 1 cup cold buttermilk
- 2 tablespoons unsalted butter melted
Instructions
-
Preheat the oven to 425F and prepare a baking sheet lined with parchment paper or a silicone baking mat.
-
Grate the butter into a small bowl using a cheese grater and then place it in the refrigerator to chill.
-
Whisk together the flour, baking powder, sugar, and salt in a large mixing bowl.
-
Add butter to dry mixture and cut the butter into the mixture using a pastry blender or fork until it resembles coarse cornmeal.
-
Add the buttermilk and stir with a spatula until the dough forms a soft ball; be careful not to overmix.
-
Turn the dough out onto a lightly floured surface and then roll out into a triangle, about an inch thick.
-
Fold the dough into thirds like a letter, then roll out again an inch thick.
-
Repeat the letter fold a second time, then roll the dough out into a 9×9 inch square.
-
Use a 3-inch round biscuit cutter to cut out 9 biscuits, or you can cut the dough with a knife into square-shaped biscuits.
-
Place them on the prepared cookie sheet and optionally, brush the top of the biscuits with a little buttermilk to give a finished shine.
-
Bake in the oven for 10-15 minutes, until golden brown around the edges.
-
Brush the hot biscuits with melted butter and serve warm.
Notes
Nutrition

Did You Make This Recipe?
Share it with me on Instagram @crayonsandcravings and follow on Pinterest @crayonsandcravings for even more!
Pin Recipe
Leave A Review
Pin It For Later!
Don’t let this incredible recipe get lost! Pin it to your favorite breakfast or baking board on Pinterest so you can easily find it whenever the craving for homemade buttermilk biscuits strikes.
Shared over on Southern Bite for Meal Plan Monday!
