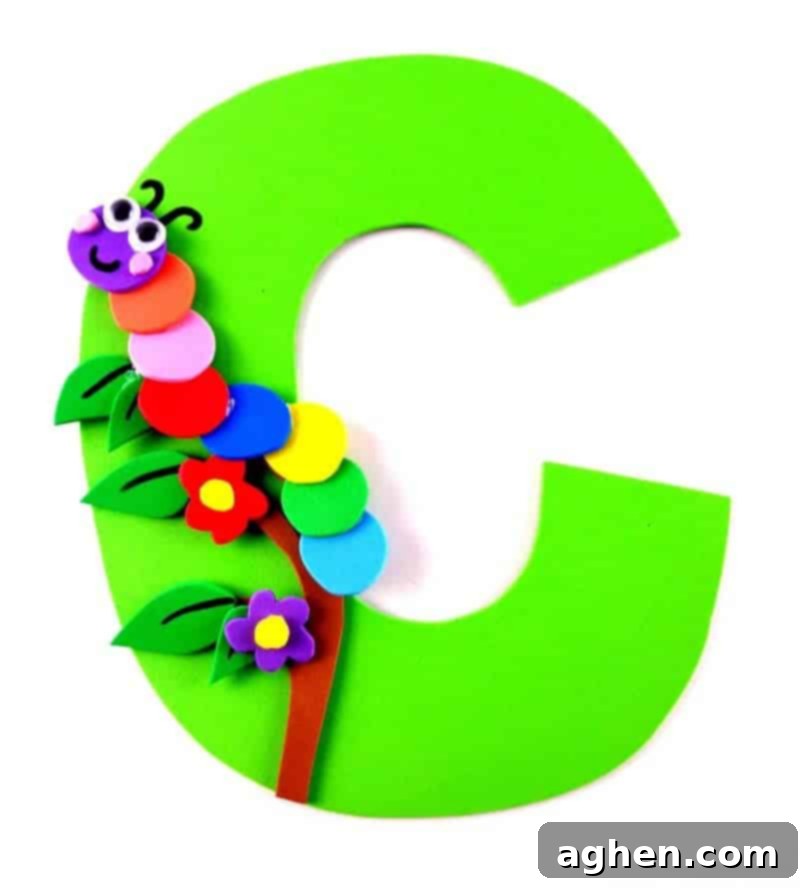
Engaging Letter C is for Caterpillar Craft: Fun & Educational Activity for Preschoolers!
Welcome to our popular “Letter of the Week” craft series, specially designed to make learning the alphabet an exciting adventure for preschoolers, pre-kindergarteners, and kindergarteners! This week, we’re diving into the letter ‘C’ with an adorable and educational Letter C is for Caterpillar craft. This hands-on activity not only helps children recognize the letter C but also strengthens crucial fine motor skills, fosters creativity, and introduces them to the fascinating world of caterpillars.
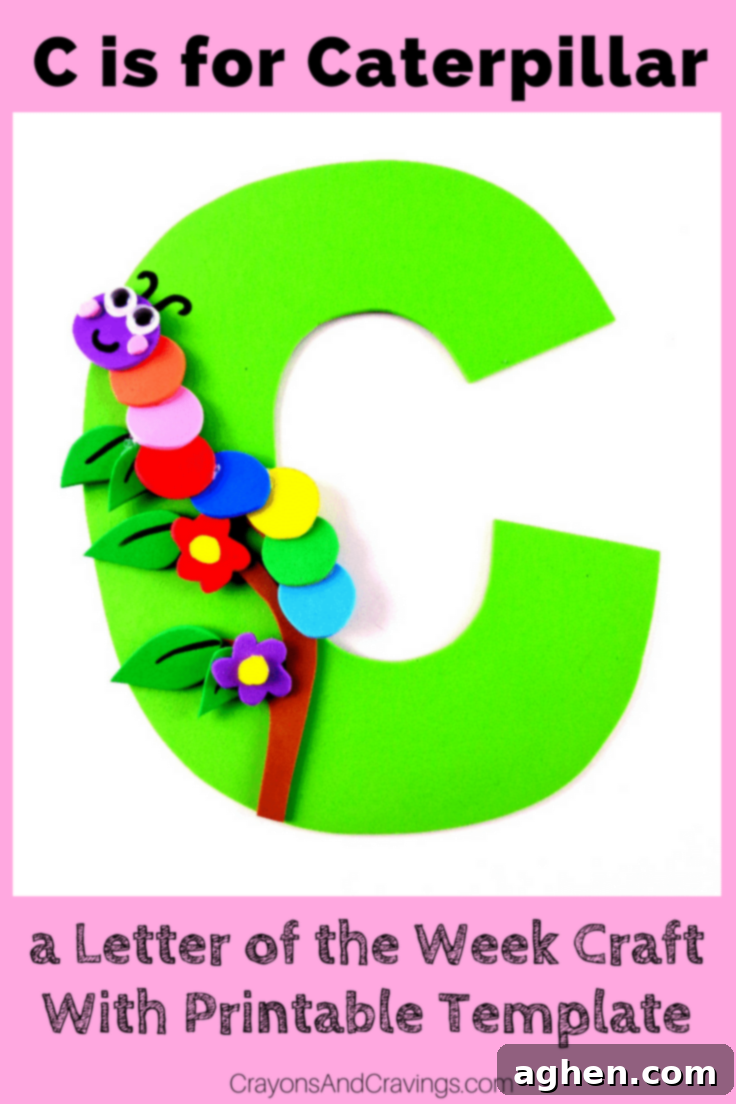
Following last week’s fun Letter B is for Bus craft, we’re now moving on to the third letter of the alphabet. The letter ‘C’ offers so many creative possibilities, and what better way to celebrate it than with a colorful caterpillar? This craft comes complete with free printable templates, making it super easy for parents, teachers, and caregivers to prepare and enjoy with their little learners.
Building foundational literacy skills is essential, and our “Letter of the Week” crafts provide a memorable, multi-sensory approach. Children learn best by doing, and crafting allows them to connect the abstract shape of a letter to a tangible, fun object. As they cut, trace, and glue, they’re not just making a pretty picture; they’re reinforcing letter recognition in a way that stick. Plus, the joy of creating something with their own hands boosts confidence and encourages further exploration of learning.
Explore our entire Letter of the Week craft series here for more alphabet fun!
Educational Benefits of the Letter C Caterpillar Craft
This charming caterpillar craft offers a wealth of developmental benefits beyond simple letter recognition:
- Letter Recognition & Phonics: The primary goal is to help children identify the uppercase letter ‘C’ and associate it with the ‘cuh’ sound, as in “caterpillar.” Repeating the letter name and sound throughout the activity reinforces learning.
- Fine Motor Skill Development: Activities like tracing and cutting are excellent for strengthening the small muscles in a child’s hands and fingers. This improved dexterity is crucial for tasks like writing, buttoning clothes, and using utensils.
- Hand-Eye Coordination: Guiding scissors along a line or placing glue precisely requires good hand-eye coordination, a skill that develops significantly through crafting.
- Following Instructions: Children learn to listen carefully and follow a sequence of steps, which is vital for academic success and everyday life.
- Creativity & Imagination: While guided, this craft still allows for personal touches. Children can choose colors, arrange pieces, and even add extra details, sparking their imagination.
- Problem-Solving: Sometimes a piece doesn’t fit exactly right, or a child needs to figure out the best way to apply glue. These small challenges encourage critical thinking and problem-solving.
- Vocabulary Expansion: Introduce new words related to caterpillars, letters, colors, and actions (trace, cut, glue, attach).
Preparing for Your Letter C Craft: Guidance for Parents and Educators
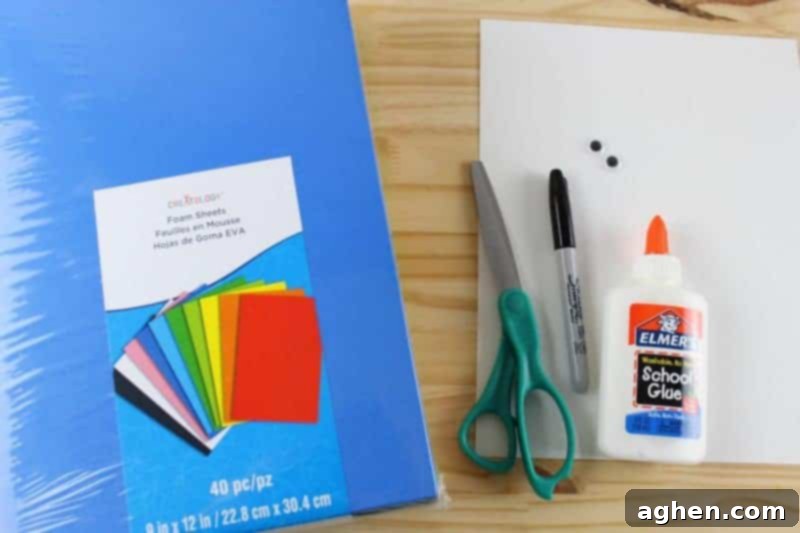
This craft involves some cutting, and the level of assistance needed will vary depending on your child’s age and fine motor skill development. Here’s how to tailor the activity:
- For Younger Preschoolers (2-3 years old): You may want to do most of the tracing and cutting for them. Focus on providing them with the pre-cut foam pieces and guiding them through the gluing process. This allows them to participate actively in the assembly, focusing on letter recognition and spatial reasoning without the frustration of difficult cutting.
- For Older Preschoolers (3-4 years old): Encourage them to try tracing the templates onto the craft foam. You might still need to assist with the actual cutting, especially for intricate shapes, or you can cut out the main ‘C’ and caterpillar body parts and let them try cutting the smaller details like leaves or flowers.
- For Pre-K and Kindergarteners (4-6 years old): These children are often ready to work on their cutting skills more independently. Provide the templates and guide them through tracing and cutting the pieces themselves. They might still need some help staying on the lines, but the practice is invaluable for developing hand strength and precision. Always supervise closely and ensure they are using child-safe scissors.
Remember, the goal is participation and learning, not perfection. Celebrate their effort and creativity!
Supplies and Materials for Your Letter C is for Caterpillar Craft
Gathering your materials beforehand makes for a smoother crafting experience. Most of these items are readily available at craft stores or online.
- Letter C template, printed on paper or cardstock (get yours here: Letter C Printable Template)
- Caterpillar template, printed on paper or cardstock (get yours here: Caterpillar Printable Template)
- Craft foam or colored cardstock (we used craft foam for its texture and durability, but colorful cardstock works beautifully too!)
- Child-safe scissors
- Craft glue (liquid glue or glue sticks)
- Black marker
- Googly eyes (these add so much personality!)
Step-by-Step Instructions: Creating Your Letter C is for Caterpillar Craft
Let’s get crafting! Follow these simple steps to bring your Letter C caterpillar to life. Remember to let each glued piece dry sufficiently before moving to the next step, especially if using liquid glue.
Step 1: Prepare the Letter C

First, carefully cut out the large letter ‘C’ shape from your printed Letter C template.
Step 2: Trace and Cut the Craft Foam Letter C
Place the cut-out paper letter ‘C’ onto your chosen color of craft foam (or cardstock). Using a pencil or marker, trace around the edges of the ‘C’ to transfer its shape onto the foam.

Now, carefully cut out the letter ‘C’ from the craft foam. This will be the base for your caterpillar’s home!
Step 3: Prepare Caterpillar Body Parts and Scenery Elements
Cut out the various caterpillar pieces from your printed Caterpillar template. This includes the caterpillar’s head, circular body segments, a tree branch, and leaves.
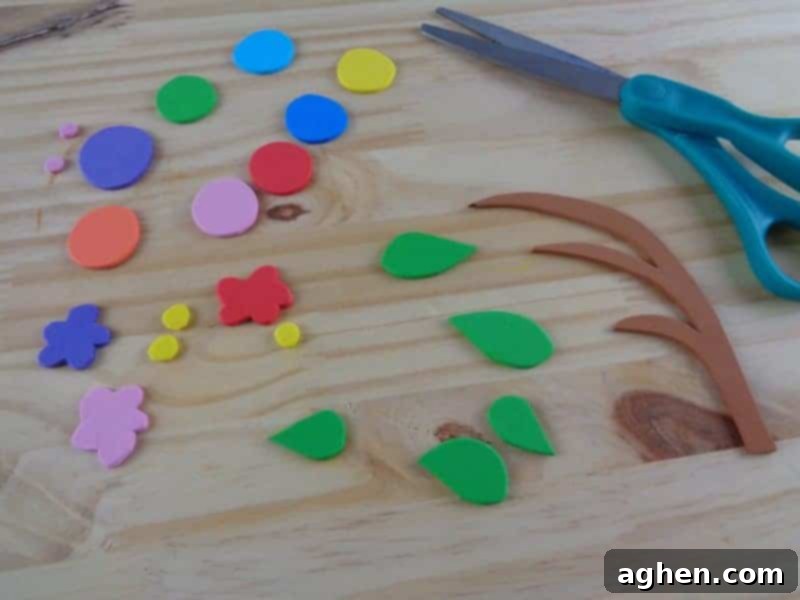
Next, trace the caterpillar template pieces onto different colors of craft foam. You’ll need one head, seven colored circles for the body, one tree branch (use brown foam), and several leaves (use green foam). Once traced, carefully cut out all these foam pieces. The more vibrant and varied your colors for the caterpillar’s body, the more delightful it will be!
Step 4: Decorate the Caterpillar’s Face
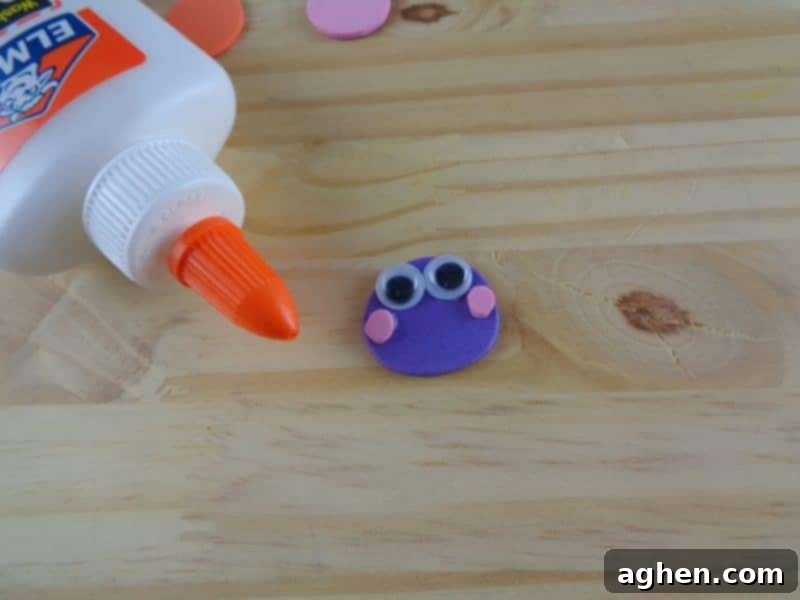
Cut two small circles from pink craft foam (or another contrasting color) to create rosy cheeks for your caterpillar. Glue these onto the caterpillar’s head. Then, carefully glue on two googly eyes. Watch your caterpillar begin to take on a cheerful personality!
Step 5: Assemble the Caterpillar’s Body
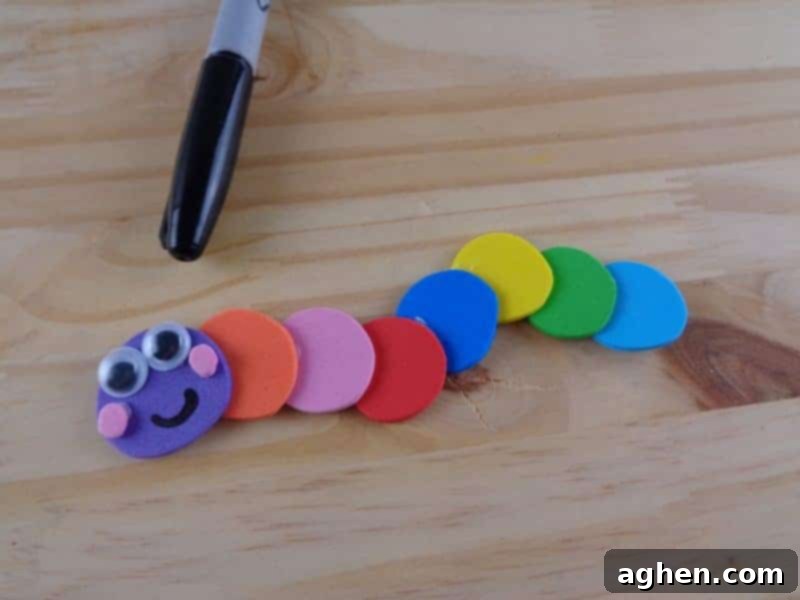
Take your seven colored foam circles and glue them together in a slightly overlapping line to form the caterpillar’s segmented body. Encourage your child to experiment with color patterns!
Step 6: Attach the Head to the Body
Once the body segments are securely glued, attach the decorated caterpillar head to one end of the assembled body. Now you have a complete, colorful caterpillar!
Step 7: Create the Caterpillar’s Home on Letter C
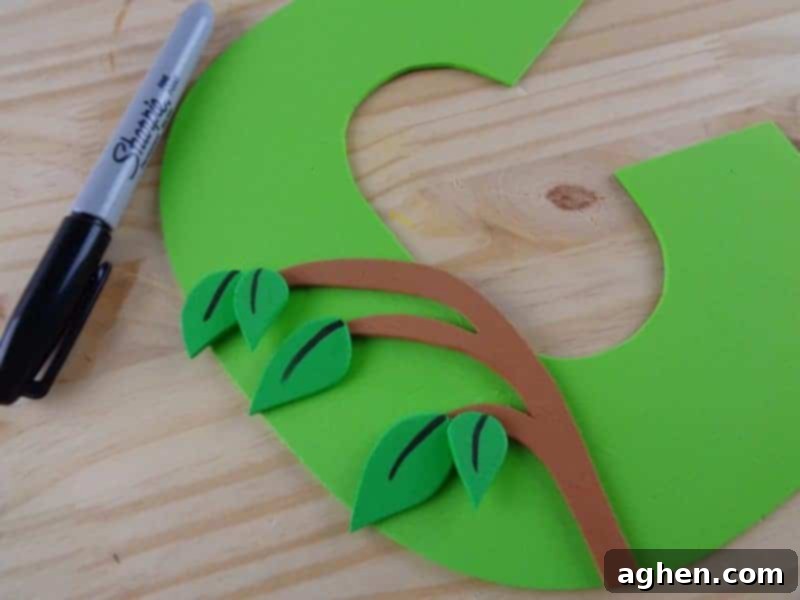
Take your brown foam tree branch and glue it onto the large foam letter ‘C’. Position it so it looks like a natural branch curving along the letter. Next, glue the green foam leaves onto the tree branch. These will provide a lovely setting for your caterpillar.
Step 8: Add Detail to the Leaves
Using your black marker, add some simple vein details to the leaves. This adds a touch of realism and encourages fine motor control.
Step 9: Decorate the Branch with Flowers

Cut out small flower shapes from various colors of craft foam. These can be simple circles with petals, or whatever shapes your child enjoys creating. Glue these colorful flowers onto the tree branch to make a vibrant scene.
Step 10: Place the Caterpillar and Add Antennae
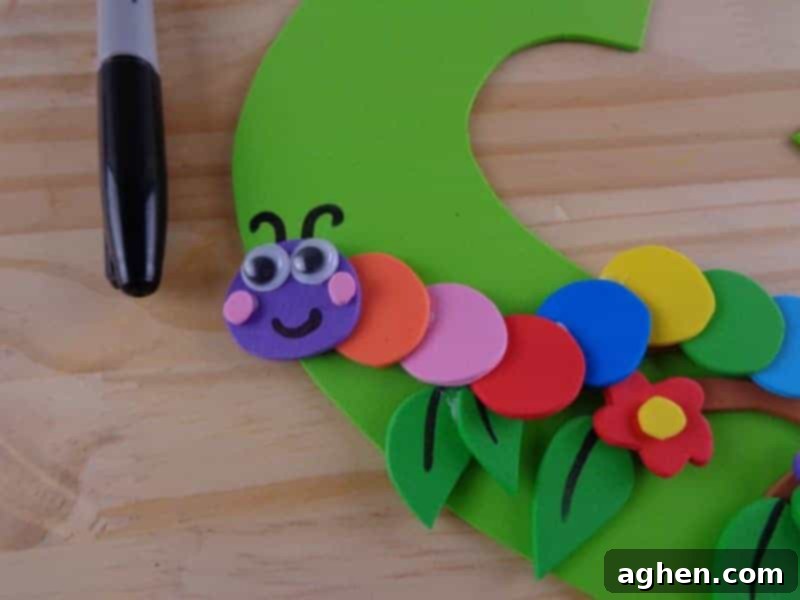
Finally, glue your assembled caterpillar onto the tree branch, positioning it as if it’s crawling along. Use your black marker to draw two small antennae onto the ‘C’ just behind the caterpillar’s head, giving it a complete look.
Your Finished Letter C Caterpillar Craft!
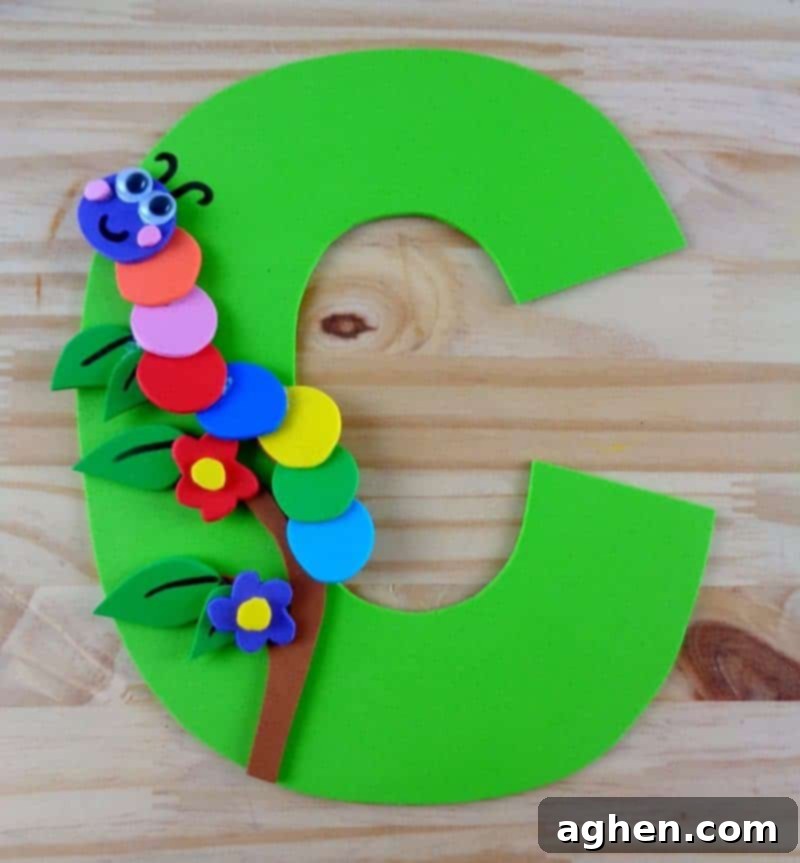
Congratulations! You and your child have successfully created a delightful Letter C is for Caterpillar craft. This vibrant project is a wonderful way to showcase their hard work and proudly display their growing knowledge of the alphabet.
Tips for Extending the Learning Fun
- Caterpillar Story Time: Read books about caterpillars, butterflies, or letters while your glue dries. “The Very Hungry Caterpillar” by Eric Carle is a perfect companion to this craft!
- Color Recognition: Talk about the different colors used for the caterpillar’s body and the flowers. Ask your child to name each color.
- Counting: Count the segments of the caterpillar’s body, the leaves, or the flowers.
- Sound Hunt: Go on a “C” sound hunt around the house or classroom. Can you find objects that start with the /c/ sound? (e.g., car, cat, cup, cookie).
- Creative Writing/Storytelling: For older children, encourage them to tell a short story about their caterpillar. What is its name? Where is it going?
- Display Your Art: Hang the finished craft in a prominent place to celebrate your child’s accomplishment and reinforce letter recognition throughout the week.
We hope you had a fantastic time with this creative and educational Letter C craft. These “Letter of the Week” activities are designed to make early learning joyous and memorable. Stay tuned for next week’s exciting adventure, where we’ll be tackling a fun Letter D craft! Happy crafting until then!
