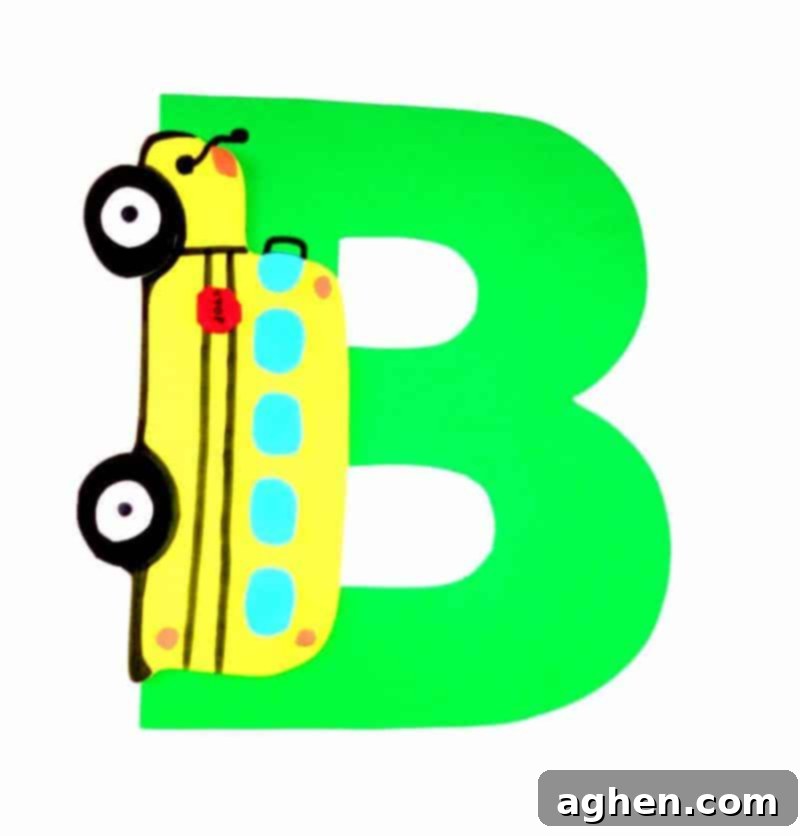
Busy Bees and Buses: An Exciting Letter B Craft for Toddlers & Preschoolers (with Free Printable!)
Welcome to our engaging “Letter of the Week” craft series, specifically designed to introduce the alphabet to toddlers and preschoolers in a fun, hands-on way! This week, we’re buzzing with excitement for the letter B, and what better way to represent it than with a cheerful, yellow school bus? This delightful Letter B craft, complete with a free printable template, offers a fantastic opportunity for young children to explore early literacy concepts, develop crucial fine motor skills, and express their creativity.
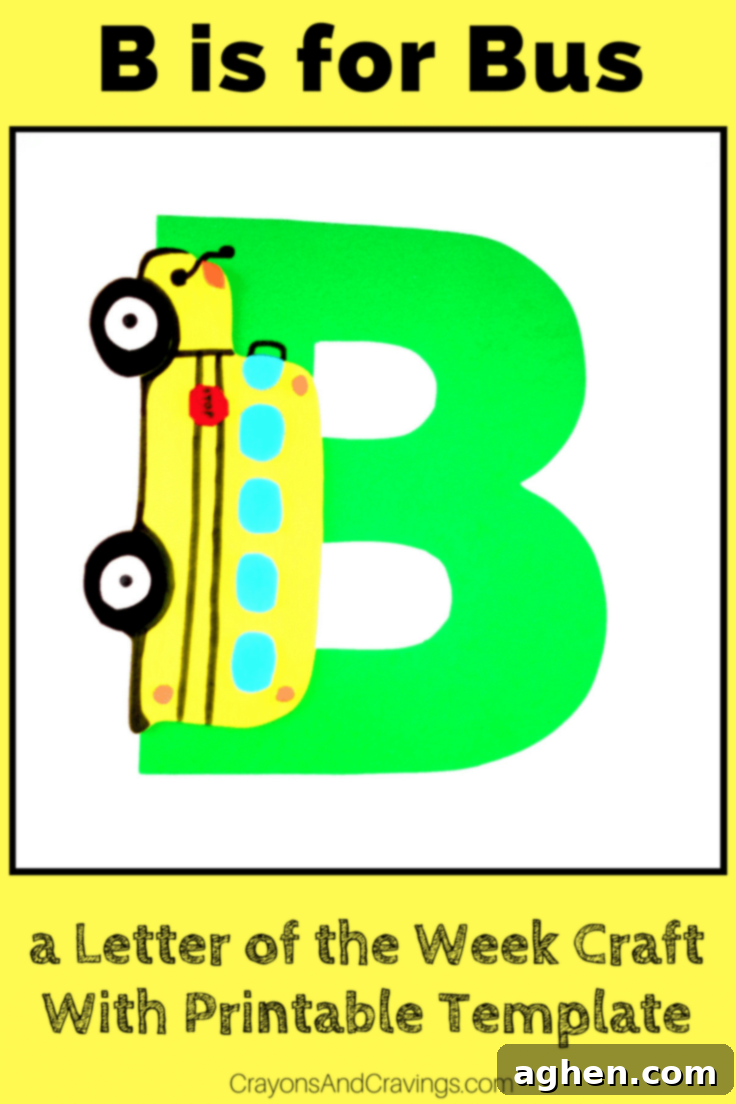
Following our previous adventure creating a vibrant Letter A is for Anchor craft, we’re thrilled to move forward in our alphabet journey. The letter B is a fundamental building block in early language, and crafting a bus provides a familiar and exciting object for children to associate with this letter. Each week, a brand new printable letter craft will be shared, ensuring your child’s learning journey is filled with continuous discovery and enjoyment.
Developing Skills Through Play: Adapting the Craft for Every Age
This engaging craft involves several steps, including cutting, tracing, and gluing. We understand that children develop at different paces, and we encourage you to adapt the activity to best suit your child’s age and skill level. For our youngest crafters, such as toddlers, an adult might take on the tracing and cutting tasks, preparing the foam or cardstock pieces in advance. This approach allows the child to focus on the joy of assembling and gluing the bus parts onto the letter B, fostering a sense of accomplishment without frustration.
For older children, including pre-kindergarteners and kindergarteners, this craft offers an excellent opportunity to enhance their fine motor skills. Encourage them to try tracing the templates onto the craft foam and carefully cutting out the shapes themselves. While they may still require some guidance or assistance with tracing intricate parts, allowing them to engage in these steps promotes hand-eye coordination, strengthens hand muscles, and builds concentration. Remember, the goal is participation and learning, not perfection. Celebrate every snip and every glue dab!
Why Letter B is for Bus?
Choosing a bus for the letter B craft is not just fun; it’s also incredibly effective for early childhood education. Buses are familiar objects for most children, making the connection between the letter and the object more tangible and memorable. The act of creating a bus from various shapes also reinforces shape recognition, color identification, and basic sequencing skills. Plus, who doesn’t love the “Wheels on the Bus” song? Incorporating songs and stories related to buses can further enhance the learning experience and make the craft even more meaningful.
Essential Supplies & Materials for Your Letter B Bus Craft
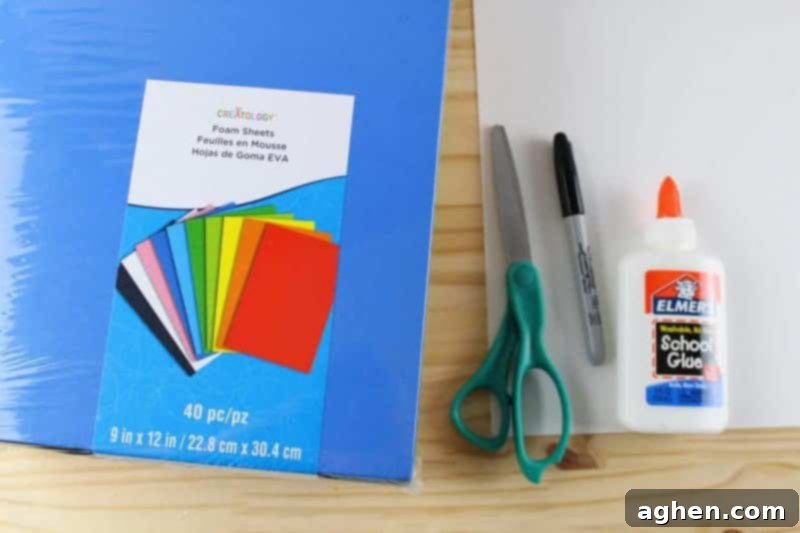
Gathering your materials beforehand ensures a smooth and enjoyable crafting session. We’ve carefully selected common craft supplies that are easy to find and safe for little hands. Using craft foam adds a wonderful tactile element to the finished project, giving it a slightly three-dimensional quality, but colored cardstock works just as well if that’s what you have on hand. Don’t forget to grab your free printable templates below to get started!
- Letter B Template: Printed on paper or cardstock. This forms the base of your craft. Get yours here: Letter B Printable Template
- Bus Template: Printed on paper or cardstock. This template provides all the bus components. Get yours here: Bus Printable Template
- Craft Foam or Colored Cardstock: We recommend a variety of colors like yellow for the bus body, light blue for windows, black for tires, white for tire hubs, orange for lights, and red for the stop sign. While we used craft foam for its texture and durability, sturdy colored cardstock is a perfect alternative. You can find craft foam here: Craft foam or colored cardstock here: colored cardstock.
- Child-Safe Scissors: Essential for cutting out the shapes. Ensure they are appropriate for your child’s age. You can find them here: Scissors
- Craft Glue: A good, strong craft glue or school glue stick will work perfectly for adhering the pieces.
- Black Marker: For adding details and making your bus truly unique. A fine-tip marker is ideal for drawing window frames and other small features. You can find one here: Black marker
Step-by-Step Guide: Crafting Your Letter B is for Bus!
Let’s get crafting! Follow these simple steps to bring your Letter B bus to life. Remember to supervise young children, especially during cutting, and encourage them to participate as much as possible at their comfort level. This is a journey of creativity and learning!
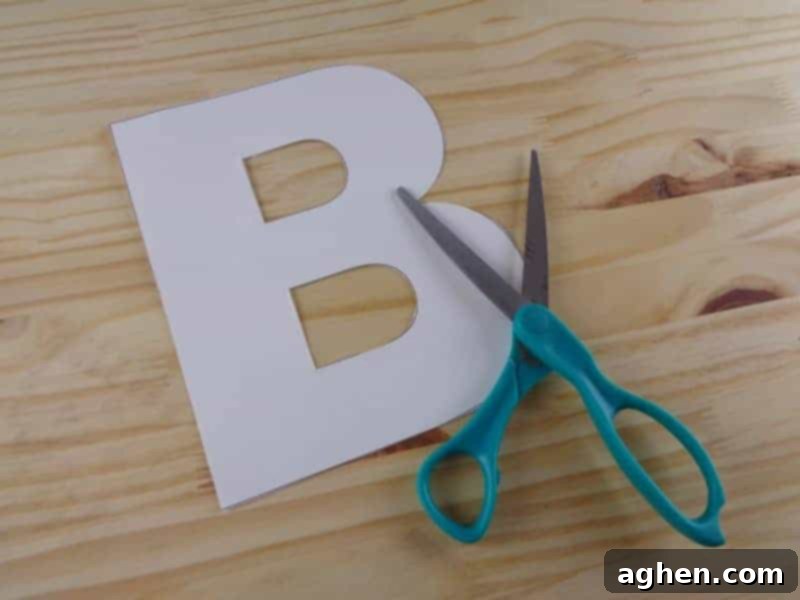
1. Prepare the Letter B Template: Begin by carefully cutting out the large letter B from your printable template. This piece will serve as the canvas for your bus. For younger children, an adult should perform this step to ensure clean lines and safety.
2. Trace the Letter B onto Craft Foam: Once the paper letter B is cut, place it onto a piece of colored craft foam or cardstock (you can choose any color for the letter B itself, perhaps blue or green to contrast with the yellow bus!). Using your marker or pencil, meticulously trace around the edges of the letter B template. This step helps children practice their fine motor control and hand stability.
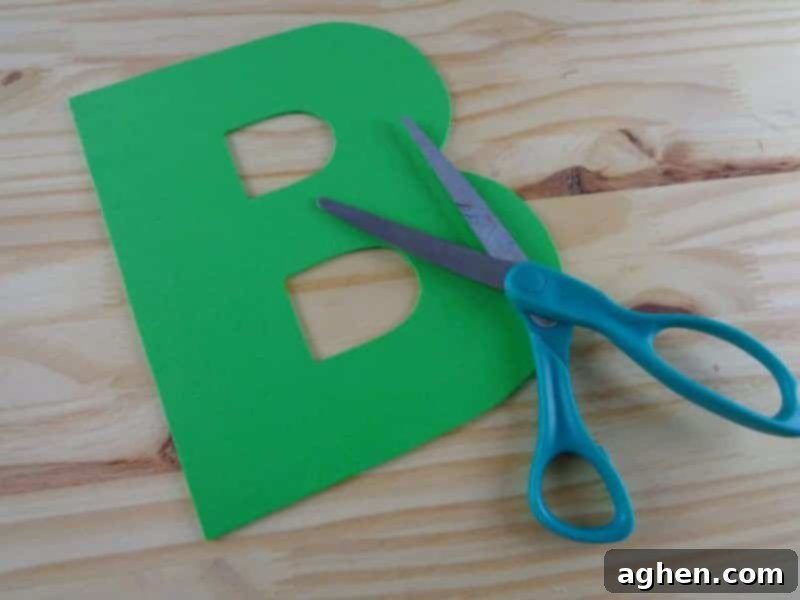
3. Cut Out the Craft Foam Letter B: Now, carefully cut out the letter B from the craft foam following your traced lines. This is a key step where older preschoolers can practice their scissor skills. Encourage them to take their time and guide their hand if needed. This foam B is the base for our bus masterpiece.
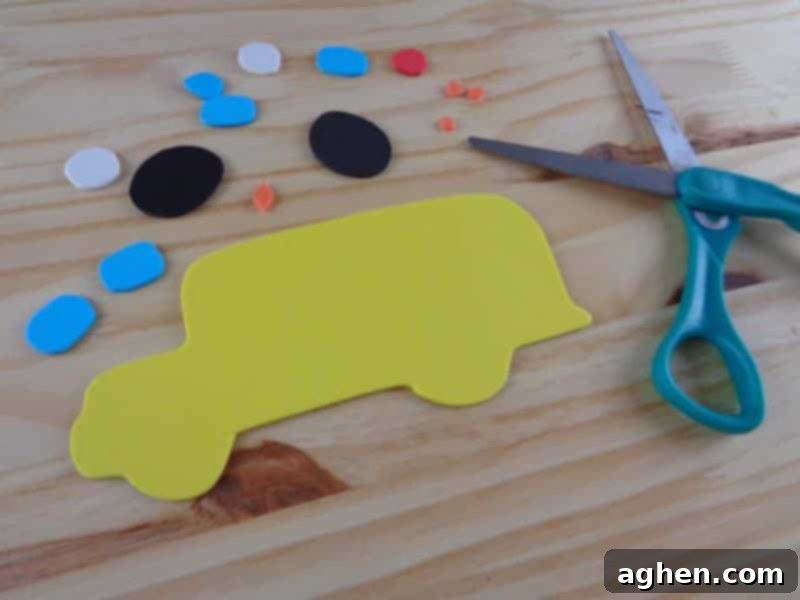
4. Prepare the Bus Body: Take your separate bus template and cut out the main bus shape. Trace this shape onto a piece of bright yellow craft foam (or cardstock) and then cut it out. This yellow piece will be the main body of your school bus.
5. Create the Bus Windows: From the bus template, cut out the window shapes. Trace these onto light blue craft foam and carefully cut them out. These windows will give our bus its character!
6. Make the Tires: Trace the tire shapes from your bus template onto black craft foam and cut them out. These round shapes are excellent for reinforcing circle recognition.
7. Add Tire Hubs: Cut slightly smaller white circles from white craft foam or paper. These will be the hubs of your bus wheels. Glue one white circle neatly inside each black tire. This small detail adds a touch of realism to your craft.
8. Craft the Bus Lights: Cut small circular shapes from orange craft foam for the bus lights. These can be placed at the front and back of the bus body.
9. Design the Stop Sign: From red craft foam, cut a small octagon or square shape to create a miniature stop sign. This is a great opportunity to discuss road safety with your child.
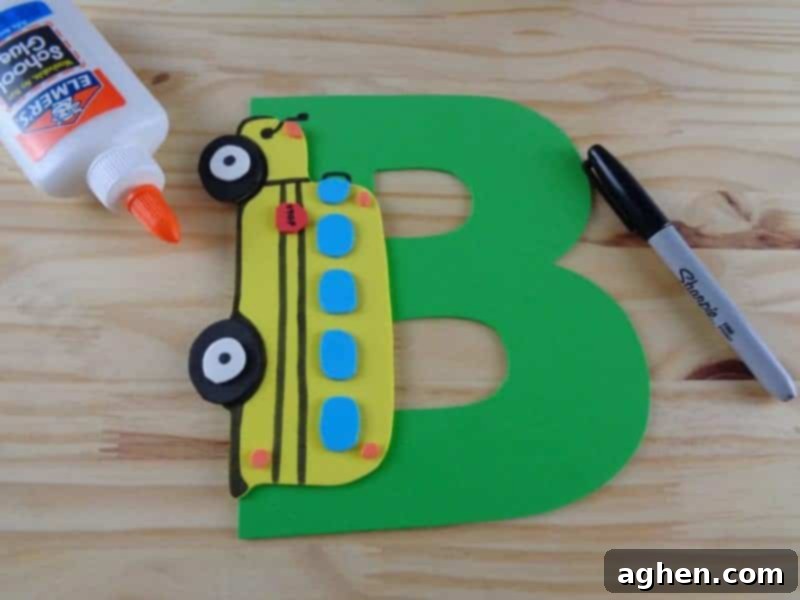
10. Assemble the Bus Details: Now comes the fun part! Take your yellow bus body and start gluing all the prepared pieces onto it. Attach the light blue windows, the black tires with white hubs, the orange lights, and the red stop sign. Once everything is securely glued, use your black marker to add details like window frames, door lines, or even a happy driver peeking out! This step encourages creativity and attention to detail.
11. Attach the Bus to Letter B: Finally, take your fully assembled bus and carefully glue it onto your craft foam letter B. Position it so it looks like the bus is “driving” on the letter, or centered nicely. Allow ample time for the glue to dry completely before handling.
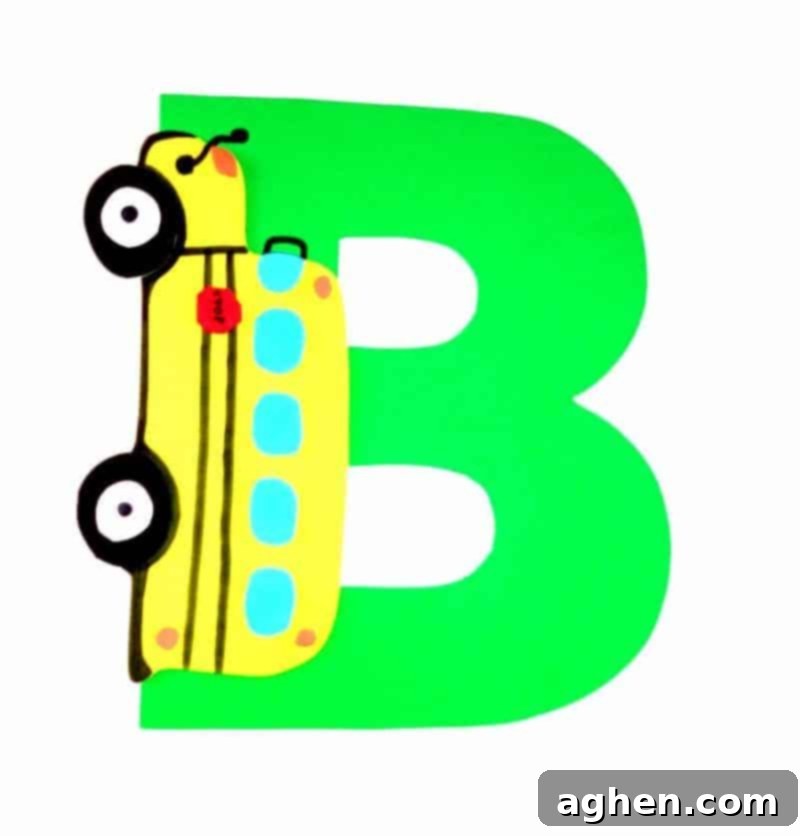
Extending the Learning and Fun!
Once your Letter B is for Bus craft is complete, the learning doesn’t have to stop! Here are some ideas to extend the educational fun:
- Letter Sound Practice: Say words that start with “B” (bus, bear, ball, book, bubble) and encourage your child to repeat them. Emphasize the /b/ sound.
- Story Time: Read books featuring buses or other “B” themed characters. “The Wheels on the Bus” is a classic!
- Creative Play: Use the finished craft as a puppet or a prop for imaginative play. Have the bus drive around, pick up passengers, and go on adventures.
- Display the Art: Hang your child’s beautiful Letter B bus craft in a prominent spot. This boosts their confidence and serves as a visual reminder of the letter.
- Color and Shape Review: Point out the different colors and shapes used in the craft and ask your child to identify them.
Happy Crafting Adventures!
We truly hope you and your little one enjoyed creating this adorable and educational Letter B is for Bus craft! It’s more than just an art project; it’s a valuable tool for fostering early literacy, developing fine motor skills, and creating cherished memories together. The smiles and pride on your child’s face as they complete their very own bus will be priceless.
Stay tuned and look out next week for another exciting installment in our alphabet craft series – we’ll be tackling a whimsical Letter C craft, guaranteed to spark more creativity!
Until next time, keep those creative juices flowing and happy crafting!
