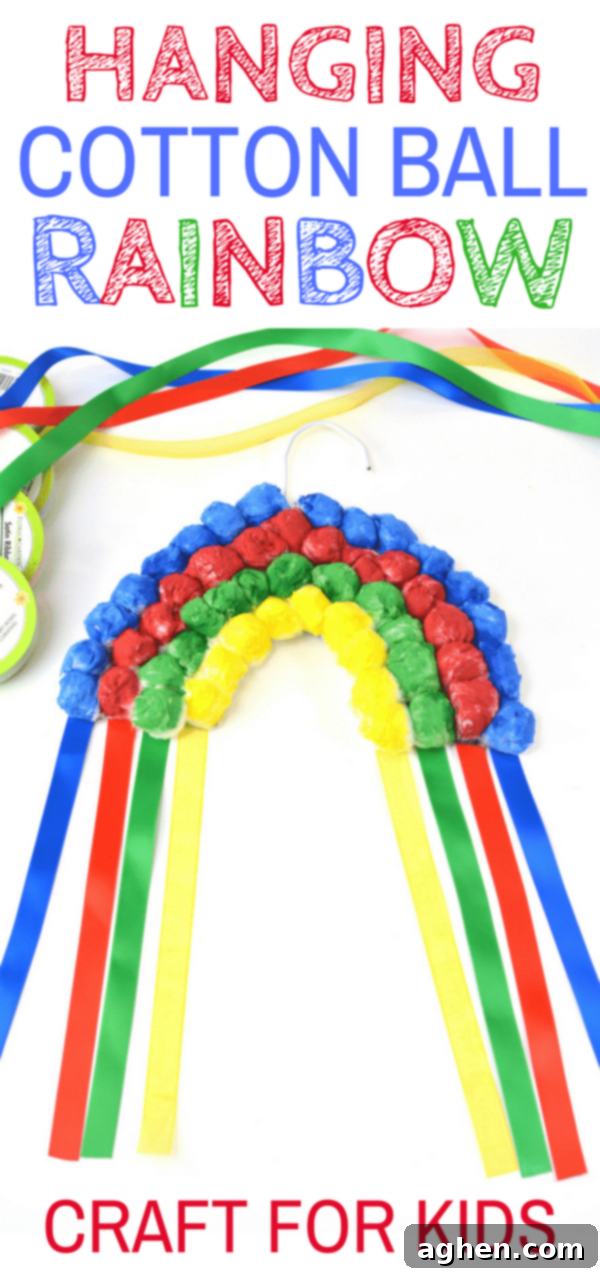
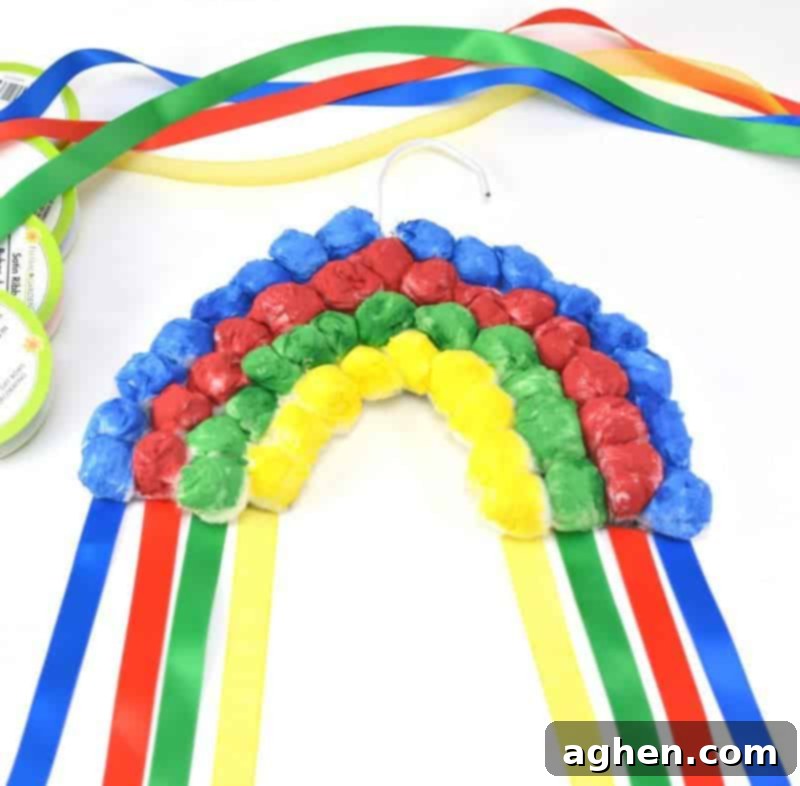
DIY Hanging Cotton Ball Rainbow Craft: A Fun & Easy Kids’ Activity for Spring & St. Patrick’s Day
Are you searching for a delightful and colorful craft project to brighten up your home or classroom? Look no further! This enchanting Hanging Cotton Ball Rainbow Craft for Kids is the perfect idea, whether you’re celebrating St. Patrick’s Day with a burst of color or simply welcoming the vibrant spirit of Spring. It’s a fantastic way to engage young minds and create a beautiful decoration that will bring smiles to everyone.
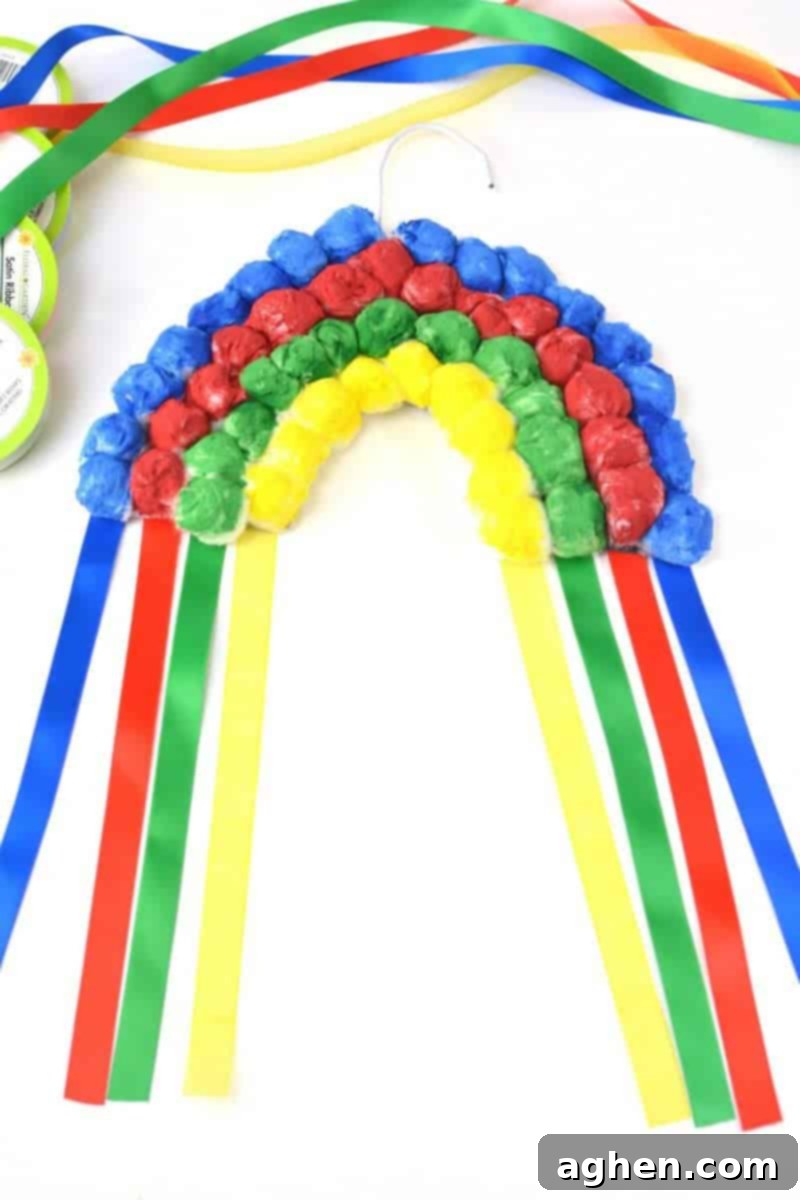
This project is designed to be accessible and enjoyable for children, yet it does require a bit of adult assistance for certain steps. Tasks like cutting the wire hanger and securely attaching it at the end will need a grown-up’s hand to ensure safety and stability. But don’t worry, the majority of the creative fun—gluing, painting, and decorating—is all for the kids!
Chances are, your existing craft supplies stash already contains most of the necessary items: glue, paint, paintbrushes, and ribbon. If you find yourself missing a few bits and pieces, a quick trip to your local craft store or an easy online order will get you set up in no time. We’ve even included a convenient shopping list at the end to make gathering supplies a breeze.
Why Choose This Cotton Ball Rainbow Craft?
This particular rainbow craft stands out for several reasons. First, its simplicity makes it ideal for younger children, particularly those in preschool or kindergarten. The tactile experience of working with fluffy cotton balls and vibrant paints is incredibly engaging. Second, the end result is a truly charming and eye-catching decoration that can instantly transform any space. Imagine a classroom filled with these colorful, fluffy rainbows – what a joyous sight!
For educators, this project offers an excellent opportunity to reinforce color recognition, fine motor skills, and following instructions. Plus, it’s a budget-friendly option! If you’re planning to make these with a whole class, a smart tip is to pick up inexpensive wire hangers from a dollar store. This simple trick can save you a significant amount of cash, making it a perfect activity for school budgets.
Educational & Developmental Benefits for Kids
Beyond being just a fun activity, crafting provides numerous developmental benefits for children. This hanging cotton ball rainbow craft is no exception:
- Fine Motor Skill Development: Activities like pressing cotton balls, holding a paintbrush, and even cutting (with safety scissors under supervision) help children refine their small muscle movements and hand-eye coordination.
- Color Recognition and Learning: Working with distinct colors of paint and ribbon offers a natural way to identify and name colors, and even understand the order of colors in a rainbow.
- Creativity and Self-Expression: While there’s a basic structure, children can choose their own color schemes (or follow the classic rainbow), arrange their cotton balls, and personalize their craft, fostering their artistic expression.
- Patience and Following Instructions: Each step requires attention and a bit of waiting (for glue and paint to dry), teaching children valuable lessons in patience and the importance of sequence.
- Sensory Experience: The soft texture of cotton balls, the smooth feel of paint, and the visual appeal of bright colors provide a rich sensory experience that is engaging and stimulating for young learners.
- Sense of Accomplishment: Completing a craft project from start to finish gives children a wonderful sense of pride and achievement, boosting their self-confidence.
This craft isn’t just about making something pretty; it’s a valuable learning experience disguised as pure fun!
Hanging Rainbow Craft For Kids
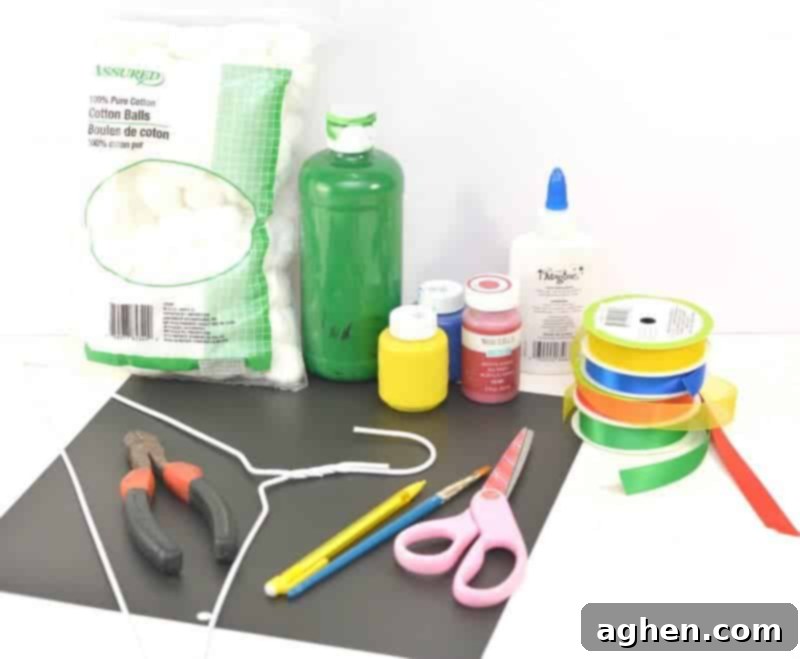
Rainbow Craft Supplies:
Before you embark on this colorful journey, gather all your materials. Having everything ready beforehand ensures a smooth and enjoyable crafting session, especially when working with enthusiastic young artists.
- White Metal Hanger: A standard dry-cleaning hanger works perfectly.
- Wire Snips: Essential for safely cutting the hanger. (Adult use only)
- Cardstock: Sturdy paper for the rainbow base. White is ideal to ensure paint colors pop.
- Scissors: For cutting the cardstock. Child-safe scissors are recommended for kids.
- Cotton Balls: The star of the show! You’ll need a good amount to create a fluffy rainbow.
- Red, Yellow, Green, and Blue Paint: Tempera or acrylic paints work best for vibrant colors. You can expand to include orange and purple for a fuller rainbow spectrum.
- Paintbrush: A medium-sized brush is great for little hands.
- White School Glue: Such as Elmer’s glue, perfect for attaching cotton balls.
- Hot Glue Gun: For securely attaching the hanger and ribbons. (Adult use only)
- Pencil: For drawing the rainbow outline.
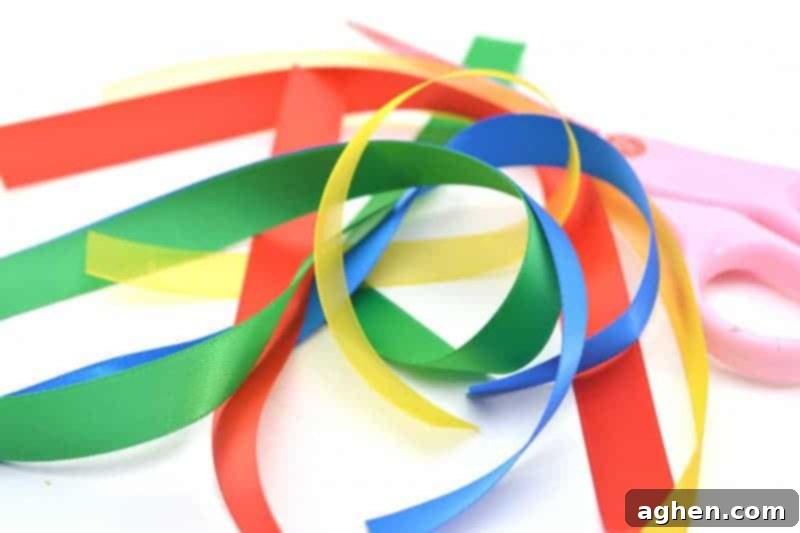
- Red, Yellow, Green, and Blue Ribbon: Choose satin or grosgrain ribbon for a beautiful drape. Approximately 1 inch wide is a good size.
Step-by-Step Rainbow Craft Instructions:
Follow these simple steps to create your very own charming hanging cotton ball rainbow. Remember, adult supervision is key for certain parts, especially those involving wire snips and a hot glue gun.
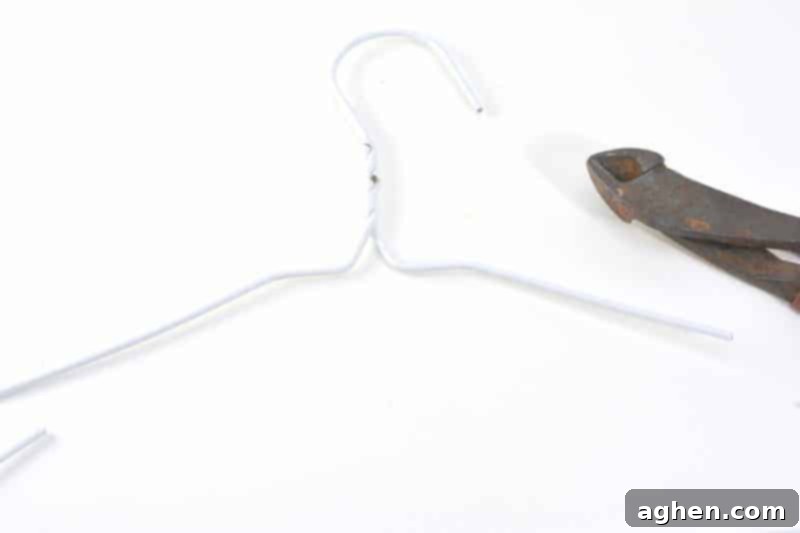
1. Prepare Your Hanger (Adult Step)
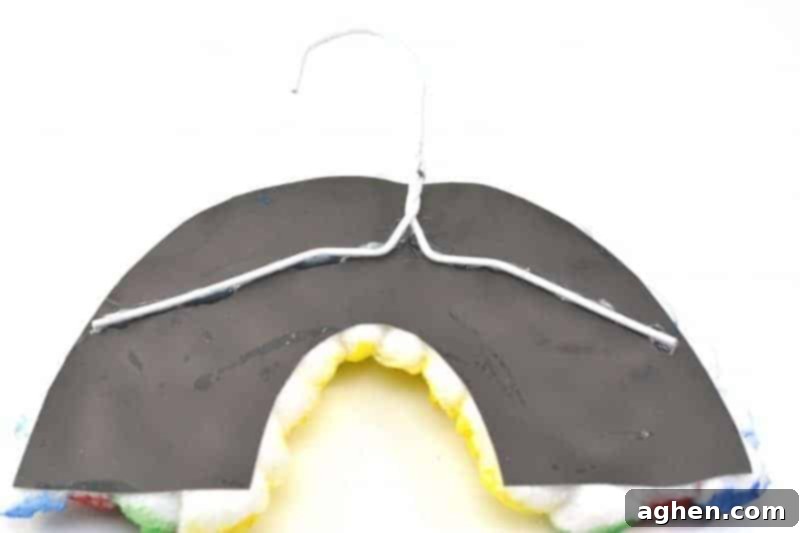
Using wire snips, carefully cut off the bottom straight section of a white metal hanger. You only need the top, curved part with the hook. Leave a small section of wire (about 1-2 inches) extending horizontally from each side of the hook’s base. These small wire extensions will provide stable points for attaching the cardstock rainbow later, ensuring it hangs evenly.
2. Design Your Rainbow Base
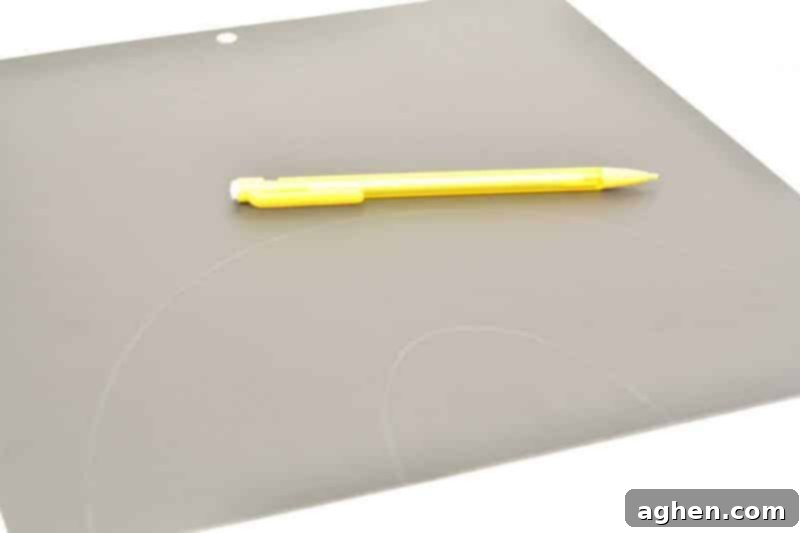
Take a piece of sturdy cardstock and use a pencil to draw a large arch or rainbow shape. When drawing, consider the size of your hanger; the cardstock rainbow should be large enough to completely conceal the wire hanger from behind, with some room to spare. Also, ensure it’s wide enough to comfortably fit at least four distinct rows of cotton balls, which will become your colorful rainbow stripes.
3. Cut Out the Rainbow Shape
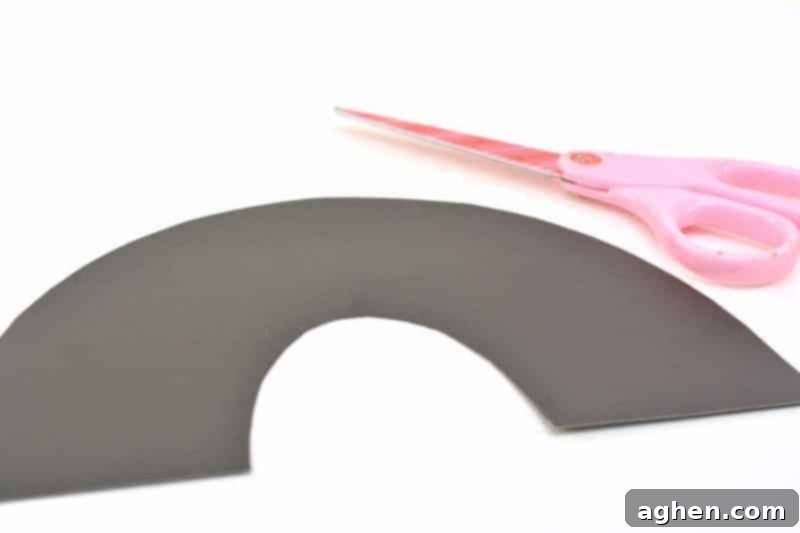
Carefully use scissors to cut along the pencil lines you just drew, creating your cardstock rainbow base. If younger children are doing this, ensure they use child-safe scissors, or an adult can assist with this step, especially if the cardstock is thick.
4. Apply the Glue Base
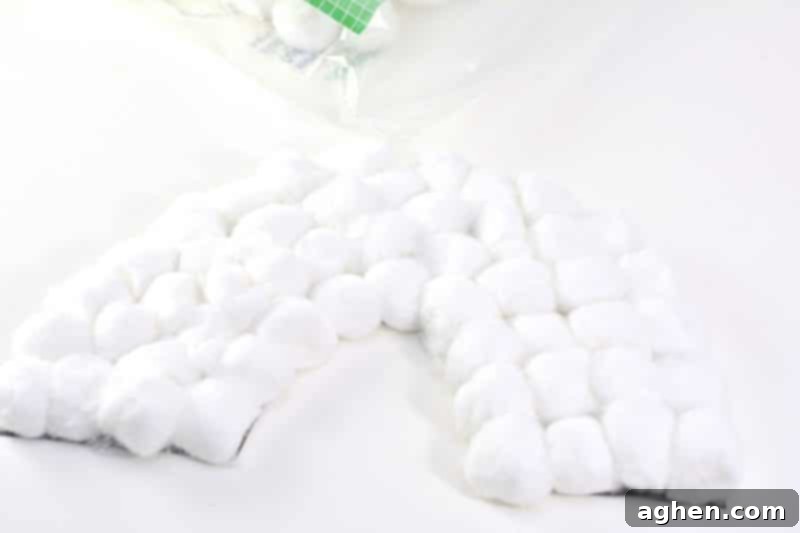
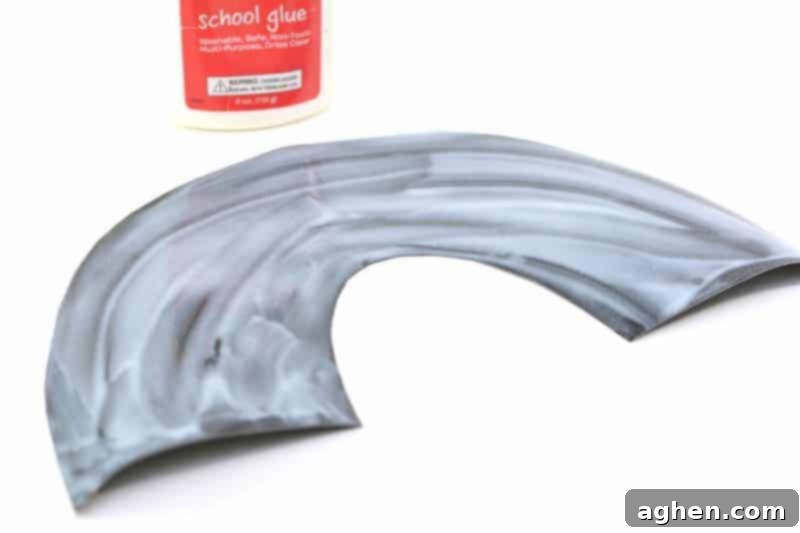
Now for the fun part! Generously cover the entire front surface of your cut-out cardstock rainbow with a layer of white school glue. Don’t be shy with the glue; a good, even layer will ensure your cotton balls adhere well. This is a great sensory activity for kids as they spread the glue with their fingers or a brush.
5. Add the Fluffy Clouds (Cotton Balls)
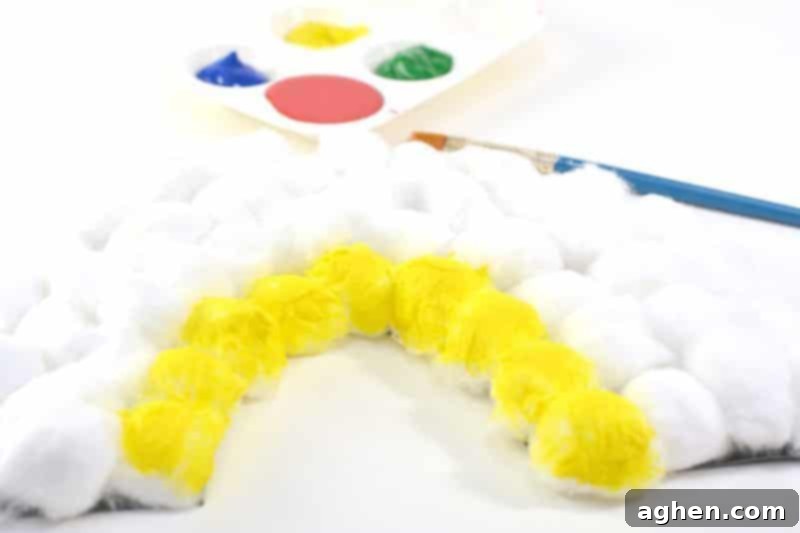
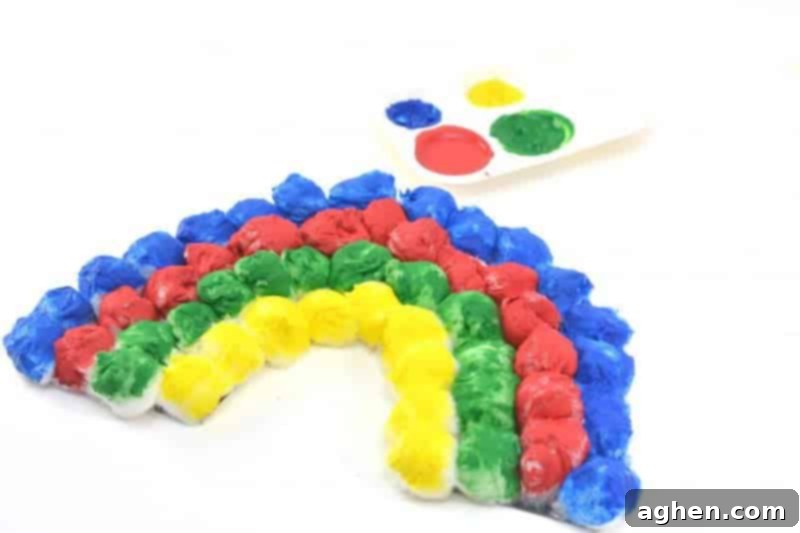
Carefully press cotton balls onto the glue-covered rainbow, arranging them neatly in rows. The goal is to cover the entire surface to create a fluffy, cloud-like texture. For our design, we aimed for four rows of cotton balls, which will correspond to our four paint colors. Encourage children to gently press each cotton ball down to ensure it sticks firmly. Once all the cotton balls are in place, set your rainbow aside in a safe spot and allow the glue to dry completely. This might take a few hours, so patience is a virtue!
6. Paint Your Vibrant Arch
Once the glue has thoroughly dried and the cotton balls are secure, it’s time to add color! Using a paintbrush, carefully paint each row of cotton balls a different color. Following the classic rainbow order (red, orange, yellow, green, blue, indigo, violet) is a great learning opportunity, but for simplicity, we used red, yellow, green, and blue. Encourage even coverage, but also embrace the unique textures that the cotton balls create when painted. Allow the paint to dry completely before moving to the next step to prevent smudging.
7. Attach the Hanger (Adult Step)
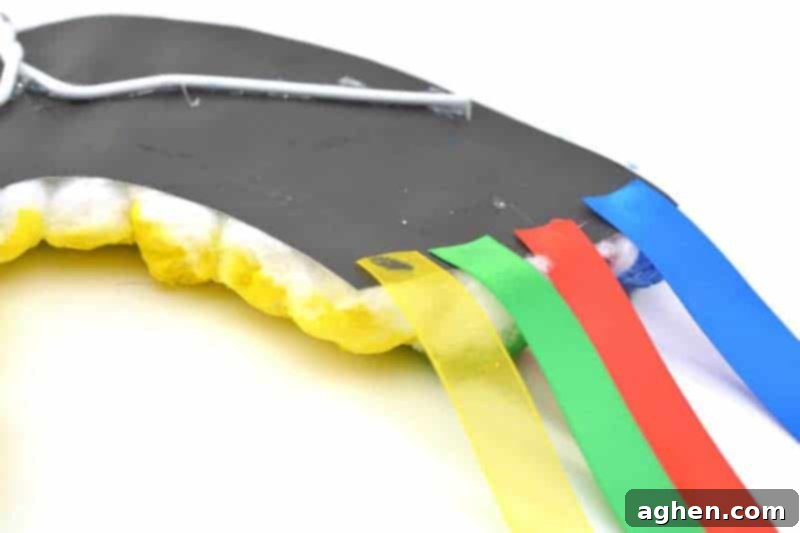
With the paint now dry, use a hot glue gun to securely attach the pre-cut wire hanger to the back of your cotton ball rainbow. Position the hanger so that the hook part extends neatly from the top-center of the rainbow. The small wire extensions you left in Step 1 should be glued flat against the back of the cardstock, providing additional support. Press firmly for a few seconds until the hot glue cools and sets.
8. Cut Your Colorful Ribbons
Now, prepare your “rainbow rain”! Cut even lengths of your red, yellow, green, and blue ribbons. The length is up to your preference, but usually 10-15 inches works well. You’ll need two pieces of each color ribbon, one for each side or “end” of the rainbow. Having them pre-cut will make the next step much easier for little helpers.
9. Add the Trailing Ribbons
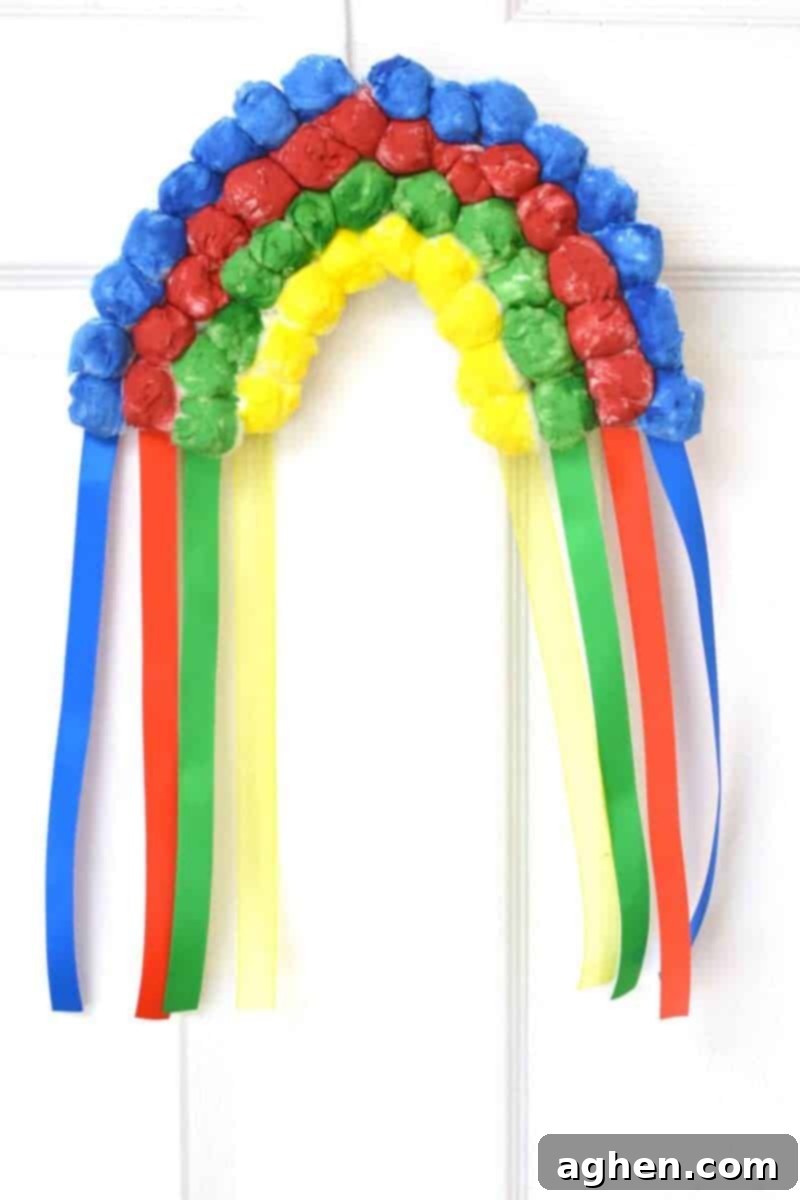
Using the hot glue gun (again, adult supervision or assistance for this part), attach the ribbon pieces to the back of the rainbow. Arrange them so that each ribbon color hangs below its corresponding painted cotton ball stripe. For example, glue the red ribbons under the red cotton ball section, yellow under yellow, and so on. This creates a beautiful, flowing effect that mimics a rainbow’s tail. Ensure they are evenly spaced and securely attached.
10. Display Your Masterpiece!
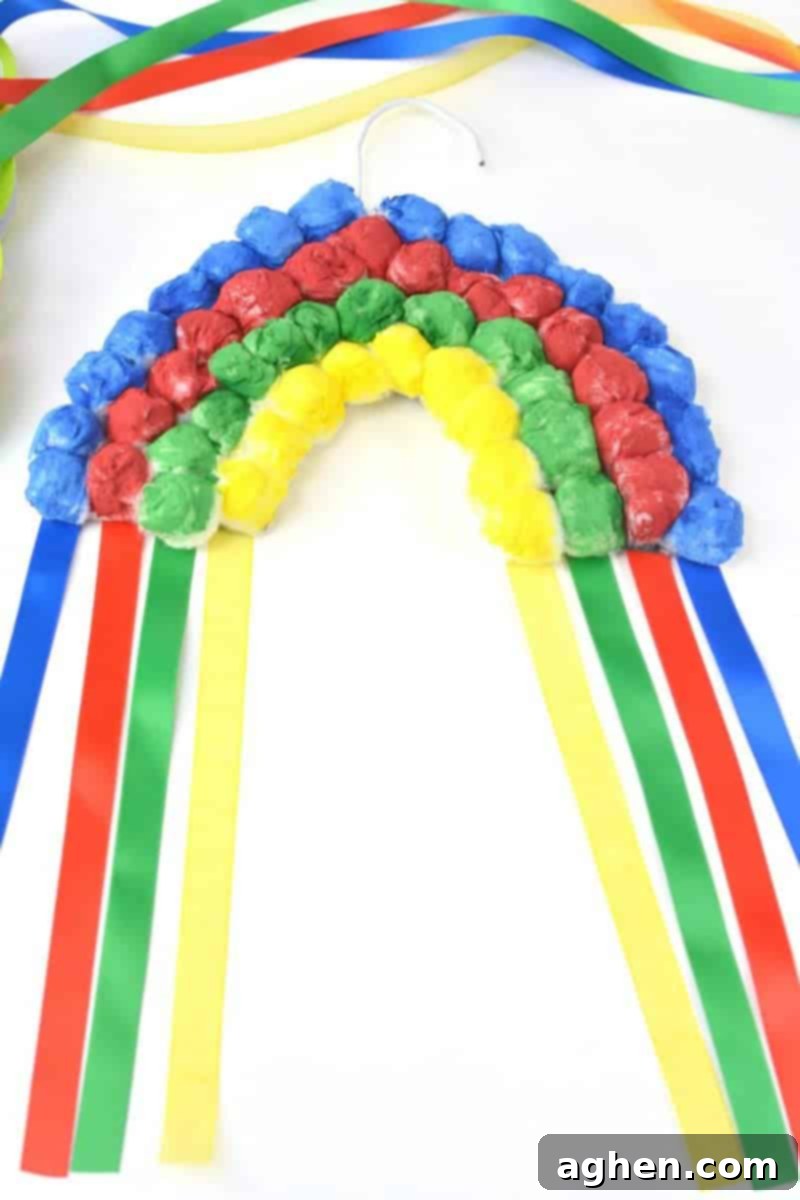
Allow any final glue to dry completely, typically for at least 30 minutes to an hour. Once everything is secure, your beautiful hanging cotton ball ribbon rainbow is ready to be displayed! Hang it in a window, on a classroom wall, on a door, or anywhere that could use a touch of bright, cheerful color. It’s a fantastic decoration for St. Patrick’s Day, a lovely addition to Spring decor, or simply a year-round reminder of hope and happiness.
Tips for a Smooth Crafting Experience:
- Preparation is Key: Gather all supplies before starting. Pre-cut the hanger for younger children to minimize wait times and maximize engagement.
- Cover Your Work Surface: Lay down newspaper or a plastic tablecloth to protect your table from glue and paint spills.
- Wear Aprons: Especially for painting, aprons or old t-shirts will keep clothes clean and allow kids to craft without worry.
- Encourage Creativity: While there are instructions, allow children some freedom in how they apply cotton balls or paint, fostering a sense of ownership over their creation.
- Group Activity: If doing this with multiple children, consider setting up stations for different steps (e.g., a gluing station, a painting station).
- Drying Time: Emphasize the importance of drying time. It can be hard for kids to wait, but it’s crucial for the craft’s integrity.
Variations to Make Your Rainbow Unique:
Want to put your own spin on this classic craft? Here are a few ideas to customize your hanging rainbow:
- More Colors: Use orange and purple paint and ribbon to create a full six-color rainbow (ROYGBV).
- Glitter & Sparkle: Before the paint dries completely, sprinkle glitter over the painted cotton balls for an extra magical touch.
- Cloud Shapes: Instead of just a simple arch, you could cut out small cloud shapes from white felt or cotton batting and glue them to the ends of the rainbow for a more whimsical look.
- Different Textures: Experiment with different materials for the “cloud” part – torn fabric strips, pom-poms, or even colored paper scraps instead of cotton balls.
- Nature’s Rainbow: For the ribbons, you could try gluing on strips of fabric, yarn, or even natural elements like thin leaves (if dried and treated) for a different aesthetic.
This simple craft offers endless possibilities for personalization and creative exploration, making each rainbow unique!
Beyond St. Patrick’s Day: Year-Round Rainbow Fun
While this craft is perfect for St. Patrick’s Day with its focus on rainbows, its charm extends far beyond a single holiday. Hang these delightful cotton ball rainbows in a child’s bedroom to add a splash of color and whimsy. They make beautiful decorations for a spring-themed party, or simply as a cheerful accent in any room that needs a little brightening. The symbolic meaning of rainbows – hope, new beginnings, and joy – makes them a wonderful addition to your home decor at any time of year.
We hope you and your little crafters have an absolutely wonderful time making this project. It’s an easy, engaging, and rewarding activity that results in a beautiful piece of art. Don’t forget to share your creations with us!
Shop Craft Supplies:
Stanley FatMax Straight Cut SnipsMedium Sized Cotton Balls (Pack of 500)White Wire Hangers (50)Mini Hi-Temp Glue GunWhite Cardstock, 75 SheetsCrayola Artista II Washable Tempera Paint, Set of 121 inch Wide Ribbon – 25 YardsPaint Tray , Set of 20Large Children’s Paint Brushes, Set of 20Multicolor Kids Artists Smocks, Set of 24Elmer’s School Glue 12 pack
Pin for Later:
