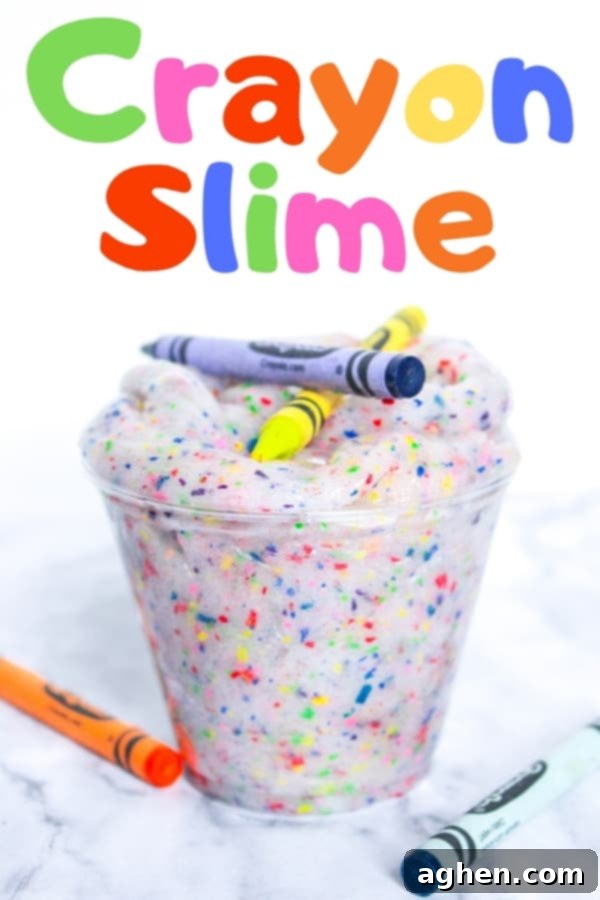
DIY Crayon Slime: An Easy, Colorful & Borax-Free Recipe to Repurpose Broken Crayons
Are you looking for a fun, creative, and slightly unconventional way to engage your children in a crafting adventure? Look no further! This delightful and vibrantly colorful DIY crayon slime recipe is not only incredibly easy to make but also provides the perfect opportunity to give those neglected, broken crayons a new lease on life. Get ready to rummage through your couch cushions, toy bins, and forgotten corners for every last stub of a crayon – because they’re about to become the star of your next sensory play project!
Making homemade slime has become a beloved activity for families worldwide, offering hours of squishy, stretchy fun. While many slime recipes rely on food coloring or glitter for their visual appeal, our crayon slime takes a unique approach, drawing its stunning hues directly from the waxy fragments of your old art supplies. It’s an innovative method that delivers brilliant colors without any artificial dyes or additional glitter, making it a truly distinctive craft experience.
Unleash Creativity with DIY Crayon Slime
At our core, we believe in the magic of making things by hand. Over the years, we’ve shared countless borax-free slime tutorials on our blog, from enchanting unicorn slime that sparkles with whimsy to serene under the sea slime that transports you to oceanic depths. Each recipe brings its own special charm, but this DIY crayon slime truly stands out for its ingenious use of everyday materials.
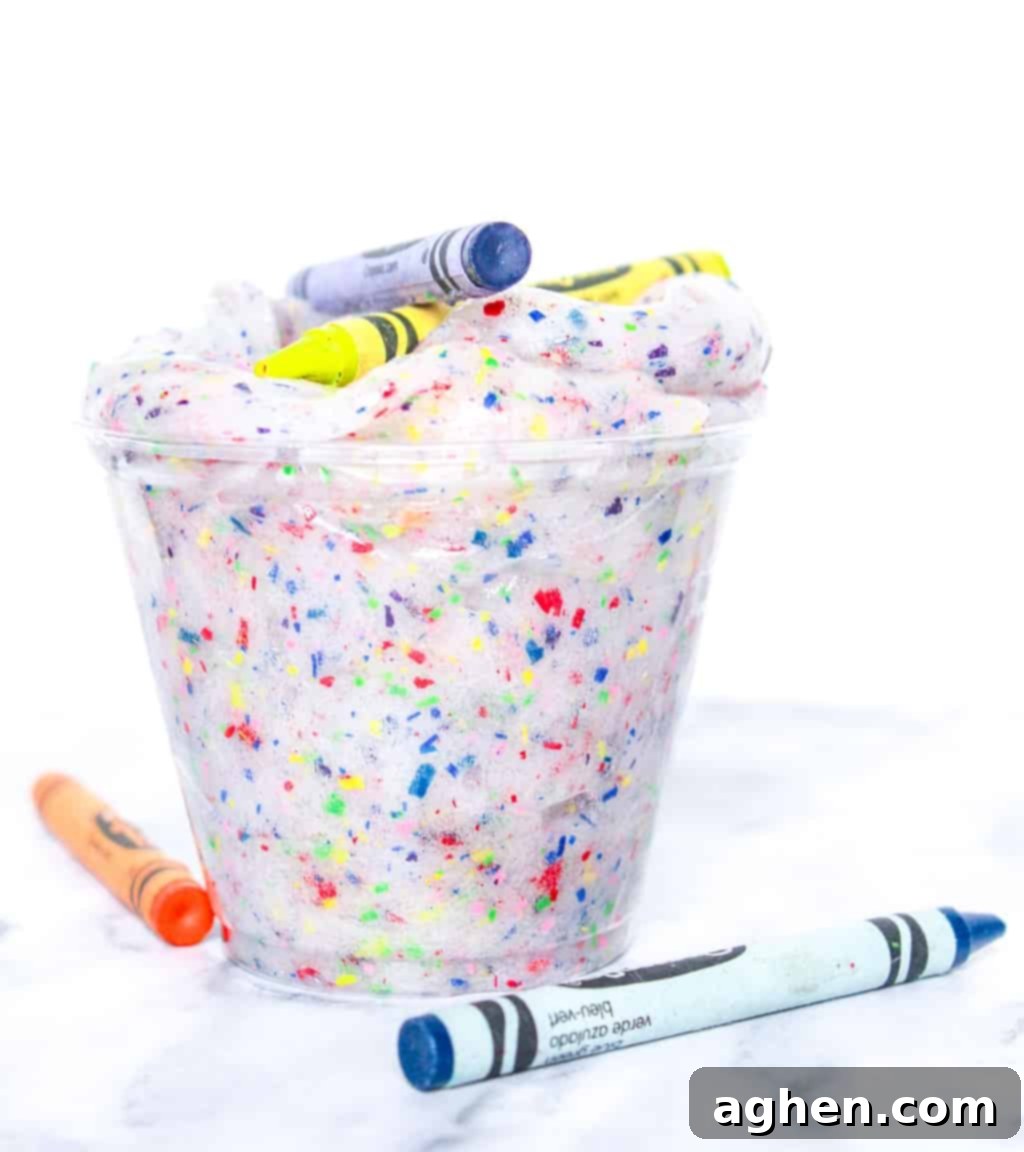
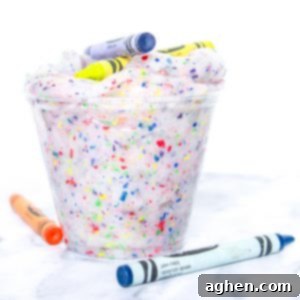
What sets this particular slime recipe apart from the rest is its naturally derived color palette. Unlike traditional methods that require drops of food coloring or sprinkles of glitter to achieve vibrancy, our crayon slime gets its spectacular look from something you almost certainly have lying around your home: crayons! This means you can create a rainbow of squishy goodness using materials that might otherwise end up in the trash.
It’s truly amazing to discover the hidden potential in forgotten items. Who would have thought that all those seemingly useless broken crayon bits could be transformed into such a captivating and colorful sensory toy? This project isn’t just about making slime; it’s about fostering resourcefulness and teaching children the value of upcycling and repurposing. It’s an eco-friendly craft that’s as educational as it is entertaining.
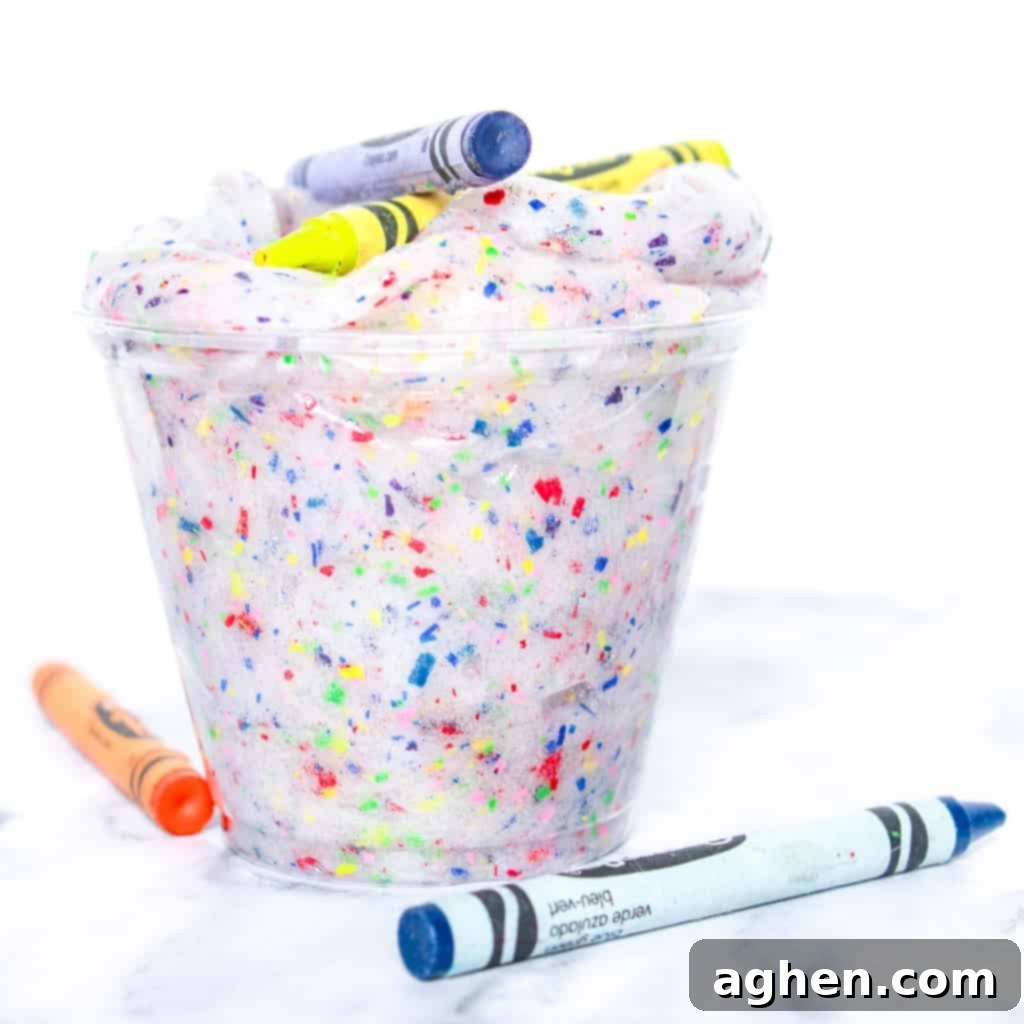
The beauty of using crayons is the endless possibilities for color combinations. You can go for a monochromatic theme with shades of blue, create a vibrant rainbow mix, or even experiment with contrasting colors to see what unique visual effects you can achieve. The little flecks of crayon embedded in the clear slime create a beautiful, textured appearance that’s mesmerizing to look at and delightful to touch.
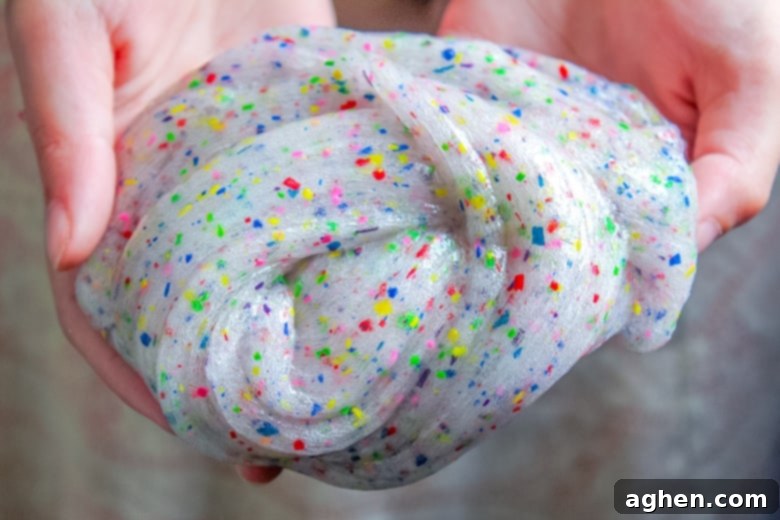
So, gather the kids, transform this into a fun “crayon hunt” around the house, and prepare for an afternoon of turning those neglected wax sticks into a mesmerizing, colorful, and utterly unique batch of homemade slime. This activity is perfect for a rainy day, a craft session, or just a simple way to spend quality time together.
The Benefits of Slime Play for Kids
Beyond the sheer fun, making and playing with slime offers numerous developmental benefits for children. It’s an excellent form of sensory play, which is crucial for brain development. The tactile experience of stretching, squishing, and molding slime helps children explore textures and sensations, improving their sensory processing skills.
Furthermore, the process of creating slime, from gathering ingredients to kneading the final product, hones fine motor skills. Peeling and shaving crayons requires precision and control, while stirring and mixing builds hand-eye coordination. Following the step-by-step instructions also encourages problem-solving, patience, and the ability to follow directions, all vital skills for young learners.
Slime can also be a calming and stress-relieving activity. The repetitive motions of playing with slime can be therapeutic, helping children to relax and focus. It’s a wonderful tool for imaginative play, as kids can invent stories and scenarios around their colorful creations, fostering creativity and narrative skills.
How to Make Crayon Slime: A Step-by-Step Guide
You’ll be surprised at how straightforward this slime recipe is. To be completely honest, the most involved part of the entire process is peeling and shaving your crayons – and even that is a delightfully engaging activity in itself, especially for little hands! It’s a fantastic way to involve children from the very beginning of the craft.
Before you dive into the mesmerizing world of slime making, ensure you have all your materials ready. Having everything laid out and organized will make the process smooth and enjoyable. Here’s what you’ll need for this easy and colorful project:
- **Crayons:** This is your primary source of color! Scour your house for broken, unwrapped, or even brand-new crayons. We found that about 8 crayons of various colors work well to create a beautiful rainbow effect, but feel free to choose as many or as few as you like to achieve your desired color intensity and blend.
- **Scissors or Vegetable Peeler:** These tools will be used for shaving the crayons. Kids’ safety scissors can work for older children, or a vegetable peeler can make quick work of shaving the wax.
- **Medium-Size Bowl:** For mixing your slime ingredients.
- **Clear Glue:** This is the base of your slime, providing the stretch and stickiness.
- **Baking Soda:** An essential activator that works with the saline solution to create the slime’s texture.
- **Saline Solution (Contact Lens Solution):** The magical ingredient that helps to solidify your slime. Look for solutions containing sodium borate or boric acid for best results.
- **Airtight Container:** Crucial for storing your finished slime to keep it fresh and stretchy for future play sessions.
- **Wax Paper (Optional but Recommended):** For an easy cleanup during the crayon shaving step.
- **Spoon for Stirring:** To thoroughly combine your ingredients.
Preparation: Unwrapping and Shaving Your Crayons
Let’s begin the fun part! Start by unwrapping each of your chosen crayons. This can be a great fine motor skill exercise for younger children. If the paper is stubborn, a small cut with scissors can help.
As mentioned, we opted for approximately 8 crayons in a variety of hues to give our slime a vibrant, multi-colored, rainbow appearance. However, the beauty of this DIY project is its flexibility! You are the artist; choose any colors you prefer. Want a blue and green ocean slime? Go for it! Craving a warm sunset palette? Pick reds, oranges, and yellows. The more diverse your crayon colors, the more dynamic your slime will look.
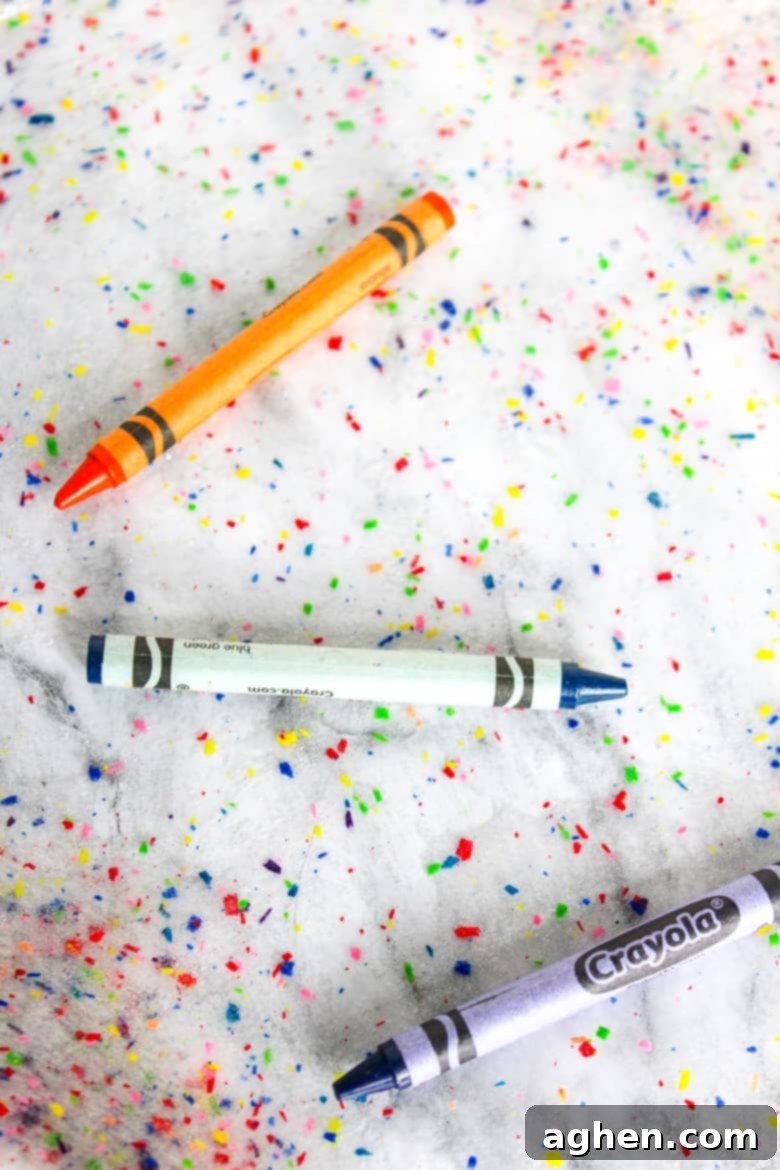
Next, it’s time to transform those solid crayons into colorful shavings. Carefully use scissors to “shave” the crayons. You can hold the crayon firmly and gently scrape the blade along its side to create small, thin pieces. Alternatively, a vegetable peeler works wonderfully for producing longer, finer strips of crayon. This step is particularly satisfying, as you’ll see a vibrant pile of color quickly accumulate.
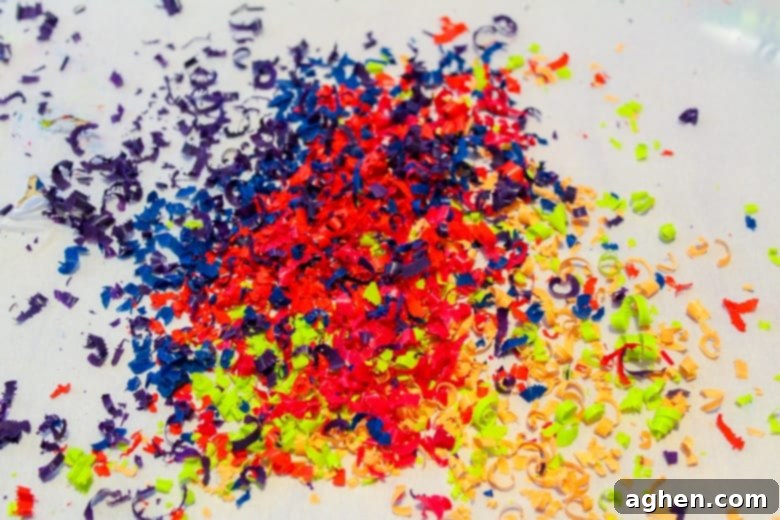
PRO TIP: To make the transfer of your precious crayon shavings super easy and minimize mess, perform this step directly on top of a sheet of wax paper. Once you’re done, you can simply lift the wax paper and funnel the shavings into your mixing bowl without losing a single colorful speck.
Time to Make the Slime! The Magic of Mixing
With your crayon shavings ready, it’s time for the real magic to happen. In your medium-sized bowl, combine 5 ounces of clear glue, ½ teaspoon of baking soda, and ½ cup of water. Stir these ingredients thoroughly until they are well combined and the baking soda has dissolved. This mixture forms the base of your slime, providing its characteristic elasticity.
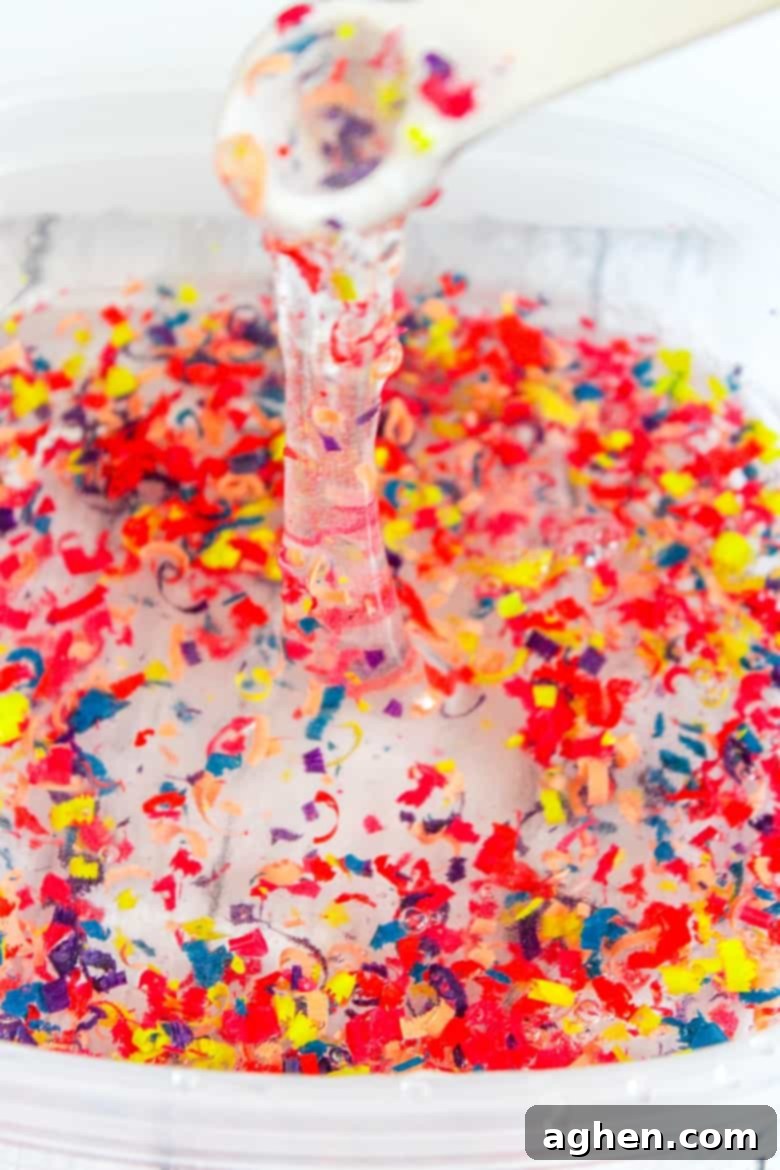
Now, carefully add your colorful crayon shavings to the glue mixture. Stir gently, allowing the shavings to disperse throughout the liquid. Don’t worry if it looks a bit chunky at this stage; they will become beautifully integrated as the slime forms.
Finally, add 1 tablespoon of saline solution. This is the activator that will kickstart the chemical reaction, transforming your liquid mixture into pliable slime. As you add the saline solution, continue to stir. You’ll notice almost immediately that the mixture will start to thicken and pull away from the sides of the bowl, beginning to form that familiar sticky, gooey consistency.
Kneading for the Perfect Consistency
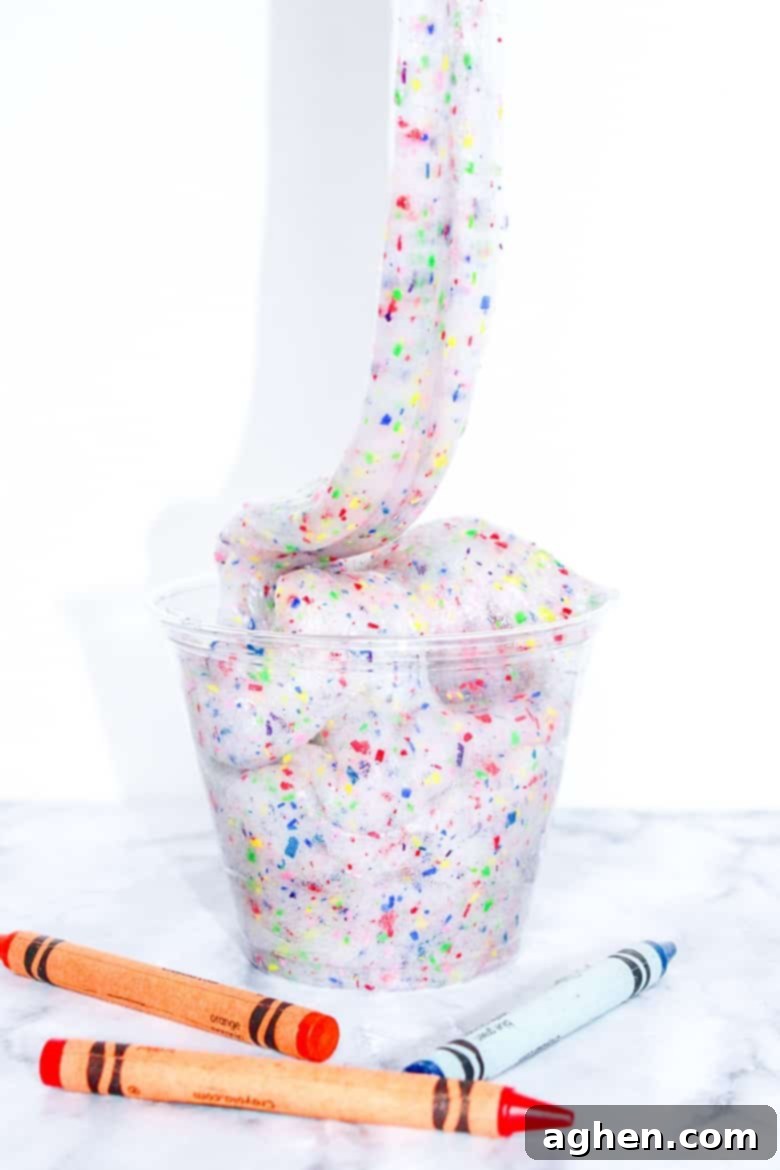
Once the slime has visibly begun to form and is mostly pulled away from the bowl, it’s time to get your hands dirty! Pull the emerging slime out of the bowl and begin to knead it with your hands. At first, it will likely be very sticky – this is perfectly normal and part of the process. Keep kneading, stretching, and folding the slime. As you work it, the stickiness will gradually decrease, and the slime will become smoother and more elastic.
Kneading is a crucial step that helps to fully activate the ingredients and achieve the desired non-sticky, stretchy texture. It also helps to evenly distribute the crayon shavings, creating a beautiful marbled effect throughout your slime. Think of it like kneading dough; the more you work it, the better the texture will be.
If, after several minutes of kneading, your slime still feels excessively sticky and difficult to handle, don’t fret! Simply add another drop or two of saline solution, then continue to knead. Add it gradually, one drop at a time, until you reach your desired consistency. Be careful not to add too much, as this can make the slime too stiff and less stretchy.
Troubleshooting Common Slime Issues
Even with the simplest recipes, sometimes things don’t go exactly as planned. Here are a few common issues you might encounter and how to fix them:
- **Slime is Too Sticky:** This is the most common problem. As advised, add saline solution one drop at a time and continue kneading until it’s less sticky. Patience is key here; it often takes more kneading than you think.
- **Slime is Too Stiff/Not Stretchy:** If you’ve added too much activator (saline solution), your slime might become tough and tear easily. To fix this, try adding a tiny bit of clear glue (½ teaspoon at a time) and kneading it in. You can also try adding a small amount of lotion to make it softer and more pliable.
- **Slime Didn’t Form:** Ensure your saline solution contains sodium borate or boric acid. Not all contact lens solutions work as slime activators. Also, double-check your measurements. Sometimes a slight adjustment in the glue-to-activator ratio is needed.
- **Crayon Shavings Not Integrating:** If the shavings seem to just fall out, ensure they are very fine. Also, thorough kneading is essential to embed them into the slime matrix.
Caring for Your Crayon Slime
To ensure your beautiful, homemade crayon slime lasts as long as possible and provides countless hours of fun, proper storage is essential. Always store your slime in an airtight container between play sessions. This prevents it from drying out, hardening, or attracting dust and debris. A clean, sealed container will keep your slime fresh and stretchy for weeks.
If your slime starts to feel a bit dry over time, you can sometimes revive it by kneading in a tiny amount of hand lotion or a few drops of water. Remember that slime doesn’t last forever, but with good care, you can maximize its lifespan. Always supervise younger children during slime play to ensure it’s not ingested.
We truly hope that you and your little ones have an absolute blast making, experimenting with, and playing with this awesome crayon slime. It’s a fantastic sensory experience and a wonderful way to recycle!
If you enjoy this colorful and innovative slime, you will absolutely adore our pom pom slime, which adds a delightful textural element, and our enchanting galaxy slime, perfect for aspiring astronauts and stargazers!
Shop Supplies for Your Crayon Slime Project
To help you get started on this exciting craft, we’ve put together a convenient list of supplies you might need. Clicking on these links will take you directly to where you can purchase them, making your preparation even easier. Remember, supporting our content through affiliate links helps us continue to bring you more amazing DIY projects!
Contact Lens Saline SolutionClear School Glue, 5 oz16 oz Food Storage ContainersCrayola Crayons 24 ct (Pack of 2)Arm & Hammer Baking Soda, 5 Lbs
Crayon Slime
Author: Jaclyn
Equipment
-
Scissors
-
wax paper, optional
-
medium-size bowl
-
spoon for stirring
Supplies
- 5 oz clear glue
- ½ cup water
- ½ tsp baking soda
- 1 Tablespoons saline solution contact solution
- crayons we used about 8
Instructions
-
Unwrap crayons.
-
Using scissors, carefully “shave” crayons. Shave onto a sheet of wax paper for easy removal.
-
In a medium-size bowl, combine glue, water, and baking soda. Stir well.
-
Stir in crayon shavings.
-
Add saline solution, stirring to mix well.
-
Knead the slime until it is no longer sticky.
Notes
Store slime in an airtight container between play sessions to make it last as long as possible.

Did You Make This Craft?
Share it with me on Instagram @crayonsandcravings and follow on Pinterest @crayonsandcravings for even more!
Pin Craft
Leave A Review
