Irresistible Peppermint Meltaways: The Ultimate Melt-in-Your-Mouth Christmas Cookie Recipe
There’s nothing quite like the magic of homemade cookies during the holiday season. Among the myriad of festive treats, Peppermint Meltaways truly stand out. As their name perfectly suggests, these are delectable minty cookies designed to literally melt in your mouth, leaving behind a refreshing burst of peppermint flavor. Each sweet, delicately flavored cookie is generously topped with a silky peppermint glaze and adorned with sparkling crushed peppermints, making them an absolute showstopper for any Christmas cookie platter or holiday gathering.
If you share my passion for all things peppermint desserts, you’ll definitely want to explore other delightful recipes like these Peppermint Bark Cookies, Homemade Peppermint Patties, and Peppermint Pinwheel Cookies. But for now, let’s dive into making these incredibly festive and utterly irresistible peppermint Christmas cookies.

The cool, invigorating essence of peppermint is synonymous with the holiday season. It evokes memories of candy canes, festive decorations, and joyful celebrations. Now, imagine capturing that beloved candy cane flavor in a cookie that is even more delightful, a cookie so tender it practically dissolves on your tongue. That’s precisely what these Peppermint Meltaways deliver – the pure, unadulterated taste of Christmas in every single bite.
One of the best aspects of this recipe is its simplicity. These cookies are remarkably easy to make, using staple ingredients you likely already have in your pantry. You won’t need to hunt for obscure items; just simple essentials like powdered sugar, butter, all-purpose flour, cornstarch, peppermint extract, and a splash of milk are all it takes to whip up a batch.
The real secret behind their ethereal, lighter-than-air texture lies in the combination of powdered sugar and cornstarch. Powdered sugar contributes to the delicate crumb, while cornstarch works its magic by creating a tender, almost velvety consistency that makes these holiday cookies truly live up to their “meltaway” name. You’ll be amazed at how such common ingredients can produce such extraordinary results.

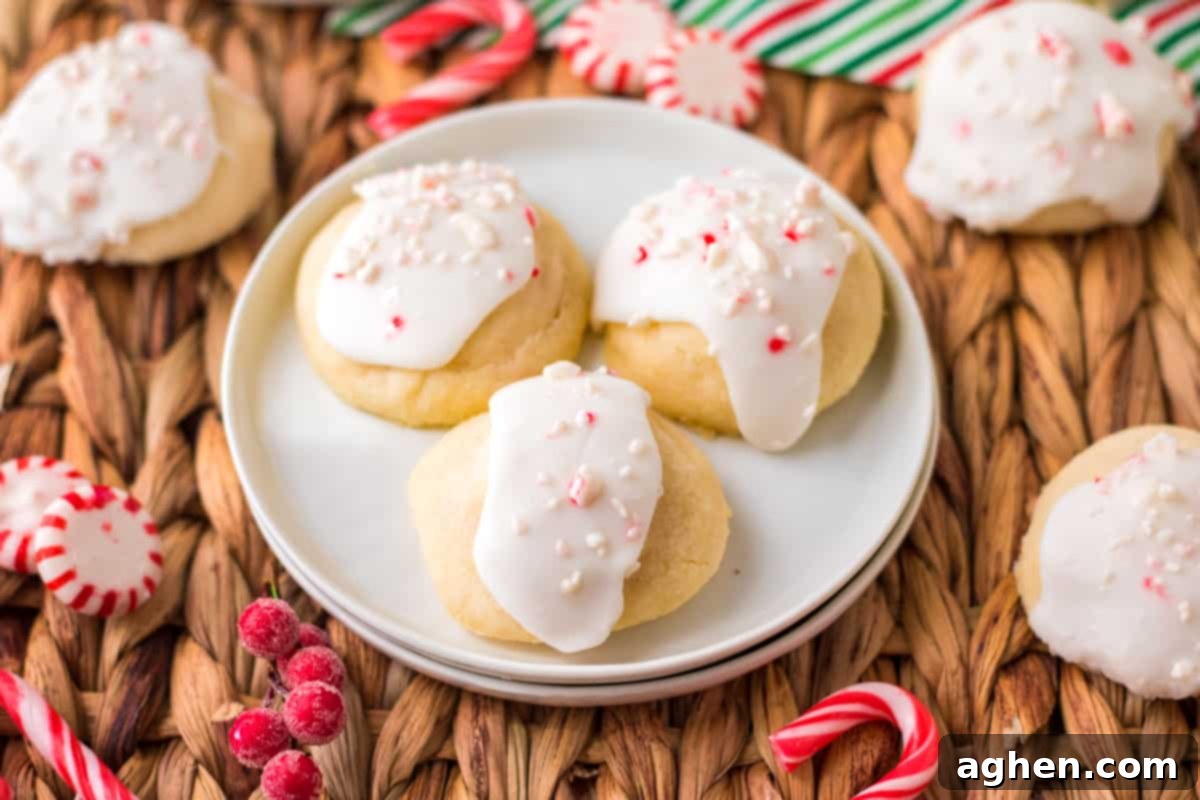
This recipe yields approximately two dozen cookies, but don’t be surprised if you find yourself wanting to double the batch. These little gems have a way of disappearing incredibly quickly! Trust me, it’s nearly impossible to stop at just one. Their delightful flavor and texture are sure to make them a beloved addition to your Christmas recipe collection, and their festive appearance will undoubtedly enhance any holiday cookie platter you create.
Essential Ingredients for Peppermint Meltaways
This section provides detailed notes on each ingredient and offers convenient substitution options. For precise measurements, the complete ingredient list, and step-by-step instructions, please refer to the printable recipe card located at the end of this post.
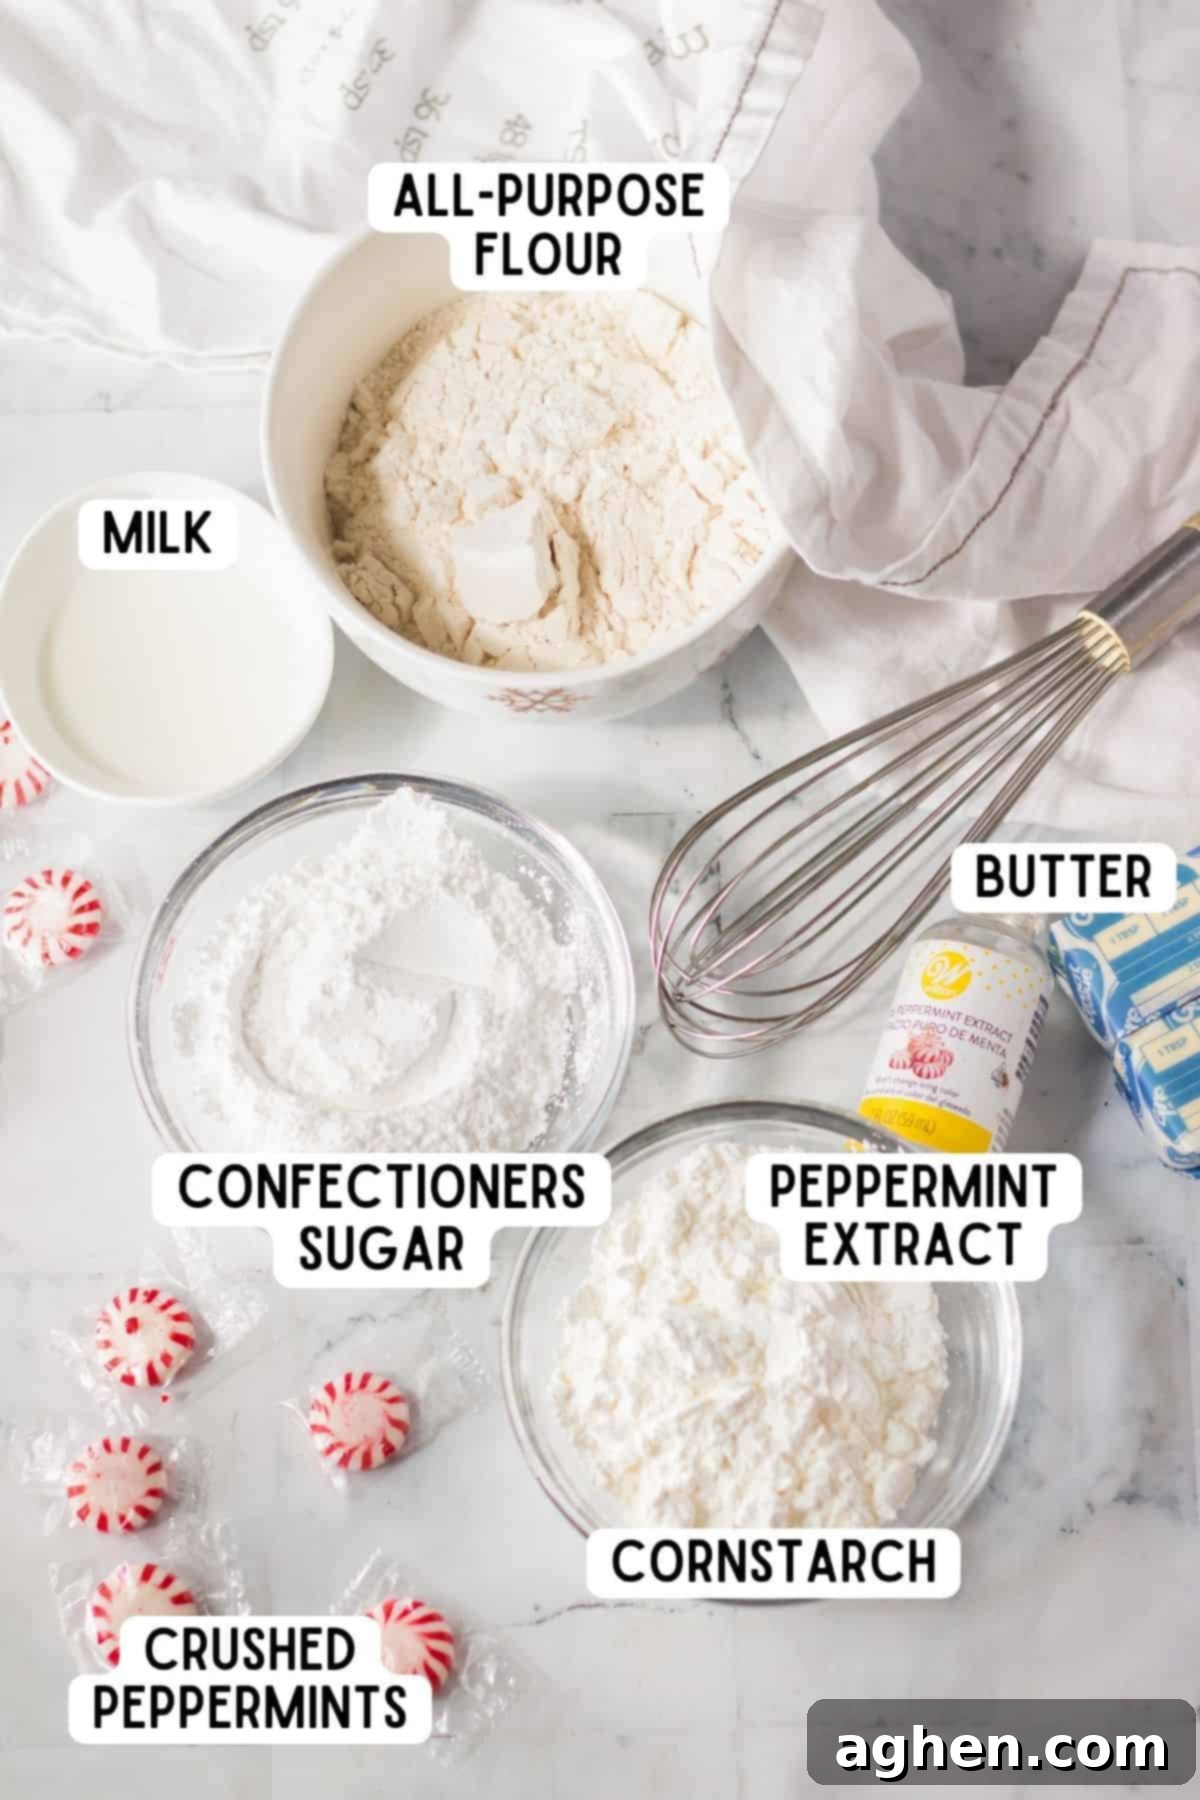
- Unsalted Butter: It’s crucial to use unsalted butter at room temperature. This allows it to cream properly with the sugar, creating a light and airy base for your cookies. Avoid melting the butter, as this will change the cookie’s texture and lead to spreading.
- Confectioners’ Sugar (Powdered Sugar): This fine sugar is key for two reasons. In the cookie dough, it helps achieve that signature melt-in-your-mouth texture by dissolving more completely than granulated sugar. You’ll also use it to create the smooth, sweet glaze that tops the cookies.
- Peppermint Extract: This is where the magic happens! Peppermint extract infuses both the cookie dough and the glaze with that wonderfully refreshing holiday flavor. Make sure you’re using a good quality extract for the best taste. You can find peppermint extract here if you need some.
- All-Purpose Flour: For most cookie recipes, including these Peppermint Meltaways, all-purpose flour is the ideal choice. It provides the necessary structure without making the cookies tough, ensuring they remain tender and delicate.
- Cornstarch: The true secret weapon for that irresistible “meltaway” quality! Cornstarch helps tenderize the dough and prevents excessive spreading, resulting in thicker, softer cookies that practically dissolve on your tongue.
- Milk: A small amount of milk is essential for achieving the perfect consistency for your powdered sugar glaze. While whole milk is recommended for a richer, creamier glaze, 2% milk or your preferred milk alternative will also work, though the glaze might be slightly less rich.
- Crushed Peppermints: These add a beautiful festive touch and an extra layer of peppermint crunch to your glazed cookies. You can easily crush candy canes or peppermint candies yourself, or for ultimate convenience during the busy holiday season, purchase pre-crushed peppermints from the baking aisle. Use as much or as little as you like for sprinkling.
Essential Equipment for Your Peppermint Meltaway Journey
Before you embark on making these melt-in-your-mouth peppermint delights, gather your kitchen tools to ensure a smooth and enjoyable baking process. You’ll need:
- A set of durable Mixing Bowls in various sizes.
- Either a reliable Hand Mixer or a powerful Stand Mixer fitted with the paddle attachment for efficient mixing.
- Plastic wrap for chilling the dough.
- At least two sturdy Cookie Sheets to bake your batches.
- Parchment paper to prevent sticking and ensure easy cleanup.
- A Small Cookie Scoop (about 2 teaspoons) to ensure uniformly sized cookies for even baking.
How to Make Perfect Peppermint Meltaway Cookies: A Step-by-Step Guide
This detailed section guides you through the entire baking process with helpful step-by-step instructions and accompanying photos (where applicable). For the full, printable recipe card with exact measurements, please scroll down to the end of this post.
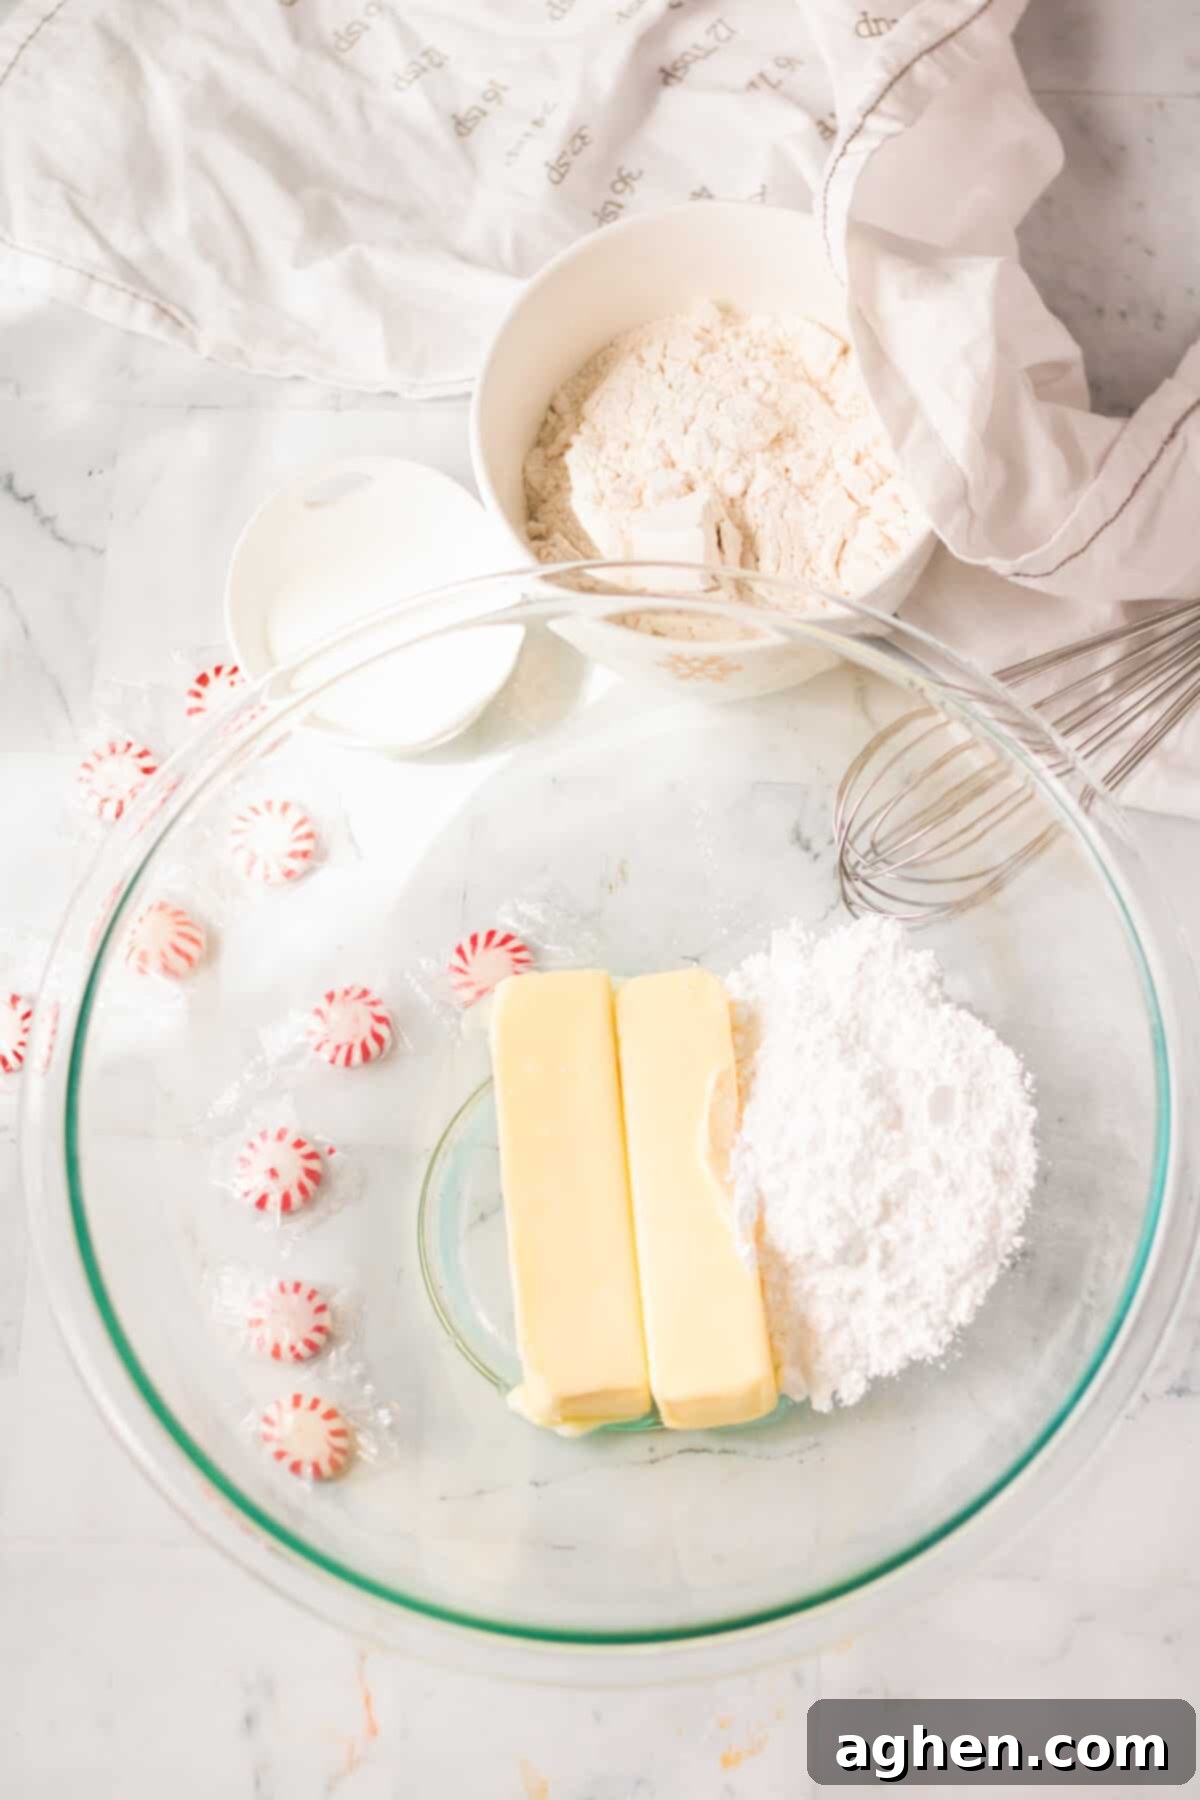
Step 1: Cream the Wet Ingredients. In a large mixing bowl, combine your softened, room-temperature butter, confectioners’ sugar, and peppermint extract. Using a hand mixer or stand mixer, beat these ingredients together on medium speed until the mixture is light, fluffy, and well combined. This process incorporates air, contributing to the cookie’s delicate texture.
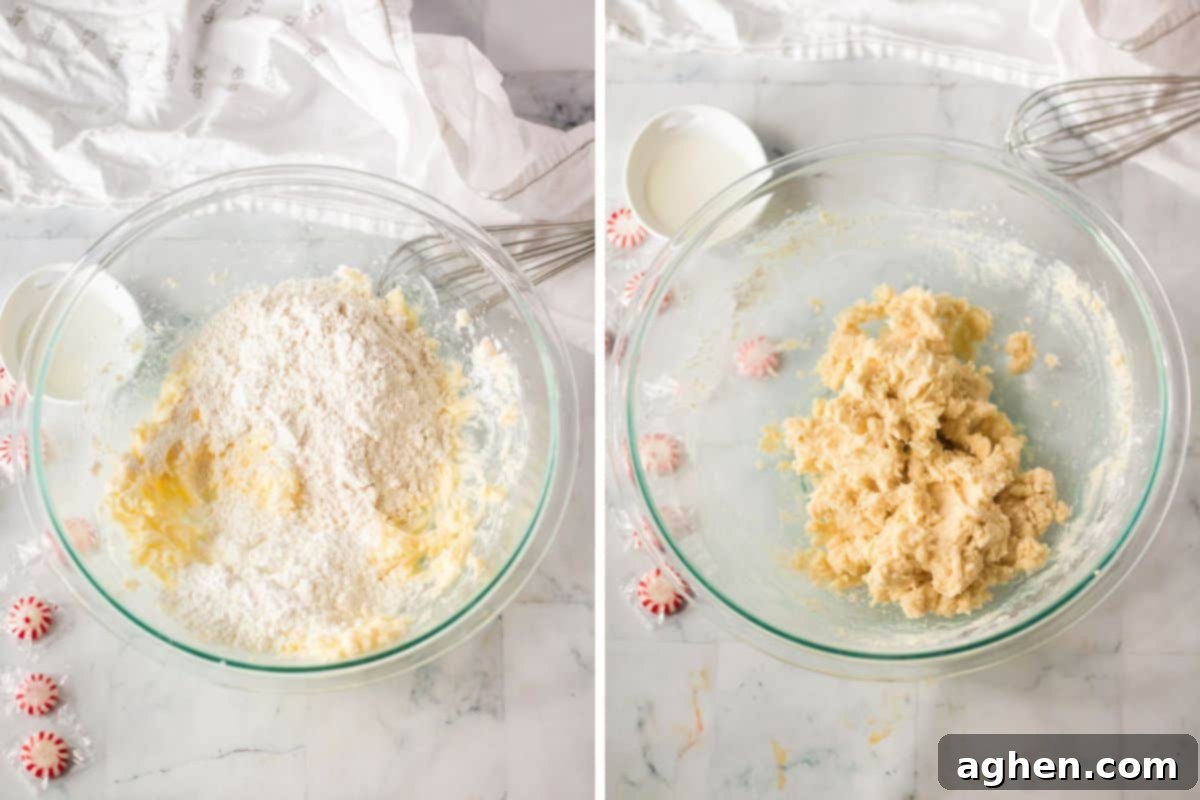
Step 2: Incorporate Dry Ingredients. Gradually add the all-purpose flour and cornstarch to the wet mixture. It’s important to do this slowly, adding a little at a time, and mixing on low speed until all the dry ingredients are just incorporated. Be careful not to overmix, as this can develop the gluten in the flour, leading to tougher cookies. Stop mixing as soon as no streaks of flour are visible.
Step 3: Chill the Dough. Cover the mixing bowl tightly with plastic wrap and place the cookie dough in the refrigerator for a minimum of 1 hour. Chilling is a critical step for meltaway cookies. It allows the butter to firm up, preventing the cookies from spreading excessively in the oven and ensuring they maintain their thick, tender shape.
Step 4: Prepare for Baking. Once your dough is sufficiently chilled and you’re ready to bake, preheat your oven to 350°F (175°C). While the oven is heating, line two baking sheets with parchment paper. Parchment paper ensures even baking and easy removal of these delicate cookies.
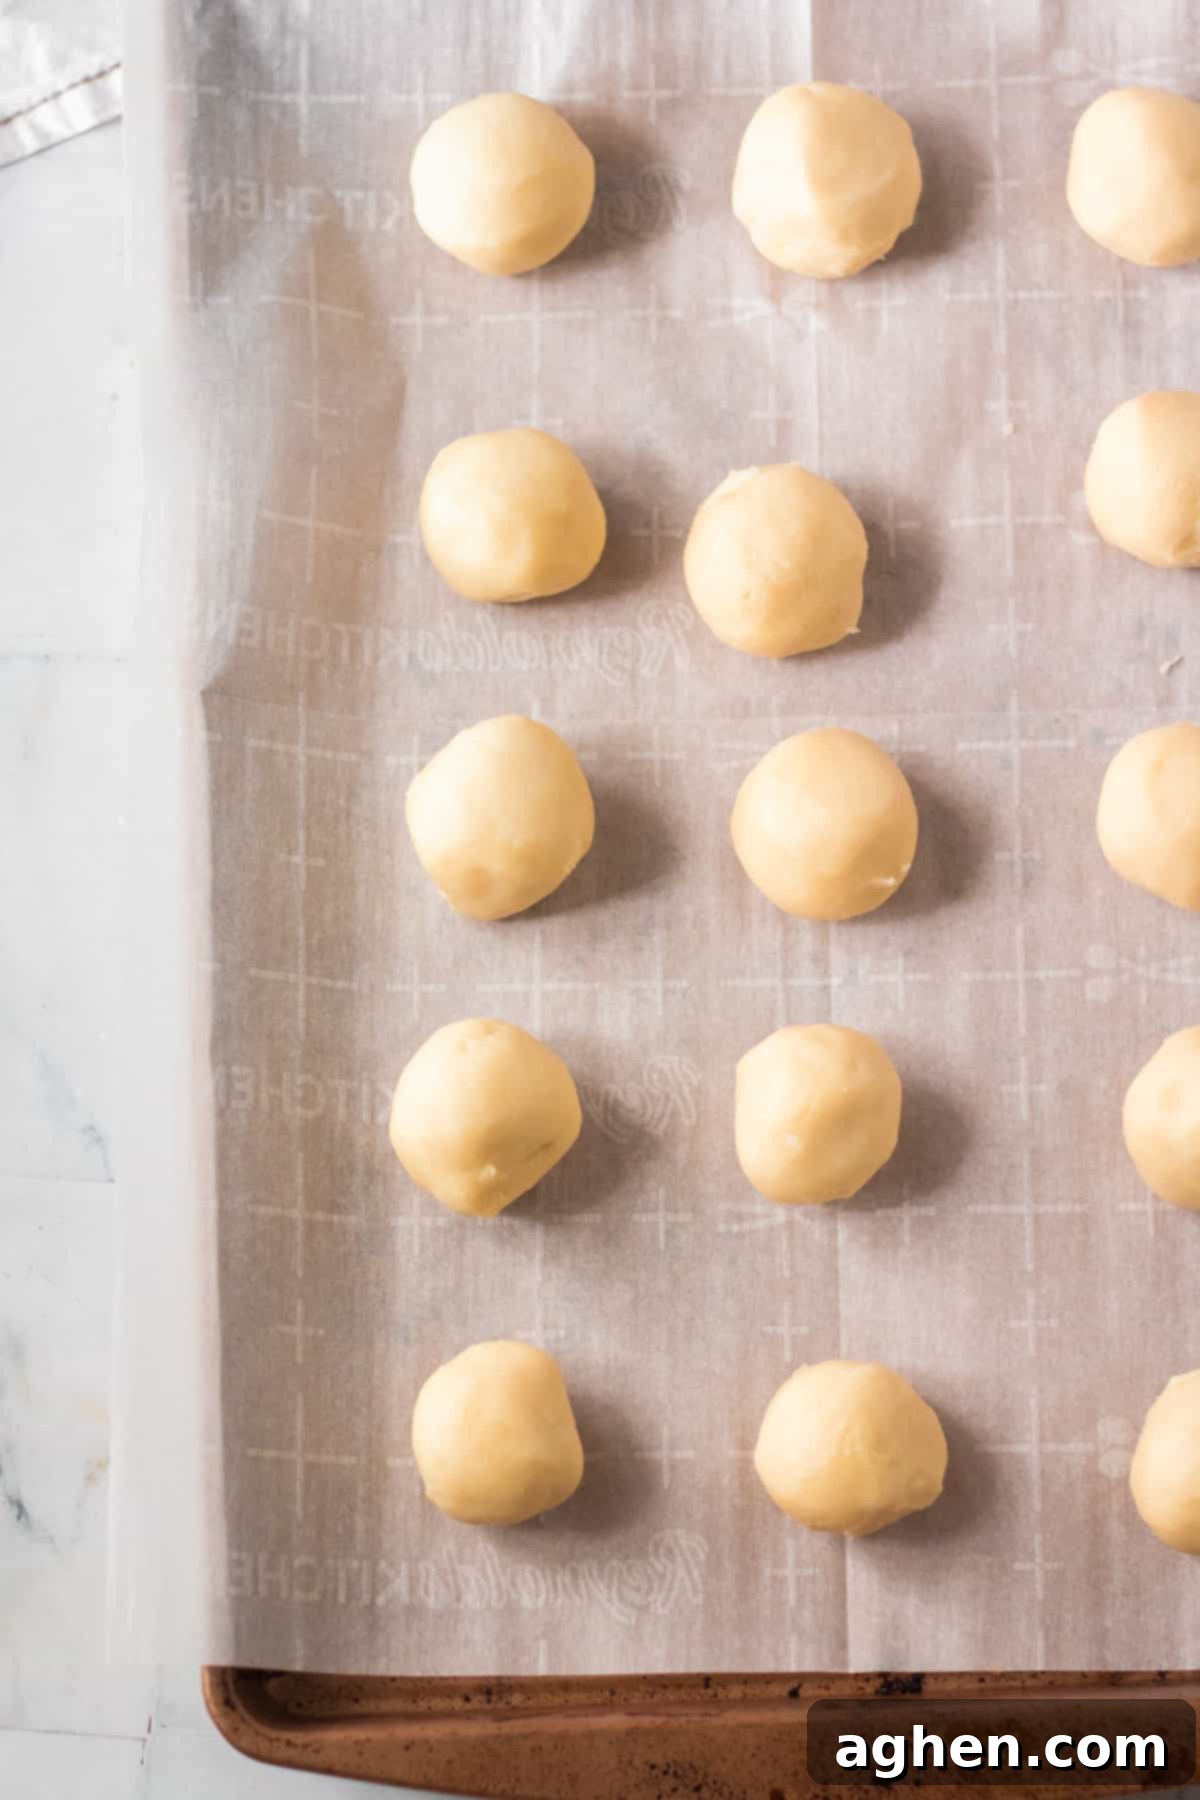
Step 5: Portion and Shape. Using a small cookie scoop (approximately 2 teaspoons in size) or a spoon, portion the chilled dough. Gently roll each portion into a smooth ball. Arrange the cookie dough balls about 1 inch apart on your prepared baking sheets. This spacing allows for slight spreading without the cookies touching.
Step 6: Bake to Perfection. Bake the cookies for 12 to 15 minutes. Keep a close eye on them; they are ready when the edges are just lightly golden brown. It’s crucial not to overbake these cookies, as they will continue to cook slightly on the hot baking sheets after removal from the oven. Overbaking can result in a dry, rather than melt-in-your-mouth, texture.
Step 7: Cool with Care. Allow the cookies to cool on the baking sheets for about 5 minutes. This brief cooling period helps them firm up slightly, making them easier to handle. After 5 minutes, carefully transfer the delicate cookies to a wire rack to finish cooling completely. Handle them gently while warm, as their tender nature means they can easily fall apart if not transferred with care.
Step 8: Prepare the Peppermint Glaze. While the cookies are cooling, it’s time to prepare the delectable peppermint glaze. In a medium-sized bowl, whisk together the confectioners’ sugar, milk, and a quarter teaspoon of peppermint extract. Gradually add more milk, a tiny bit at a time, until the glaze reaches a smooth, pourable consistency. You want it thin enough to drizzle but not so thin that it’s watery. If your glaze becomes too thin, simply whisk in a little more powdered sugar until it thickens to your desired consistency.
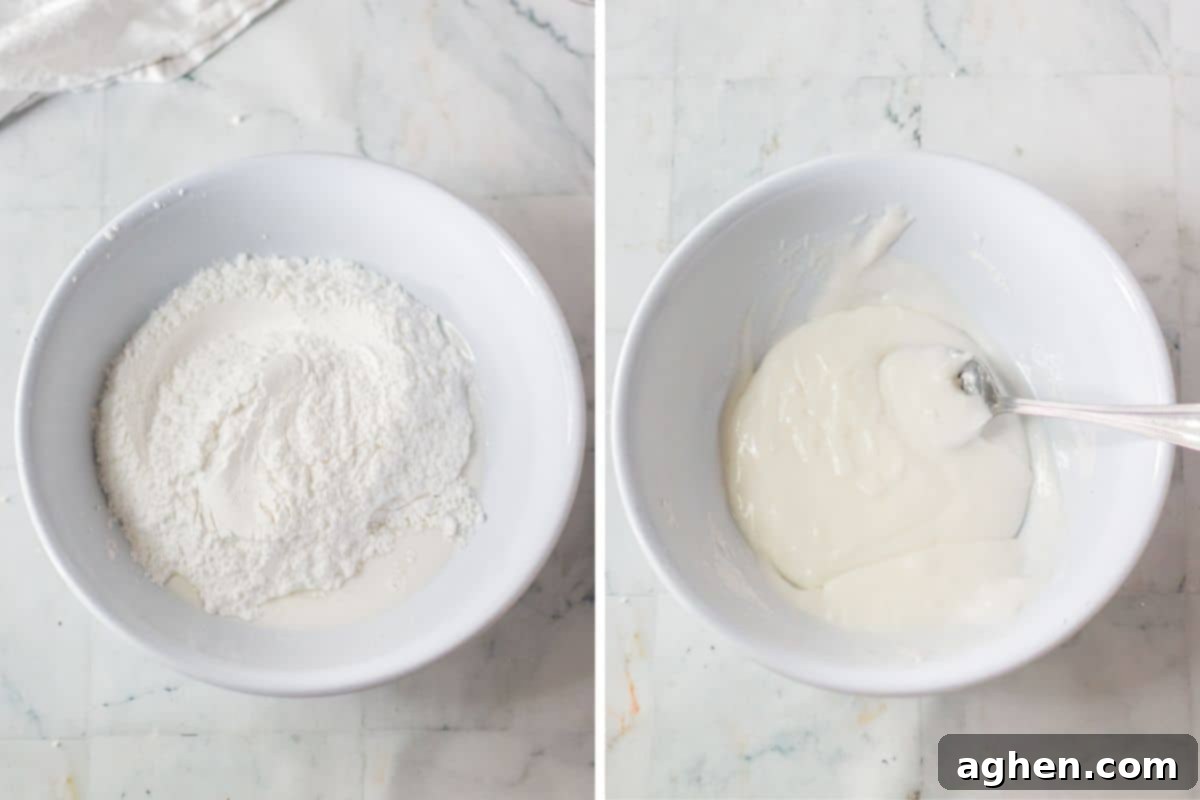
Step 9: Glaze and Garnish. Once the cookies are completely cooled, drizzle the prepared peppermint glaze generously over the top of each cookie. While the glaze is still wet, immediately sprinkle the crushed candy canes or peppermints over the glazed cookies. This ensures the crushed candy adheres beautifully and creates a stunning, festive finish.
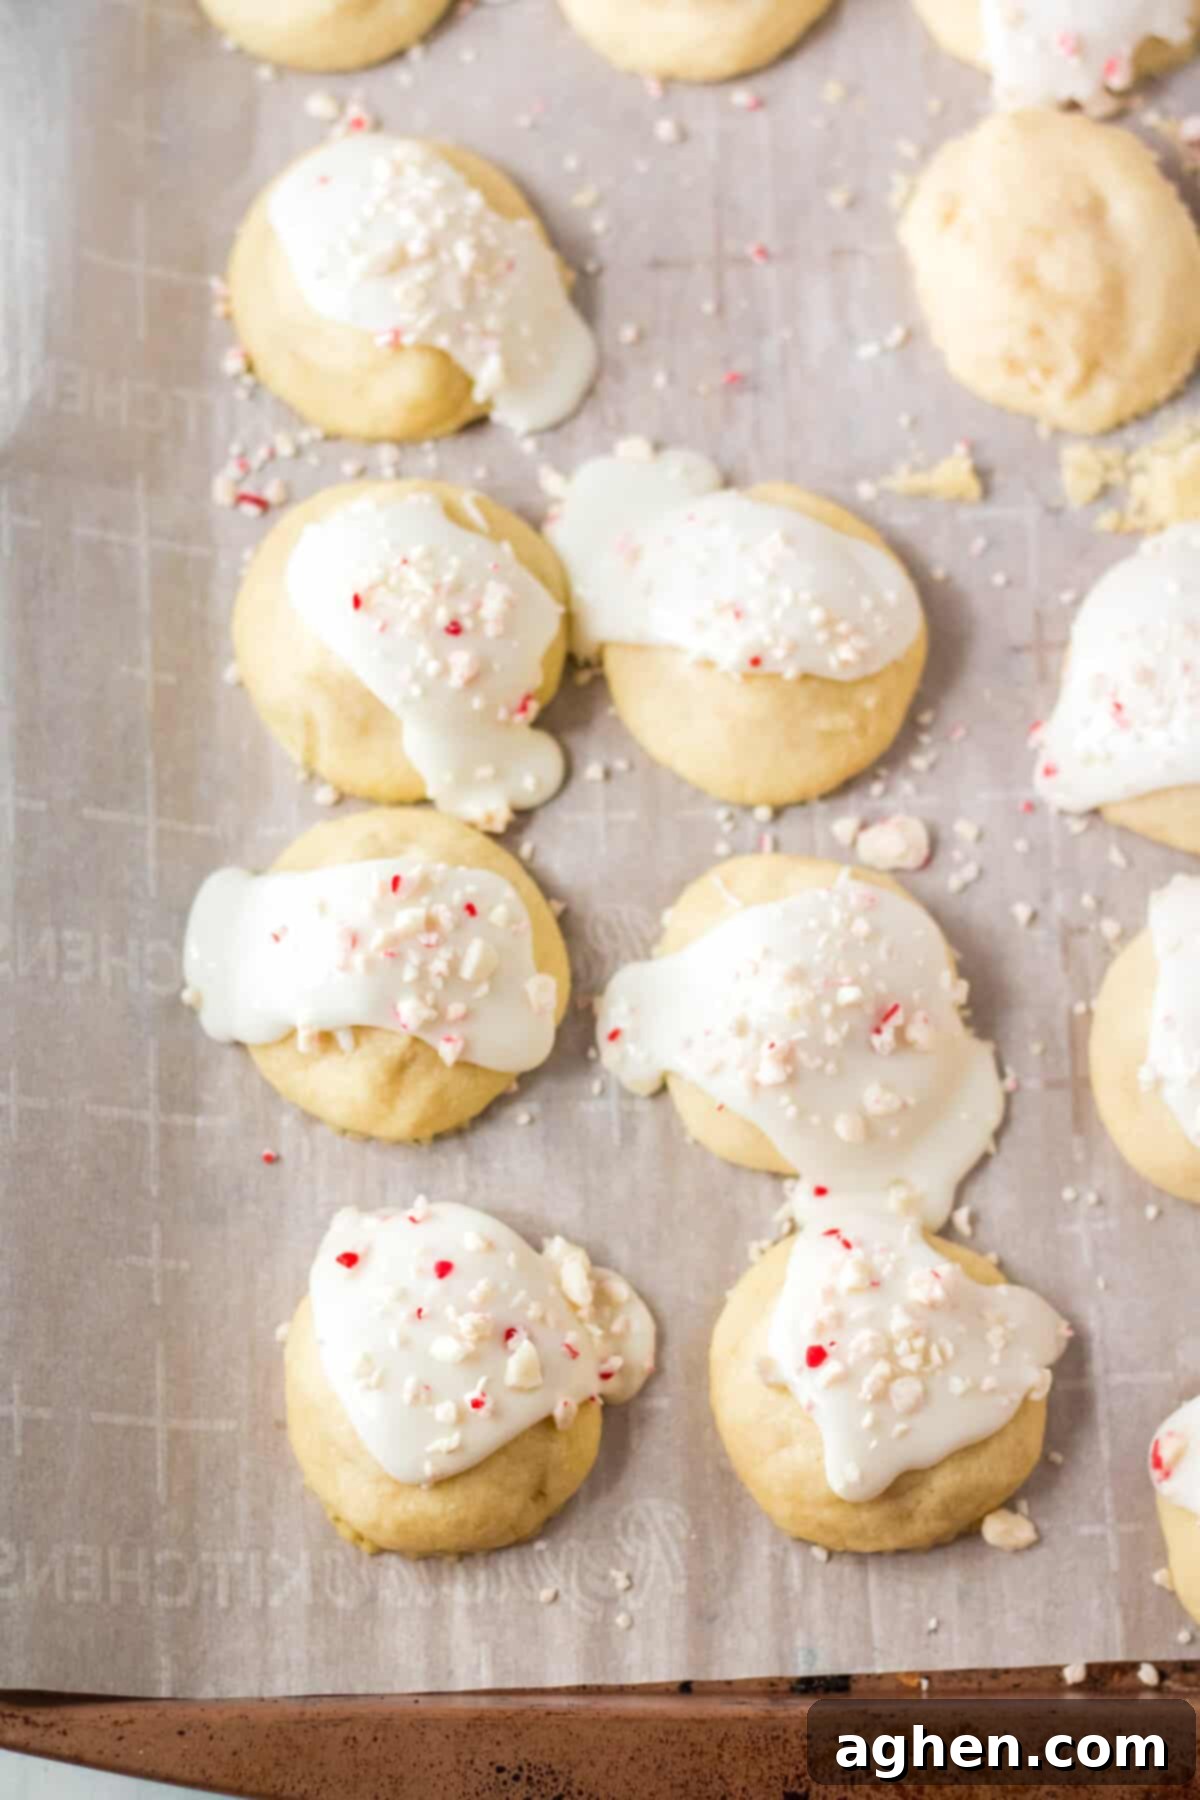
And there you have it! Your delightful Peppermint Meltaways are complete. Enjoy a couple (or a few!) immediately, and store the rest in an airtight container to maintain their freshness.
Serving Suggestions for Your Peppermint Meltaways
These buttery, melt-in-your-mouth cookies are perfect on their own, but they truly shine when paired with the right accompaniments. Serve them with a tall, frosty glass of cold milk for a classic treat, or enjoy them alongside a steaming hot cup of coffee, tea, or even hot chocolate for a cozy winter moment. If you’re curating a holiday cookie platter and looking for more irresistible goodies to impress friends and family, be sure to check out this comprehensive list of my best Christmas cookie exchange recipes for more inspiration.
Storage and Freezing Guidelines
To keep your soft Peppermint Meltaway cookies at their best, store them in an airtight container at room temperature. They will retain their delightful flavor and texture for 3 to 5 days. For optimal freshness and to maintain their signature melt-in-your-mouth quality, it’s best to consume them within this timeframe.
To freeze baked Peppermint Meltaways: Place the completely cooled cookies in an airtight, freezer-safe container, separating layers with parchment paper to prevent sticking. They can be frozen for up to 3 months. However, please note that after freezing and thawing, these delicate cookies might lose some of their signature “melt away” quality and can become slightly more crumbly. For the absolute best results, I recommend freezing the unbaked cookie dough instead.
To freeze cookie dough: Portion the dough into balls as directed in the recipe, then flash freeze them on a baking sheet until solid. Once frozen, transfer the dough balls to a freezer-safe bag or container for up to 3 months. When ready to bake, simply thaw the dough balls slightly (about 15-20 minutes at room temperature) and bake as usual. Prepare the glaze fresh once the cookies have cooled.
Expert Tips and Tricks for Perfect Peppermint Meltaways
Mastering these delightful cookies is easy with a few helpful tips:
- Thicker Icing: If you prefer a more substantial glaze that you can spread evenly over the entire cookie rather than just drizzling, simply add extra powdered sugar to the glaze mixture until it reaches your desired thicker consistency.
- Festive Color Boost: Enhance the holiday spirit by adding a few drops of red food coloring to either the cookie dough or the glaze. This simple step gives them an extra vibrant, Christmas-y touch that’s sure to impress.
- Alternative Toppings: While crushed peppermint candies are traditional, feel free to get creative with your toppings! Consider using colorful sprinkles, edible glittery sugar, or even white chocolate shavings for a different aesthetic and texture.
- Save Time with Pre-Crushed Peppermints: During the busy holiday season, every moment counts. Save yourself the effort of crushing candy canes by purchasing pre-crushed peppermints. They are often readily available in the baking aisle of most grocery stores as the holidays approach.
- Avoid Overmixing the Dough: Once you add the flour, keep your mixer on the lowest speed. Mix only until the flour is just incorporated and no dry streaks remain. Overmixing develops the gluten in the flour, which can lead to tougher cookies rather than the desired delicate, melt-in-your-mouth texture.
- Don’t Skip Chilling the Dough: This step is non-negotiable for these peppermint cookies. Chilling the dough solidifies the butter, which is crucial for preventing the cookies from spreading too much and flattening during baking. It ensures your meltaways remain thick, soft, and maintain their perfect shape.
Creative Additions and Delicious Variations
These Peppermint Meltaways are fantastic as is, but they also serve as an excellent canvas for culinary creativity. Here are some ideas to customize your next batch:
- Boost the Peppermint Flavor: For an even more intense peppermint experience, fold in some Andes peppermint chips or Ghirardelli peppermint chunks into the cookie dough before chilling. Every bite will be bursting with minty goodness!
- Subtle Peppermint Touch: If you prefer a milder peppermint flavor, reduce the peppermint extract in the cookie dough to 1/2 teaspoon and complement it with 1/4 teaspoon of vanilla extract. For the glaze, halve the peppermint extract to 1/8 teaspoon and add 1/8 teaspoon of vanilla for a more balanced, delicate minty note.
- Lemon Meltaways for Any Season: Craving that delightful melt-in-your-mouth texture when it’s not Christmastime? Transform this recipe into sunny lemon meltaways! Simply swap the peppermint extract for lemon extract in both the cookies and the glaze. Finish them with a sprinkle of fresh lemon zest for an irresistible tangy twist.
- Almond Delight: Experiment with almond extract for a wonderfully nutty flavor profile. Almond meltaways are incredibly yummy, and you can even add a touch of food coloring to make them visually appealing – think pretty pink cookies for Valentine’s Day!
- Eggnog Glaze: Infuse your meltaways with an extra layer of festive flavor by substituting eggnog for the milk in the glaze. This adds a rich, creamy, and distinctively holiday taste that pairs beautifully with the peppermint.
- Diverse Toppings: Beyond crushed peppermints or candy canes, get adventurous with other toppings. Try elegant chocolate curls, finely chopped nuts (like pistachios or walnuts), or coarse sparkling sugar for an added crunch and visual appeal.
Peppermint Meltaway Cookie Recipe FAQ
Yes, you absolutely can! While these cookies are truly at their peak freshness when enjoyed shortly after baking and glazing, you can certainly prepare them a day or two in advance. This makes them an excellent option for getting a head start on your busy holiday baking schedule without compromising too much on flavor or texture. Ensure they are stored in an airtight container at room temperature.
For these particular peppermint cookies, chilling the dough is not just recommended, it is a non-negotiable step! Skipping the chilling process will cause the butter in the dough to melt too quickly in the oven, leading to cookies that spread excessively and become thin and flat. Chilling allows the butter to firm up, which helps the cookies maintain their thick, soft, and signature melt-in-your-mouth texture during baking. Aim for at least 1 hour of chilling time.
If your peppermint meltaway cookies have a chalky taste, it’s most likely due to adding too much cornstarch. Cornstarch is key for texture, but too much can lead to an undesirable powdery mouthfeel. To prevent this, always use measuring cups specifically designed for dry ingredients and make sure to level them off precisely with a straight edge. For your next batch, you can also try slightly adjusting the recipe by reducing the cornstarch to 1/4 cup and increasing the all-purpose flour to 1 and 1/2 cups to find your perfect balance.
More Best Christmas Cookie Recipes
Still craving more holiday baking inspiration for friends and family? Expand your repertoire with some of our other favorite festive cookie recipes that are sure to spread cheer:
- Easy and Fun Christmas Cookie Bars
- Soft and Delicious Frosted Christmas Cookies
- Whimsical Grinch Heart Cake Mix Cookies
- Classic Christmas Shortbread Cookies with Sprinkles
- Loaded Kitchen Sink Christmas Cookies

Peppermint Meltaways
Author: Jaclyn
15 minutes
15 minutes
1 hour
1 hour
30 minutes
2
dozen cookies
Saved!
Ingredients
For the Cookies
-
1 cup unsalted butter room temperature -
½ cup confectioners’ sugar -
¾ teaspoon peppermint extract -
1 ¼ cups all-purpose flour -
½ cup cornstarch
For the Glaze
-
1½ cups confectioners’ sugar -
1 to 2 Tablespoons milk -
¼ teaspoon peppermint extract -
crushed peppermints for topping
Instructions
-
In a large bowl, use an electric mixer to beat to combine the butter, confectioners’ sugar, and peppermint extract until light and fluffy.
-
Slowly mix in the flour and cornstarch on low speed until just combined. Do not overmix.
-
Cover the bowl with plastic wrap and refrigerate for at least 1 hour (or up to 2 days).
-
When ready to bake, preheat the oven to 350°F (175°C). Line 2 cookie sheets with parchment paper.
-
Use a small cookie scoop(about 2 teaspoons) or spoon to portion dough into even balls. Roll into smooth balls and place 1 inch apart on the lined cookie sheets.
-
Bake for 12-15 minutes or until the edges are lightly golden brown. Do not overbake to maintain tenderness.
-
Cool for 5 minutes on the cookie sheets. Then, carefully move them to a wire rack to cool fully. Be gentle when transferring, as these cookies are delicate when warm.
-
To make the glaze, whisk to combine the confectioners’ sugar, milk, and peppermint extract in a medium bowl until smooth. Add a bit more milk as needed (drop by drop) to thin the glaze to a pourable consistency. If too thin, add a little more powdered sugar.
-
Drizzle the peppermint glaze over the top of the completely cooled cookies and immediately sprinkle with crushed peppermints for garnish. Allow glaze to set before stacking.
Notes
- Store these peppermint cookies in an airtight container at room temperature for 3-5 days for optimal freshness.
- For an extra festive pop of color, consider adding a few drops of red food coloring to the glaze.
- If you prefer, you can easily substitute colorful sprinkles instead of crushed peppermint candies for a different look and feel.
- To save precious time during the busy holiday season, look for pre-crushed peppermint candies in the baking aisle of your local grocery store.

Did You Make This Recipe?
We’d love to see your delicious creations! Share it with us on Instagram @crayonsandcravings and follow us on Pinterest @crayonsandcravings for even more delightful recipes and baking inspiration!
Pin Recipe
Leave A Review
