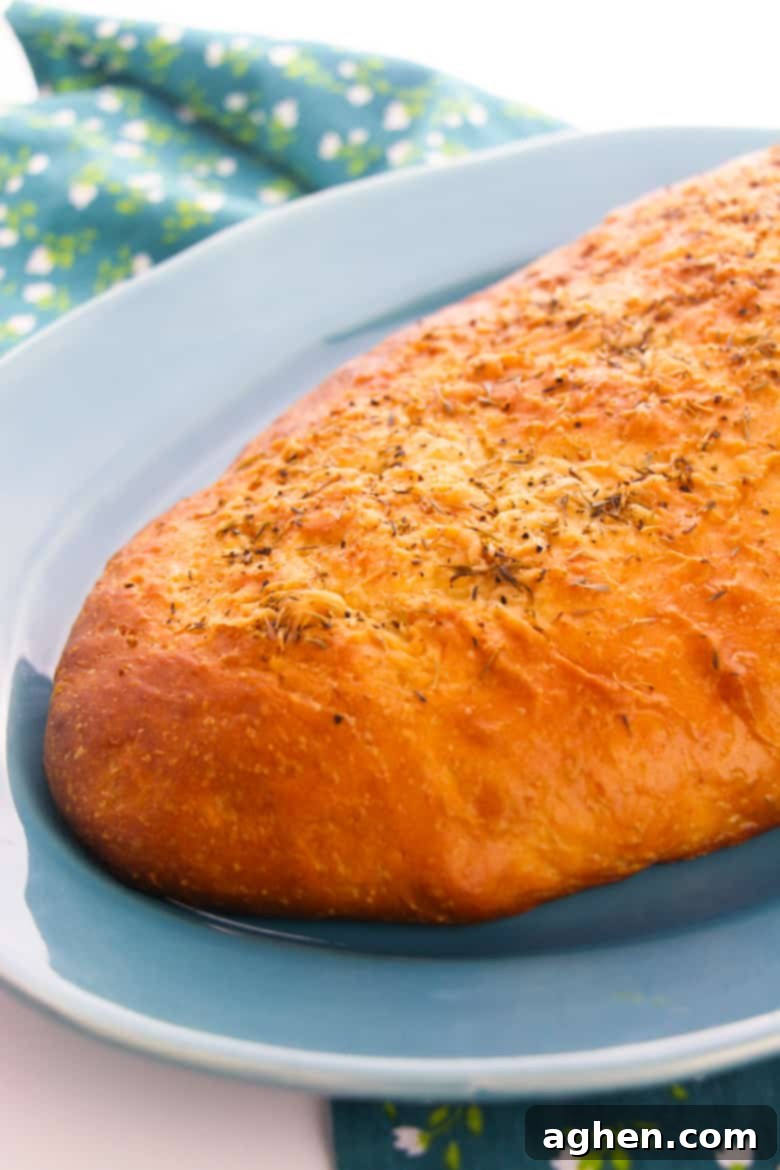
Homemade Italian Seasoned Bread: A Deliciously Easy Yeast Bread Recipe
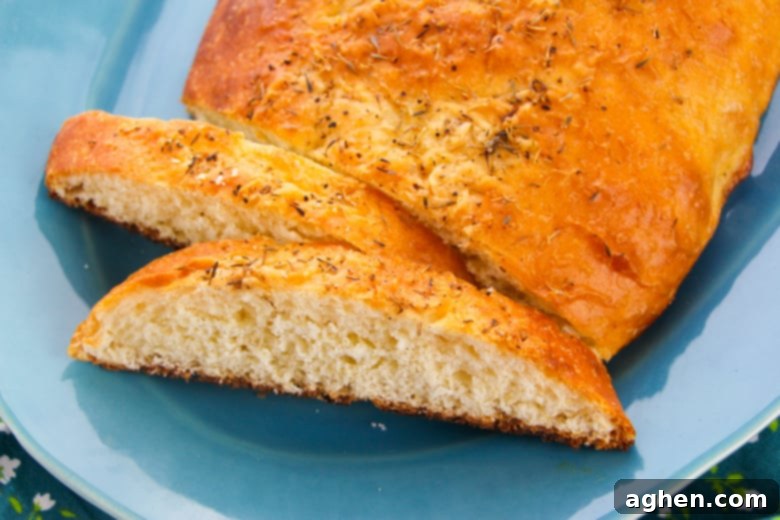
There’s nothing quite like the aroma of freshly baked bread filling your home. And when that bread is perfectly seasoned with aromatic Italian herbs, it’s an experience that truly elevates any meal. Our homemade Italian Seasoned Bread recipe offers a delightful yeast bread that’s easy to prepare, resulting in a golden, crusty loaf bursting with flavor. If you’re a bread enthusiast, get ready to discover your new favorite recipe!
Forget store-bought loaves! This recipe will guide you through creating an incredible homemade Italian bread that will undoubtedly impress your family and friends. The deep, savory notes of Italian seasoning baked into a soft, airy crumb with a beautifully crisp crust make this bread an instant classic.
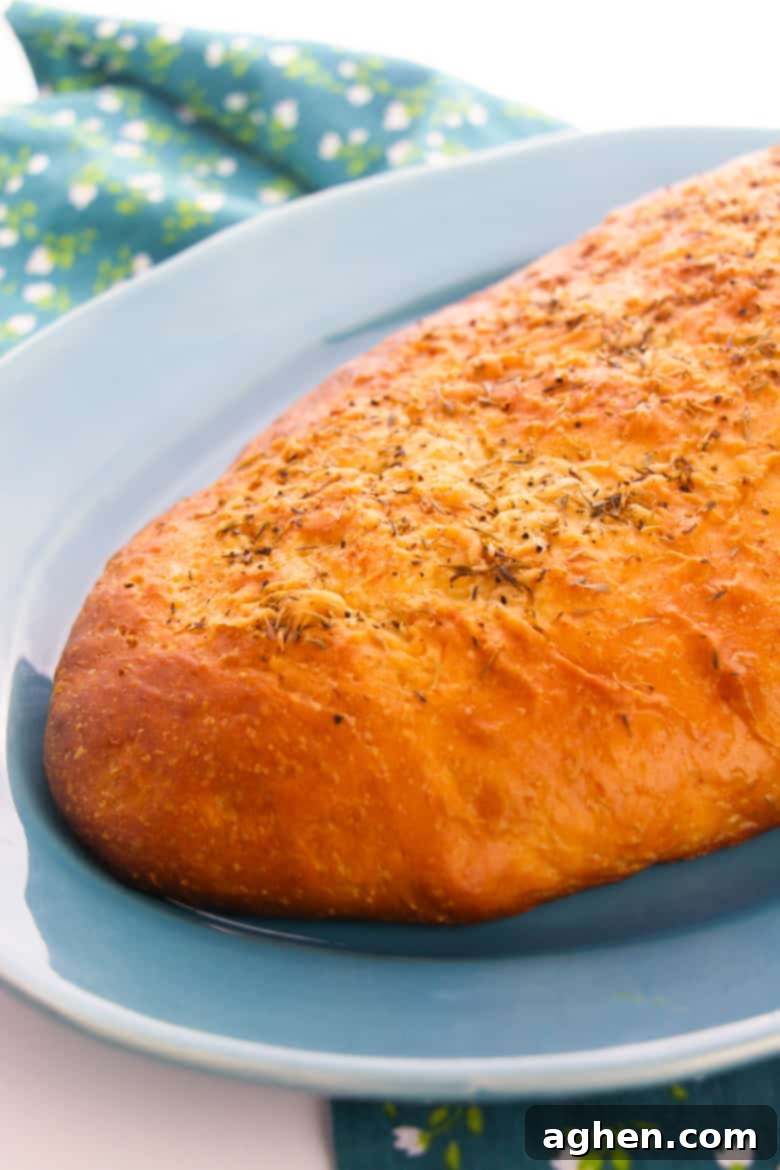
Why Bake Italian Seasoned Bread at Home?
The satisfaction of baking your own bread is unparalleled. Beyond the wonderful aroma, homemade Italian bread offers several advantages:
- Unbeatable Freshness: There’s no comparison to a warm loaf pulled straight from the oven, with its irresistible scent and perfectly crisp crust.
- Control Over Ingredients: You know exactly what goes into your bread, avoiding preservatives, artificial flavors, and excessive sodium often found in store-bought versions.
- Customizable Flavor: This recipe provides a fantastic base, but you can easily adjust the amount and type of seasoning to suit your preference. Add more garlic, a hint of red pepper flakes, or a different herb blend!
- Cost-Effective: Basic bread ingredients are quite inexpensive, making homemade bread a budget-friendly option compared to specialty bakery loaves.
- The Joy of Baking: The process of kneading dough, watching it rise, and seeing it transform into a beautiful loaf is incredibly therapeutic and rewarding.
This Italian bread is wonderfully versatile. It pairs perfectly with hearty pasta dishes, serves as an excellent vehicle for dipping into rich soups or olive oil, or simply enjoyed on its own with a generous slather of butter. It’s truly a simple pleasure that never disappoints. While you’re at it, be sure to explore other comforting bread recipes like my potato rolls, pull-apart herb biscuits, and Irish soda bread for more baking inspiration.
Essential Ingredients for Homemade Italian Seasoned Bread
One of the best things about this delicious Italian bread recipe is that it uses common pantry staples. You likely have most, if not all, of these ingredients on hand already!
Here’s what you will need:
- All-purpose flour: The structural backbone of our bread. While all-purpose works great, bread flour can be used for a chewier texture (see tips below).
- Instant yeast: The magical ingredient that makes our bread light and airy. Ensure your yeast is fresh and active for the best rise.
- Granulated sugar: A small amount not only adds a touch of sweetness but, more importantly, feeds the yeast, helping it activate and produce carbon dioxide for rising.
- Salt: Crucial for flavor development and also helps to control the yeast activity, preventing it from rising too quickly.
- Warm water: The ideal temperature is key for activating yeast. Too hot will kill it, too cold won’t activate it. Aim for 105-115°F (40-46°C).
- Butter: Softened at room temperature, butter adds richness, tenderness, and flavor to the dough. Additional melted butter is used for brushing, enhancing the crust.
- Egg: Contributes to the bread’s color, richness, and structure, making it a bit more tender.
- Italian seasoning: The star of the show! This blend of dried herbs (typically oregano, basil, thyme, rosemary, marjoram) infuses the bread with its signature Mediterranean flavor.
Variations & Expert Tips for Perfect Italian Bread
While this recipe is fantastic as written, here are some tips and variations to help you customize and perfect your Italian seasoned bread:
- Boost the Flavor: Don’t be shy! You can add an extra teaspoon or two of Italian seasoning directly into the bread dough along with the dry ingredients to further elevate the herbal notes throughout the loaf. You could also mix in some garlic powder or onion powder for an even more savory kick.
- Cheesy Goodness: For an irresistible cheesy crust, sprinkle some grated Parmesan, Pecorino Romano, or even a blend of Italian cheeses (like mozzarella and provolone) over the top of the bread during the last 5-10 minutes of baking. The cheese will melt and become golden and bubbly.
- Scaling the Recipe: This recipe is easily doubled or even tripled if you’re baking for a larger crowd or wish to have extra loaves on hand. You can bake one fresh and freeze the others for later enjoyment. Simply adjust baking times slightly for larger loaves.
- Experiment with Seasoning: Feel free to customize the flavor profile. Instead of traditional Italian seasoning, try a blend of dried rosemary and garlic, or a Mediterranean mix with a hint of za’atar. Fresh herbs like finely chopped rosemary or thyme can also be kneaded into the dough.
- Achieving a Chewier Texture: If you prefer a chewier bread, swap out half or all of the all-purpose flour for bread flour. Bread flour has a higher protein content, which develops more gluten and results in a more elastic and chewy crumb.
- Dough Handling is Key: Bread baking is a balance. Avoid overmixing the dough, as this can make it tough. Similarly, resist the urge to add too much extra flour during kneading. While this is a slightly stickier dough, adding excessive flour will result in a denser, drier, or even crumbly bread. Aim for a soft, elastic dough that pulls away from the sides of the bowl.
- Yeast Activation Temperature: This is critical! The warm water you use to activate the yeast should be between 105°F and 115°F (40°C and 46°C). Use a kitchen thermometer to be precise. If the water is too hot, it will kill the yeast, and your bread won’t rise. If it’s too cold, the yeast won’t activate properly.
- Proofing Environment: A warm, draft-free place is ideal for rising dough. You can create one by placing the covered bowl in a slightly warmed (but turned off!) oven, or near a sunny window.
How to Make Italian Seasoned Bread: A Step-by-Step Guide
Baking this delicious Italian bread is a straightforward process that yields incredibly rewarding results. Follow these steps for a perfect loaf every time:
Step 1: Combine Dry Ingredients & Start the Dough
In a large mixing bowl, begin by combining your all-purpose flour, granulated sugar, salt, and instant yeast. Stir these dry ingredients thoroughly to ensure even distribution. Once mixed, create a “well” in the center of the flour mixture. Pour the warm water (remember, 105-115°F) into this well, then add the softened butter and the egg. Stir everything together until a soft, shaggy dough forms.
Step 2: Knead the Dough
Turn the dough out onto a lightly floured surface or continue kneading in the bowl. Knead the dough by hand for about 8-10 minutes (or with a stand mixer for 5-7 minutes) until it becomes elastic and forms a soft, cohesive ball that pulls away cleanly from the sides of the bowl. This dough is designed to be on the stickier side, so resist the urge to add excessive amounts of flour. Add just a tablespoon at a time if truly necessary to prevent it from sticking unmanageably.
Step 3: First Rise (Proofing)
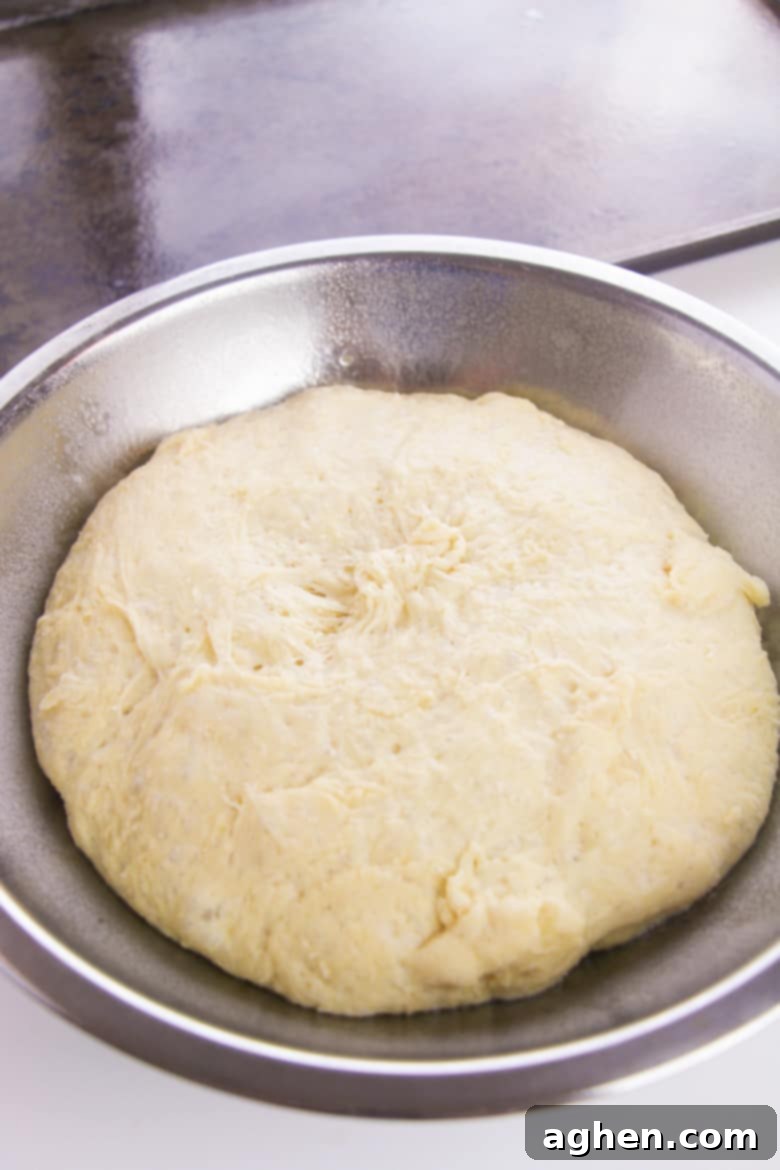
Lightly grease a clean bowl with a touch of oil. Transfer the kneaded dough to this bowl, turning it once to coat all sides. Cover the bowl tightly with plastic wrap and then drape a clean kitchen towel over it. Place the dough in a warm, draft-free spot in your kitchen and let it rise for approximately 2 hours, or until it has doubled in size. This first rise allows the yeast to work its magic, developing flavor and creating a light, airy structure.
Step 4: Shape and Second Rise
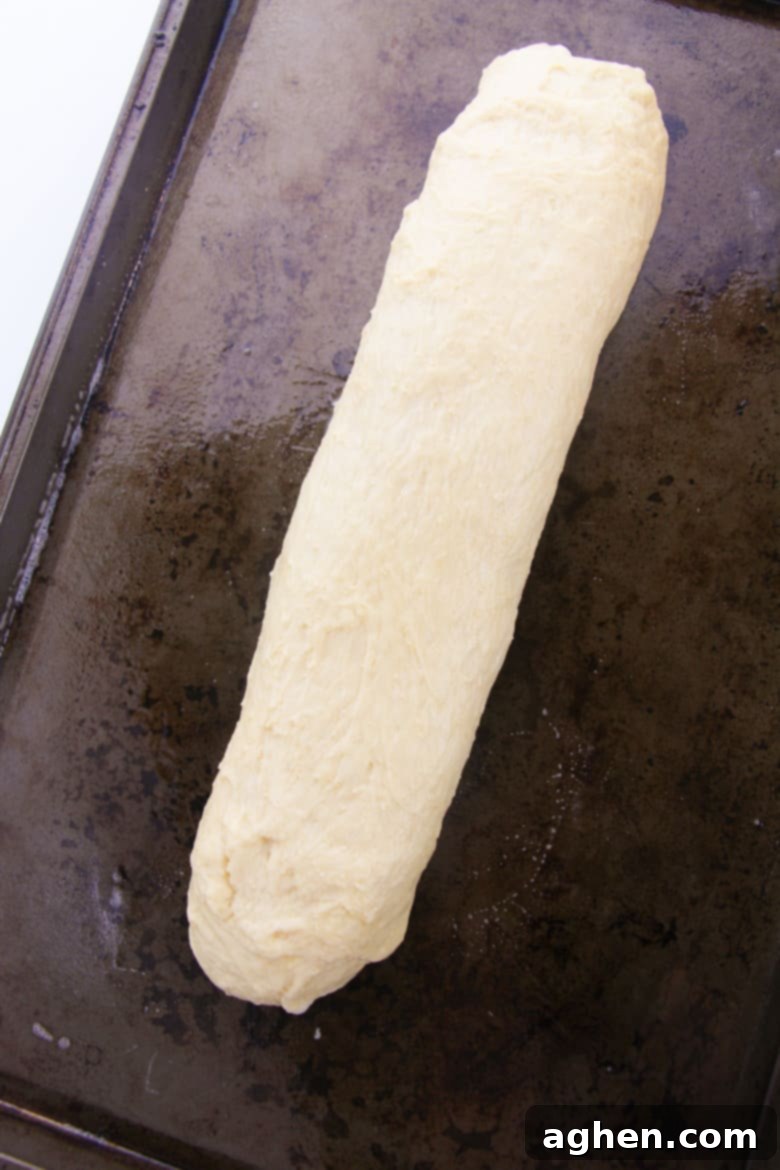
Once the dough has completed its first rise, gently punch it down to release the air. Transfer the dough to a lightly floured surface and shape it into a log, about 10-12 inches long. Prepare a baking sheet by greasing it or lining it with parchment paper, then carefully place the shaped dough onto it. Cover the dough again with plastic wrap and the kitchen towel, and let it rise for another 1 ½ hours in a warm place. This second rise contributes to the bread’s final texture and volume.
Step 5: Preheat Oven and Season
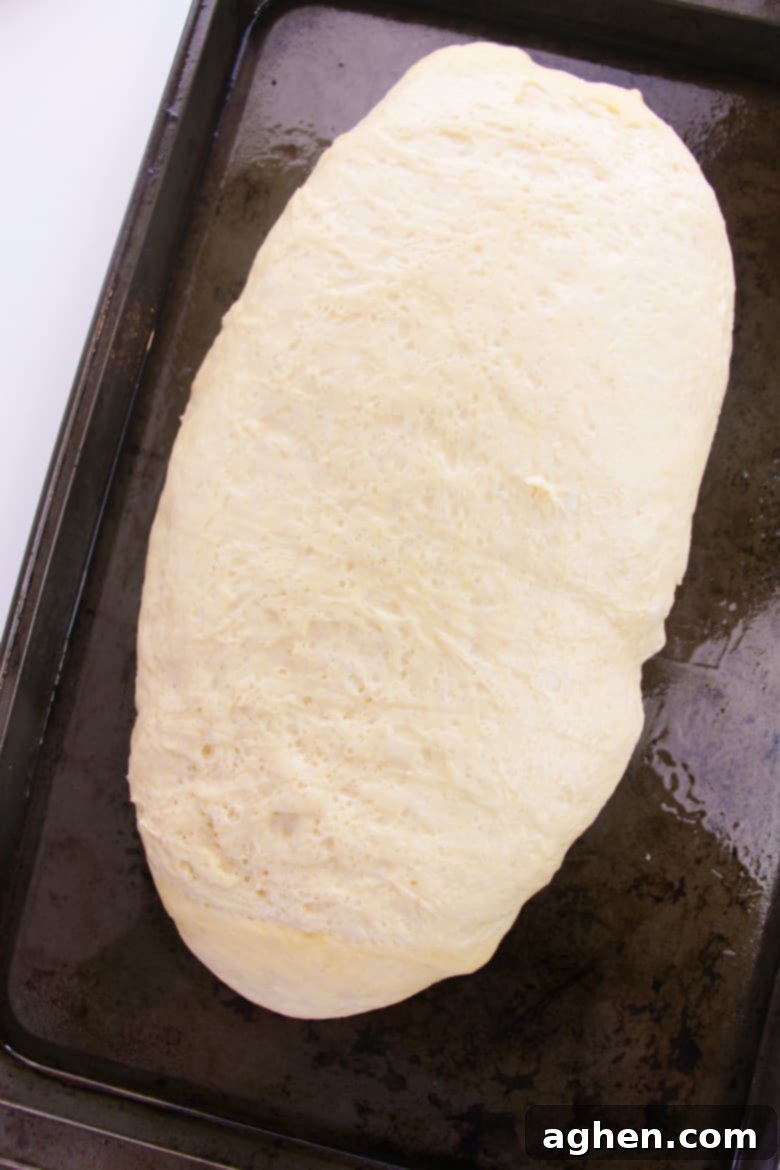
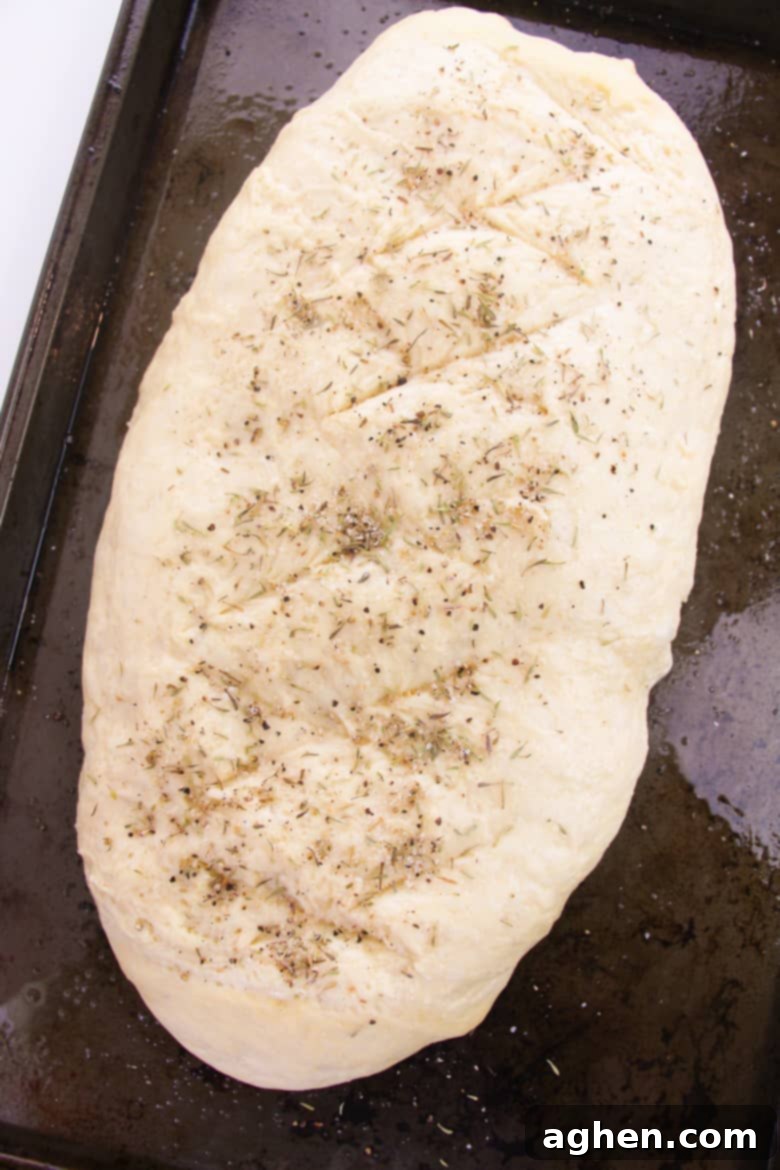
During the final stages of the second rise, preheat your oven to 375°F (190°C). Once the dough has doubled significantly in size (as seen in the image above), it’s ready for baking. At this point, you can gently reshape it slightly if needed, or leave it as is. Brush the risen dough generously with melted butter, then sprinkle it evenly with the Italian seasoning as directed in the recipe card below. This butter and seasoning combination creates a beautiful golden crust and infuses the exterior with fantastic flavor. Feel free to adjust the seasoning amount or type here if desired!
Step 6: Bake and Enjoy!
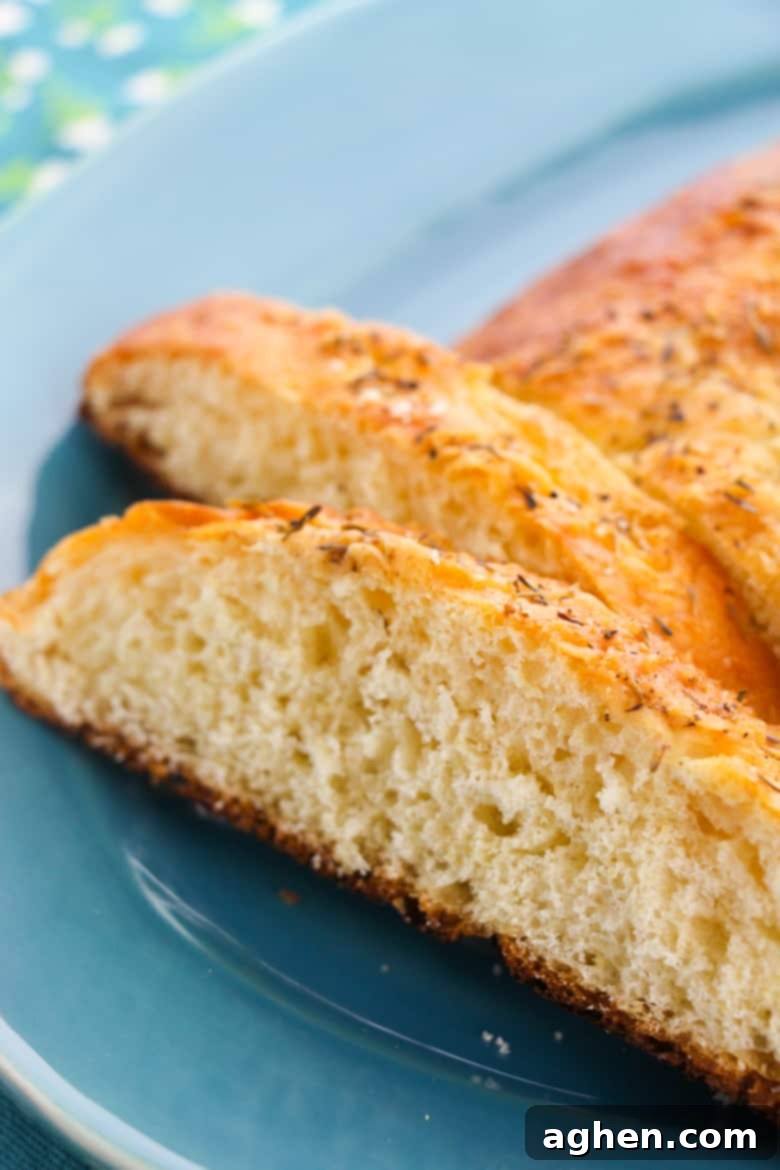
Place the baking sheet with your seasoned bread into the preheated oven. Bake for 15-20 minutes, or until the crust is beautifully golden brown and the bread sounds hollow when tapped on the bottom. For an extra touch of richness, brush the warm bread with additional melted butter immediately after removing it from the oven. Let it cool slightly before slicing into thick, flavorful pieces. Serve with butter (we highly recommend this easy homemade butter) and savor every bite!
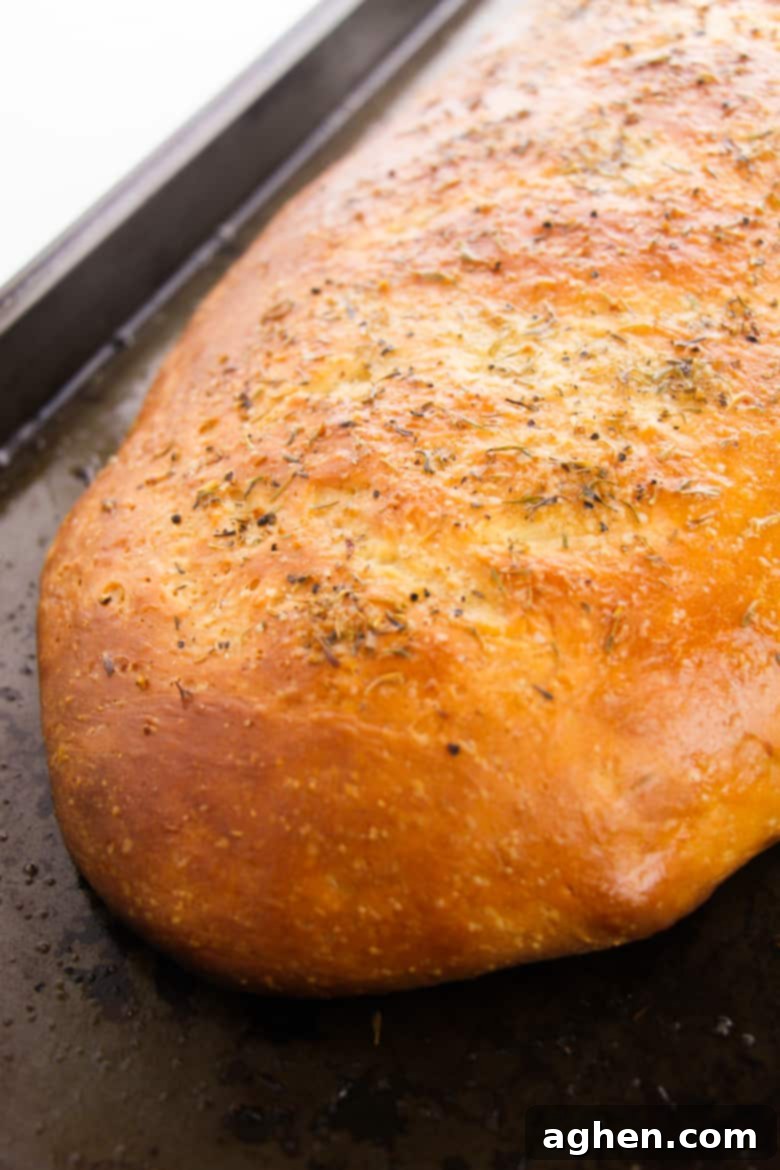
This Italian seasoned bread recipe is incredibly simple to execute, and the incredible flavor and texture you achieve are absolutely worth the minimal effort and patience. The delightful crust and soft interior make it an instant hit!
Delicious Pairings: What to Serve with Italian Seasoned Bread
The rich, aromatic flavor of Italian seasoned bread makes it an ideal companion for a wide array of dishes. Here are some fantastic serving suggestions:
- Smothered Pork Chops: The bread is perfect for soaking up savory gravy.
- Baked Eggplant Parmesan: A classic Italian pairing, perfect for scooping up rich tomato sauce.
- Penne alla Vodka: Complement the creamy, tomato-based sauce with a crusty slice.
- Tuna Noodle Casserole: Add a touch of gourmet to this comforting classic.
- Shrimp Scampi: Ideal for sopping up the delicious garlic-butter sauce.
- Olive Garden Salad: Enjoy alongside a fresh, crisp salad for a complete meal.
- Instant Pot Meatballs: Perfect for making quick and easy meatball sandwiches or just enjoying with the sauce.
- Soups & Stews: From creamy tomato soup to hearty beef stew, this bread is a fantastic dipping companion.
- Olive Oil & Balsamic: A simple yet elegant appetizer. Serve with a small bowl of good quality olive oil and balsamic vinegar for dipping.
- Garlic Bread: Slice the cooled bread, spread with garlic butter, and broil for a quick and delicious garlic bread.
Truly, this versatile bread goes with almost everything! Don’t hesitate to get creative with your pairings.
Storing And Freezing Your Italian Seasoned Bread
While this bread is undeniably at its peak when served fresh and warm, you can certainly store leftovers or prepare extra loaves for future enjoyment. Here’s how:
- Countertop Storage: For short-term storage, allow the bread to cool completely to prevent condensation, which can make the crust soggy. Once fully cooled, place the loaf in an airtight container or a bread bag at room temperature for up to 2-3 days.
- Reviving Stale Bread: If your bread starts to dry out a bit, simply sprinkle it lightly with water and reheat it in a preheated oven (around 350°F / 175°C) for 5-10 minutes. This will help refresh the crust and soften the interior.
- Freezing for Later: This bread freezes beautifully! Once baked, allow the loaf to cool completely. Wrap it tightly in plastic wrap, then an additional layer of aluminum foil, or place it in a freezer-safe bag. It can be frozen for up to 3-4 months.
- Thawing & Reheating: When you’re ready to enjoy a frozen loaf, simply thaw it on the counter at room temperature for several hours. For that “just out of the oven” taste and texture, you can wrap the thawed bread in aluminum foil and reheat it in a preheated oven (around 350°F / 175°C) for 15-20 minutes, or until warmed through and crusty again.

Italian Seasoned Bread
Author: Jaclyn
Ingredients
- 2-5 cups all-purpose flour
- 3 Tablespoons granulated sugar
- 1/2 teaspoon salt
- 1 Tablespoon instant yeast
- 3/4 cup warm water
- 2 1/2 Tablespoons butter softened at room temperature, plus additional for brushing
- 1 large egg
- 1 Tablespoon Italian seasoning
Instructions
-
In a large bowl, combine the flour, white sugar, salt, and instant yeast. Stir well to combine dry ingredients and then make a well in the center. Pour the warm water into the well and add the butter and egg. Stir well to combine and form a soft dough.
-
Knead the dough by hand until it appears elastic and forms a soft well ball that pulls away from the sides of the bowl, adding up to one cup more flour as needed. (Note: This is a stickier dough – it will not form the same cohesive ball as a harder, proofed dough. Avoid the temptation to add more than 3 cups of flour.)
-
Cover the dough with plastic wrap and a clean kitchen towel and place in a warm area of your kitchen to rise for 2 hours.
-
Once the dough has risen, grease or line a baking sheet with parchment paper. Punch down the dough and form the dough into a log. Place on the prepared baking sheet.
-
Place the plastic wrap and kitchen towel back over the dough and allow to rise again for 1 1/2 hours.
-
Preheat oven to 375 F.
-
Brush the risen dough with melted butter and sprinkle with Italian seasoning.
-
Bake for 15-20 minutes, until golden brown on top and cooked through. Brush with additional butter while still warm. Slice and enjoy.
Notes
Make sure to work with the dough and not over mix or add too much flour or it will make denser or crumbly bread.
Nutrition

Did You Make This Recipe?
Share it with me on Instagram @crayonsandcravings and follow on Pinterest @crayonsandcravings for even more!
Pin Recipe
Leave A Review
Pin for Later:

