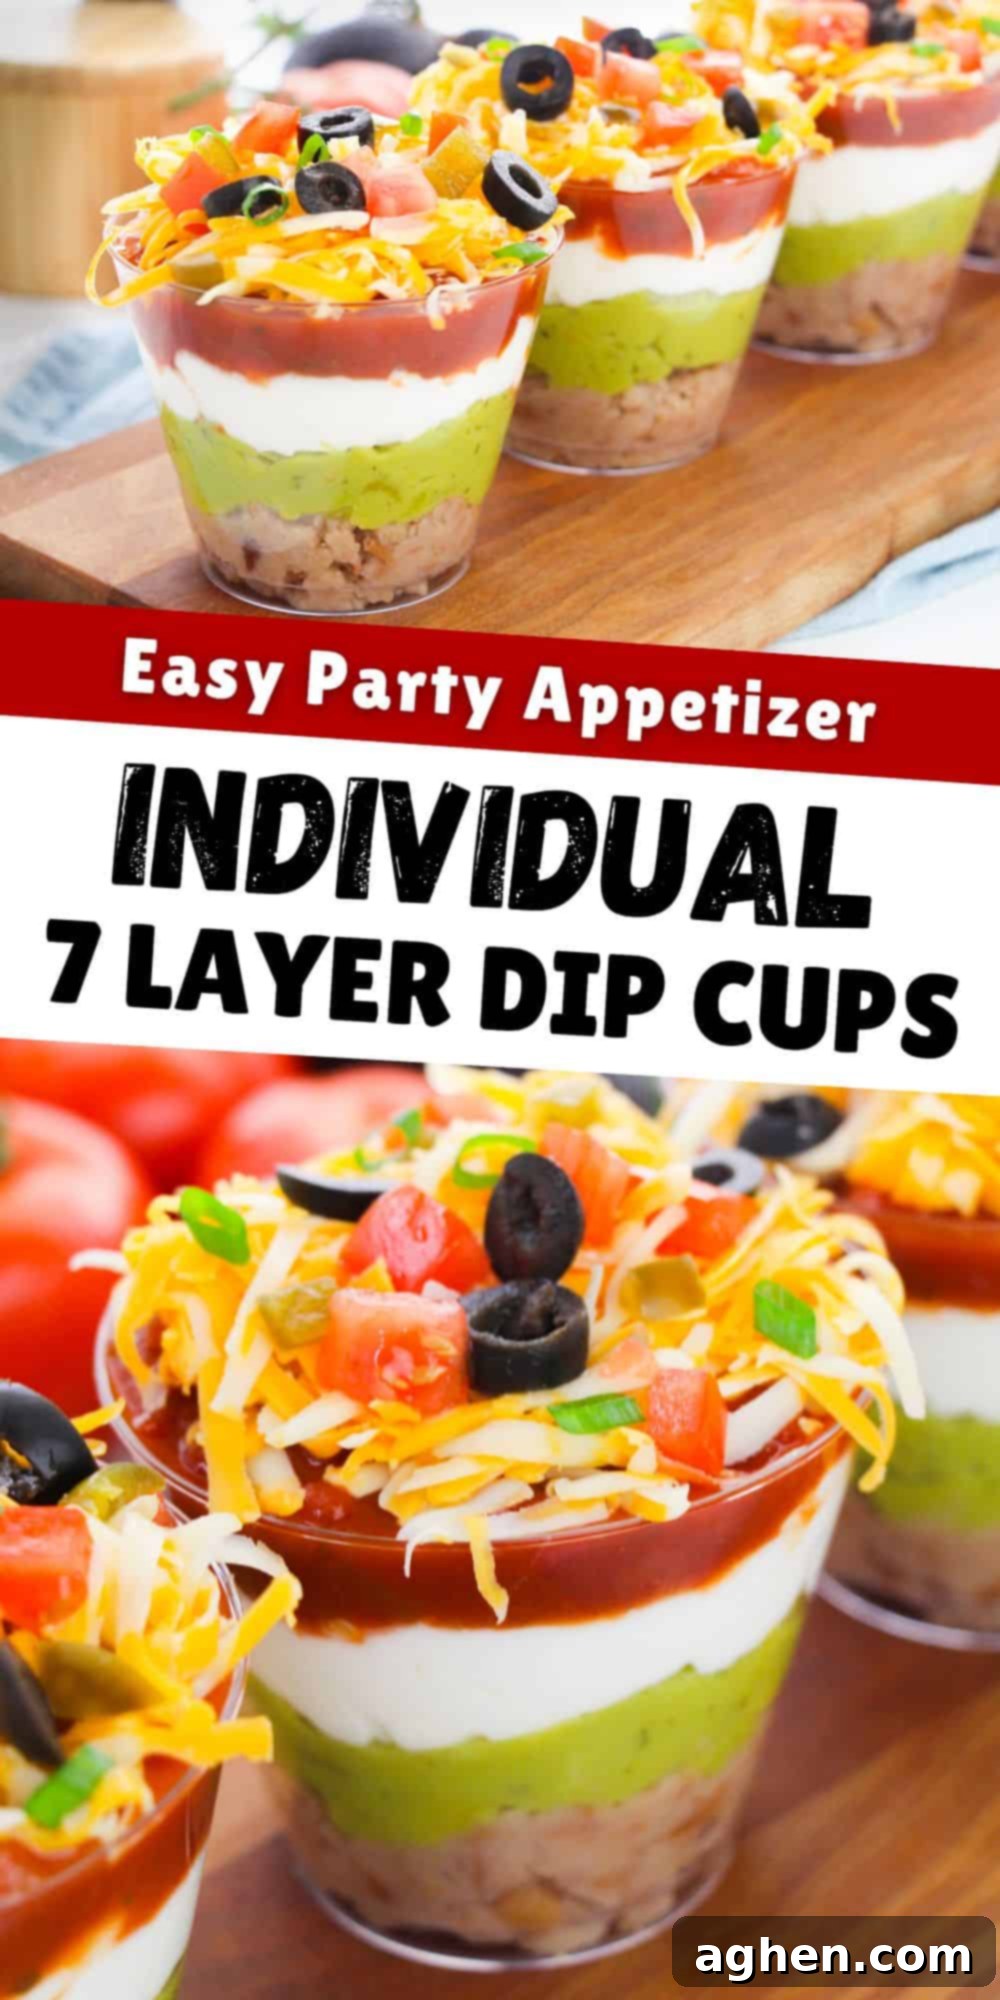
Easy Individual 7 Layer Dip Cups: The Ultimate No-Mess Party Appetizer
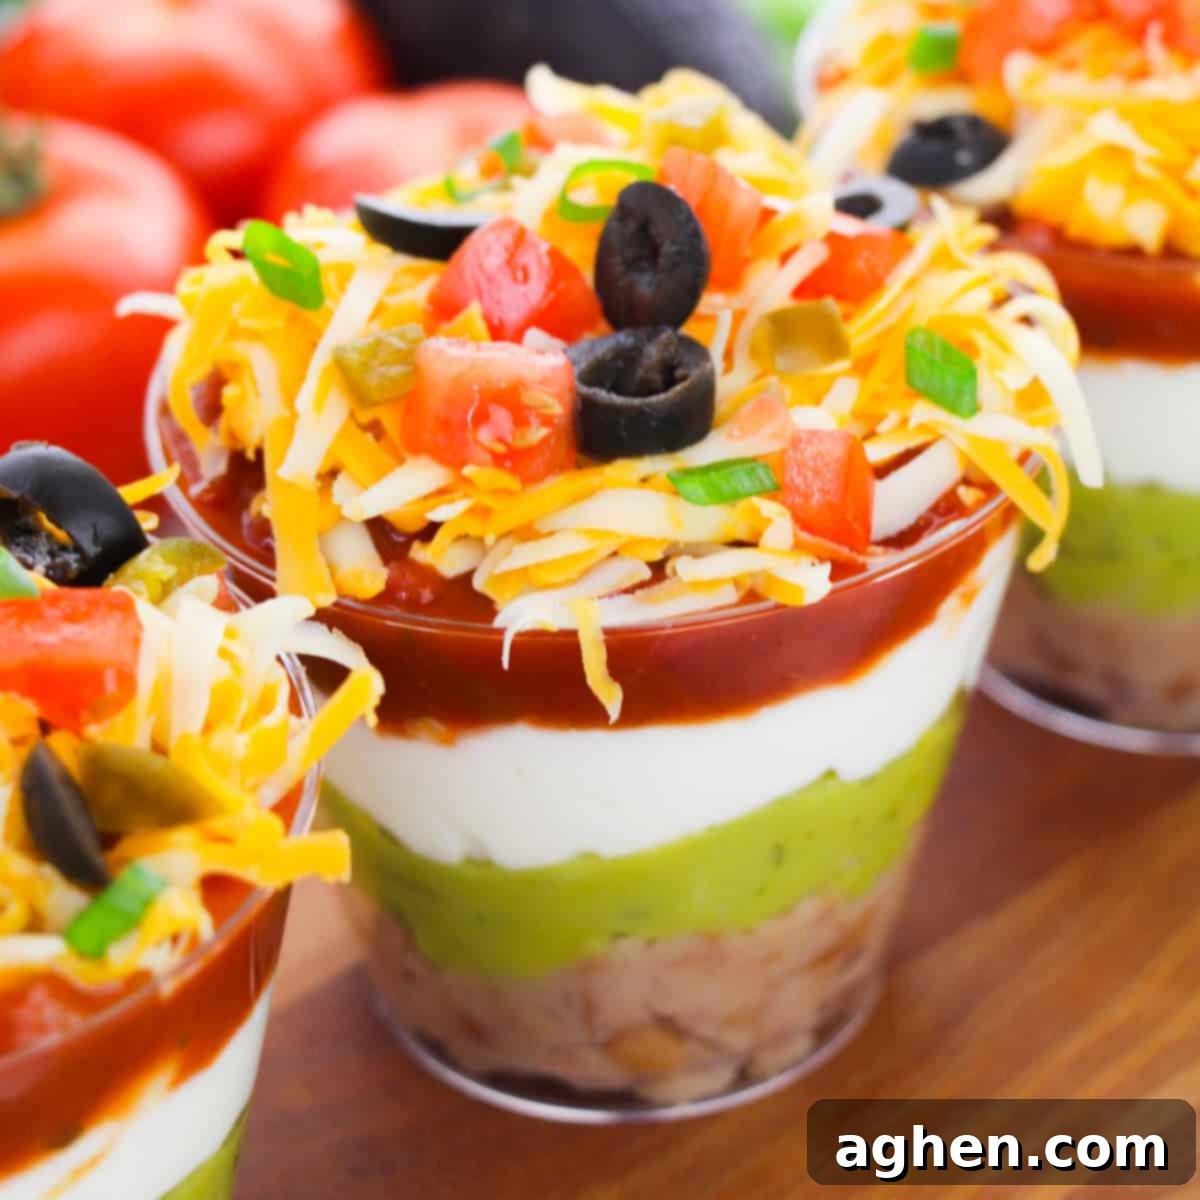
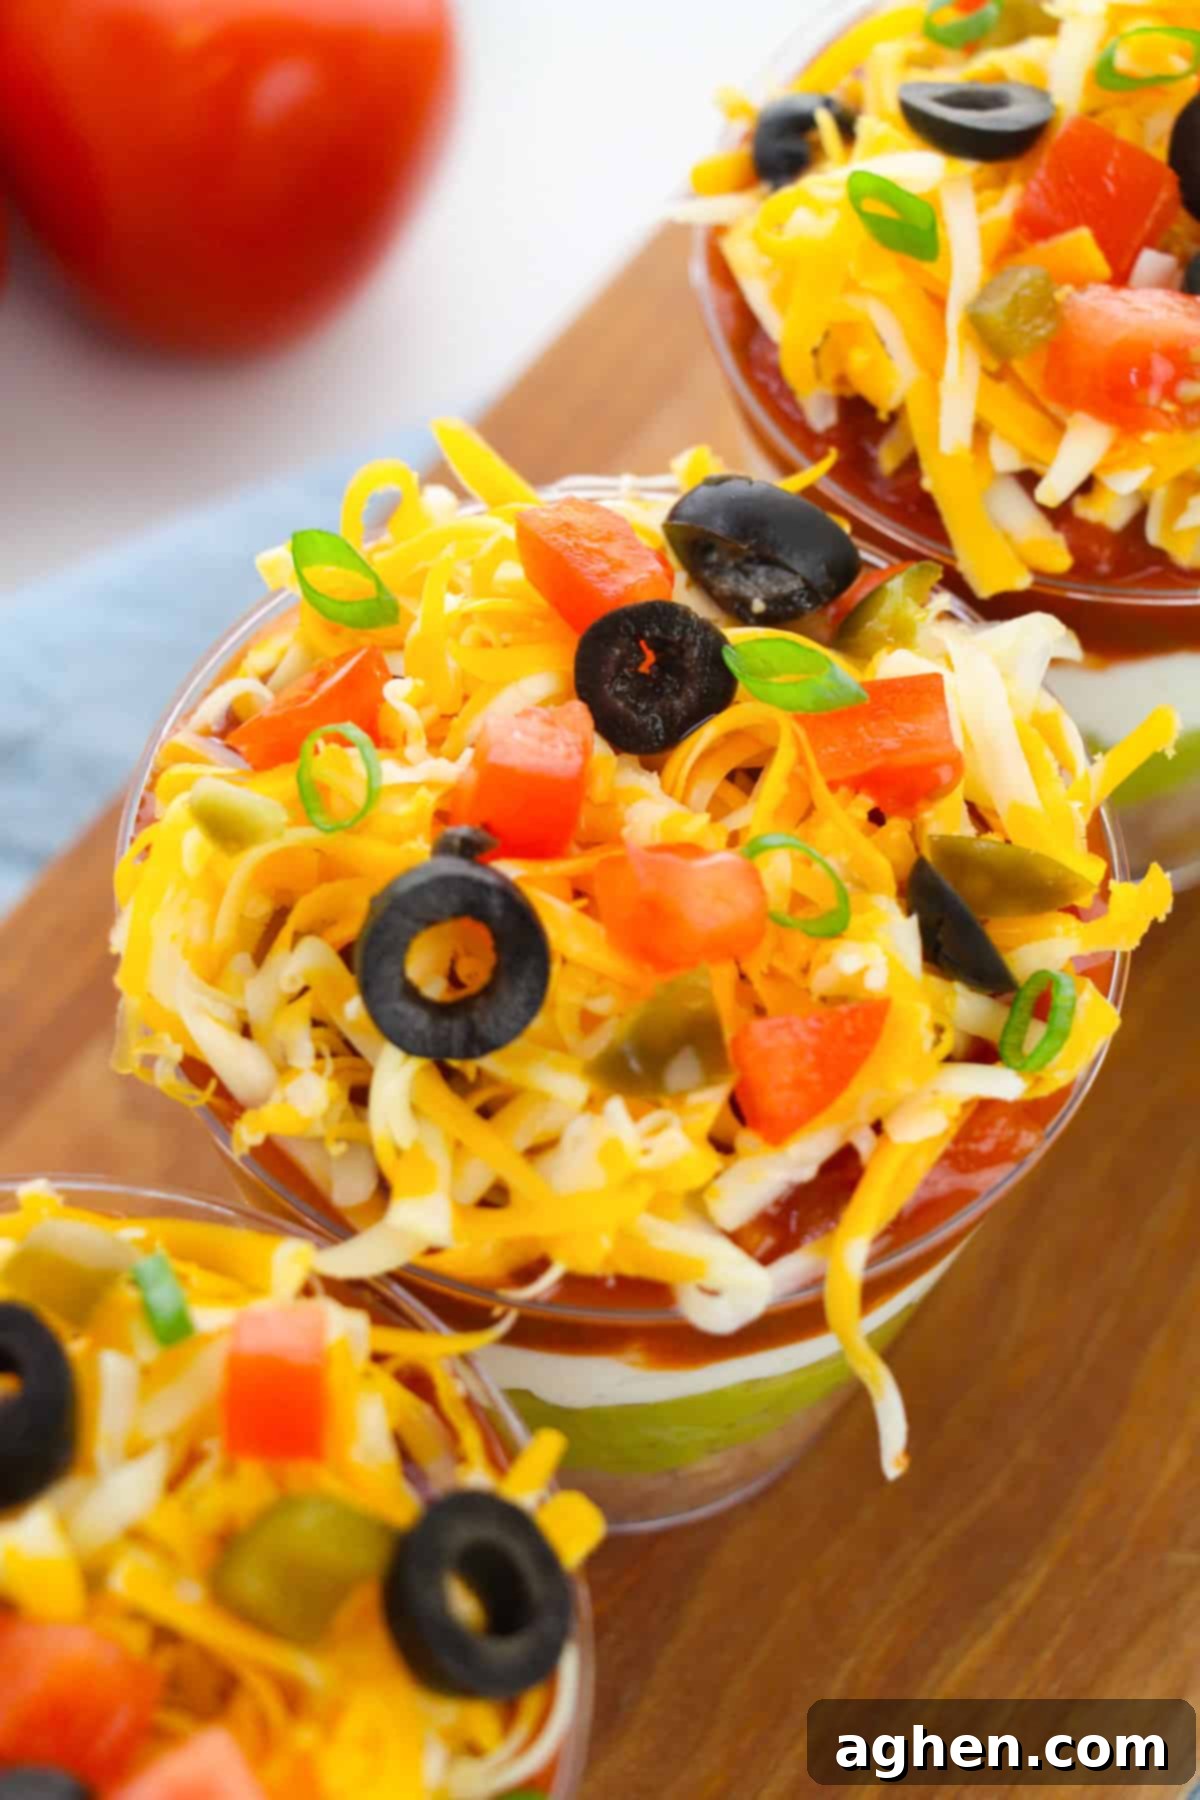
Looking for the ultimate crowd-pleasing appetizer that’s both delicious and incredibly convenient? These individual 7 layer dip cups are a game-changer for any party or gathering. Each cup is packed to the brim with seven layers of your favorite Tex-Mex taco toppings: creamy refried beans, fresh homemade guacamole, cool sour cream, zesty salsa, rich shredded cheese, briny olives, crisp green onions, juicy tomatoes, and a kick of optional jalapeños. It’s the perfect party dip, offering all the flavor of a traditional 7-layer dip without the mess or the dreaded double-dip dilemma!
This Tex-Mex inspired dip recipe is not just an appetizer; it’s a statement piece that will have your guests raving. The thoughtfully chosen layers of ingredients don’t just sit together; they meld beautifully, creating a symphony of flavors and textures in every scoop. The dip is incredibly flavorful, surprisingly hearty, and expertly designed to feed a crowd with ease. Whether you’re hosting a Super Bowl party, a casual backyard BBQ, or a sophisticated soirée, these individual cups elevate the humble dip to an elegant, fuss-free delight.
For those who love exploring diverse dip recipes, be sure to try some of my other popular choices: my creamy crockpot buffalo chicken dip, the irresistibly savory cream cheese rotel dip, and the classic, refreshing Knorr spinach dip.
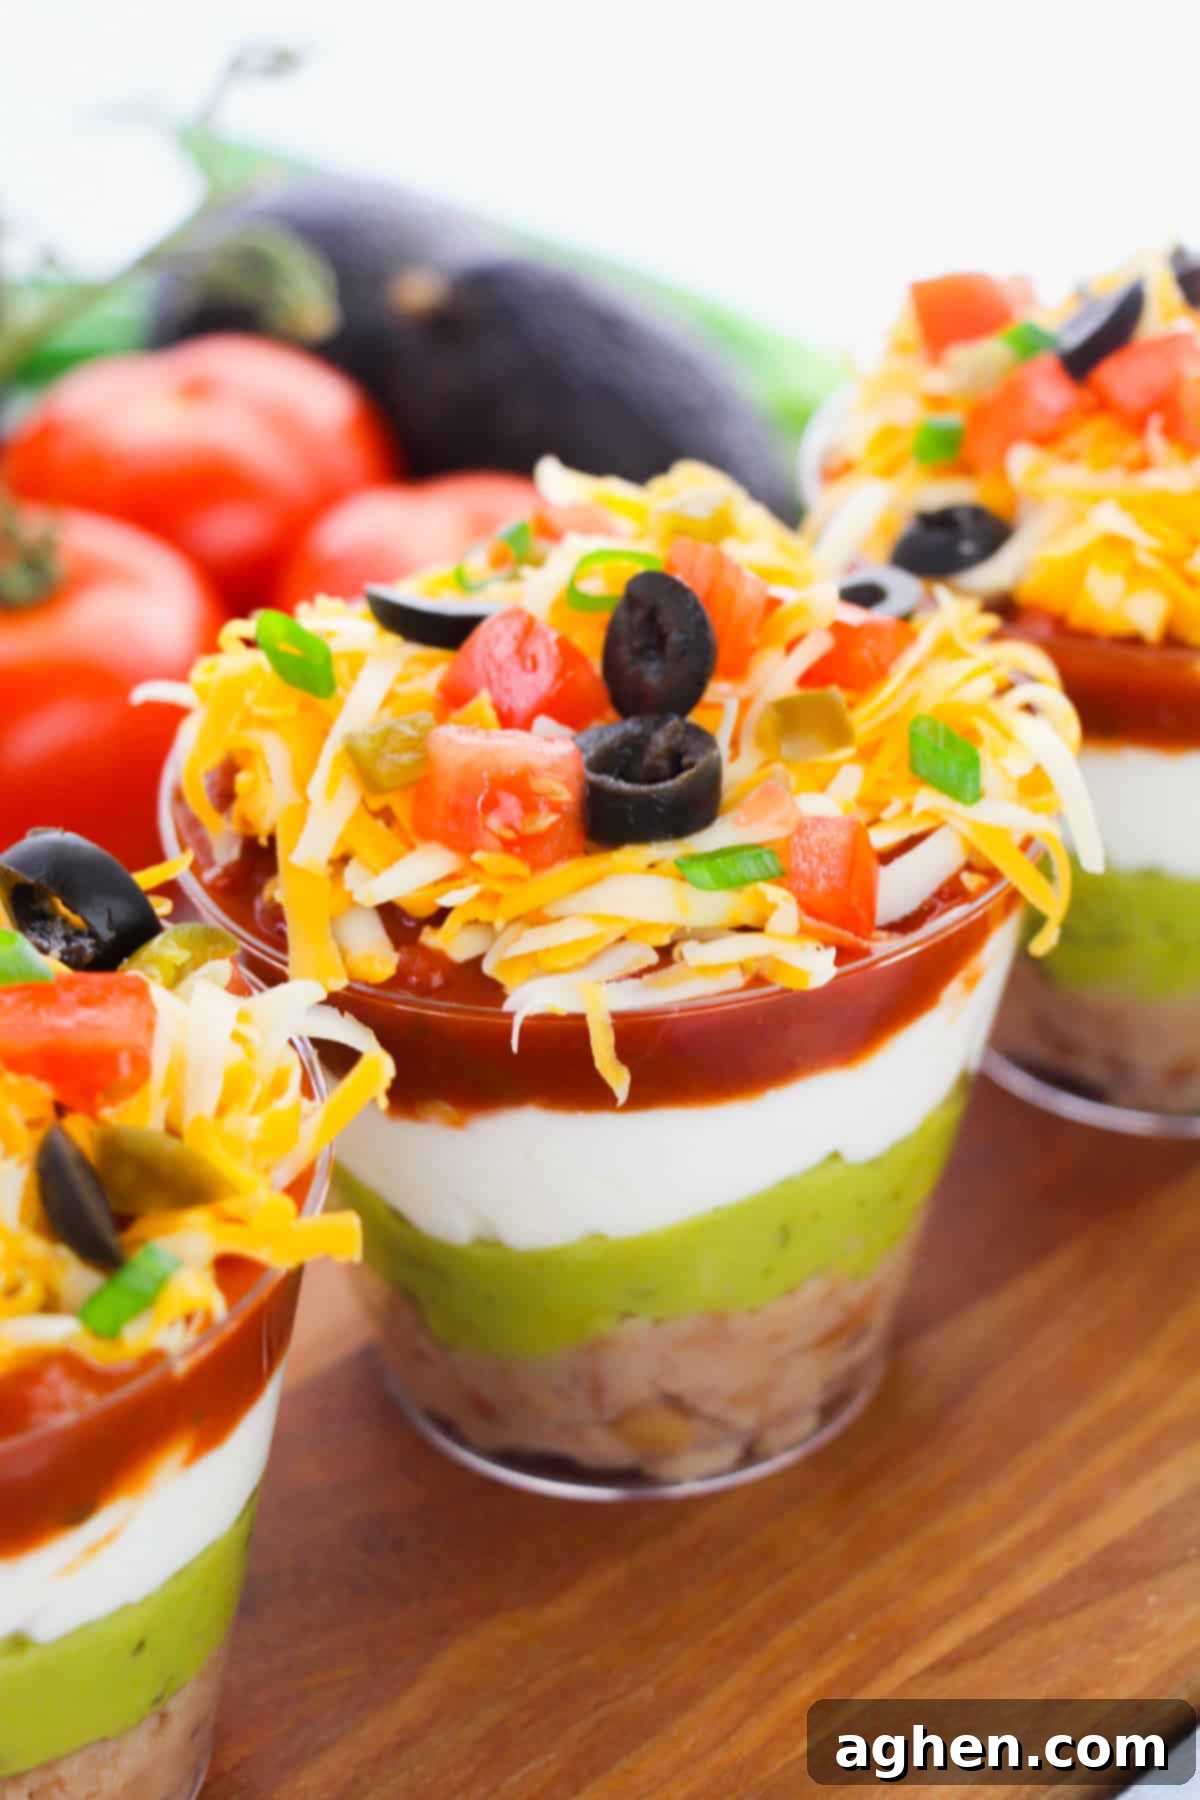
Why Individual 7 Layer Dip Cups Are a Party Game-Changer
Have you ever attended a social gathering and noticed someone double-dipping? It’s a common party faux pas that can quickly make a communal dip less appealing. Individual dip cups completely eliminate this problem, ensuring every guest enjoys their portion hygienically and without a second thought. This small change makes a big difference in maintaining cleanliness and guest comfort.
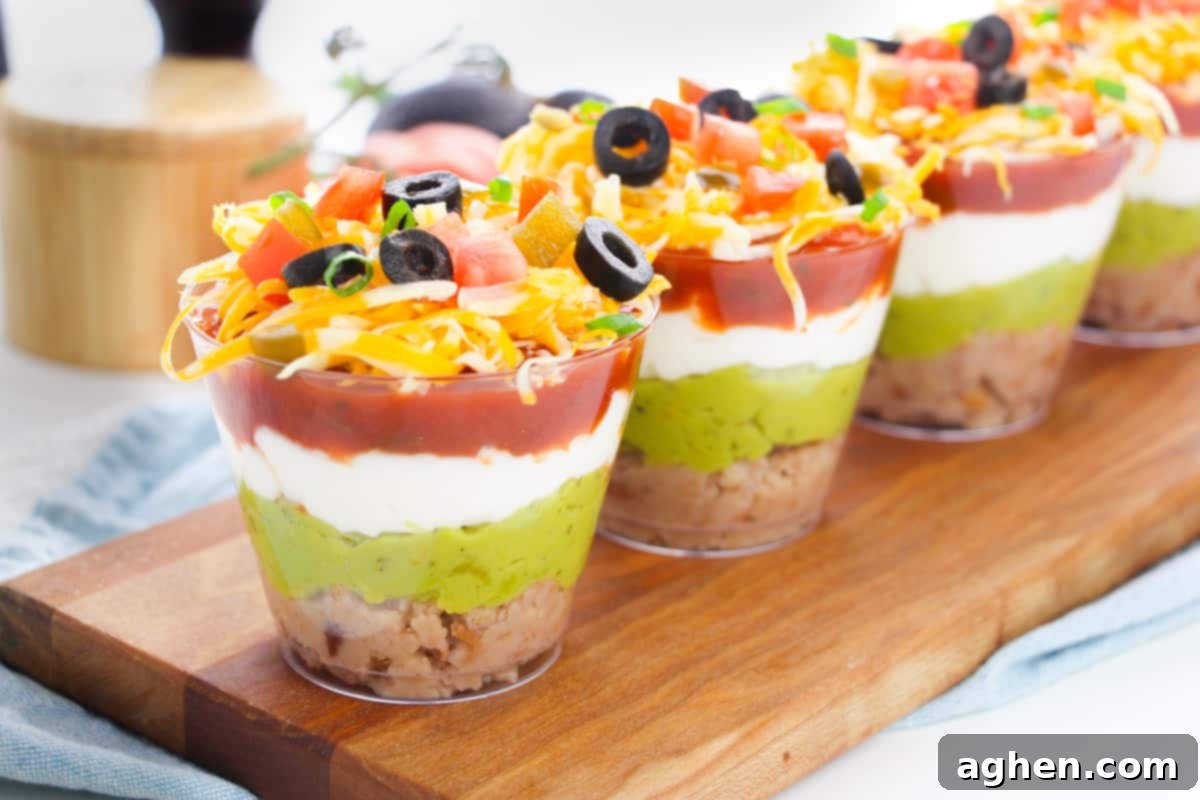
But the benefits extend beyond just preventing double-dipping. Serving this delicious 7-layer dip in individual portions offers unparalleled convenience. Guests can easily grab a cup, move around, and mingle without being tethered to the main dip bowl. This encourages more interaction and conversation, as people aren’t crowded around one central dish. It’s a win-win: no more awkward moments and a more fluid, engaging party atmosphere! Plus, the presentation is simply stunning, with each clear cup showcasing the beautiful layers of color and texture.
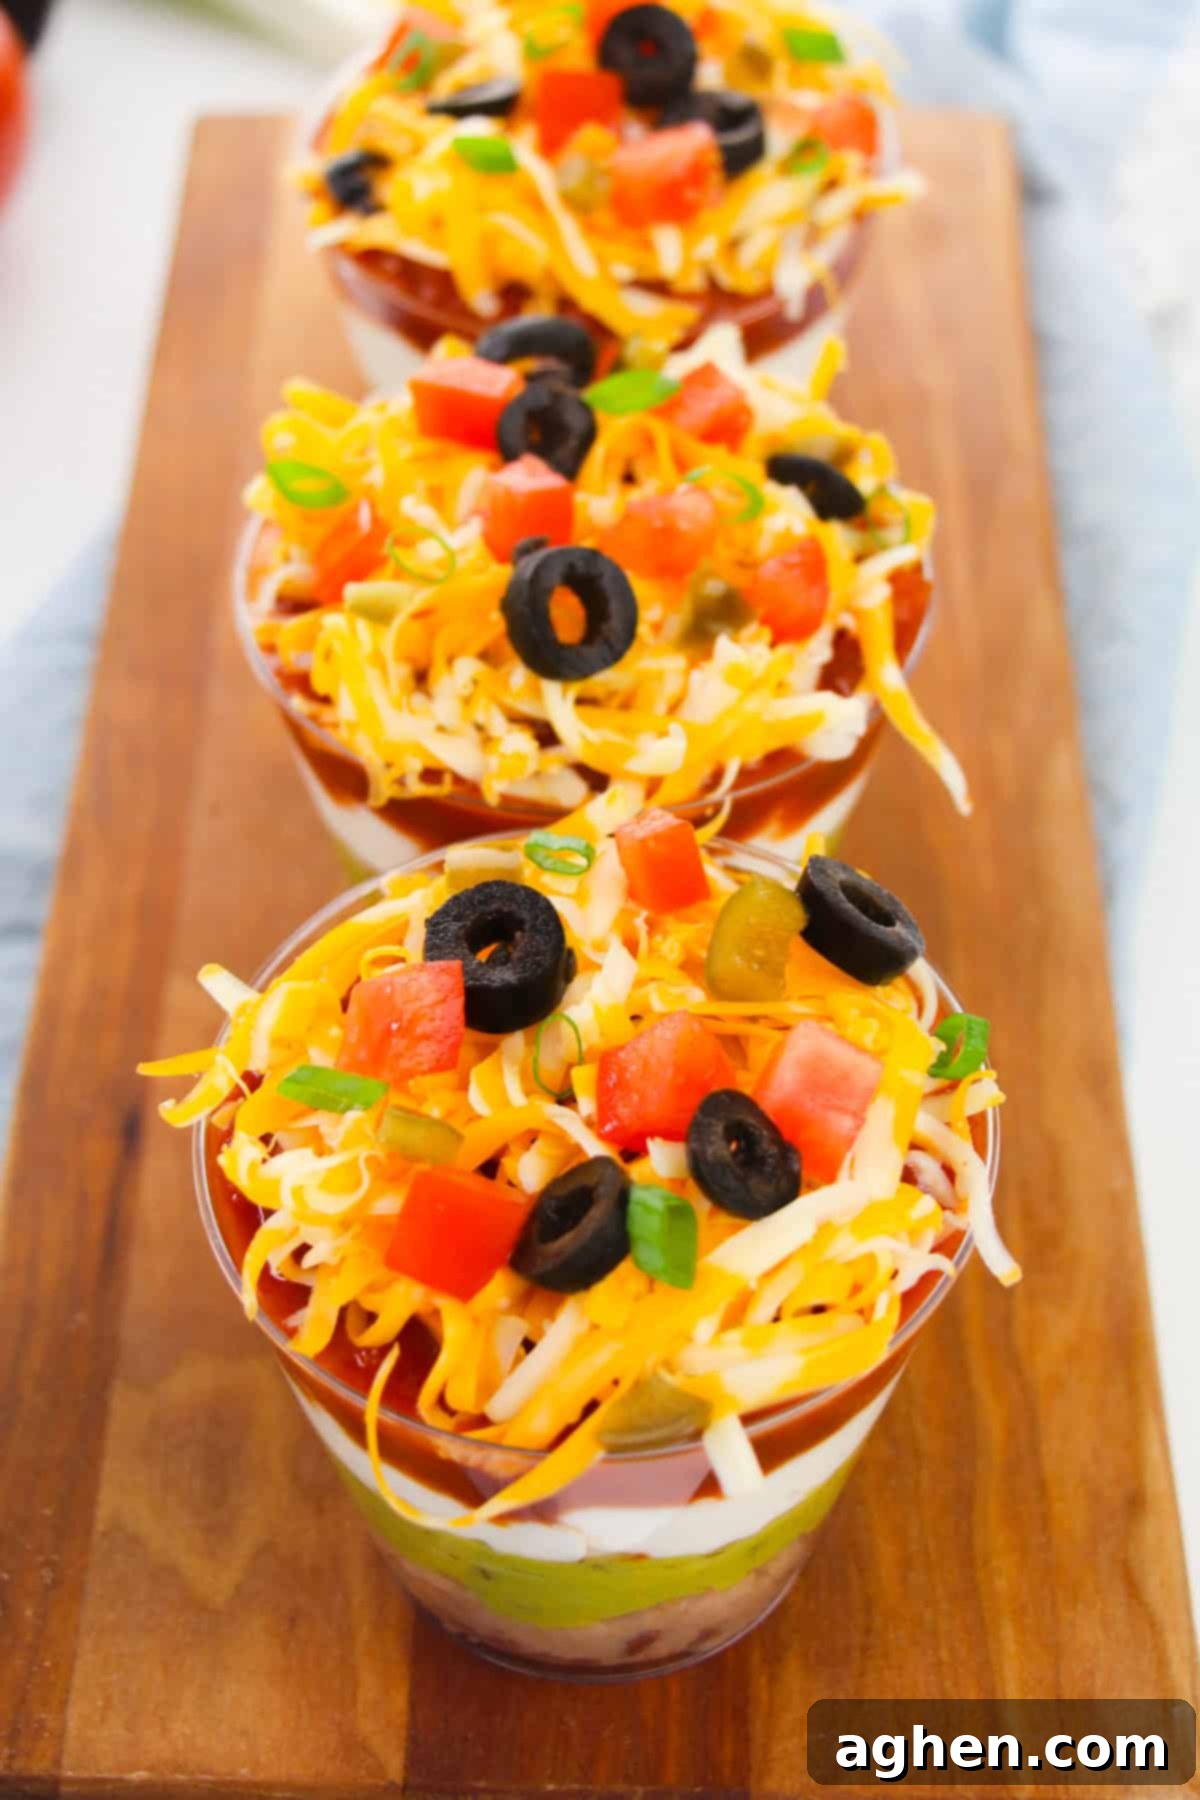
This savory and satisfying dip is an absolute must-have for Game Day, especially if you’re leaning into a Mexican food theme. But its versatility makes it equally perfect for potlucks, family reunions, holiday gatherings, or any celebration. Instead of a large, communal bowl of ingredients that can quickly become a messy jumble, each guest receives their own perfectly portioned cup of pretty, layered dip. This not only maintains aesthetic appeal throughout the event but also ensures every guest gets to enjoy the full array of flavors and textures in pristine condition.
However, if you prefer the traditional large-format serving, perhaps for a smaller, more intimate setting or simply out of habit, you can easily adapt this recipe. Here’s a link to my recipe for an easy 7 layer taco dip in a 9×13 baking dish, which offers the same incredible flavor profile in a classic presentation.
Ingredients for the Best 7 Layer Dip Cups
This section includes detailed ingredient notes, tips for selection, and versatile substitution options to ensure your dip is perfect every time. All exact measurements, a comprehensive list of ingredients, and step-by-step instructions are available in the printable recipe card at the end of this post.
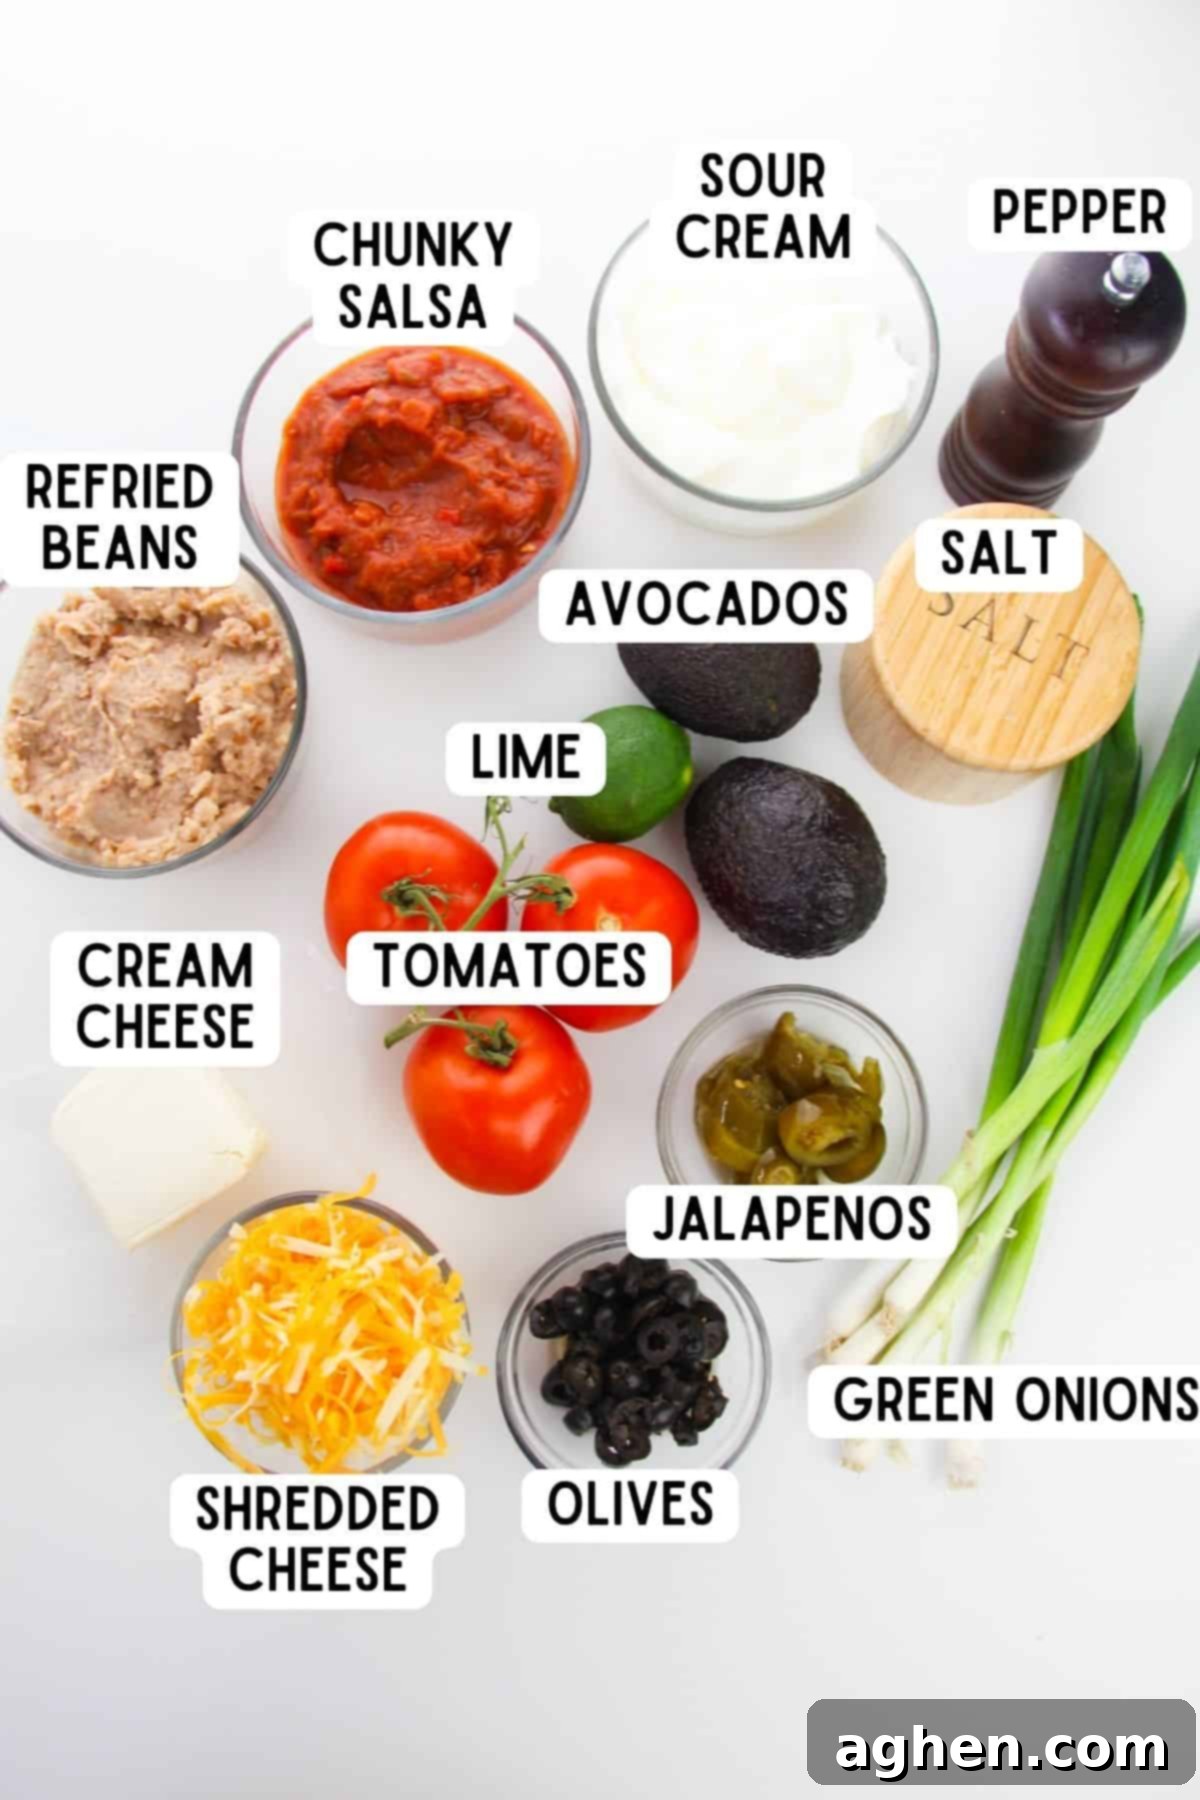
- Refried Beans: The foundational layer! Canned refried beans are perfectly acceptable and a great time-saver. For an extra special touch, homemade refried beans are truly incredible, offering a richer, more authentic flavor. You can choose traditional pinto beans or even refried black beans for a slight variation. Make sure they are well-seasoned.
- Avocados: The key to a vibrant guacamole layer. Select avocados that are perfectly ripe – they should yield slightly to gentle pressure but not feel mushy. You’ll need to peel and pit them to make your fresh guacamole. For a convenient shortcut, especially when time is tight, high-quality store-bought guacamole works wonderfully as well.
- Lime Juice: Essential for fresh guacamole! Adding fresh lime juice not only brightens the flavors of the avocado but also significantly slows down the natural browning process, keeping your guacamole looking fresh and appetizing for longer. Freshly squeezed is always best!
- Salt and Pepper: These seasonings are crucial for bringing out the best in your mashed avocado and lime juice mixture. Add them gradually to taste, ensuring your guacamole is perfectly seasoned.
- Sour Cream: A creamy, cooling layer is indispensable in any taco dip. Sour cream provides a smooth counterpoint to the more robust flavors and offers a welcome relief if you decide to add spicy jalapeño peppers. For a lighter option or a tangier profile, feel free to substitute with plain Greek yogurt.
- Salsa: Choose a chunky salsa for texture and flavor. It’s vital to drain any excess liquid from the salsa before adding it to the dip; a watery salsa can make your entire dip soggy. Medium salsa is a popular choice, offering a balanced heat, but mild salsa is great for sensitive palates, and hot salsa will satisfy those craving an extra kick.
- Shredded Cheese: A generous layer of cheese adds irresistible flavor and a touch of indulgence. A pre-shredded Mexican blend cheese is a convenient option, or you can opt for classic shredded cheddar cheese. For a bit of spice, pepper jack cheese is an excellent alternative.
- Black Olives: Canned sliced black olives contribute a distinct pop of salty, briny flavor that beautifully complements the other savory elements in the dip. They add a great visual contrast as well.
- Green Onions: Sliced green onions (scallions) provide a fresh, mild onion flavor and a crisp texture. They add a lovely vibrant green color to the top layer, enhancing the overall presentation.
- Tomatoes: Diced fresh tomatoes add a burst of juicy freshness. To minimize additional liquid, which can make the dip watery, consider using Roma tomatoes. They have a lower water content and tend to hold up better, especially if you’re preparing these cups in advance and refrigerating them.
- Jalapeño Peppers: An optional but highly recommended ingredient for those who appreciate a touch of heat. Finely diced fresh jalapeños add a spicy kick that elevates the dip. Remember to remove the seeds and membranes for less heat, or leave some in for extra fire!
Essential Equipment You’ll Need for Individual Seven Layer Dip Cups
To effortlessly create these delightful 7 layer dip cups, having the right tools on hand will make the process smooth and enjoyable. Here’s what you’ll need:
- Clear Plastic Cups: The star of the show! Clear cups allow the beautiful layers to shine through. 5-ounce cups are perfect for smaller, appetizer-sized portions, while 9-ounce cups offer a more substantial serving, ideal for heartier appetites or a main party dish.
- Mixing Bowls: You’ll need a few small to medium-sized mixing bowls for preparing the guacamole and for holding your various toppings before assembly.
- Knife: A sharp chef’s knife or paring knife is essential for slicing, dicing, and prepping your fresh vegetables.
- Cutting Board: A sturdy cutting board is necessary for safe and efficient vegetable preparation.
- Citrus Juicer: A simple tool that makes extracting fresh lime juice quick and easy, ensuring you get the most juice from your limes.
How to Make Individual 7-Layer Dip Cups: Step-by-Step Guide
This section provides a visual, step-by-step guide with accompanying photos and detailed instructions, making the assembly process a breeze. For the complete printable recipe, including exact measurements and nutritional information, please refer to the recipe card located further down on this page.
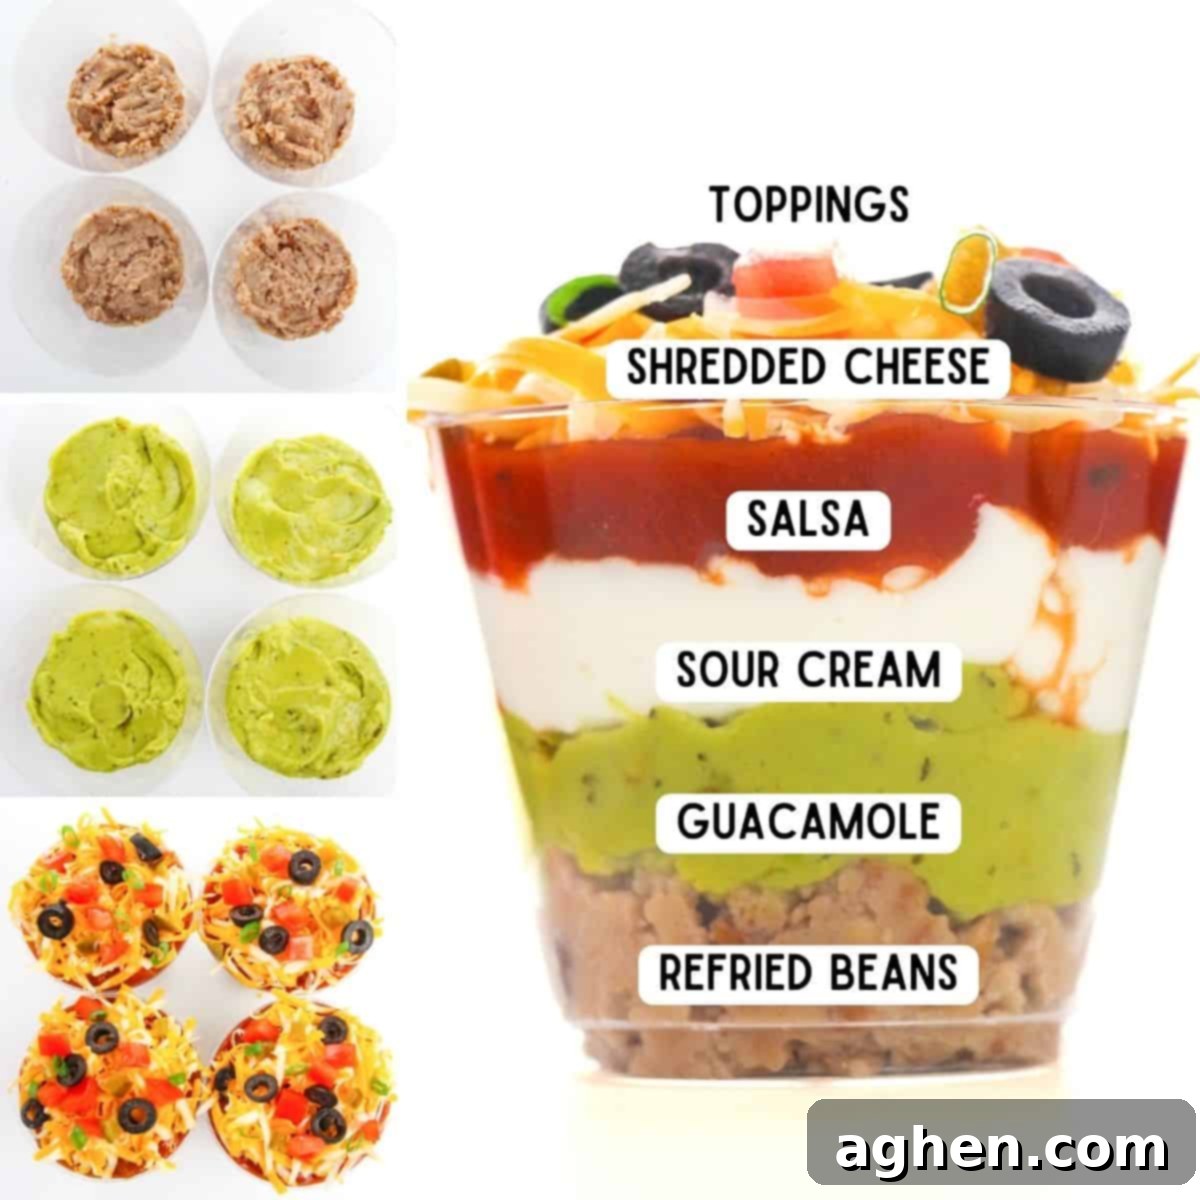
Step 1: Prepare the Fresh Guacamole. Begin by preparing the homemade guacamole, which is a cornerstone of this dip. First, carefully peel and pit your ripe avocados. Transfer the avocado flesh to a small mixing bowl. Add the fresh lime juice, then season with salt and pepper to your taste. Using a fork, mash the ingredients together until you reach your desired consistency – some prefer it smooth, others a bit chunky. Set this aside.
Step 2: Start Layering with Beans, Guac, and Sour Cream. Arrange 8 (or more, depending on your cups) 9-ounce clear plastic cups on a steady surface. Begin by evenly dividing the refried beans among the bottom of each cup. This forms a solid, flavorful base. Next, carefully add a layer of your freshly prepared guacamole directly on top of the bean layer in each cup. Ensure the guacamole is spread evenly to fully cover the beans. Finally, add a generous layer of sour cream on top of the guacamole. This layer is crucial for keeping the guacamole from browning and adds a cooling creaminess.
Step 3: Add the Salsa Layer. Before adding your salsa, make sure to thoroughly drain any excess liquid. This step is critical to prevent your dip from becoming watery. Once drained, spoon the chunky salsa into each cup, creating another vibrant and flavorful layer.
Step 4: Top with Cheese and Fresh Toppings. Now for the final, colorful toppings! Sprinkle a generous amount of shredded cheese over the salsa layer in each cup. Then, artfully arrange the sliced black olives, vibrant green onions, and diced tomatoes on top. If you enjoy a bit of heat, this is the time to add the diced jalapeños.
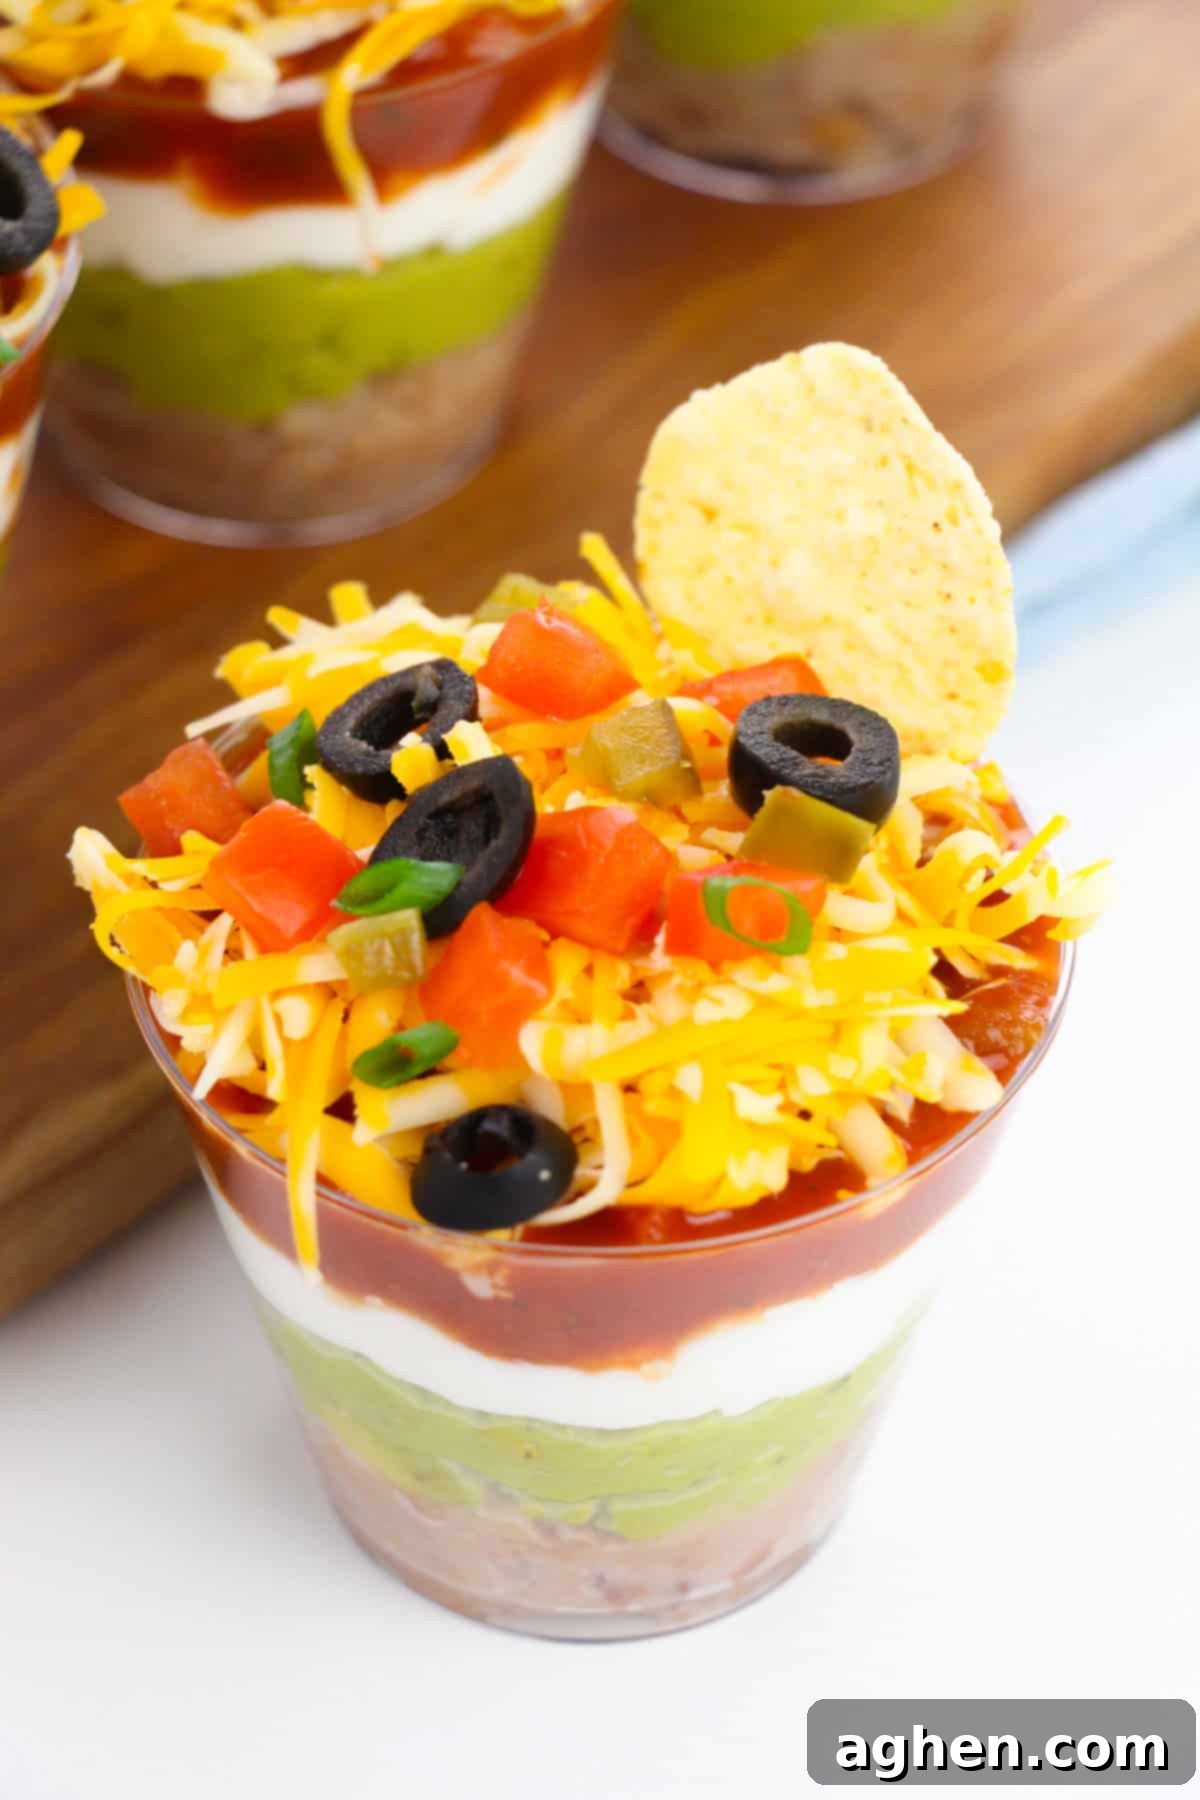
Step 5: Chill and Garnish. Once all your layers are complete, place the individual appetizer cups in the refrigerator to chill. This allows the flavors to meld beautifully and ensures the dip is refreshingly cool when served. Just before serving, for that extra touch of presentation and a perfect scooping mechanism, garnish each cup with a single tortilla chip, if desired. Prepare to impress your guests!
Serving Suggestions for Your 7-Layer Dip Cups
These easy 7 layer taco dip cups are incredibly versatile when it comes to serving. The classic accompaniment is, of course, a sturdy tortilla chip, preferably the “scoop” kind, which is perfectly designed to handle this hearty and flavorful dip. Fritos also make an excellent choice, offering a salty crunch that stands up well to the creamy layers. For those looking for an alternative, wheat crackers provide a delightful, slightly different texture and flavor profile that complements the dip beautifully.
Consider arranging the cups on a large platter or a tiered serving tray for an impressive presentation. You can even place them in muffin tins to keep them steady and organized on your food table, making it easy for guests to grab and go. For an added festive touch, a small sprig of fresh cilantro or a lime wedge can be placed alongside each cup. The beauty of individual servings is that they eliminate the need for serving spoons and messy bowls, allowing your guests to enjoy their dip anywhere they mingle.
Storage and Freezing Tips for 7 Layer Dip Cups
Proper storage is key to enjoying your delicious 7 layer dip cups for as long as possible. While this dip tastes undeniably best when freshly made, leftovers can be stored and enjoyed.
Refrigerator Instructions: If you have any leftover 7 layer dip cups, they can be safely stored in the refrigerator for up to 3 days. To maintain freshness and prevent spoilage, ensure each cup is tightly covered with plastic wrap, pressing the wrap directly onto the surface of the dip to minimize air exposure. Alternatively, you can transfer the contents into an airtight container. While they remain safe to eat for up to three days, the texture and vibrant colors are best preserved if consumed within one or two days of preparation.
Freezing Instructions: I strongly advise against freezing leftover dip cups. Many of the ingredients, particularly the fresh vegetables (like tomatoes and guacamole) and dairy (sour cream, cheese), do not hold up well to freezing and thawing. The texture becomes watery, mushy, and unappealing, and the flavors can be significantly compromised. It’s best to enjoy these dips fresh and make only what you anticipate consuming within a few days.
Pro Tips and Creative Variations for Your 7 Layer Dip Cups
Elevate your 7 layer dip cups with these clever tips and exciting variations that cater to every taste and occasion:
- Make Ahead for Convenience: To simplify your party prep, you can assemble these dip cups a day or two in advance. For the freshest results, hold off on adding the green onions, tomatoes, and olives until the day of serving. This prevents them from becoming soggy or losing their crispness.
- Prevent Guacamole Browning: The trick to keeping your guacamole vibrant green is to minimize air exposure. By layering it between the refried beans and the sour cream, it gets “trapped” and completely covered. Ensure there are no air pockets where the guacamole can oxidize. A thin layer of sour cream on top of the guacamole acts as a protective seal.
- No Need to Heat Beans: For this cold dip, there’s absolutely no need to heat the refried beans. Simply spoon them into the cups straight out of the can. This keeps the preparation super easy and maintains the cool temperature of the dip.
- Piping for Perfect Layers: For an exceptionally neat and pretty presentation, transfer each of your creamy or semi-liquid ingredients (refried beans, guacamole, sour cream, salsa) into separate zip-top baggies. Snip a small corner off each bag and pipe the ingredients into the cups. This technique creates much cleaner, more defined layers that are visually appealing.
- Organize with Muffin Tins: Keep your individual cups stable and organized, especially when transporting or displaying them. Placing the cups in a muffin tin prevents them from tipping over and keeps your food table looking tidy.
- Add Taco Seasoning for Extra Zing: For an amplified flavor, mix a teaspoon or two of your favorite taco seasoning into the refried beans before layering, or stir it into the sour cream for a zesty ranch-like kick.
- Elevate Your Homemade Guacamole: While the basic guacamole recipe is simple and delicious, feel free to customize it! Stir in minced garlic, finely chopped cilantro, or even a bit of diced red onion for extra depth.
- Opt for Pre-Made Guacamole: Short on time? Don’t hesitate to use high-quality store-bought guacamole. It’s a fantastic shortcut, and your guests will still love it!
- Swap for Fresh Pico de Gallo: Instead of separate layers of diced onions and tomatoes, use fresh pico de gallo. This vibrant topping combines tomatoes, onions, cilantro, and sometimes jalapeños and lime juice, adding a burst of fresh flavor.
- Black Bean Alternative: If refried beans aren’t your preference, try using a layer of seasoned black beans instead. Simply drain and rinse a can of black beans, then mix with a spoonful of taco seasoning for a delicious, hearty base.
- Incorporate Taco Meat: For a more substantial and protein-packed dip, add a layer of seasoned taco meat. Brown some ground beef (or turkey), drain the fat, and mix with taco seasoning according to package directions. Allow the meat to cool completely before spooning a couple of tablespoons into each cup as an additional layer.
- Lighter Version: To cut down on calories and fat, substitute full-fat sour cream and shredded cheese with their low-fat or fat-free versions.
- Ranch Seasoning Twist: Mix a tablespoon of ranch seasoning into the sour cream layer. This adds a delightful tang and a familiar, comforting flavor that pairs wonderfully with the other Tex-Mex ingredients.
7 Layer Dip Cups FAQ
7 layer dip earns its name from its distinctive composition of seven delicious, individually layered ingredients. While some variations might include an extra layer or two, or occasionally omit one, the core concept revolves around these seven distinct components, creating a delightful eating experience as you dig through each one.
The beauty of 7 layer dip is its adaptability, allowing you to tailor it to your personal preferences. However, this specific recipe features a classic and incredibly popular combination: a base of refried beans, a creamy layer of homemade guacamole, cool sour cream, zesty salsa, rich shredded cheese, briny black olives, crisp green onions, juicy diced tomatoes, and for an optional kick, diced jalapeños.
To effectively prevent your guacamole from browning, the key is to minimize its exposure to air. In these 7 layer dip cups, this is achieved by strategically placing the guacamole between two other layers, typically the refried beans below and the sour cream above. Ensuring the guacamole is completely covered by the subsequent layer acts as a protective seal. When stored this way, your guacamole should remain fresh and green for 2-3 days in the refrigerator.
Leftover 7 layer dip is quite versatile! Beyond simply enjoying the remaining dip cups from the fridge, you can easily repurpose the ingredients. Spoon the leftover dip over a fresh taco salad for a quick and flavorful meal, or roll it up inside a warm tortilla to create a delicious and satisfying burrito. While the dip cups will keep in the refrigerator for up to 3 days, they are undoubtedly at their peak flavor and texture if consumed within a day or two of preparation.
Absolutely! To make these 7 layer dip cups vegetarian, simply ensure all your ingredients are meat-free (which they primarily are in this recipe). To make them vegan, you would need to swap the sour cream for a plant-based sour cream alternative and use a dairy-free shredded cheese. The refried beans and guacamole layers are typically already vegan-friendly, but always double-check labels.
The ideal cup size depends on the occasion and how substantial you want the portions to be. For light appetizers at a large party, 5-ounce clear plastic cups are perfect. If you’re looking for a heartier snack or a more significant contribution to a potluck, 9-ounce cups offer a more generous serving that allows for thicker layers and more toppings.
More Delicious Dip Recipes for Any Occasion
Get ready for game day, a festive holiday, or a fun family get-together with these mouth-watering and easy-to-prepare party dips. Each one is guaranteed to be a hit!
- Classic Spinach Artichoke Dip – A timeless favorite, this creamy and cheesy dip is perfect for pairing with crusty bread, crisp crackers, or fresh-cut vegetables.
- Hearty BBQ Chicken Dip – A robust and flavorful dip packed with tender chicken, tangy BBQ sauce, and melty cheese, wonderful when served with sturdy crackers or tortilla chips.
- Indulgent Mississippi Sin Dip – Experience a decadent combination of crispy bacon, rich cream cheese, cool sour cream, and savory melty cheese, all baked to perfection inside a warm, edible bread bowl.
- Crockpot Spinach Artichoke Dip – The slow cooker version of the classic, ideal for keeping your dip warm and bubbling throughout your party, ensuring every scoop is as delicious as the first.

7 Layer Dip Cups
Author: Jaclyn
Ingredients
- 1 16-ounce can refried beans
- 2 ripe avocados peeled and pitted
- juice of 1 lime
- salt and pepper to taste
- 1 8-ounce container sour cream
- 1 cup chunky salsa
- 1 cup shredded Mexican blend or cheddar cheese
- 1 2.25-ounce can sliced olives
- 3-4 green onions sliced
- ¼ cup diced tomatoes
- 2 Tablespoons diced jalapeno peppers optional topping
Instructions
-
To make the guacamole layer, combine the avocados and lime juice in a small mixing bowl. Add salt and pepper, to taste. Use a fork to mash together; set aside.
-
Divide the refried beans into the bottom of each small cup, followed by the guacamole and sour cream.
-
Drain any excess liquid from the salsa, then spoon it into the cups.
-
Top with shredded cheese, olives, green onions, diced tomatoes, and (optional) jalapenos.
-
Refrigerate until ready to serve. Garnish each cup with a single tortilla chip before serving, if desired.
Notes
- You can also add diced jalapeno, minced garlic, and/or chopped cilantro to your homemade guacamole, if desired.
- Try mixing some taco seasoning into the sour cream or refried bean layer for an extra pop of flavor.
- Pre-made guacamole is a great shortcut for this recipe.
Nutrition

Did You Make This Recipe?
Share it with me on Instagram @crayonsandcravings and follow on Pinterest @crayonsandcravings for even more!
Pin Recipe
Leave A Review
