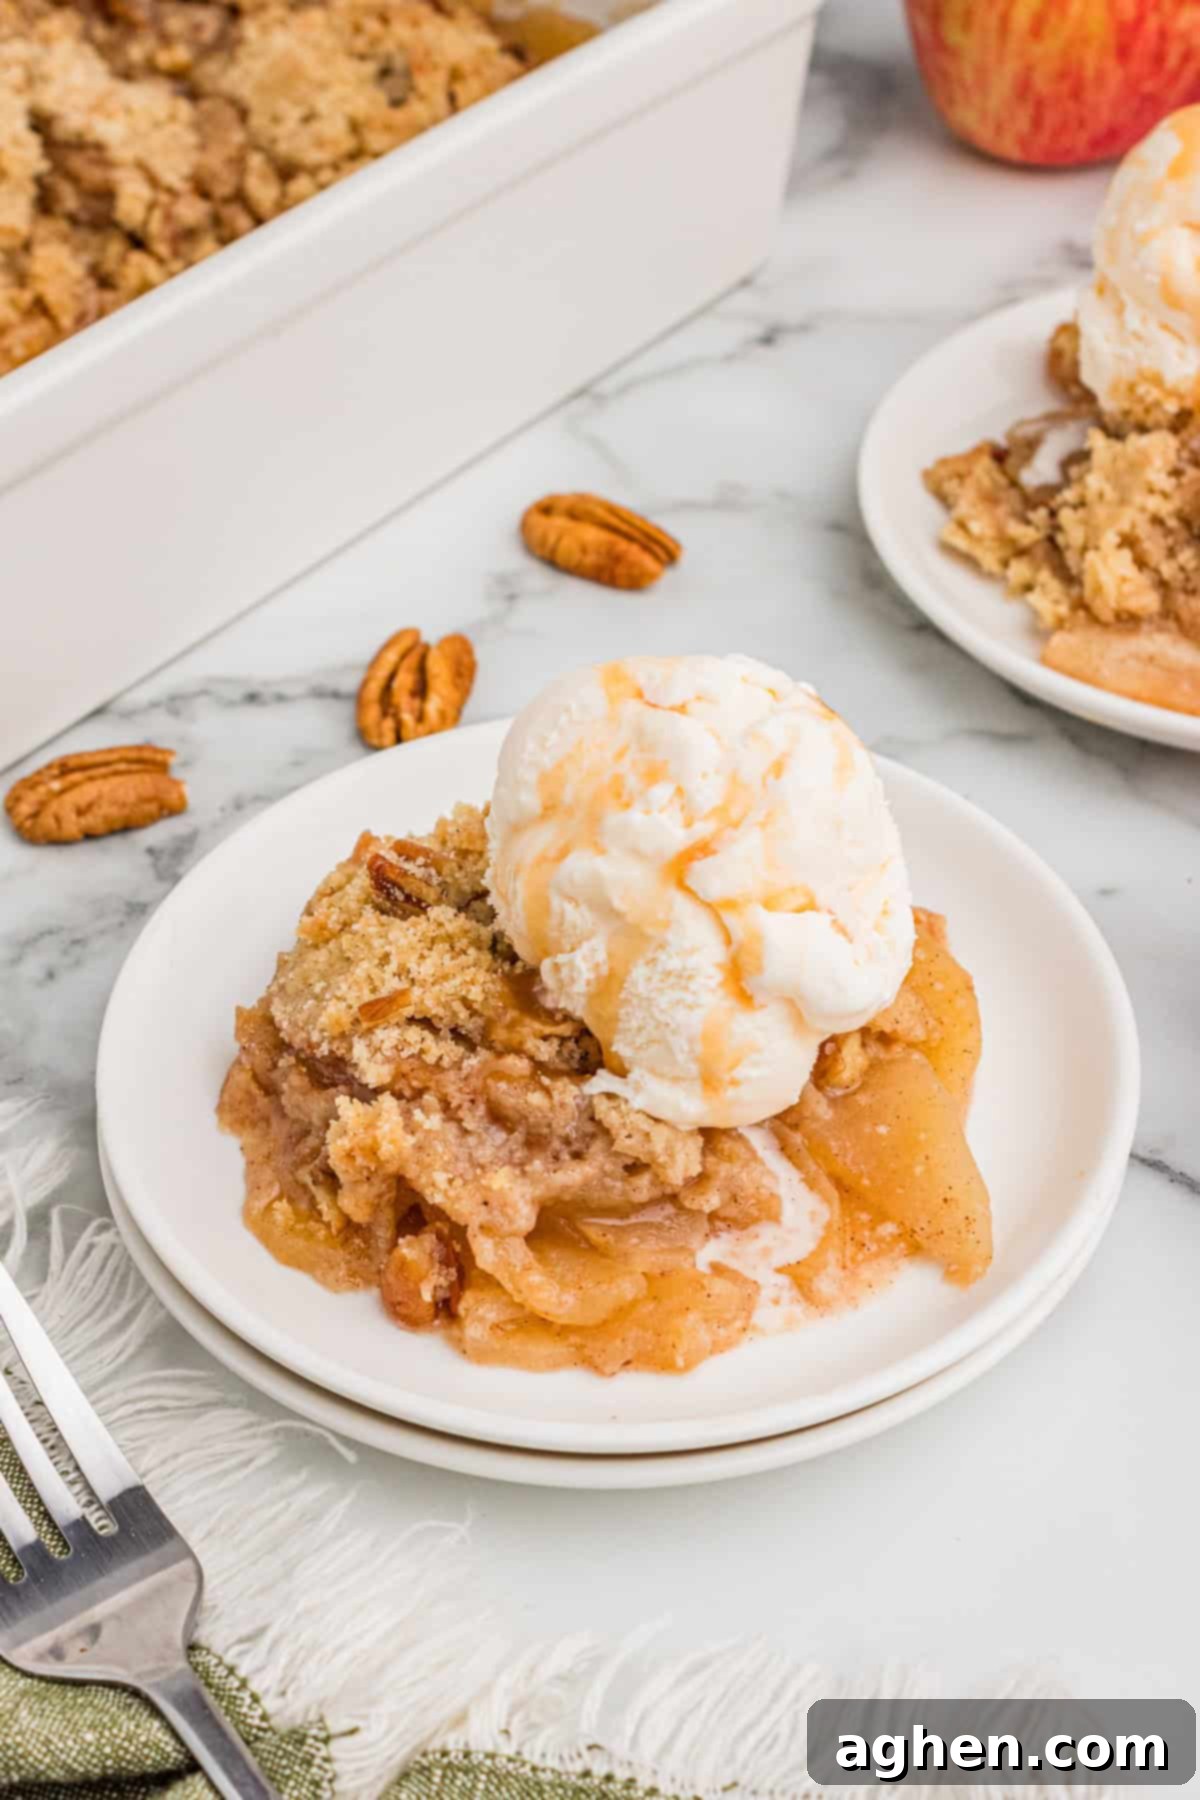
Easy Apple Crisp Without Oats: Your New Favorite Fall Dessert
Are you searching for a cozy, classic fall dessert that skips the oats but still delivers an irresistible crunch? Look no further! This easy apple crisp recipe without oats is specifically designed for those who adore the warm, tender embrace of baked apples but prefer a purely buttery, golden, and crumbly topping. It’s a delightful twist on a beloved classic, packed with comforting autumn flavors that will make it a total crowd-pleaser for any gathering or quiet evening at home.
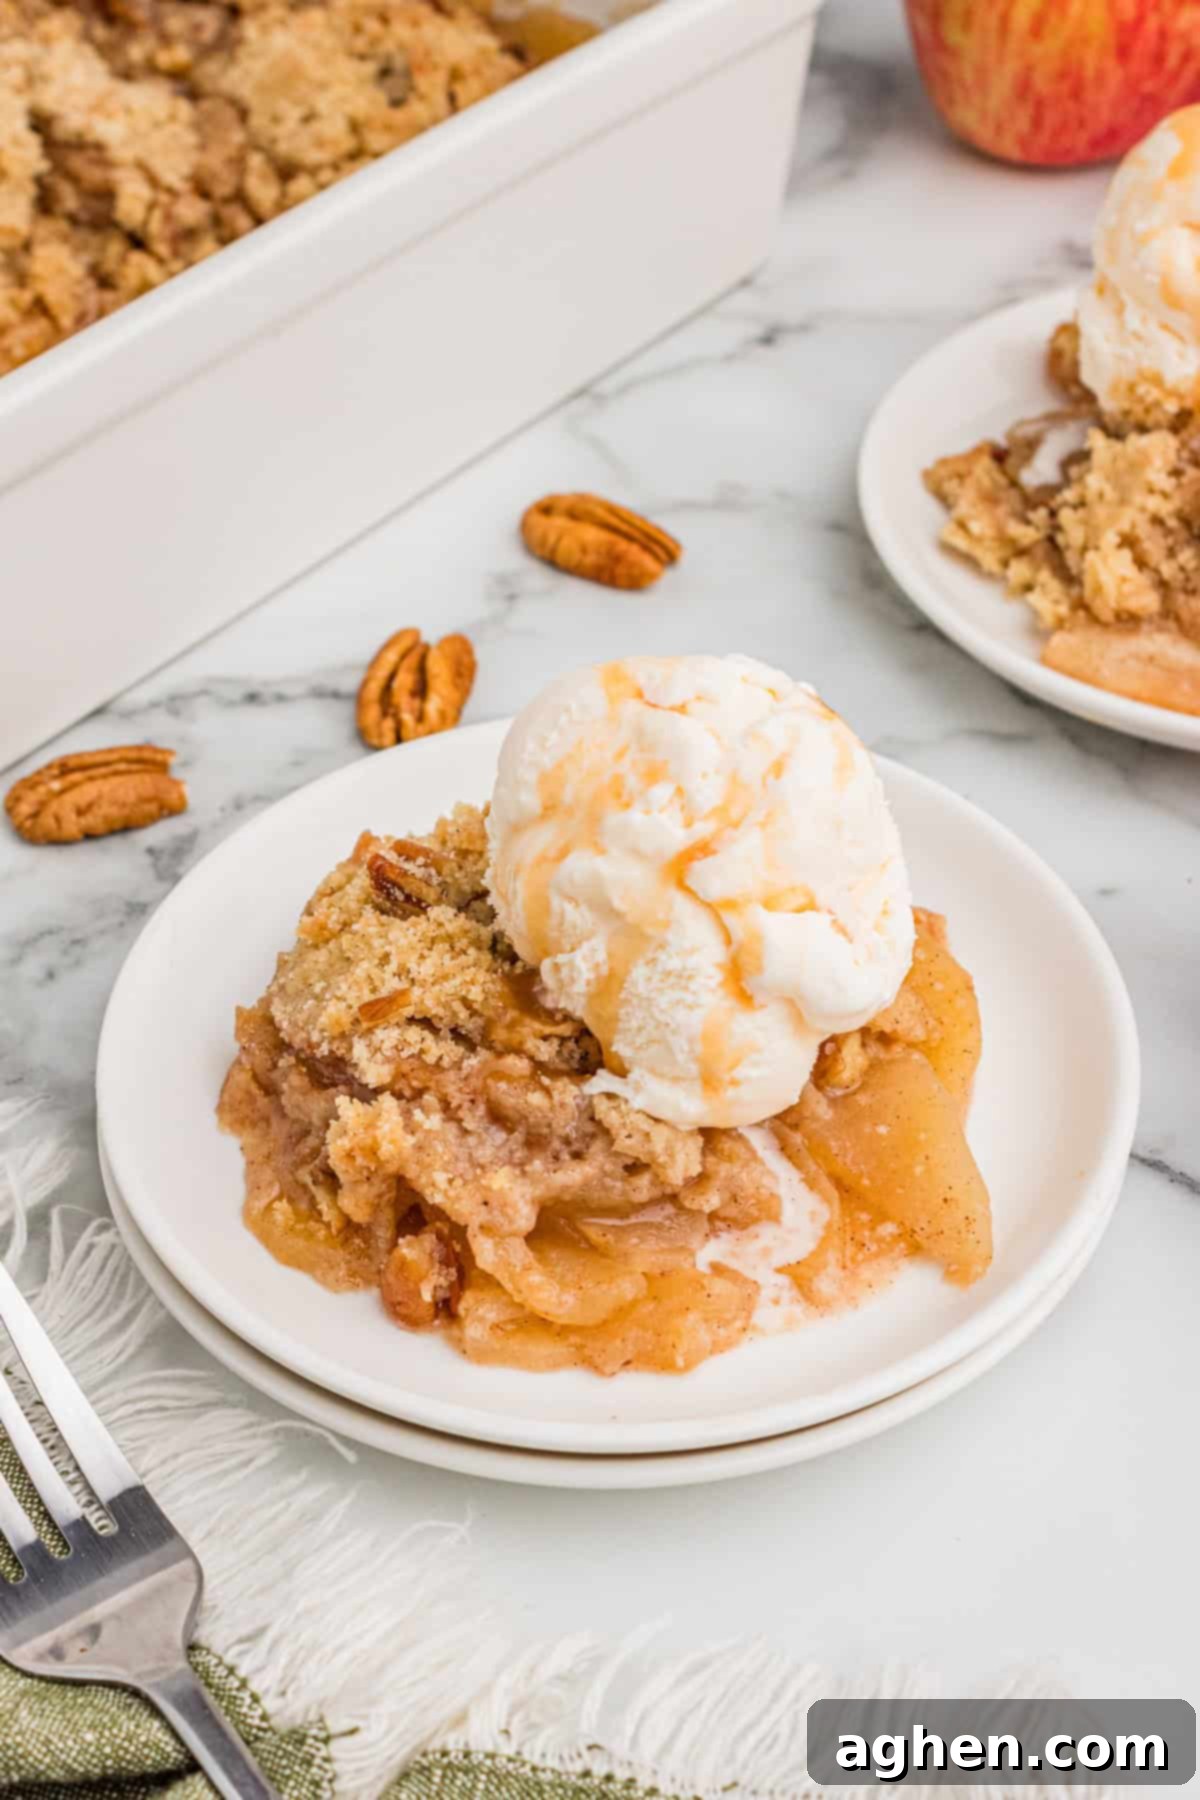
Whether you’re preparing a special dessert for Thanksgiving dinner, a festive holiday gathering, or simply craving the comforting taste of apple pie on a cool autumn night, this no-oats apple crisp is guaranteed to be a hit. Its simplicity makes it approachable for bakers of all skill levels, while its rich flavor and satisfying texture will impress even the most discerning palates.
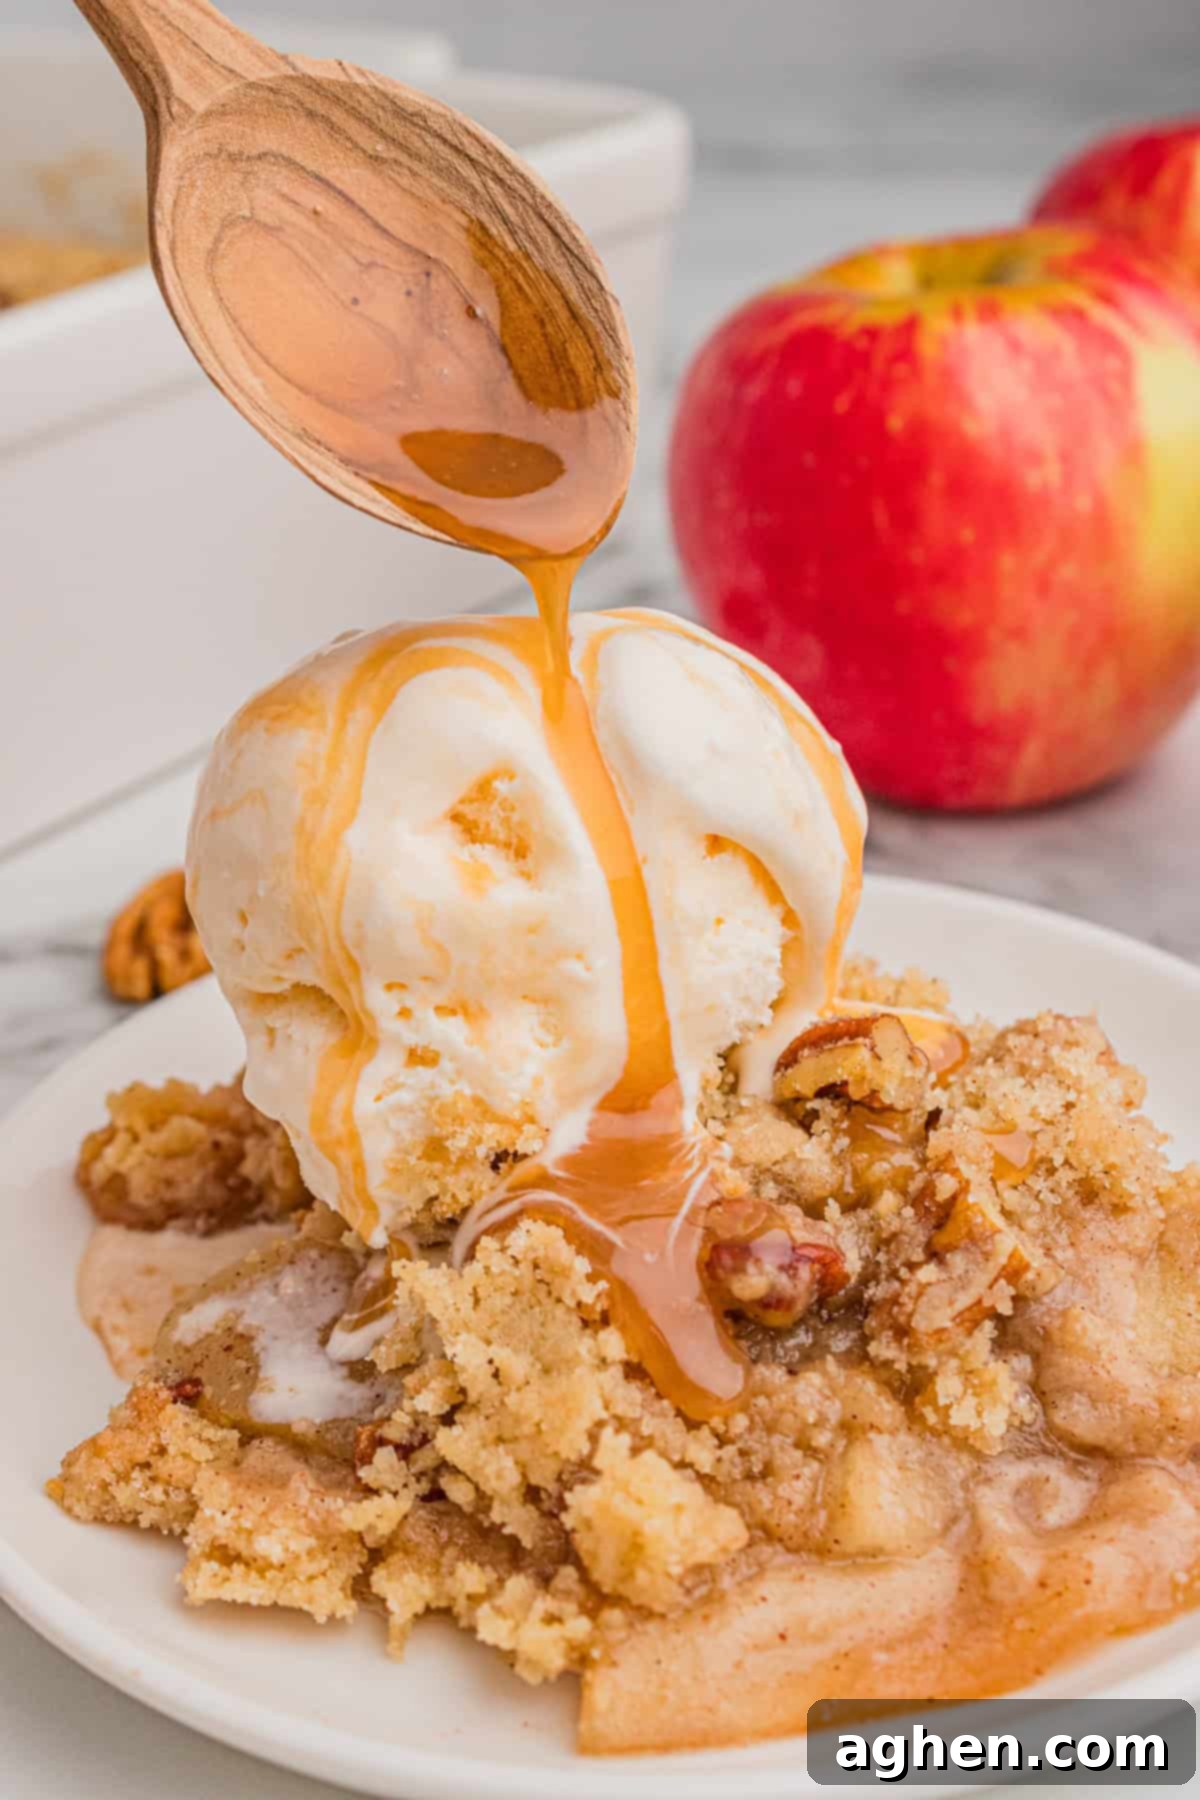
It’s especially delicious when served warm, straight from the oven, allowing the aromas of cinnamon and sweet apples to fill your home. Pair it with a generous scoop of creamy vanilla ice cream, a dollop of fresh whipped cream, or a decadent caramel drizzle to elevate this humble dessert into an extraordinary culinary experience. So good, you’ll want to make it again and again!
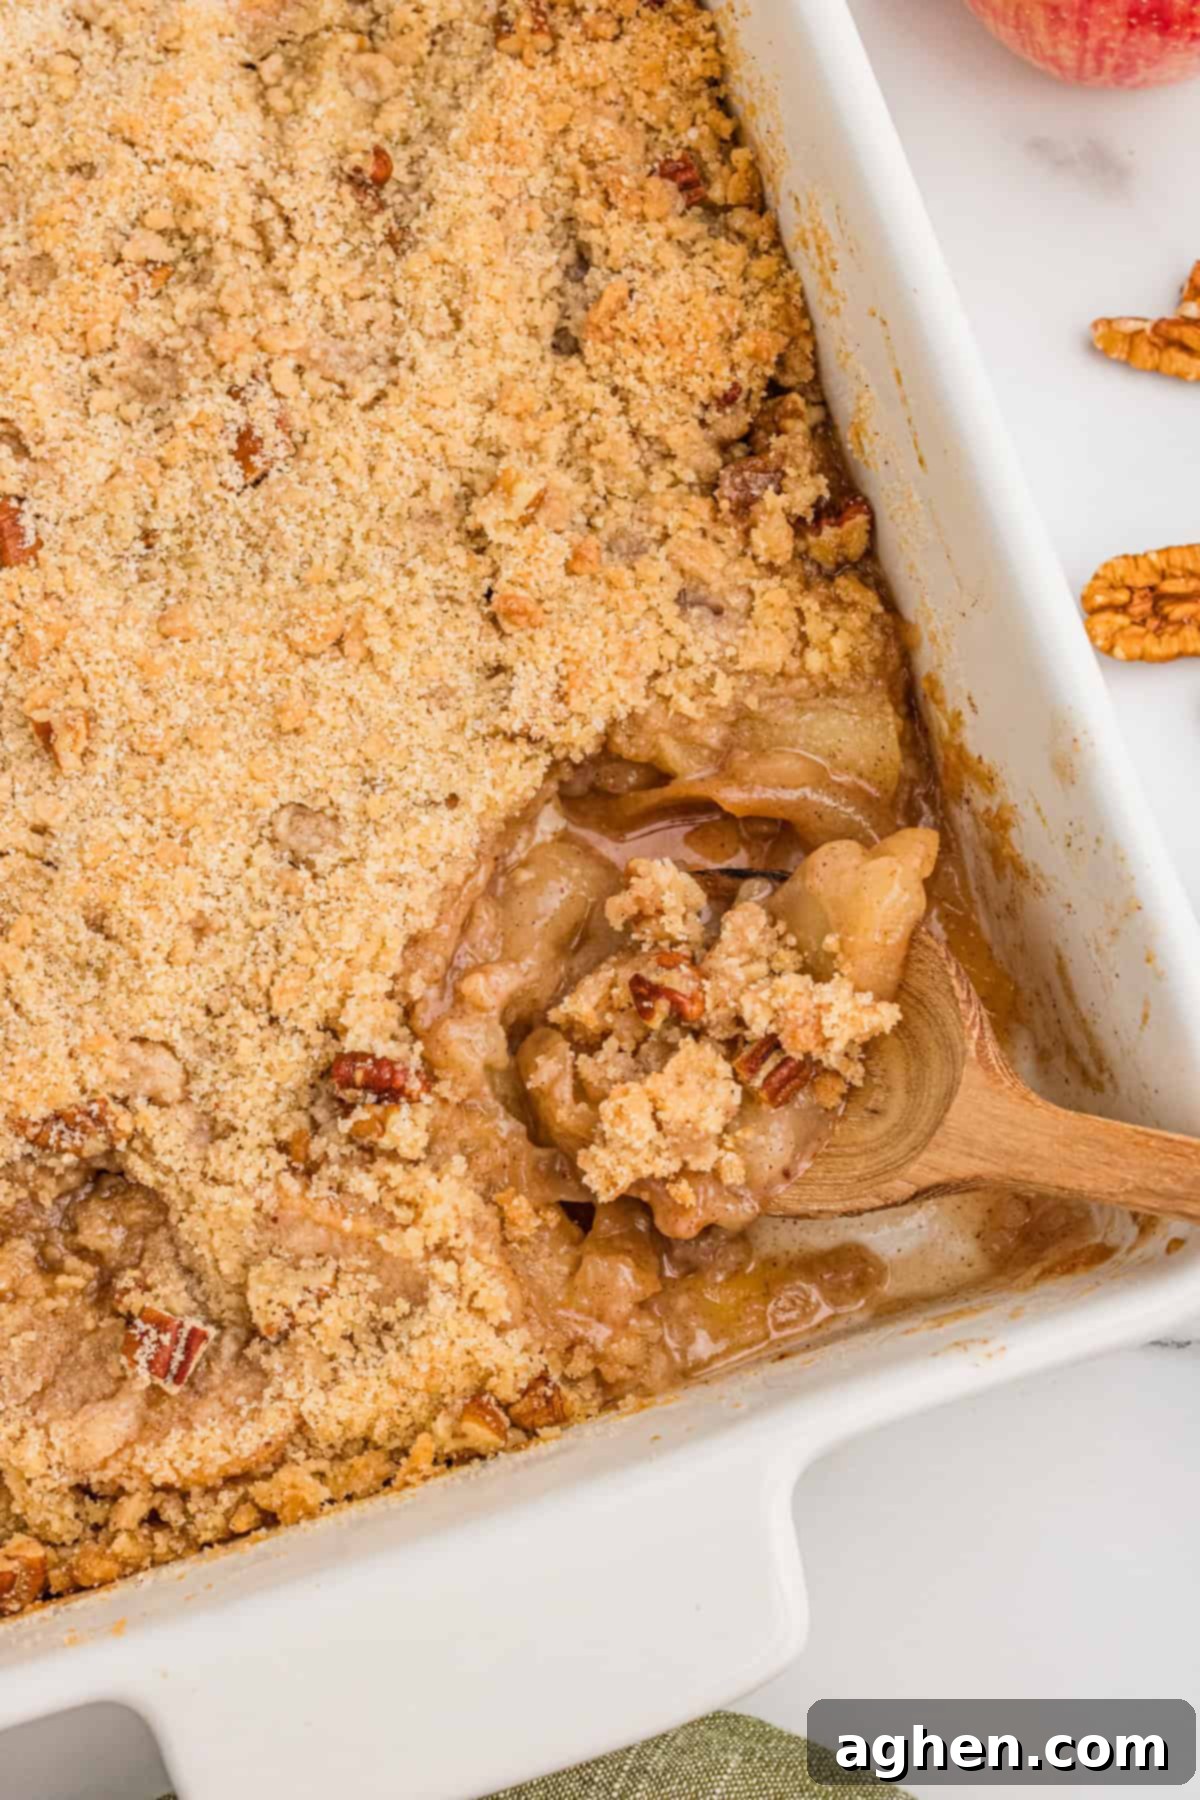
Plus, you will absolutely love how incredibly simple it is to make this apple crisp from scratch. It requires minimal effort and basic pantry staples, meaning you can whip up this delightful dessert anytime a craving strikes. It’s almost as easy as my apple crisp with cake mix, but offers that authentic homemade taste and texture that truly stands out.
Why You’ll Love This No-Oat Apple Crisp Recipe
- Simple Ingredients: You won’t need any specialized items for this recipe. All the ingredients are readily available pantry staples, making it easy to prepare spontaneously.
- No Oats, All Crunch: This recipe is specifically designed for those who prefer a rich, buttery, and incredibly crunchy topping without the texture or presence of oatmeal. It’s a pure, unadulterated crumble that perfectly complements the soft apple filling.
- Customizable: Have fun experimenting with different apple varieties! You can use your favorite single type of apple or mix various types to achieve a complex flavor profile and interesting texture balance between tart and sweet, firm and soft.
- Great for Making Ahead: Planning a party or busy weeknight? This apple crisp can be prepared in advance, allowing you to simply bake it when you’re ready to serve, making entertaining a breeze.
- Irresistible Taste: The tender, perfectly baked apples, infused with warm spices, pair exquisitely with the crisp, golden, and buttery topping. It’s truly the perfect apple dessert for celebrating the flavors of fall.
- Crowd-Pleaser: This dessert is universally loved! Its comforting flavors and delightful textures appeal to everyone, making it an ideal choice for family dinners, holiday feasts, or casual get-togethers.
Essential Ingredient Notes & Substitution Options
This section provides detailed notes on the ingredients, along with helpful substitution options to ensure your apple crisp turns out perfectly every time. For exact measurements and step-by-step instructions, please refer to the printable recipe card at the end of this post.
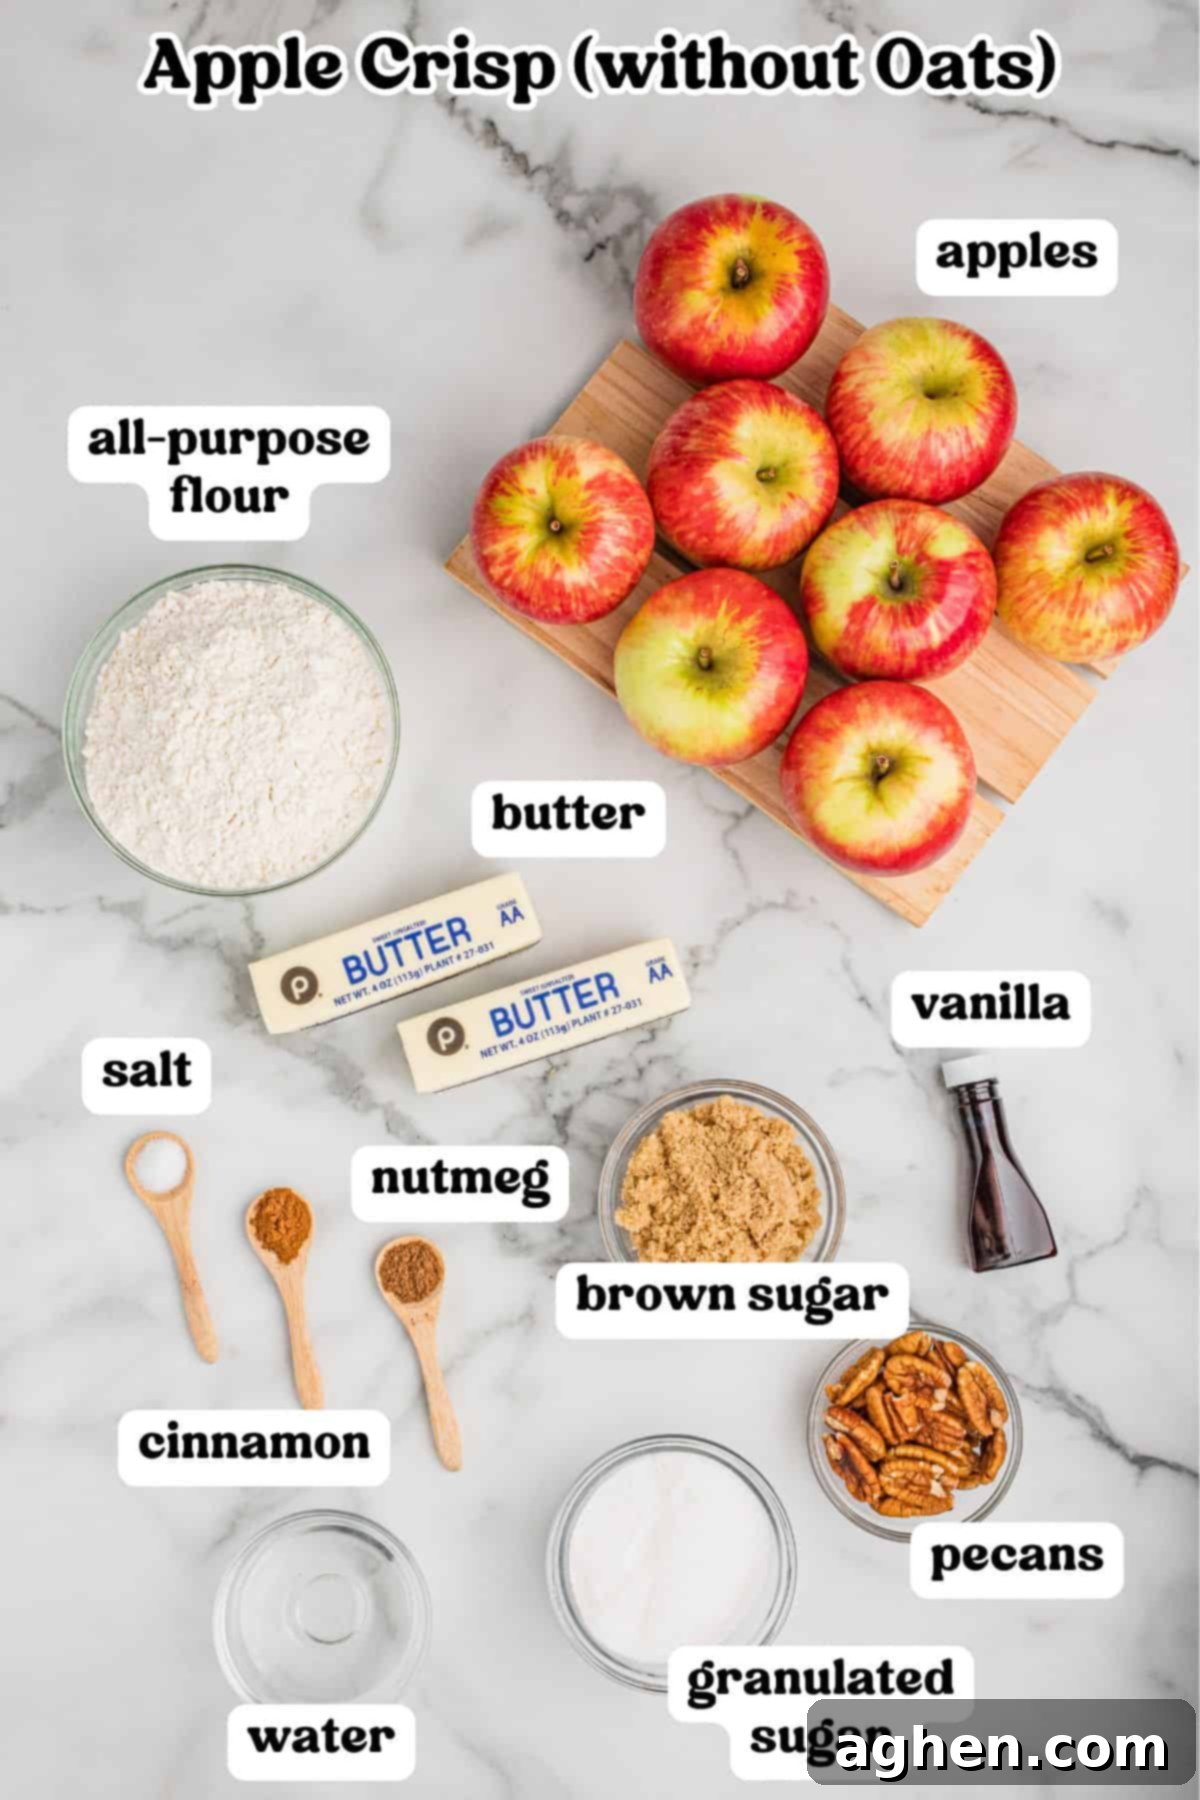
- Apples: The heart of any apple crisp! For the best results, use firm baking apples that can hold their shape well during cooking and won’t turn into mush. My personal favorites are Honeycrisp and Granny Smith apples, as they offer a wonderful balance of sweetness and tartness, along with a pleasant texture. However, Jonathan, Jazz, Braeburn, and Pink Lady apples are also excellent choices. For a more complex and nuanced flavor, I highly recommend mixing two different types of apples – perhaps one tart variety like Granny Smith with a sweeter one like Honeycrisp – to get a delightful variety of tartness and texture in every bite.
- Sugar (Granulated & Brown): A combination of granulated sugar and light brown sugar is used in both the filling and the topping. The granulated sugar provides sweetness and helps with crispness, while the brown sugar adds a deeper, molasses-rich sweetness and a subtle caramel flavor that perfectly complements the apples and contributes to the topping’s tender-crisp texture.
- All-Purpose Flour: Flour plays a crucial role in both parts of this recipe. In the apple filling, it helps to thicken the juices released by the apples during baking, creating a luscious, saucy base. In the topping, it forms the structure of the crumble, absorbing the butter and sugar to create that irresistible, crunchy texture.
- Cinnamon: Ground cinnamon is the quintessential spice for apple desserts, imparting a warm, fragrant, and comforting aroma and flavor to both the apple filling and the buttery topping. I also love to add a hint of nutmeg for extra depth, but the crisp is absolutely fantastic without it too. For an even more intense fall flavor profile, you could easily substitute the cinnamon (and nutmeg) with a pre-made apple pie spice blend, which would be perfect for this autumnal dessert.
- Unsalted Butter: Cold, cubed unsalted butter is absolutely essential for achieving that perfect, wonderfully crumbly and tender-crisp topping. Using cold butter prevents it from melting too quickly into the dry ingredients, allowing you to cut it in properly, which creates pockets of butter that melt slowly in the oven, resulting in a flaky and crunchy texture.
- Pecans: While entirely optional, chopped pecans add a fantastic nutty flavor and an extra layer of crunch to the crumble topping. If you’re not a fan of pecans, or have allergies, you can omit them or substitute them with chopped walnuts or even sliced almonds for a different twist.
How to Peel, Core, and Slice Apples Like a Pro
Preparing the apples for your crisp can be a quick and easy task, especially with the right tools and techniques. Here are a few methods to get your apples ready:
- The Easy Way (Apple Peeler/Corer): If you frequently bake with apples, an apple peeler and corer is a game-changer! (Amazon / Target) This handy device handles peeling, coring, and slicing all at once, saving you a significant amount of time and effort. Simply attach the apple, turn the handle, and watch as it transforms your apple into perfect spirals in seconds.
- Manually (Peeler & Knife): If you prefer the traditional method or don’t have specialized tools, a vegetable peeler (Amazon / Target) or paring knife (Amazon / Target) works perfectly for removing the skin. Once peeled, carefully cut around the core to remove it, then slice the apple into uniform ⅙-¼ inch thick slices. Consistency in thickness ensures even baking.
- Another Option (Apple Slicer): For a quicker start, an apple slicer (Amazon / Target) can quickly core and cut the apple into wedges. You can then use a knife to cut these wedges into thinner slices, making them suitable for the crisp.
All of these methods work wonderfully—choose whichever one you’re most comfortable with and have readily available! The key is to aim for relatively uniform slices to ensure even cooking.
How to Make Homemade Apple Crisp (Step-by-Step)
Follow these easy steps with accompanying photos to create a perfect homemade apple crisp without oats. For the complete printable recipe, including precise measurements, please see the full recipe card below.
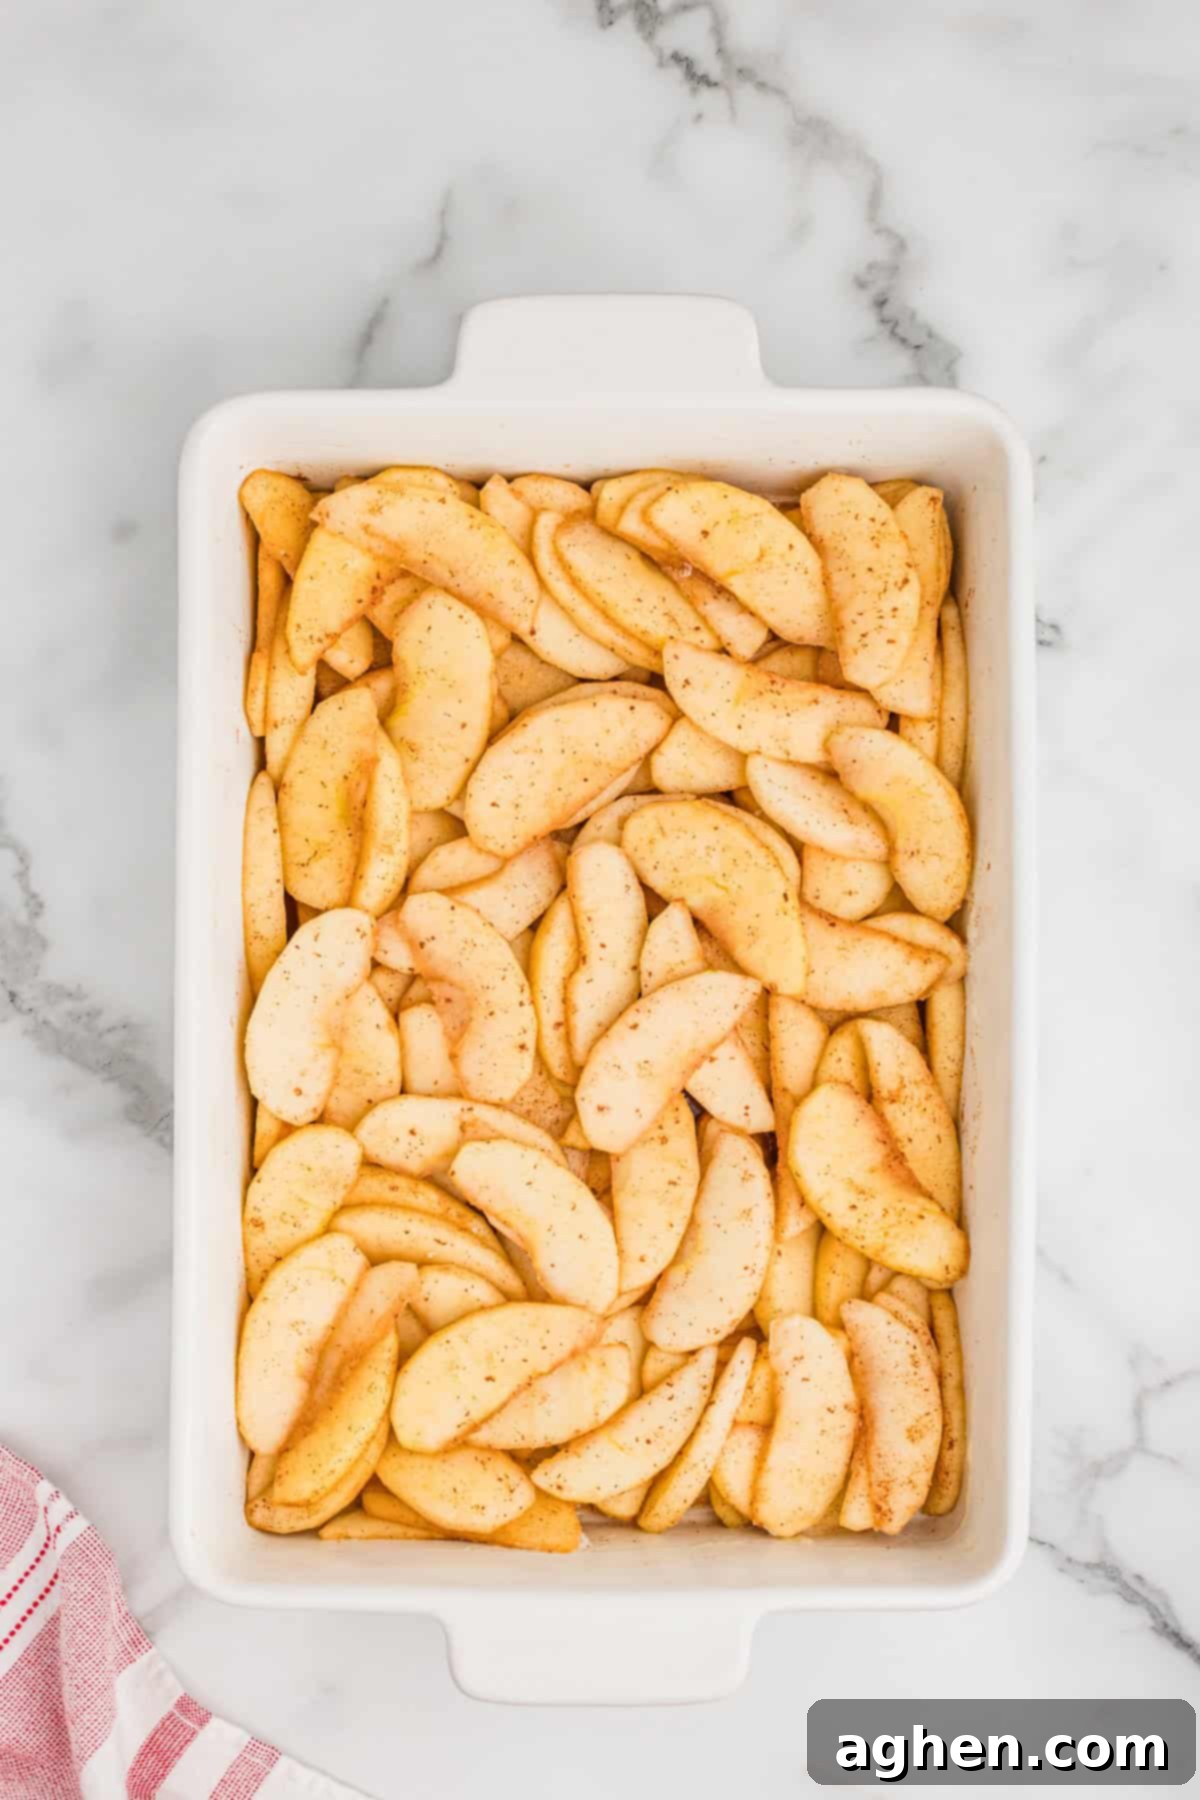
Step 1: Prepare the Apple Filling. Begin by peeling, coring, and slicing your chosen apples into ¼-inch thick pieces. In a large mixing bowl, gently toss these apple slices with water, vanilla extract, granulated sugar, light brown sugar, all-purpose flour, and ground cinnamon. Make sure every apple slice is thoroughly coated with the sweet and spicy mixture, ensuring a flavorful and evenly thickened filling.
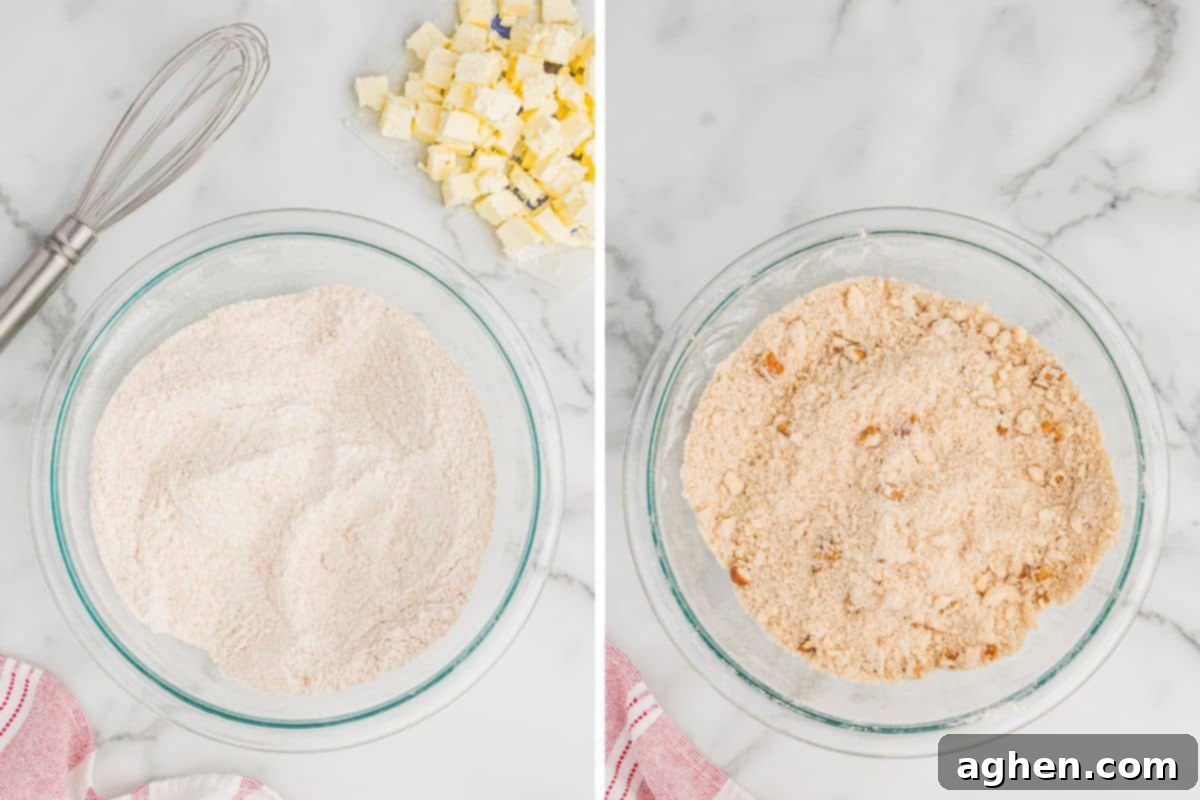
Step 2: Create the No-Oat Topping. In a separate medium-sized bowl, whisk together the dry ingredients for the topping: all-purpose flour, granulated sugar, light brown sugar, ground cinnamon, optional nutmeg, and salt. Next, add the cold, cubed butter. Using a pastry cutter, a fork, or your fingertips, cut the butter into the flour mixture until it resembles coarse crumbs, with some pea-sized pieces remaining. This is crucial for that signature crumbly texture. If using, stir in the chopped pecans for added crunch and nutty flavor.
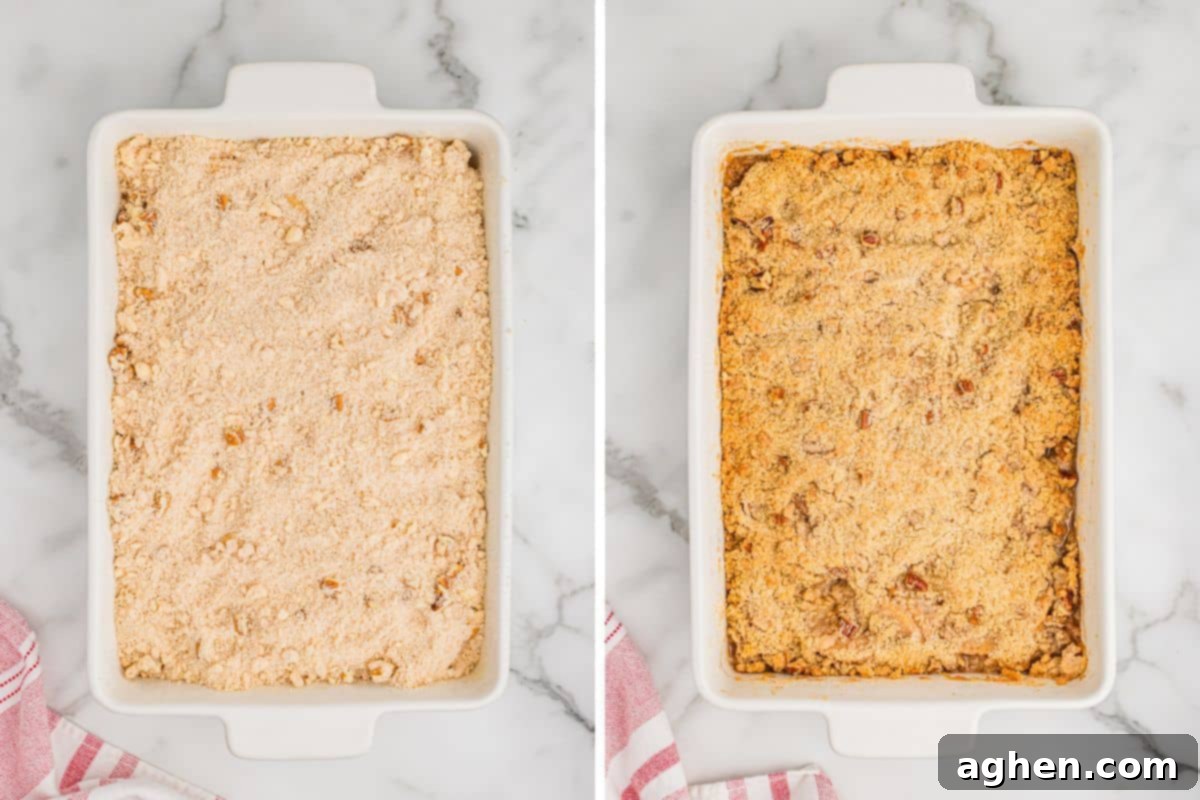
Step 3: Assemble and Bake. Lightly grease a 9×13 baking dish and spread the prepared apple filling evenly across the bottom. Then, sprinkle the homemade topping evenly over the entire surface of the apples, ensuring good coverage. Bake the crisp in a preheated oven at 350°F (175°C) for 40-45 minutes. The crisp is ready when the topping is beautifully golden brown, and the apple filling is bubbling around the edges, indicating the apples are tender and cooked through.
Important Baking Tip
Always keep an eye on your apple crisp as it bakes. Around the 30-minute mark, check the topping. If it appears to be browning too quickly, gently cover the baking dish loosely with aluminum foil for the remainder of the baking time. This prevents the topping from burning while allowing the apples underneath to continue cooking to perfect tenderness.
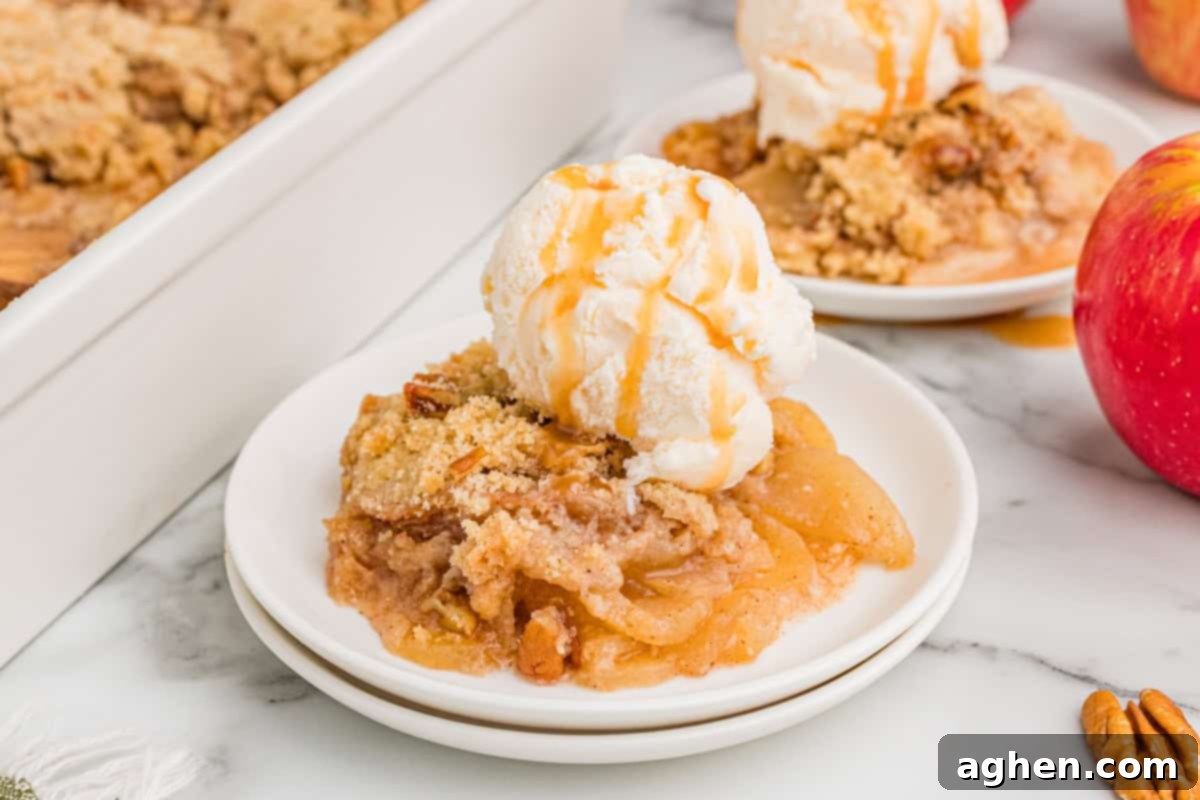
Step 4: Cool and Serve. Once baked, remove the apple crisp from the oven and allow it to cool slightly for about 15 minutes before serving. This brief cooling period helps the filling set and prevents scorching your tongue! Serve your warm apple crisp topped with a generous scoop of vanilla ice cream, a dollop of fresh whipped cream, and/or a delightful homemade caramel sauce for an extra sweet and indulgent treat. The warm and cold contrast is simply divine!
Storage & Reheating Instructions
Proper storage ensures your delicious apple crisp stays fresh and enjoyable for longer. Here’s how to store and reheat it:
- Refrigerator: Allow any leftover warm apple crisp to cool completely to room temperature. Once cooled, transfer it to an airtight container or cover the entire baking dish tightly with plastic wrap. Store it in the refrigerator for up to 3 days. This will keep the apples fresh and the topping relatively crisp.
- Freezer: For longer storage, you can freeze the baked and cooled apple crisp. Wrap it very tightly in plastic wrap and then in aluminum foil, or transfer individual portions to freezer-safe containers. It can be stored in the freezer for up to 3 months. To enjoy, let it thaw in the refrigerator overnight before reheating.
- Reheating:
- Microwave: For individual portions, microwave on high for 30-60 seconds, or until warmed through. Be aware that the topping may lose some of its crispness in the microwave.
- Oven: To reheat the entire dish and help restore some of the topping’s crispness, cover it loosely with aluminum foil to prevent excessive browning. Warm it in a preheated oven at 350°F (175°C) for 10-15 minutes, or until the apples are heated through and bubbling.
Pro Tips for the Best Apple Crisp Without Oats
- Choose the Best Apples: The type of apple dramatically impacts your crisp. While Honeycrisp and Granny Smith are my top recommendations for their balance of flavor and texture, don’t hesitate to experiment. Mixing a couple of varieties will often give you the most complex and satisfying flavor profile in your finished dessert.
- Always Use Chilled Butter: This is a non-negotiable for a truly crumbly and crunchy topping. Ensure your butter is cold and cut into small cubes before incorporating it into the dry ingredients. Cold butter creates pockets of steam as it bakes, which results in a lighter, flakier, and more tender-crisp topping.
- Monitor Browning Closely: Oven temperatures can vary, so it’s vital to check your apple crisp during baking. Around 35 minutes into the bake time, if the topping is browning faster than you’d like, loosely cover the dish with aluminum foil. This will protect the topping from burning while allowing the apples to finish cooking to tender perfection.
- Don’t Overmix the Topping: When cutting in the butter, avoid overmixing. The goal is a coarse, crumbly mixture, not a smooth dough. Small chunks of butter are what create those delicious pockets of crispness.
Make-Ahead Apple Crisp for Easy Entertaining
Preparing this apple crisp in advance is a fantastic way to save time, especially when hosting or during busy holiday seasons. To make ahead, a crucial step is to add 2 teaspoons of fresh lemon juice to your apple filling mixture. The lemon juice helps to prevent the sliced apples from oxidizing and browning prematurely, keeping them fresh and visually appealing. Prepare the crisp up until the point it is ready to bake (apples in the dish, topping sprinkled on). Wrap the pan tightly with plastic wrap, ensuring no air can get in, and refrigerate it for up to 24 hours. When you’re ready to bake, remove the dish from the refrigerator and let it sit on the countertop for about 30 minutes to come closer to room temperature. You might need to add a few more minutes to the baking time if the crisp is still quite cold, but it will bake beautifully, just like freshly assembled.
Delicious Additions and Creative Variations
While this no-oat apple crisp is perfect as is, it’s also incredibly versatile! Feel free to customize it with these delightful additions and variations:
- Nuts: For an enhanced nutty flavor and additional crunch, feel free to add more chopped pecans or walnuts to the topping mixture. You can also toast them lightly before adding for an even deeper flavor.
- Spices: Get creative with your spice blend! Instead of just cinnamon and nutmeg, you can swap them for a pre-made apple pie spice mix, which often includes cloves, allspice, and ginger, for a more complex and aromatic flavor profile. A pinch of cardamom can also add an exotic touch.
- Gluten-Free: To make this recipe suitable for those with gluten sensitivities, simply use a high-quality 1:1 gluten-free flour blend in place of the all-purpose flour in both the filling and the topping. Ensure your chosen blend contains xanthan gum for best results.
- Extra Fruit: Consider adding a handful of fresh cranberries for a festive touch and a burst of tartness, especially around the holidays. A few slices of pear or a handful of fresh berries could also be mixed in with the apples.
- Citrus Zest: A little lemon or orange zest added to the apple filling can brighten the flavors and add a subtle zing.
Frequently Asked Questions (FAQs) About Apple Crisp
Here are some common questions about making and enjoying apple crisp:
- What is the difference between apple crisp and apple crumble?
The terms “crisp” and “crumble” are often used interchangeably, but traditionally, an apple crisp contains oats in its topping, giving it a slightly chewier texture. An apple crumble, on the other hand, typically has a streusel-like topping made from flour, sugar, and butter, resulting in a more uniform, sandy, and buttery crumb. This recipe, being “without oats,” leans more towards a traditional crumble topping, offering a purely buttery and crunchy texture without oatmeal. - Can I use frozen apples for apple crisp?
Yes, you can use frozen apple slices, but there are a few considerations. Thaw them completely first and drain any excess liquid thoroughly, as frozen apples release more water than fresh ones. You might also need to increase the amount of flour slightly in the filling to absorb the extra moisture and prevent a watery crisp. - How do I prevent my apple crisp from becoming soggy?
To prevent a soggy crisp, ensure you use firm baking apples that hold their shape. Don’t slice them too thin, and make sure to toss them well with the flour in the filling, which helps absorb excess moisture. Additionally, baking at the correct temperature for the full duration ensures the apples cook through and the topping crisps up properly. - Can I make this dairy-free?
Yes, you can! Substitute the unsalted butter with a high-quality dairy-free butter alternative. Ensure it’s a solid, stick-form vegan butter for the best results in the topping, as liquid oils won’t create the same crumbly texture.
More Delicious Apple Desserts for Fall
If you love apples as much as we do, you’ll definitely want to try these other fantastic fall recipes:
- Copycat Cracker Barrel Fried Apples (Made easy in your Crockpot!)
- Quick & Easy Apple Pie Crescent Rolls
- Irresistible Snickers Apple Salad (A delightful no-bake treat!)
- Cream Cheese Caramel Apple Dip (Perfect for dipping fresh apple slices!)

Apple Crisp Without Oats
Author: Jaclyn
Equipment
-
9 x 13 Stoneware Baking Dish
Ingredients
Apple Filling
- 10 cups apples peeled, cored, and sliced ¼ inch thick (about 8 medium apples)
- 3 Tablespoons water
- 1 teaspoon vanilla extract
- ¼ cup granulated sugar
- ¼ cup light brown sugar packed
- 2 Tablespoons all-purpose flour
- 1 teaspoon ground cinnamon
No-Oat Topping
- 1 ¾ cup all-purpose flour
- 1 cup granulated sugar
- ½ cup light brown sugar packed
- 1 teaspoon ground cinnamon
- ½ teaspoon nutmeg optional
- ½ teaspoon salt
- ¾ cup unsalted butter cold and cubed
- ½ cup chopped pecans optional
Instructions
-
Preheat your oven to 350°F (175°C). Lightly coat a 9 x 13 inch baking dish with non-stick cooking spray to prevent sticking.
-
In a large mixing bowl, combine the peeled, cored, and sliced apples with the water and vanilla extract. Toss them gently to ensure all apple slices are lightly coated. Next, add the granulated sugar, brown sugar, all-purpose flour, and ground cinnamon to the bowl. Toss everything together really well, making sure the apples are evenly coated with the delicious spice and sugar mixture.
-
Spread the apple mixture evenly into the bottom of your prepared baking dish. Distribute them in a single layer as much as possible for even baking.
-
In a separate medium bowl, whisk together the dry ingredients for the topping: all-purpose flour, granulated sugar, brown sugar, cinnamon, nutmeg (if you’re using it), and salt. Add the cold, cubed butter to this dry mixture. Use a pastry cutter, a fork, or even your clean fingertips to quickly blend the butter into the flour mixture until it resembles coarse crumbs and has a sandy texture with some small pea-sized butter pieces. If desired, stir in the chopped pecans for added crunch and flavor.
-
Sprinkle the prepared topping evenly over the apple mixture in the baking dish. Make sure to cover the apples completely for a uniform crust.
-
Bake the apple crisp, uncovered, in the preheated oven for 40-45 minutes. The crisp is done when the apple filling is bubbling around the edges and the topping is beautifully golden brown and crunchy.
-
Let the apple crisp cool for about 15 minutes before serving. This allows the filling to set slightly and prevents the crisp from being too hot. Enjoy it warm, and for an extra special treat, top it with a scoop of vanilla ice cream, whipped cream, or a delightful caramel drizzle.
Notes
- For the best apple crisp, I prefer using a mix of Honeycrisp and Granny Smith apples, but Jonathan, Jazz, Braeburn, and Pink Lady are also great options for baking.
- If you notice the topping browning too quickly during baking, simply cover the dish loosely with aluminum foil for the remaining bake time to prevent it from burning.
- Store any leftover apple crisp in an airtight container in the fridge for up to 3 days to maintain freshness and texture.
Nutrition

Did You Make This Recipe?
Share it with me on Instagram @crayonsandcravings and follow on Pinterest @crayonsandcravings for even more!
Pin Recipe
Leave A Review
