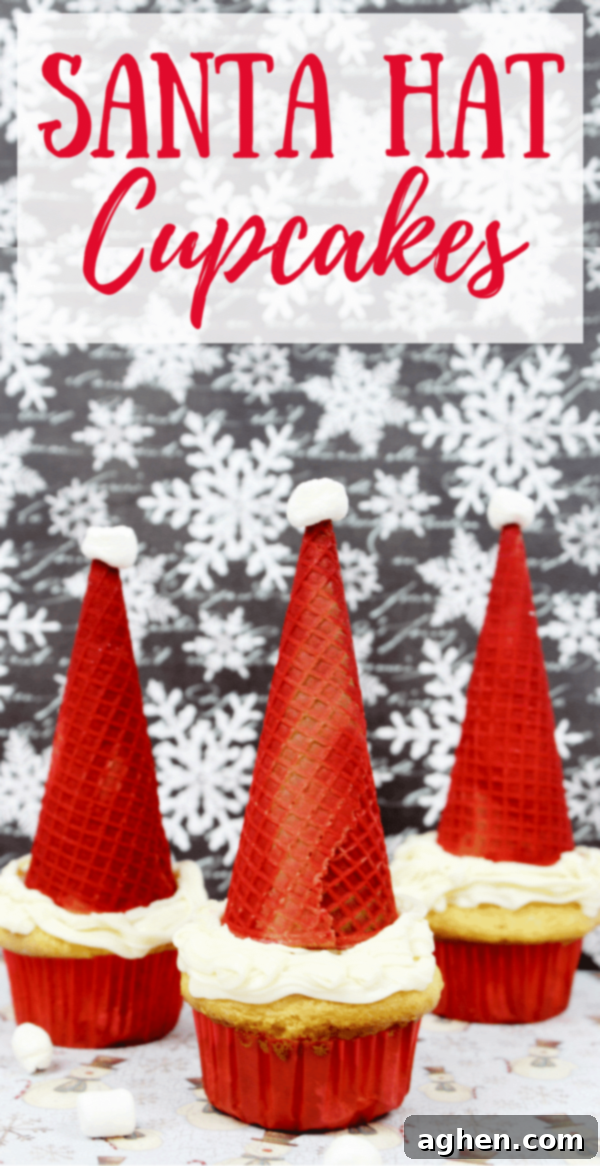
Easy & Adorable Santa Hat Cupcakes: Your Go-To Festive Christmas Dessert
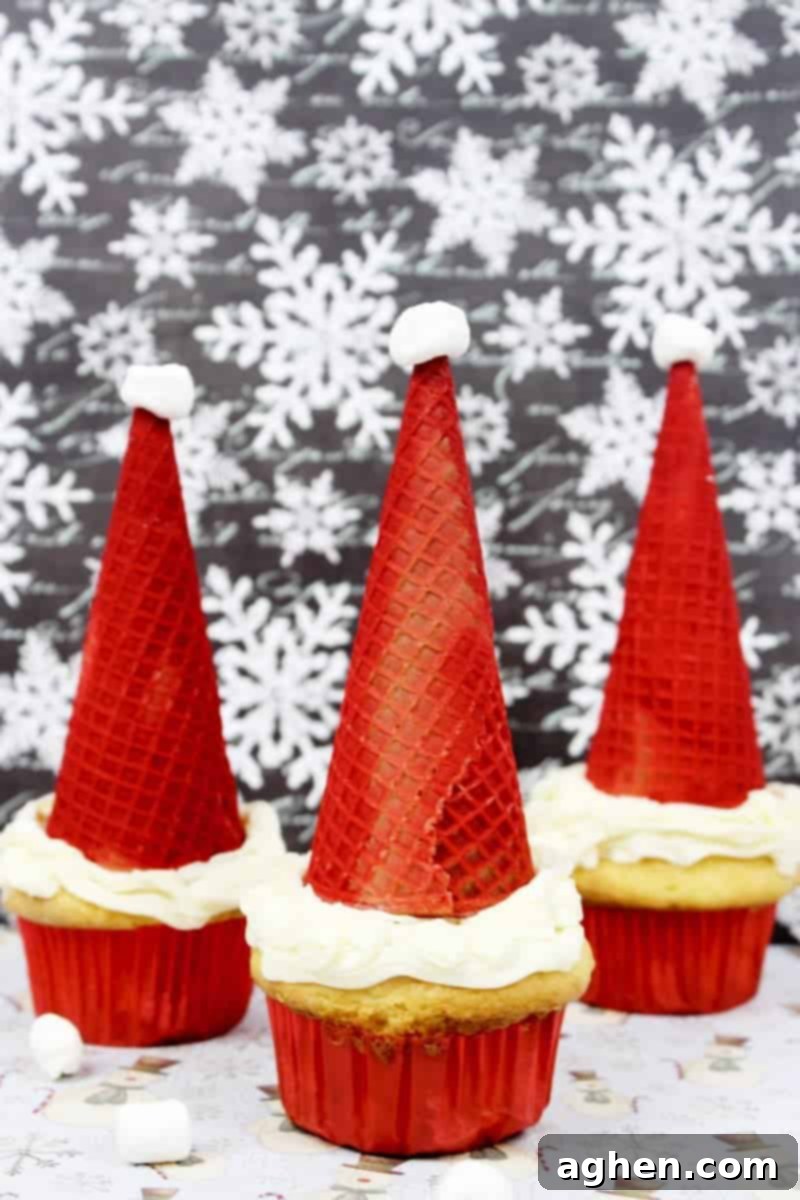
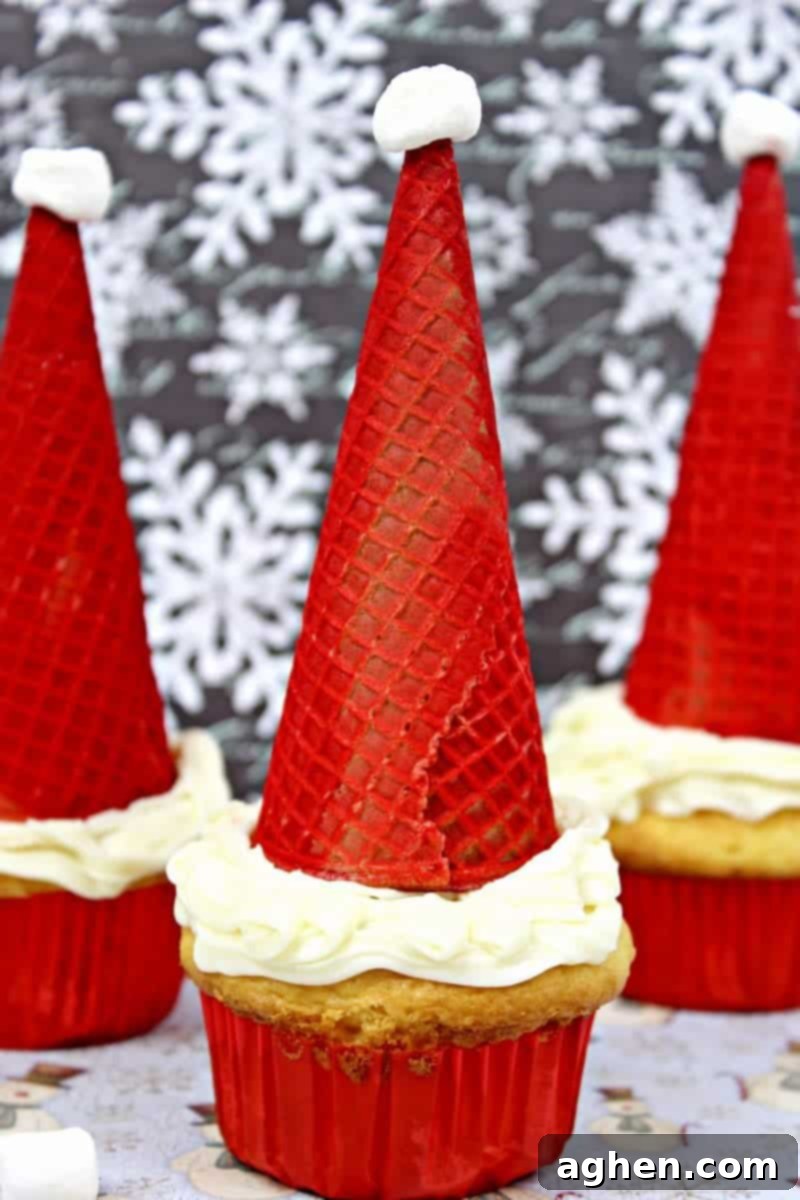
The holiday season is synonymous with warmth, joy, and, of course, delicious treats! As Christmas approaches, many of us look for simple yet impressive ways to add a touch of magic to our celebrations. Enter Santa Hat Cupcakes – these charming little desserts are not only incredibly fun to make but also serve as an eye-catching centerpiece for any festive spread. Imagine fluffy cupcakes topped with vibrant red sugar cones, perfectly mimicking Santa’s iconic hat, complete with a tiny fluffy marshmallow pom-pom. They are a guaranteed hit with kids and adults alike, bringing smiles and festive cheer to every bite.
These delightful Santa Hat Cupcakes are a brilliant solution for any event where you want to dazzle your guests without spending countless hours in the kitchen. Whether you’re hosting a large family get-together, contributing to a school bake sale, or simply looking for a fun activity to do with the kids, this recipe is your secret weapon. Their simplicity belies their impressive appearance, making them ideal for busy holiday schedules.
If you’re looking to expand your collection of Santa-themed treats, be sure to check out these other festive ideas: Santa Jello Cups, Santa Rice Krispie Treats, or Bugle Santa Hats. These recipes offer even more ways to sprinkle some holiday magic into your kitchen.
Why These Santa Hat Cupcakes Are a Holiday Must-Make
Are you searching for recipes that you can genuinely enjoy making with your children during the bustling holiday season? Look no further! These Santa Hat Cupcakes are absolutely perfect for family baking sessions. Kids will adore the hands-on process, from decorating the cupcakes to spraying the sugar cones. It’s an activity that creates wonderful memories and yields delicious results that everyone can be proud of.
The Magic of Simplicity: What You’ll Need
One of the best aspects of this recipe is its straightforward ingredient list and minimal fuss. You don’t need fancy equipment or hard-to-find items. All you need to transform ordinary cupcakes into these adorable Santa hats are a few key components:
- **Prepared Cupcakes:** Whether you bake them from scratch, use a convenient box mix, or even opt for store-bought cupcakes, the foundation is simple. Vanilla cupcakes are a classic choice, providing a neutral base for the vibrant Santa hat.
- **Vanilla Frosting:** This will act as the “snowy” base for your Santa hats and help secure the cone. Store-bought vanilla frosting works perfectly for ease, but a homemade buttercream can elevate the flavor if you have extra time. Ensure it’s thick enough to hold its shape when piped.
- **Sugar Cones:** These form the shape of Santa’s hat. Choose standard size sugar cones that will sit nicely on top of your cupcakes. They are readily available in most grocery stores in the ice cream section.
- **Mini Marshmallows:** The quintessential fluffy pom-pom for Santa’s hat! These tiny marshmallows are essential for completing the iconic look.
- **Red Color Mist Spray:** This is the secret to achieving that rich, vibrant red for the Santa hats quickly and evenly. It’s much easier and less messy than trying to paint or dye each cone by hand.
Crafting Your Santa Hat Masterpieces: Step-by-Step
This recipe for Santa Hat Cupcakes is so simple and engaging that even young children can actively participate. The process is divided into easy, manageable steps, ensuring a fun and stress-free baking experience for the whole family.
Begin by preparing your vanilla cupcakes. You can use your favorite recipe from scratch, a convenient boxed mix for speed, or even purchase pre-baked cupcakes from a local bakery. The choice is entirely yours and depends on how much time you have. Once your cupcakes are baked and completely cooled, it’s time to add the frosting. Generously ice each cupcake with vanilla frosting. Again, store-bought frosting is perfectly acceptable for this recipe, offering both convenience and consistent results. If you prefer, whip up a batch of homemade vanilla buttercream for an extra special touch. Aim for a nice, domed layer of frosting – this will be the white brim of Santa’s hat.
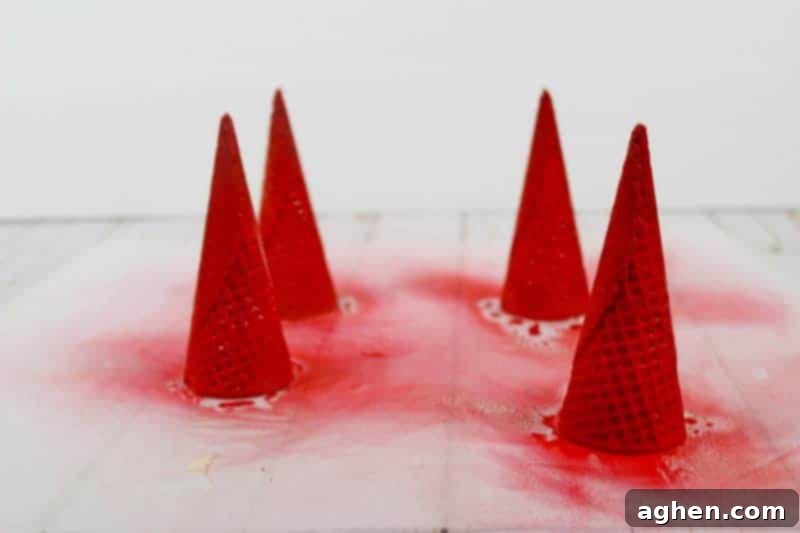
The next crucial step involves transforming the sugar cones into Santa’s red hats. Before you begin spraying, it is absolutely vital to prepare your workspace. Lay down several layers of waxed paper, parchment paper, old newspapers, or even a plastic tablecloth under the cones. This is especially important if your kids are helping, as the red color mist spray can spread and stain surfaces like countertops or kitchen tables. Ensure the entire area you are working on is completely covered to prevent any accidental red marks!
Once your workspace is protected, place the sugar cones upside down on the prepared surface. Hold the Red Color Mist Spray about 6-8 inches away and apply a thin, even coat over each cone. Rotate the cones as you spray to ensure full and even coverage. You might need to apply a second light coat after the first one has slightly dried to achieve a deep, vibrant red. Allow the sprayed cones to dry completely – this usually takes about 10-15 minutes, but refer to the product instructions for exact drying times. This step is crucial to prevent smudging and ensures a beautiful, professional finish.
Now, it’s time for the most exciting part – assembling your Santa Hat Cupcakes! With your frosted cupcakes and perfectly red, dry sugar cones ready, invite the kids to jump in and help. Place a tiny dot of vanilla frosting on the flat, wider end of a mini marshmallow. This small dab of frosting acts as an edible adhesive. Gently press the marshmallow onto the pointed tip of each red sugar cone. This creates the adorable white pom-pom on top of Santa’s hat.
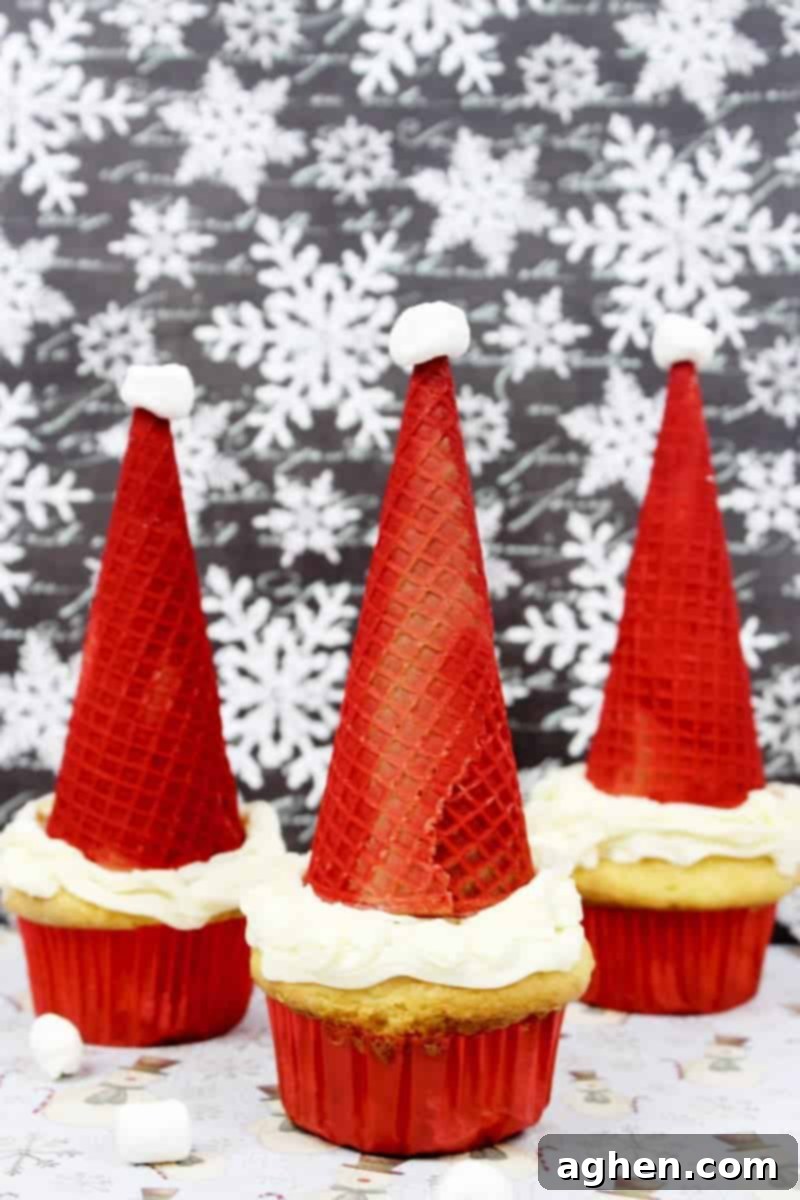
Finally, carefully place each assembled red sugar cone (now a Santa hat) on top of a frosted cupcake. The frosting on the cupcake will help secure the cone in place, creating a stable and appealing holiday treat. The contrast of the bright red hat, fluffy white pom-pom, and the white frosting “brim” makes for an irresistibly festive dessert that looks like it took hours, but in reality, was wonderfully simple to create!
There may be nothing difficult about this recipe, but the finished product sure does look awesome when it’s done. These creative Christmas cupcakes are sure to be a big hit with everyone this year. They are not only fun to make, but everyone will want one. They’re festive, colorful, and a great way to get everyone in the Christmas spirit.
Pro Tips for Perfect Santa Hat Cupcakes
- Advance Preparation: To save time on the day of your event, you can bake the cupcakes and even spray the sugar cones a day in advance. Store cooled cupcakes in an airtight container at room temperature. Ensure the sprayed cones are completely dry before storing them in an airtight container at room temperature as well.
- Frosting Consistency: If your store-bought frosting is too stiff, you can warm it slightly in the microwave for a few seconds or add a tiny bit of milk or cream to achieve a smoother, pipeable consistency. If it’s too runny, chill it for a bit.
- Kid Involvement: Let children take charge of piping the frosting (with a little guidance!) and definitely the fun part of spraying the cones (under strict supervision and with a well-protected area). Attaching the mini marshmallows is also a perfect task for little hands.
- Storage: Once assembled, Santa Hat Cupcakes are best enjoyed within 1-2 days. Store them loosely covered at room temperature if your frosting is stable. If you’re using a cream cheese or whipped cream frosting, refrigerate them.
- Creative Variations:
- Cupcake Flavors: Don’t limit yourself to vanilla! Chocolate, red velvet, or even gingerbread cupcakes would make fantastic bases.
- Frosting Flavors: Peppermint frosting or even a light coconut frosting (to resemble snow) could add a delightful twist.
- Garnish: A sprinkle of edible glitter on the “hat” or a dusting of powdered sugar on the “brim” can add extra sparkle.
Frequently Asked Questions About Santa Hat Cupcakes
- Can I use regular food coloring to dye the sugar cones instead of spray?
- While technically possible, it’s generally not recommended for achieving an even, vibrant red. Liquid food coloring can make the cones soggy or result in a streaky finish. Red color mist spray provides the best, most uniform coverage and dries quickly, making it ideal for this recipe.
- How far in advance can I make these cupcakes?
- You can bake the cupcakes and spray the sugar cones 1-2 days in advance. Store them separately. Assemble the Santa Hat Cupcakes a few hours before serving for the freshest look and taste, as the cones can soften slightly over time when exposed to humidity from the frosting.
- My sugar cones aren’t drying properly, what should I do?
- Ensure you’re applying thin, even coats of the color mist. Over-spraying in one go can lead to drips and longer drying times. Humidity in the air can also affect drying; if possible, spray in a dry, well-ventilated area. A small fan can help speed up the process.
- Can I make these gluten-free?
- Absolutely! Simply use your favorite gluten-free cupcake mix or recipe and ensure your sugar cones are also certified gluten-free (some brands are). The frosting and marshmallows are typically gluten-free, but always check labels to be sure.
- How do I get the frosting to look like a fluffy brim?
- For a nice, fluffy “brim” effect, use a piping bag fitted with a large round or star tip. Pipe a generous swirl of frosting on top of each cooled cupcake. This creates a stable and attractive base for your Santa hat.
More Easy Christmas Treats:
If you loved making these Santa Hat Cupcakes, you’ll surely enjoy exploring other festive creations. Here are more simple and delicious Christmas treat ideas to keep your holiday spirit bright:
- Christmas Tree Cupcakes
- Christmas Tree Treats
- Sugar Cookie Pudding Cups
- Christmas Sugar Cookie Fudge
- Christmas Crack

Santa Hat Cupcakes
Author: Jaclyn
Ingredients
- 6 cupcakes prepared according to directions on box
- 6 sugar cones
- vanilla frosting
- red color mist spray
- 6 mini marshmallows
Instructions
-
Pipe vanilla frosting onto cooled cupcakes and then set aside.
-
Spray sugar cones with red color mist. Set aside and allow to dry.
-
Once the sugar cones (Santa Hats) are dry, place a dot of frosting on a mini marshmallow and then place on top of the cone.
-
Set the sugar cone on top of the frosted cupcake.
Notes
Nutrition

Did You Make This Recipe?
We’d love to see your creations! Share your beautiful Santa Hat Cupcakes with us on Instagram @crayonsandcravings and make sure to follow us on Pinterest @crayonsandcravings for even more delicious and easy recipe ideas to brighten your day!
Pin Recipe
Leave A Review
