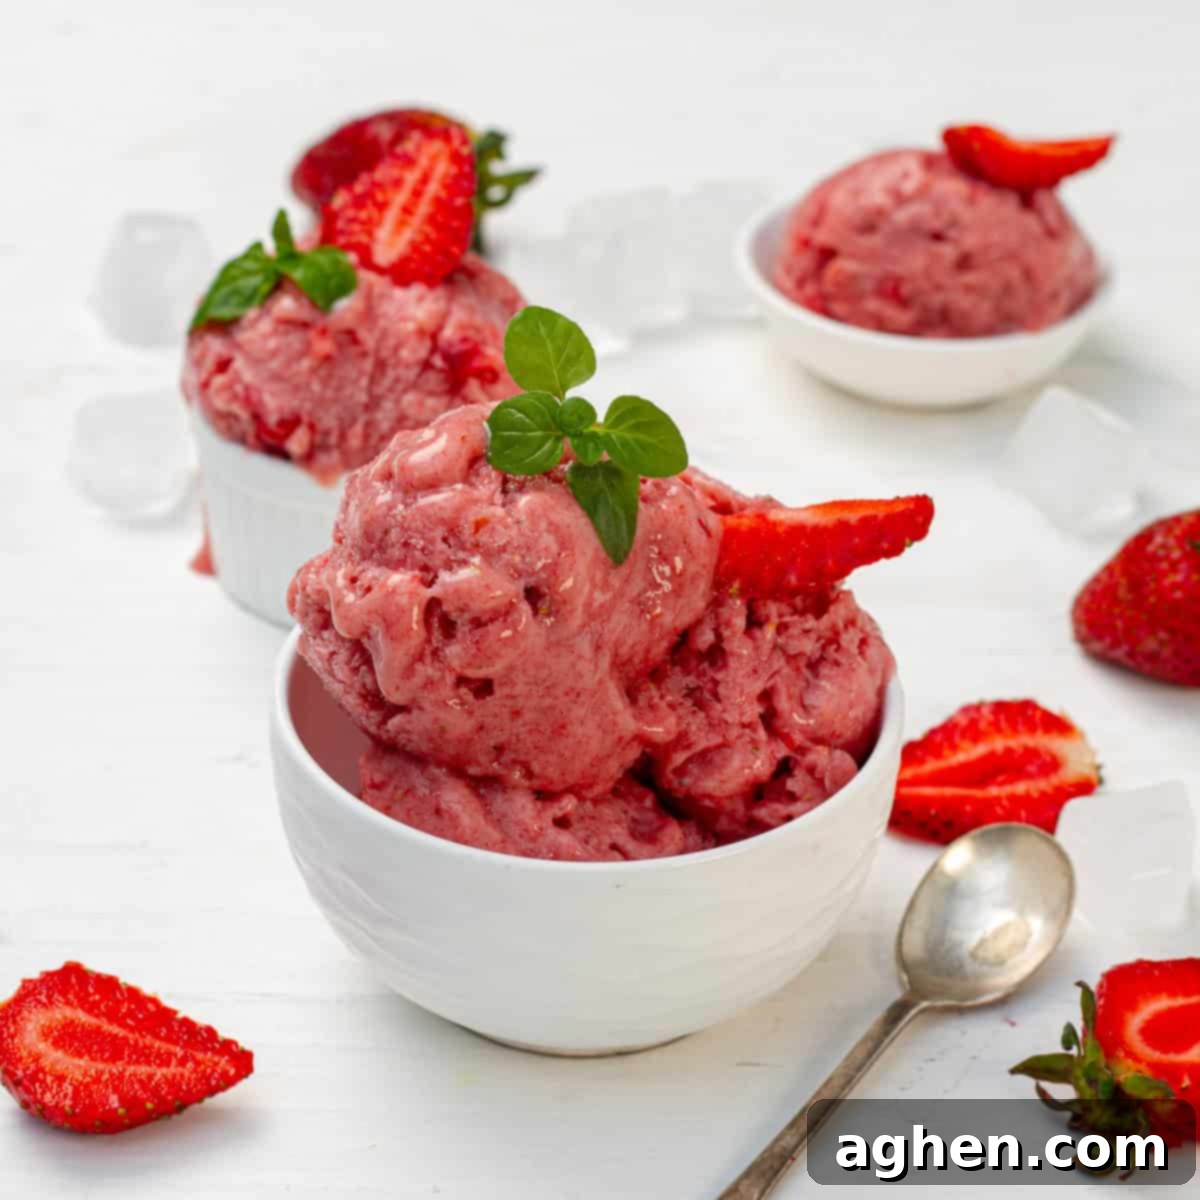
Indulge Guilt-Free: The Ultimate 2-Point Strawberry Banana Yogurt Ice Cream (Easy Blender Recipe!)
Are you searching for a refreshingly delicious, easy-to-make, and health-conscious dessert that satisfies your sweet cravings without derailing your dietary goals? Look no further! This delightful strawberry banana yogurt ice cream recipe is precisely what you need. It’s naturally sweetened by ripe fruits, delivers an incredibly creamy texture, and remarkably, comes together in just about five minutes of active prep time. Perfect for anyone following a Weight Watchers plan, this treat clocks in at an impressive 2 SmartPoints per serving, making it a truly guilt-free indulgence.
Forget complicated ice cream makers or lengthy churning processes. All that’s required for this quick and scrumptious homemade ice cream is a standard blender. You can opt for fresh, perfectly ripe fruit to capture their vibrant flavors, or choose frozen fruit for an even quicker, thicker, and more convenient preparation. Its incredible versatility means you can easily customize it to your taste, making this 2-point Weight Watchers ice cream a truly adaptable dessert. Prepare to get creative and enjoy a treat that’s both simple and satisfying!
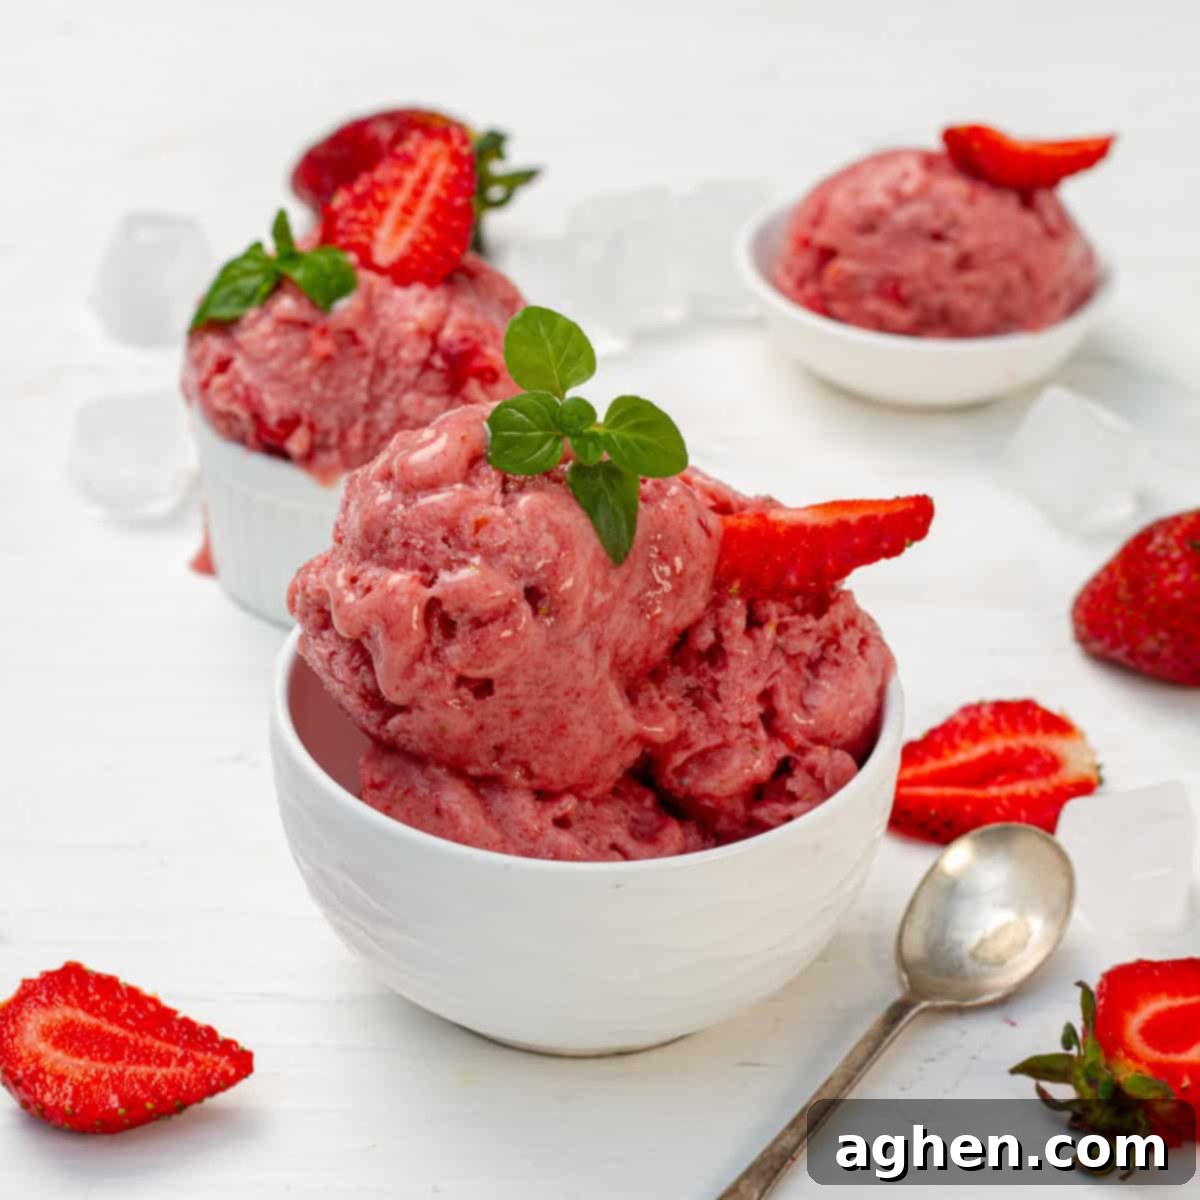
Why This Easy Strawberry Banana Yogurt Ice Cream Will Become Your New Favorite
If you, like countless others, appreciate recipes that are both easy and quick to prepare, then this strawberry banana yogurt ice cream is absolutely designed for you. With a mere three core ingredients that are typically staples in most refrigerators and grocery stores, and which are wonderfully affordable, you can effortlessly whip up a generous batch of this frozen delight. This homemade version offers significant savings compared to the often pricier light ice cream options found in supermarkets, giving you more deliciousness for less.
One of the most appealing aspects of this healthy ice cream recipe is its sheer simplicity and the minimal equipment it requires. There’s no need for an expensive, bulky ice cream maker or the tedious process of freezing, stirring, and refreezing just to achieve that coveted creamy consistency. The magic lies in the carefully selected ingredients – specifically, the combination of frozen fruit and Greek yogurt – which, when blended, miraculously transform into a rich, smooth, and incredibly creamy 2-Point treat. All you truly need to create this fantastic low-calorie dessert is a powerful blender and a suitable container for freezing. It truly revolutionizes the way you think about homemade ice cream, making it accessible to everyone.
Preparation Time: A quick 10 minutes (mostly chopping and gathering)
Blender Time: A mere 5 minutes for perfect blending
Freezing Time: Approximately 8 hours (or ideally, overnight) for optimal firmness
Yields: 4 satisfying servings
Serving Size: A generous 200 g.
Each serving is an incredible 2 WW Points, aligning perfectly with your Weight Watchers journey. For more detailed nutritional information and to track this recipe, you can view it directly on the WW Apphere (a WW login is required to access the specific recipe link).
Essential Ingredients for Your Healthy Homemade Ice Cream
Crafting this delightful strawberry banana yogurt ice cream requires just a handful of wholesome ingredients. The beauty of this recipe lies in its simplicity and the natural goodness each component brings to the final product. Here’s a closer look at what you’ll need to create this creamy, low-fat dessert:
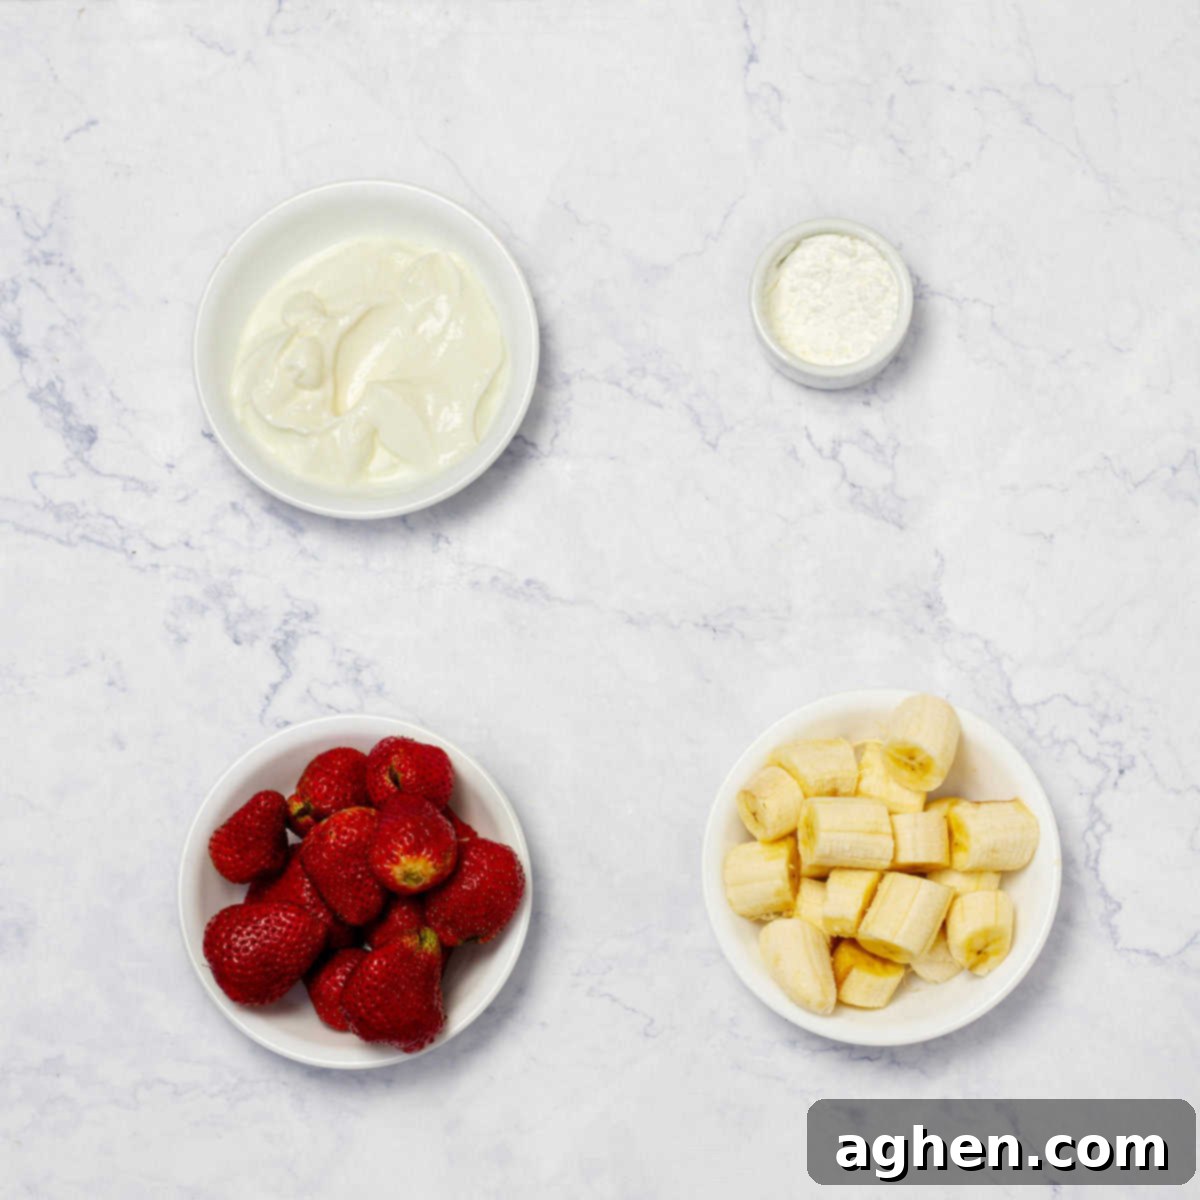
- 2 cups low-fat Greek yogurt, sweetened with Splenda (480 g): Greek yogurt is the star here, providing a rich, creamy base with a good protein punch. Opting for low-fat keeps the points down, while the Splenda ensures a consistent, sugar-free sweetness without adding calories. You can also choose unsweetened Greek yogurt and adjust the sweetener to your preference, or use a flavored Greek yogurt if it fits your point budget.
- 2 cups fresh strawberries, hulled and chopped (300 g): Fresh, ripe strawberries offer a burst of natural sweetness and a lovely tart contrast. Hulling and chopping them ensures they blend smoothly and distribute evenly throughout the ice cream. If fresh strawberries aren’t in season or readily available, frozen sliced strawberries work perfectly and can even enhance the creaminess of the final product.
- 3 large ripe bananas, sliced (360 g): Ripe bananas are crucial for both texture and natural sweetness in this recipe. Their high sugar content contributes to the overall flavor, while their texture helps create a thick, ice cream-like consistency when frozen and blended. Make sure they are truly ripe, with some brown spots, for maximum sweetness and ease of blending.
These three simple ingredients combine to create a symphony of flavors and textures, proving that you don’t need a long list of complex items to make an extraordinary, healthy treat.
Step-by-Step Guide: Crafting Your Easy Strawberry Banana Ice Cream
Making this incredible strawberry banana yogurt ice cream is genuinely straightforward. Follow these simple steps to achieve a perfectly creamy, refreshing dessert that’s ready to impress. Remember, the key to success is in the preparation and the correct blending technique.
- Prepare the Ingredients: Your first step is to gather all the required ingredients and ensure they are ready for blending. Start by thoroughly washing your fresh strawberries, then hull them (remove the green leafy tops) and chop them into smaller pieces. For the bananas, peel them and slice them into manageable rounds. If you plan to freeze some fruit to achieve an even colder, thicker consistency, do so now. The goal is to have everything prepped and within reach to make the blending process seamless.
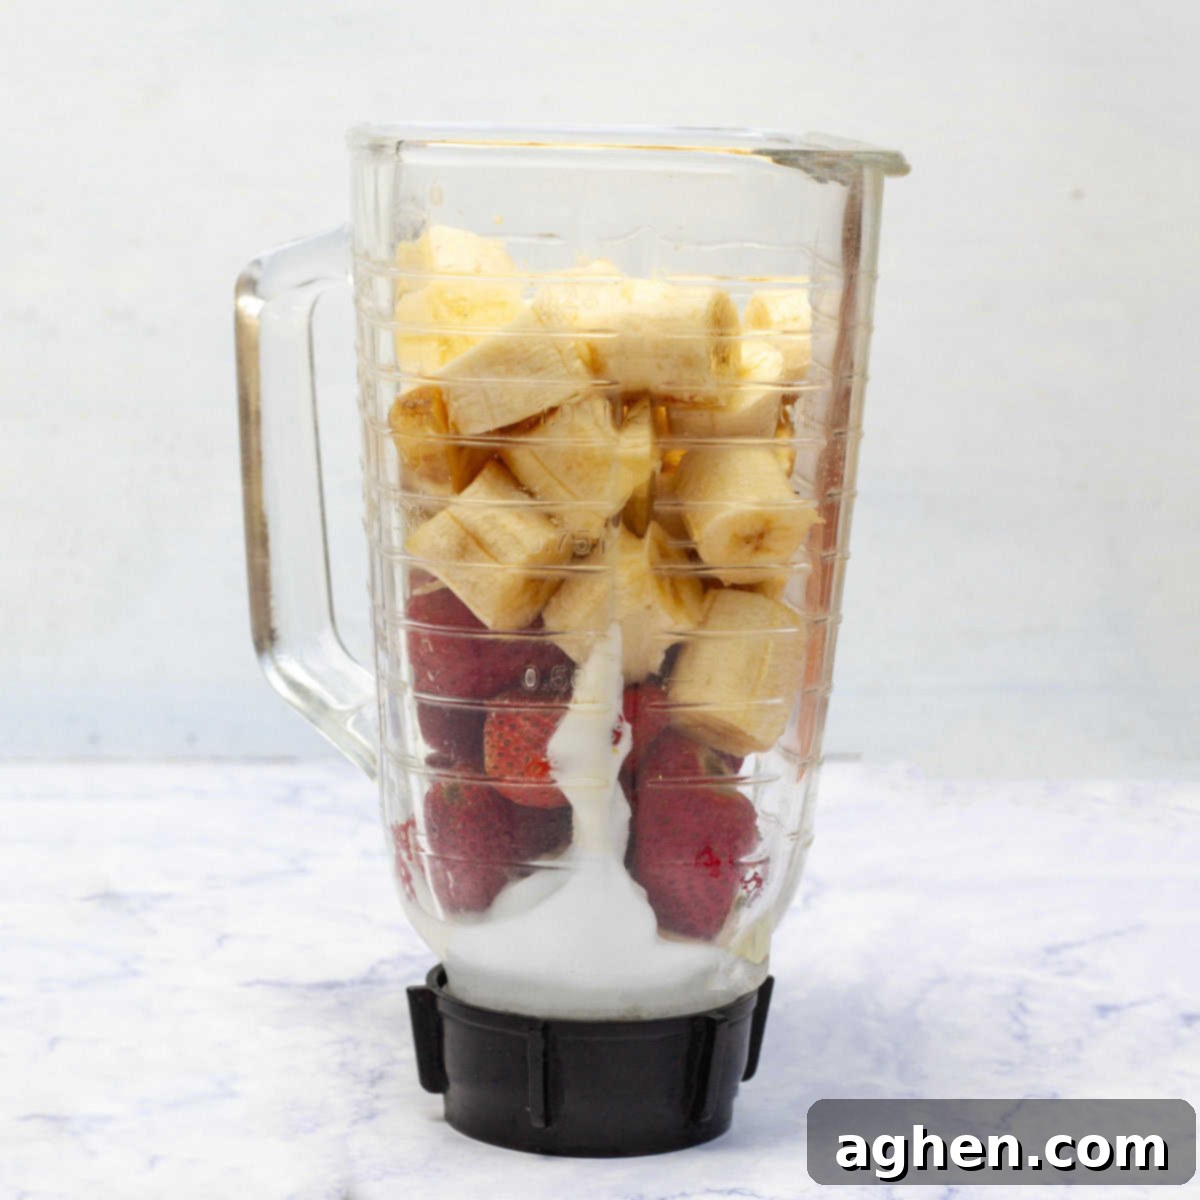
- Add to Blender: Carefully place 2 cups (which is about 480 g) of your low-fat Greek yogurt, previously sweetened with Splenda (or your preferred sweetener), into your blender. Next, add the chopped strawberries (approximately 300 g) and the sliced bananas (about 240 g from the 3 large bananas). Adding the yogurt first often helps to provide a liquid base, making it easier for the blades to catch and blend the frozen or fresh fruit smoothly.
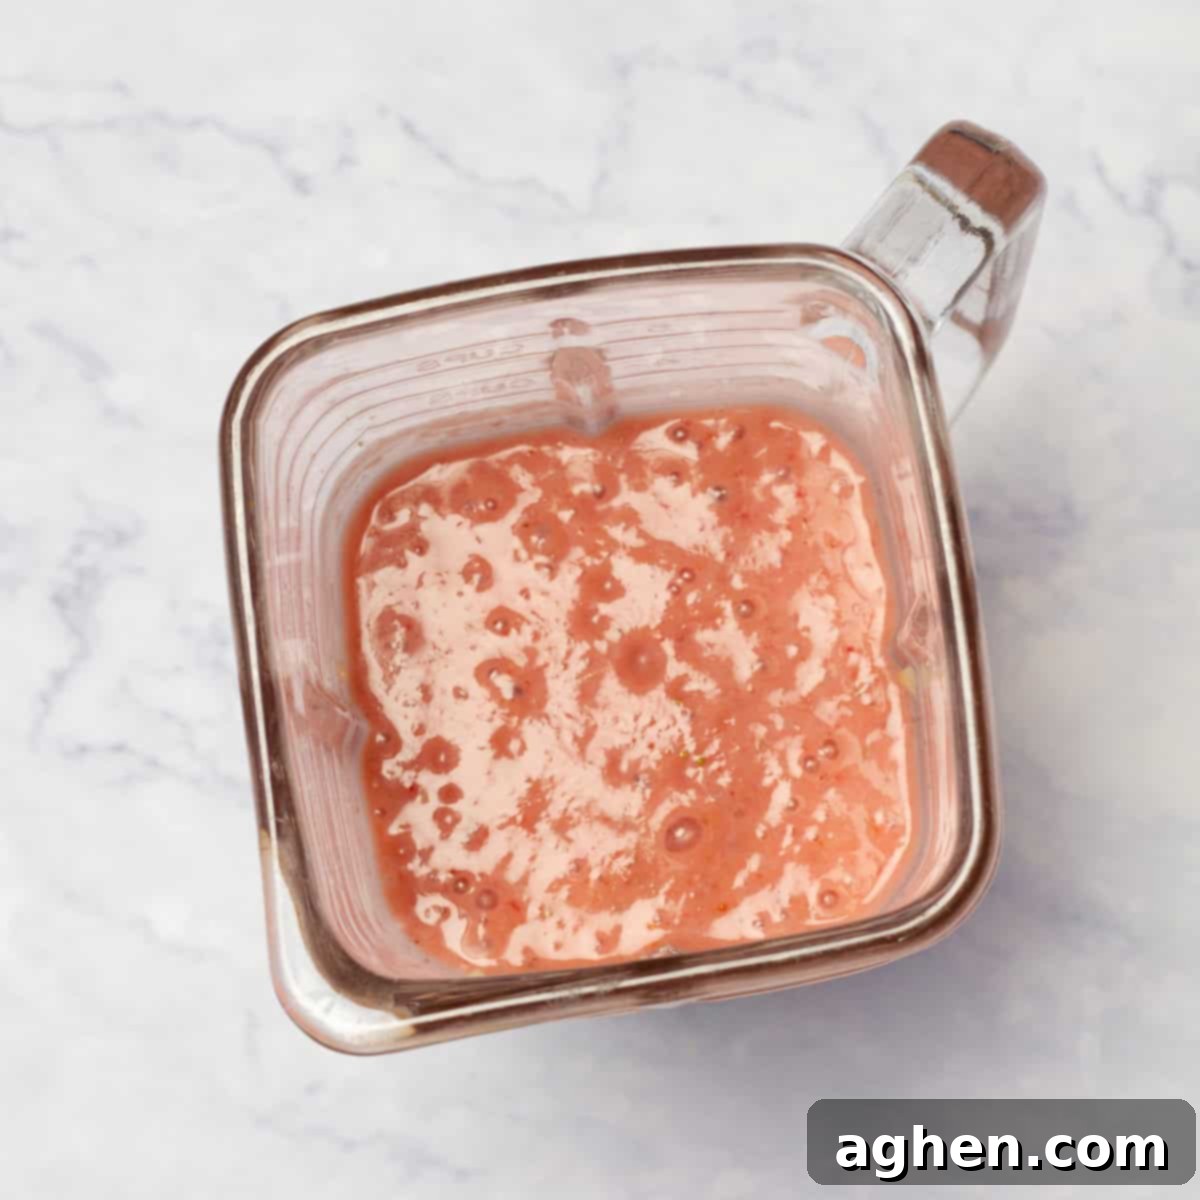
- Blend for Creaminess: Secure the lid on your blender and begin to blend on high speed. Continue blending for approximately 3 minutes. Your goal is to achieve a mixture that is completely smooth and thoroughly combined, with no visible chunks of fruit. For those who enjoy a bit of texture in their frozen desserts, a shorter blend time, perhaps around 1 minute, will leave small, delightful chunks of fruit in your ice cream. If you opt for this chunky style, consider reserving a small portion of chopped strawberries to fold in after blending, which will enhance both visual appeal and texture.
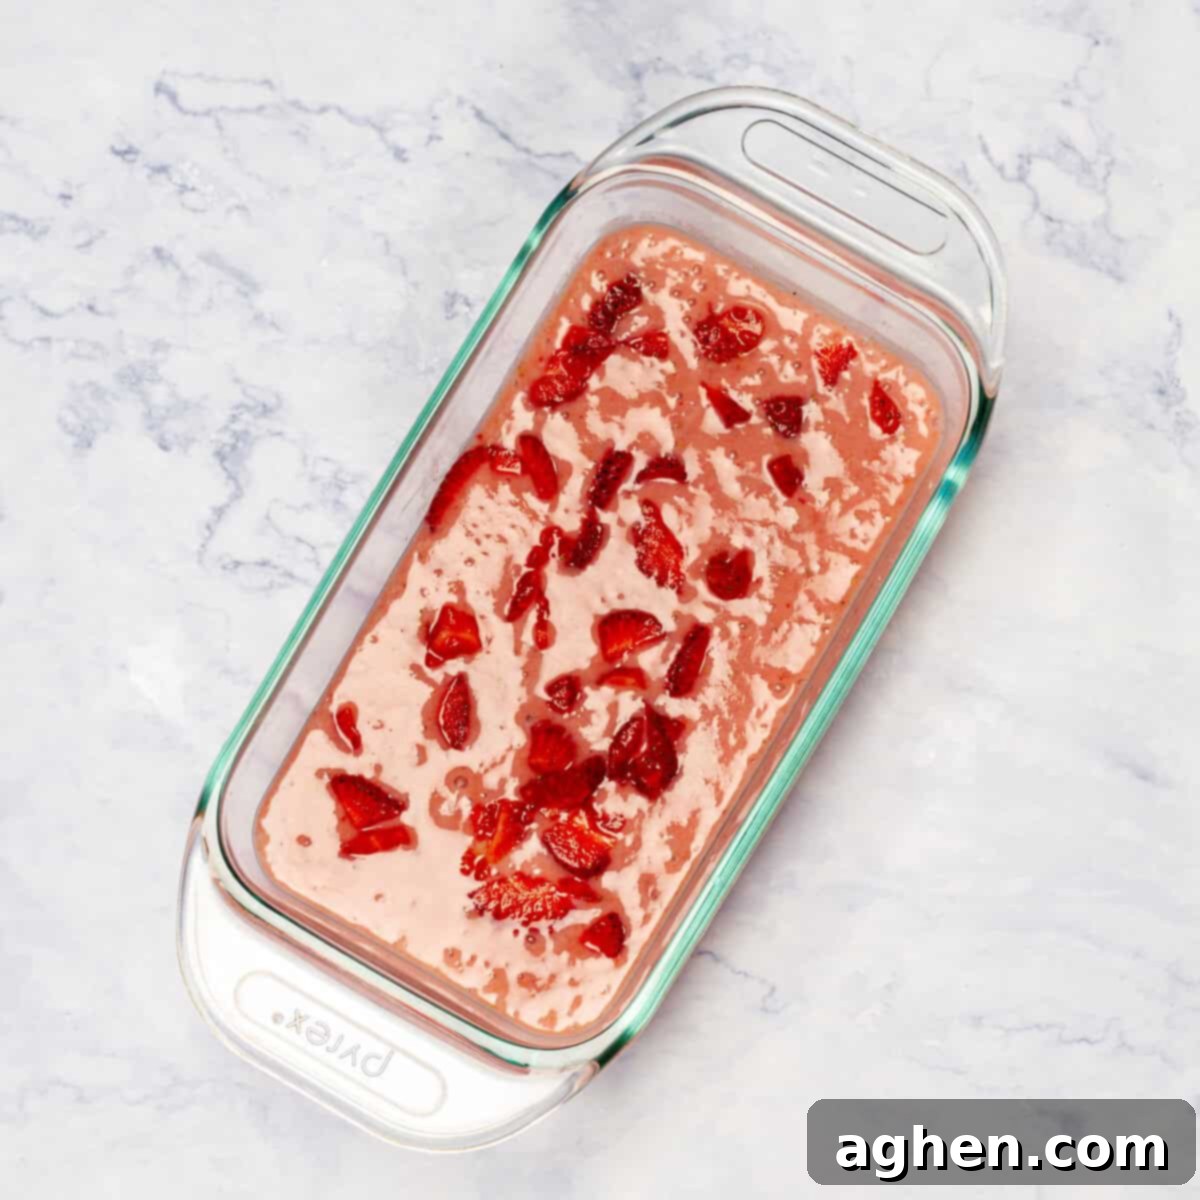
- Pour and Cover for Freezing: Once your creamy mixture has reached your desired consistency, carefully pour it into a clean glass or metal container. These materials are excellent for even freezing. If you decided to keep some chopped strawberries aside for a chunky texture, gently fold them into the mixture now. To prevent the formation of undesirable ice crystals on the surface and to maintain optimal creaminess, it is crucial to cover the container tightly. Use plastic wrap, pressing it directly onto the surface of the ice cream mixture before securing the container lid (if it has one).
- Freeze Until Firm: Place the securely covered container in your freezer. Allow the ice cream to freeze for at least 8 hours, or ideally, overnight. This extended freezing time is essential for the mixture to firm up properly and achieve that perfect scoopable ice cream texture. Patience is key here; a well-frozen base is the secret to a satisfying scoop.
- Serve and Enjoy: When you’re ready to indulge in your homemade treat, remove the ice cream from the freezer. Allow it to sit at room temperature for a few minutes (typically 5-10 minutes) to soften slightly. This brief resting period will make scooping much easier and ensure a smoother, more enjoyable texture. Scoop the firm, creamy ice cream into your favorite bowls or cones. For an added touch of elegance and fresh flavor, consider garnishing each serving with a few fresh strawberry slices or banana slices on top.
This detailed process ensures that every batch of your strawberry banana yogurt ice cream is a success, offering a delightful and healthy dessert experience every time.
Customizing Your Treat: Delicious Variations and Smart Substitutions
The beauty of this strawberry banana yogurt ice cream recipe lies in its adaptability. While the classic combination is undeniably delicious, don’t hesitate to experiment and make it truly your own. Here are some fantastic ideas for variations and substitutions to keep things exciting:
- Yogurt Choices: While I specifically use low-fat Greek yogurt sweetened with Splenda for its high protein, lower fat, and controlled sweetness, your options don’t end there. You can certainly use any flavor of yogurt you prefer! Imagine the delightful complexity of a lemon pie flavored Greek yogurt, or the subtle richness of a vanilla bean yogurt. A classic strawberry yogurt would only enhance the berry notes. Just be mindful of the added sugars and points if you’re tracking your intake. Dairy-free alternatives like almond or coconut-based yogurts can also be used for a vegan twist, though their texture and freezing properties might vary slightly.
- Fruitful Swaps: Strawberries and bananas are a match made in heaven, but this recipe is just as delectable with other fruits. Consider swapping out the strawberries for an equal amount of plump blueberries or tangy raspberries for a different berry experience. Mango or peaches, especially when frozen, also blend beautifully into a creamy base, offering a tropical or summery twist. Feel free to mix and match your favorite fruits, or even add a handful of a third fruit for a multi-layered flavor profile. The key is to ensure your chosen fruits are ripe for natural sweetness and ideally, frozen, for the best ice cream consistency.
- Sweetness Adjustments: I often find the natural sweetness from the ripe bananas sufficient for my palate. However, the sweetness of strawberries can vary greatly depending on the season and ripeness. If your strawberries aren’t as sweet as you’d like, or if you simply prefer a sweeter treat, you can easily adjust the sweetener level. Always opt for your preferred 0-point Weight Watchers sweetener, such as additional Splenda, Stevia, or monk fruit sweetener. Add it gradually, tasting as you go, to reach your desired sweetness without overdoing it. Remember, less is often more when it comes to added sweeteners, letting the fruit flavors shine.
These simple adjustments allow you to enjoy a new flavor experience every time, proving that healthy eating can be both flexible and incredibly delicious.
Expert Tips and Tricks for Achieving the Perfect Ice Cream Every Time
While this strawberry banana yogurt ice cream recipe is incredibly simple, a few expert tips can elevate your results from great to absolutely outstanding. Pay attention to these details to ensure the best possible flavor and consistency:
- Timing Your Bananas is Key: It’s a common culinary wisdom that bananas tend to oxidize and turn brown quickly once cut and exposed to air. To preserve their fresh appearance and flavor in your ice cream, make sure to cut the bananas last, immediately before you are ready to add them to the blender. However, a delightful scientific bonus here is that when bananas are mixed with the natural acidity of strawberries, this oxidation process is significantly slowed, or literally stopped, ensuring your ice cream maintains its appealing color.
- Blend to Your Desired Texture: The beauty of homemade ice cream is complete control over the final texture. If you crave a silky-smooth, classic ice cream feel, blend the mixture on high speed for the full 3 minutes as instructed, ensuring all fruit chunks are completely pulverized. However, if you prefer the delightful surprise of finding small, tender pieces of fruit in your ice cream, reduce the blending time to about 1 minute. A pulse setting can also help you achieve this coarser texture with precision.
- Optimize Blending with Ingredient Order: To ensure your blender works efficiently and produces a consistently smooth mixture without struggling, the order in which you add ingredients matters. Always add the yogurt first to the blender. The yogurt provides a necessary liquid base at the bottom of the blender jar, allowing the blades to move freely and effectively pull down the more solid ingredients. Follow with the strawberries, and then the bananas. This layering technique provides enough liquid to facilitate the blending of the denser bananas, preventing the blades from getting stuck.
- Cover Tightly for Creaminess: Preventing ice crystal formation is paramount for creamy homemade ice cream. When transferring the blended mixture to its freezing container, ensure it is covered tightly with plastic wrap. For best results, press the plastic wrap directly onto the surface of the ice cream, creating an airtight seal. This barrier minimizes exposure to air, which is the primary cause of icy textures. After the minimum 8 hours of freezing, when you’re ready to serve, don’t hesitate to elevate the presentation. A few fresh mint leaves scattered on top or a drizzle of sugar-free chocolate syrup can add a gourmet touch and enhance the visual appeal of your delicious creation.
The Health Benefits of This Wholesome Treat
Beyond its incredible taste and ease of preparation, this strawberry banana yogurt ice cream offers a plethora of health benefits that make it a standout dessert option. Unlike many store-bought ice creams laden with high sugar and unhealthy fats, this homemade version focuses on natural ingredients to deliver a nutritious punch.
Firstly, the use of low-fat Greek yogurt is a game-changer. Greek yogurt is renowned for its high protein content, which helps keep you feeling full and satisfied, curbing further cravings. It’s also packed with probiotics, promoting a healthy gut microbiome and aiding in digestion. By choosing low-fat, you significantly reduce the saturated fat content found in traditional ice cream, contributing to better cardiovascular health.
Secondly, the reliance on strawberries and bananas for natural sweetness means you’re getting a wealth of vitamins, minerals, and antioxidants. Strawberries are rich in Vitamin C, manganese, and powerful antioxidants, which help combat free radicals and support immune function. Bananas provide essential potassium, crucial for heart health and muscle function, as well as dietary fiber, which aids digestion and helps regulate blood sugar levels. This natural sweetness profile drastically cuts down on added refined sugars, making it a much healthier choice for managing blood sugar and overall caloric intake.
Finally, for those following a Weight Watchers program, the 2 WW Points per serving is a clear indicator of its health-conscious design. It allows you to enjoy a substantial, creamy dessert without guilt or significant impact on your daily points budget. This makes it an excellent option for satisfying sweet cravings while staying on track with your wellness goals. This healthy strawberry banana ice cream truly redefines what a dessert can be – both indulgent and incredibly good for you.
Serving Suggestions and Creative Toppings
While this strawberry banana yogurt ice cream is absolutely divine on its own, adding a few thoughtful serving suggestions and creative toppings can transform it into an even more spectacular dessert experience. Elevate your simple blender ice cream with these ideas:
- Fresh Fruit Medley: Beyond just a few slices, consider a small bowl of mixed fresh berries (blueberries, raspberries, blackberries) or other chopped fruits like kiwi or mango alongside your ice cream. Their vibrant colors and varied textures provide a beautiful contrast.
- A Sprinkle of Crunch: Add a textural dimension with a sprinkle of low-fat granola for breakfast-like indulgence, or a few chopped unsalted nuts like almonds or walnuts for healthy fats and a satisfying crunch. Toasted coconut flakes also pair wonderfully with tropical fruit notes.
- Sugar-Free Syrups or Sauces: A light drizzle of sugar-free chocolate syrup, a berry reduction (made from blending berries and a touch of sweetener), or a sugar-free caramel sauce can add an extra layer of flavor complexity without adding many points.
- Herbal Freshness: As mentioned in the tips, a few fresh mint leaves are not just for decoration; they add a refreshing aroma and subtle herbaceous note that complements the fruit beautifully.
- Whipped Topping: For an extra luxurious feel, top with a dollop of light whipped cream or a sugar-free whipped topping.
- In a Cone: Don’t forget the classic ice cream cone! Choose a low-calorie or whole-wheat cone to keep your dessert light and fun.
These suggestions help turn a simple treat into a gourmet experience, allowing you to enjoy your healthy homemade ice cream in endless delightful ways.
Frequently Asked Questions (FAQs) About Your Blender Ice Cream
To help you master this delicious and healthy strawberry banana yogurt ice cream, here are answers to some common questions:
Can I use frozen fruit instead of fresh fruit?
Absolutely! Using frozen fruit, especially frozen banana slices and strawberries, can actually lead to an even creamier, thicker consistency directly out of the blender. If using fresh fruit, you might want to freeze it for an hour or two before blending for an icier, firmer base, or be prepared for a slightly softer “soft-serve” texture before freezing the final mixture. Just ensure the total quantity remains the same.
How long does homemade yogurt ice cream last in the freezer?
When stored in an airtight container, your strawberry banana yogurt ice cream can last in the freezer for up to 1-2 weeks. Beyond that, while it will still be safe to eat, its texture might become icier due to crystal formation, and the flavors might diminish slightly. For the best taste and texture, consume within the first week.
Can I make this recipe dairy-free or vegan?
Yes, you can! Simply substitute the low-fat Greek yogurt with a dairy-free alternative like almond milk yogurt, coconut milk yogurt, or soy yogurt. Ensure your chosen dairy-free yogurt is plain or sweetened with a compliant sweetener to maintain the low-point aspect. The rest of the ingredients are naturally plant-based.
Why did my ice cream turn out too hard or too icy?
Several factors can contribute to an overly hard or icy texture. Insufficient blending time can leave larger ice crystals. More commonly, improper storage (not covering tightly with plastic wrap directly on the surface) allows air to enter and form crystals. Also, if your yogurt or fruit wasn’t cold enough before blending, it might contribute to a less smooth freeze. Make sure your ingredients are as cold as possible prior to blending and always cover tightly.
What if my blender isn’t very powerful?
If you have a less powerful blender, you might need to stop and scrape down the sides a few times during blending to ensure all ingredients are incorporated. You can also add a tablespoon or two of milk (dairy or non-dairy) to help loosen the mixture and aid in blending, but be careful not to add too much liquid as it could affect the final texture.
This strawberry banana yogurt ice cream is a fantastic way to keep things light, healthy, and incredibly refreshing, especially during warmer months, all while staying perfectly within your Weight Watchers points. It’s a testament to how simple ingredients and minimal effort can create a truly delightful and guilt-free treat. Give it a try soon and savor every spoonful of this simple yet absolutely delightful creation!
Strawberry Banana Yogurt Ice Cream
Ingredients
- 2 cups low-fat Greek yogurt, sweetened with Splenda (480 g)
- 2 cups fresh strawberries, hulled and chopped (300 g)
- 3 large ripe bananas, sliced (360 g)
Instructions
-
Prepare the Ingredients: Start by gathering all your ingredients. Ensure your strawberries are hulled and chopped, and your bananas are sliced right before blending to maintain freshness.
-
Add to Blender: In a blender, add 2 cups (480 g) of low-fat Greek yogurt sweetened with Splenda. Then add the chopped strawberries (300 g) and sliced bananas (240 g). This order helps with smoother blending.
-
Blend for Creaminess: Blend on high speed for about 3 minutes until the mixture is completely smooth and well combined. If you prefer a chunky ice cream, blend for a shorter time, around 1 minute, and you can even reserve some chopped strawberries to fold in after blending.
-
Pour and Cover: Once the mixture is smooth, pour it into a glass or metal container suitable for freezing. If you reserved any chopped strawberries, gently fold them into the mixture now. Cover the container tightly with plastic wrap, pressing it directly onto the surface of the ice cream to prevent ice crystals from forming.
-
Freeze: Place the securely covered container in the freezer and allow it to freeze for a minimum of 8 hours or, ideally, overnight until the ice cream is firm and scoopable.
-
Serve: When ready to serve, remove the ice cream from the freezer and let it sit at room temperature for a few minutes (5-10 minutes) to soften slightly, making it easier to scoop. Scoop the creamy ice cream into bowls or cones. For an extra touch of freshness and appeal, garnish with fresh strawberry slices, banana slices, or even a sprig of mint.
Notes
Nutrition
Nutrition information is automatically calculated and provided for general guidance only. It should be used as an approximation and may vary based on specific brands and ingredient preparations.
