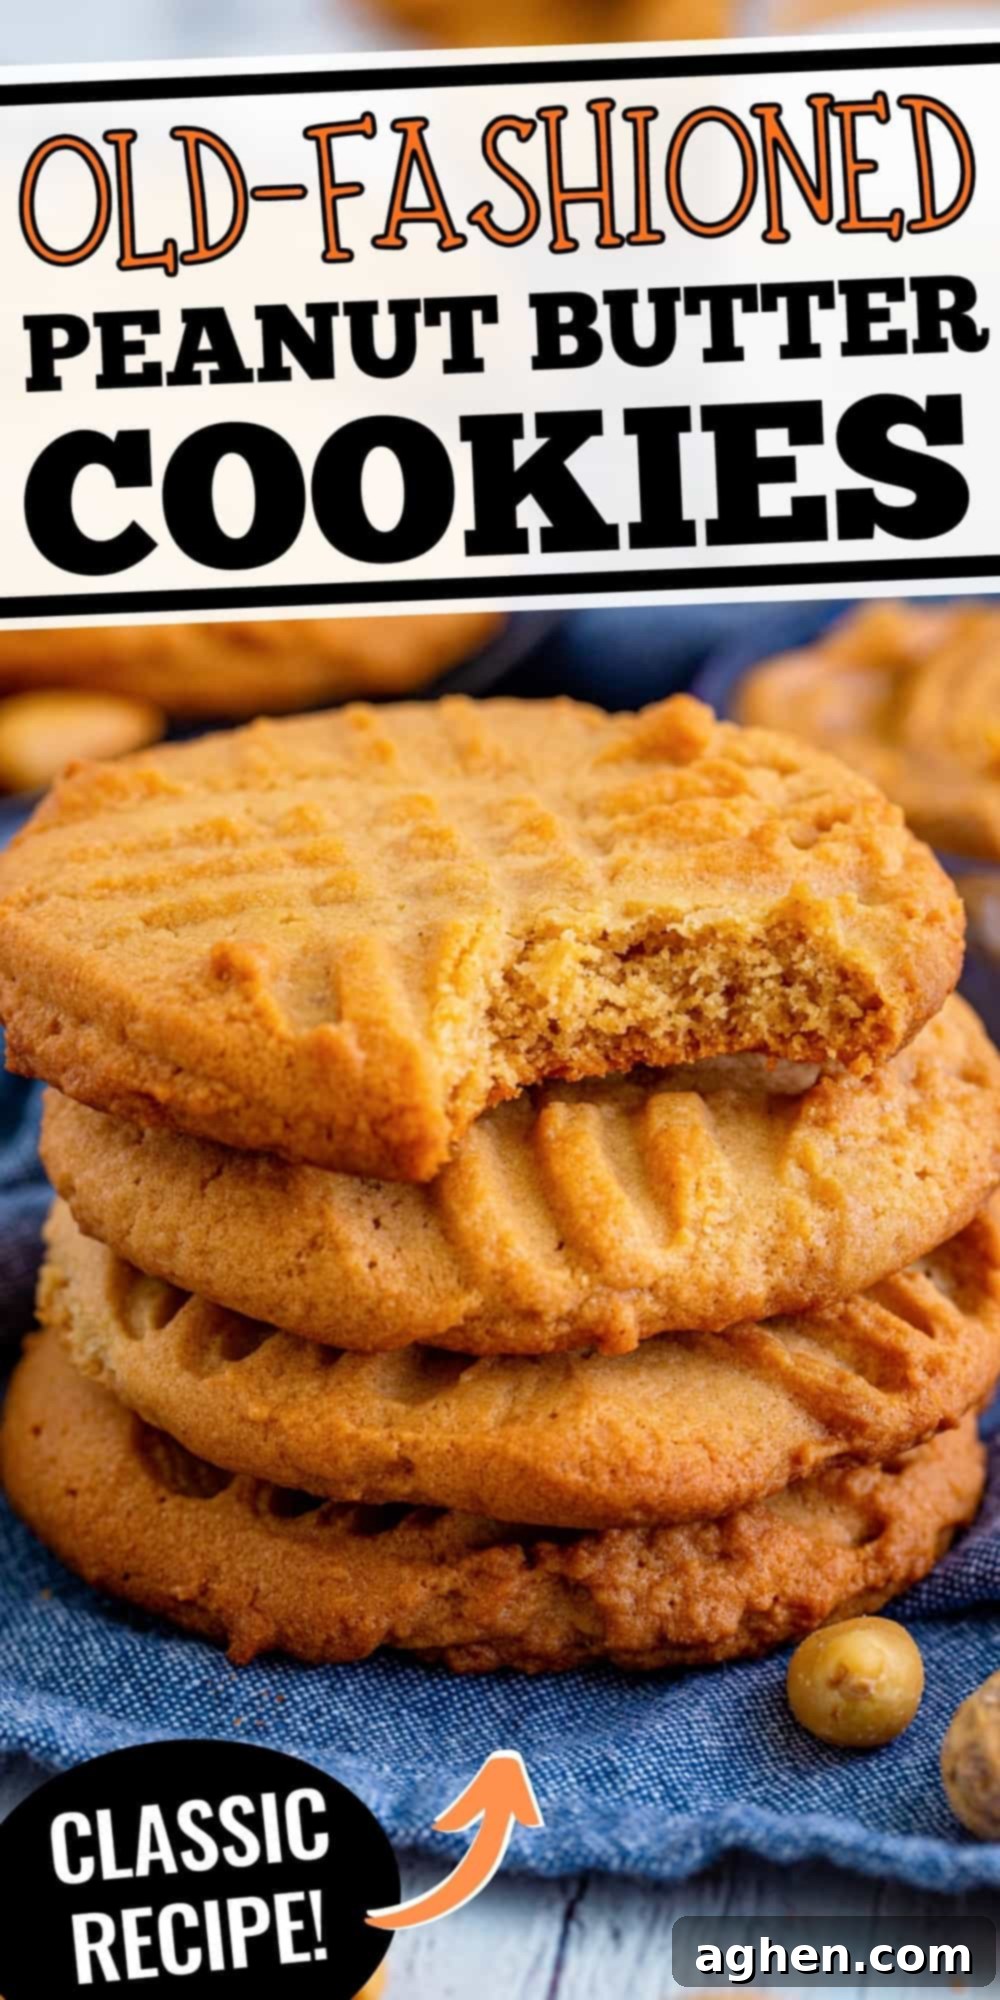
Grandma’s Classic Old-Fashioned Peanut Butter Cookies: An Easy Recipe for Nostalgic Flavor
Step back in time with a batch of these incredible Old-Fashioned Peanut Butter Cookies! They boast a perfectly crispy, golden-brown exterior that gives way to a wonderfully soft and chewy middle, delivering that unmistakable, heartwarming taste just like the ones your grandma used to bake. This easy-to-follow, vintage-inspired recipe promises a delightful batch of homemade peanut butter cookies in less than half an hour, making it perfect for any craving or occasion.
When it comes to the beloved peanut butter, are you a devoted member of team crunchy or do you prefer the smooth, creamy consistency? For me, it’s always been team creamy! There’s something undeniably comforting about that velvety texture, and it truly shines in this classic cookie recipe.
Over the years, I’ve had the pleasure of creating and sharing a multitude of delicious creamy peanut butter cookie recipes. If you’re a fan of quick treats, these 15-minute chocolate peanut butter no-bake cookies are a classic crowd-pleaser that never disappoints. My decadent peanut butter cup cookies, the incredibly simple 3-ingredient peanut butter cookies, and the always-popular chocolate chip peanut butter cookie bars are constant favorites. And, of course, no discussion of peanut butter cookies would be complete without my classic peanut butter blossom cookies, which are absolutely perfect for the holidays and cookie exchanges.
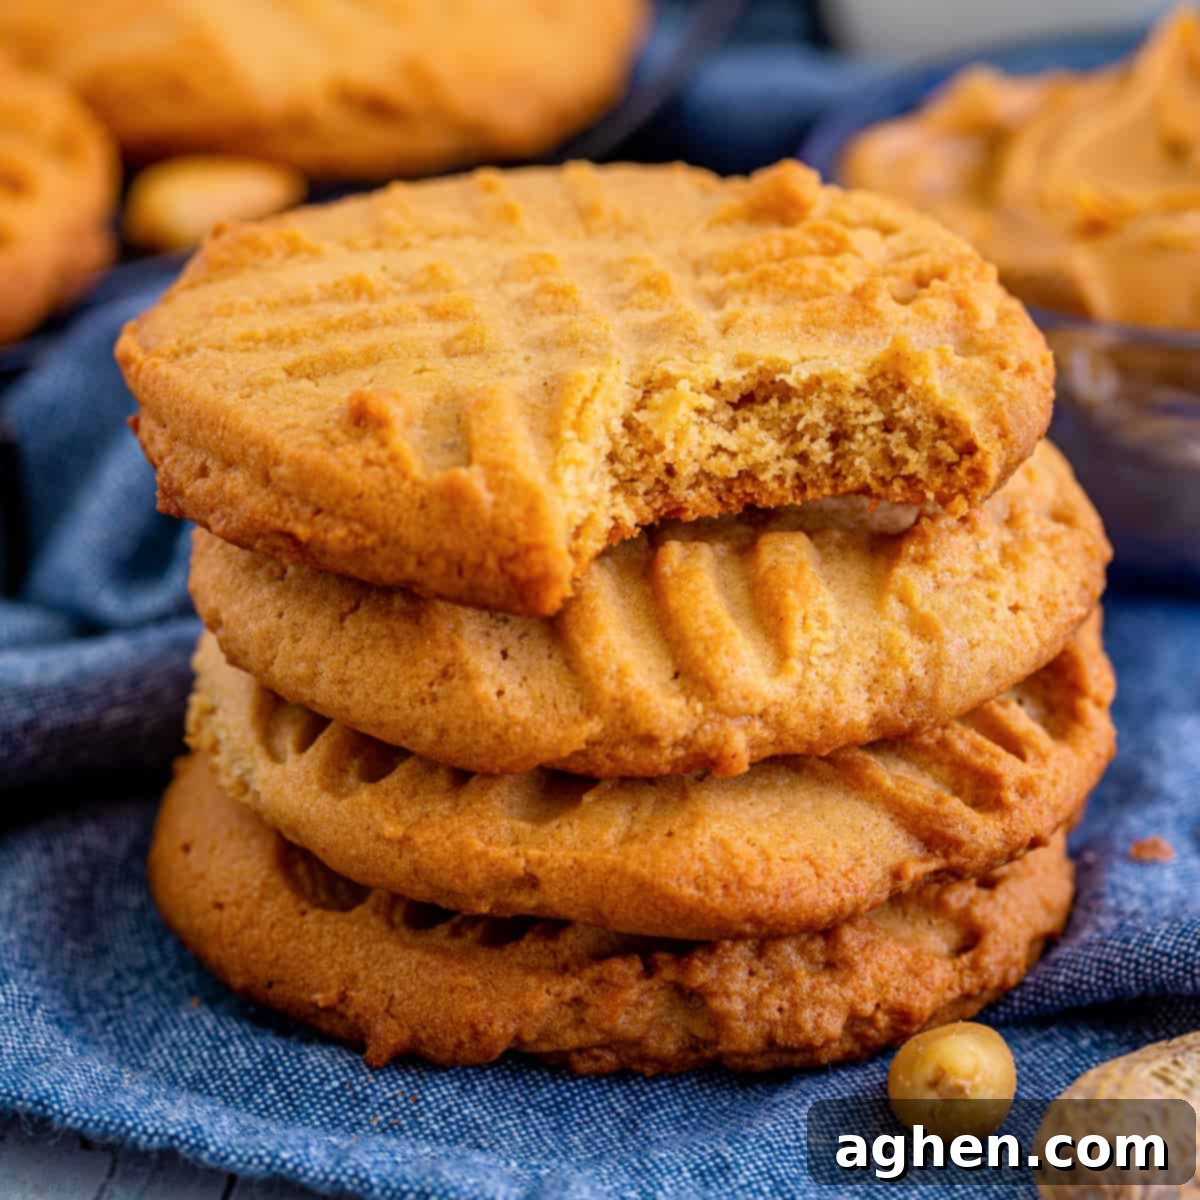
Today, however, I’m thrilled to share with you what I consider to be the ultimate classic peanut butter cookie recipe. This isn’t just any recipe; it’s a journey back to the comforting flavors of childhood, a taste of nostalgia that’s surprisingly easy to achieve right in your own kitchen. The rich, nutty flavor of peanut butter is undeniably the star ingredient of these delightful treats, coming through boldly and beautifully in every single bite.
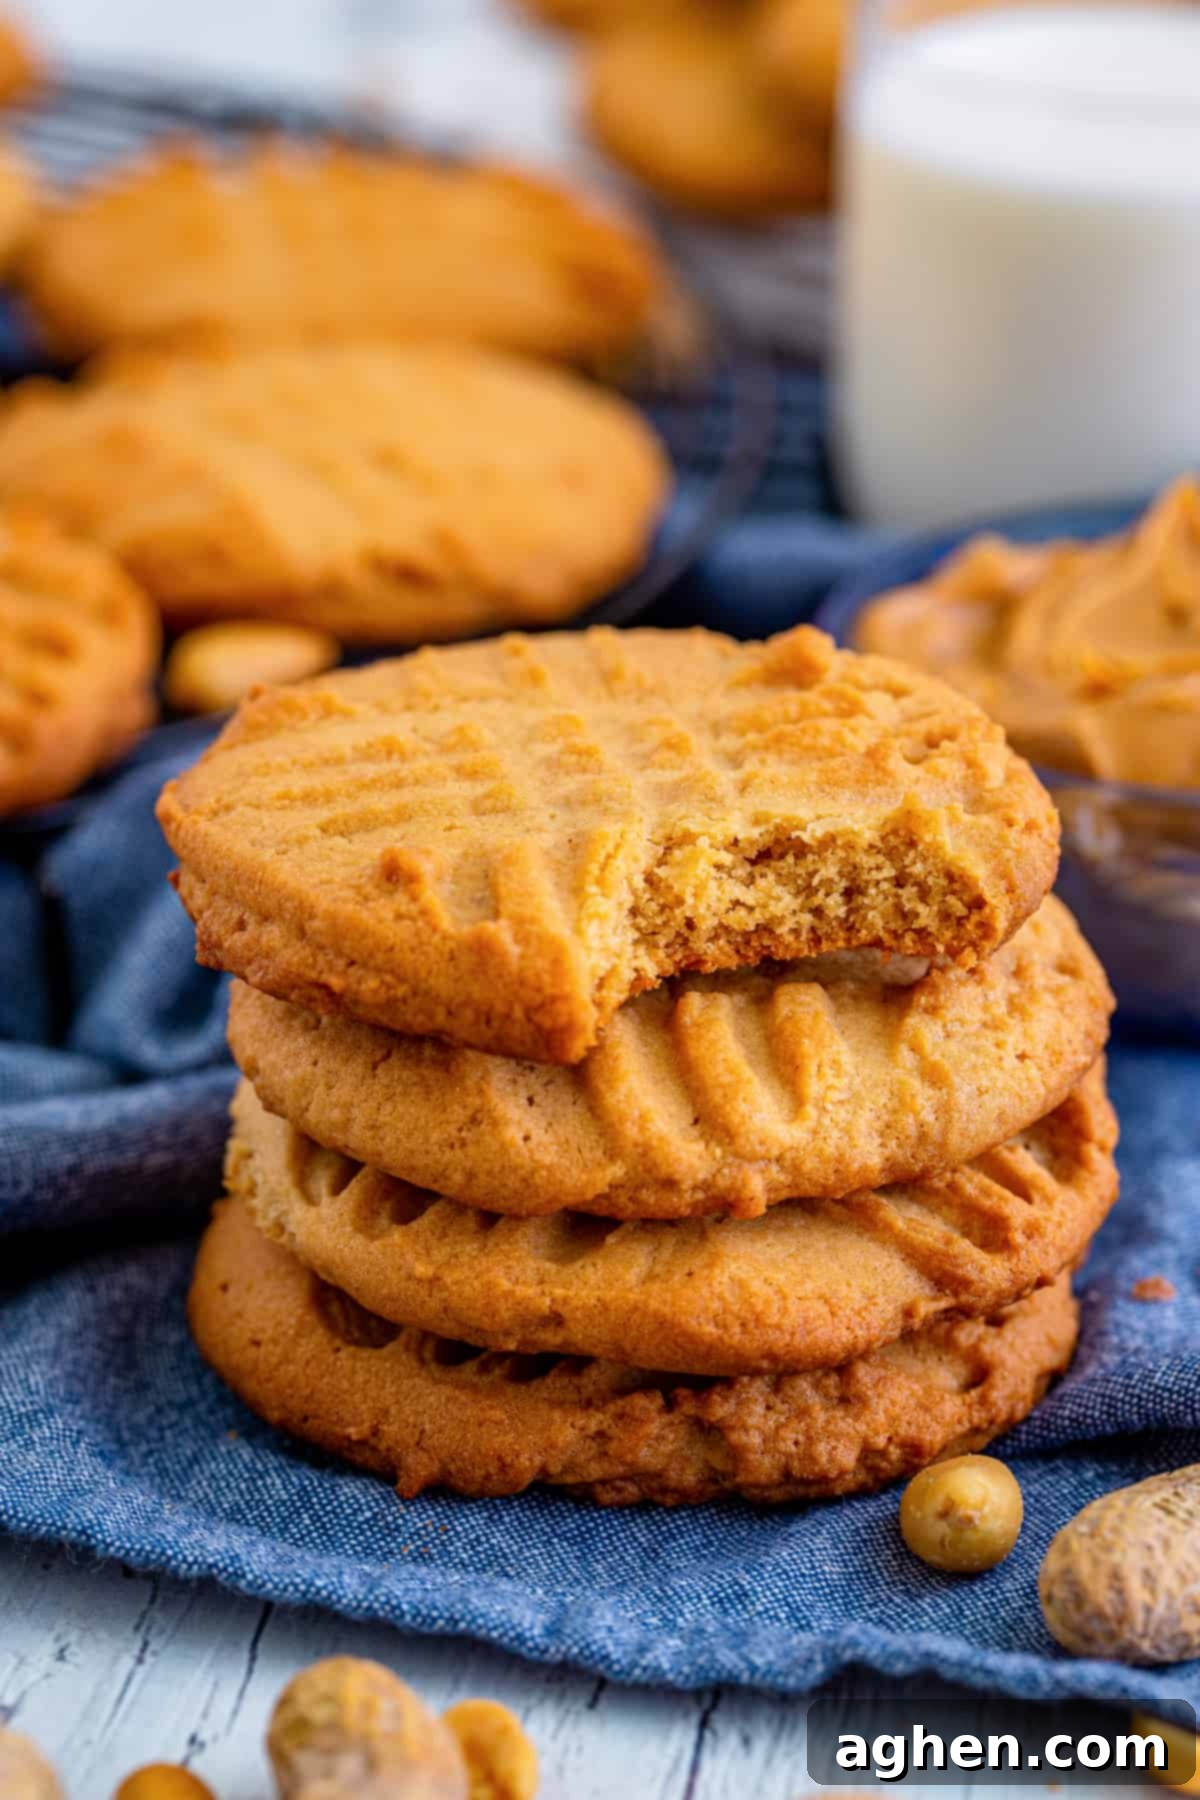
These cookies are sometimes affectionately referred to as “Lunch Lady Peanut Butter Cookies” because their crisp, crumbly texture and soft, tender centers are reminiscent of those generously sized, irresistible peanut butter cookies we all cherished from our school cafeteria days. They bring a wave of sweet memories with every bite.
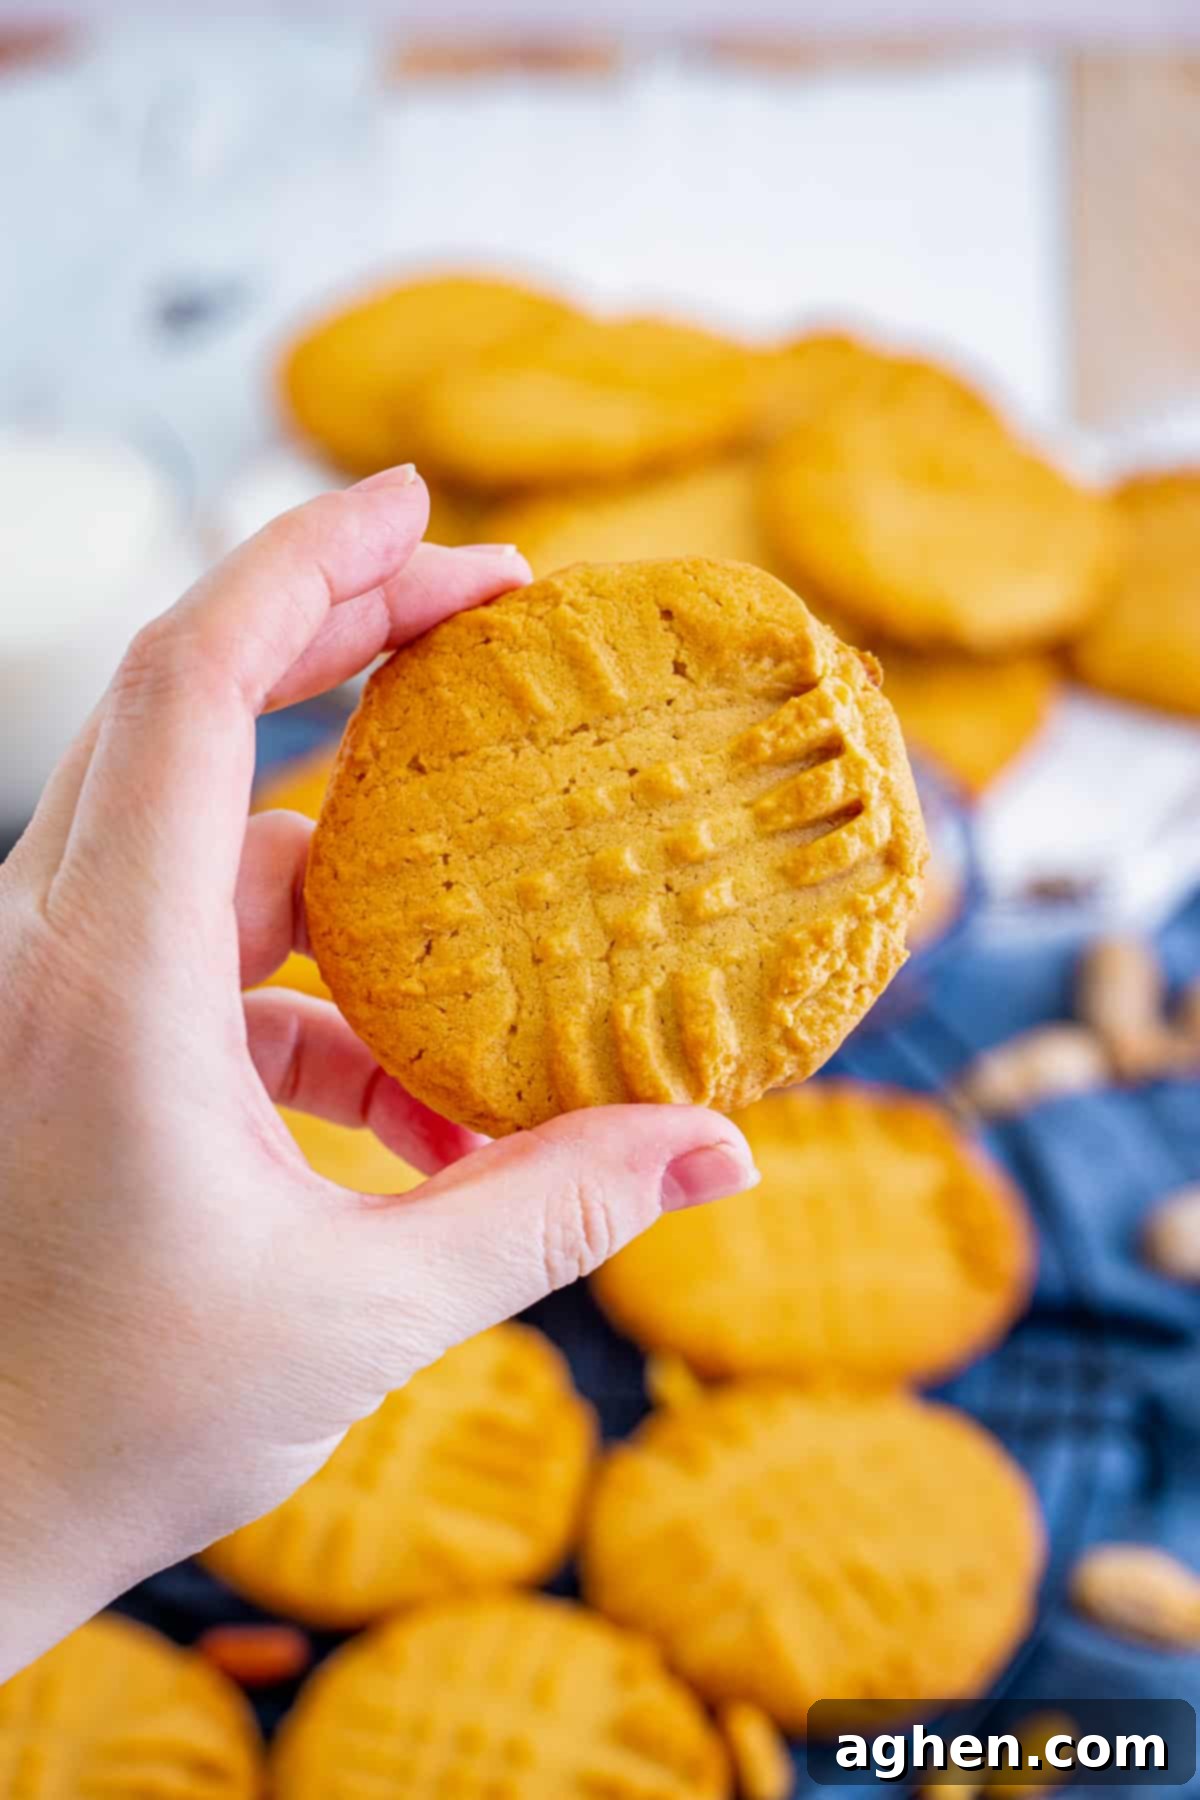
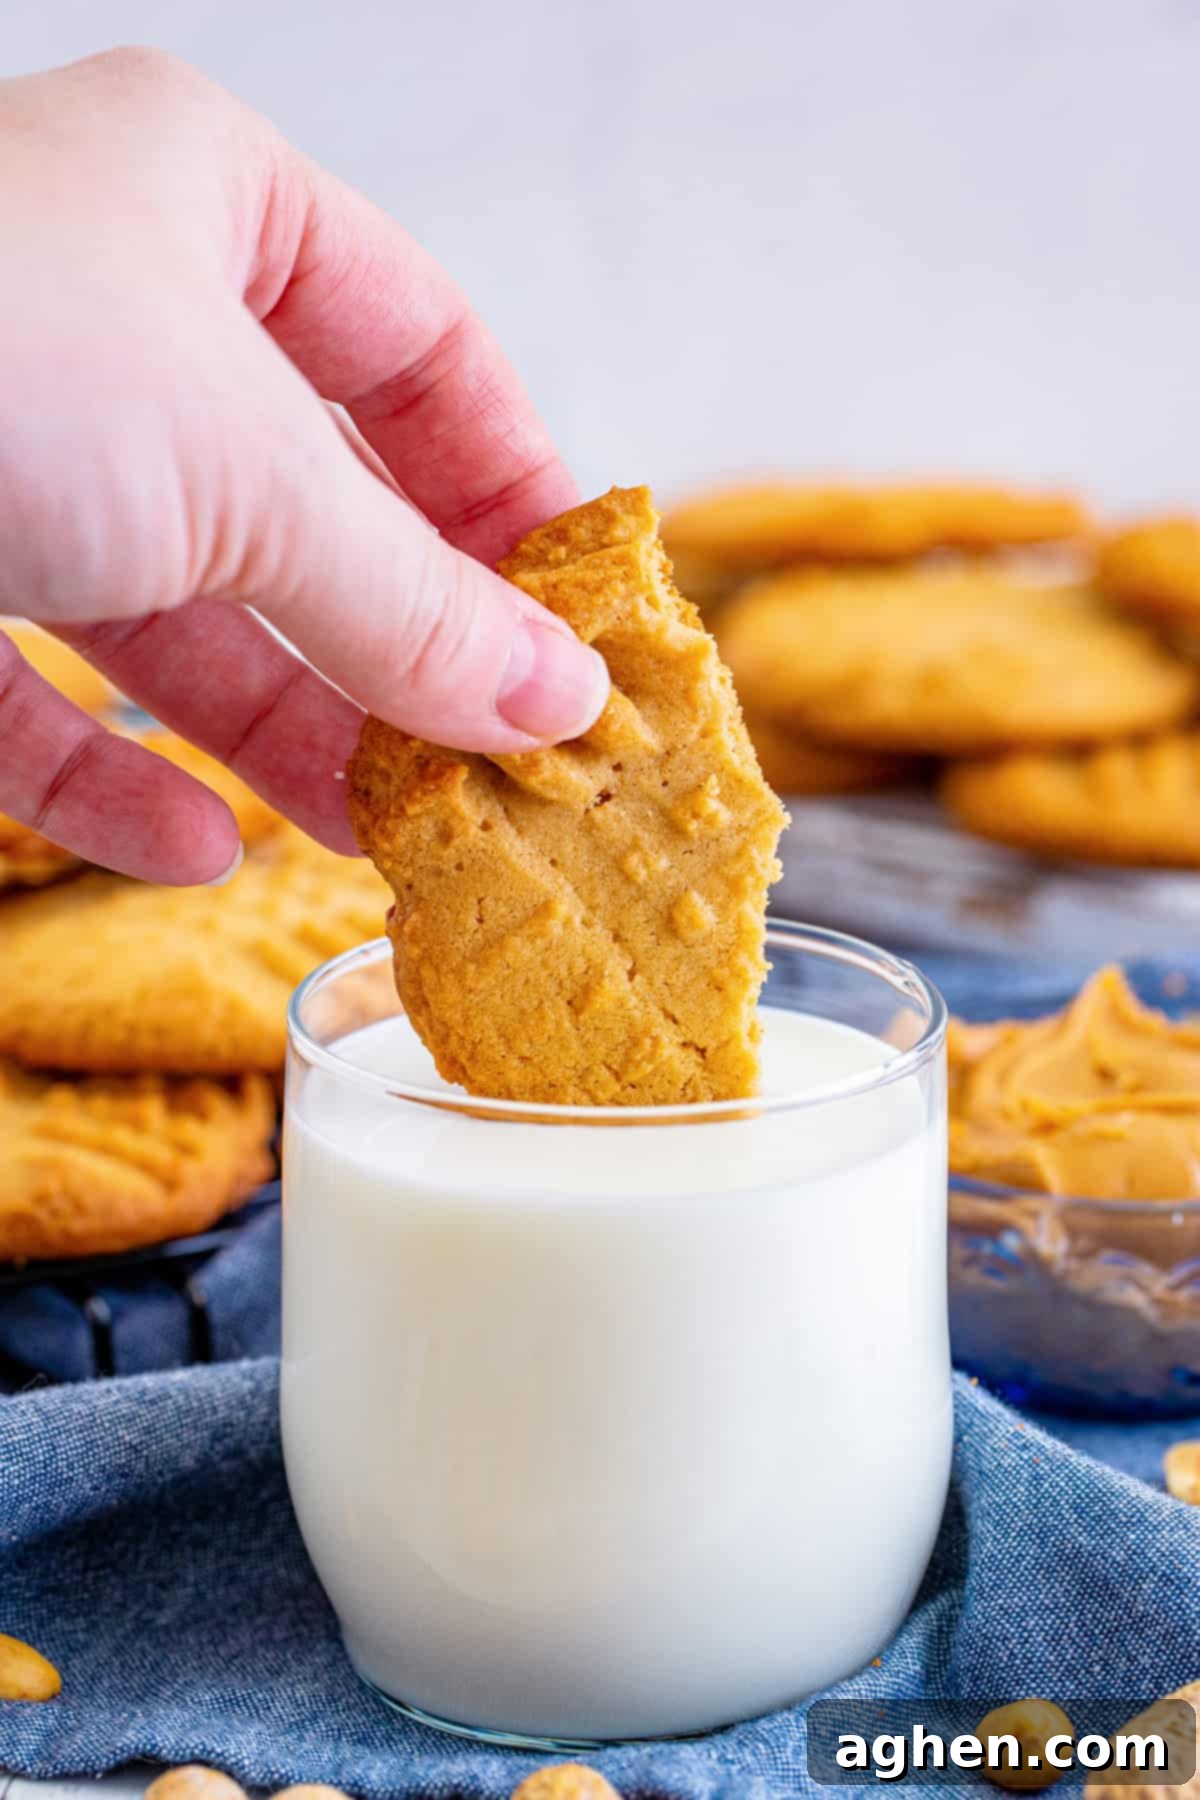
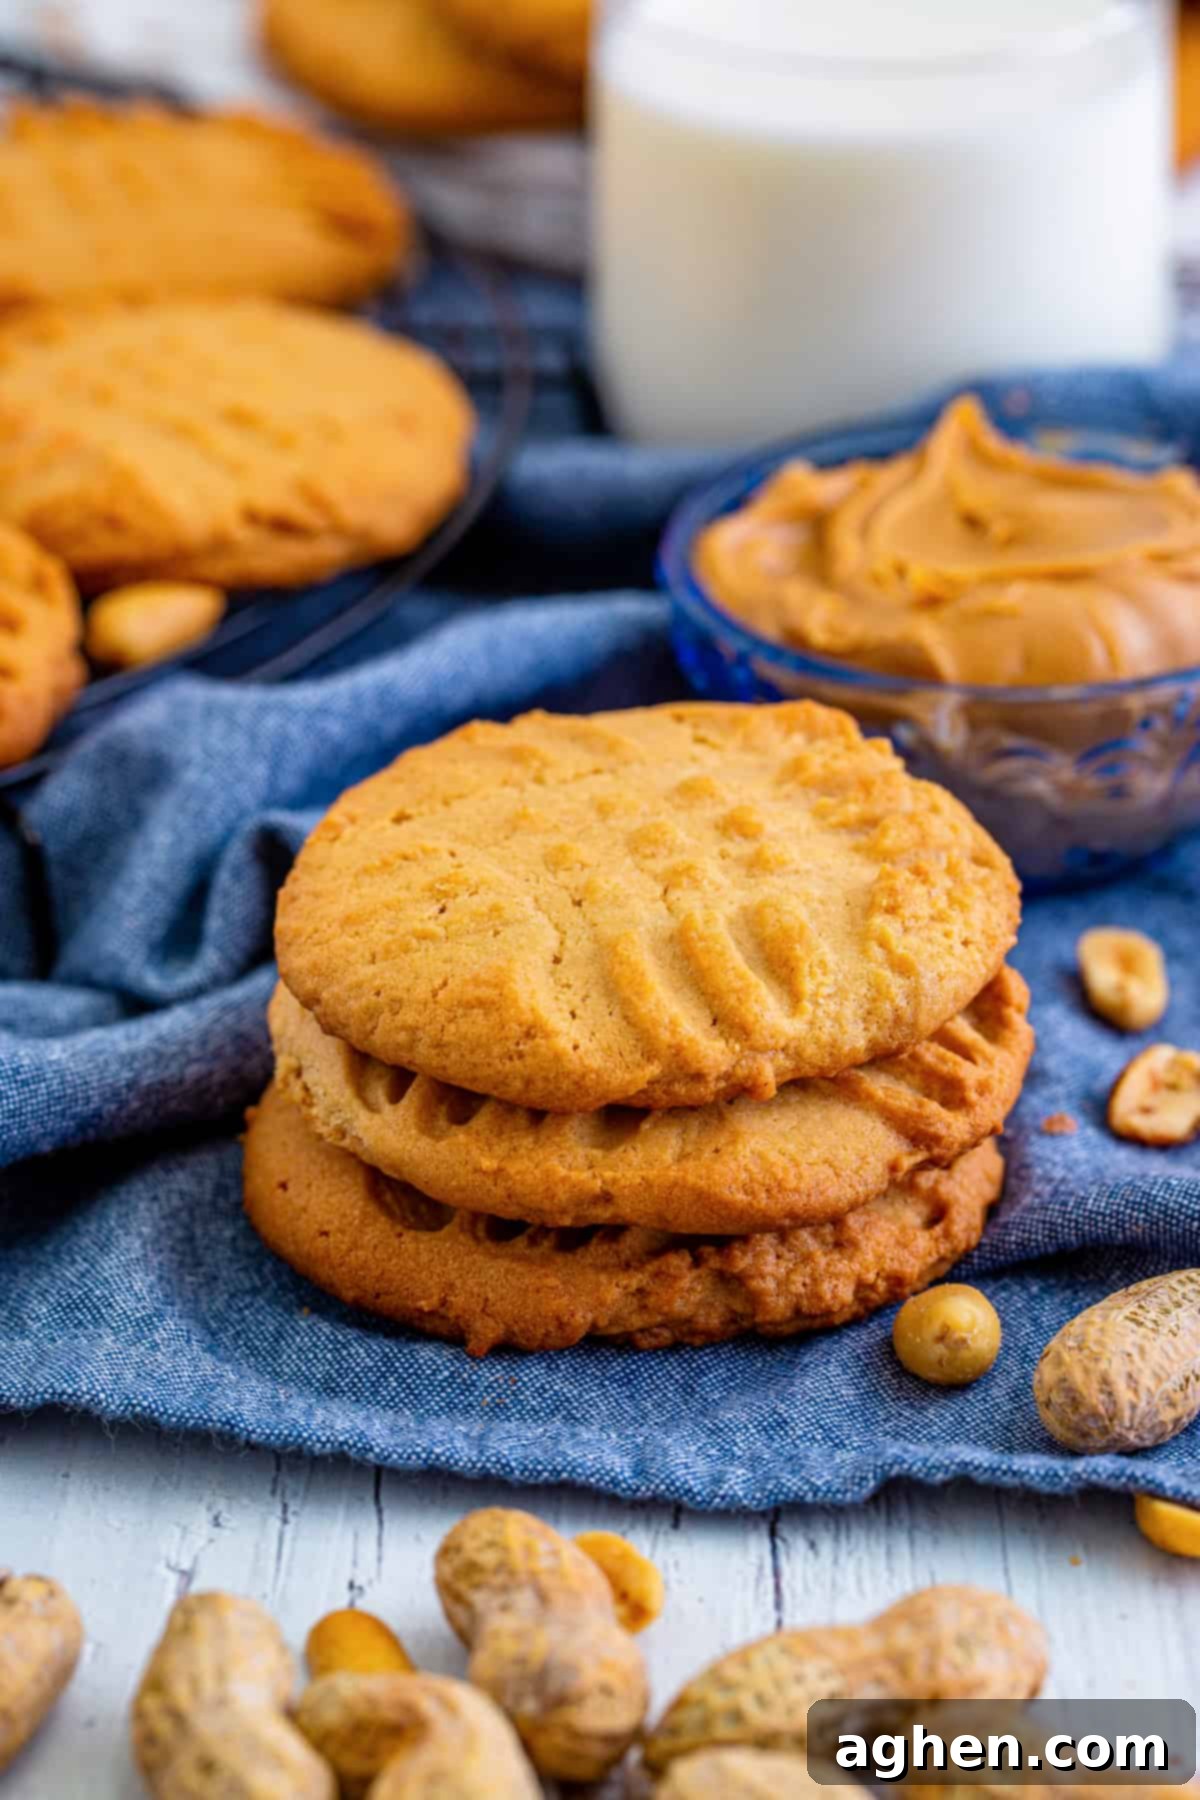
You’ll also notice that these classic peanut butter cookies proudly feature the iconic fork prong lattice strokes across their tops. This simple yet essential detail isn’t just for aesthetics; it helps to flatten the cookies and is a hallmark of traditional, homemade peanut butter cookies—just like grandma’s cookies always had. It’s a sign that you’re about to enjoy an authentic, time-honored treat.
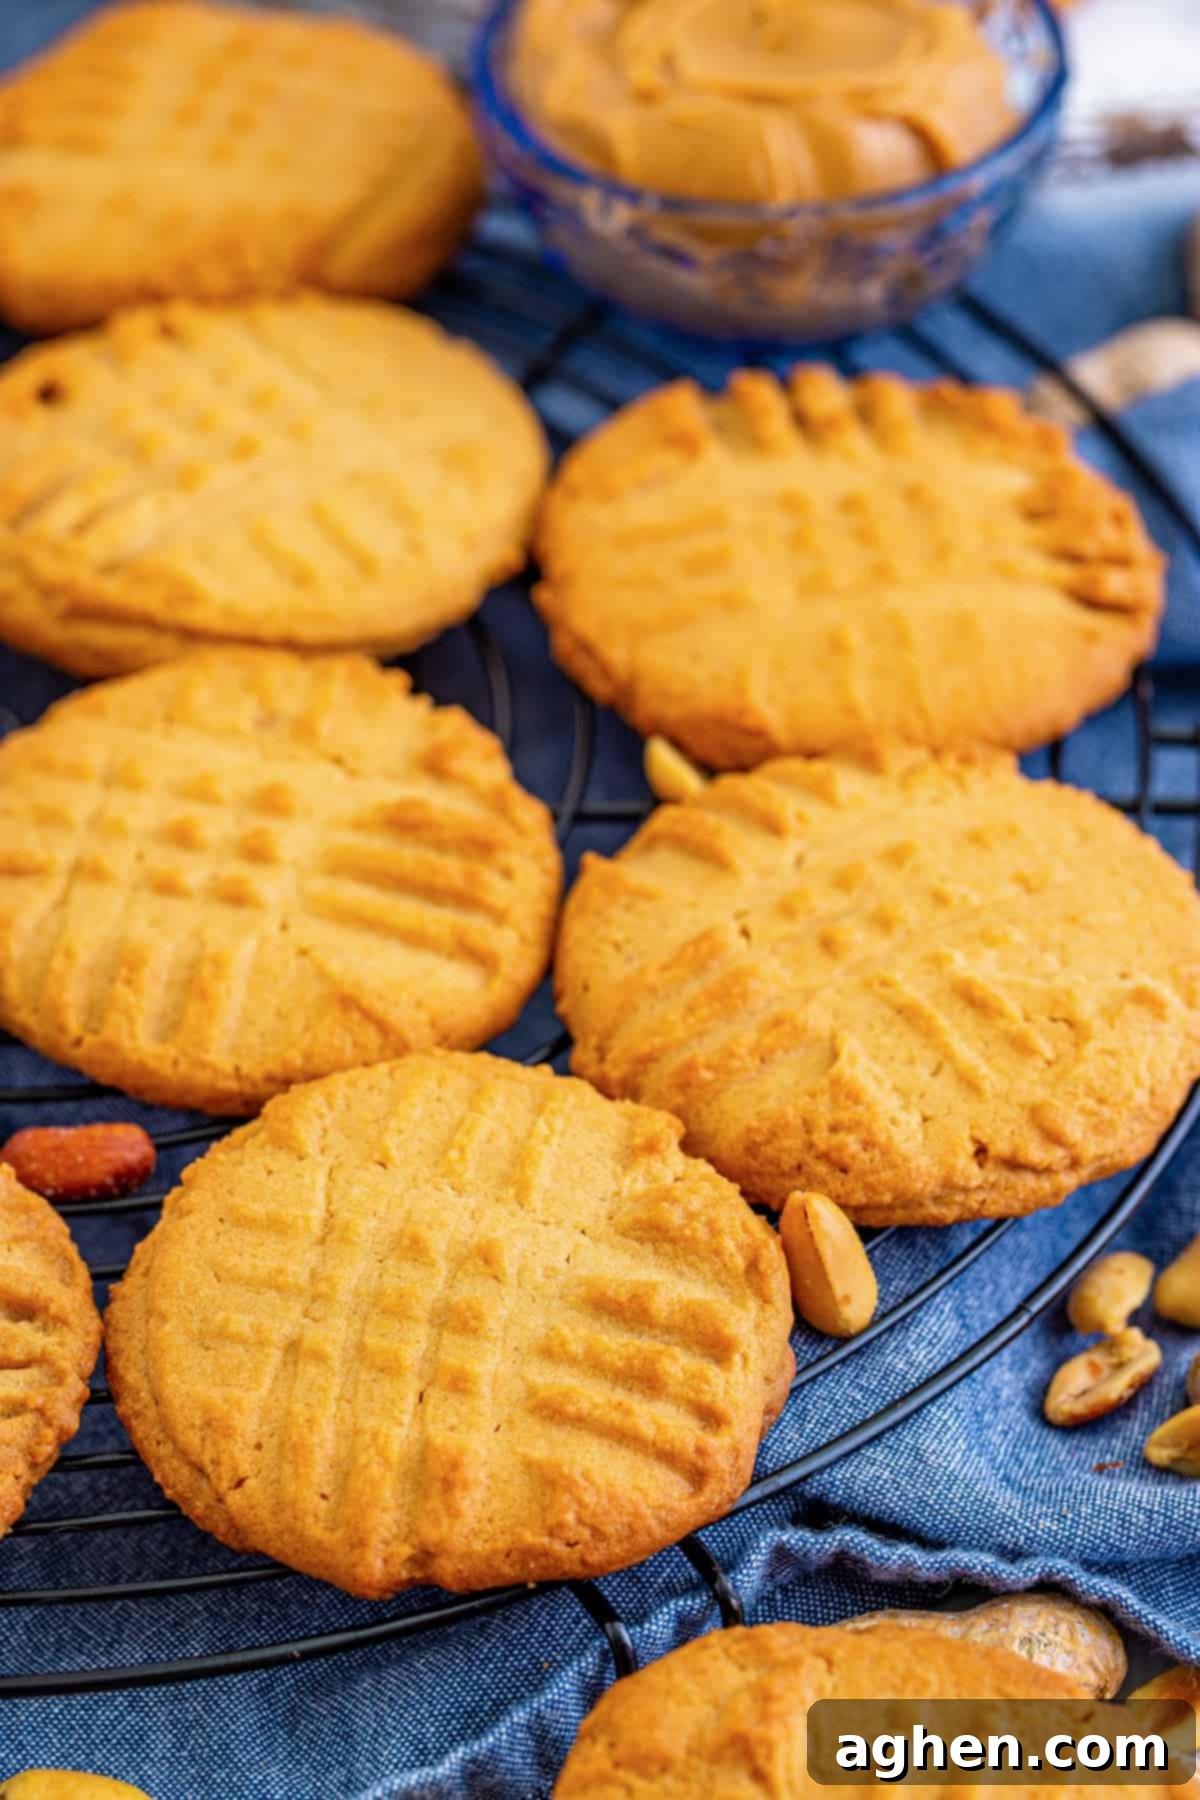
With a total preparation and bake time of under thirty minutes, these old-fashioned peanut butter cookies are incredibly versatile. They’re perfect for a quick weeknight dessert when you need a little something sweet, a delightful addition to any special occasion spread, a welcome after-school treat for hungry kids, or simply as a “just because” cookie recipe to brighten any day. Their ease and deliciousness make them a go-to for any sweet craving.
Essential Ingredients for Perfect Peanut Butter Cookies
This section provides detailed ingredient notes and helpful substitution options to ensure your homemade peanut butter cookies turn out perfectly. You’ll find all precise measurements, ingredients, and comprehensive instructions in the printable recipe card located at the very end of this post.
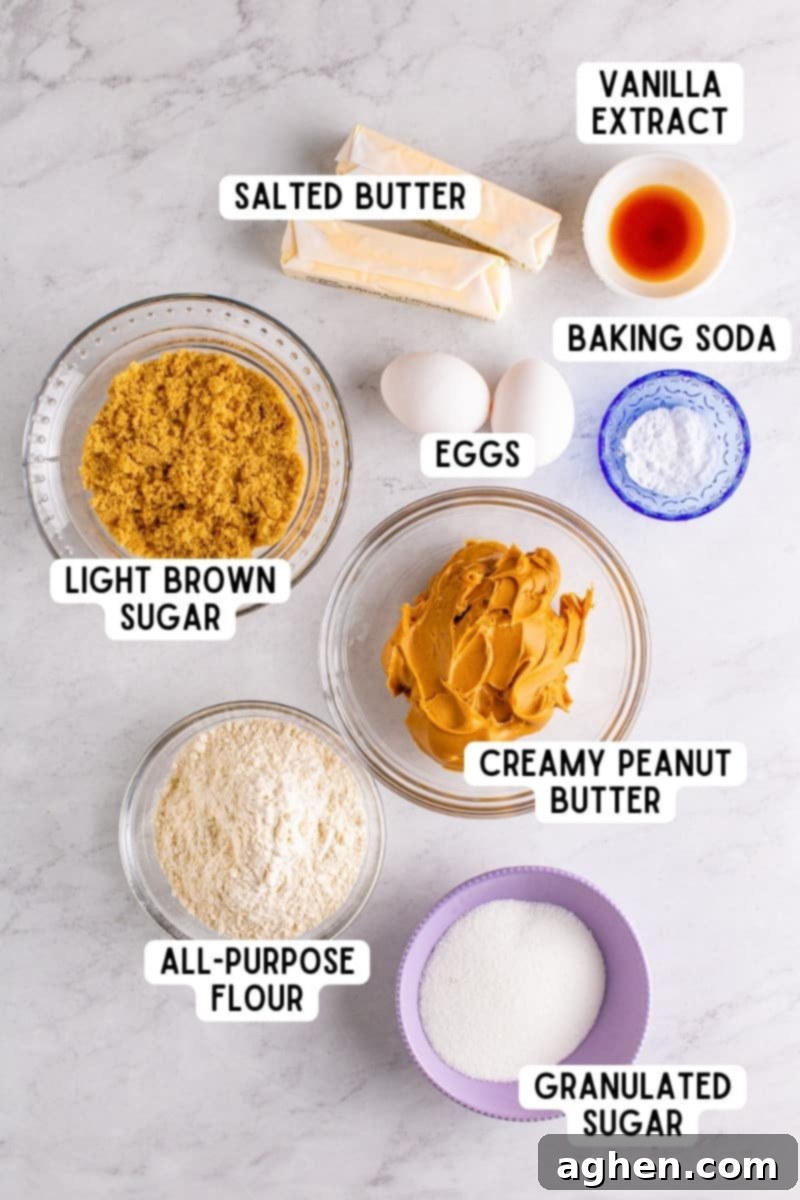
- Creamy Peanut Butter: This is truly the heart and soul of our cookies! While I personally prefer creamy for its smooth texture, you are absolutely welcome to use crunchy peanut butter if you desire an extra layer of peanut flavor and a delightful textural crunch throughout your cookies. Just make sure it’s a regular, processed peanut butter (like Jif or Skippy) and not natural peanut butter, as natural varieties can alter the cookie’s spread.
- Salted Butter: Using salted butter adds a wonderful depth of flavor and balances the sweetness. If you’re keen on controlling the exact amount of salt in your cookies, you can certainly opt for unsalted butter and then add a small pinch (about ¼ teaspoon) of fine sea salt to the dry ingredients. Remember to bring your butter to room temperature for optimal creaming.
- Sugars (Granulated and Brown Sugar): The combination of both granulated (white) sugar and light brown sugar is key to achieving that perfect old-fashioned texture and flavor profile. Granulated sugar contributes to the crisp exterior, while brown sugar adds moisture, chewiness, and a subtle caramel note that beautifully complements the peanut butter. Ensure your brown sugar is packed firmly when measuring.
- Eggs: Two large eggs act as crucial binding agents in this recipe, helping to hold all the ingredients together and provide structure to the cookies. They also contribute to the richness and moistness of the final product. For best results, use room temperature eggs, which incorporate more smoothly into the batter.
- Vanilla Extract: A good quality vanilla extract brings just the right touch of warmth and sweetness, enhancing the overall flavor without overpowering the peanut butter. For a truly luxurious treat, consider using Mexican vanilla extract or even your own homemade vanilla for an unparalleled aroma and taste.
- All-Purpose Flour: Standard all-purpose flour provides the structural base for these cookies. If you need a gluten-free option, a 1:1 gluten-free flour blend can often be substituted successfully, though results may vary slightly. Be sure to measure your flour correctly, using the spoon-and-level method to avoid dense cookies.
- Baking Soda: This is our essential leavening agent. Baking soda reacts with the acidic brown sugar to create gas bubbles, which give these cookies their characteristic soft center and prevent them from becoming flat, dense “hockey pucks.” It’s vital for achieving the desired lift and tenderness.
Recommended Baking Supplies for Homemade Cookies
You won’t need any specialized or exotic equipment for this classic old-fashioned peanut butter cookie recipe. Chances are, if you’re an enthusiastic home baker, you already possess all the standard baking supplies necessary to whip up a batch of these delightful treats. Having the right tools makes the process even more enjoyable and efficient.
- Large Baking Sheets: Essential for baking multiple cookies at once. My favorite set ensures even baking.
- Parchment Paper or Silicone Baking Mats: Crucial for preventing sticking and making cleanup a breeze.
- Measuring Cups and Spoons: Accurate measurements are key to successful baking.
- Mixing Bowls: You’ll need at least one large bowl for the wet ingredients and a medium-sized bowl for the dry ingredients.
- Electric Hand Mixer or Stand Mixer: While you can mix by hand, an electric mixer makes creaming the butter and sugar much easier and ensures a smooth, well-aerated dough.
- 2 Tablespoon-Size Cookie Scoop: This tool is a game-changer for uniform cookies, ensuring they bake evenly and look professional.
- Fork: For creating those signature cross-hatch patterns on top of the cookies.
- Cooling Rack: Allows air to circulate around the cookies, preventing them from getting soggy on the bottom as they cool.
How to Bake the Best Old-Fashioned Peanut Butter Cookies
Follow these simple, step-by-step photo instructions to create the most delicious old-fashioned peanut butter cookies. For the complete, printable recipe, please refer to the recipe card available further down on this page. Let’s get baking!
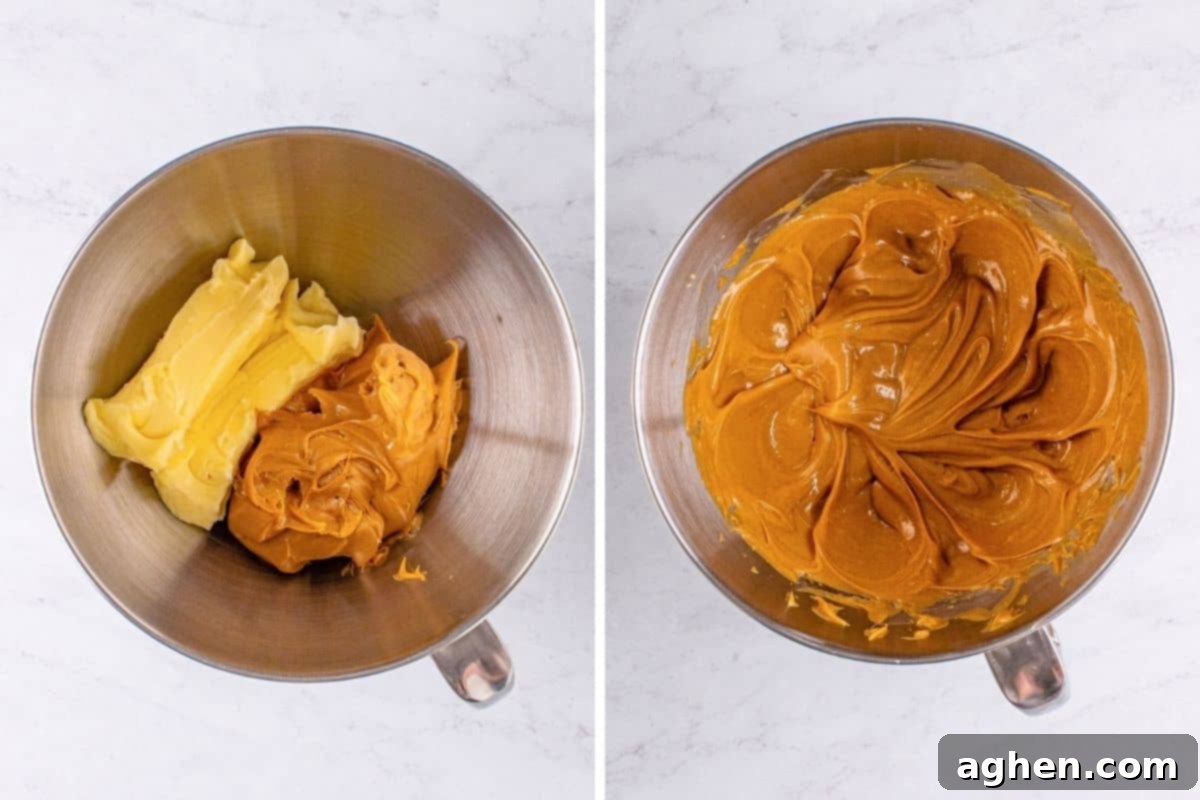
Step 1: Cream the Butter and Peanut Butter. In a spacious mixing bowl, combine the softened butter and creamy peanut butter. Use an electric hand mixer or a stand mixer fitted with the paddle attachment to beat these two ingredients together until the mixture is light, fluffy, and perfectly smooth. This initial creaming ensures a well-incorporated and airy base for your cookie dough.
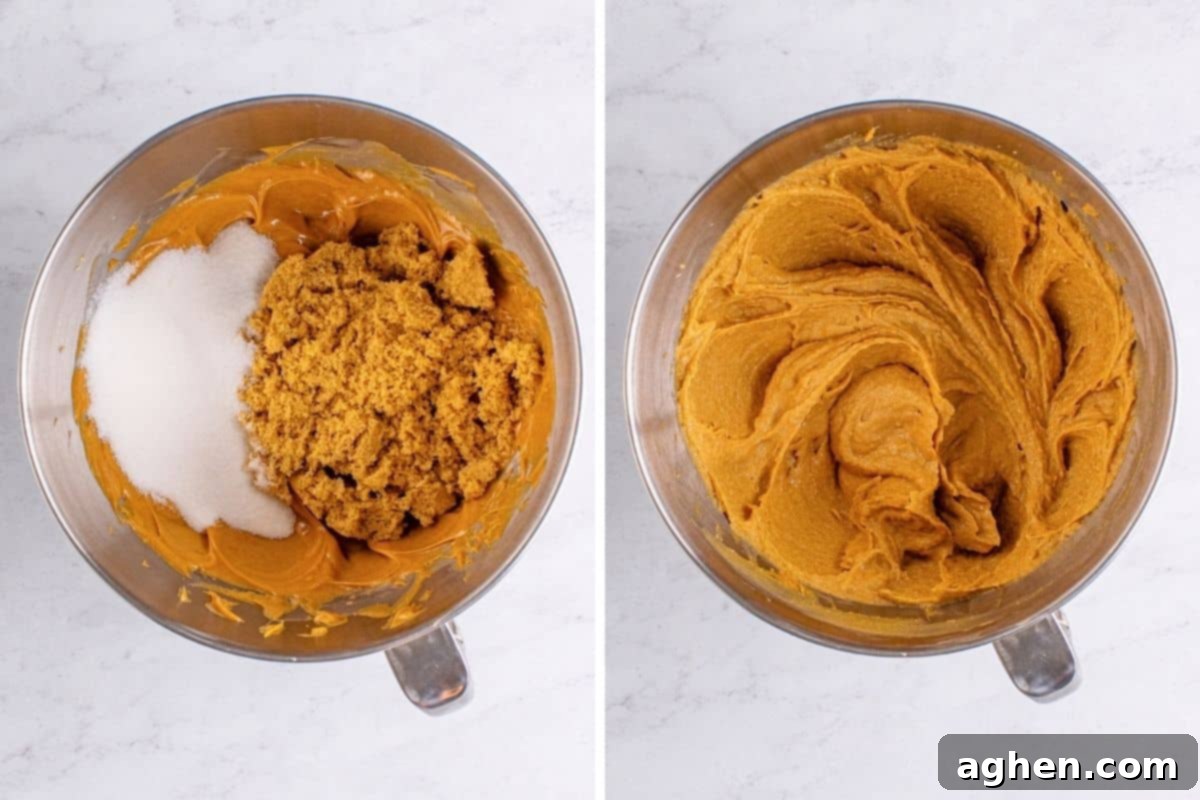
Step 2: Incorporate the Sugars. Add both the light brown sugar and the granulated sugar to the peanut butter and butter mixture. Continue to mix with your electric mixer until these sugars are fully incorporated, and the mixture becomes even lighter in color and fluffy in texture. This step is crucial for dissolving the sugar crystals and creating a tender crumb.
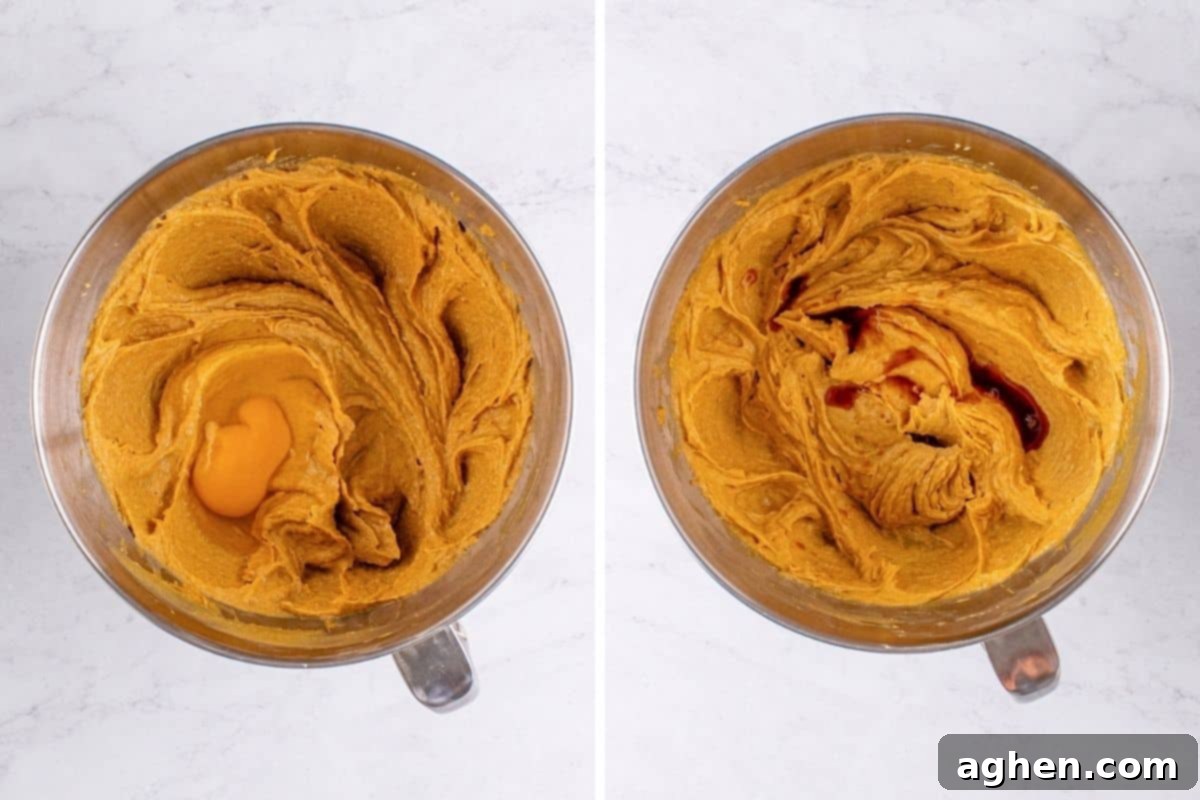
Step 3: Add Eggs and Vanilla. Crack in the eggs, adding them one at a time. After each egg, mix thoroughly until it’s completely combined with the dough before adding the next. This ensures even distribution and proper emulsification. Once the eggs are mixed in, stir in the vanilla extract until just combined, infusing the dough with its wonderful aroma.
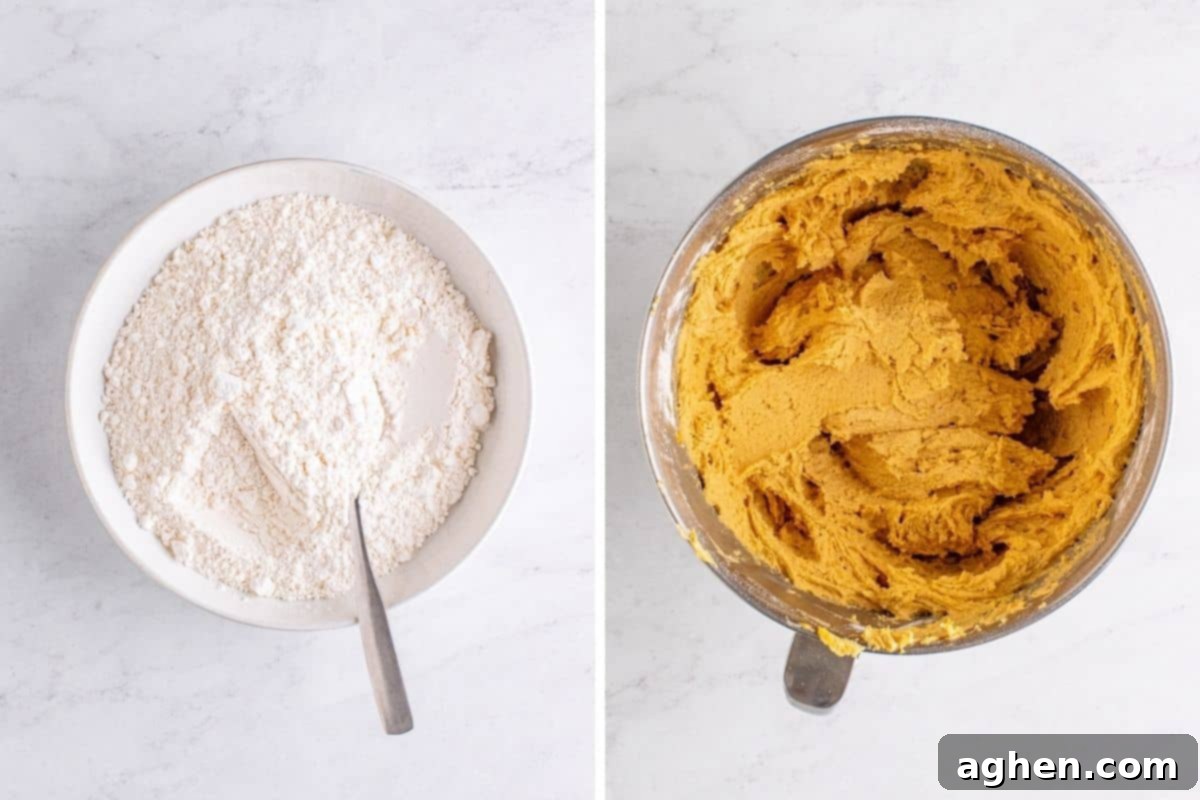
Step 4: Combine Dry and Wet Ingredients. In a separate, medium-sized bowl, whisk together the all-purpose flour and baking soda until they are well combined. This ensures the leavening agent is evenly distributed. Gradually add these dry ingredients to your wet mixture. Stir gently until the dough is just combined, being careful not to overmix. Overmixing can lead to tough cookies. As you mix, remember to scrape down the sides of the bowl as needed to ensure all ingredients are fully incorporated.
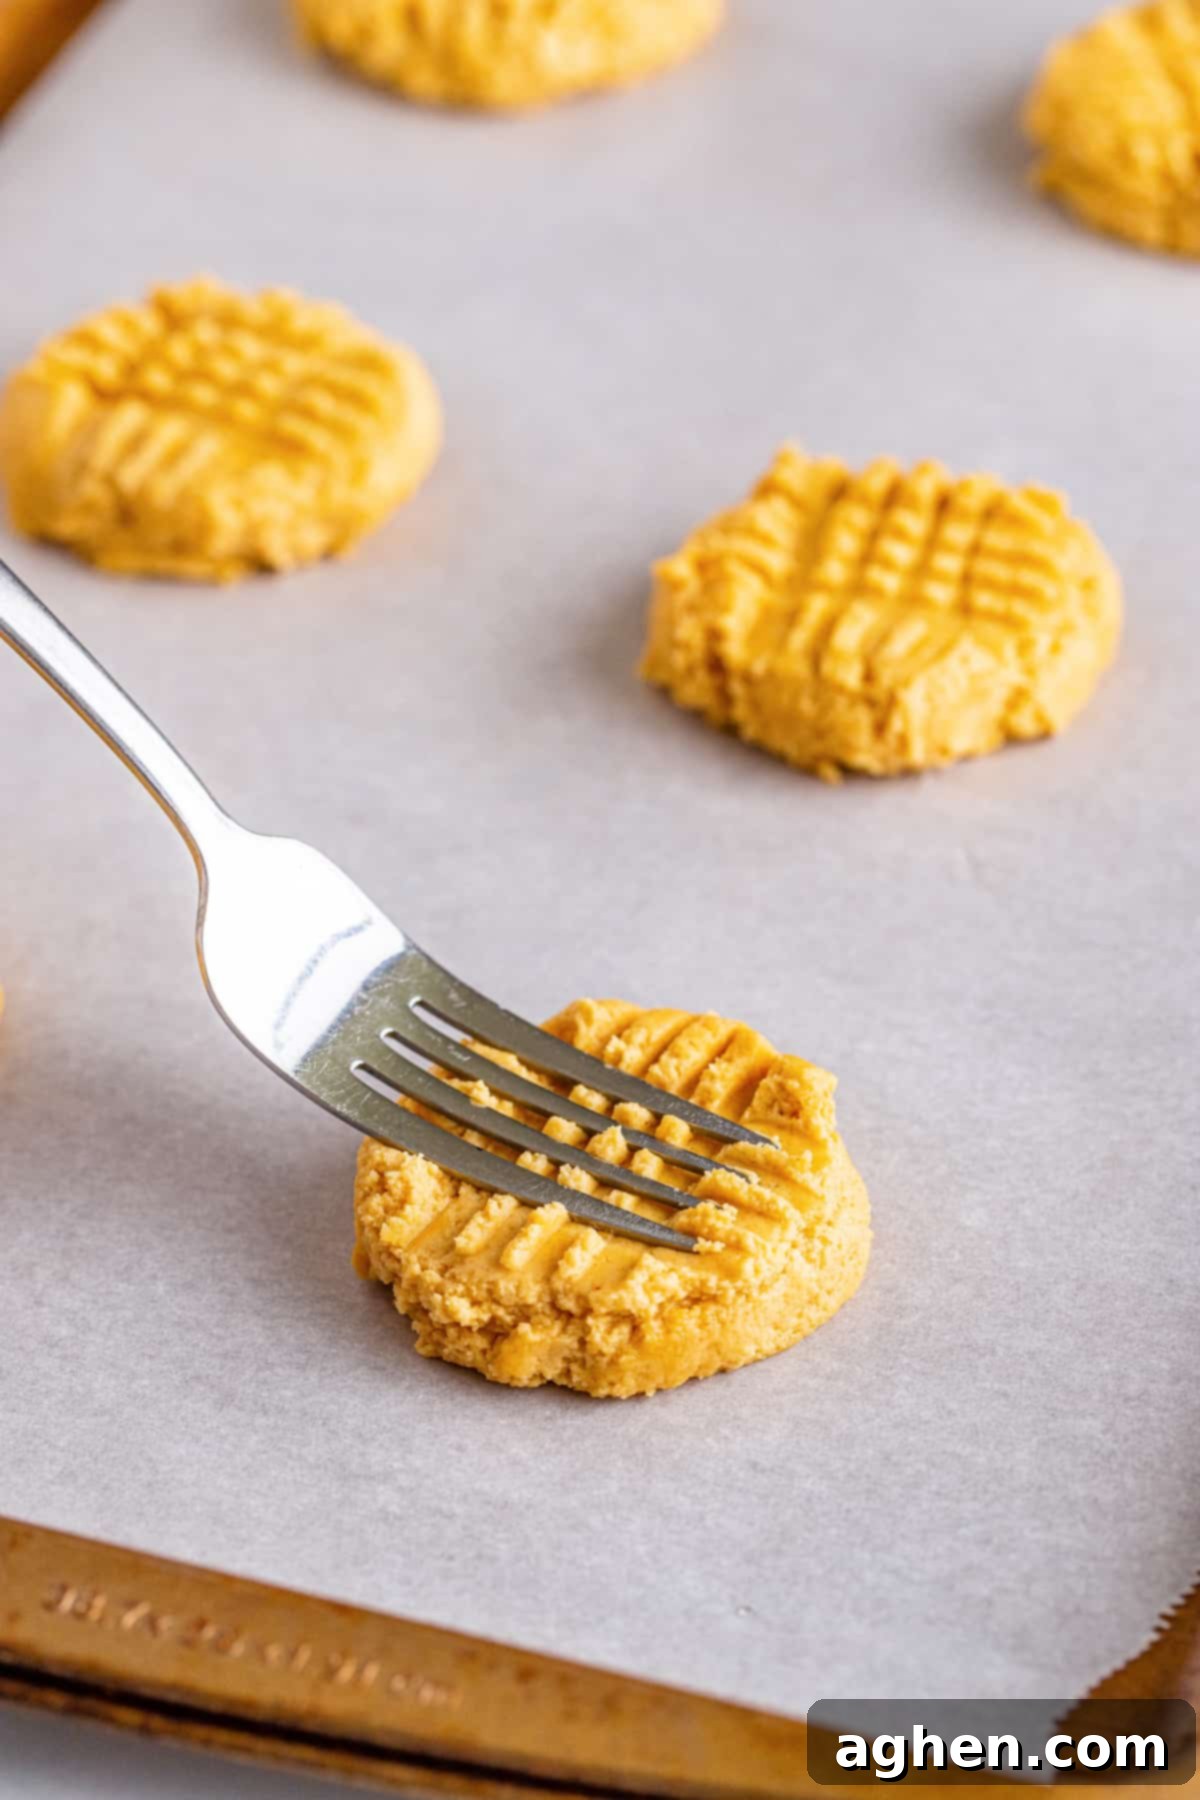
Step 5: Form and Press the Cookies. Using a 2-tablespoon cookie scoop, portion out the dough and place the balls about 3 inches apart on your parchment paper-lined baking sheets. This spacing is important to prevent them from spreading into each other during baking. With a fork, gently press down on each cookie dough ball, first in one direction and then perpendicular to it, to create the classic cross-hatch pattern on top. This traditional step helps to flatten the cookies slightly and is a visual signature of a homemade peanut butter cookie. (We use this same beloved method in our cake mix peanut butter cookies too, proving its timeless appeal.)
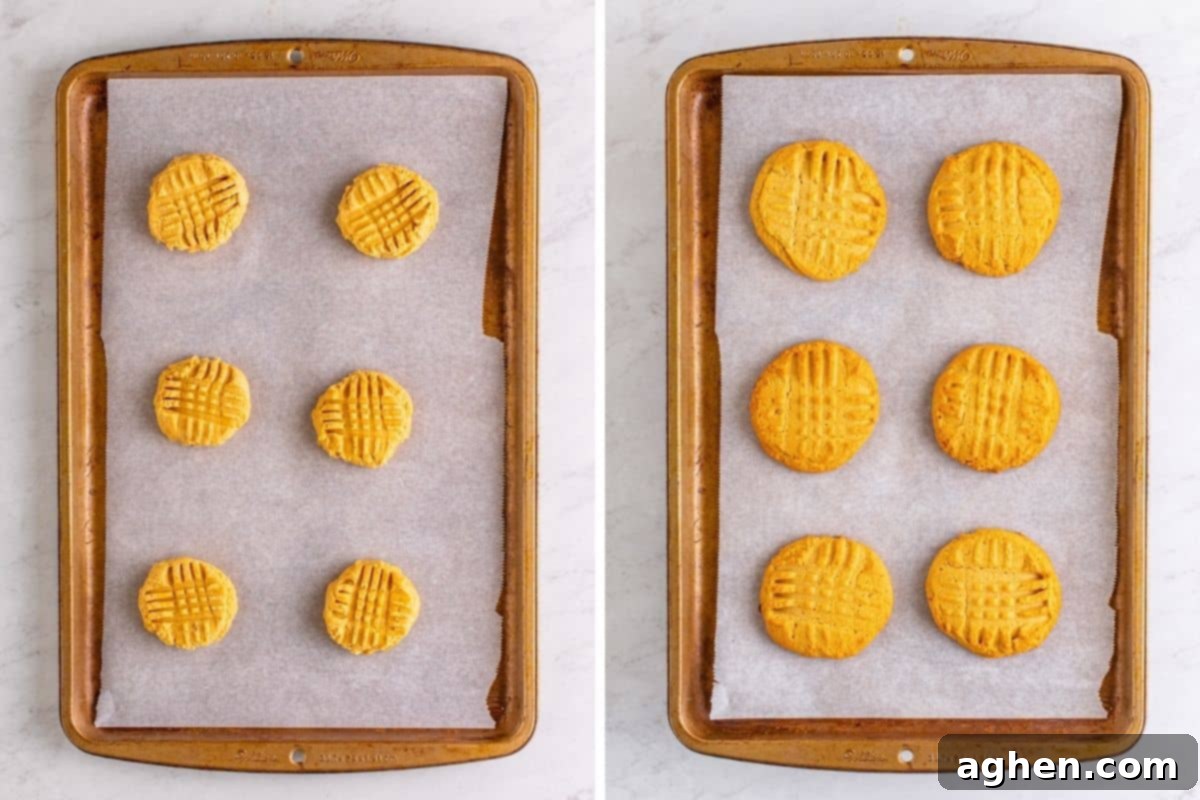
Step 6: Bake and Cool. Bake the cookies as specified in the recipe card below, typically until they are beautifully golden brown around the edges and no longer appear glossy in the center. It’s often better to slightly underbake them for a softer, chewier texture. Once out of the oven, allow the cookies to cool on the hot baking sheet for approximately 5 minutes. This crucial resting period allows them to set and firm up without breaking. After 5 minutes, carefully transfer them to a wire rack to cool completely. Enjoy these warm, delicious treats, perhaps with a cold glass of milk!
Storage Solutions for Your Peanut Butter Cookies
Proper storage is key to keeping your delicious old-fashioned peanut butter cookies fresh and tasty for as long as possible. Whether you plan to enjoy them over a few days or save some for later, here’s how to store them effectively.
Countertop Storage: Once completely cooled, store your baked cookies in an airtight container at room temperature. They will remain wonderfully fresh and soft for up to 4-5 days. For optimal freshness, consider placing a slice of bread in the container to help maintain their moisture.
Freezer Storage: These homemade peanut butter cookies are excellent candidates for freezing, either baked or as raw cookie dough, and can be kept for up to 3 months. To freeze baked cookies, arrange them in a single layer on a baking sheet and freeze until firm. Then, transfer them to a freezer-safe container or heavy-duty freezer bag, layering them with parchment paper in between to prevent sticking. For cookie dough, scoop balls onto a lined baking sheet and freeze until solid, then transfer to a freezer bag. Thaw frozen cookies at room temperature or bake frozen dough, adding a few extra minutes to the baking time.
Expert Tips and Tricks for the Best Homemade Peanut Butter Cookies
Achieving bakery-quality old-fashioned peanut butter cookies at home is simpler than you think with these helpful tips and tricks:
- Room Temperature Butter is a Must: Always ensure you’re using room temperature, softened butter. This is incredibly important because softened butter creams much more easily with sugar and peanut butter, creating a light, airy base for your dough that results in a more tender and evenly baked cookie. If your butter is too cold, it won’t cream properly; if it’s too warm, it can make the dough greasy.
- Don’t Overbake for Optimal Texture: For that perfect crispy-on-the-outside, soft-and-chewy-on-the-inside texture, the cookies don’t have to look fully cooked when you pull them out of the oven. They will continue to cook slightly on the hot baking sheet during the initial 5-minute cooling period. Look for golden edges and a center that is just beginning to lose its glossy appearance.
- The Importance of Fork Marks: When you use your fork to gently press down on the cookie dough balls to make the cross-hatch marks, this isn’t just for tradition or looks. Peanut butter cookie dough is typically thicker and doesn’t spread as much as other cookie doughs. These indentations help to flatten your cookies a bit, encouraging more even baking and contributing to that classic, delightful texture.
- Boost the Peanut Butter Flavor: For all the devoted peanut butter lovers out there, consider stirring in about ½ cup of peanut butter chips into the dough before baking. This addition will amp up the nutty flavor and add an extra layer of creamy deliciousness.
- Get Creative with Mix-Ins: These classic peanut butter cookies are a fantastic canvas for other delightful additions! Feel free to customize your batch by incorporating other mix-ins like semi-sweet or milk chocolate chips, colorful Reese’s Pieces, chopped roasted peanuts for extra crunch, or even white chocolate chips. Experiment with your favorite additions to bring more unique flavors and textures to these already amazing homemade peanut butter cookies.
Frequently Asked Questions About Peanut Butter Cookies
Absolutely! These classic peanut butter cookies are excellent for making ahead. You can prepare the dough up to 24 hours in advance and store it, tightly covered, in the refrigerator before you plan to bake. Alternatively, you can bake the cookies entirely ahead of time and store them according to the directions provided above until you’re ready to serve. In fact, many people find that these are the kind of cookies that taste even better the next day, as the flavors have more time to meld and deepen.
If you find yourself with tough or hard peanut butter cookies, it usually indicates that they were baked for too long. Overbaking causes too much moisture to evaporate, resulting in a dry and dense texture. That’s why I strongly suggest pulling them out of the oven just before they look entirely finished. They will continue to cook slightly from the residual heat while cooling on the baking sheet, achieving that perfect tender interior.
I generally do not recommend using natural peanut butter in this specific old-fashioned peanut butter cookie recipe. Natural peanut butter, with its higher oil content and different consistency, can cause the cookies to over-spread significantly while baking, leading to thin, greasy, and crumbly results that don’t hold their shape. If you do decide to use natural peanut butter, ensure it’s stirred up very, very well to reincorporate the oils before measuring, but be prepared for potential texture differences.
Certainly! If you prefer smaller, bite-sized peanut butter cookies, you can absolutely adjust the size. Simply roll the dough into 1-tablespoon size balls instead of 2-tablespoon. When baking smaller cookies, you’ll need to reduce the baking time to about 8-10 minutes. Keep a close eye on them to ensure they don’t overbake, as they will cook faster.
For an even chewier texture, you can try a couple of tricks. First, make sure you don’t overbake them; pulling them out when the edges are set but the centers are still slightly soft is key. Second, you can slightly increase the amount of brown sugar (which adds moisture) and slightly decrease the granulated sugar. You can also try chilling the dough for at least 30 minutes before baking, which can help control spread and maintain moisture.
To get those perfect, even cross-hatch marks, ensure your fork is clean and lightly floured between each cookie press. Gently press down on the center of the dough ball, then rotate 90 degrees and press again. Don’t press too hard, as you don’t want to completely flatten the cookie, just create the indentation. A light hand and consistent pressure will yield the best results.
More Delicious Old-Fashioned Cookie Recipes to Try
If you’ve loved these classic old-fashioned peanut butter cookies, you’re in for a treat! Explore more comforting, vintage-inspired cookie recipes that are sure to become new family favorites. These timeless delights are perfect for sharing or simply enjoying a moment of sweet nostalgia.
- Soft Apple Cookies: A delightful and tender treat, perfect for autumn or any time of year.
- Peanut Butter Cornflake Cookies: A unique twist on peanut butter, offering an irresistible crunch.
- Original Quaker Oatmeal Cookie Recipe: A true classic from the 1950s, bringing wholesome goodness to your kitchen.
- Cheese Cookies: An unexpected but delicious savory-sweet cookie that’s surprisingly addictive.
- Classic Shortbread Cookies: Simple, buttery, and melt-in-your-mouth delicious—perfect for any occasion, especially holidays!
Or, dive into the full collection of over 90+ of my fun cookie recipes for endless baking inspiration!
Old-Fashioned Peanut Butter Cookies
Author: Jaclyn
Ingredients
- 1 ¼ cups creamy peanut butter
- 1 cup salted butter room temperature
- 1 ¼ cups light brown sugar packed
- ¾ cup granulated sugar
- 2 large eggs room temperature
- 1 ½ teaspoon vanilla extract
- 2 cups all-purpose flour
- 1 teaspoon baking soda
Instructions
-
Preheat the oven to 350°F (175°C). Line large baking sheets with parchment paper or silicone liners and set aside.
-
Using a stand mixer fitted with the paddle attachment or an electric hand mixer and a large bowl, beat the creamy peanut butter with the softened butter until the mixture is smooth and well combined.
-
Add the light brown sugar and granulated sugar to the mixture, continuing to beat until it becomes light and fluffy, about 2-3 minutes.
-
Mix in the large eggs one at a time, ensuring each egg is fully incorporated before adding the next. Stir in the vanilla extract until just combined.
-
In a separate medium-sized bowl, whisk together the all-purpose flour and baking soda until well combined. Gradually add these dry ingredients to the wet ingredients, stirring together until the dough is just combined. Be careful not to overmix, and scrape down the sides of the bowl as needed.
-
Scoop the cookie dough into 2-tablespoon size balls and place them about 3 inches apart on the prepared baking sheets. Using a fork, gently press down on each dough ball to create the classic cross-hatch pattern on the top of the cookie dough.
-
Bake for 12-13 minutes, or until the cookies are golden brown around the edges and no longer glossy in the center. Allow the cookies to cool on the baking sheet for about 5 minutes to set, then carefully transfer them to a wire rack to cool completely.
Notes
For smaller cookies, use 1-tablespoon size balls of dough and reduce the baking time to approximately 8-10 minutes.
Nutrition

Did You Make This Classic Recipe?
We’d love to see your delicious creations! Share your beautiful cookies with us on Instagram @crayonsandcravings and be sure to follow us on Pinterest @crayonsandcravings for even more delectable recipes and inspiration!
Pin Recipe
Leave A Review
