Classic Christmas Cut-Out Sugar Cookies: Your Ultimate Holiday Baking Guide
The holiday season brings with it a special kind of magic, and for many, that magic is deeply intertwined with the delightful aromas of baking. Among the cherished traditions, baking and decorating Christmas sugar cookies stands out as a joyful activity for all ages. Today, we’re sharing what we believe is the only Christmas sugar cookie recipe you will ever need – a timeless classic that promises buttery sweetness, perfect edges, and endless decorating fun. These cookies are not just a treat; they’re an experience, ideal for your festive holiday party, a bustling Christmas cookie exchange, or as heartwarming homemade gifts.
So, dust off your favorite cookie cutters and grab your rolling pin because it’s my favorite time of the year—holiday baking season! Get ready to create edible works of art that taste as good as they look.
Prefer a simpler, no-fuss cookie? If you’d rather make drop cookies without the rolling and cutting, try these no-roll sugar cookies with sprinkles instead for a quick and equally delicious treat.

This comprehensive guide will walk you through my go-to cut-out sugar cookie recipe and an incredibly easy sugar cookie icing recipe. What makes these cookies truly exceptional is their perfect balance: they are wonderfully buttery and sweet, with satisfyingly crisp edges that give way to a soft, tender center. Crucially, they don’t rise or spread excessively in the oven, maintaining their intricate shapes beautifully – a dream come true for decorating enthusiasts!
The accompanying easy glaze icing recipe simplifies the decorating process, allowing you to create stunning designs without stress. Plus, it adds an extra layer of delightful sweetness that perfectly complements the cookies.

Beyond being stellar additions to Christmas parties and cookie exchanges, these beautifully decorated Christmas cookies transform into thoughtful homemade gifts. Package them carefully in elegant treat boxes or simple cellophane bags, and present them to coworkers, neighbors, family, and friends. A sweet, handcrafted gift like this is sure to brighten anyone’s day and spread genuine holiday cheer!
Give this recipe a try this holiday season, and we are confident that you will agree these are the best Christmas cut-out cookies you’ve ever made!
Essential Ingredients for Perfect Christmas Sugar Cookies
This section includes detailed ingredient notes, tips for best results, and substitution options. You’ll find all exact measurements, ingredients, and step-by-step instructions in the comprehensive printable recipe card at the very end of this post.
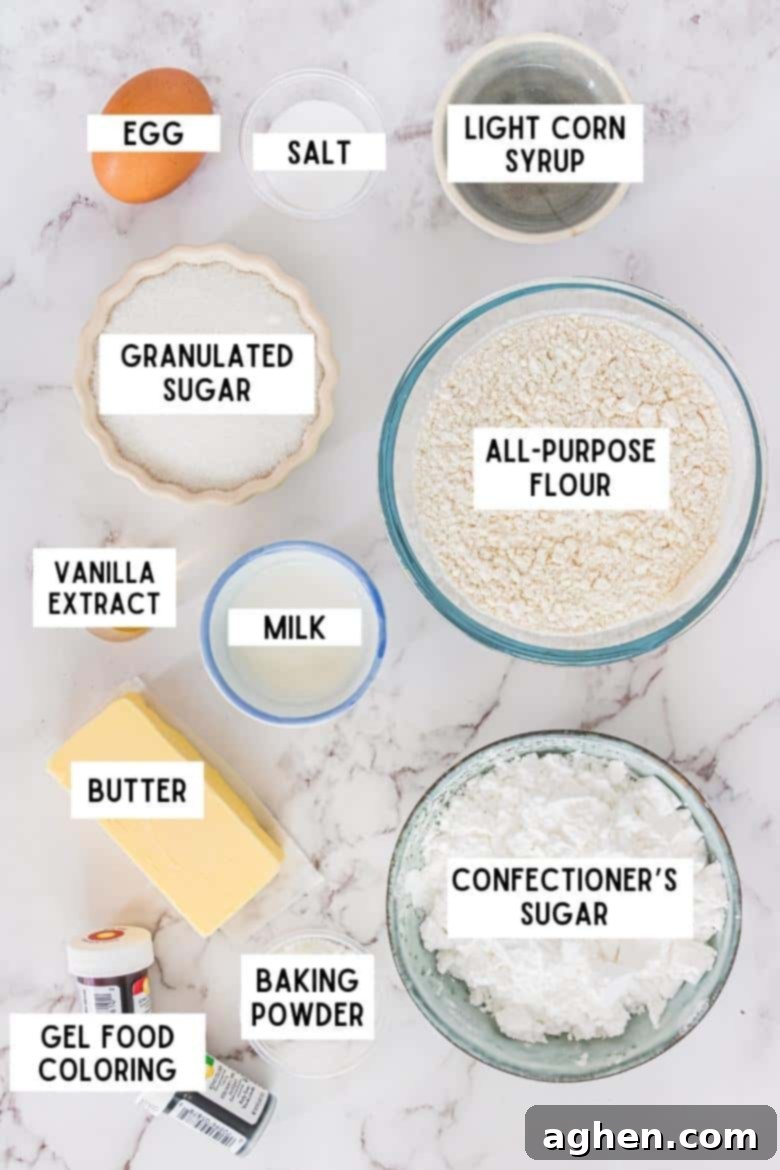
For the Buttery Sugar Cookies:
- Unsalted Butter: Ensure your butter is softened to room temperature before you begin. This typically takes 30-60 minutes out of the fridge. Softened butter creams easily with sugar, creating a light and airy base for your cookies, which is crucial for their texture.
- Granulated Sugar: Provides the classic sweetness and helps achieve that slightly crisp edge.
- Pure Vanilla Extract: For the best, most authentic flavor, always opt for 100% pure vanilla extract. It makes a significant difference in the final taste of your cookies.
- Large Egg: Like the butter, let your egg come to room temperature on the countertop. Room temperature eggs emulsify better with the other ingredients, leading to a smoother, more uniform dough.
- All-Purpose Flour: The foundation of our cookies. For accurate measurements, always spoon the flour into your measuring cup and level it off with a straight edge rather than scooping directly from the bag. This prevents over-measuring, which can result in dry, crumbly cookies.
- Baking Powder: A small amount provides just enough lift without causing the cookies to spread excessively, helping them maintain their beautiful cut-out shapes.
- Salt: Essential for balancing the sweetness and enhancing all the other flavors in the cookie dough.
For the Easy Glaze Icing & Decorating:
- Confectioner’s Sugar (Powdered Sugar): Forms the smooth, fine base of our glaze icing. Sifting it beforehand can help prevent lumps for a truly silky finish.
- Whole Milk: Used to achieve the perfect consistency for your icing. You might need slightly more or less depending on your desired thickness for outlining or flooding.
- Light Corn Syrup: This secret ingredient is key to giving your icing a lovely, professional-looking sheen and helps prevent it from becoming too brittle. While optional, it’s highly recommended for that desirable shiny finish.
- Gel Food Coloring: Optional, but highly recommended for vibrant, festive colors like red and green without thinning out your icing. Unlike liquid food coloring, gel colors are concentrated and won’t alter the icing’s consistency. If you prefer, you can skip this and let sprinkles do all the coloring!
- Assorted Sprinkles: Optional, but undeniably fun for adding texture, sparkle, and holiday cheer to your decorated sugar cookies. Have a variety on hand for different themes!
Creative Substitutions and Flavorful Variations
These classic Christmas sugar cookies are wonderful as is, but don’t hesitate to get creative and tailor them to your taste or specific holiday theme!
- Effortless Festive Look: If you’d rather not frost your Christmas sugar cookies but still want them to look festive, simply sprinkle them generously with colorful sanding sugar or coarse sugar crystals before baking! The sugar will bake right onto the cookies, creating a beautiful sparkle.
- Flavor Adventures: The vanilla extract provides a classic base, but you can easily vary the flavoring in the cookies. Try cutting the vanilla to ½ teaspoon and adding ¼-½ teaspoon of other extracts like almond extract (a holiday favorite!), peppermint extract for a minty twist, lemon extract for a bright note, or even orange zest for a citrusy aroma. Be mindful that some extracts are more potent than others, so start with a smaller amount and adjust to taste.
- Different Icing Styles: While our glaze icing is simple and delicious, you could also opt for a traditional royal icing for more intricate, precise decorating (though it requires a bit more skill) or a simple buttercream if you prefer a richer, softer frosting.
How to Make Classic Cut-Out Sugar Cookies: Step-by-Step Guide
This section walks you through the entire cookie-making process with detailed step-by-step photos and instructions. For the full printable recipe, including all measurements and a complete ingredient list, please refer to the recipe card below.
Preparing the Cookie Dough:
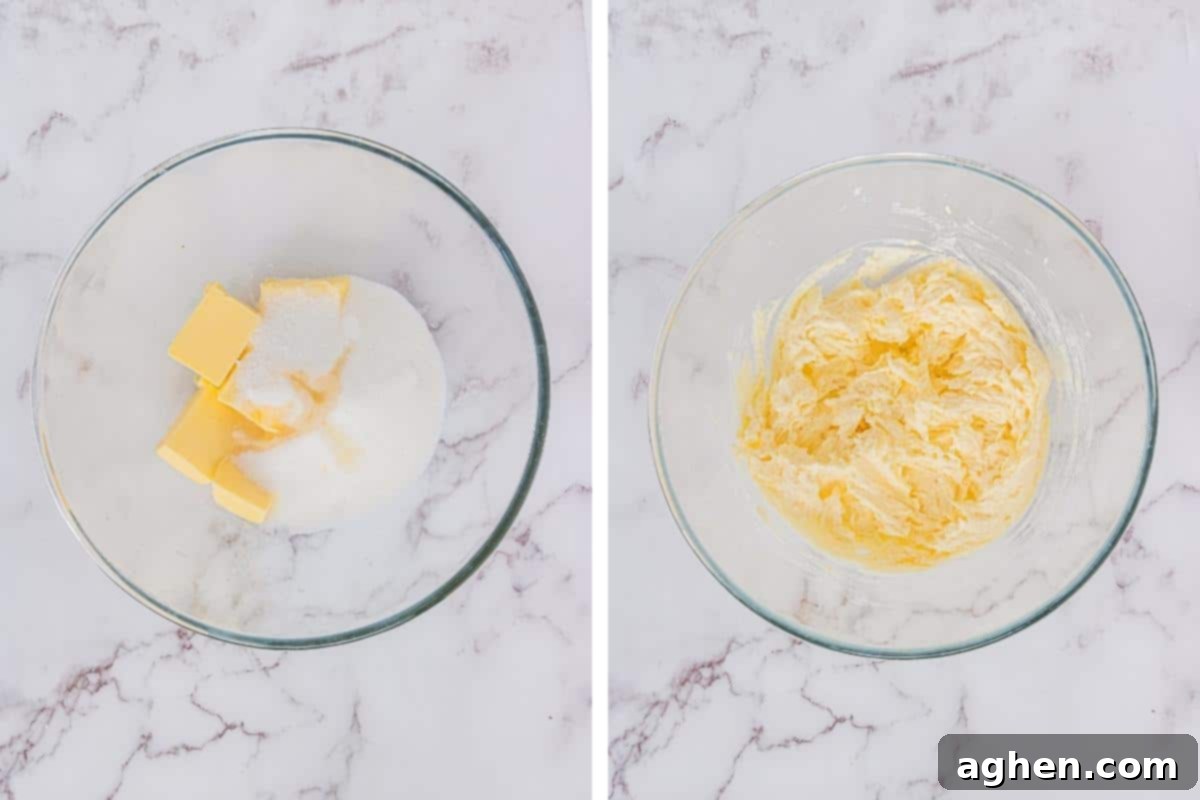
- Cream Wet Ingredients: In a large bowl, using either a stand mixer fitted with the paddle attachment or a hand mixer, beat together the softened butter, granulated sugar, and vanilla extract until the mixture is light, smooth, and fluffy. This usually takes 2-3 minutes. Next, add the room temperature egg and continue to mix until it is fully incorporated, scraping down the sides of the bowl as needed.
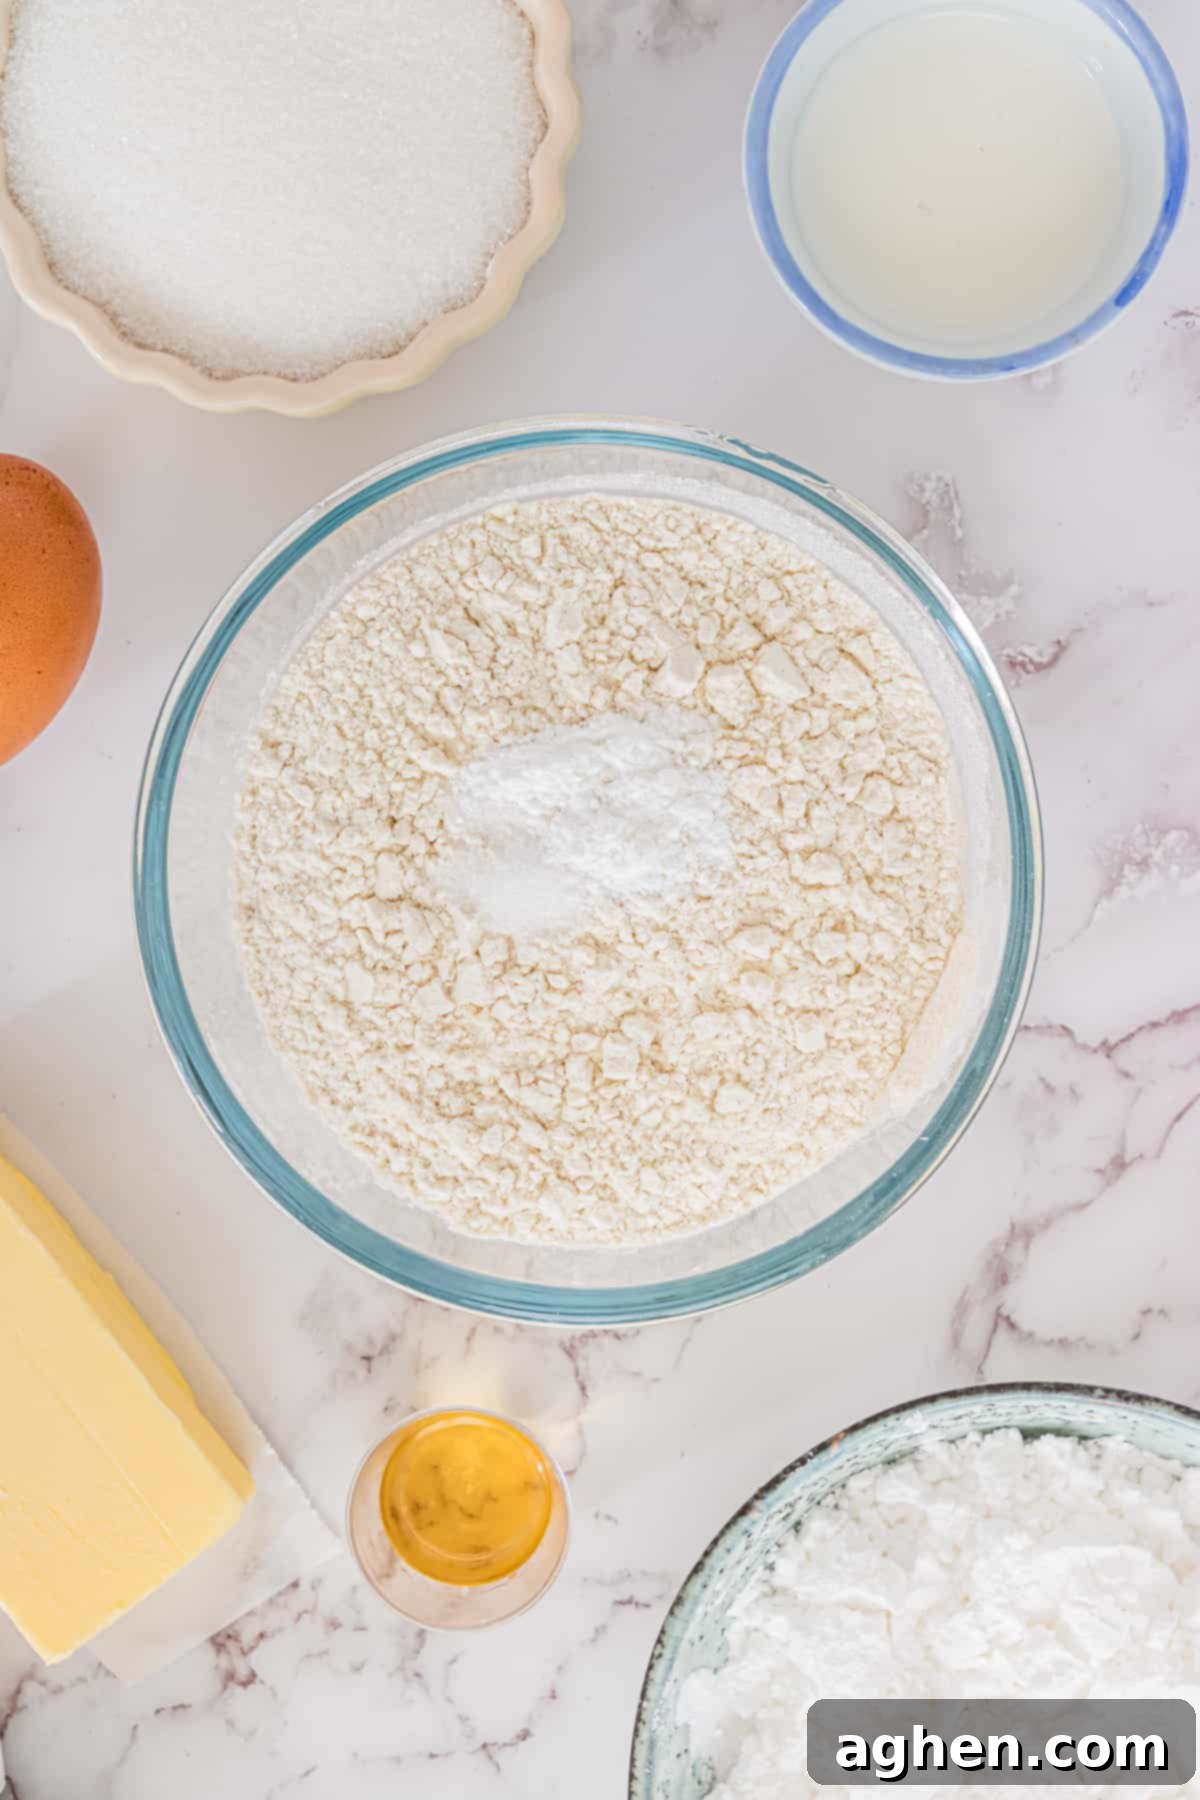
- Combine Dry Ingredients: In a separate, medium-sized bowl, whisk together the all-purpose flour, baking powder, and salt. This ensures these dry ingredients are evenly distributed throughout the dough, preventing pockets of leavening agents or salt.
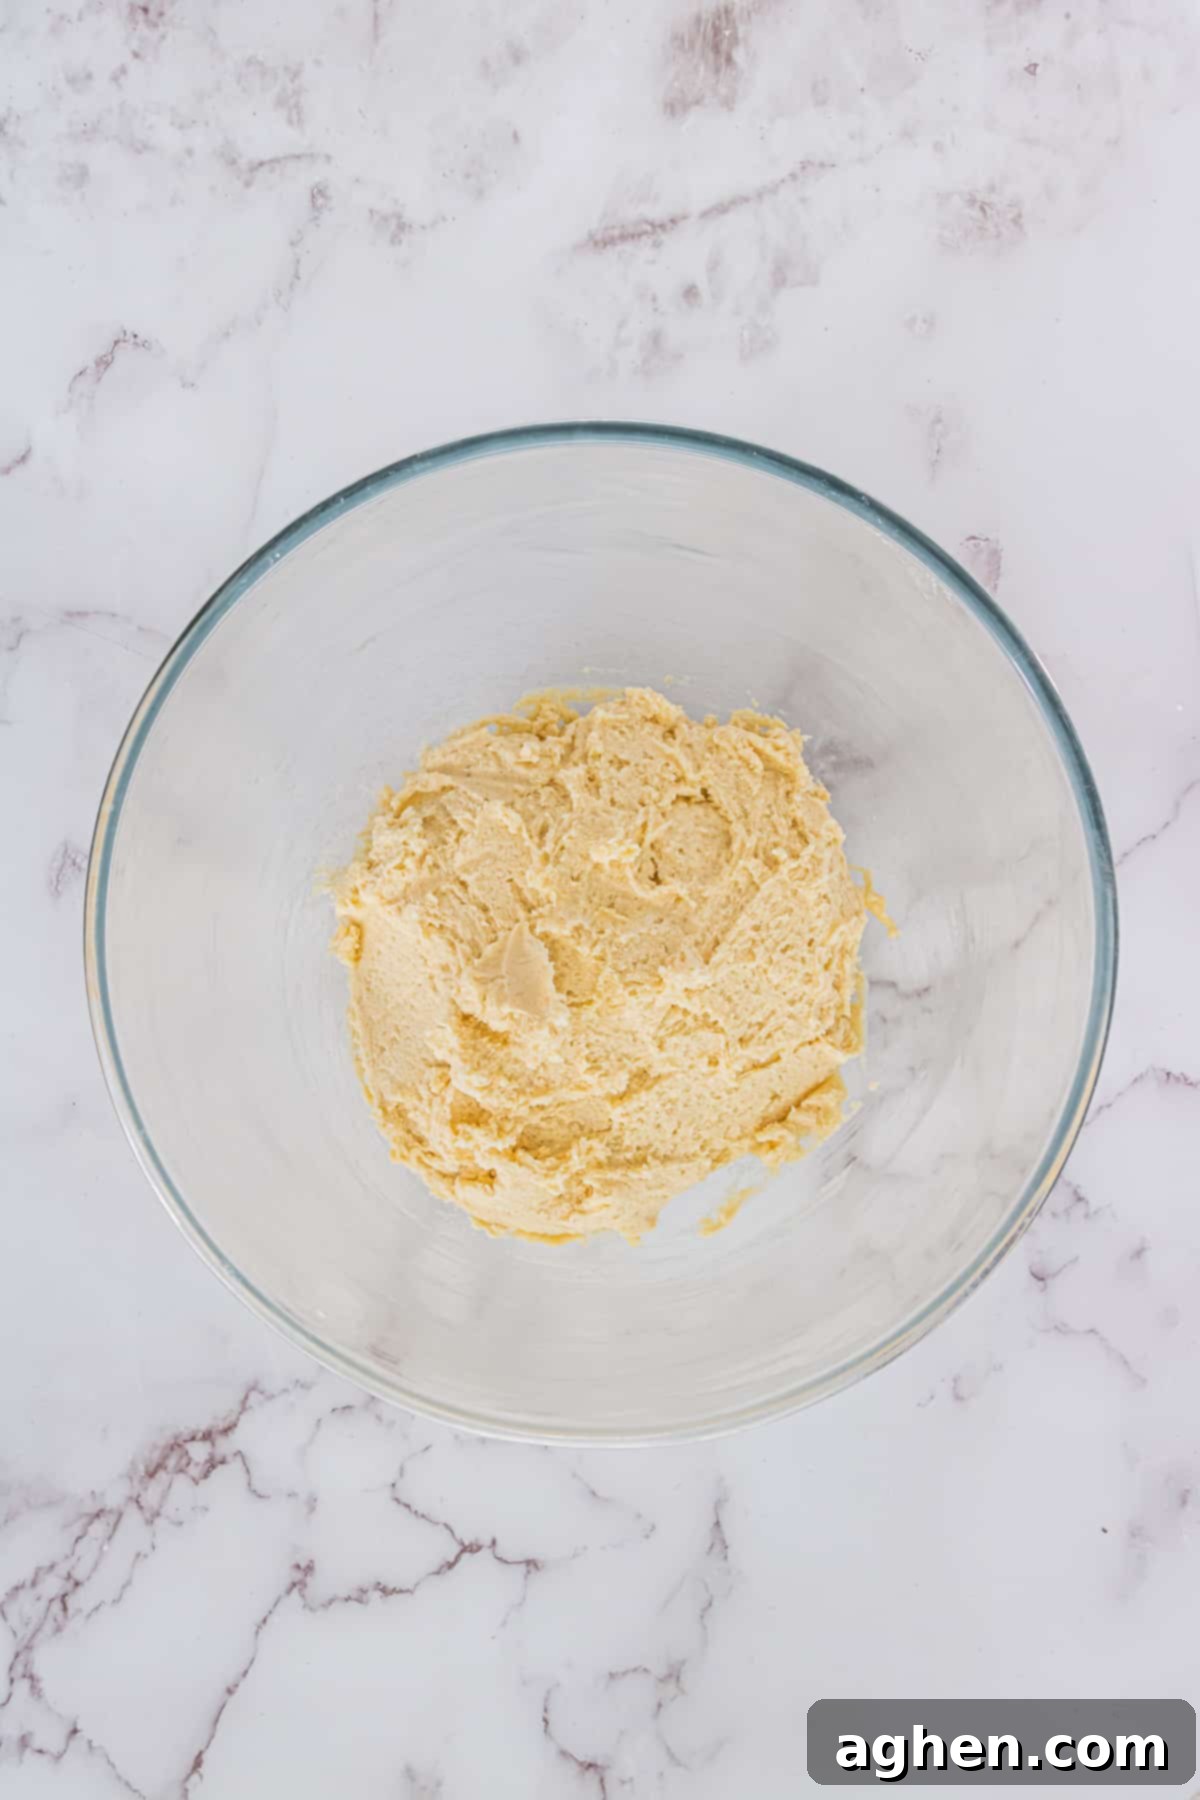
- Incorporate Dry into Wet: With your mixer set to low speed, gradually add the flour mixture to the wet ingredients. Mix only until everything is just combined and no streaks of dry flour remain. Be careful not to overmix, as this can develop the gluten too much, resulting in tough cookies.
- Chill the Dough (Crucial Step!): Gather the dough, flatten it slightly into a disc, wrap it tightly in plastic wrap, and chill it in the refrigerator for at least 2 hours. This step is absolutely essential as it firms up the butter, making the dough much easier to roll out and preventing the cookies from spreading too much in the oven. You can chill it overnight if preferred.
Rolling, Cutting, and Baking:
- Prepare for Baking: Preheat your oven to 350°F (175°C). Line a large baking tray with parchment paper or a silicone baking mat to prevent sticking and ensure even baking.
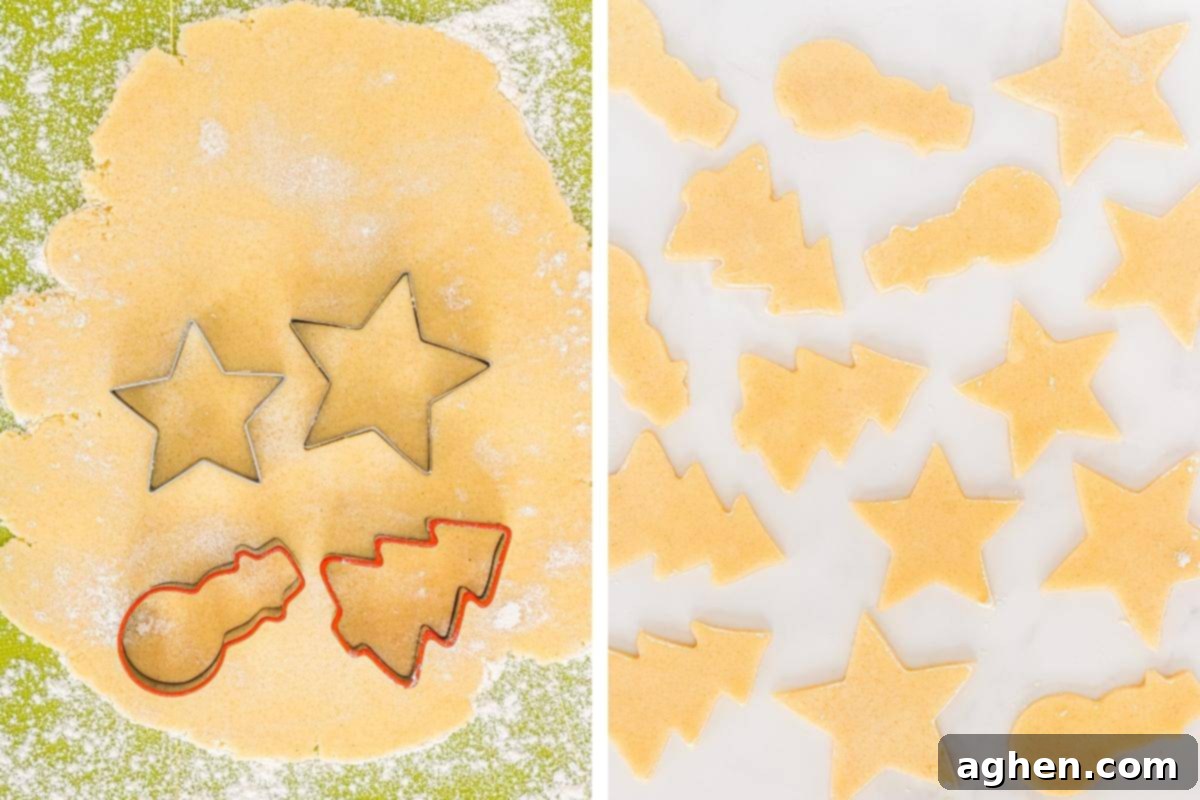
- Roll Out and Cut: On a lightly floured surface (you can also lightly flour the top of your dough), roll out the chilled dough to an even thickness of approximately ¼ inch. A rolling pin with thickness guides makes this a breeze! Sprinkle a little flour both under and on top of the dough as needed to prevent sticking to your surface and rolling pin. Use your favorite Christmas cookie cutters to cut out cookies into desired shapes. Try to cut them as close together as possible to minimize scraps. Gather any dough scraps, gently knead them together, and re-roll once or twice (overworking the dough can make cookies tough). Use a thin metal spatula to carefully transfer the cut-out cookies to your prepared baking tray, leaving about an inch between each cookie.
- Bake to Perfection: Bake for about 10 minutes, or until the edges of the cookies are just beginning to turn a very light golden brown. It’s better to slightly underbake than overbake for a softer cookie. Transfer the baked cookies to a wire rack immediately to cool completely to room temperature before decorating. This prevents them from continuing to bake on the hot sheet and ensures your icing sets properly.
Decorating Your Masterpieces:
- Whip Up the Icing: In a medium bowl, combine the confectioner’s sugar, whole milk, and light corn syrup. Whisk until completely smooth and free of lumps. The consistency should be pourable but not watery. If it’s too thick, add a tiny bit more milk; if too thin, add a little more confectioner’s sugar.
- Color and Apply: Divide the prepared icing amongst several small bowls if you plan to use multiple colors. Stir in a small amount of gel food coloring to achieve your desired festive shades (red, green, white, etc.). Transfer the colored icing to piping bags (with small round tips) or squeeze bottles for easier application. Outline the cookies first, then “flood” the centers. Top with your favorite sprinkles immediately after icing, before it sets.
- Allow Icing to Harden: This is a crucial step! Allow the icing to fully harden at room temperature before stacking or storing the cookies. This will take several hours, sometimes even overnight, but it’s essential to prevent your beautifully decorated cookies from getting smudged or ruined.

And remember, don’t forget to leave some of these beautiful, festive cookies out for Santa on Christmas Eve!
Storage Solutions for Freshness
Proper storage ensures your delicious Christmas sugar cookies stay fresh and delightful for as long as possible.
- Countertop Storage: Once the icing has completely hardened (which can take several hours), store the decorated cookies in an airtight container at room temperature. They will remain fresh and delicious for up to 5 days. Layer them between sheets of parchment paper if stacking to prevent any potential sticking or damage to the icing.
- Freezer Storage (Baked & Undecorated): Baked and undecorated sugar cookies freeze exceptionally well! Place them in a single layer on a baking sheet and freeze until solid, then transfer them to an airtight freezer-safe container, separating layers with waxed paper or parchment paper. They can be frozen for up to 3 months. Thaw cookies at room temperature for 1-2 hours before you’re ready to decorate them.
- Freezer Storage (Dough): You can also freeze the raw cookie dough! Wrap the disc of dough tightly in plastic wrap, then place it in a freezer-safe bag. It will keep for up to 3 months. Thaw the dough overnight in the refrigerator. If it’s still too firm to roll out, let it sit at room temperature for about an hour before proceeding with step 6.
Expert Tips for Sugar Cookie Success
Achieve bakery-worthy results with these tried-and-true tips:
- Yield Variation: The total number of cookies you get will vary based on the size and shape of the cookie cutters you use. Larger cutters will yield fewer cookies, while smaller ones will give you more.
- Double the Joy: This Christmas sugar cookie recipe can easily be doubled or even tripled if you’re baking for a large gathering or planning an extensive cookie exchange. Just ensure you have enough bowl capacity for mixing!
- Even Baking is Key: To ensure all your cookies bake evenly, try to use similar-sized cookie cutters for all the cookies on a single baking sheet. Smaller cookies will cook faster than larger ones, potentially leading to some being overdone while others are perfect.
- Combat Sticky Dough: If you find the dough becomes warm, sticky, and difficult to work with as you roll and cut your cookies (especially in a warm kitchen), don’t hesitate to place it back in the refrigerator for 30-60 minutes to firm up again. Work with smaller portions of dough if needed.
- Don’t Overmix: After adding the flour, mix just until the ingredients are combined. Overmixing develops the gluten in the flour, leading to tougher cookies.
- Preventing Spread (Advanced Tip): For ultra-sharp edges and absolutely no spread, after you’ve placed the cut-out cookies on your baking sheet, pop the entire baking sheet into the fridge to chill for an additional 15-20 minutes before baking. This helps the butter stay firm longer in the hot oven.
- The Sweet Taste of Dough: If you’re like me and love the taste of sugar cookie dough, do yourself a favor and make some of my delicious edible sugar cookie dough. It’s egg-free and completely safe to eat, unlike the raw dough in this recipe.
- Cool Completely: Patience is a virtue when it comes to decorating! Ensure your cookies are entirely cooled before applying any icing, otherwise, the icing will melt and run.
Common Questions About Christmas Sugar Cookies (FAQ)
Yes, absolutely! This dough freezes beautifully for up to 3 months. Wrap it tightly in plastic wrap and then store in a freezer-safe bag. When you’re ready to use it, thaw the dough in the refrigerator overnight. If it’s still a bit too firm to roll out easily, let it sit at room temperature for about 1 hour to soften slightly.
There are a few key tricks! First, ensure your butter and eggs are at room temperature (but not warm!) when mixing, as this helps with consistency. Most importantly, do not skip chilling the dough for at least 2 hours. This firms up the butter. For an extra measure, after placing the cut-out cookies on your baking sheet, place the baking sheet in the fridge to chill for another 15-20 minutes just before baking. This cold shock helps the cookies hold their shape perfectly.
Yes, chilling the dough is absolutely non-negotiable for cut-out sugar cookies! It’s necessary for easy rolling and cookie cutting, as it prevents the dough from being too sticky and soft. More importantly, it helps the butter firm up, which is crucial for preventing the cookies from spreading too much in the oven and ensures they retain their crisp, defined edges.
To achieve truly smooth, lump-free icing, always sift your confectioner’s sugar before mixing it with the other ingredients. This breaks up any clumps. Additionally, whisk vigorously until all ingredients are fully incorporated and the icing has a consistent, velvety texture. Using a whisk is better than a spoon for this task.
Absolutely! Making the dough ahead of time is a fantastic way to streamline your holiday baking. You can prepare the dough and keep it tightly wrapped in plastic in the refrigerator for up to 3-4 days, or freeze it for up to 3 months as mentioned in the storage section. This allows you to spread out your baking tasks and enjoy the process more.
More Festive Christmas Cookie Recipes to Explore
Looking for more delicious treats to add to your holiday baking list? Here are some other fantastic Christmas cookie recipes from our collection:
- Classic Gingerbread Men Cookies
- Delightful Hidden Kiss Pudding Cookies
- Quick & Easy Chocolate Peanut Butter No-Bake Cookies
- Festive Christmas Cookie Bars
- One Cookie Dough, Four Amazing Christmas Cookies!
- Soft Italian Almond Amaretti Cookies
- Soft Frosted Christmas Cookies
- Christmas M&M Snowball Cookies

Classic Christmas Sugar Cookies
Author: Jaclyn
Ingredients
- ¾ cup unsalted butter softened
- ¾ cup granulated sugar
- 1 teaspoon pure vanilla extract
- 1 large egg room temperature
- 2 cups all-purpose flour spooned & leveled
- ½ teaspoon baking powder
- ¼ teaspoon salt
For the Icing:
- 2 ½ cups confectioner’s sugar sifted
- 2-3 Tablespoons whole milk as needed for desired consistency
- 1 Tablespoon light corn syrup for shine, optional
- gel food coloring optional, for festive colors
- sprinkles optional, for decorating
Instructions
-
Using a stand mixer or hand mixer and a large bowl, beat softened butter, granulated sugar, and pure vanilla extract together until smooth, light, and fluffy (about 2-3 minutes). Add the room temperature large egg and mix until fully combined, scraping the sides of the bowl as needed.
-
In a separate medium bowl, whisk together the all-purpose flour, baking powder, and salt.
-
With the mixer set to low speed, gradually add the whisked flour mixture to the wet ingredients. Mix until everything is just combined and no dry streaks of flour remain. Be careful not to overmix.
-
Gather the dough, flatten it into a disc, wrap it tightly in plastic wrap, and chill in the refrigerator for at least 2 hours (or overnight). Do not skip this crucial step!
-
Preheat the oven to 350°F (175°C) and line a large baking tray with parchment paper or a silicone baking mat.
-
On a lightly floured surface, roll out the chilled dough to approximately ¼ inch thickness. Sprinkle flour both under and on top of the dough as needed to prevent it from sticking. Use your favorite cookie cutters to cut out cookies into your desired shapes, gathering and gently re-rolling scraps as necessary (do this only once or twice). Use a thin metal spatula to carefully transfer cut-out cookies to the prepared baking tray, leaving about 1 inch between each.
-
Bake for about 10 minutes, or until the edges are just beginning to turn a very light golden brown. Immediately transfer the cookies to a wire rack to cool completely to room temperature before decorating.
-
To make the icing, add the sifted confectioner’s sugar, whole milk (start with 2 Tbsp and add more as needed), and light corn syrup to a medium bowl and whisk until completely smooth. Divide icing amongst bowls and color with gel food coloring as desired. Transfer to piping bags or squeeze bottles and frost cookies. Top with sprinkles immediately if desired. Allow icing to fully harden at room temperature for several hours (or overnight) before stacking or storing the cookies.
Notes
Store fully dried, decorated cookies in an airtight container at room temperature for up to 5 days, layering with parchment paper if stacking.
Baked and undecorated cookies can also be frozen for up to 3 months. To freeze, place the cookies in a single layer on a baking sheet until solid, then transfer to an airtight freezer-safe container, separating layers with waxed paper. Thaw cookies at room temperature for 1-2 hours before decorating.
This raw cookie dough can be frozen for up to 3 months. Thaw in the refrigerator overnight when ready to use. If still too firm to roll out, allow the dough to sit at room temperature for about 1 hour to soften.
If you find the dough has become sticky and difficult to work with as you cut your cookies (especially if your kitchen is warm), place it back in the refrigerator for 30-60 minutes to firm up again. Working with smaller portions of dough can also help.
Nutrition

Did You Make This Recipe?
Share it with me on Instagram @crayonsandcravings and follow on Pinterest @crayonsandcravings for even more!
Pin Recipe
Leave A Review

