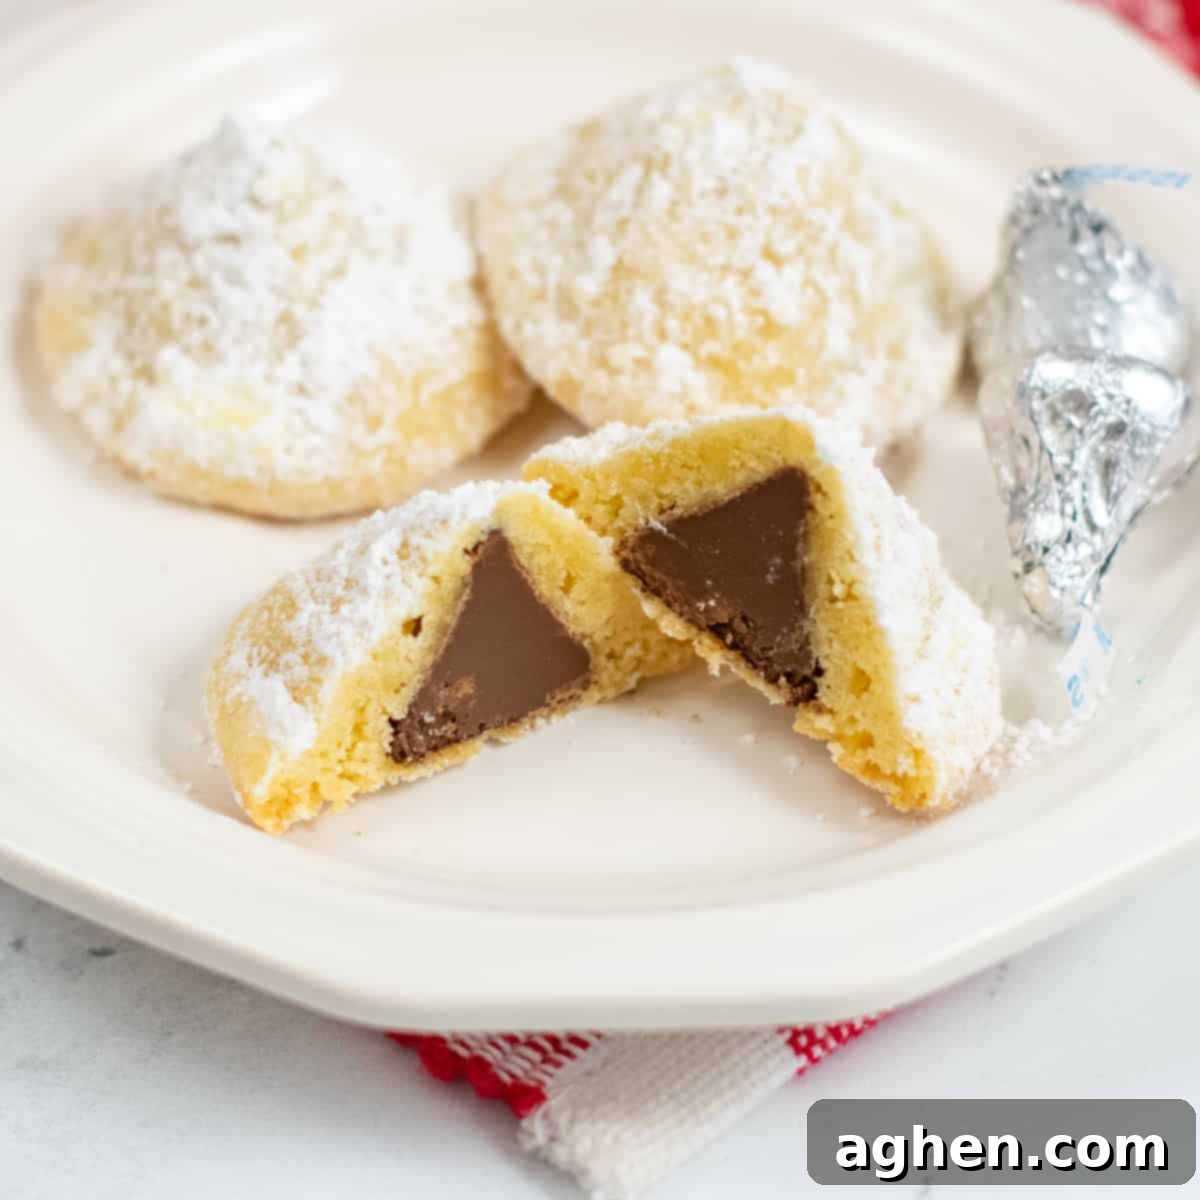
Irresistible Secret Kiss Cookies: The Ultimate Soft & Chewy Surprise Treat
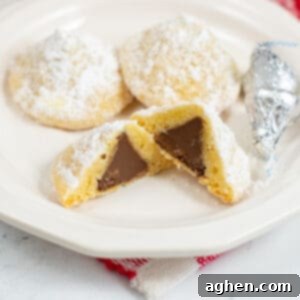
Prepare to fall in love with a cookie that holds a delightful secret: Secret Kiss Cookies! These aren’t just any ordinary cookies; they are wonderfully soft and chewy, featuring a tender vanilla base that perfectly encases a sweet surprise in its heart – a luscious chocolate Hershey’s Kiss. Each bite offers a melt-in-your-mouth experience, starting with the delicate sweetness of the cookie and ending with a burst of smooth chocolate.
These charming Christmas cookies are absolutely perfect for brightening up your holiday season. Imagine them as a heartwarming addition to your annual cookie exchanges, or as the star attraction on your plate for Santa on Christmas Eve. Their festive appearance, often dusted with powdered sugar, gives them a magical, snow-kissed appeal that captures the spirit of the holidays.
But let’s be honest, a hidden kiss cookie is a truly yummy treat any time of the year! Why limit such joy to just one season? Whether you’re craving a comforting homemade dessert, planning a birthday party, or simply need a pick-me-up, these chocolate-stuffed delights are guaranteed to bring smiles.
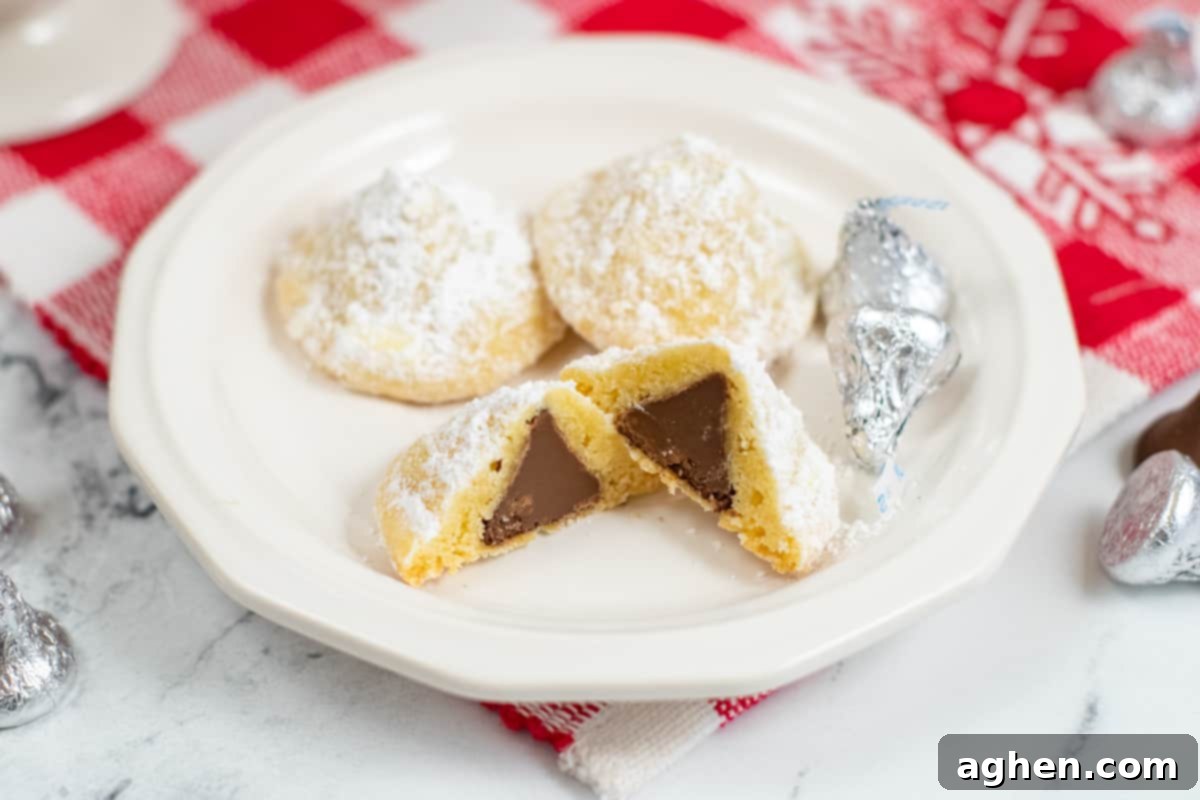
Seriously, who could resist a perfectly soft, sweet cookie with a gooey chocolate center? These aren’t just cookies; they’re little parcels of happiness, promising a delightful discovery with every bite. If you’re a fan of Hershey Kiss cookies, you might also enjoy the classic peanut butter blossoms or the festive candy cane kiss cookies – both delightful variations that feature the iconic chocolate kiss.
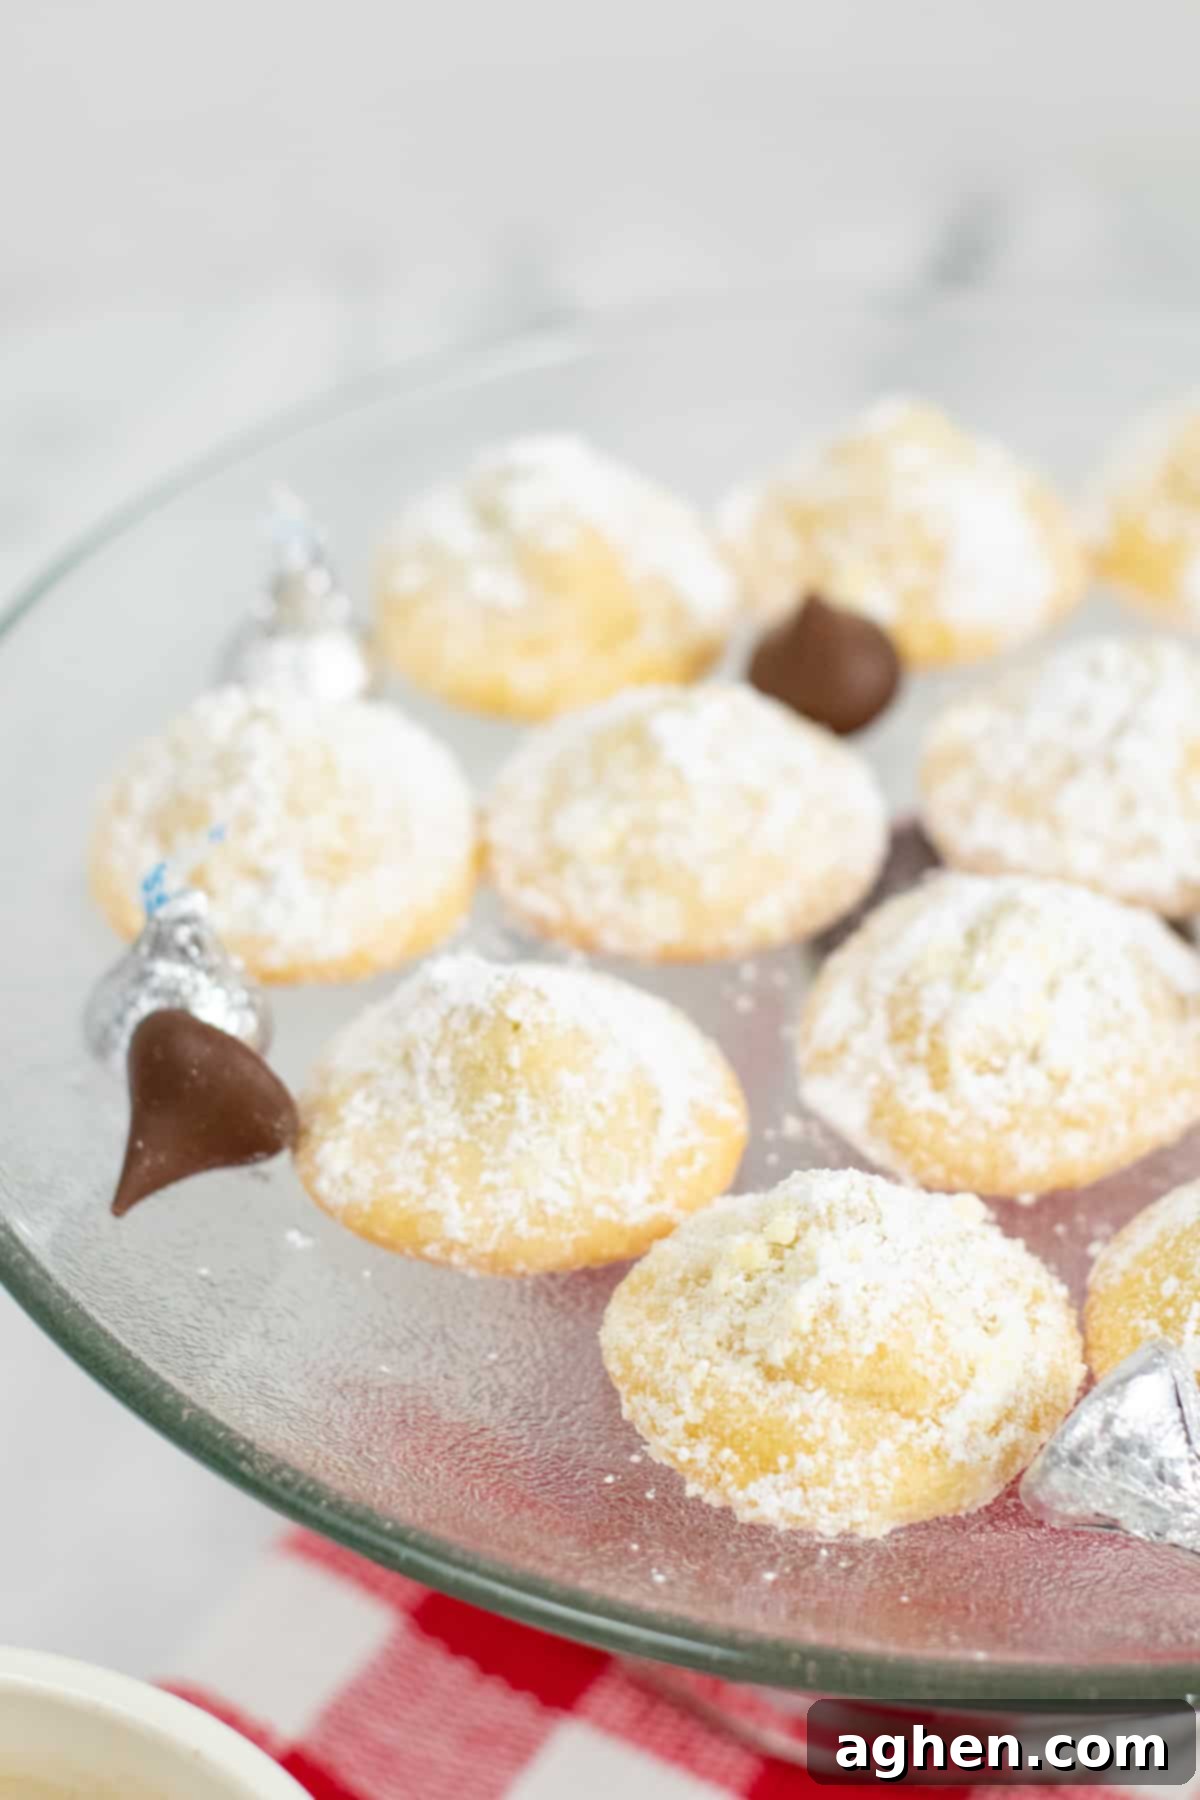
What makes these secret kiss cookies truly special is their base: a versatile vanilla pudding cookie dough. This incredible dough is a baker’s dream, as it can also be transformed into a variety of other delicious treats, such as vibrant sprinkle cookies, elegant thumbprint cookies, and beautifully frosted Christmas cookies. This means you can easily portion out your dough to create an assortment of one or two dozen of each type, offering a wonderful variety from a single batch!
The Magic of Pudding Mix in Cookies
The instant pudding mix is truly the secret ingredient in these cookies, elevating them from good to absolutely phenomenal. It infuses them with a wonderful, rich vanilla flavor that tastes homemade and authentic. More importantly, the pudding mix works wonders in keeping these cookies incredibly nice and soft, ensuring that perfect melt-in-your-mouth texture that everyone loves. It helps retain moisture, preventing the cookies from drying out and giving them that desirable chewy consistency for days. If you’re as enamored with pudding cookies as we are, you absolutely must try this soft and chewy kitchen sink Christmas cookie recipe as well – it’s another testament to the magic of pudding in baking!
Why You’ll Adore These Secret Kiss Cookies
- Irresistibly Soft & Chewy: Thanks to the instant vanilla pudding mix, these cookies boast an incredible texture that stays soft for days.
- A Delightful Surprise: The hidden Hershey’s Kiss in the center is a sweet chocolatey treat that makes every bite exciting.
- Versatile for Any Occasion: While perfect for Christmas, these hidden kiss cookies are a hit at any gathering, party, or simply as an everyday treat.
- Easy to Make: With straightforward steps and common ingredients, even novice bakers can achieve perfect results.
- Highly Customizable: Easily switch up flavors with different pudding mixes or Hershey’s Kiss varieties.
- Crowd-Pleaser: Everyone loves a cookie with a surprise! These are guaranteed to be a favorite.
Ingredients for Your Perfect Batch
This section provides detailed ingredient notes and possible substitution options to ensure your baking success. You can find all precise measurements, ingredients, and instructions in the printable recipe card located at the very end of this comprehensive guide.
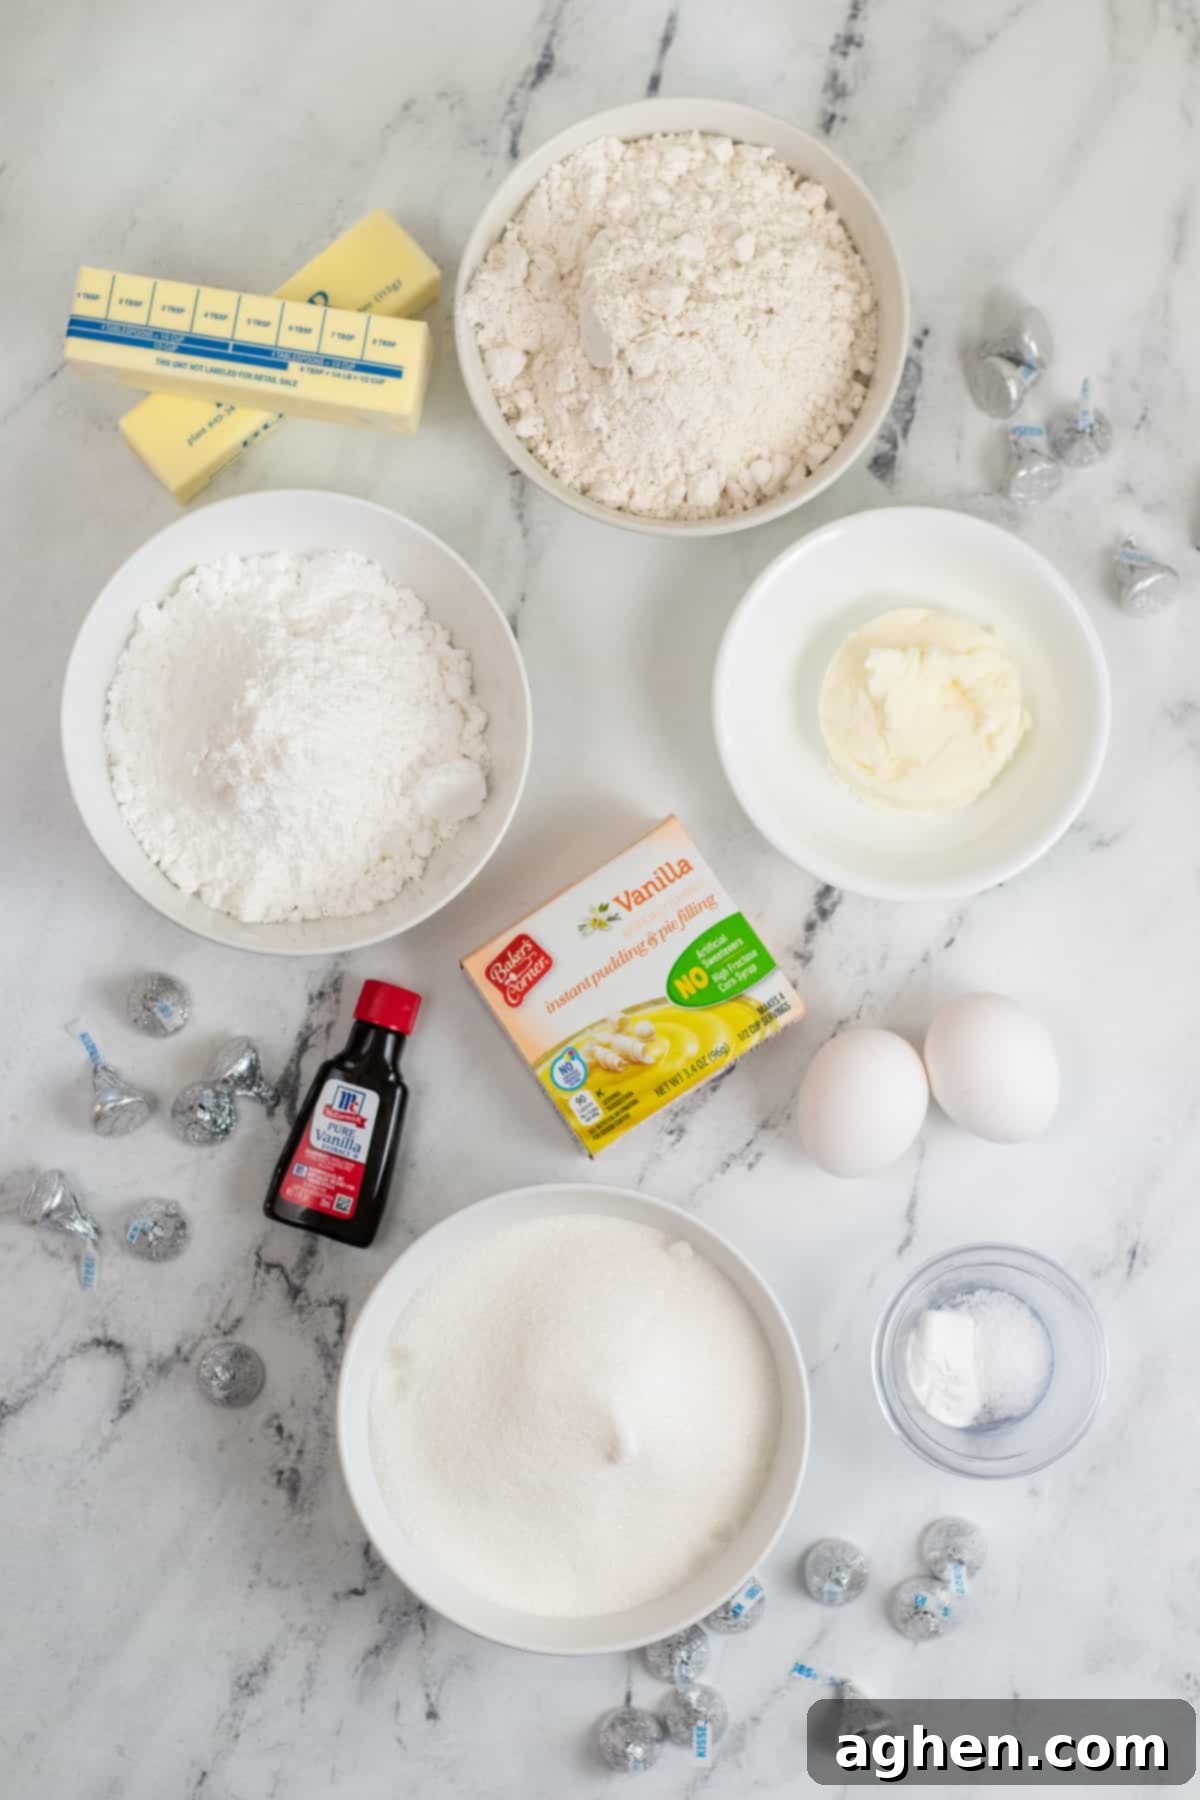
- Unsalted Butter. It’s crucial for your butter to be at room temperature. This allows it to cream properly with the sugar, incorporating air for a light and fluffy dough.
- Shortening. We love using a strategic combination of butter and shortening in this particular cookie recipe. The butter contributes that undeniable, rich, authentic butter flavor that makes cookies so delicious, while the shortening plays a vital role in preventing the cookies from spreading too much and becoming thin during the baking process, ensuring they maintain a perfect thickness and chewiness.
- Granulated Sugar. This provides the primary sweetness and contributes to the cookie’s tender texture.
- Eggs. Similar to butter, let your eggs come to room temperature on your countertop. Room temperature eggs emulsify better with the fat, leading to a smoother, more uniform dough and a better-textured cookie.
- Vanilla Extract. Always opt for real vanilla extract. Its rich, complex flavor is far superior to imitation vanilla, especially in a vanilla-based cookie, and makes a noticeable difference in the final taste.
- Flour. Standard all-purpose flour is what you’ll need for this recipe. Make sure to measure it correctly using the spoon-and-level method to avoid dense cookies.
- Instant Vanilla Pudding Mix. You’ll need a standard 3.4 oz size box of *instant* vanilla pudding mix. This distinction is critical; absolutely ensure you do not grab a box of “cook & serve” pudding by mistake, as it contains different ingredients and will not yield the same amazing results. The instant variety provides the necessary moisture and flavor components without requiring prior preparation.
- Baking Powder. This is our leavening agent, which helps the cookies rise slightly and gives them a tender crumb.
- Salt. A small amount of salt is essential for balancing the sweetness and enhancing all the other flavors in the cookie.
- Hershey Kisses. The star of the show! You’ll need about 60 unwrapped Hershey Kisses for this recipe. Remember to unwrap them *before* you start assembling the cookies to save time and sticky fingers!
- Powdered Sugar. Also known as confectioners’ sugar, this is for coating the baked cookies. It helps to elegantly hide the Hershey Kisses in the center, giving them a lovely snowball cookie appearance. Beyond the visual appeal, it also adds an extra delicate layer of sweetness to each bite.
Recipe Variations and Substitutions: Get Creative!
One of the best things about these Secret Kiss Cookies is how adaptable they are. Feel free to experiment and make them your own!
- Chocolate Pudding Mix: For the ultimate chocolate lover, simply swap the vanilla instant pudding mix for a chocolate instant pudding mix. This will create rich chocolate hidden kiss cookies, offering a double dose of chocolatey goodness.
- Salted Butter: While unsalted butter gives you more control over the salt content, you can certainly use salted butter for this easy recipe. If you do, I highly recommend reducing the added salt in the recipe from ½ teaspoon to only ¼ teaspoon to prevent your cookies from becoming too salty.
- Hershey Kisses Flavor Swap: Don’t limit yourself to classic milk chocolate! Elevate your cookies by switching up the flavor of the Hershey Kisses. Try festive peppermint kisses for the holidays, creamy cookies ‘n’ cream kisses for a playful twist, or even Hershey Hugs for a milk chocolate and white chocolate swirl. Dark chocolate kisses would also be a sophisticated alternative.
- Cocoa Powder Coating: For an intriguing visual and flavor contrast, separate your powdered sugar into two bowls. Mix a few teaspoons of unsweetened cocoa powder into one of the bowls. You can then coat half of your cookies with the regular powdered sugar and the other half with the chocolate-infused powdered sugar, giving you both classic and chocolate-dusted cookies from a single batch!
- No Surprise / Thumbprint Style: If you prefer a less “hidden” approach, or simply want to change the presentation, skip tucking the kisses inside. Instead, roll your dough into balls and bake them as usual. Immediately after they come out of the oven, while still warm, gently press a Hershey Kiss onto the top of each cookie. This creates a charming “thumbprint” style cookie, where the kiss is proudly displayed.
- Seasonal Sprinkles: Add a festive touch by rolling the cookie dough balls in sprinkles (before baking and chilling) in addition to or instead of the powdered sugar coating.
- Mini Candies: Instead of Hershey Kisses, you could use other small, firm candies like mini Reese’s peanut butter cups or small caramels for different flavor combinations.
How to Make Secret Kiss Cookies: Step-by-Step
This section walks you through the entire baking process with detailed step-by-step instructions and helpful tips. For the full, concise, and printable recipe, please refer to the recipe card provided further down on this page.
Step one. Begin by preparing your baking sheets. Line them with parchment paper or silicone mats. This prevents sticking, ensures even baking, and makes for easier cleanup. Set them aside while you prepare the dough.
Step two. In a large mixing bowl, using either a stand mixer fitted with the paddle attachment or a hand mixer, beat together the softened unsalted butter, shortening, and granulated sugar. Cream these ingredients together until the mixture is visibly light in color and delightfully fluffy in texture. This process usually takes about 4-5 minutes, allowing air to incorporate and create a tender cookie.
Step three. Once your butter mixture is light and fluffy, beat in the room temperature eggs one at a time, ensuring each is fully incorporated before adding the next. Then, stir in the vanilla extract and the dry instant pudding mix until just combined. Be careful not to overmix at this stage.
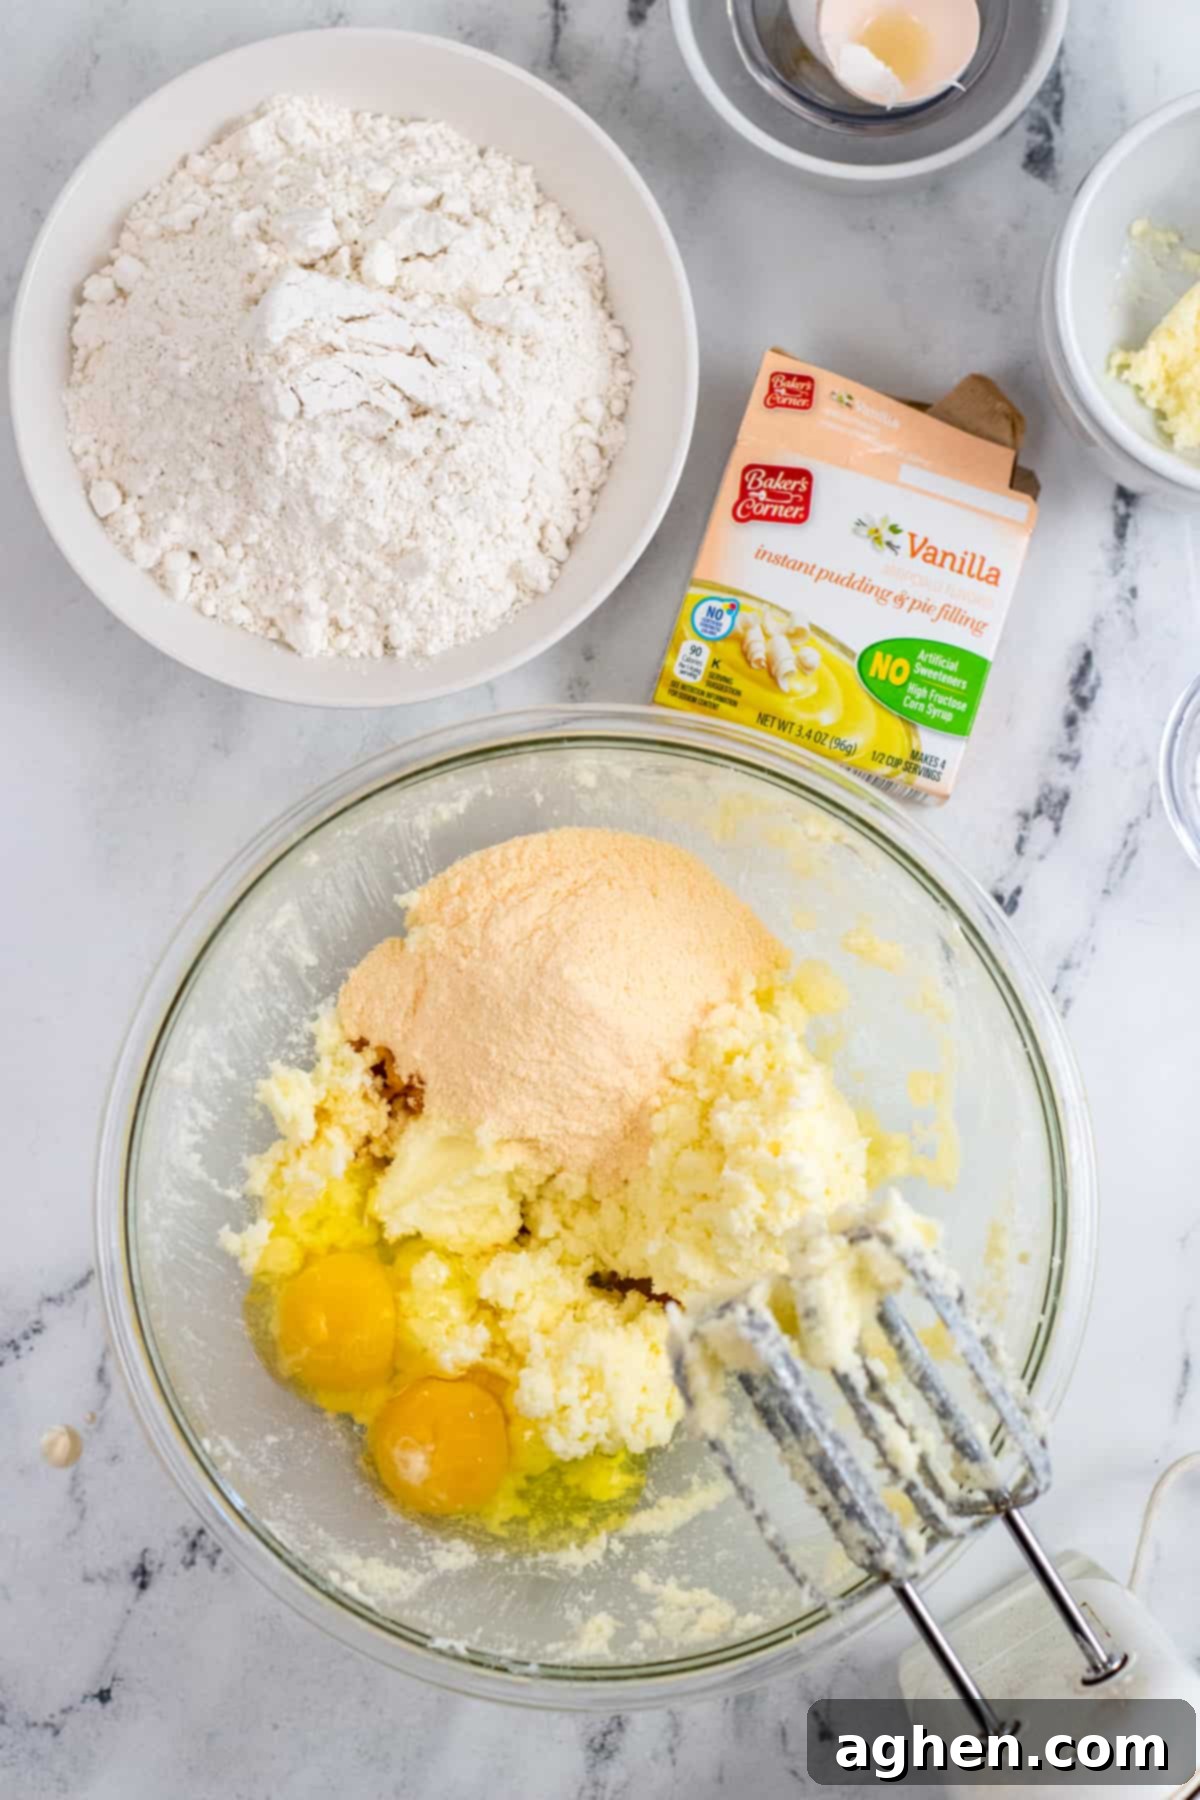
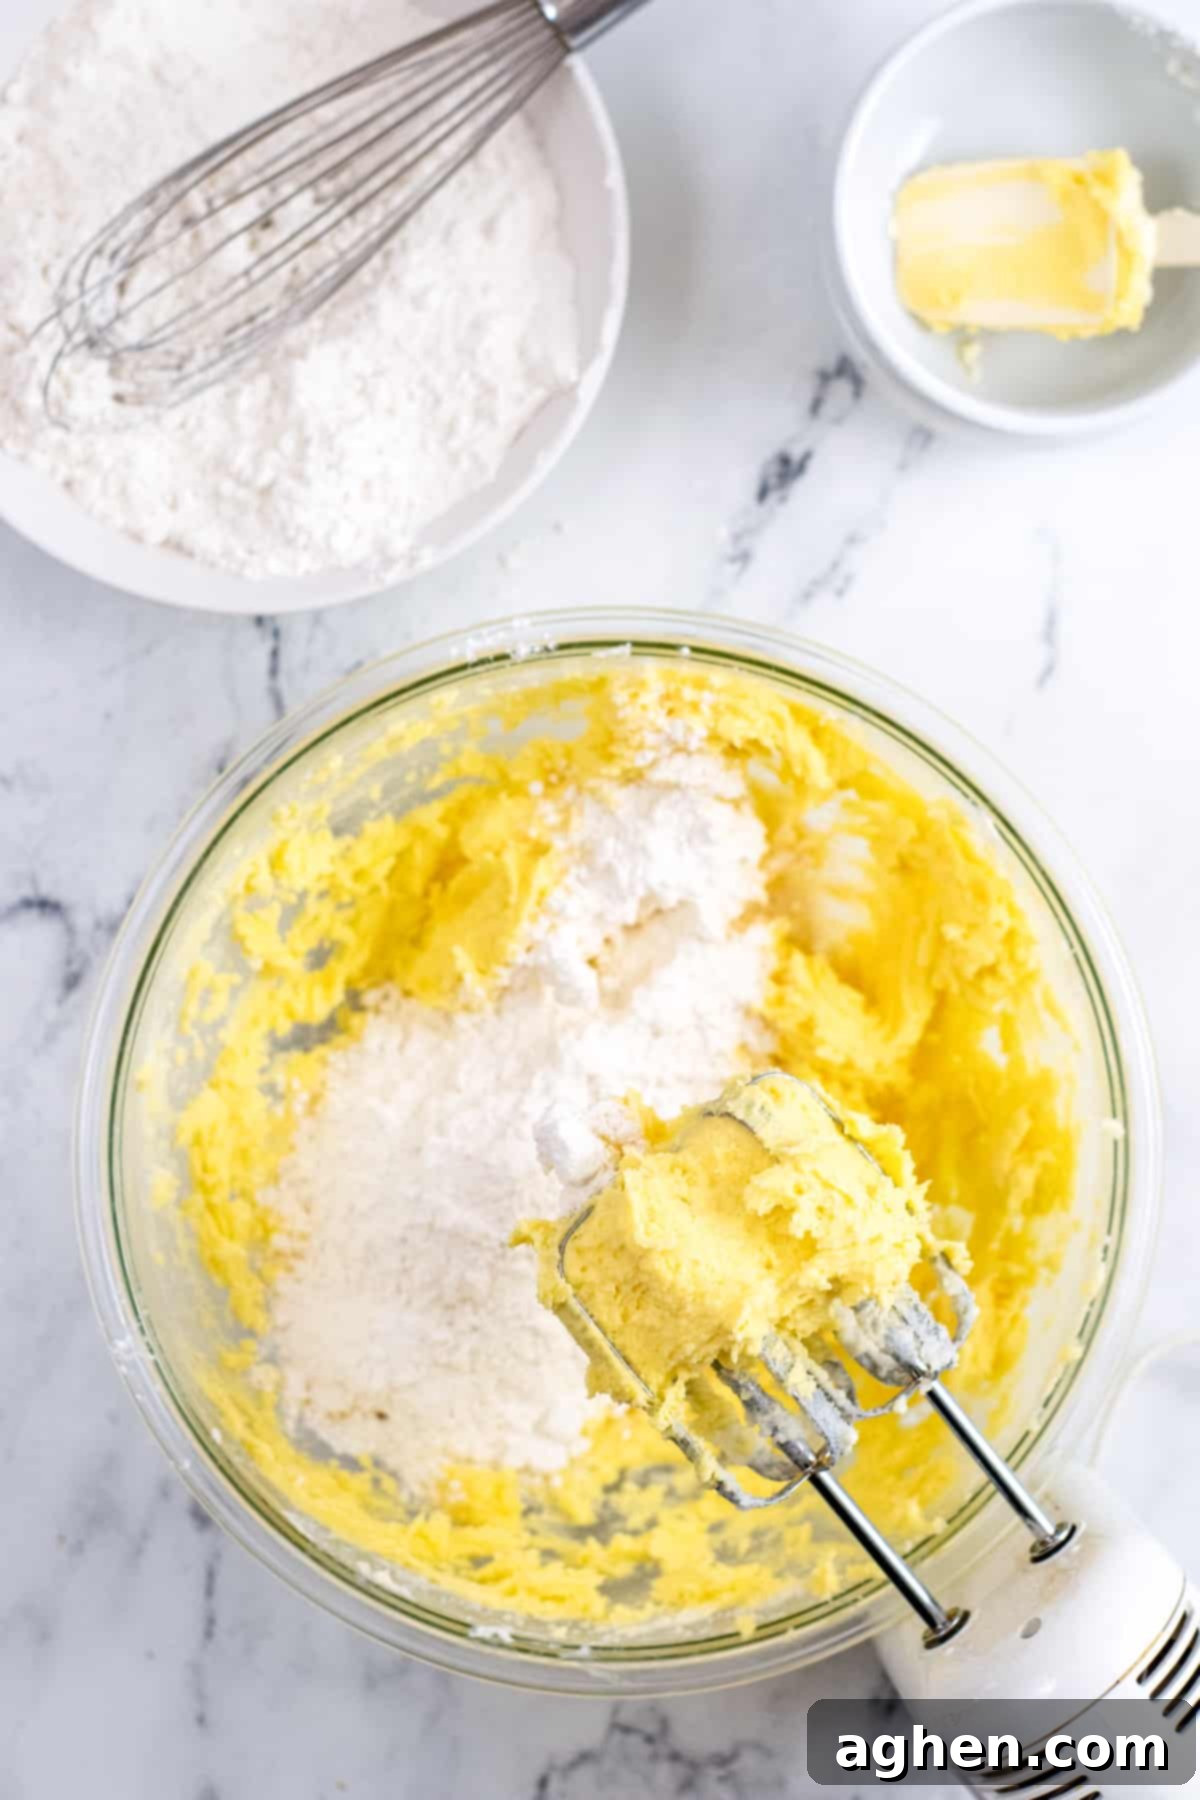
Step four. In a separate medium-sized bowl, whisk together the all-purpose flour, baking powder, and salt until they are well combined. This ensures the leavening and seasoning are evenly distributed throughout the dry ingredients. Gradually add these dry ingredients to your wet mixture, a little at a time, mixing on low speed between additions until just combined. Stop mixing as soon as no dry streaks of flour remain to avoid developing too much gluten, which can lead to tough cookies.
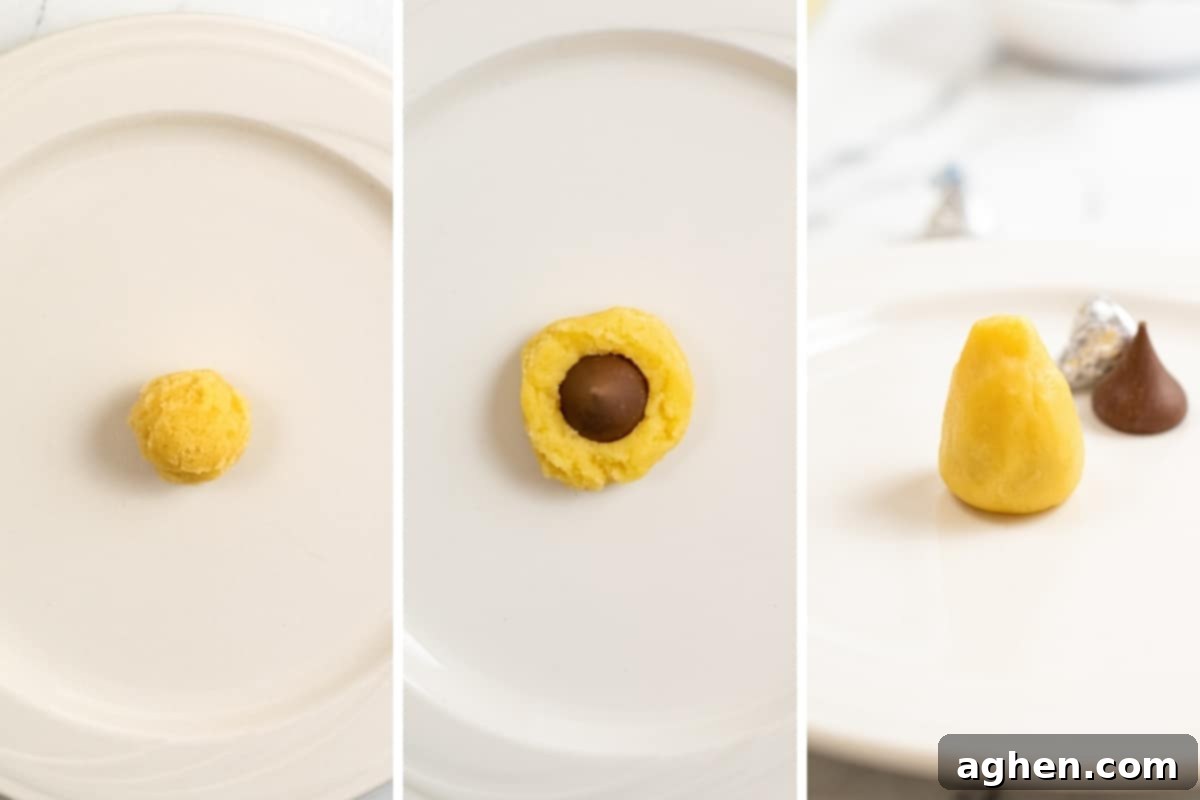
Step five. Now for the fun part: shaping and stuffing! Use a 1 tablespoon cookie scoop or simply a tablespoon to portion out the dough. Roll each portion into a smooth ball. Gently press one unwrapped Hershey Kiss into the center of each dough ball. Then, carefully pinch the dough up and around the chocolate kiss, completely enclosing it and shaping it into a cone-shaped or round ball, ensuring no part of the chocolate is exposed. Repeat this process until all the dough is used up, placing each prepared cookie dough ball about 2 inches apart on your lined baking sheets.
Note: This recipe yields a generous amount of cookies (around 60!), so it will likely require four large baking sheets. If you, like most people, don’t have enough room for four baking sheets in your refrigerator for chilling, I highly recommend splitting the cookie dough in half. Work with one half at a time, keeping the remaining dough refrigerated until you are ready to prep and bake the next batch.
Step six. Once all your cookies are shaped, place the baking sheets containing the dough balls into the refrigerator to chill for at least one hour. This chilling step is absolutely crucial as it helps to firm up the butter and shortening, preventing the cookies from spreading too much during baking and ensuring they retain their perfect shape and chewiness.
Step seven. When you’re ready to bake, preheat your oven to 350°F (175°C). Ensure your oven is fully preheated before placing the cookies inside for optimal baking results.
Step eight. Bake the chilled cookies for 12-15 minutes, or until the edges are lightly golden brown. The centers should still look soft. Remove the baking sheets from the oven and allow the cookies to cool on the sheets for about 5-10 minutes. They will continue to set during this time. They should be cool enough to handle without breaking but still slightly warm for the next step.
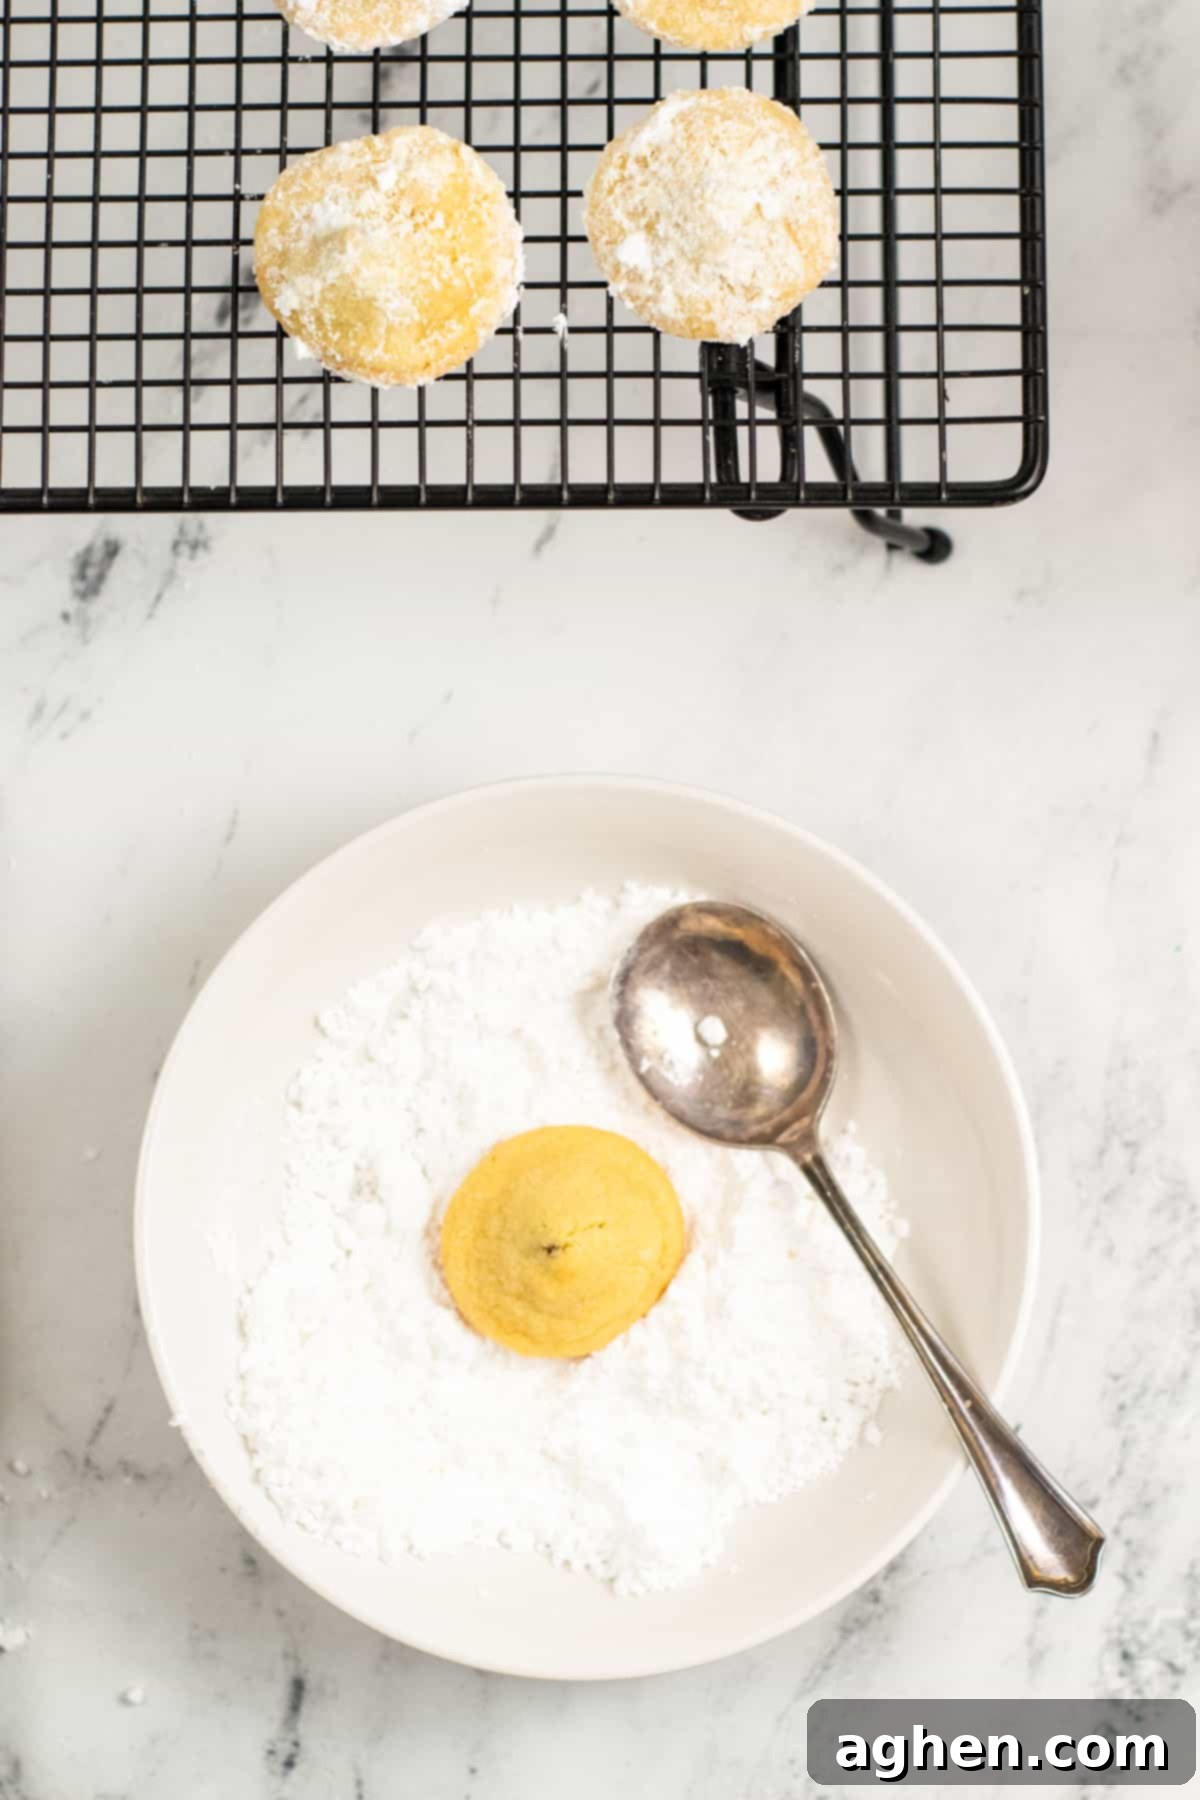
Step nine. While the cookies are still warm, pour the powdered sugar into a shallow bowl. Gently place each cookie into the powdered sugar and turn it to coat it completely. The warmth of the cookies helps the powdered sugar adhere beautifully. Once coated, transfer the cookies to a wire cooling rack to cool fully. For an even thicker, more pronounced coating of confectioners’ sugar (for that perfect snowball cookie aesthetic), dust them in powdered sugar once more after they have completely cooled, just before serving.
Expert Tips for Perfect Secret Kiss Cookies Every Time
- Room Temperature Ingredients are Key: Ensure your butter and eggs are at room temperature. This allows them to cream together properly, creating a smooth batter that incorporates air for light and fluffy cookies.
- Don’t Overmix: Once you add the flour, mix until just combined. Overmixing develops gluten, which can lead to tough, dense cookies.
- Measure Flour Accurately: Use the “spoon and level” method. Spoon flour into your measuring cup and then level it off with a straight edge. Don’t scoop directly from the bag, as this can compact the flour and lead to too much being added.
- Chill Time is Non-Negotiable: Do not skip the chilling step! It’s crucial for preventing the cookies from spreading excessively in the oven, ensuring they maintain their shape and a desirable chewy texture.
- Unwrap Kisses Ahead of Time: Save yourself a lot of sticky hassle by unwrapping all your Hershey Kisses before you start forming the cookie dough balls.
- Properly Enclose the Kiss: Make sure the Hershey Kiss is completely covered by the dough. Any exposed chocolate can melt too quickly and seep out, affecting the cookie’s appearance and structure.
- Double Coat for a “Snowball” Look: For that classic snowball cookie appearance and an extra boost of sweetness, roll your warm cookies in powdered sugar, let them cool completely, and then roll them in powdered sugar a second time just before serving.
- Oven Calibration Varies: Every oven is a little different. Keep an eye on your cookies during the last few minutes of baking. They should be lightly golden brown around the edges, but still soft in the center when removed.
Storage Solutions for Freshness
Proper storage ensures your Secret Kiss Cookies stay delicious for as long as possible.
- Countertop Storage: Once completely cooled, store the cookies in an airtight container at room temperature. They will maintain their wonderful soft and chewy texture for up to 4 days, though they rarely last that long!
- Freezer Storage (Baked Cookies): For longer storage, fully cooled, baked cookies can be frozen for up to 3 months. To avoid a messy powdered sugar coating upon thawing, I would highly recommend freezing them *before* coating them in powdered sugar. Once thawed, you can roll them in powdered sugar for a fresh finish.
- Freezer Storage (Cookie Dough): This dough freezes exceptionally well! You can prepare the kiss-stuffed dough balls as per the recipe, then flash freeze them on a baking sheet until solid. Once frozen, transfer the individual dough balls to a freezer-safe bag or container for up to 3 months. When ready to bake, you can bake them directly from frozen (adding a few extra minutes to the baking time) or let them thaw slightly first.
Recipe FAQ: Your Questions Answered
No, absolutely not! The key to this recipe’s success is to use the instant pudding mix in its dry, powdered form. Simply dump the contents of the dry mix directly into the bowl with the other wet ingredients as instructed. The moisture from the other ingredients will activate the pudding as the cookies bake, contributing to their incredible softness and flavor.
Yes, you certainly can! Preparing the cookie dough ahead of time is a fantastic way to save time, especially during busy holiday seasons or for impromptu baking sessions. Simply prep your dough as directed, cover the bowl or the shaped dough balls tightly with plastic wrap, and chill it in the refrigerator. The dough can be stored this way for up to three days before you’re ready to bake.
Yes, this cookie dough freezes exceptionally well, making it perfect for future baking. To freeze the dough, I recommend forming the kiss-stuffed dough balls first. Then, arrange them in a single layer on a cookie sheet and flash freeze them until they are completely solid. Once frozen solid, transfer the individual cookie dough balls to a freezer-safe baggie or an airtight container. They will keep well in the freezer for up to 3 months. When you’re ready to bake, you can bake them directly from frozen (adding a few extra minutes to the baking time) or let them thaw in the refrigerator for a bit before baking.
More Easy & Delicious Cookie Recipes
If you’ve enjoyed making these Secret Kiss Cookies, you’re sure to love these other simple and tasty cookie recipes from our collection:
- No Bake Peanut Butter Chocolate Oatmeal Cookies: Quick, easy, and requires no oven!
- Chocolate Chip Cake Mix Cookies: Incredibly simple with only 4 ingredients for a quick sweet fix.
- Peppermint Pinwheel Cookies: Festive and fun, perfect for holiday baking.
- Chocolate Chip Air Fryer Cookies: Get perfectly crispy edges and gooey centers with your air fryer.
- Soft Gingerbread Cookies: Classic holiday spice in a wonderfully chewy cookie.
- Christmas Cookie Bars: Easy to make and share, these bars are a holiday staple.
Secret Kiss Cookies
Author: Jaclyn
15 minutes
12 minutes
1 hour
1 hour
27 minutes
60
cookies
Saved!
Ingredients
- ¾ cup unsalted butter room temperature
- ¼ cup shortening
- 1 ½ cups granulated sugar
- 2 large eggs room temperature
- 1 ½ teaspoon vanilla extract
- 2 ½ cups all-purpose flour
- 3.4 ounce instant vanilla pudding mix
- 1 teaspoon baking powder
- ½ teaspoon salt
- 60 Hershey Kisses unwrapped
- 2 cups confectioners’ sugar for coating
Instructions
-
Line baking sheets with parchment paper or silicone mats and set aside.
-
Using a stand mixer or hand mixer and large bowl, beat together butter, shortening, and sugar until light and fluffy (about 4-5 minutes).
-
Beat in eggs, vanilla, and instant pudding mix.
-
In a separate bowl, whisk to combine the flour, baking powder, and salt. Gradually add the dry ingredients to the wet ingredients, a little at a time, mixing between additions.
-
Scoop out dough with a 1 Tablespoon cookie scoop or by the tablespoonful, shape it into balls, and press a Hershey Kiss into the center. Pinch the dough up and around the kiss to create a cone-shaped ball of dough. Repeat until all dough is used, placing each cookie about 2 inches apart. (*see notes)
-
Place the cookies in the refrigerator to chill for at least one hour.
-
When ready to bake, preheat the oven to 350°F.
-
Bake for 12-15 minutes or until lightly golden brown around the edges. Remove from the oven and allow the cookies to cool on the baking sheet until cool enough to handle but still warm, about 5-10 minutes.
-
Add the powdered sugar to a shallow bowl and gently turn to coat each cookie in it. Place c coated cookies on a cooling rack. Once cookies are fully cooled, cover in powdered sugar once more before serving.
Notes
- It will likely take 4 large baking sheets to fit all the cookies. If you don’t have room for 4 baking sheets in your fridge (who does?!) then I suggest splitting the dough in half and working with half at a time while keeping the other half refrigerated until ready to prep and bake.
- Fully cooled cookies can be stored in an airtight container at room temperature for up to 4 days. For longer storage, freeze for up to 3 months. I would recommend freeing before adding the powdered sugar.
Nutrition
Serving:
1g
|
Calories:
112kcal

Did You Make This Recipe?
Share it with me on Instagram @crayonsandcravings and follow on Pinterest @crayonsandcravings for even more!
Pin Recipe
Leave A Review
