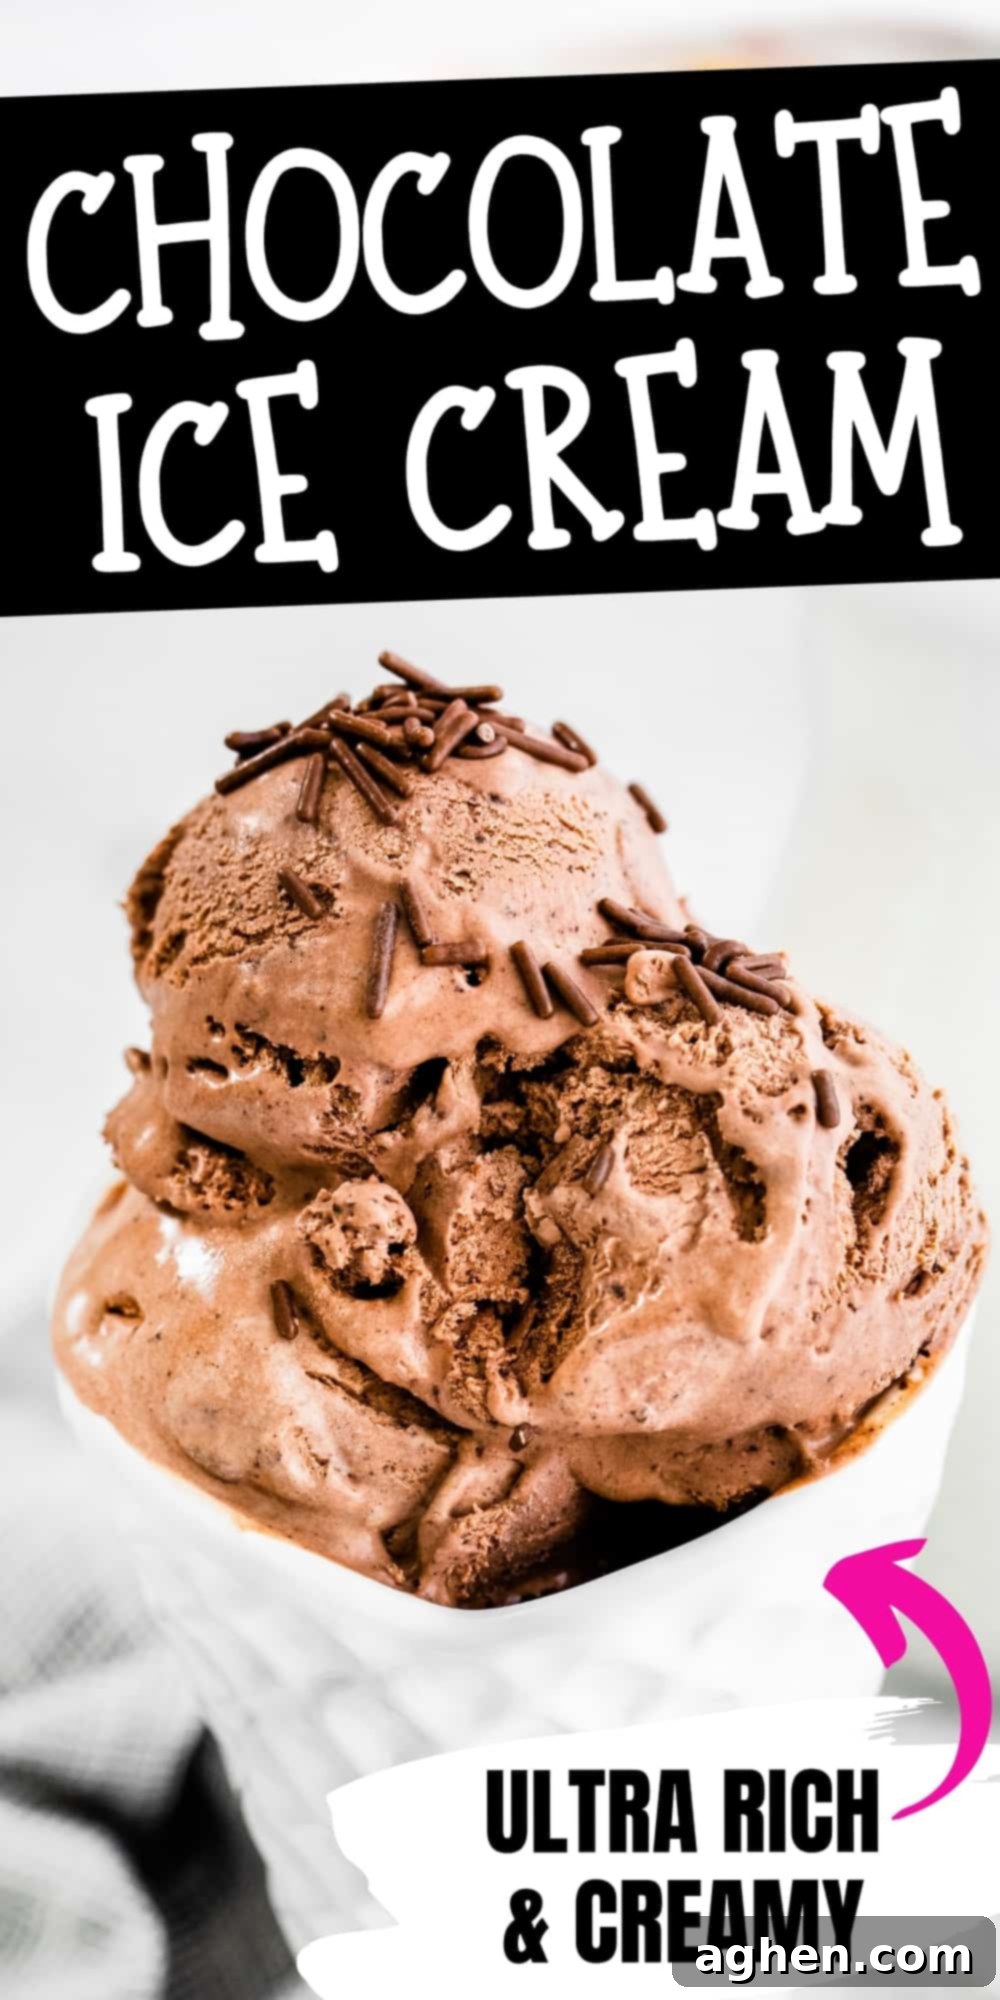
The Ultimate No-Churn Chocolate Ice Cream: Creamy, Rich, and Easy Homemade Dessert
Prepare to delight your taste buds with the most incredibly rich and creamy homemade no-churn chocolate ice cream. This recipe is a true game-changer, allowing you to create a luxurious frozen treat right in your own kitchen with just a few simple ingredients and, best of all, absolutely no ice cream maker necessary! Forget complicated steps or specialized equipment – this method delivers an unbelievably smooth and decadent result that rivals any store-bought premium ice cream.
Once you experience the intense chocolate flavor and silky texture of this homemade no-churn chocolate ice cream, we are confident you will agree it is the absolute best chocolate ice cream EVER. It’s the perfect dessert for satisfying those deep chocolate cravings, a fantastic treat for gatherings, or just a simple indulgence on a warm day.
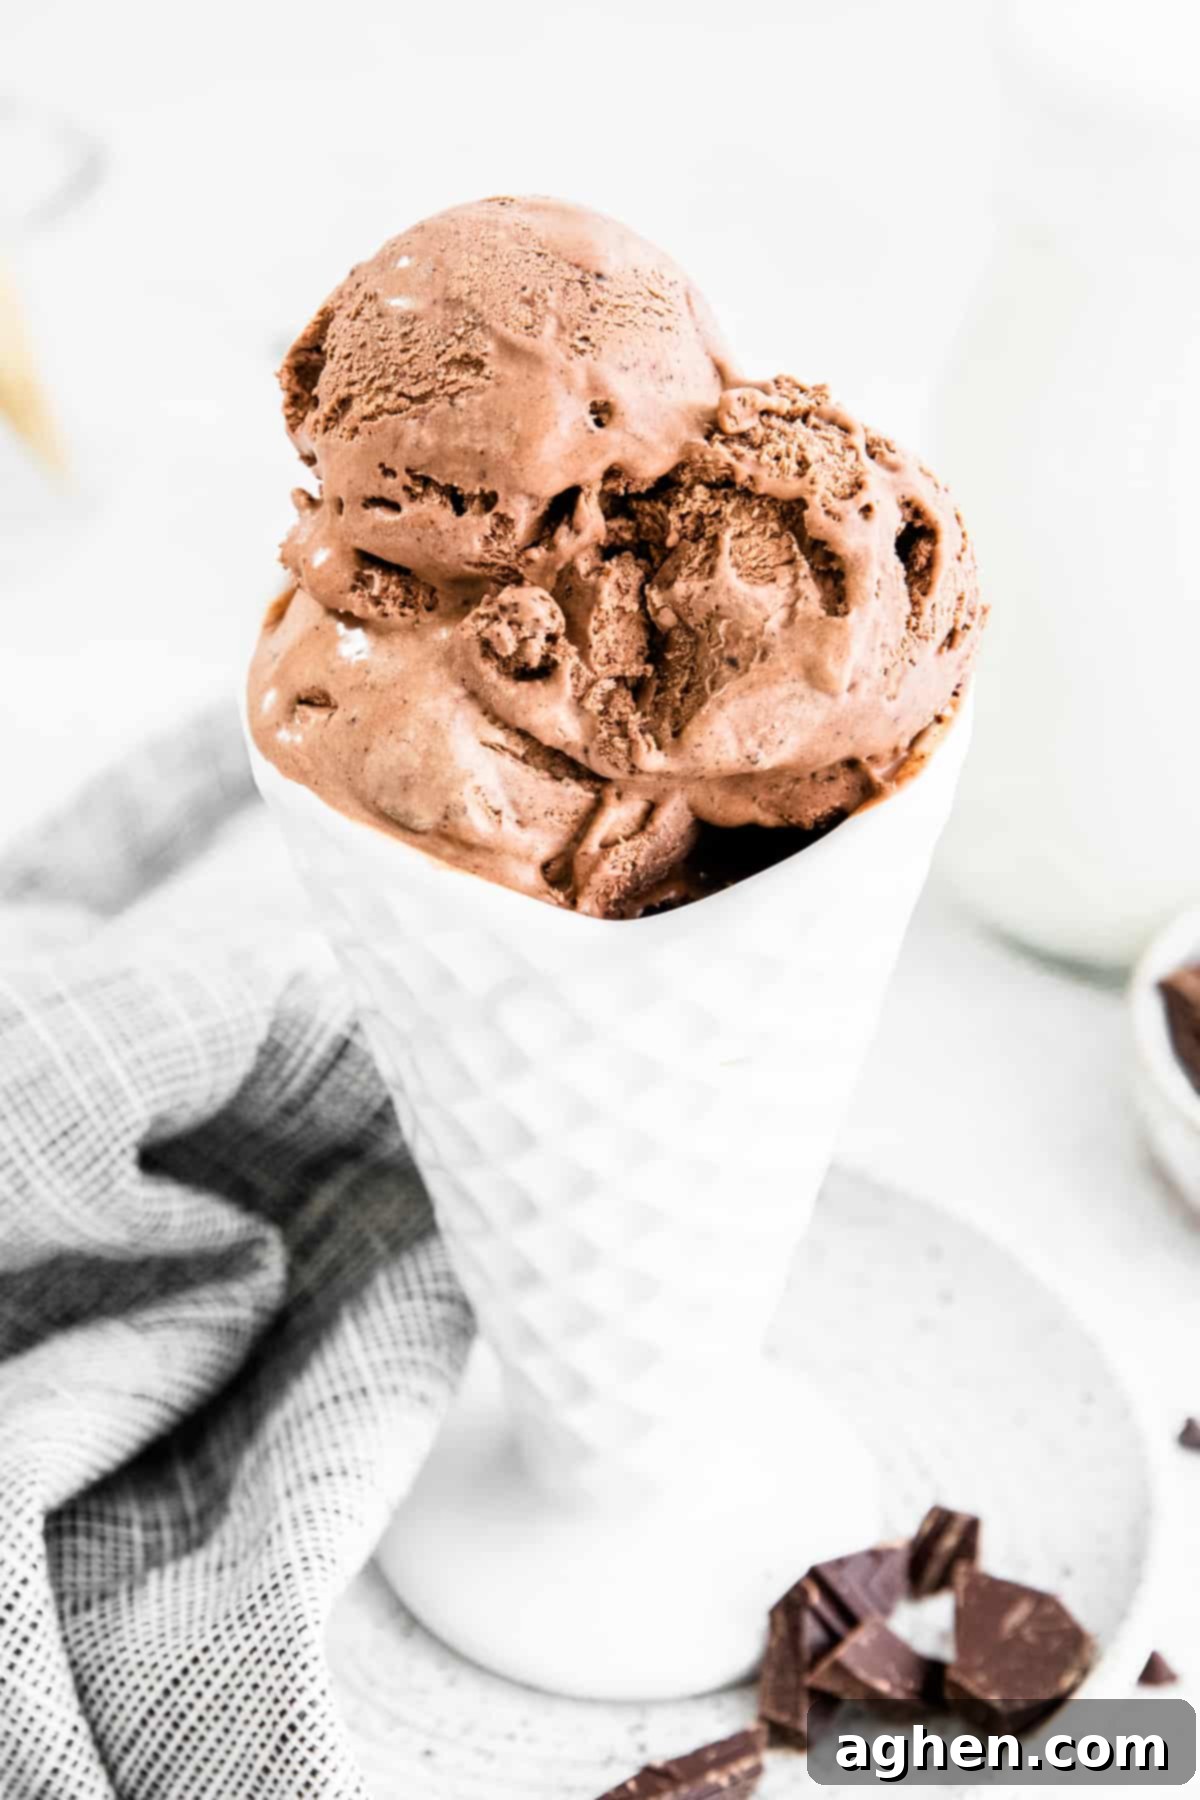
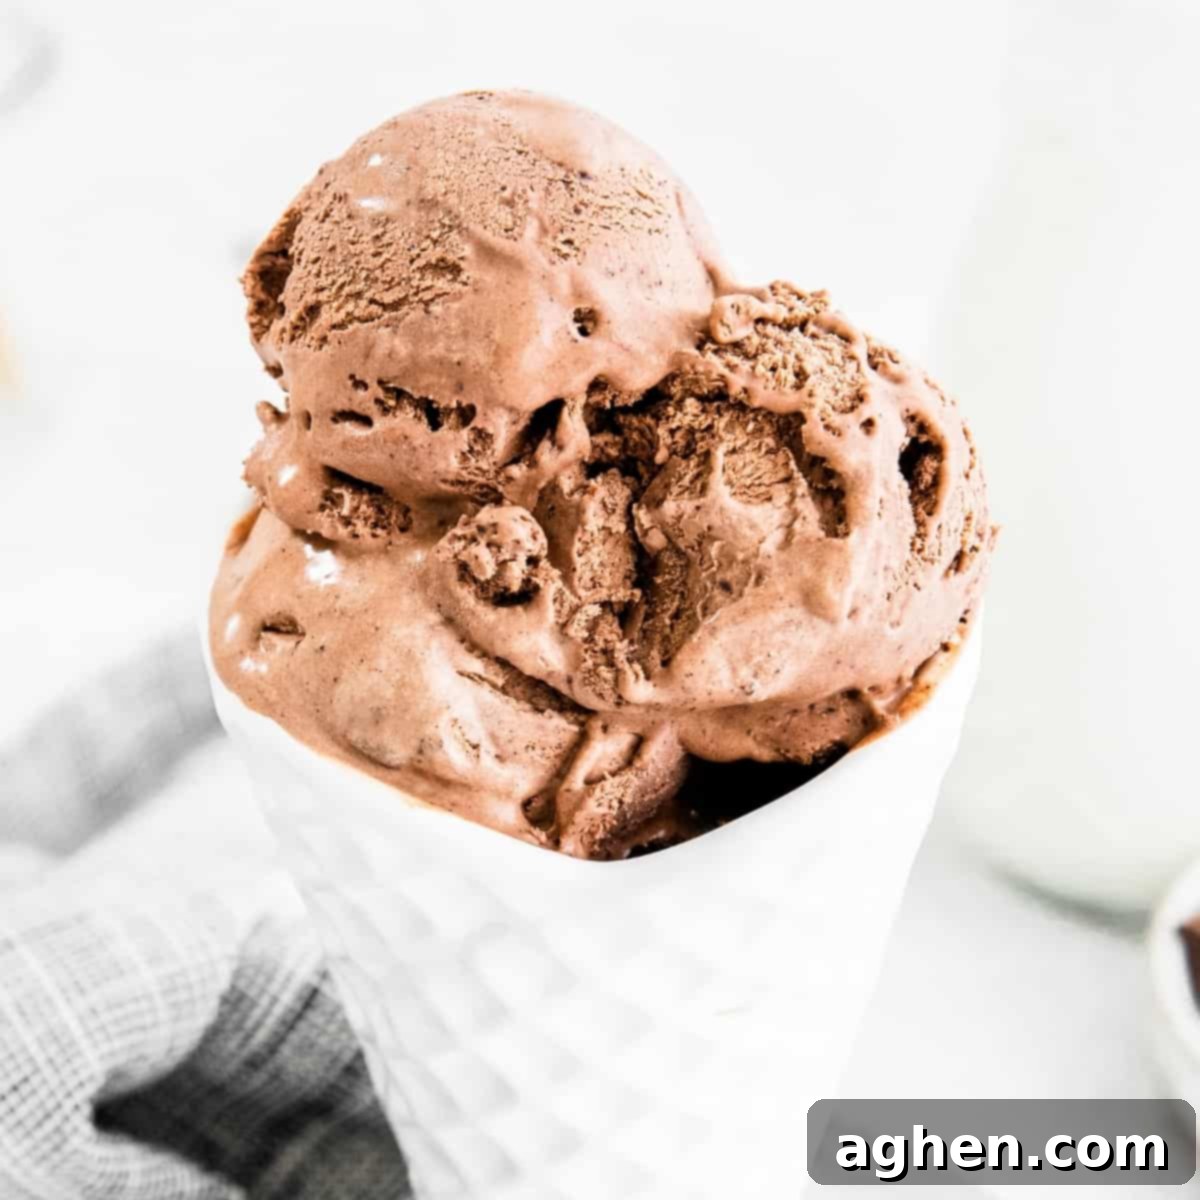
What truly sets this no-churn chocolate ice cream recipe apart from many others is its commitment to an intensely authentic chocolate experience. Unlike recipes that rely solely on cocoa powder, we incorporate real, high-quality chocolate. This crucial step infuses the ice cream with an ultra-rich, deep, and complex chocolatey flavor profile that simply cannot be achieved with cocoa powder alone. The melted chocolate provides a luxurious base that contributes significantly to both the taste and the incredibly smooth texture.
Just like our popular Bubble Gum Ice Cream and delightful Twix Ice Cream, this homemade chocolate ice cream is remarkably easy to prepare. You won’t need an expensive ice cream machine; a stand mixer, a hand mixer, or even a good old-fashioned whisk (if you’re up for a little arm workout!) will do the trick. Speaking of fun kitchen activities, have you ever tried making mason jar ice cream? It’s a fantastic, interactive way to make ice cream that everyone, especially kids, should try at least once!
Why This No-Churn Chocolate Ice Cream Recipe is a Must-Try
If you’ve ever hesitated to make homemade ice cream, this recipe will change your mind. Here’s why it’s destined to become your go-to frozen dessert:
- No Special Equipment Needed: The biggest hurdle for many home cooks is the lack of an ice cream maker. This no-churn method completely bypasses that requirement, making delicious homemade ice cream accessible to everyone.
- Incredibly Easy and Quick Prep: With only five ingredients and minimal active preparation time (about 10 minutes!), you can whip up the base for this decadent dessert in a flash. The hardest part is waiting for it to freeze!
- Unparalleled Rich Chocolate Flavor: By combining both high-quality real chocolate and unsweetened cocoa powder, this recipe achieves a depth of chocolate flavor that is truly extraordinary – far surpassing what you get from cocoa powder alone.
- Luxuriously Creamy Texture: The magic of sweetened condensed milk combined with perfectly whipped heavy cream creates an unbelievably smooth and velvety texture that melts divinely in your mouth, without any icy crystals.
- Endlessly Customizable: While phenomenal on its own, this chocolate ice cream base is a blank canvas for your creativity. Add your favorite mix-ins, drizzles, or toppings to create your unique dessert masterpiece.
Simple Ingredients for Decadent Chocolate Ice Cream
To create this easy and incredibly rich chocolate ice cream, you’ll only need five core ingredients. Each plays a vital role in achieving that perfect creamy texture and deep chocolate flavor.
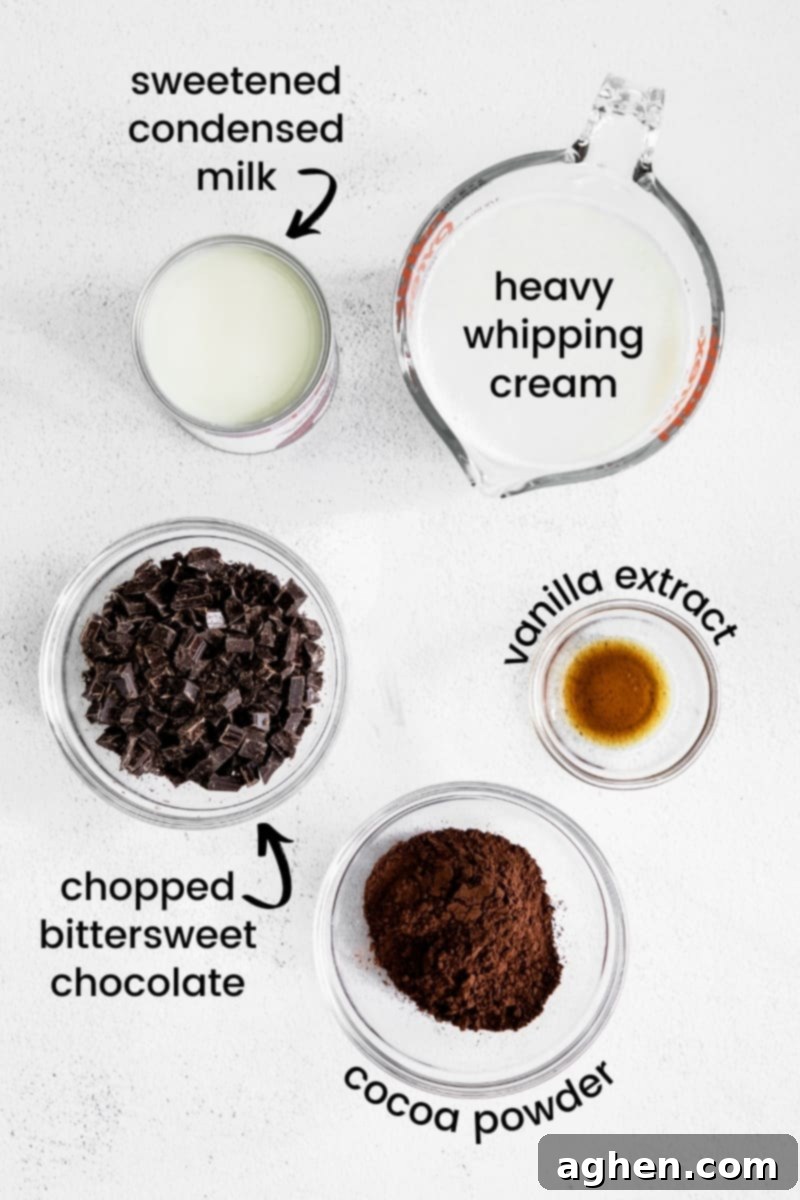
- High-Quality Chocolate: This is the star ingredient that delivers the ultra-rich flavor. For the best results, use a high-quality bittersweet chocolate. We highly recommend a Ghirardelli 60% baking bar for its superior flavor and melting consistency. Alternatively, you could use bittersweet or semi-sweet chocolate chips, but a baking bar often yields a richer taste. If you’re using a bar, make sure to chop it into small, uniform pieces using a serrated knife to ensure even melting.
- Sweetened Condensed Milk: You’ll need one 14 oz. can of sweetened condensed milk, typically found in the baking aisle of your grocery store. This ingredient is fundamental to no-churn ice cream, providing both the necessary sweetness and a creamy, non-icy texture without the need for an ice cream maker. It replaces the traditional sugar and egg yolks found in churned ice cream bases.
- Unsweetened Cocoa Powder: While we use real chocolate, a touch of unsweetened cocoa powder adds an extra layer of chocolate complexity and depth, intensifying the overall flavor. Since the sweetened condensed milk provides plenty of sweetness, unsweetened cocoa powder is key to balancing the flavors without making the ice cream overly sweet.
- Pure Vanilla Extract: A small amount of pure vanilla extract is essential. It doesn’t just add its own wonderful aroma and flavor, but it also enhances and rounds out the rich chocolate notes, making them even more pronounced and delicious. Don’t skip this!
- Cold Heavy Whipping Cream: You will need one pint (2 cups) of cold heavy whipping cream. The colder the cream, the faster and more efficiently it will whip into beautiful, stiff peaks. This whipped cream forms the airy, light base of your ice cream, giving it that characteristic smooth, creamy texture.
Essential Equipment for Your Homemade Ice Cream
One of the beauties of this no-churn recipe is that you don’t need fancy gadgets. Here’s what you’ll want to have on hand:
- Mixing Bowls: You’ll need at least two – one small, microwave-safe bowl for melting chocolate and combining the base, and a larger bowl (preferably chilled) for whipping the heavy cream.
- Stand Mixer or Hand Mixer: While possible with a whisk, a stand mixer with a whisk attachment or a hand mixer will make whipping the cream much quicker and easier, ensuring consistently stiff peaks.
- Rubber Spatula: Essential for gently folding the chocolate mixture into the whipped cream without deflating the air you’ve worked so hard to incorporate.
- Microwave: For melting the chocolate quickly and efficiently.
- Freezer-Safe Container: An ice cream tub with a tight-fitting lid or a freezer-safe loaf pan (covered tightly with plastic wrap) is perfect for freezing your homemade ice cream.
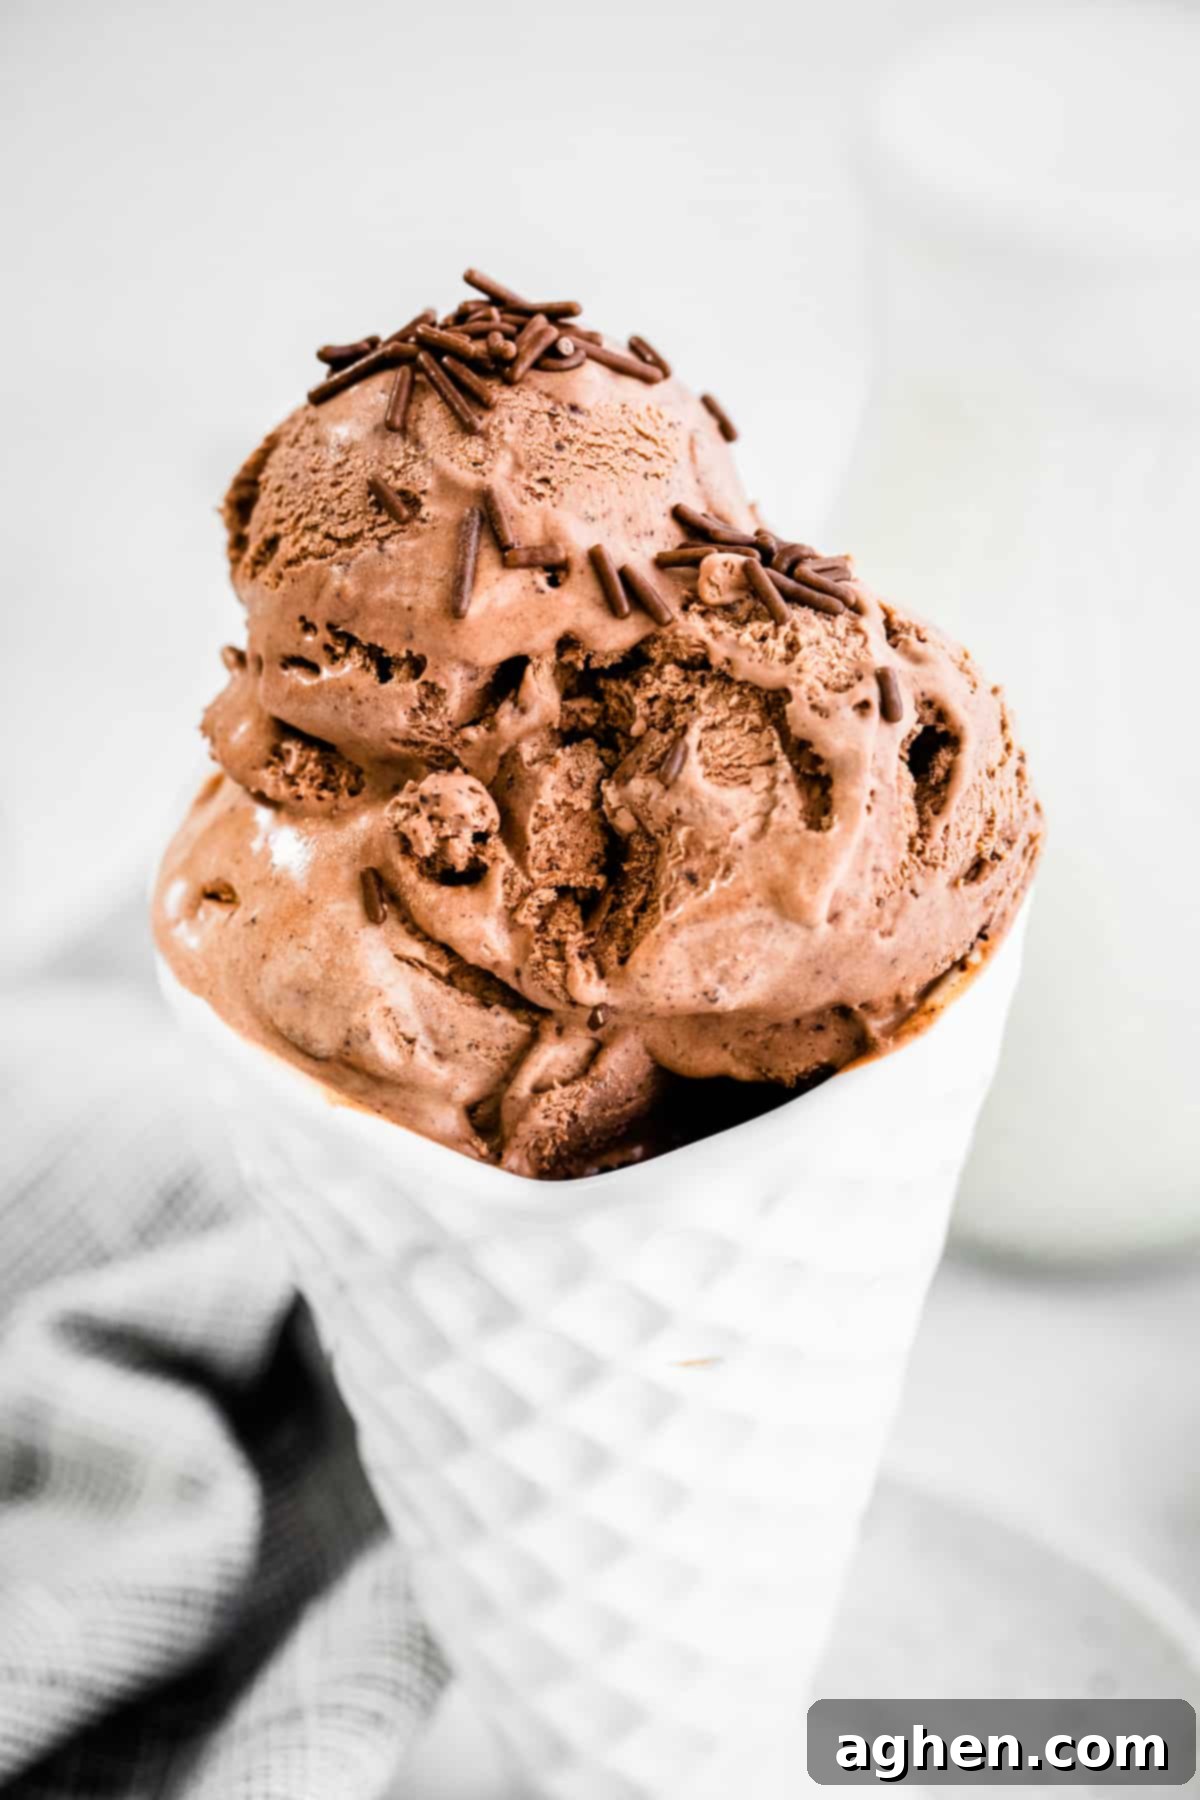
Delicious Additions and Variations
While this rich chocolate ice cream is absolutely incredible on its own, it also serves as a fantastic base for endless creative variations. Feel free to experiment with toppings or fold in extra ingredients to customize your frozen masterpiece. Below are a few ideas to get you started, but don’t be afraid to let your imagination run wild!
- Classic Toppings: Elevate your scoop with classic toppings like colorful sprinkles, crunchy chopped nuts (pecans, walnuts, almonds), a generous dollop of homemade whipped cream, a drizzle of hot fudge, or a sprinkle of flaky sea salt for a sweet and salty kick.
- Double Chocolate Dream: For an even more intense chocolate experience, fold in about ½ cup to 1 cup of chocolate chips (mini, regular, or even white chocolate chips) or chocolate chunks into your ice cream mixture just before freezing. This adds delightful pockets of extra chocolatey goodness.
- Reese’s Peanut Butter Cup Explosion: Love that iconic peanut butter and chocolate flavor combination? Crush up Reese’s Pieces or chopped Peanut Butter Cups and gently fold them into your ice cream base before freezing for a chunky, irresistible Reese’s ice cream.
- Homemade Rocky Road: Transform your chocolate ice cream into a classic Rocky Road by adding a handful of mini marshmallows and chopped roasted nuts (like almonds or peanuts) before freezing. You can even add some chocolate chips for extra crunch.
- Mocha Madness: To create a sophisticated mocha ice cream, simply add 1 Tablespoon of espresso powder (instant espresso or finely ground coffee) to the melted chocolate mixture. The coffee enhances the chocolate flavor beautifully without making it taste overtly like coffee.
- Mint Chocolate Chip: Add ½ to 1 teaspoon of peppermint extract (start with less and add more to taste) along with the vanilla, and fold in some mini chocolate chips or chopped Andes mints for a refreshing treat.
- Caramel Swirl: After transferring the mixture to your freezer-safe container, drizzle in some homemade or store-bought caramel sauce and gently swirl it through with a knife for beautiful ribbons of caramel.
- Cookie Crumble: Crush up your favorite cookies like Oreos, chocolate chip cookies, or graham crackers and fold them into the mixture for added texture and flavor.
- Nutella Swirl: Warm up a few spoonfuls of Nutella until it’s slightly pourable, then swirl it into the ice cream base for a hazelnut chocolate delight.
Step-by-Step Instructions: How to Make Homemade Chocolate Ice Cream
Creating this rich and creamy homemade chocolate ice cream is simpler than you might imagine. Follow these easy steps, and you’ll have a delightful frozen dessert ready to enjoy.
You can find the full printable recipe card with precise measurements below.
STEP 1: Prepare the Chocolate Base
Begin by finely chopping your bittersweet chocolate. Place the chopped chocolate in a small, microwave-safe bowl. Microwave it for 30 seconds. Remove and stir well. Even if it doesn’t look fully melted, stirring helps distribute the heat. If needed, return it to the microwave for additional 15-second increments, stirring thoroughly after each, until the chocolate is completely melted and smooth. Be careful not to overheat it. Once melted, whisk in the sweetened condensed milk, unsweetened cocoa powder, and pure vanilla extract until the mixture is fully combined and completely smooth. Set this rich chocolate mixture aside.
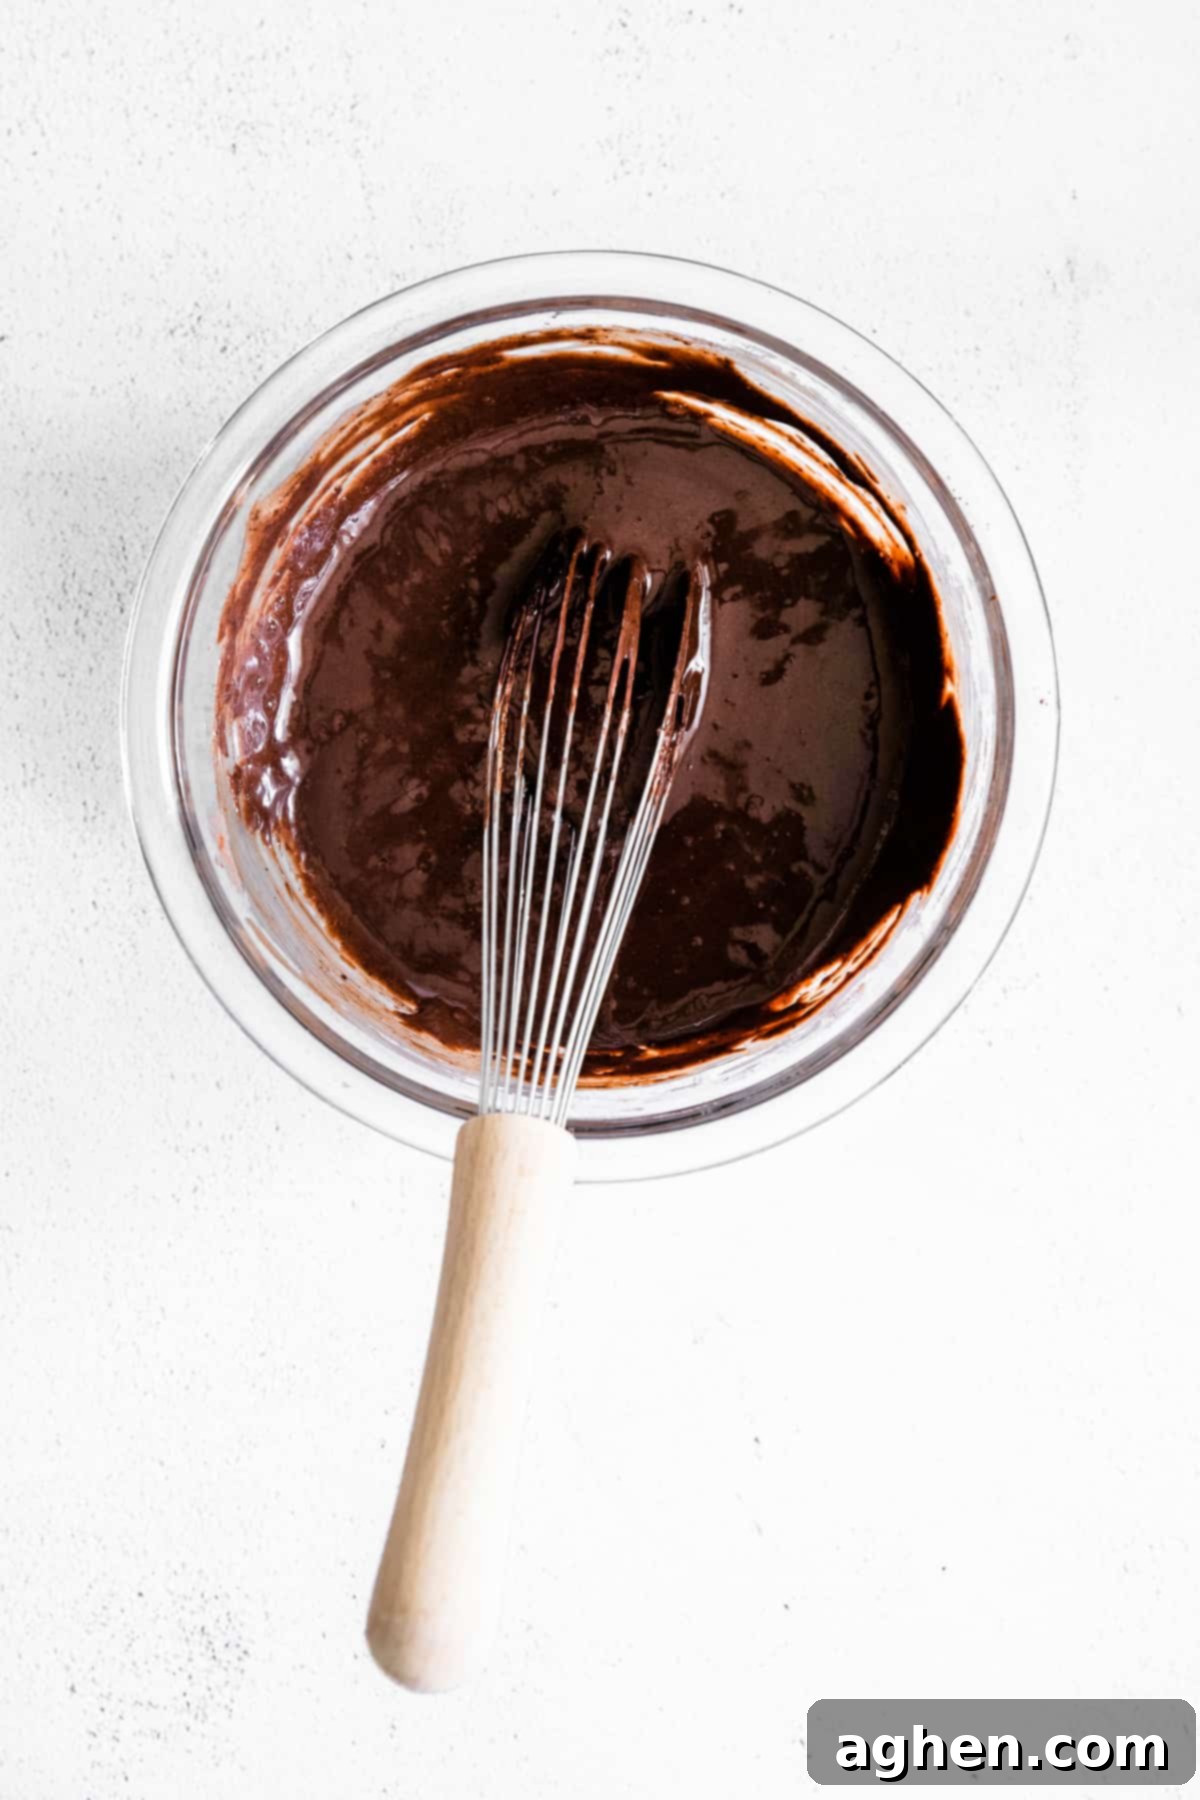
STEP 2: Whip the Heavy Cream
In the bowl of a stand mixer fitted with the whisk attachment, or in a large, chilled bowl using a hand mixer, pour in your cold heavy whipping cream. Beat the cream on medium-high speed until it forms stiff peaks. This usually takes about 2-3 minutes with a mixer. Stiff peaks mean that when you lift the whisk, the cream holds its shape firmly. Be careful not to over-whip the cream, as it can turn grainy.
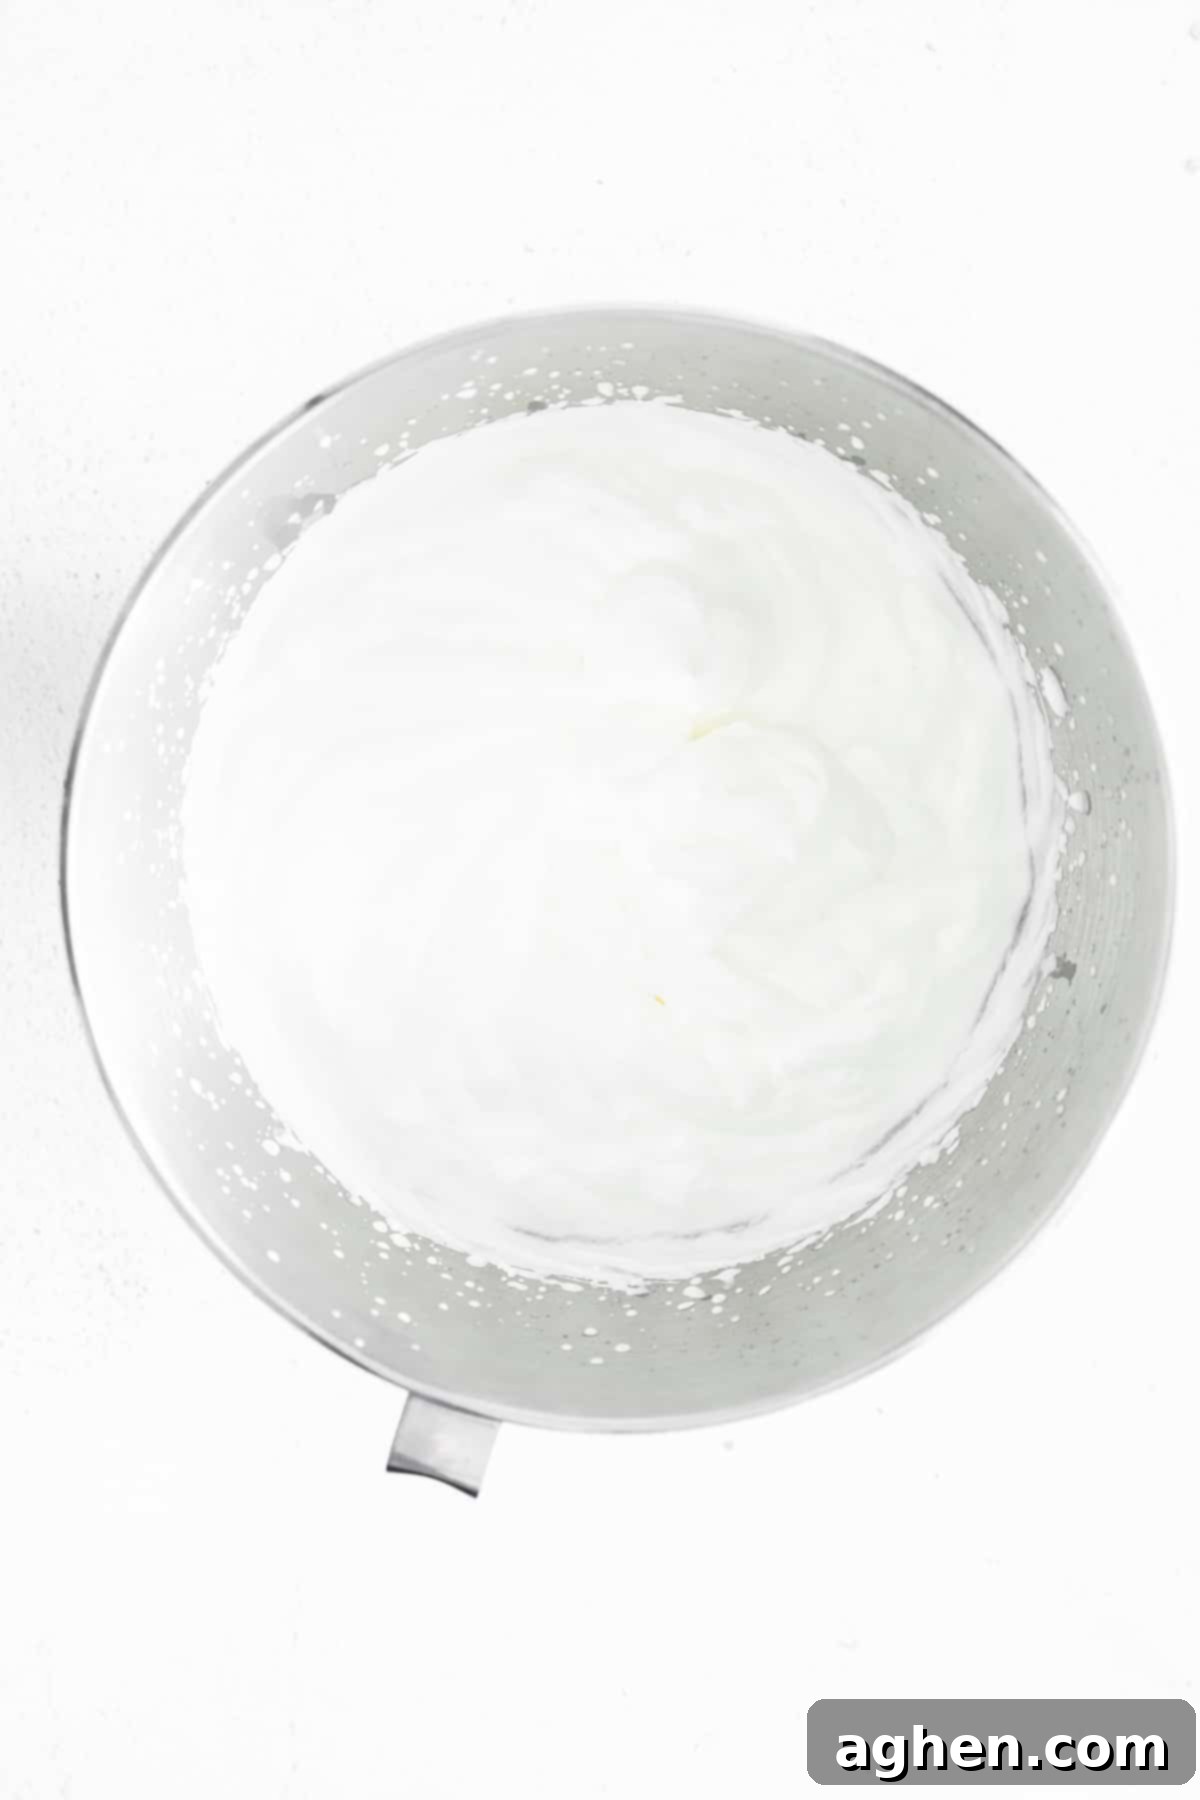
STEP 3: Gently Fold the Mixtures Together
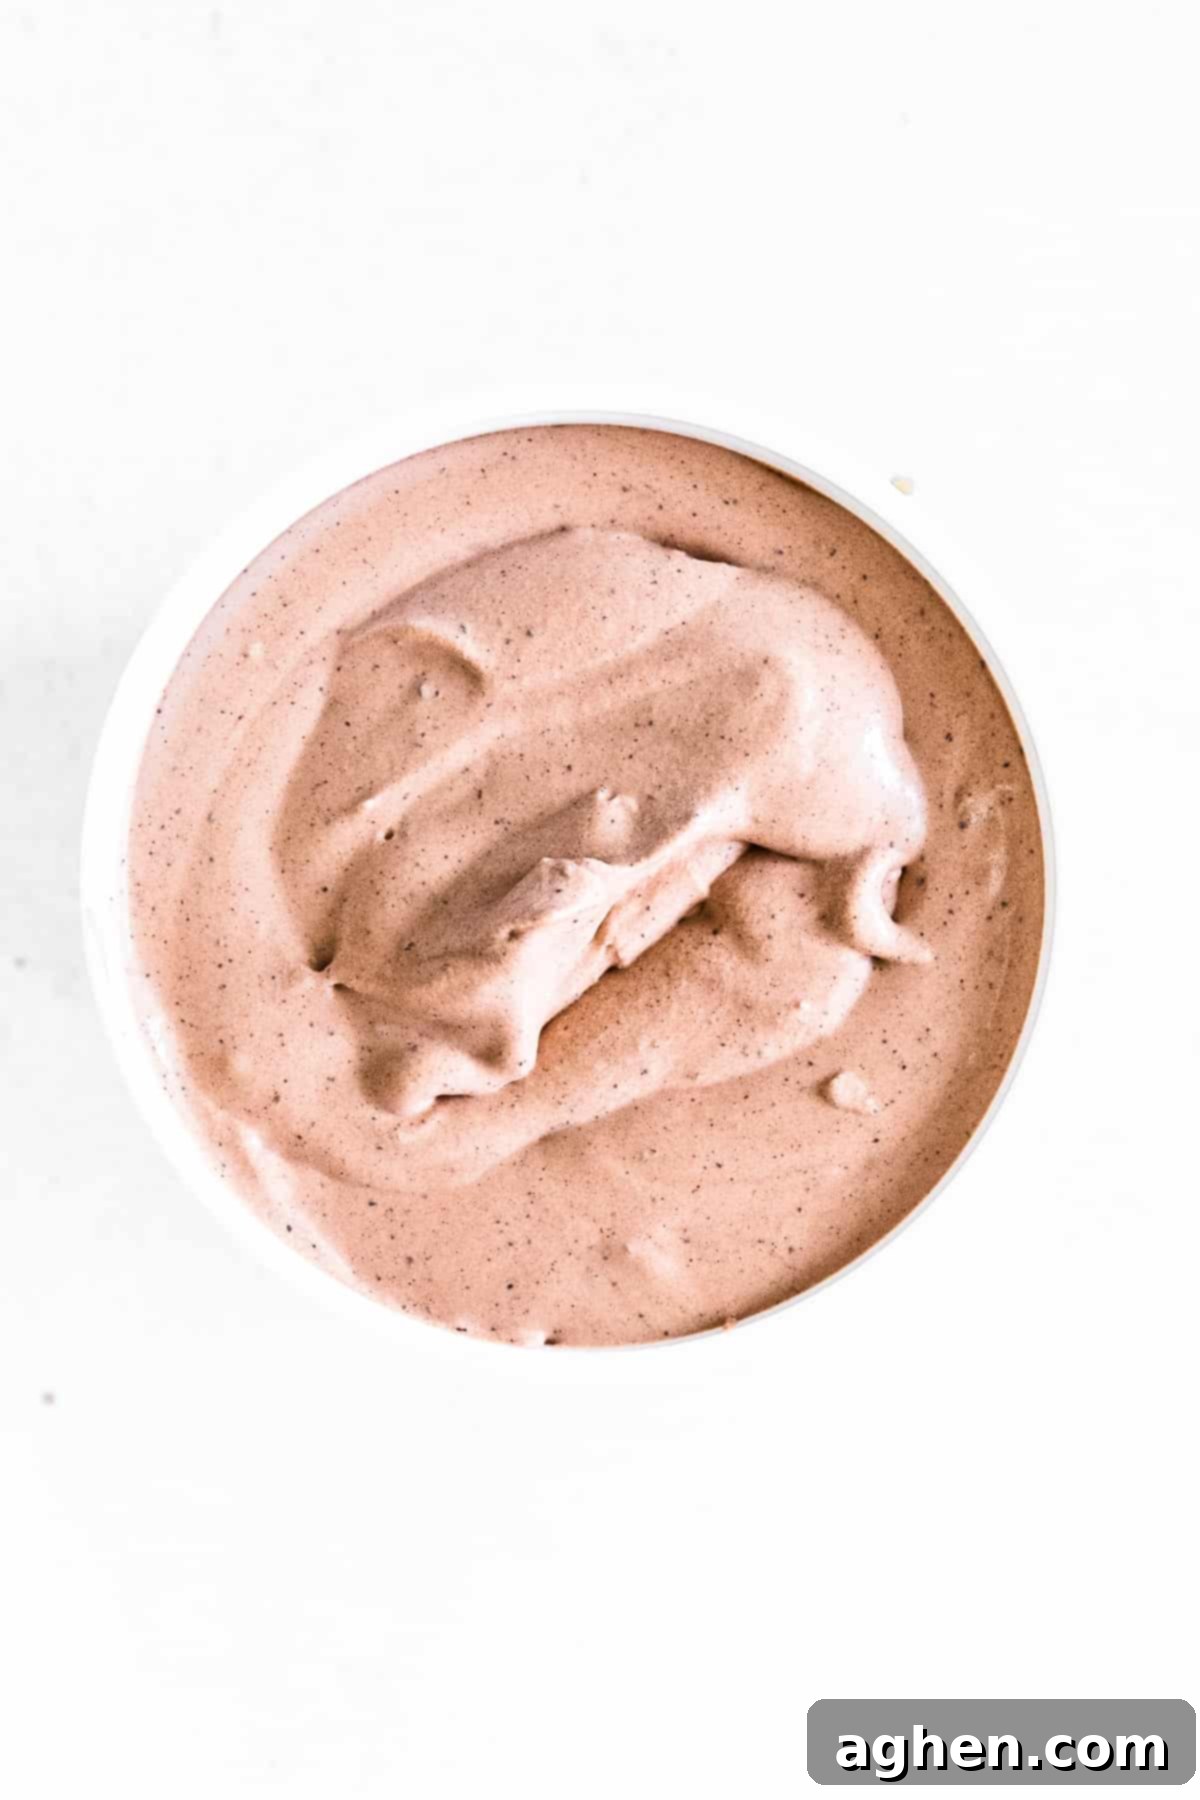
Carefully add the prepared chocolate mixture into the whipped cream. Using a rubber spatula, gently fold the two together. The key here is to be gentle, using an upward motion from the bottom of the bowl, ensuring you don’t deflate the air from the whipped cream. Continue folding until the chocolate is fully incorporated and there are no streaks of white cream remaining, but stop as soon as it’s combined. Overmixing will cause the ice cream to lose its light and airy texture.
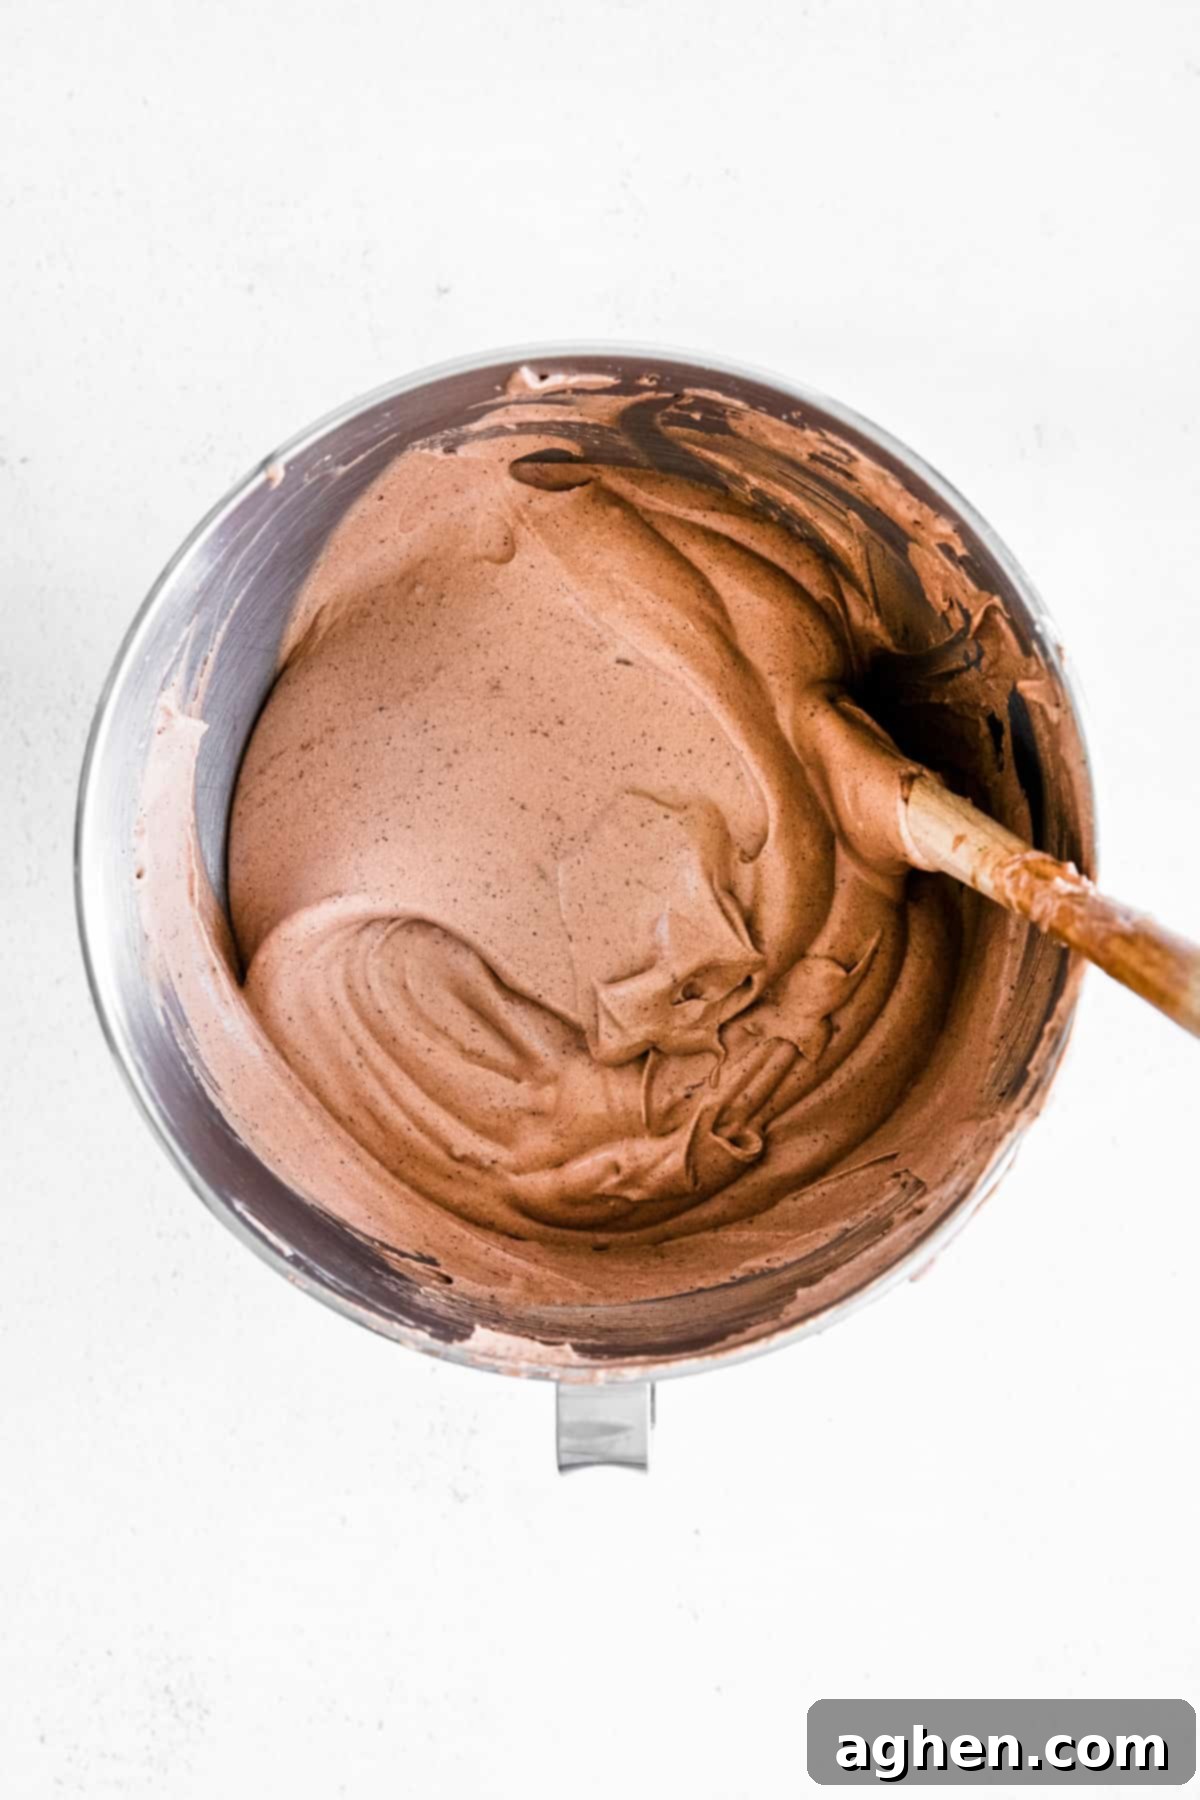
STEP 4: Freeze Overnight
Once the mixture is fully combined into a beautiful, uniform chocolatey cloud, transfer it to an ice cream tub or a freezer-safe loaf pan. Smooth the top with your spatula. Cover the container tightly with its lid or plastic wrap to prevent ice crystals from forming. Place it in the freezer and allow it to freeze overnight, or for at least 8 hours, until it’s firm and scoopable. Patience is key here for the best texture!
Expert Tips for the Best No-Churn Chocolate Ice Cream
Achieving perfectly creamy and delicious no-churn ice cream is simple, but a few key tips can elevate your results from good to absolutely amazing:
- Chill Your Equipment: For the quickest and most efficient whipping of your heavy cream, place your mixing bowl and whisk attachment (or hand mixer beaters) in the freezer for about 10-15 minutes before you begin. Cold equipment helps the cream whip up faster and hold its stiff peaks better.
- Ensure Ingredients Are Cold: Similarly, make sure your heavy cream is straight from the fridge and as cold as possible before whipping. This is crucial for achieving the proper volume and stability.
- Don’t Over-Whip the Cream: Whip the heavy cream just until stiff peaks form. If you over-whip it, the cream can become grainy or even start to separate, leading to a less desirable texture in your final ice cream.
- Fold Gently: When combining the chocolate base with the whipped cream, use a light hand and a folding technique. The goal is to incorporate the mixtures thoroughly without deflating the air from the whipped cream, which gives the ice cream its light and creamy texture.
- Quality Chocolate Matters: Since real chocolate is a star in this recipe, using a good quality bittersweet or semi-sweet chocolate will significantly impact the depth of flavor. Ghirardelli, Lindt, or Callebaut are excellent choices.
- Tight Seal for Freezing: Always ensure your ice cream container is tightly sealed before freezing. This prevents ice crystals from forming on the surface of your ice cream, which can make it icy rather than creamy. If using a loaf pan, press plastic wrap directly onto the surface of the ice cream before covering the pan.
- Allow for Thawing Before Serving: For easier scooping and a perfectly smooth texture, remove your ice cream from the freezer and let it sit on the counter for 5 to 10 minutes before serving. This brief thaw allows it to soften slightly, making it a joy to scoop.
Troubleshooting Common No-Churn Ice Cream Issues
While this recipe is quite straightforward, sometimes minor issues can arise. Here are some solutions to common problems you might encounter:
- My Ice Cream is Icy/Hard:
- Solution: This often happens if the whipped cream was deflated during folding, or if the container wasn’t sealed properly, allowing ice crystals to form. Ensure you fold gently and cover your container tightly. Also, make sure your heavy cream was whipped to stiff peaks.
- My Ice Cream Isn’t Setting:
- Solution: Double-check that you used sweetened condensed milk, not evaporated milk (they are very different!). Also, ensure you froze it for the full recommended time (at least 8 hours, preferably overnight) in the coldest part of your freezer. Make sure your heavy cream was properly whipped.
- My Ice Cream Tastes Grainy:
- Solution: This can occur if the chocolate wasn’t completely smooth and melted before adding the other ingredients, or if the heavy cream was over-whipped, causing it to become slightly granular. Ensure your chocolate is silky smooth and whip the cream just until stiff peaks form.
Serving Suggestions for Your Homemade Chocolate Ice Cream
Once your no-churn chocolate ice cream is perfectly frozen and ready, the serving possibilities are endless! Enjoy it in a simple cone or bowl, or get creative:
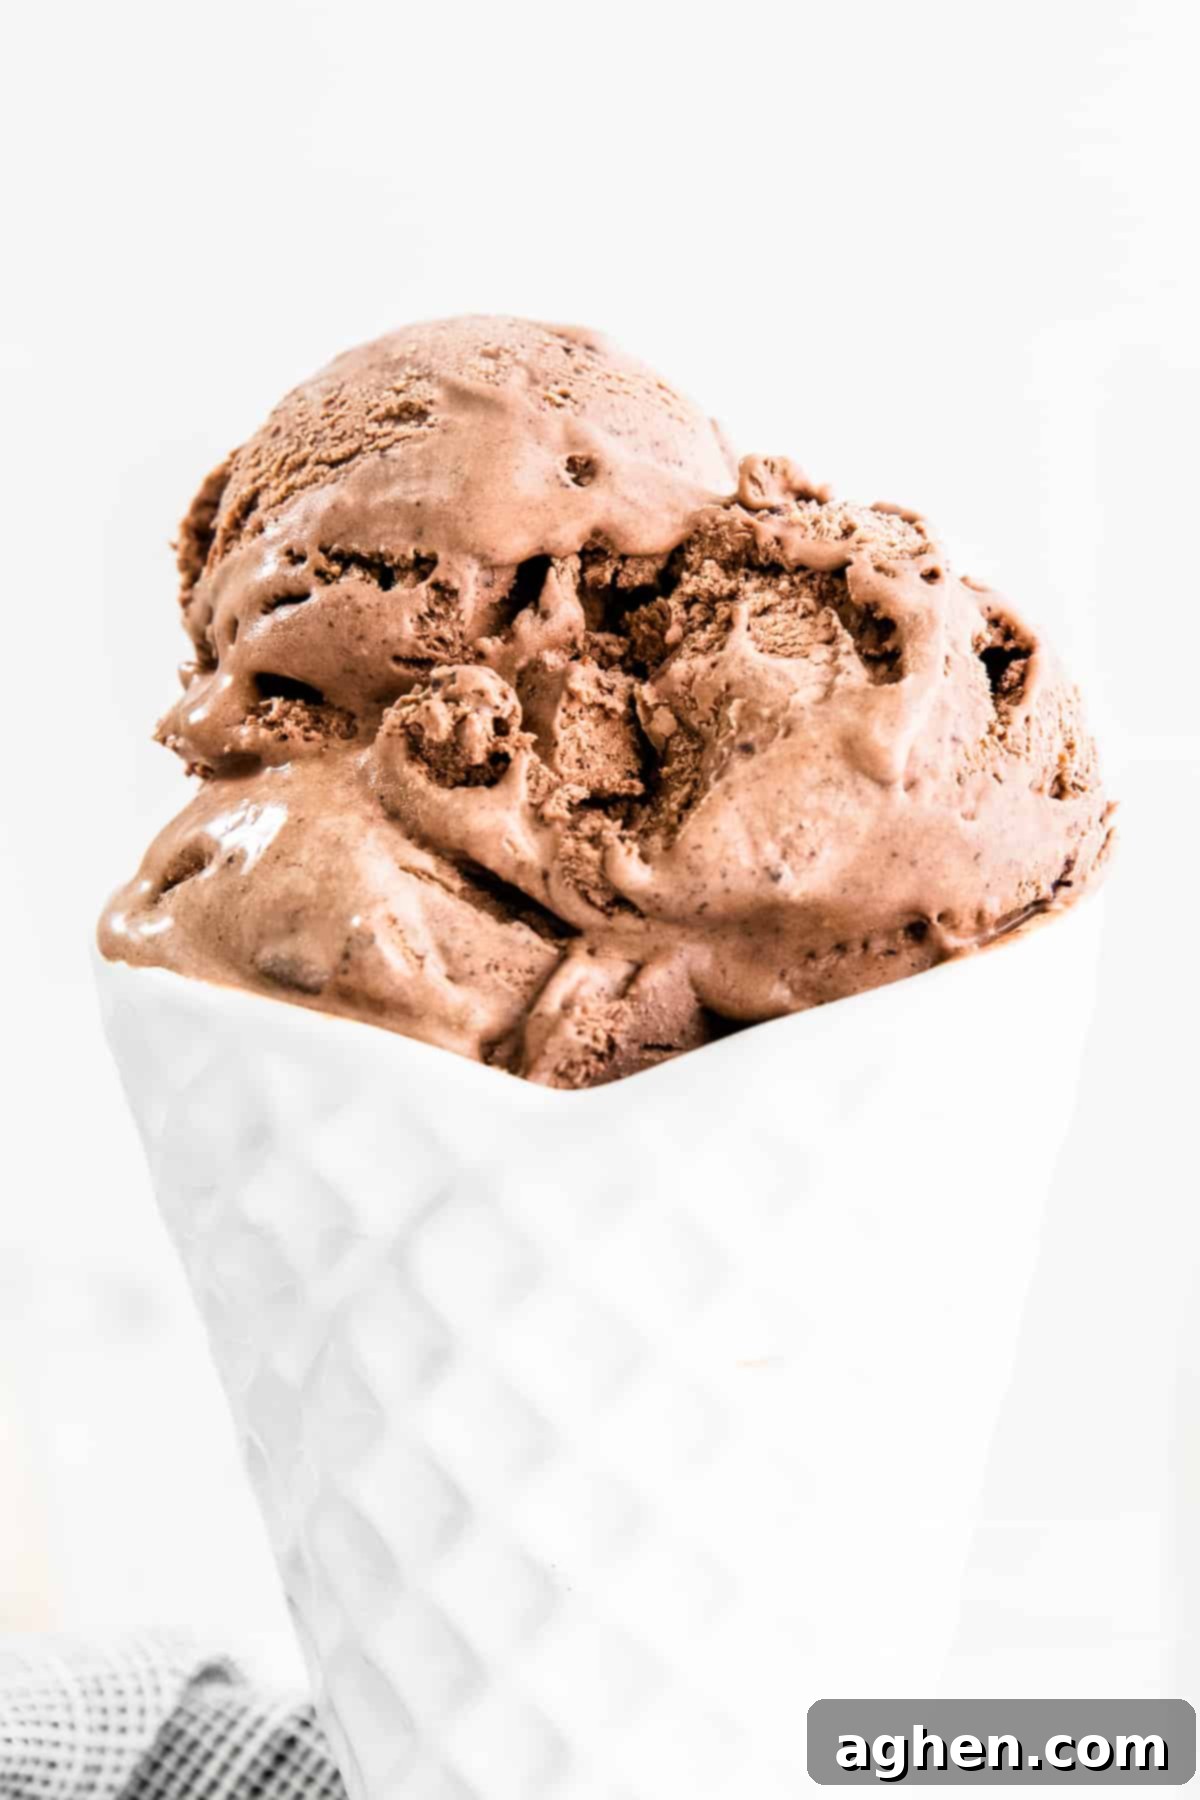
- Classic Scoop: Serve it in a waffle cone, sugar cone, or a simple bowl. Let the rich chocolate flavor shine on its own!
- Sundae Extravaganza: Build an epic sundae with hot fudge, caramel sauce, whipped cream, sprinkles, chopped nuts, and a cherry on top.
- Milkshake Magic: Blend scoops of ice cream with a splash of milk and a little extra cocoa powder or chocolate syrup for a thick, indulgent chocolate milkshake.
- Dessert Companion: Pair it alongside warm brownies, a slice of apple pie, or a fruit tart for a delicious contrast in temperatures and textures.
- Coffee Affogato: For an adult treat, place a scoop in a mug and pour a shot of hot espresso over it. The melting ice cream creates a heavenly creamy coffee dessert.
Storage Tips for Homemade No-Churn Ice Cream
Proper storage is essential to keep your homemade no-churn chocolate ice cream fresh and delicious for as long as possible.
- Airtight Container: Always store your homemade chocolate ice cream in an airtight container in the freezer. This prevents freezer burn and helps maintain its creamy texture. These containers are specifically designed for homemade ice cream storage and work wonderfully.
- Freezer Duration: When stored correctly, your homemade chocolate ice cream will keep for up to 2 weeks in the freezer. While it might last longer, the texture and flavor are best enjoyed within this timeframe.
Recipe FAQ: Frequently Asked Questions
The fundamental difference lies in the equipment required and the base ingredients. Traditional, or “churned,” ice cream typically requires an ice cream maker that continuously churns the mixture as it freezes, breaking up ice crystals for a smooth result. Its base often includes eggs (for custard-style) and sugar. No-churn ice cream, on the other hand, doesn’t require an ice cream maker. It achieves its creamy texture by folding sweetened condensed milk and whipped heavy cream, which incorporates air and prevents large ice crystal formation. This method simplifies the process significantly, making homemade ice cream accessible with just a stand mixer or hand mixer (or even a hand whisk if you’re patient!).
In short, no, evaporated milk and sweetened condensed milk are not the same products and cannot be substituted for each other in this recipe. While both are shelf-stable concentrated milk products (meaning water has been removed), sweetened condensed milk is heavily sweetened with sugar, which is crucial for the flavor and texture of no-churn ice cream. Evaporated milk is unsweetened and will not provide the necessary sweetness or the creamy, non-icy consistency required for this recipe.
Yes, you can experiment with different types of chocolate to suit your preference. While bittersweet chocolate offers a rich, deep flavor, semi-sweet chocolate will result in a slightly sweeter and milder chocolate ice cream. Milk chocolate can also be used for a very sweet and creamy result, but you might want to reduce the sweetened condensed milk slightly or balance it with a darker cocoa powder. Always opt for good quality chocolate for the best flavor.
When stored properly in an airtight container in the freezer, your homemade no-churn chocolate ice cream will maintain its best quality for up to two weeks. Beyond that, it’s still safe to eat, but the texture might start to become icier, and the flavors might diminish slightly.
While this specific recipe relies on dairy, it is possible to make dairy-free no-churn ice cream. You would need to substitute the heavy whipping cream with a full-fat canned coconut cream (chilled overnight so the cream separates), and the sweetened condensed milk with a dairy-free sweetened condensed milk alternative. Ensure your chocolate is also dairy-free. Results may vary slightly in texture and flavor compared to the dairy version.
More Must-Try Frozen Desserts
If you love frozen treats, be sure to check out some of our other fantastic recipes:
- Ice Cream Pie
- Rainbow Ice Pops (so fun!)
- Ice Cream Sandwich Cake
- Banana Pudding Popsicles (only 3 ingredients!)
- Fried Ice Cream Dessert
- Boozy Oreo Milkshake (for the grown-ups)
- 27 Best Milkshake Recipes

No-Churn Chocolate Ice Cream
Author: Jaclyn
10 minutes
8 hours
8 hours
10 minutes
8
servings
Saved!
Ingredients
-
4 ounces bittersweet chocolate chopped -
1 14 oz can sweetened condensed milk -
¼ cup unsweetened cocoa powder -
1 teaspoon pure vanilla extract -
2 cups heavy whipping cream
Instructions
-
Microwave the chopped chocolate in a small, microwave-safe bowl for 30 seconds. Stir well and reheat 15 more seconds if needed. Continue stirring and heating in 15-second increments until melted. Whisk in the sweetened condensed milk, cocoa powder, and vanilla until well combined and smooth.
-
In the bowl of a stand mixer fitted with the whisk attachment or in a large bowl with a hand mixer, beat the heavy cream on medium speed until it forms stiff peaks (about 2-3 minutes).
-
Add the chocolate mixture to the whipped cream and fold it together gently– you don’t want to deflate it!
-
Once the mixture is fully combined, transfer it to an ice cream tub or freezer-safe loaf pan and freeze overnight (or for at least 8 hours) before serving.
Notes
- Use high-quality chocolate for best results. We recommend a Ghirardelli 60% baking bar for its superior flavor.
- Cream whips quicker when cold. Keep your heavy cream in the fridge until ready to use and place your bowl and whisk attachment in the freezer for a few minutes before beginning.
- Storage: Store your homemade chocolate ice cream in an airtight container in the freezer for up to 2 weeks for optimal freshness.
Nutrition
Serving:
1
g
|
Calories:
320
kcal

Did You Make This Recipe?
Share it with me on Instagram @crayonsandcravings and follow on Pinterest @crayonsandcravings for even more!
Pin Recipe
Leave A Review
Pin This Recipe for Later!
