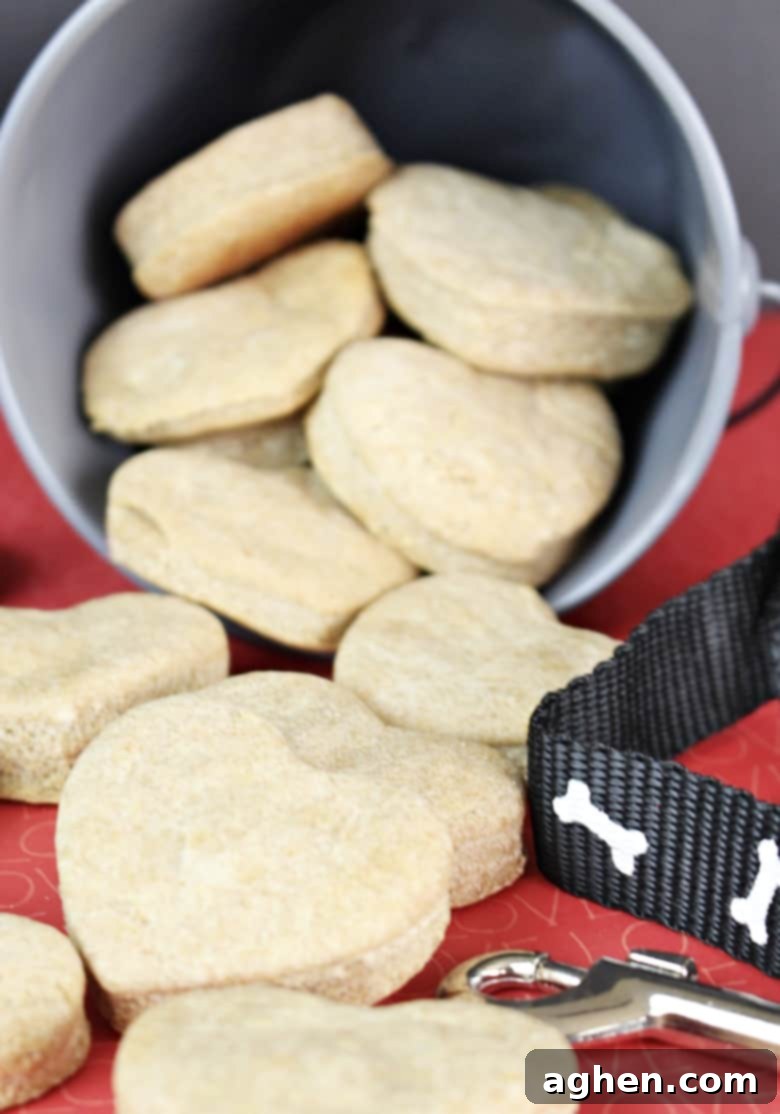
The Easiest Homemade Peanut Butter Dog Treats: Healthy & Quick DIY Recipe
Spoil your beloved furry friend with delectable, homemade dog treats that are not only incredibly easy to make but also packed with wholesome goodness. This simple recipe for peanut butter dog treats requires just 6 common ingredients and can be whipped up in under 30 minutes from start to finish. You likely already have everything you need in your pantry, making it the perfect last-minute treat for your pup!
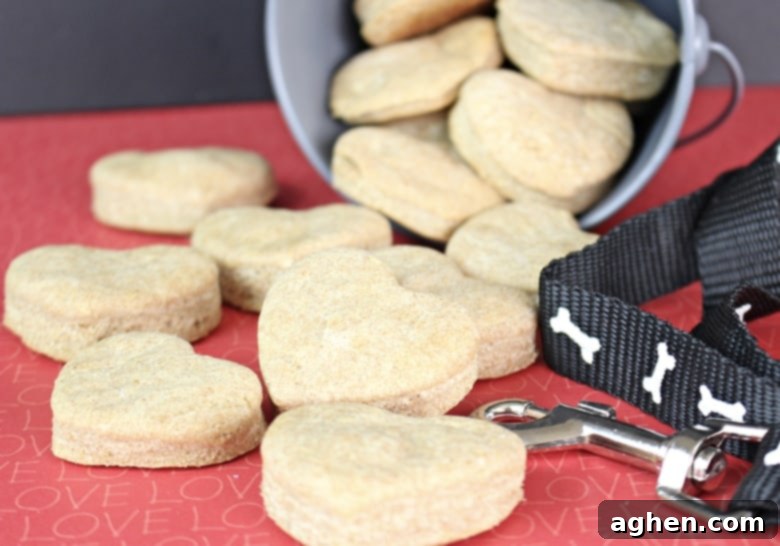
Homemade Dog Treats: A Wholesome Choice for Your Canine Companion
Imagine the joy on your dog’s face when they get to sink their teeth into a fresh, delicious treat made with love by you! Opting for homemade dog treats over store-bought alternatives offers numerous benefits, providing you with complete control over what goes into your pet’s diet. Forget about questionable additives, artificial flavors, or unnecessary fillers found in many commercial products. With this recipe, you’re choosing a healthier, more transparent option.
While a trip to the pet store for a bag of treats might seem quicker, the satisfaction of baking for your furry friend is incomparable. Plus, the actual hands-on time for these peanut butter dog treats is minimal, truly making them a super simple project akin to baking a batch of your favorite human cookies. And who doesn’t love the aroma of freshly baked goods filling their home, especially when it’s for their best friend?
Making your own dog treats is a rewarding experience. It gives you peace of mind knowing every ingredient is safe and beneficial for your pup. Moreover, it’s often more cost-effective in the long run than repeatedly buying premium treats. Think of it as crafting a special, personalized snack that caters specifically to your dog’s tastes and dietary needs.
Essential Ingredients & Supplies for Your DIY Dog Treats
Before you embark on your treat-making adventure, ensure you have all your ingredients and supplies ready. This helps streamline the process and makes for a more enjoyable baking session.
Wholesome Ingredients You’ll Need
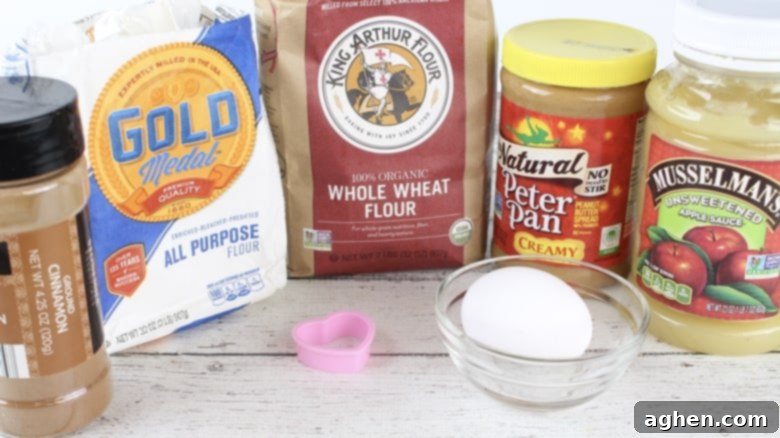
For this easy DIY dog treat recipe, you will need the following simple, healthy ingredients:
- Whole Wheat Flour: Provides fiber and nutrients. It’s a great base for many dog treat recipes. If your dog has a grain sensitivity, you can explore alternatives like oat flour or even chickpea flour, though the texture might vary slightly.
- All-Purpose Flour: Used in combination with whole wheat flour to achieve the perfect texture and consistency for rolling and cutting.
- Egg: Acts as a natural binder, holding all the ingredients together, and adds a boost of protein.
- Unsweetened Applesauce: A fantastic natural sweetener and source of moisture. It’s rich in vitamins A and C, and fiber. Crucially, ensure it’s unsweetened and contains no xylitol, an artificial sweetener that is highly toxic to dogs.
- Natural Peanut Butter: The star flavor that most dogs adore! Opt for natural, unsweetened, and unsalted peanut butter. Just like with applesauce, it is absolutely vital to double-check the label for xylitol, which is extremely dangerous and potentially deadly for dogs. Many “sugar-free” or “reduced sugar” brands contain it. Always choose a brand with only peanuts (and maybe salt) as ingredients.
- Cinnamon: A dash of cinnamon adds a subtle, warm flavor that dogs can enjoy. In small quantities, it’s safe and even boasts antioxidant properties.
Kitchen Supplies for Treat Making
To make your baking process smooth and enjoyable, gather these standard kitchen tools:
- Mixing Bowl: A medium-sized bowl will be perfect for combining all your ingredients.
- Rolling Pin: Essential for flattening the dough to an even thickness.
- Cookie Cutter: This is where you can get creative! We love using a heart-shaped cookie cutter, but any shape will work. Bone shapes, paw prints, or even simple circles (these are great for versatility) are fun options.
- Baking Sheet: To hold your treats in the oven.
- Parchment Paper: Lining your baking sheet with parchment paper prevents sticking and makes for easy cleanup.
- Cooling Rack: Allows air circulation around the treats, ensuring they cool evenly and become perfectly crisp.
Step-by-Step Guide: How to Make Homemade Dog Treats
With your ingredients and supplies ready, it’s time to get baking! This process is straightforward and fun.
1. Prepare Your Oven and Baking Sheet
First, preheat your oven to 350°F (175°C). While the oven is heating, line a baking sheet with parchment paper and set it aside. This prepares a non-stick surface for your dog treats.
2. Mix the Dough
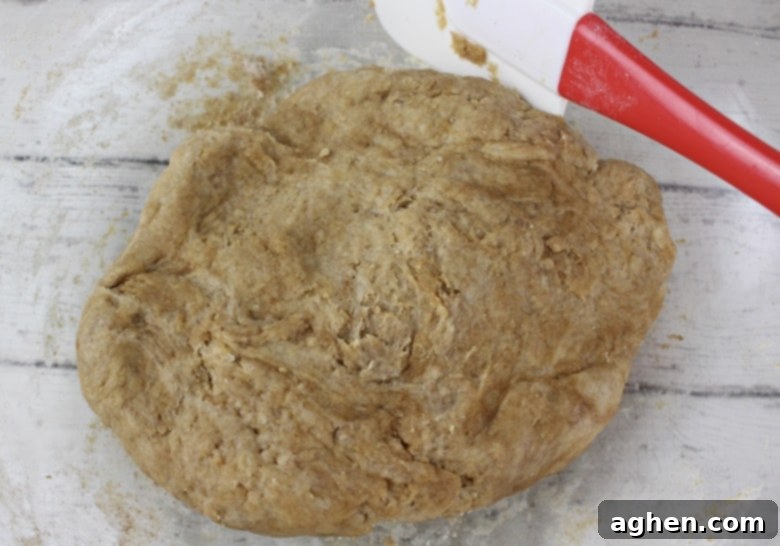
In your medium-sized mixing bowl, add all the dry and wet ingredients: whole wheat flour, all-purpose flour, unsweetened applesauce, natural peanut butter, egg, and a dash of cinnamon. Mix thoroughly until all ingredients are completely incorporated and form a cohesive dough. Initially, you might use a spoon or spatula, but don’t hesitate to get your hands in there to really knead and bring the dough together – it often works best!
3. Roll Out the Dough
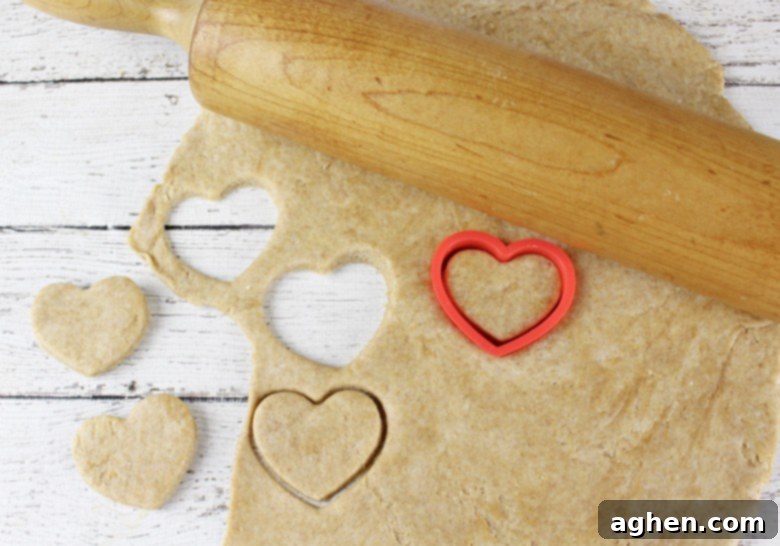
Lightly flour a clean, level surface, then transfer your dough onto it. Use a rolling pin to roll the dough out evenly until it’s approximately 1/4 inch (about 6mm) thick. Aim for consistent thickness to ensure even baking.
4. Cut and Arrange Your Treats
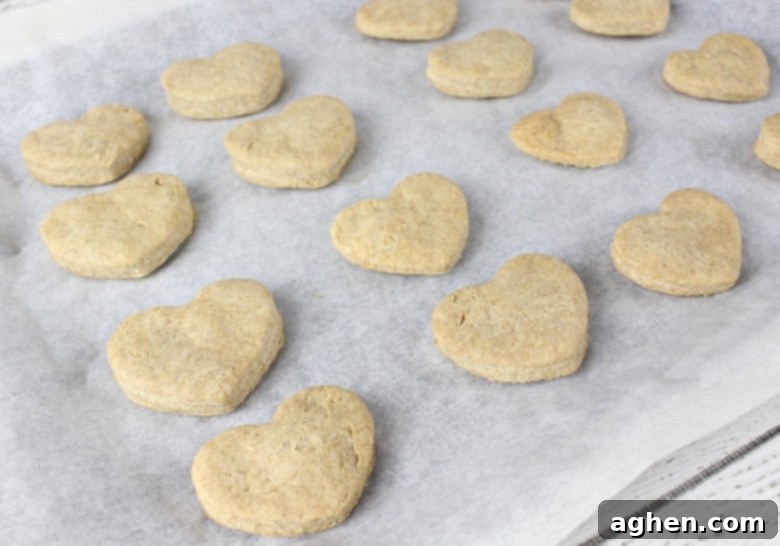
Take your chosen cookie cutter and begin cutting out shapes from the rolled-out dough. Carefully transfer these cut-out treats onto your prepared baking sheet, leaving a small space between each one to allow for even airflow during baking.

Don’t let any dough go to waste! Gather the leftover scraps, gently re-roll them, and cut out more treats until you’ve used all the dough. This ensures you maximize your batch.

5. Bake to Perfection
Place the baking sheet in the preheated oven and bake for 15-20 minutes. Keep an eye on them; the treats are ready when they start to turn a light golden brown around the edges and feel firm to the touch.
6. Cool Completely
Once baked, remove the treats from the oven. Allow them to cool on the baking sheet for a few minutes before carefully transferring them to a wire rack. It’s crucial to let them cool completely on the rack, as this helps them firm up and achieve the desired crisp texture.
Storage Tips for Maximum Freshness
Proper storage is key to keeping your homemade dog treats fresh and delicious for your pup.
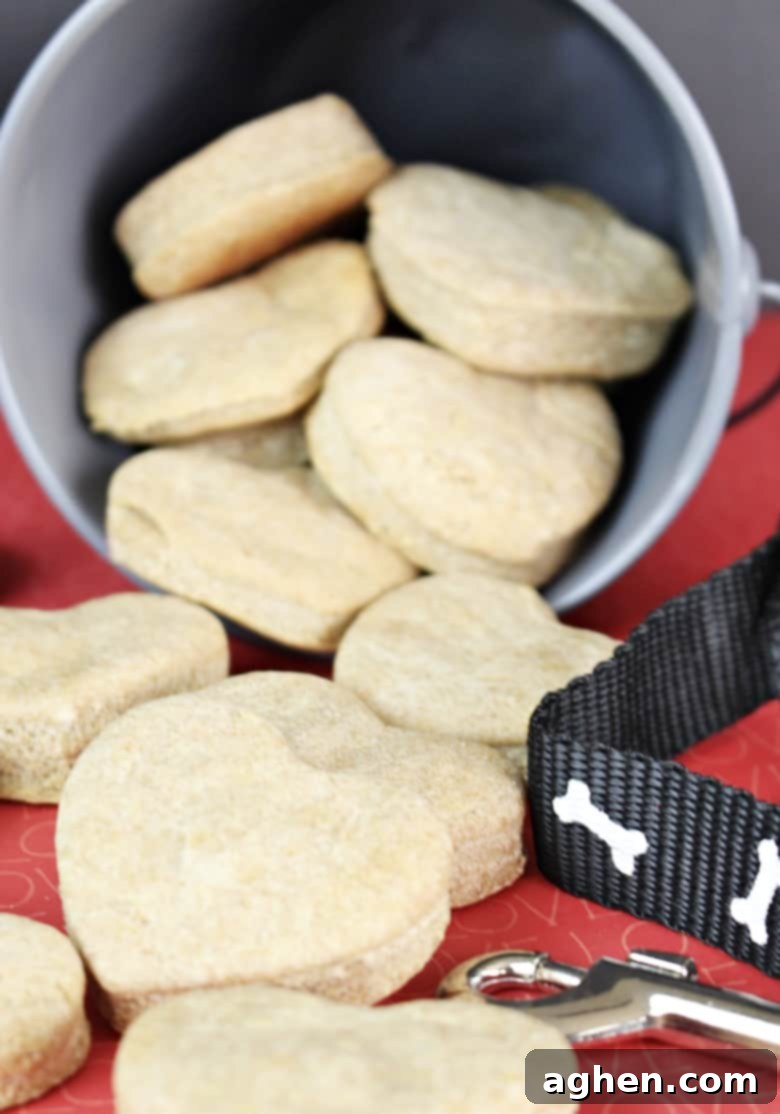
- Refrigerator: Once completely cooled, store your treats in an airtight container or a sealed plastic bag in the refrigerator. They will stay fresh for up to 2 weeks.
- Freezer: For longer storage, these treats freeze beautifully! Arrange them in a single layer on a baking sheet to flash freeze for an hour, then transfer them to a freezer-safe bag or container. They can be stored in the freezer for up to 2-3 months. Thaw them in the refrigerator or at room temperature as needed.
- Labeling: Always label your containers with the date they were made to keep track of freshness.
Creative Variations & Customization
Once you’ve mastered the basic recipe, feel free to get creative and customize these treats to your dog’s preferences or specific dietary needs!
- Add Different Flavors:
- Pumpkin: Substitute a portion of the applesauce with pureed pumpkin (not pumpkin pie filling!) for a seasonal twist and added fiber.
- Banana: Add a mashed ripe banana for extra sweetness and nutrients.
- Sweet Potato/Carrot: Mix in a couple of tablespoons of cooked and mashed sweet potato or finely grated carrots for additional vitamins.
- Boost Protein: Finely chop a small amount of cooked, unseasoned chicken or beef and mix it into the dough for an extra protein kick.
- Herbal Freshness: A small amount of fresh parsley or mint can be added to help with doggy breath.
- Grain-Free Option: If your dog has grain sensitivities, try replacing the flours with a suitable grain-free alternative like oat flour (made by blending rolled oats), almond flour, or chickpea flour. You may need to adjust the liquid slightly to achieve the right dough consistency.
- Vary Shapes and Sizes: Use different cookie cutters for variety – bones, paws, or even simple squares are great. Adjust the size of the treats based on your dog’s size; smaller dogs will appreciate smaller treats, while larger dogs might enjoy bigger, more substantial cookies. This is also useful for training treats!
Important Safety Notes & Considerations
While homemade treats are generally safer, it’s crucial to prioritize your dog’s health.
- Consult Your Vet: Always consult your veterinarian before introducing new foods into your dog’s diet, especially if they have allergies, sensitivities, or pre-existing health conditions.
- Xylitol is Lethal: We cannot stress this enough: Xylitol is extremely toxic to dogs and can cause a rapid drop in blood sugar, seizures, liver failure, and even death. Always check the labels of any peanut butter, applesauce, or other ingredients to ensure they are xylitol-free.
- Monitor Allergies: Be aware of common dog allergens such as wheat, corn, soy, and certain proteins. If your dog has known allergies, adjust ingredients accordingly.
- Treats in Moderation: Remember that treats should only make up a small portion of your dog’s daily caloric intake. They are not a meal replacement.
- Choking Hazards: Cut treats into appropriate sizes for your dog to prevent choking, especially for smaller breeds or gulpers.
- Quality Ingredients: Always use fresh, high-quality ingredients that are safe for canine consumption.
Making these homemade peanut butter dog treats is a fantastic way to show your dog how much you care, providing them with a healthy, delicious, and safe snack. So go ahead, preheat that oven, gather your ingredients, and get ready to make your furry friend’s day!

Homemade Dog Treats
Author: Jaclyn
Equipment
-
Rolling Pin
-
cookie cutter
-
baking sheet
-
parchment paper
-
3-Tier Cooling Rack
Ingredients
- 1 cup whole wheat flour
- 1 cup all purpose flour
- 1 large egg
- 1/2 cup unsweetened applesauce
- 1/3 cup natural peanut butter (Xylitol-free!)
- Dash of cinnamon
Instructions
-
Preheat oven to 350°F (175°C). Line a baking sheet with parchment paper and set aside.
-
In a medium mixing bowl, add all ingredients (flours, egg, applesauce, peanut butter, cinnamon) and mix until well combined and a firm dough forms. You may need to use your hands to fully incorporate everything.
-
Roll the dough out on a lightly floured level surface until it’s about 1/4 inch (6mm) thick.
-
Use your cookie cutter to cut out treats from the dough and place them on the lined baking sheet. Gather any leftover dough scraps, re-roll, and cut out more treats until all dough is used.
-
Bake for 15-20 minutes, or until the treats are firm and the edges are just beginning to turn a light golden brown.
-
Remove from oven and allow to cool for 2 minutes on the baking sheet. Then, transfer treats to a wire rack to allow them to cool completely. This helps them firm up and get nice and crisp.
Notes

Did Your Pup Love These Treats?
We’d love to see your happy pups! Share your creations with us on Instagram @crayonsandcravings and follow us on Pinterest @crayonsandcravings for more fun and easy recipes!
Pin Recipe
Leave A Review
Pin This Easy Dog Treat Recipe for Later!
Don’t forget to save this fantastic recipe for later! Pin it to your favorite dog treat or DIY pet projects board so you can easily find it whenever your furry friend deserves a homemade snack.
